
2019: Walkthrough by: Louis Koot
If you have found this walkthrough via google search or via another site then you have probably not visited my site.
A lot more very detailed game walkthroughs can be found on my site at: www.pcgameswalkthroughs.nl
This is a short extra 4th episode in the Bear With Me series. If you have this 4th episode you can also play the 3 previous episodes through it
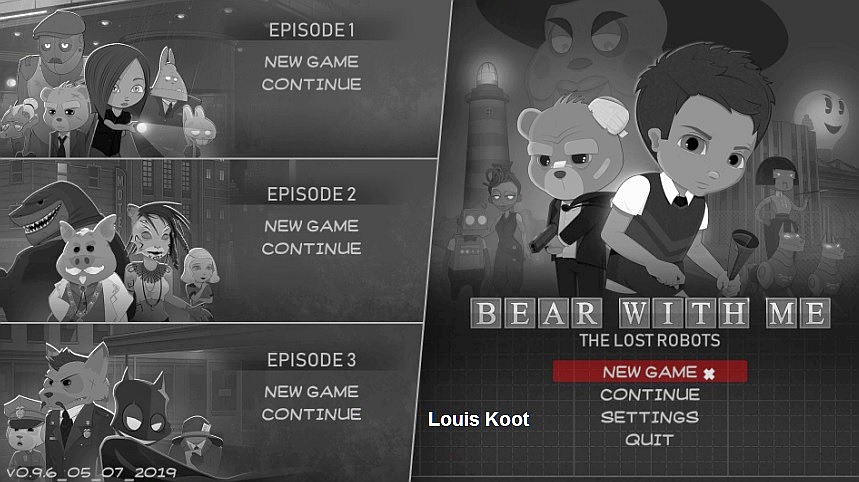
To start The Lost Robot episode click on "New Game" in the right part of the screen.
Everything works exactly the same in The Lost Robot episode as in the previous 3 episodes, so I'm not going to explain that again
Lux Cinema
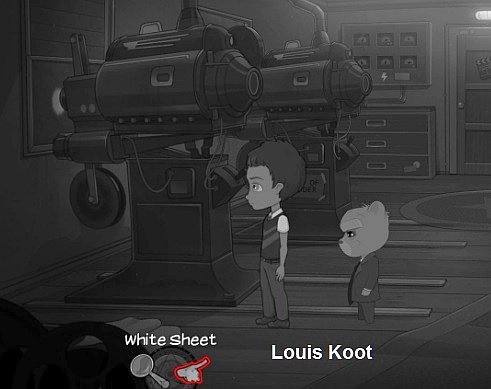
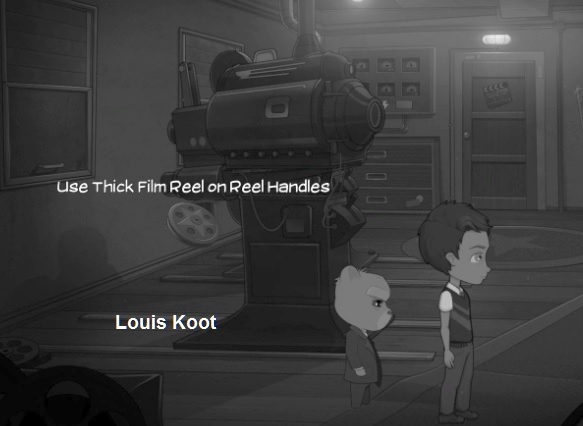
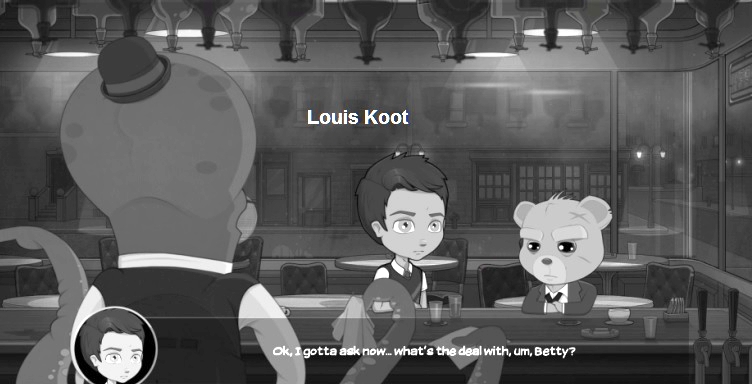
The episode starts with Flint, Amber's brother, and Bear who are locked up in the projector room of the Lux Cinema. You play as Flint and you have to find a way out of the room because the exit door is locked on the other side and there is no key to be found. In inventory you have a Lux Cinema Ticket. There are 2 large film projectors in the room. The right projector is out of order but the left projector is still running and an empty film reel runs on it. Flint has suggested climbing out of the left window but the projector is too close to the window. Look around the room
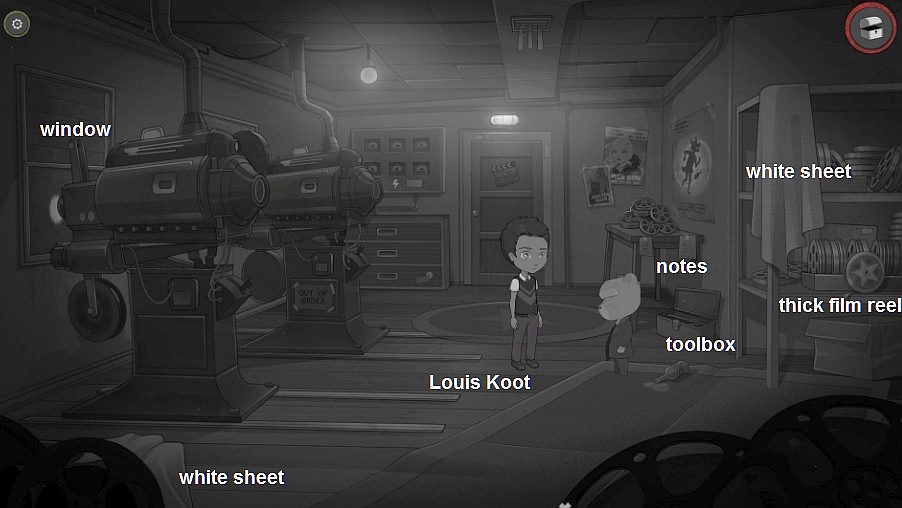
Behind Flint and Bear stand a "Tree-Legged Table" on which 2 notes are stuck. You can read those two notes, but it doesn't help you much. There is a Toolbox on the floor in front of that table. A white sheet hangs on the rack of film reels and that rack also contains a full Thick Film Reel. A 2nd white sheet is in the lower left of the screen.
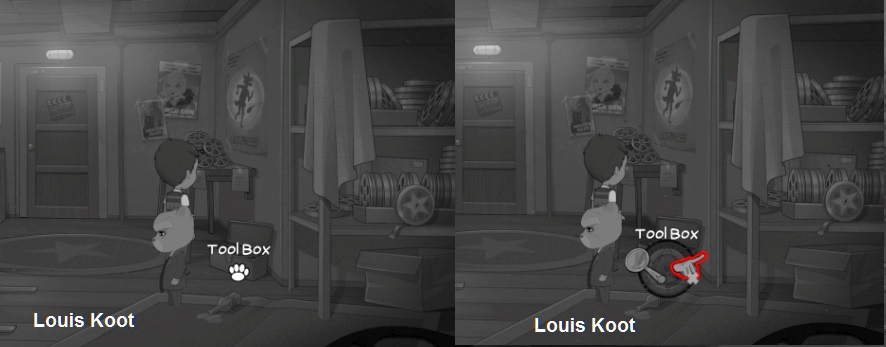
Click the toolbox and......Flint takes a Wrench from the toolbox
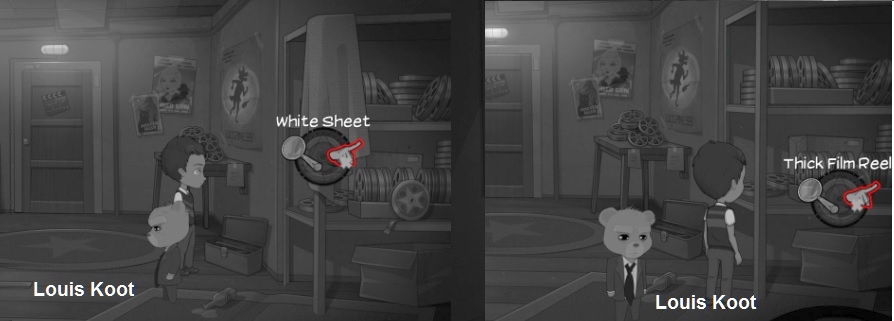
Take the white sheet that hangs on the rack and also grab the Thick Film Reel that is on the rack
Walk to the bottom left and then take the 2nd white sheet
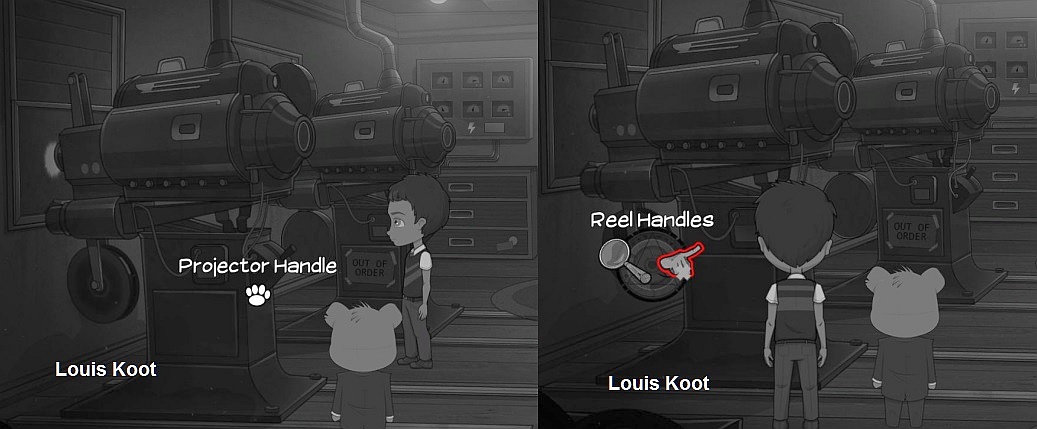
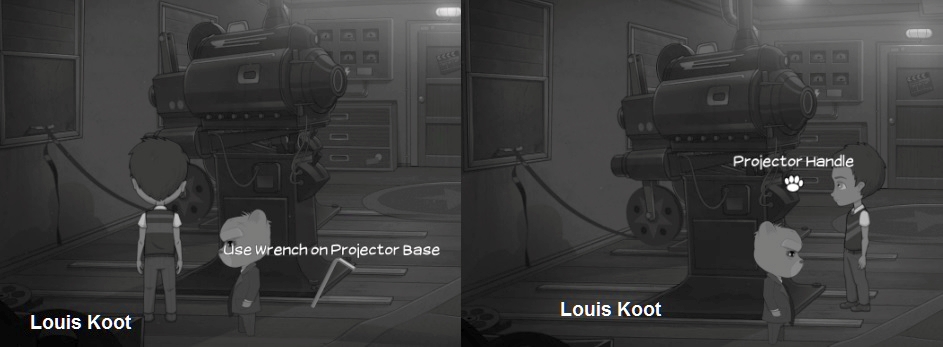
At the rear of the right projector you see the projector Handle ......Click the Projector Handle to turn off the projector.
Then take the Film Reel from the projector's Reel Handles
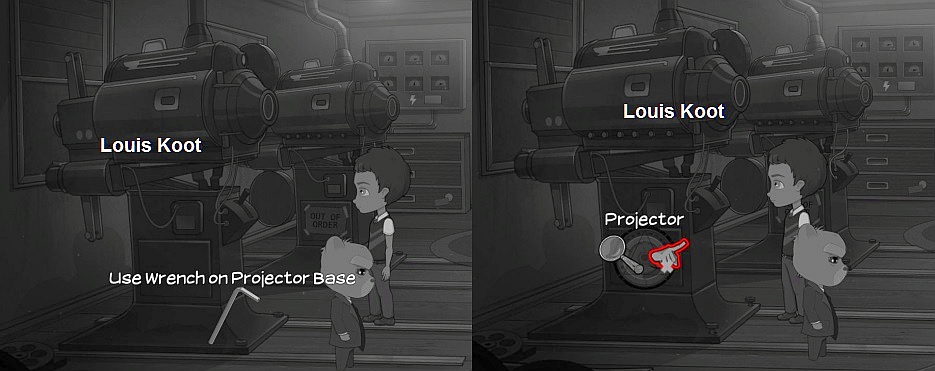
Flint puts the empty film reel on the floor. The projector is screwed to the rails with screws.
Use the Wrench on the projector's Base to loosen the screws. Then click on the projector to slide the thing back
Listen to the conversation between Flint and Bear. Now that the projector has been slid away, you can try to open that window
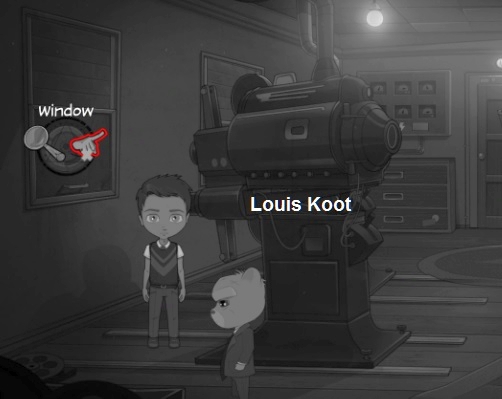
Unfortunately ..... Flint can't open the window, but perhaps he can use the projector for this
Hang the full Thick Film Reel on the Reel Handles of the projector
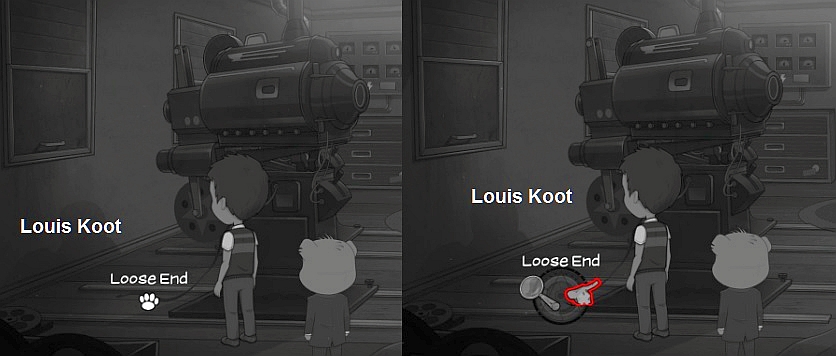
Click on the loose end of the film, which lies on the floor and ......... Flint ties that end of the film to the window
Use the wrench on the Base of the projector again to tighten the screws again
Then use the projector handle again to tear the window out of its joints with the film projector
Then try to climb out the window, but it is too high .... a rope is needed
In inventory, combine the 2 white sheets with each other to form a sheet rope. Use the Sheet Rope in the window and ......
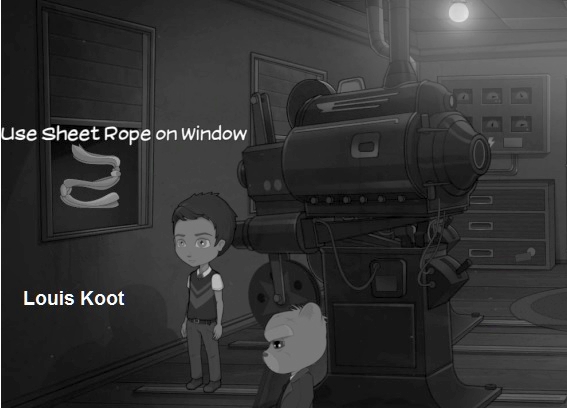
Flint and Bear escape through the window and end up in the cinema where they have a long conversation in which Bear tells how and why he ended up in this cinema.
The Episode now really starts and we end up outside at the entrance of the cinema
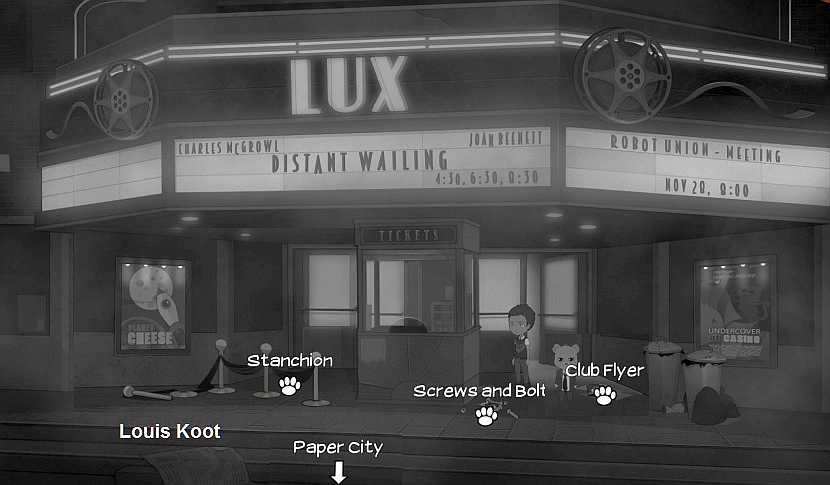
Take the screws and Bolts and also the Club Flyer. Take one of the posts (Stanchions), which are to the left of the cash register.
Walk down to get to the City Map and then travel to the Robot Union
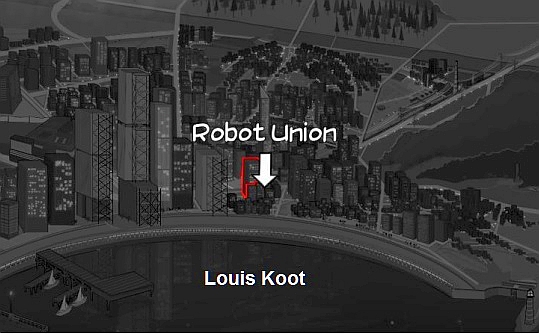
While Flint and Bear are on their way to the Robot Union you can see in the comic strip what happened to Bear after Episode 3 and how he got caught up in this case of the Missing Robots

Robot Union:
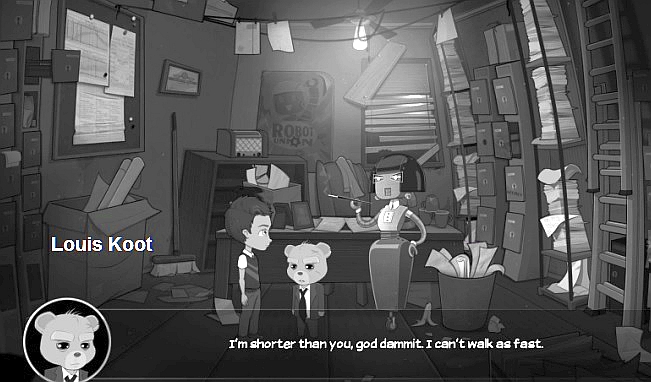
This goes completely automatic. Listen to the conversation between Bear and Lifty Workofsky about Robot Robbie
Then, via the City Map witch is now in the upper right corner, travel to the Paper Daily office
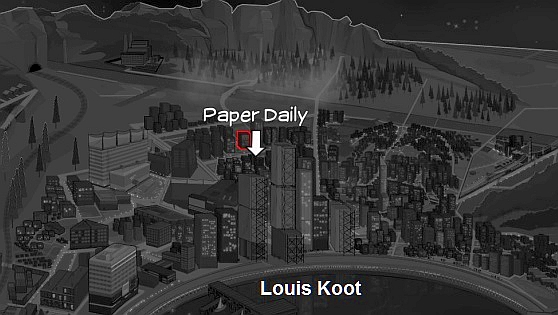
Paper Daily:
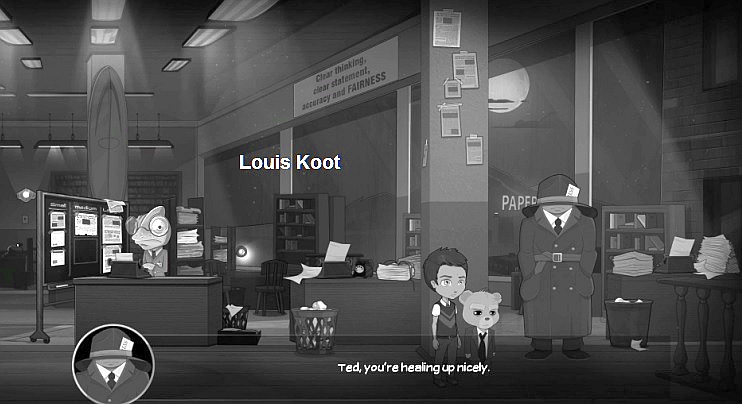
After the conversation with journalist Sam Blabbermouth you walk back slightly to the left. The O.C.D editor is busy typing so he has no time to talk.
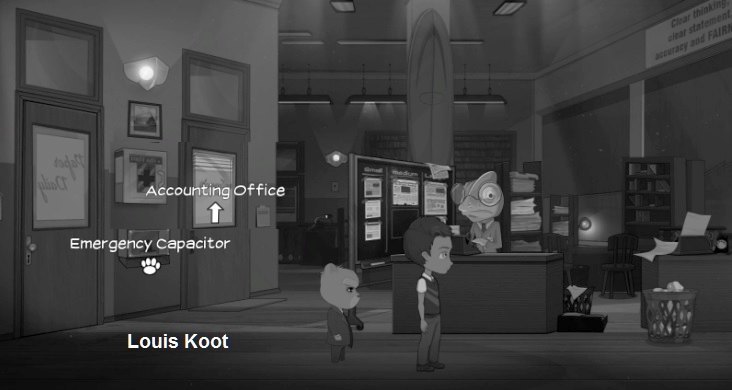
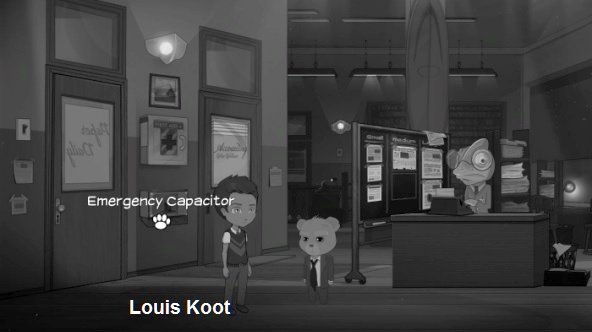
An emergency capacitor hangs between the two doors on the wall, but if you want to grab that thing, Flint doesn't want to do it because that O.C.D Editor sees it. Also Flint has no reason to take that Emergency Capacitor now. That will come later. Enter the Accounting office. View everything you can view. The most important thing now is the large file cabinet that is on the left.
Click with your finger on the file cabinet and .......
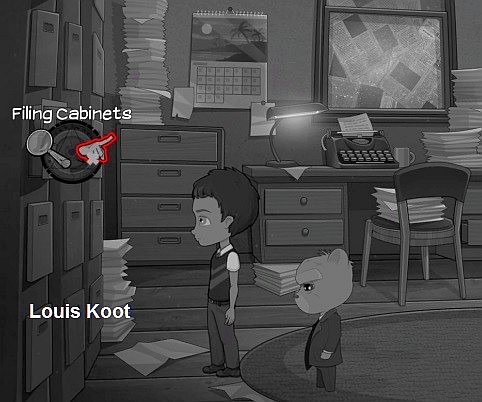
Flint takes a Noose from 1 of the drawers. Leave the office and ...
.another conversation with Sam Blabbermouth follows in witch he tells that parts of robot Robbie were found by the river
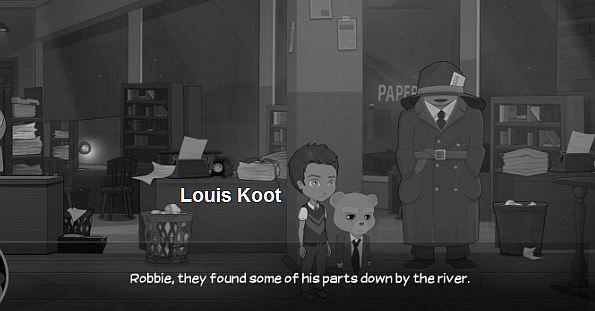
So, travel via the City Map to the Dredge River Bank
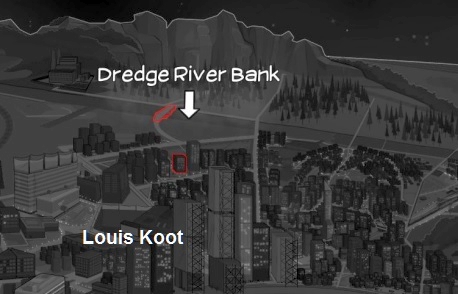
Dredge river bank
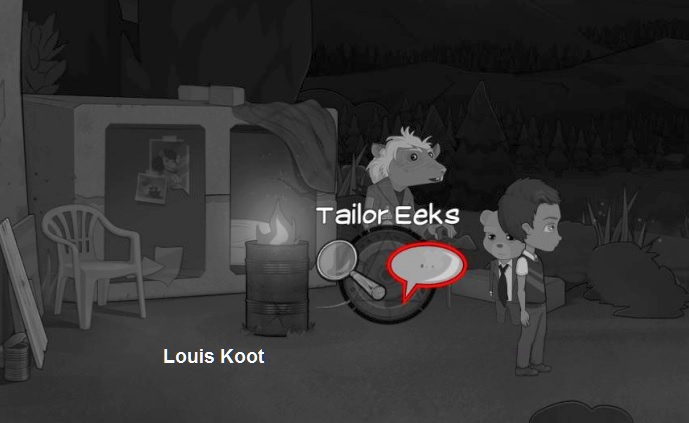
Here we meet tailor Eek. Eek has lost his Camembert Cheese .... the thing has rolled down to the river.
Eek wants to help but only if Flint brings his cheese back.
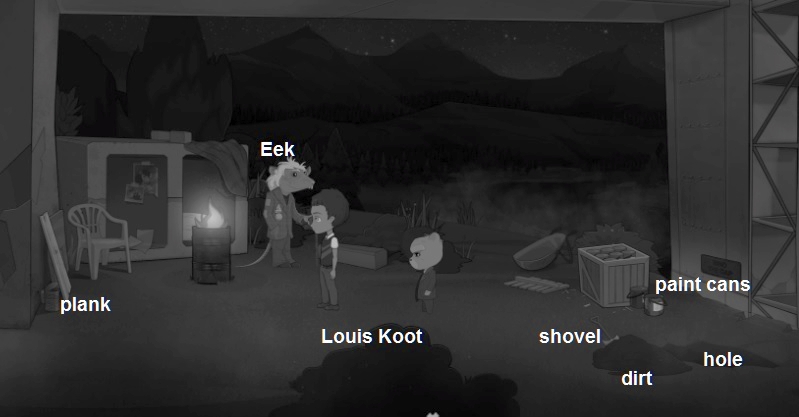
A plank leans against the left bridge pillar, but Flint is not allowed to take it from Eek. Walk to the right.
You see a hole in the ground, a pile of sand, a shovel and 2 paint cans.
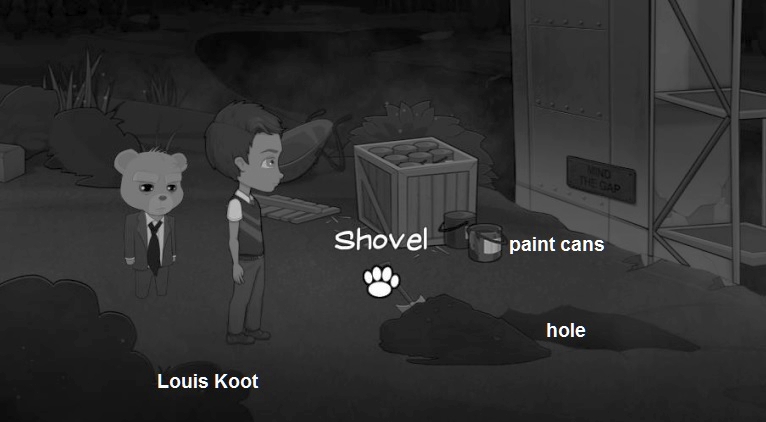
Take the Shovel and take the Paint cans. If you walk a little further to the right, you will see that Flint must go down to de river. But how does Flint come down?
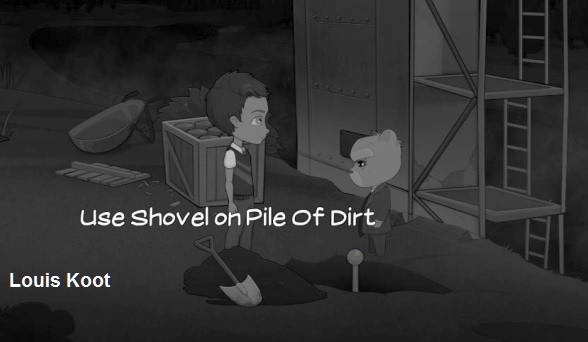
Take the Stanchion pole from inventory and place it in the hole

Then use the Shovel on the pile of sand to close the hole so that the pole is firmly fixed in the hole
Then use the Noose on the pole and Flint has a secured rope where he can climb down
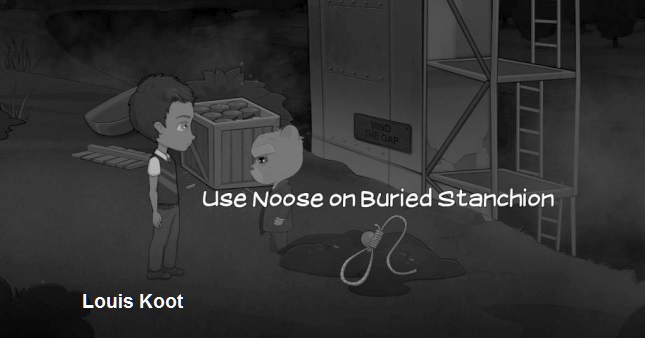
So climb down the rope and ...
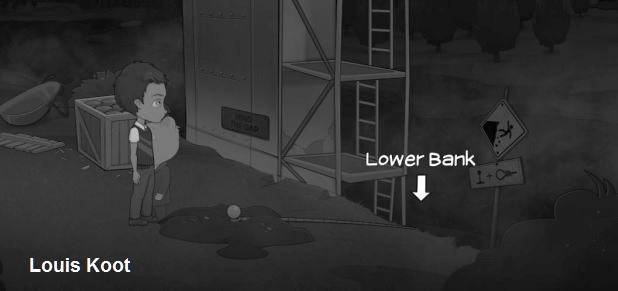
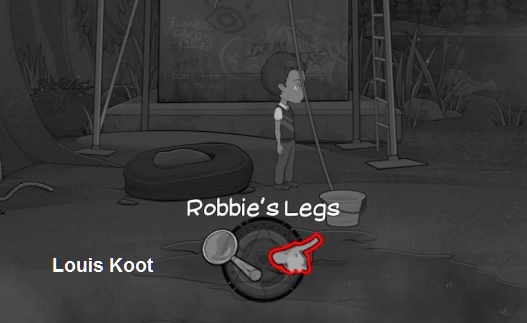
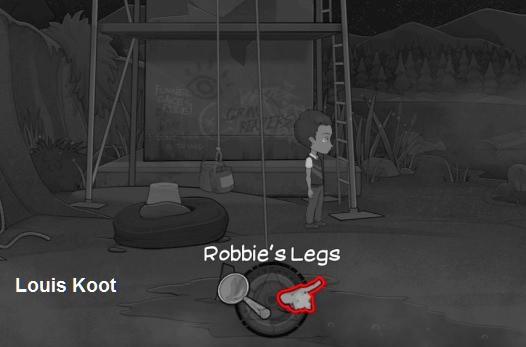
Flint is then at the river and sees that the camembert cheese is hanging high in a dead bare branch, too high to be able to grab it. Look around and see the various parts of robot Robbie. Take Robbie's Arm, which is at the bottom left. There is an old car tire in front of the scaffold and there is a bucket in front of the mud pool. A rope hangs from the scaffolding and Robbie's Legs stick in the mud pool. Continue to the right .... Robbie's finger is on the floor. Take Robbie's Finger.
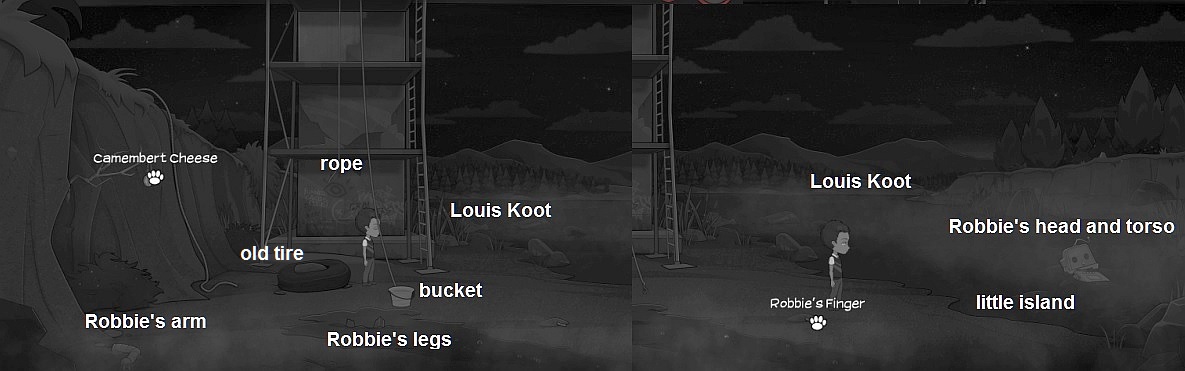
Robbie's Head and Torso floats in the river but Flint cannot reach it. You can see that there is a small island under water.
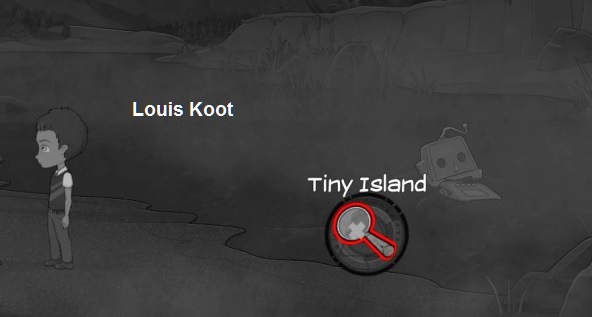
Perhaps Flint can reach Robbie's head / torso via that island, but then he still needs something first
Walk back to the mud pool and see if you can pull Robbie's Legs out of the mud.
That doesn't work because the legs are too deep in the mud. Take the bucket
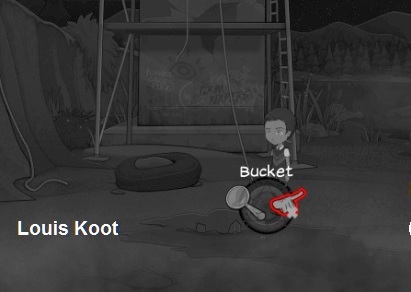
If you have grabbed the bucket then see that a hook is sticking to the rope. Click on the Hook and .....

Flint fixes the hook, and therefore the rope, to Robbie's legs. Now let's see how to lift the legs out of the mud.
Place the bucket on the old car tire and then climb on the bucket
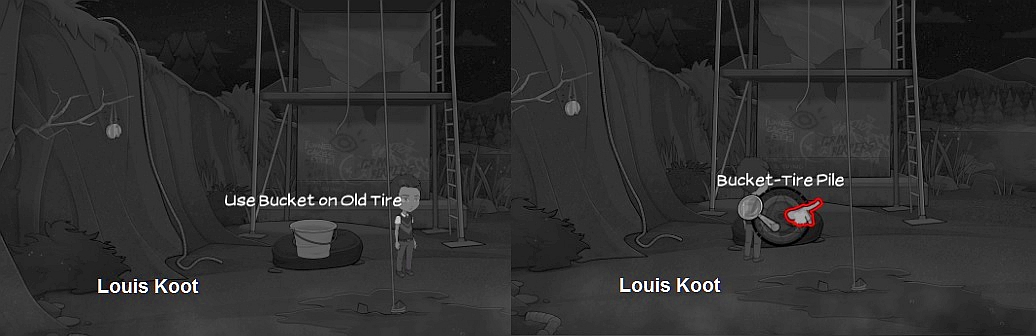
When Flint stand on the bucket, click on the other end of the rope .... Flint says that he should hang something heavy on the rope
So take the two paint cans from inventory and hang them on the rope and then click on the rope again and....

The rope has pulled Robbie's legs a bit out of the mud, so take Robbie's Legs now
Climb up the other rope and talk to Eek again.
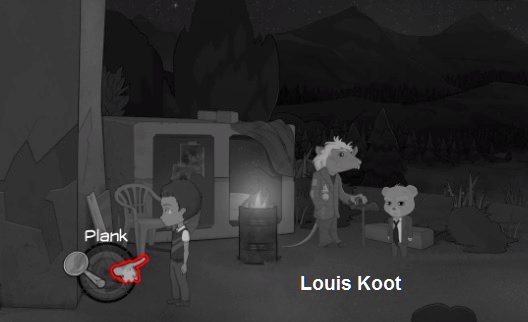
Eek will give his Walking stick to Flint and he also gives Flint permission to take that plank when he has first brought back the camembert cheese.
So climb back down and use the Walking stick on the cheese
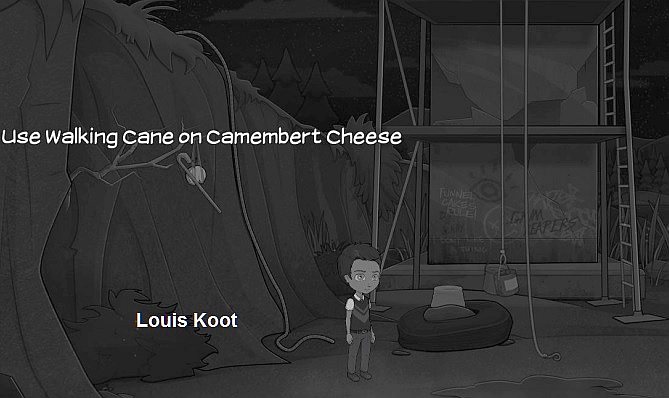
Climb up again and give the Cheese to Eek

Now Flint can take that plank, so go grab it and descend to the river again
Down again you walk to the river and use the plank on the small island. Then take Robbie's Head / Torso

If you have now collected all parts of Robot Robbie then Flint will automatically climb back up and a conversation with Bear follows
Bear wants to fix Robbie, but for that we have to go to Fixy's Used Car Shop, so use the map to go there now
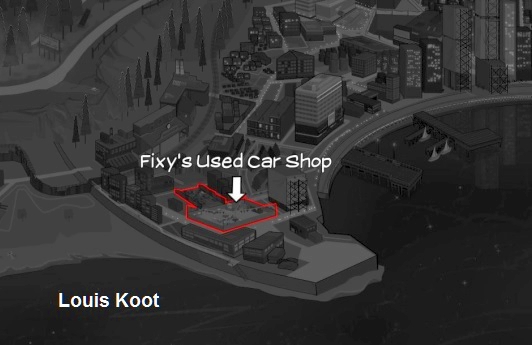
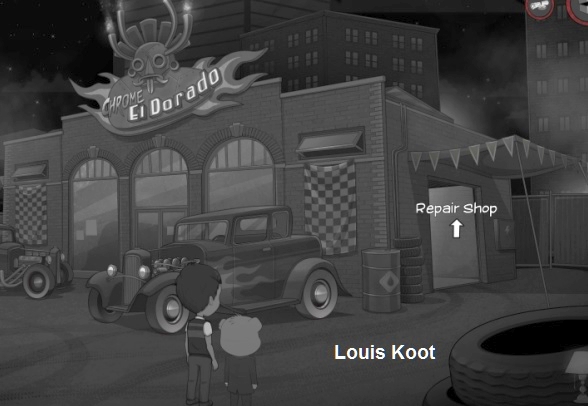
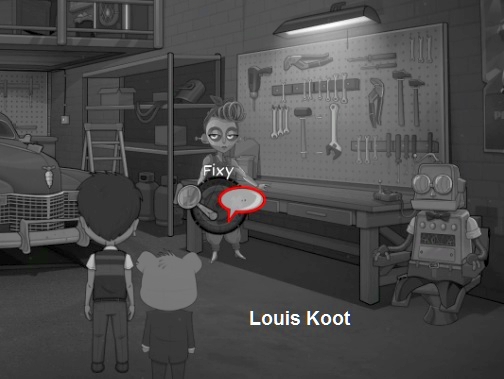
Fixy's Used Car Shop
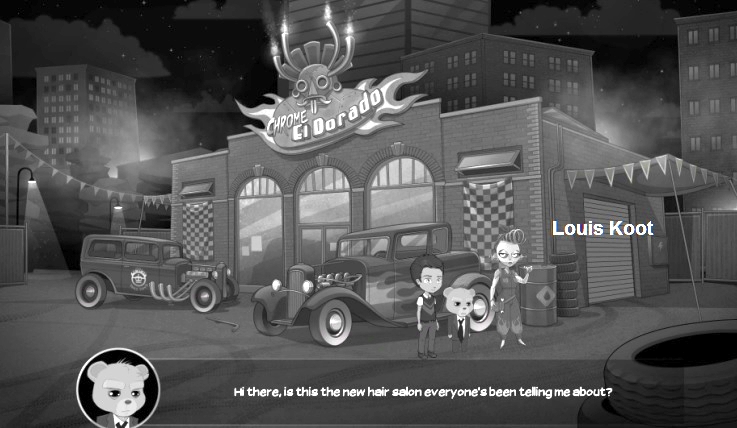
At the second hand car shop there is a conversation between Bear and owner Fixy. Fixy can put robot Robbie back together in her workshop, but first she wants gas for her lighter. A crowbar is on the ground between the 2 cars. Walk towards it and then pick up the Crowbar.
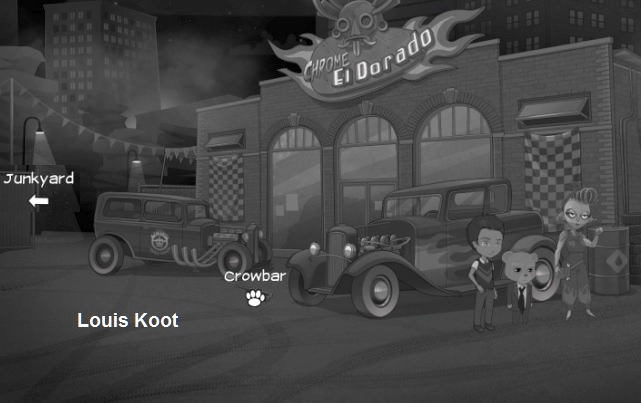
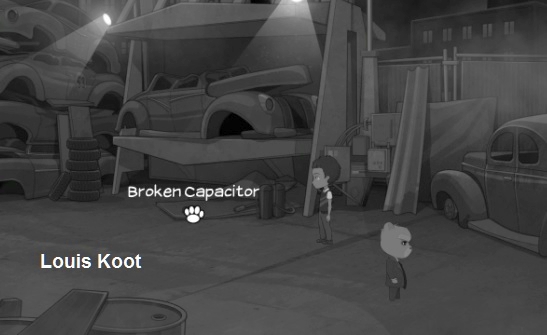
Then walk to the left to the Junkyard. The gas tank of the first scrap car is open. Bottom left are cables on a barrel.
A little further on is a broken Start Capacitor on the ground
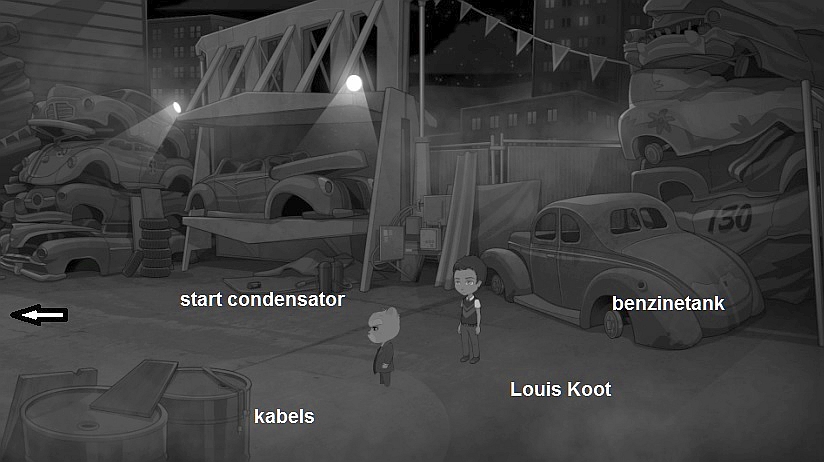
View the demolition car's fuel tank and then go get those Cables. Also take the broken Start Capacitor
Walk further to the left. There is an empty Jerry can under a pile of scrap.
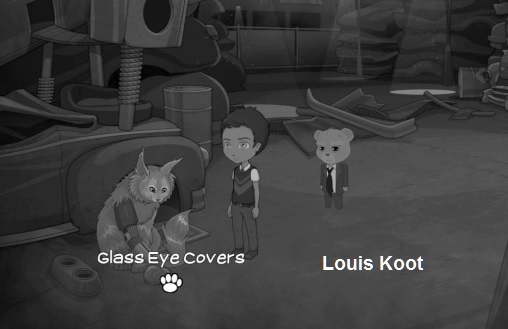
Further on is a rubber hose at an oil barrel. At the bottom left a Furryosa Cat playing with glasses.
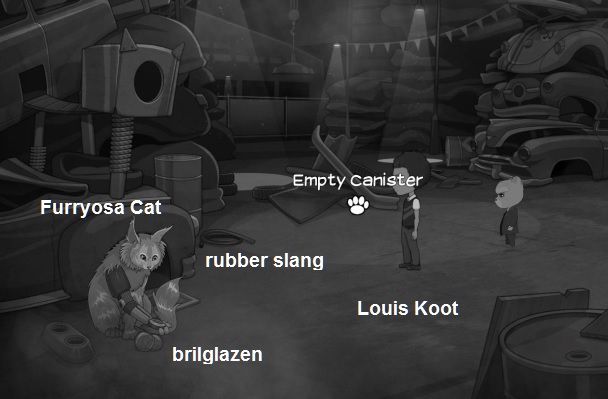
Flint cannot take the jerry can from under the scrap with his bare hands, so use the crowbar on the scrap and then take the empty jerry can
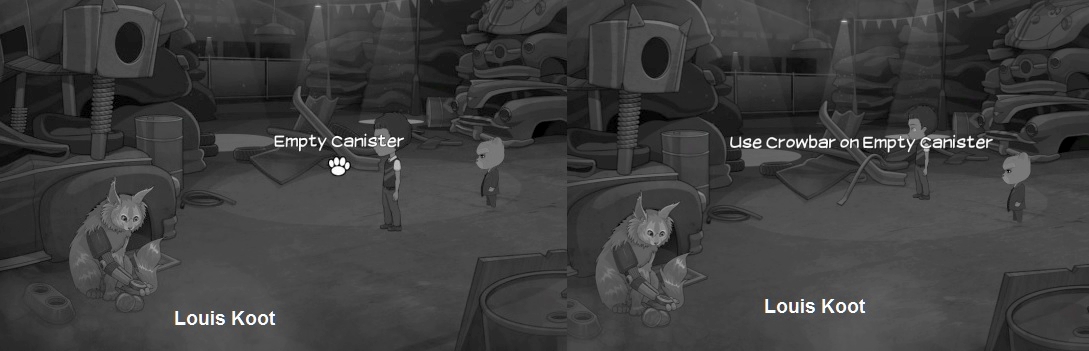
Then pick up the rubber hose and walk towards the cat
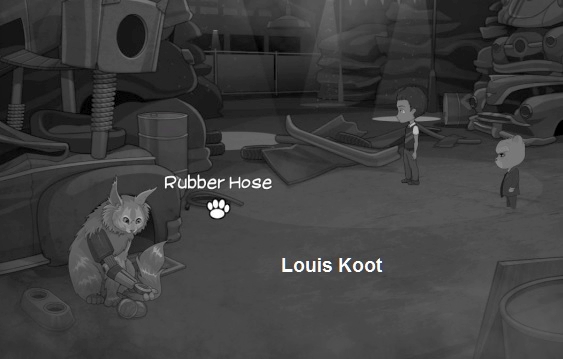
The cat has an injury on its left front leg and is playing with the glasses. Try to get the glasses . But the cat doesn't allow that now
Go via the City Map back to the:
Paper Daily:
An emergency capacitor hangs between the two doors. Flint wants to trade its broken start capacitor for that emergency capacitor, but if you try to do that Flint says the O.C.D Editor will see that. The O.C.D Editor must be distracted so that it no longer has a view of the two doors and that capacitor. The typed articles of the O.C.D Editor hang on the O.C.D Board. Click on the O.C.D Board and ......
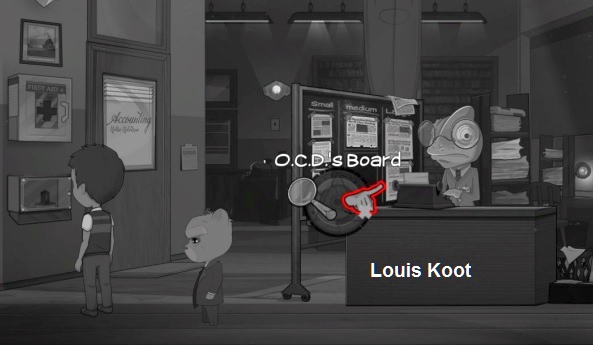
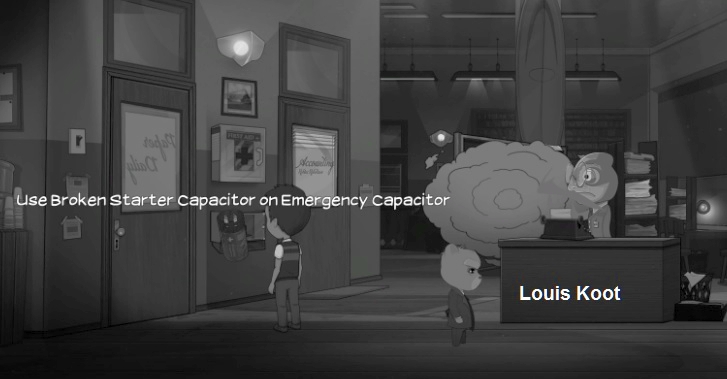
Bear says that there is a typo in the articles and so the O.C.D Editor must retype everything and this causes a cloud of dust.
Quickly grab the broken start capacitor from inventory and click it on the Emergency capacitor and Flint will exchange the 2
Travel back to:
Fixy's Used Car Shop
Go to the car with the open gasoline tank on the junkyard. Combine the rubber hose with the empty jerry can.
Then use the jerry can on the gas tank of the demolition car
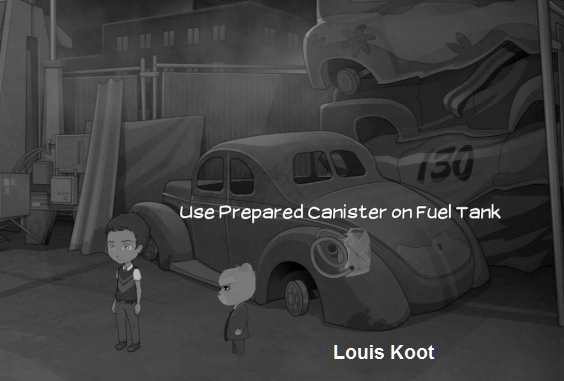
The jerry can is filled with gasoline and Flint picks up the full jerry can automatically.
Go back to the right and give the full jerry can to Fixy and .....
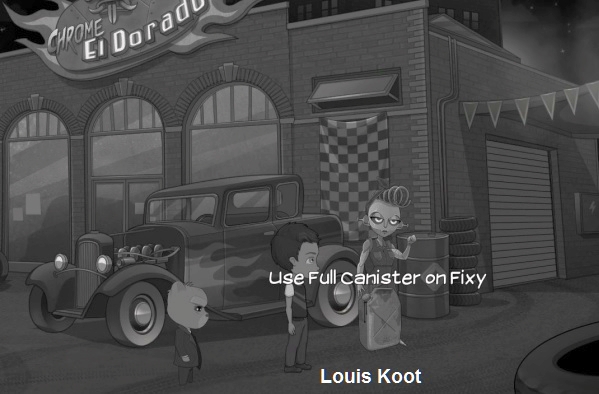
Fixy is happy and wants to help put robot Robbie back together and we all end up in Fixy's workshop
Fixy gives Flint a blueprint that shows which parts are needed to put Robbie back together.
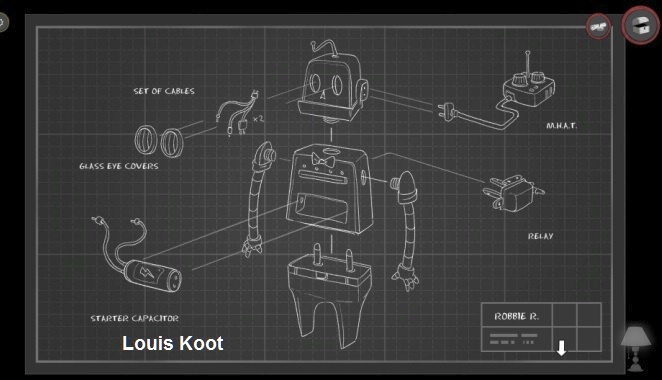
This blueprint is now also shown on the bottom right of the City Map
We already have most parts, but we still have to find a few. Take a second cable set that lies to the left of the car
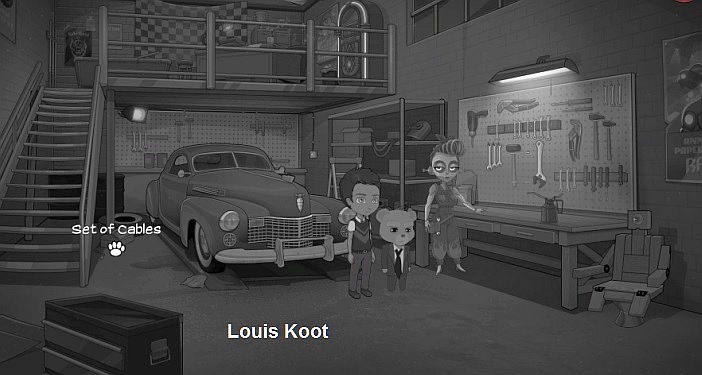
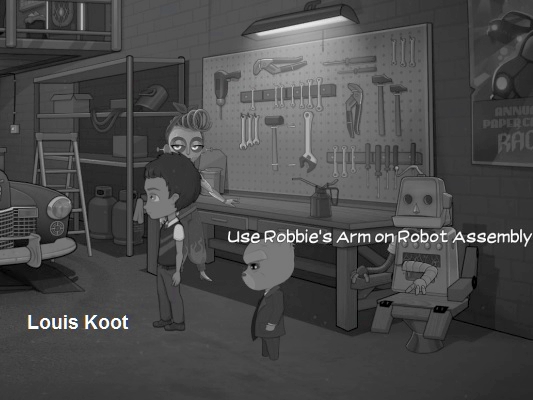
At the work table is the Robot Assembly and Fixy has said that you have to put all the parts of Robbie in it. So place Robbie's Head and Torso on the assembly. Then place the 2 cable sets, Robbie's arm, Robbie's legs and the emergency capacitor on Robbie
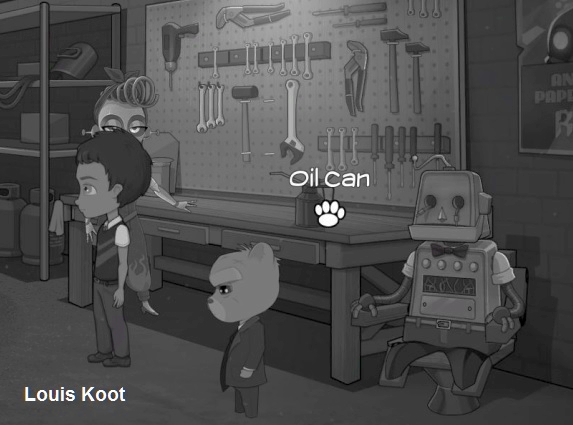
Robbie's finger no longer fits Robbie and he has no eyes yet. There is an oil can on the work table. Take the oil can
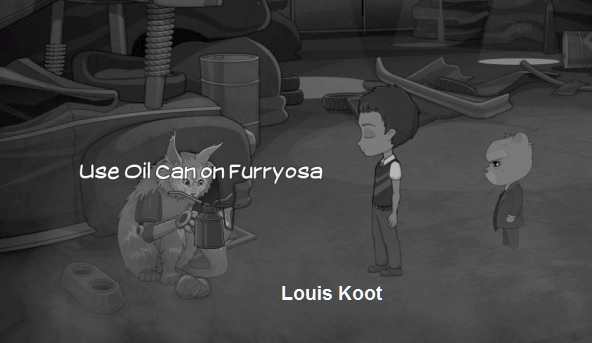
Exit the workshop and go to the Furryosa Cat on the junkyard. Use the Oil can on the cat to repair his injured leg
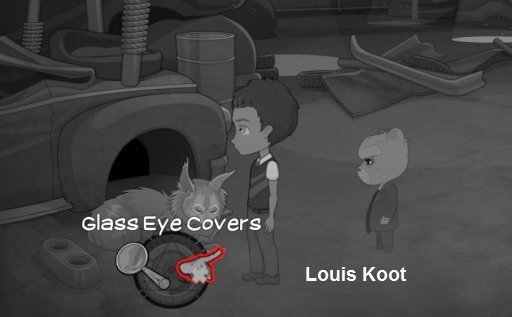
The cat will now lie satisfied and purr so that Flint can now take the glasses. So get the glasses
Go back via the City Map to the:
Paper Daily
Enter the accounting office again. There is a pencil sharpener on the desk and a framed diploma on the right wall
Use Robbie's Finger in the Pencil Sharpener and .....
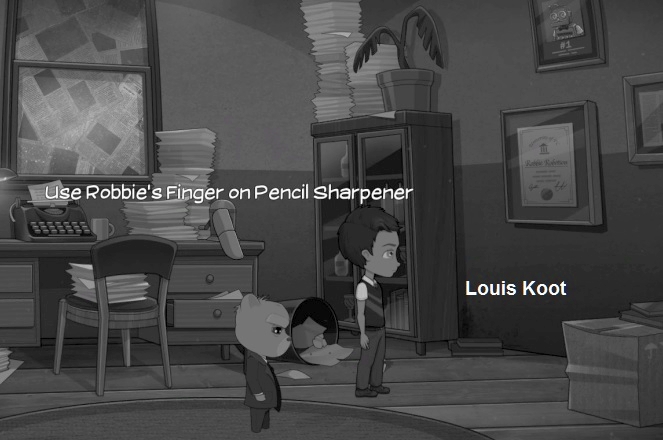
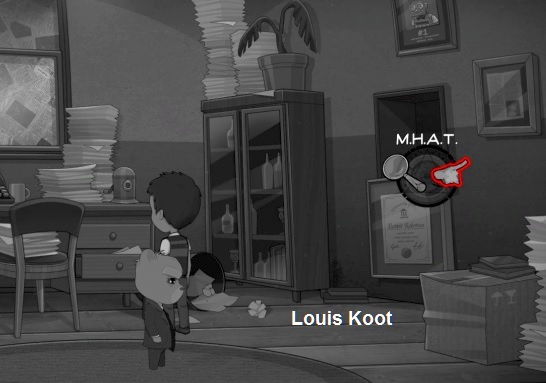
..... the diploma drops down so that the wall safe is revealed. An M.H.A.T is in the wall safe and we need that for Robbie. Take the M.H.A.T.
Use Robbie's Finger on the sharpener again to close the wall safe and then return to
Fixy's Used Cars Shop
Go inside and place the M.H.A.T on Robbie and then the glasses and ....
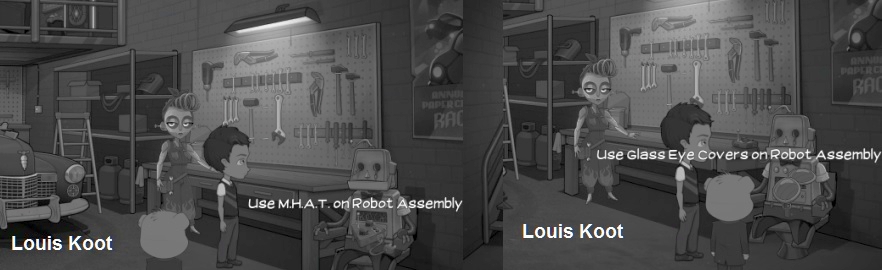
Fixy is satisfied but Robbie still needs 1 part .... a relay part and Bear thinks he knows where he can get hold of such a thing.
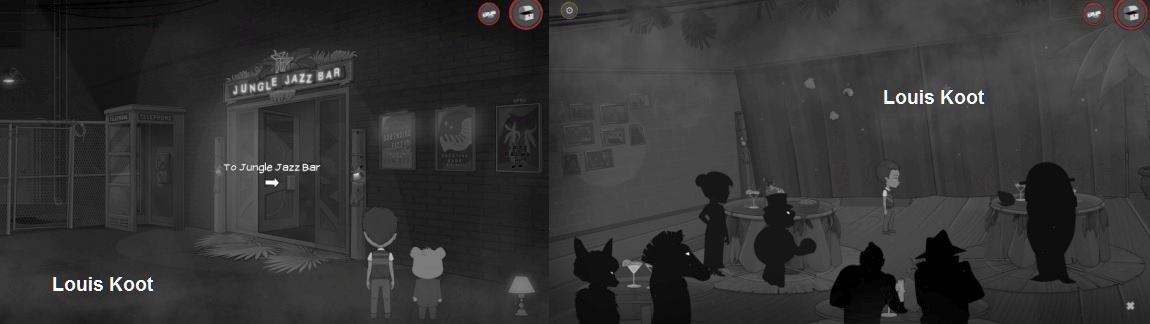
The Jungle Jazz Bar is now also on the map so travel to the:
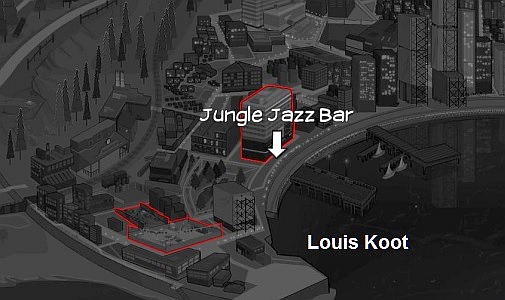
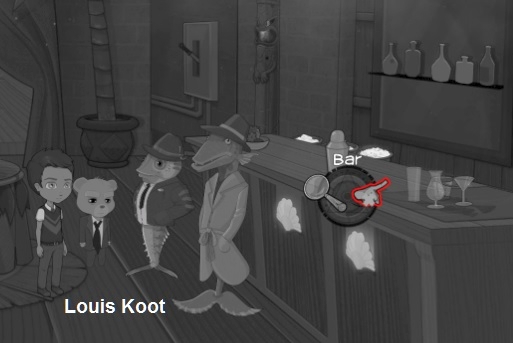
Jungle Jazz Bar:
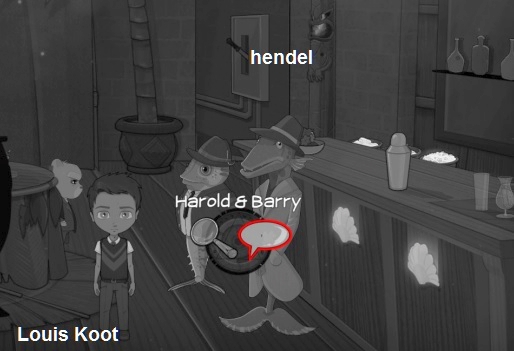
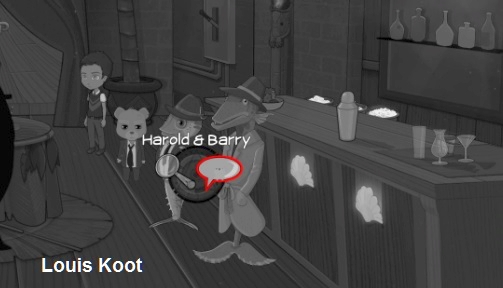
The bar is closed. Harold and Barry are at the telephone booth. Go talk to them.
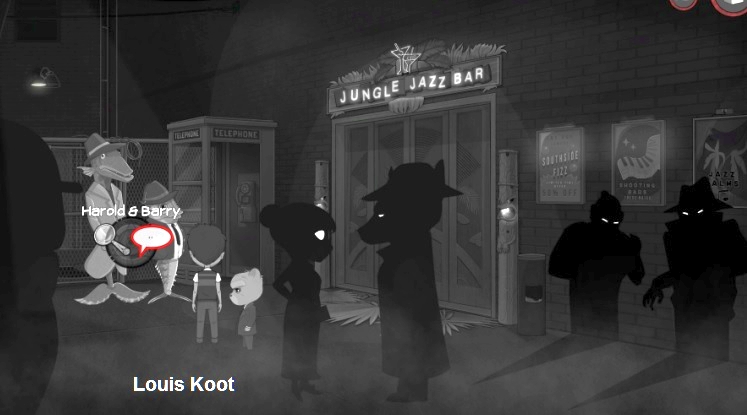
Harold and Barry tell where Bear can get such a relay for Robbie, that is at the Illuminarium Factory
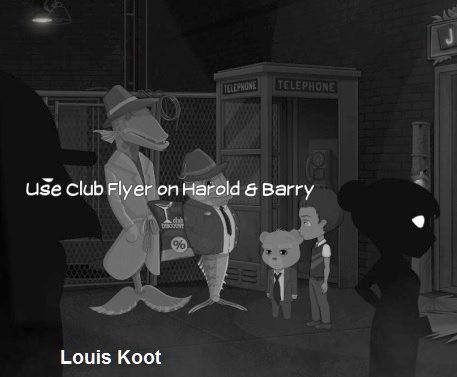
After the conversation you give the Club Flyer to them so that they can enter the bar when it opens again
Via the City Map you now go to the
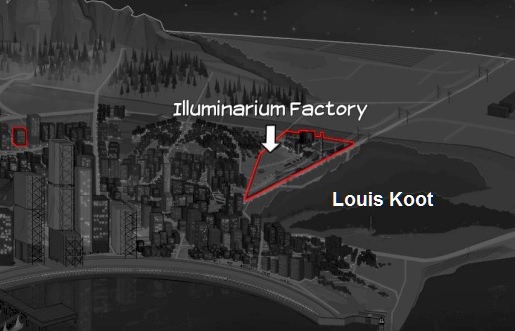
Illuminarium Factory
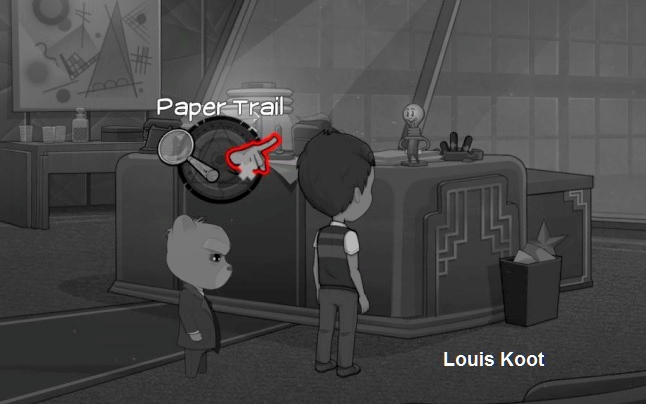
We end up in the office of the director Smiley. On the desk is Bulby and a stack of Papers (Paper trail)
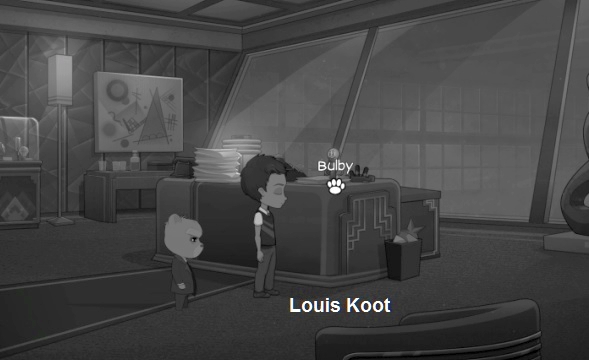
"Talk" to Bulby and then click on that stack of papers and ....
The director of the factory, Smiley Skinner, pops out of the box and Bear has a conversation with him
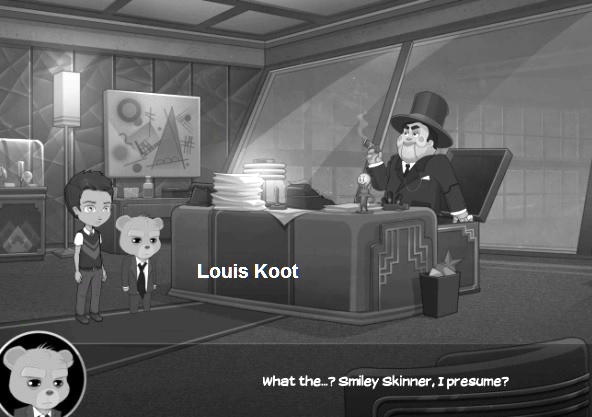
Skinner says that there is currently a shortage of Ratchet relay and he disappears into his box again. Go back to the:
Robot Union:
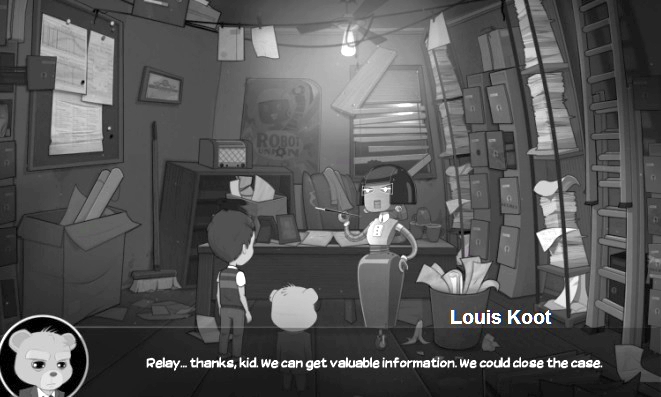
Here we have another self-ongoing conversation with Lifty Workofsky.
After this Flint and Bear end up in the bar where they discuss the situation while enjoying a drink.......
....and then we go back to the:
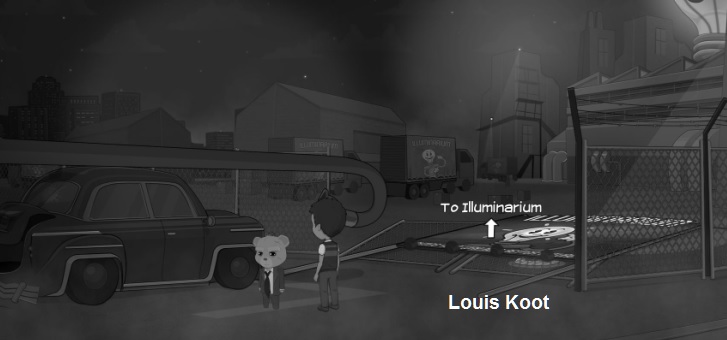
Illuminarium Factory
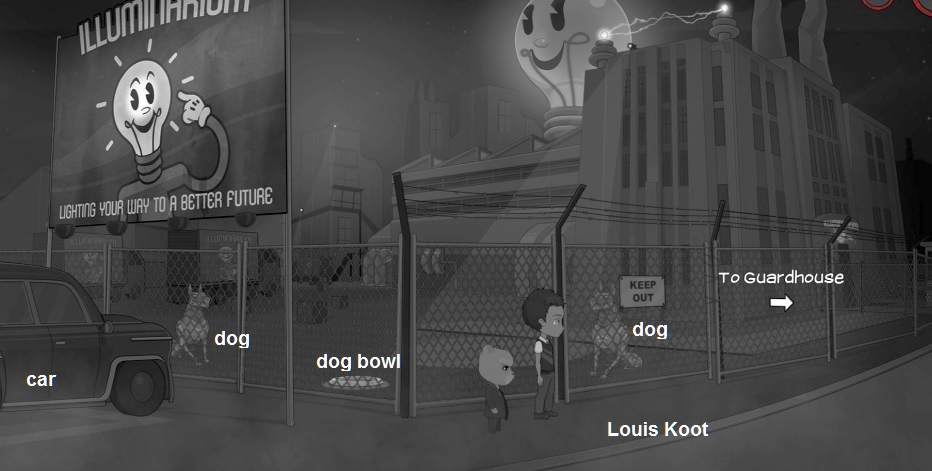
This time we end up outside the gate of the factory. On the left stand a car in front of the gate and the billboard. Behind the fence are 2 robot watch dogs and between the two dogs is their food bowl. The car is locked, but Bear could ram the fence with the car if only he had the car key. Go right to the Guardhouse. The guard is sleeping in his guardhouse. The Car key hangs on the key board.
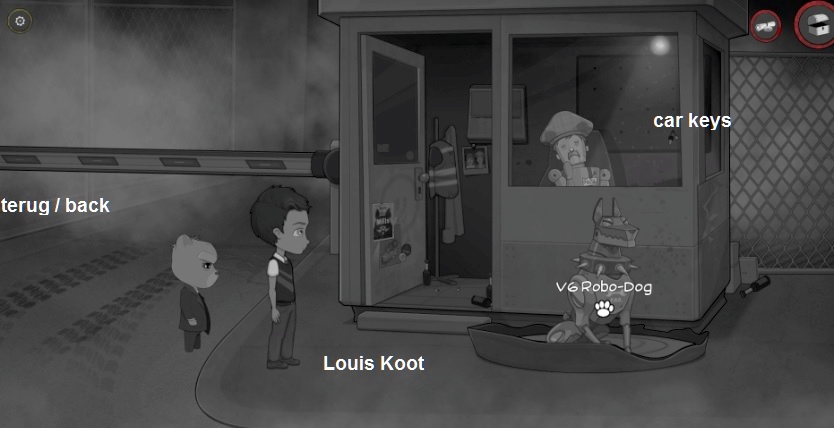
Here too, a robot dog is on guard and if you get too close to the dog, it will bark. This dog has to get out of the way because otherwise Flint cannot take the car key. Return to the left, to the gate. Then throw the Screws and Bolts in the food bowl of the two guard dogs ......
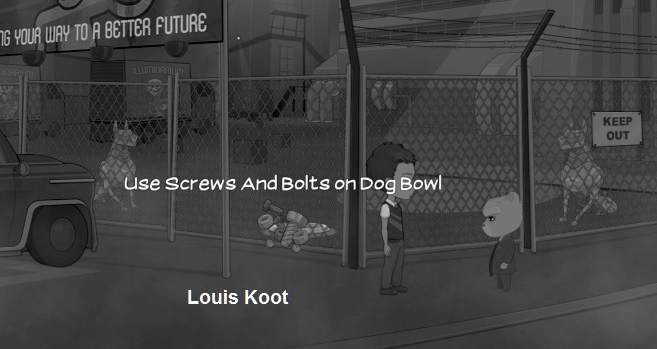
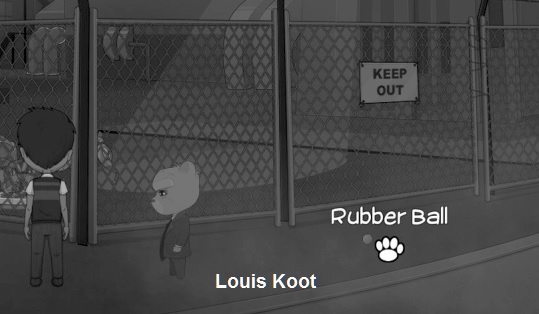
the two dogs are going to eat the food bowl empty and that goes wild and a rubber ball bounces on the floor outside the fence. Take the rubber ball
Go back to the guardhouse and click with the rubber ball on the dog and ........
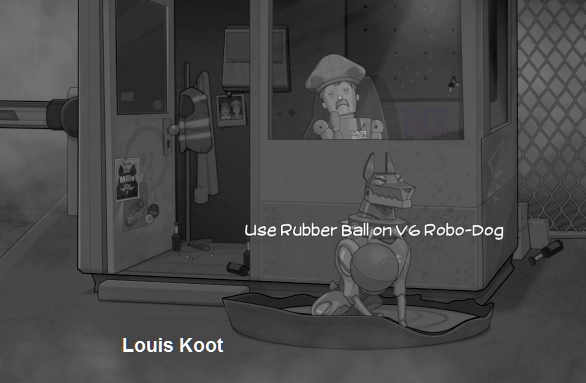
Flint throws the ball away and the dog goes after it. Click on the car key and .......
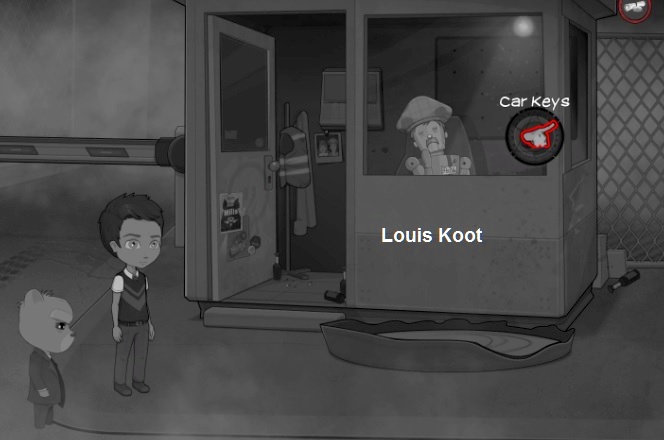
Flint now takes the car key. Go back to the gate and ...... Flint drops the car key and a pigeon flies away with it
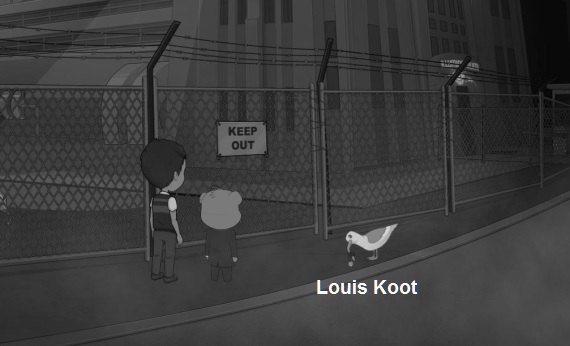
It's never easy... we need something else to break open the car. Go back to Fixy's via the City Map, go inside and talk to Fixy
Fixy gives Flint a screwdriver. Back to the Factory and then use the Screwdriver on the car and .......
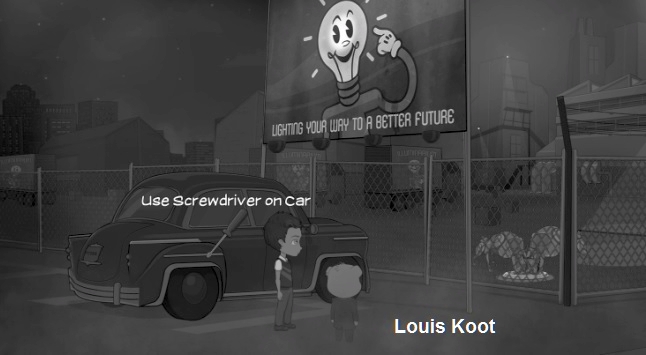
see what Bear does with the car ........
So now enter the factory. We now end up in the
Factory hall
See a broken railing. Walk to the left and use the Power Lever to turn on the power
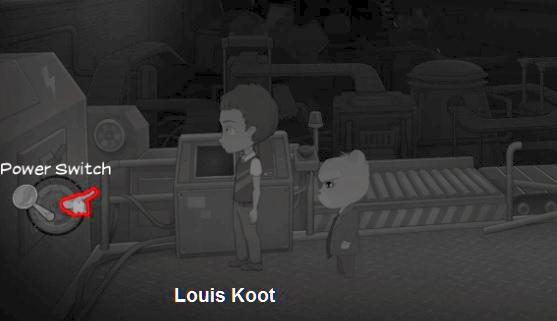
The light in the hall comes on and you see the conveyor belts. At the very back of the hall you see the windows of Smiley's office.
The console now also has power. There is a screen in the console. Click with your finger on that screen and ....
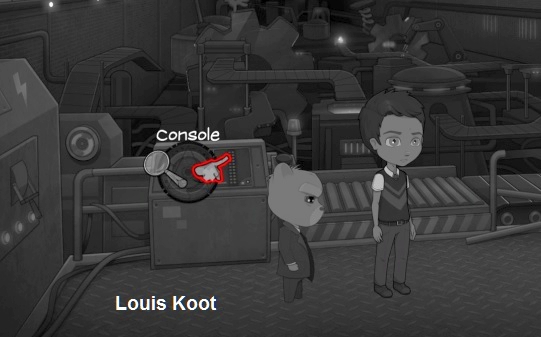
... you must then solve the conveyer puzzle.
Conveyer belts puzzle:
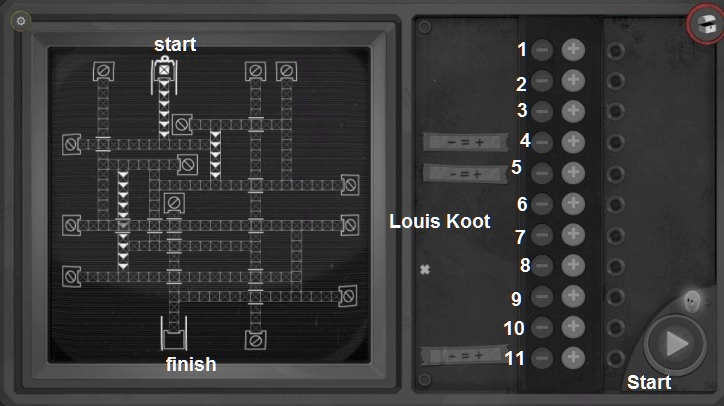
In the left part of the screen you can see the conveyor belts of the factory. The production lines do not work. You have to make sure that the box, which is at Start, is rolled over the conveyor belts to the Finish. The Finish is at the console. In the right screen you see 11 plus / min switches that you can click on plus and minus. All 11 switches are now on plus. Number those switches, from top to bottom, as 1 to 11.
Then click switches 1 to 5 on MIN. You click PLUS on switches 6 and 7. Switch 8, click on MIN.
Switches 9 and 10 you click on Plus and switch 11 you set on MIN ..... it must be like this
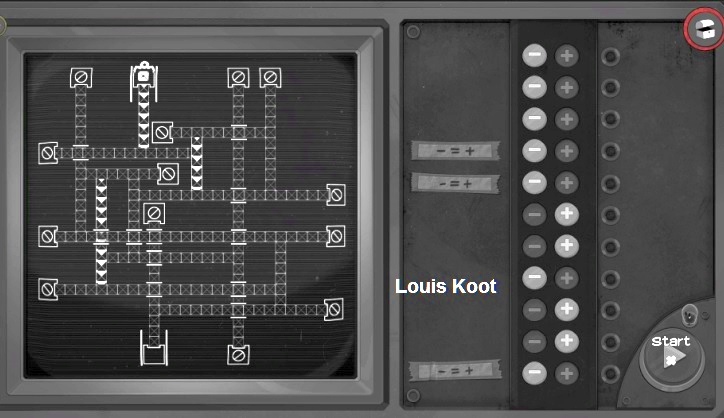
Then click on the START BUTTON, bottom right, and .....
the box is rolled over the conveyer belts to Flint and Bear and Flint takes a Rachet Relay from the box .
But there is also a Rubber Band in the box. Take the rubber band

Bear wants to go back into the Smiley office, but how to get there. Use the Rubber Band on the broken railing and ...
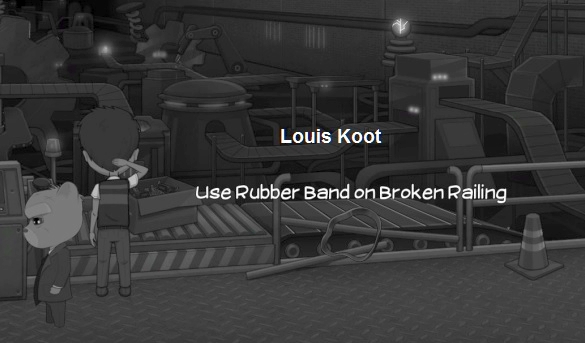
... Flint catapults Bear into the office ......
Office:
Documents pieces lie on the floor and those pieces are also on the desk.
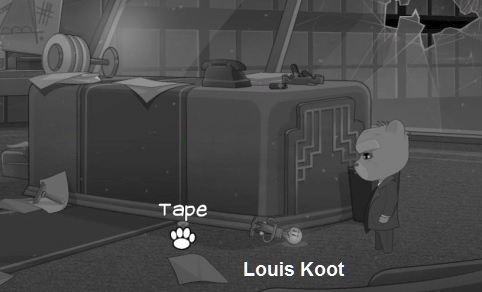
Document pieces also stick in the trash can. Bulby is lying on the floor and also a roll of adhesive tape.
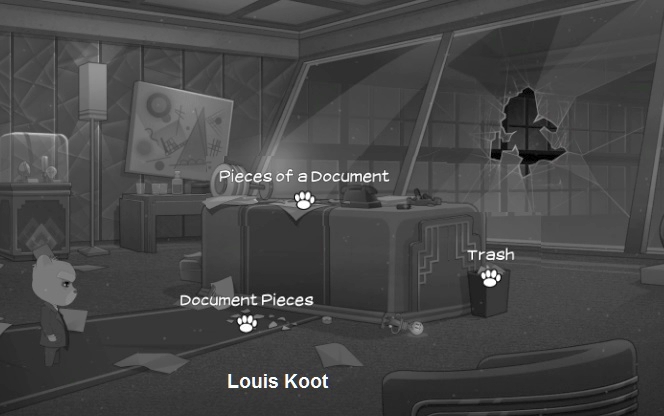
Take the Document pieces from the floor and the desk and also from the Trash. Then take the roll of adhesive tape
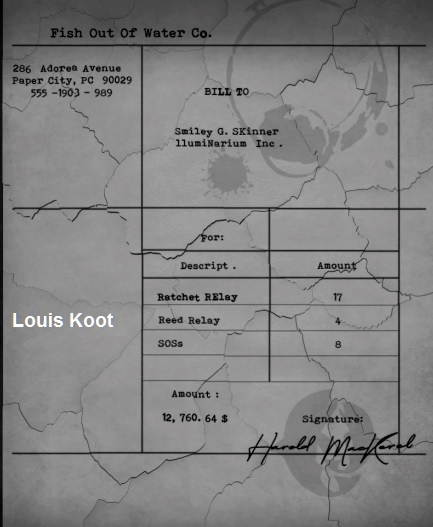
Put the Document together:
Combine the adhesive tape with the paper pieces in inventory. You then have to puzzle the document together
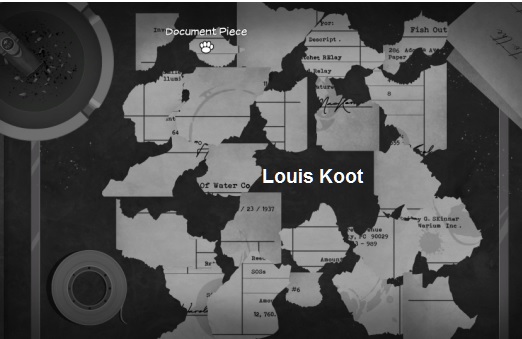
It is not that complicated. It's just a jigsaw puzzle and you can't turn the pieces. Here is the solution
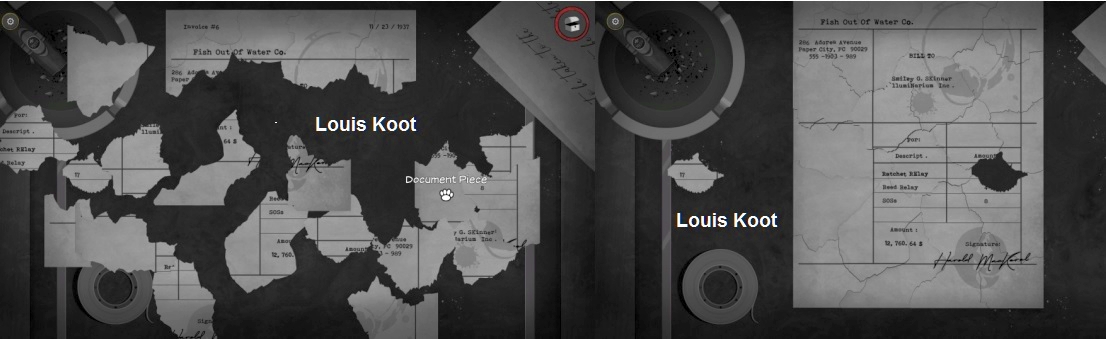
And this is what it ultimately looks like .....
Bear now knows enough to have Smiley arrested. The telephone is on the desk. Use the telephone and ......
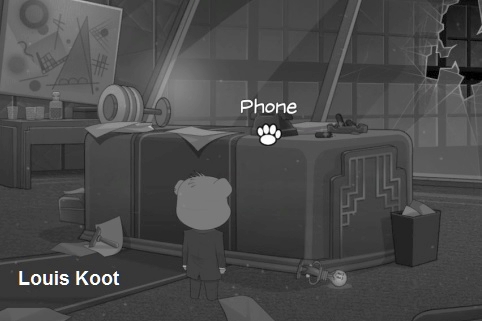
Bear calls Locke ..... listen to the conversation and then travel back to:
Fixy's Used Car Shop:
Enter the workshop again and use the Rachet Relay on Robbie and .......
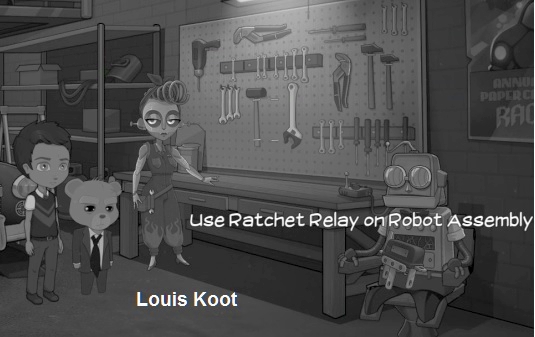
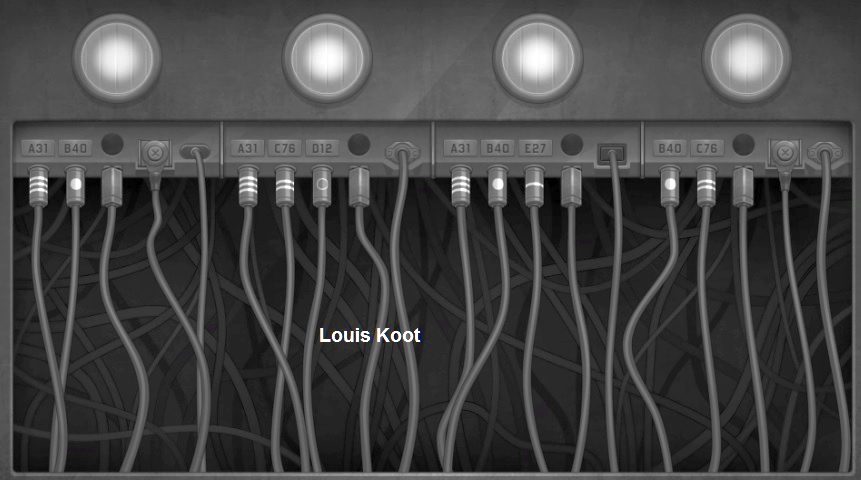
You must then solve the Plug puzzle to bring Robbie back to life
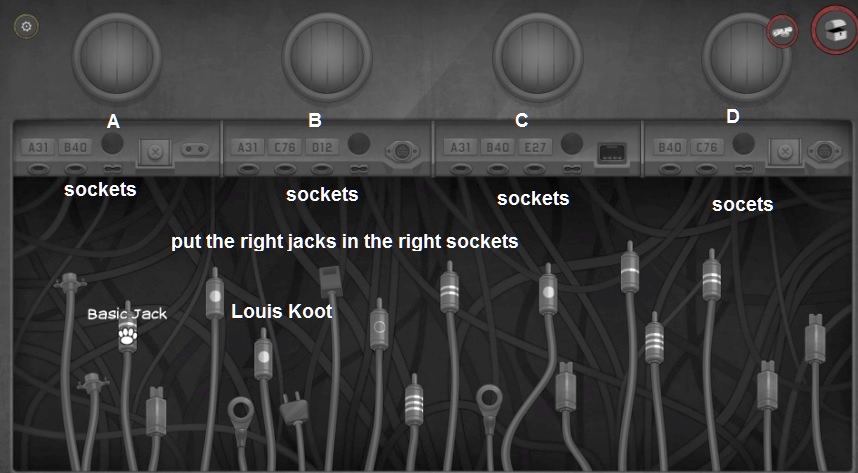
There are 20 cables with plugs. On top there are 20 outlets. You have to plug the right plug into the right socket.
If then all 4 lamps A, B, C, D are lit, then the puzzle is solved. It is not that complicated but here is the solution
You automatically get out of the puzzle and a conversation with Robbie follows. Robbie complains that he misses a finger but he has to learn to live with that
Now go back to the
Jungle Jazz Bar
The bar is open now so go inside and walk to the right, towards the bar.
Go talk to Harold and Barry
However, the conversation is abruptly interrupted by the performance of singer Lily on stage and Bear wants to put an end to this as quickly as possible.
Behind the bar is a lever on the wall. Pull that lever down and ........
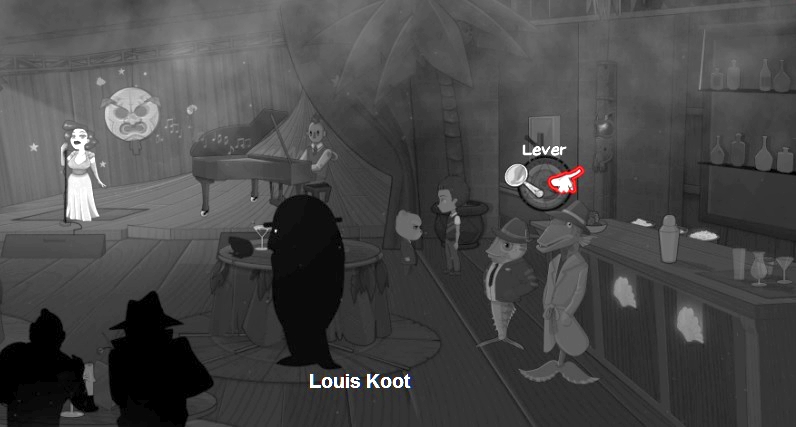
poor Lily disappears through the trapdoor into the stage. A spotlight fell down where Lily was standing.
Walk to the stage and then pick up the broken Spotlight

Back to Harold and Barry and talk to them again ....... Harold and Barry first want a drink. Click with your finger on the bar to stand behind the bar
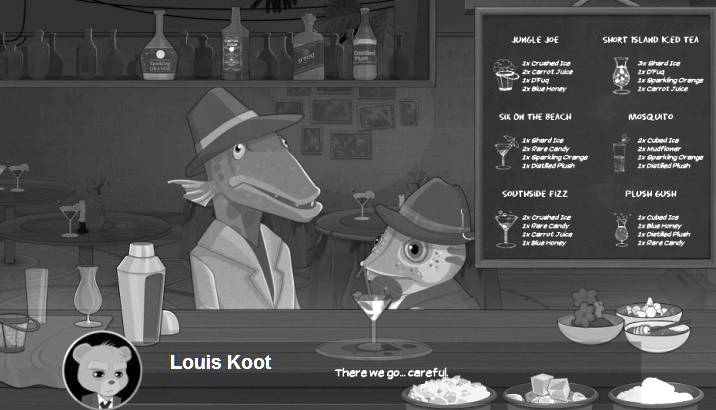
Mix a Southside Fizz cocktail

You have to mix a Southside Fizz cocktail for Harald and Barry. There is a Martini Glass and a Shaker on the bar. On the right are containers with ingredients. There are 4 bottles above the bar. You click with your finger on the things you need for the drink to click them into the shaker. You need a Martini glass, 2 times Crushed Ice, 1 time Rare Candy, 1 x Carrot Juice and 1x Blue Honey
|
Harold and Barry drink the drinks and they give you a Coin. Talk to Harold and Barry again
You now have to give the correct answer to 3 questions. The answers are: 1 = The Fresh. 2 = His Tombstone. 3 = Feet
We then get outside, at the telephone booth. Use the just received Coin on the Telephone booth and .......
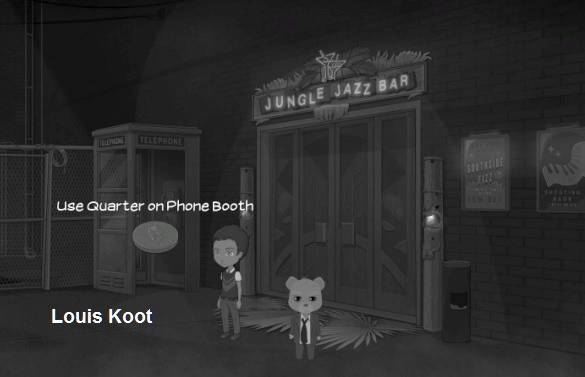
Bear calls that Locke again and then you return to:
Fixy's Used Car Shop
Go back inside and ..... There is a conversation with Robbie who now talks about the Lighthouse
After this you travel via the City map to the Lighthouse
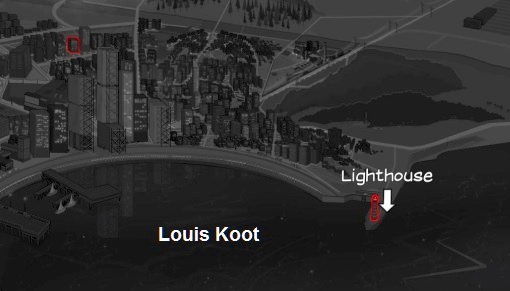
Lighthouse

Go inside. On the wall is a First Aid cabinet and there is a crate. Open the First Aid cabinet
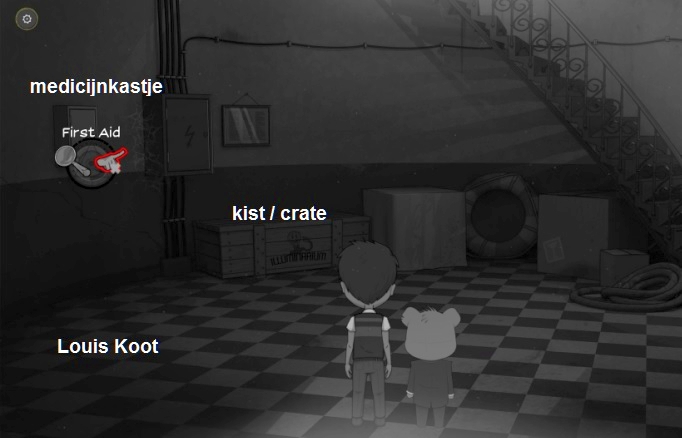
Flint takes a roll bandage from the first aid cabinet. Try to open the crate / crate. Does not work so use your Crowbar on the crate and .....
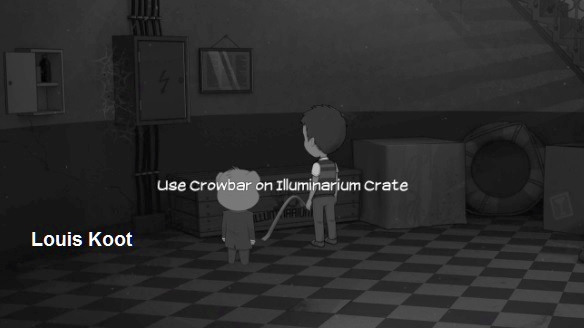
Flint takes a Light Bulb from the crate. In inventory, combine the broken Spotlight with the Light bulb and then with the Bandage. Go back to
Fixy's Used Car Shop
Place the repaired Spotlight on Robbie and ..
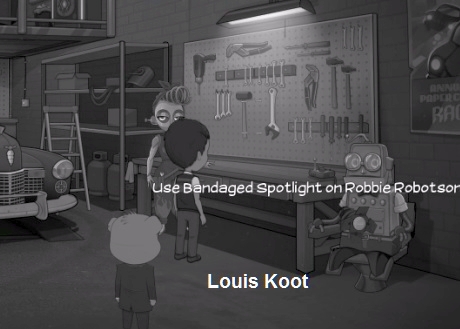
Robbie now tells the whole story and the rest goes completely by itself, so sit back and watch the End
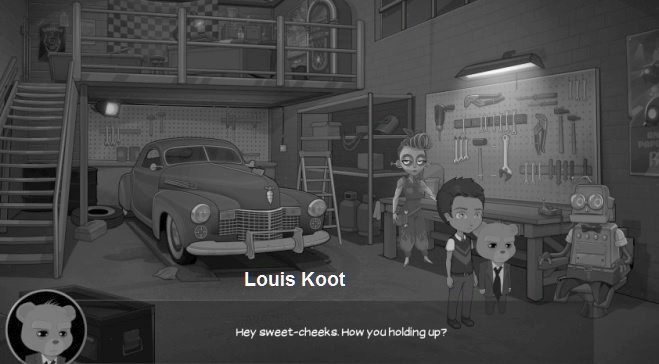
Robbie feels great again and we all go to the lighthouse where the End is set. Harold and Barry are already present and they are waiting for their boss
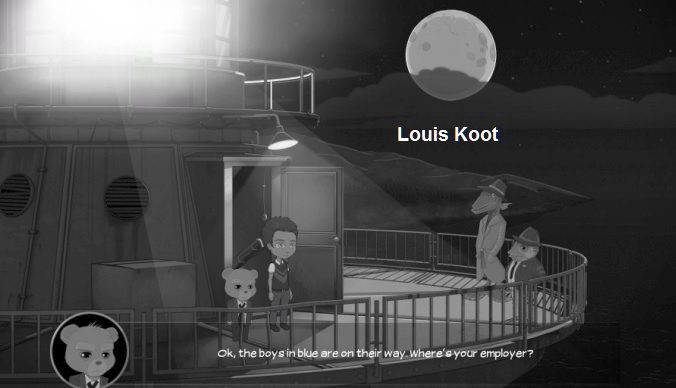
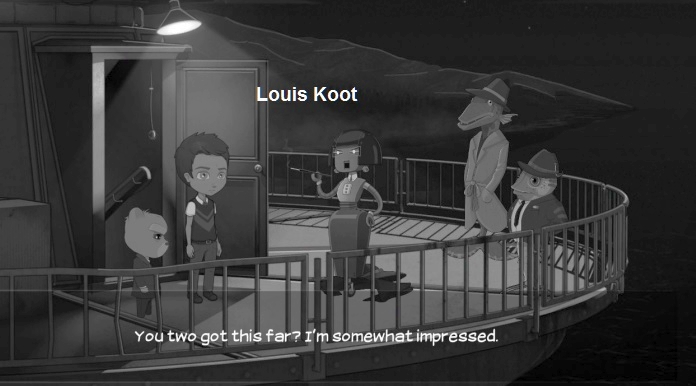
The boss turns up and it appears Lifty Workofsky from the Robot Union
... It doesn't end well for Lifty and Barry (or is that little one now Harold?) Because they both plunge into the depths
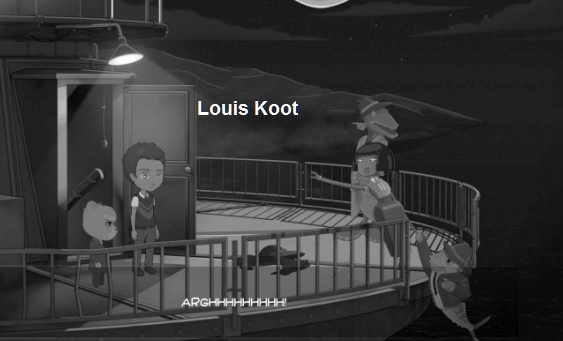
Flint and Bear have solved the case of the disappeared Robots, but of course they don't get the credit for it.
Bear muses about Betsy, Amber and Flint and ......
finally we are on the train with Flint and Bear ......

Bear closes the window and Flint falls asleep .....

2019: Walkthrough by: Louis Koot