2019: Walkthrough by: Louis Koot
If you have found this walkthrough via google search or via another site then you have probably not visited my site.
A lot more very detailed game walkthroughs can be found on my site at: www.pcgameswalkthroughs.nl
Chapter 6: Nico and George: Quaramonte: Pyramid and Ending
Village: Nico:
Nico arrives at the natives village. George is gone. The village is burnt down and she picks up George's sunglasses. Nico meets Titipoco.
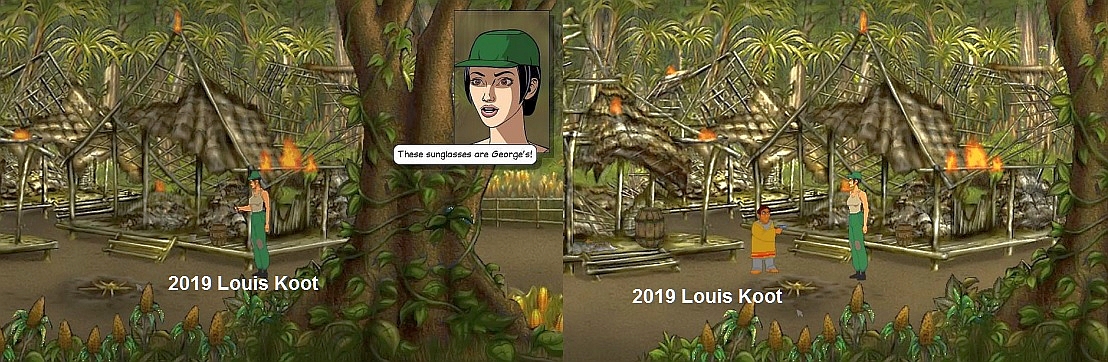
Titipoco has the Eagle Stone and he shows a lighter revolver. When Nico asks if Titipoco also knows where George is then the little man points to one of the burned huts.
Talk to Titipoco about the sunglasses and then about George.
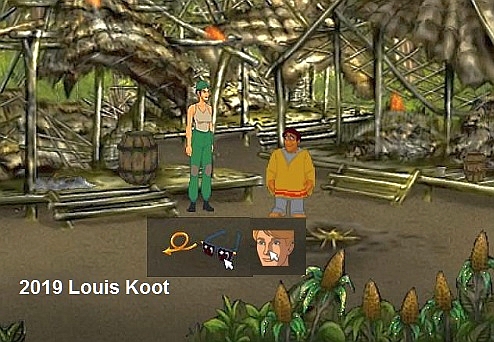
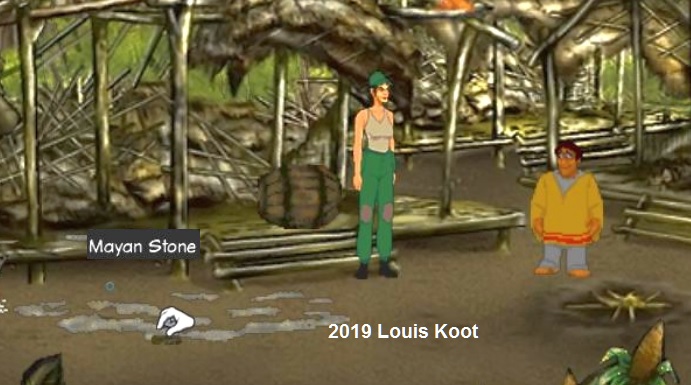
Titipoco has the Jaguar Stone and he takes this stone out of his pocket for a while. When you have asked everything about Titipoco, close the conversation.
The Coyote Stone is located at the top left of the stairs of the left hut. Try to pick up the Coyote Stone.
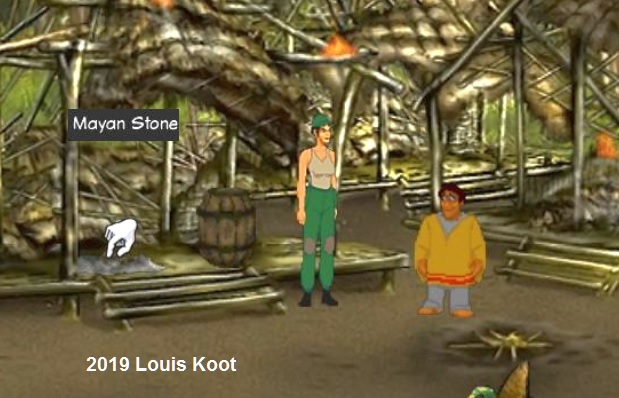
However, the stone is too hot to pick up. There is also a rain barrel in the cabin. Investigate the Barrel and Nico report that there is water in it .Left click on the barrel and ......
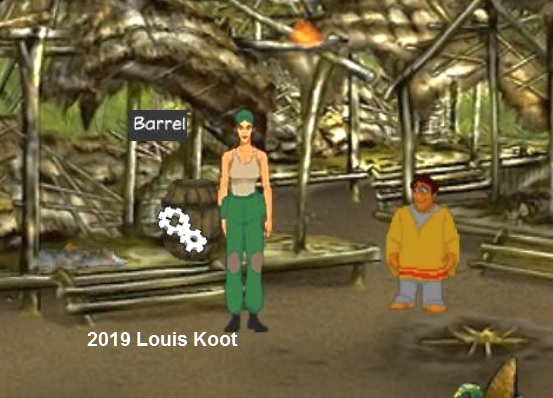
...... Nico tries to push the bar over but she is not strong enough for it. Talk to Titipoco and use the Barrel topic and .......

Nico and Titipoco now push the barrel over and the water cools down the Coyote Stone. So pick up the Coyote Stone that is now in front of the hut.
Titipoco then walks to Nico and he points to the left again. Now walk to the left and then click, on the left of your screen, the Exit and ...Nico and Titipoco are then on the side of the pyramid.
Pyramid part 1: Nico:
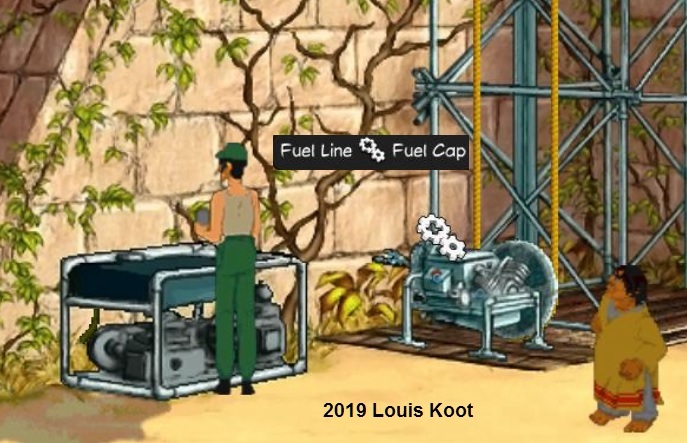
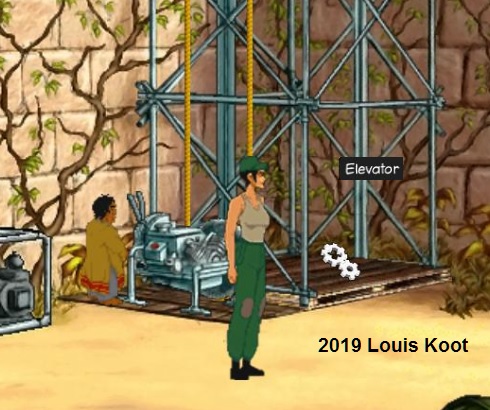
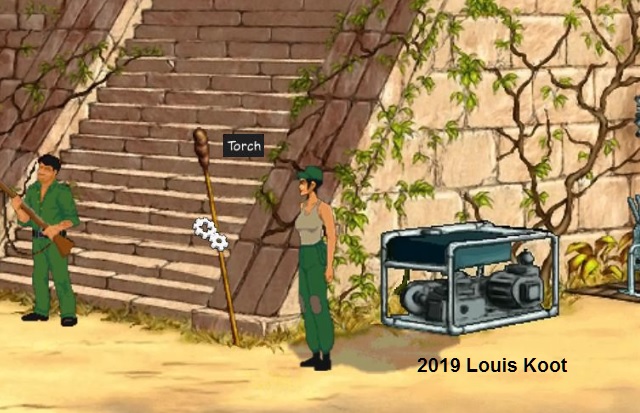
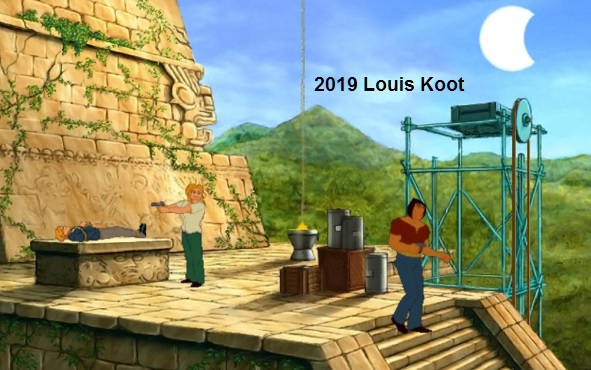
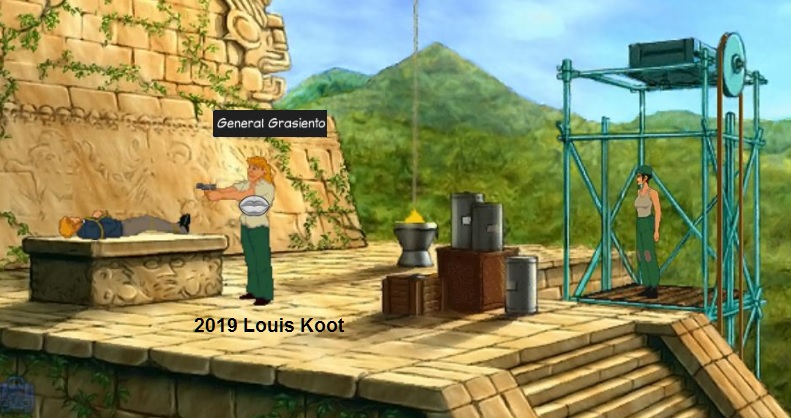
Nico and Titiponco are at the base of the pyramid . Look at everything again. There is a high platform here with a lift platform. and next to the platform is the Lift Engine. On the machine you will find a Red Button, a Fuel Cap and a Lever. A rope lies on the ground in front of the lift platform. Further to the left is the large Generator and on the front of this generator you will find a Cylinder. On the side of the generator you will find the Fuel Line. Look at, so right-click, all these things and make sure Nico tells you about all things. When you have examined everything, you walk to the left and ........... There are guards at the staircase of the pyramid and the middle guy notices Nico and calls her. Your call options appear.
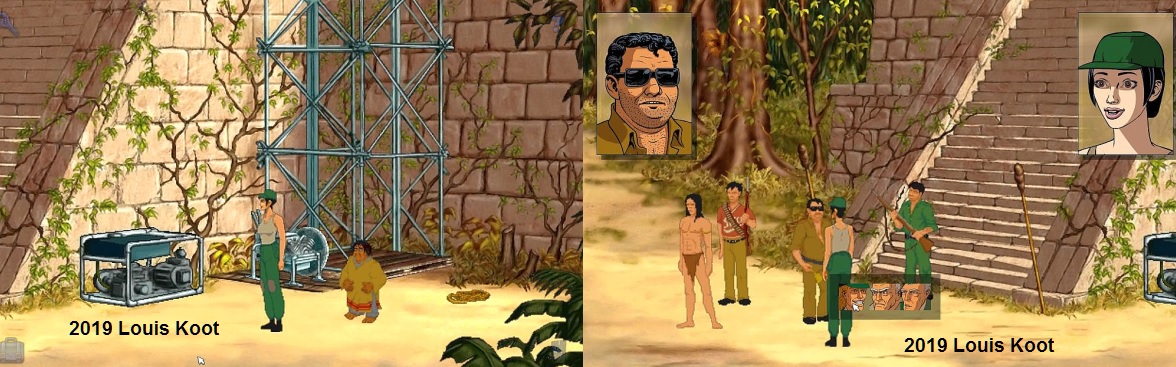
Use ONLY the "General" topic, which is the leftmost topic. Nico says she is the "girlfriend" of the general. Also note the two torches that stand next to the stairs.
Then walk back to the left and pick up that rope that is lying on the ground behind Titipoco. Nico holds the rope in her hands. Click on Titipoco and ....
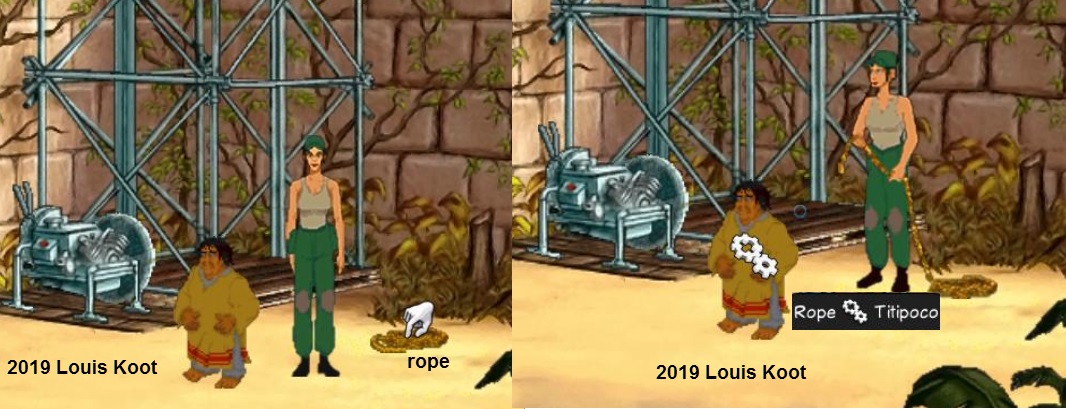
Nico asks Titipoco to climb up with the rope and then throw the rope down again. Titi does this and comes back down again.

Click on the Rope and ...... Nico grabs the rope again ..... Now click on the elevator Engine with the rope and ......
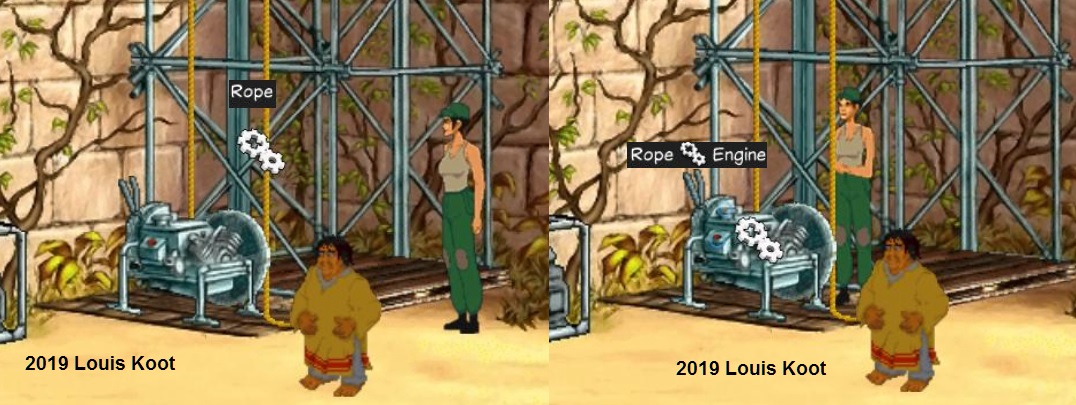
Nico ties the rope to the drive wheel of the engine
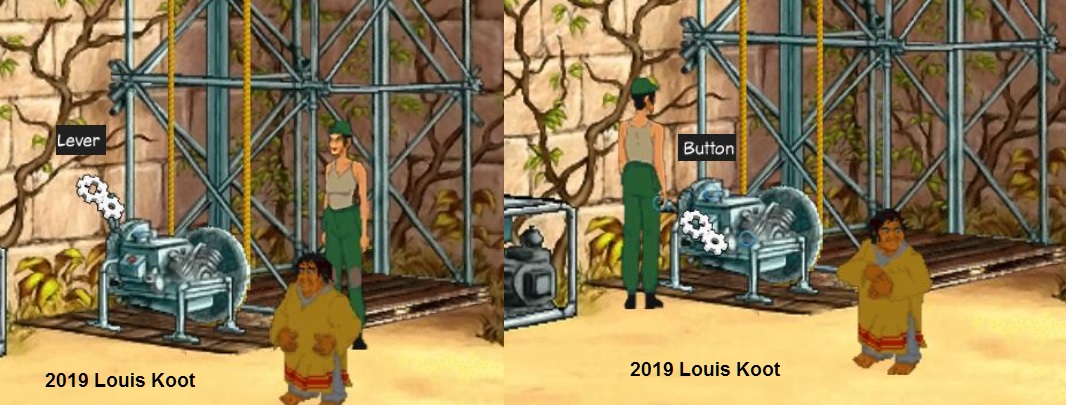
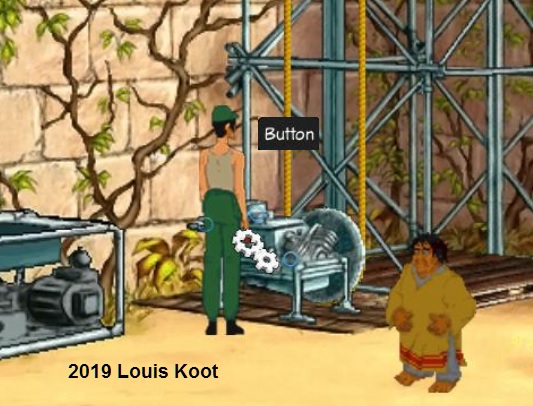
Now click on the Lever of the Engine and ...... Nico pulls the Lever down ..... Click on the Red Button and .......
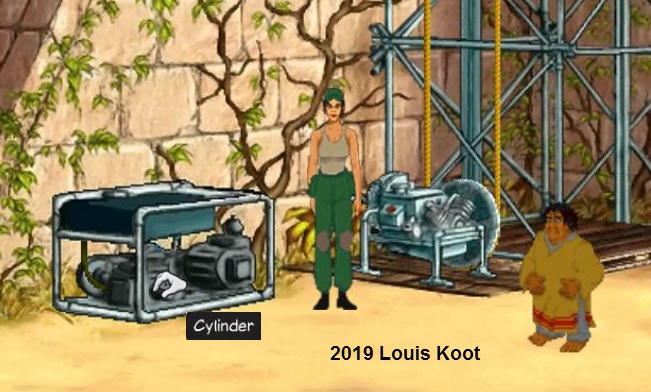
Nothing happens. The elevator Engine has no gasoline. Now take the Cylinder from the Generator.
Then take the Dagger from your inventory and click on the Fuel Line and .......
Nico cuts through the Fuel Hose and petrol is now flowing out. Take the cylinder from your inventory and click it on the Fuel Line and .....
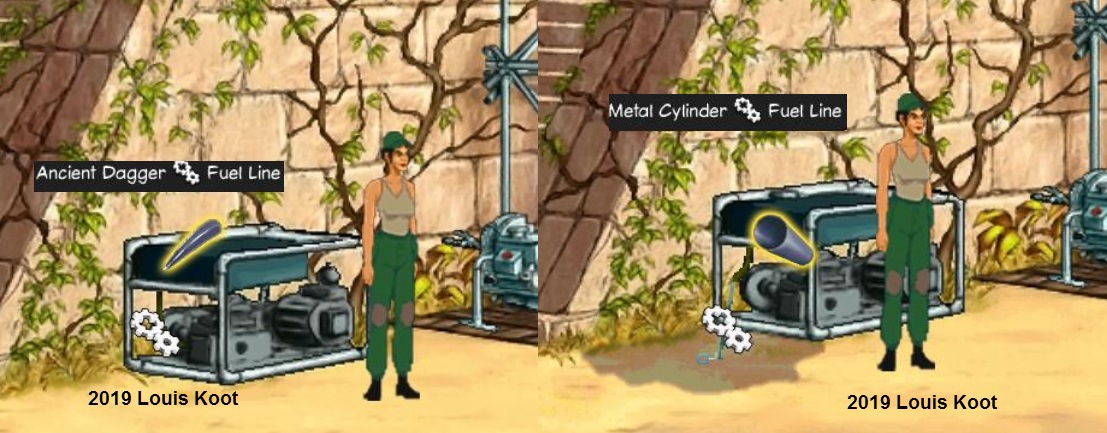
Nico fills the cylinder with petrol and then holds the cylinder.
Now click with the filled Cylinder on the Fuel Cap of the Engine (above the red button) and ...
 \
\
... Nico fills the Lift Machine with petrol. The lever of the elevator machine is still down, so only click on the red button again and ...........
The platform goes up. Click on the lever again to bring the platform it back down again.
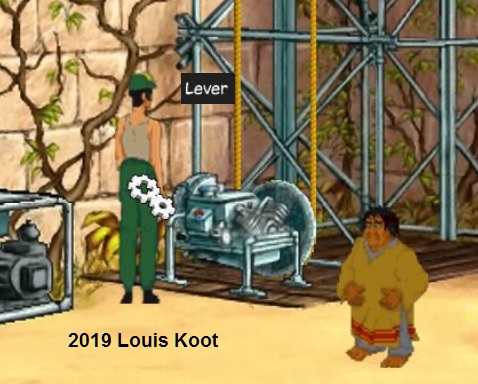
Now go talk to Titipoco and use the Lever topic and ......
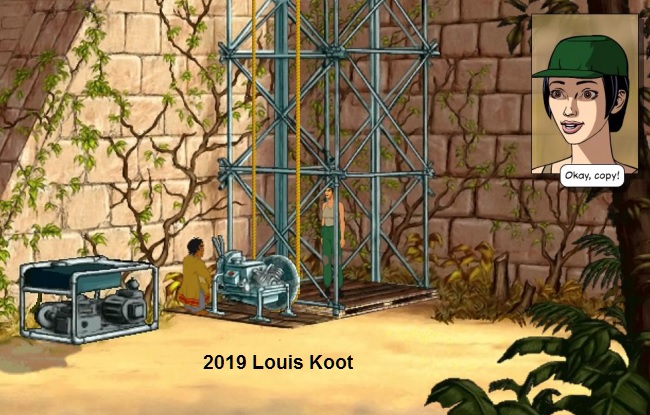
Nico explains to Titipoco what he has to do and she also shows this to him. When Nico is done with her explanation link you click on the lift platform and .....
Nico is on the lift platform. Click on Titipoco and ...... Copy ..... and Nico now goes up with the elevator.
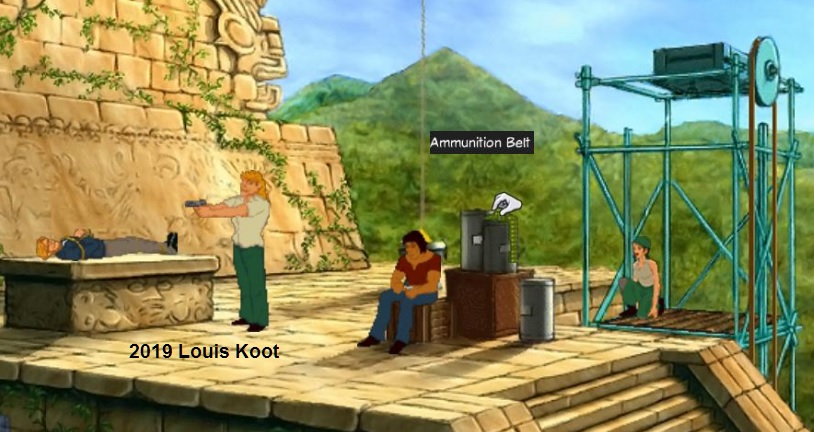
We are then on top of the pyramid and we are George, handcuffed, lying on a stone altar. George is being held in custody by Raoul, the General. Pablo is sitting on a box. When all the talk is over you move the cursor over those crates behind Pablo. You will find an Ammunition Belt on it. Take the Ammunition Belt.
Nico takes the Ammunition Belt and goes back to the elevator. Now find the white Hand and click it and .....
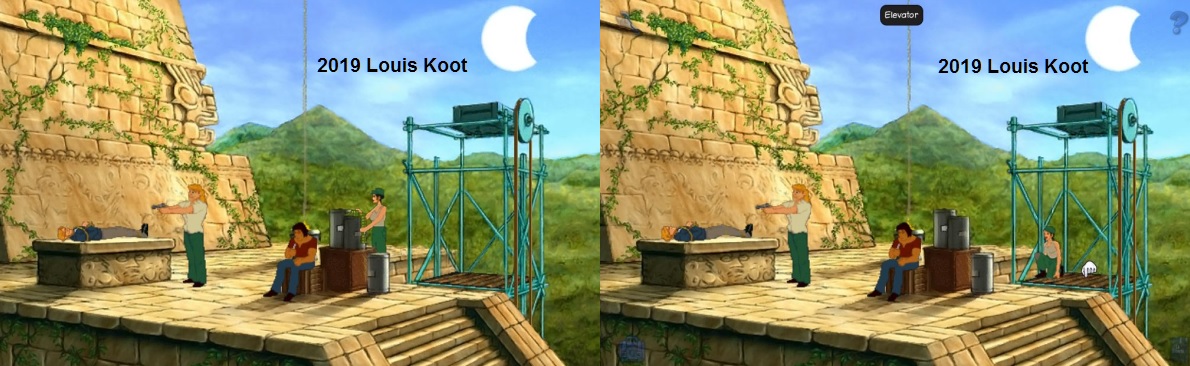
Titipoco brings Nico back down. Now walk left again, until just past the generator...Make sure you still see Titipoco.
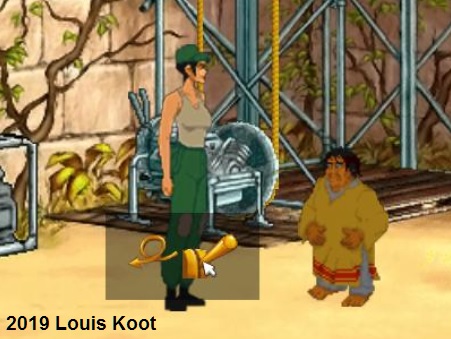
You will then see that first Torch. Take the Torch.
Nico holds the Torch. Click on Titipoco and ........
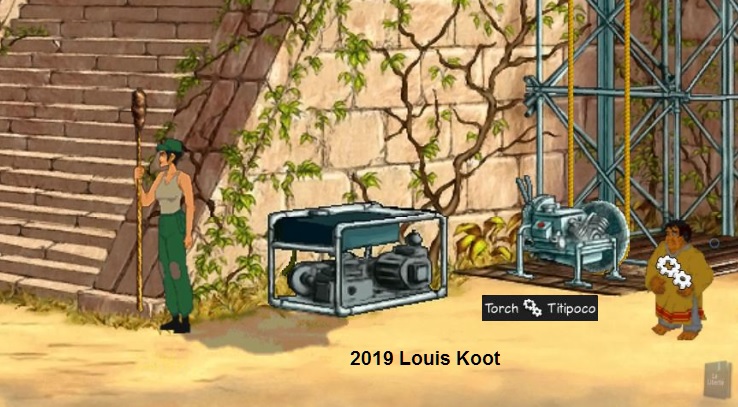
Nico walks with the Torch to Titipoco and she asks if he still has that lighter pistol and Titipoco light up the torch.
Nico throws the burning torch on the gasoline plate at the generator and there is a fire.
After the guards are done talking take the Ammunition Belt from your inventory and throw it into the fire and ....
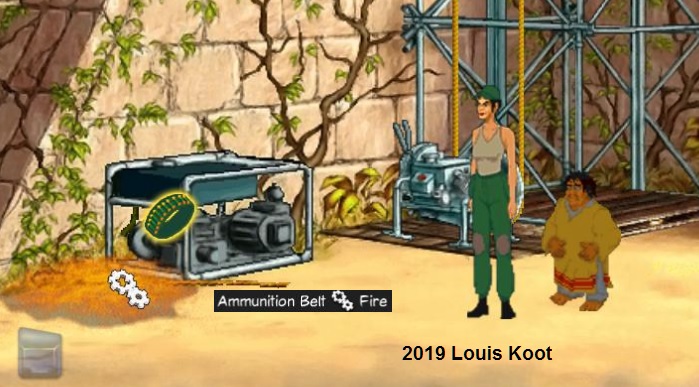
Panic............Everyone runs away and.......
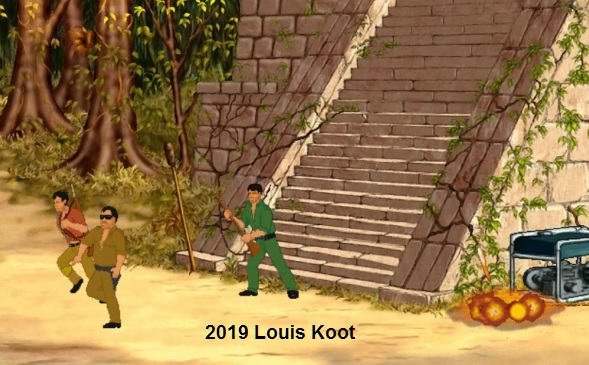
.......... and Pablo descends to investigate the situation. Nico has meanwhile gone up again with the elevator.
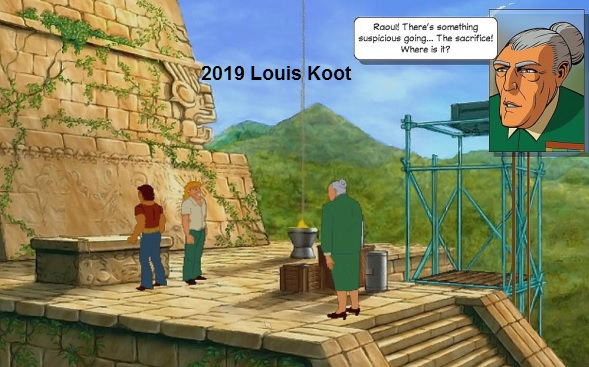
Click Raoul. Nico walks to Raoul and scares him and then talks to him.
Nico tries to convince Raoul that his mother is disturbed. Then Nico calls Titipoco to keep Raoul under attack.
Take the dagger from your inventory and click on George and...........
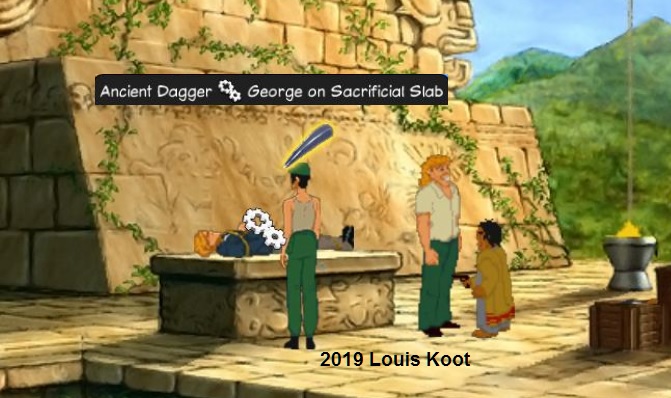
Nico liberates George. George, Nico and Titipoco are now entering the Pyramid.
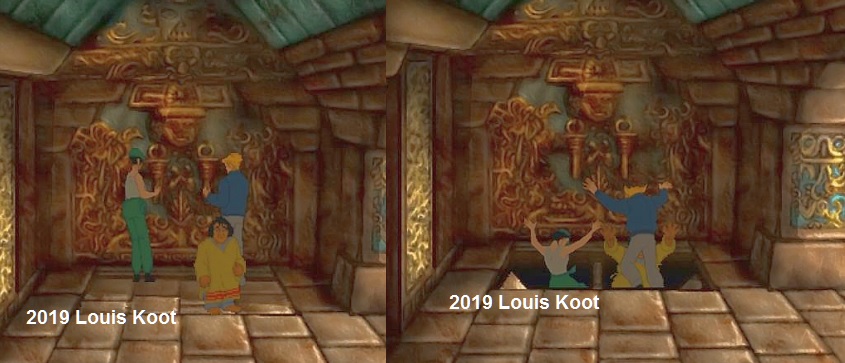
Pyramid: part 2:
Nico
It seems to be a "Dead End". A conversation between George and Nico follows in witch Nico returns the Coyote Stone to George.
Take a look around and you will notice 2 Levers on the wall. Click on the right lever. The lever is a bit heavy. Talk to George and ask him for help with the lever.
George does not understand. Click the Left Lever.....Nico tries that lever......Ask George for help again.
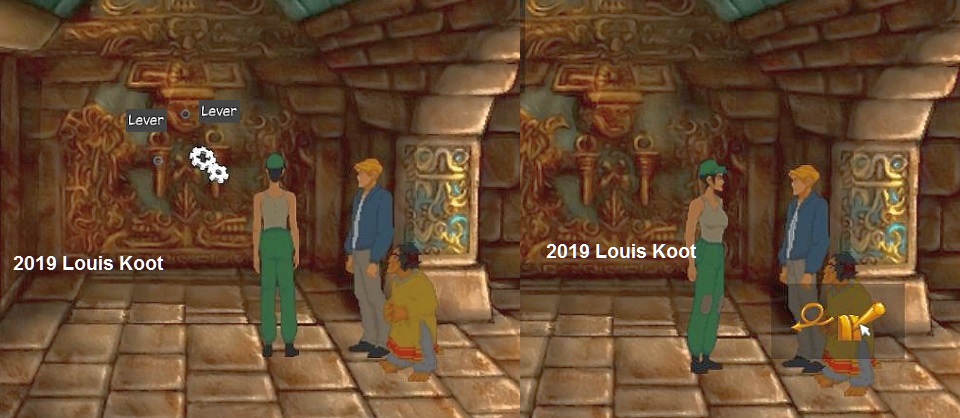
Nico now explains that the two levers must be operated at the same time and that she can not do that on her own.
George now helps Nico with the levers and ....... All three are then disappears through the floor
We see a scene with the Generalissimo and his mother, outside on the pyramid.
Pyramid: Part 3: Nico:
The "Mayan Wheels Machine"
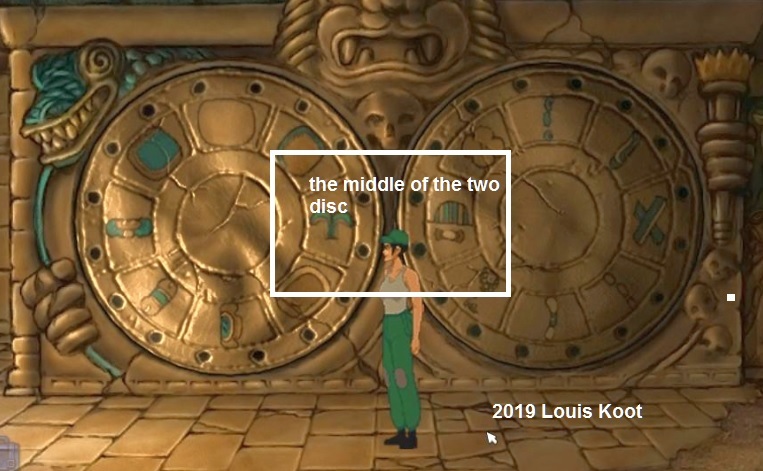
Nico has landed in the "Mayan Disk Machine" room. The machine consists of two large wheels / Discs . On each wheel you see symbols. You can click on both wheels.
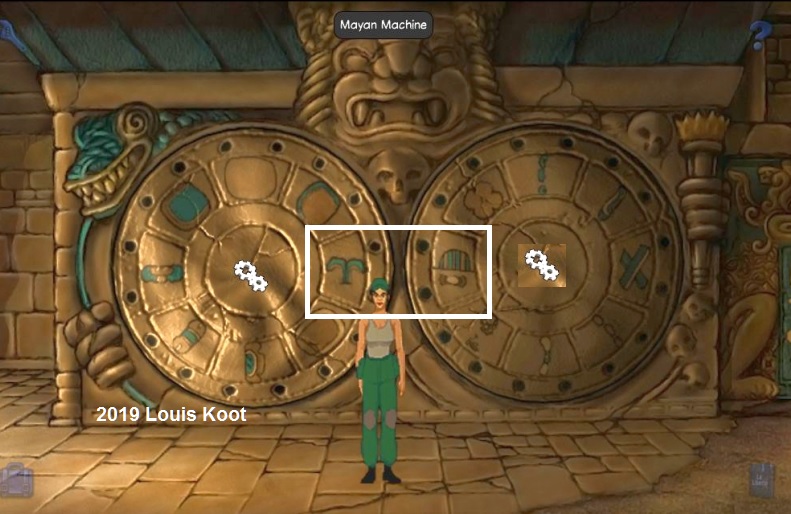
If you click on a wheel while Nico stand on the left side of a wheel then Nico will turn the wheel 1 turn clockwise.
If you click on a wheel while Nico stand on the right side of a wheel then Nico turns the wheel 1 turn counter clockwise
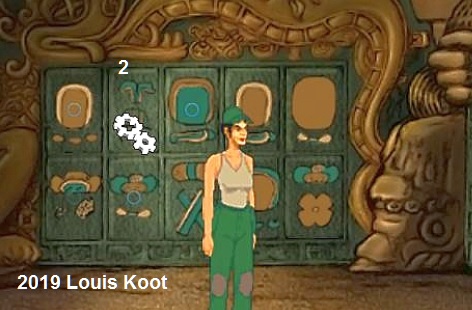
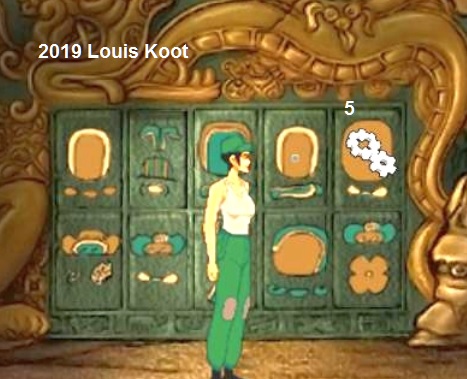
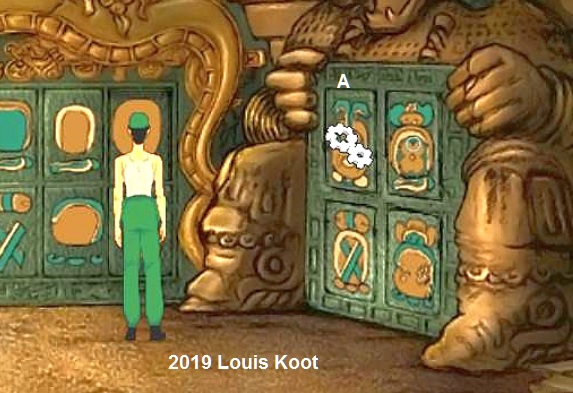
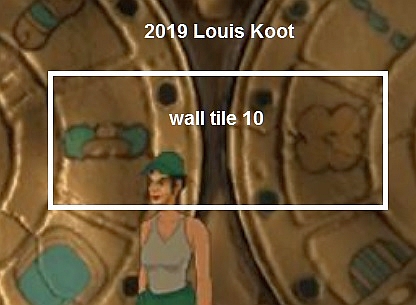
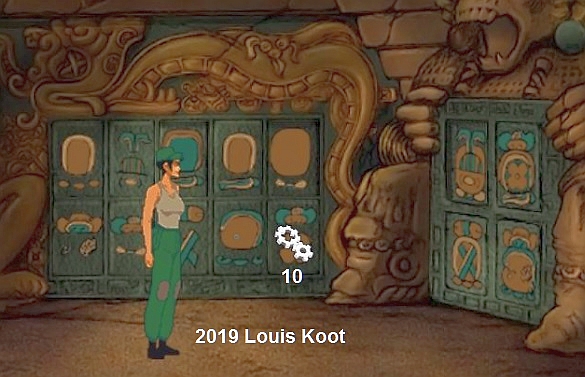
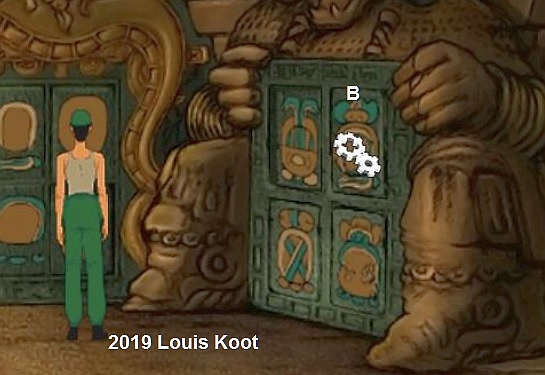
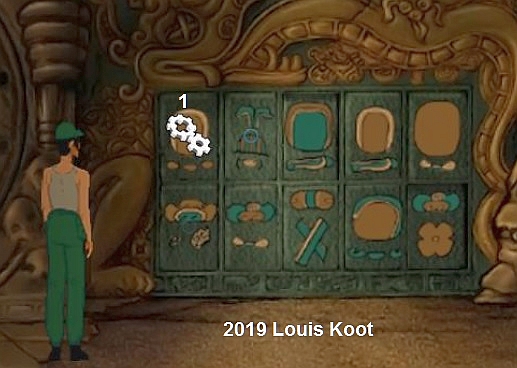
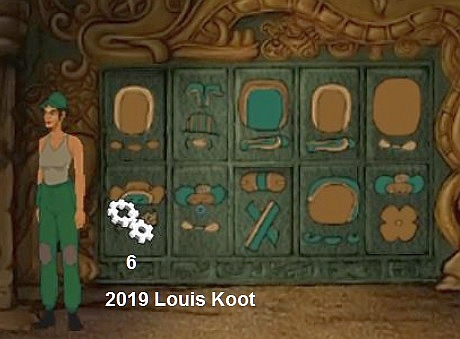
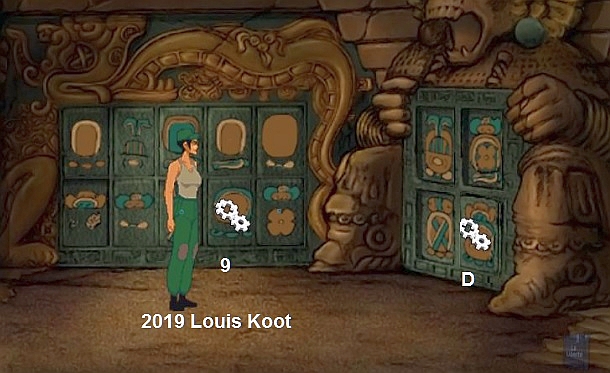
Continue to the right. Next to the Wheels you see 10 tiles in the wall in 2 layers of 5 tiles each. Each tile has a specific image. Walk slightly to the right. You see a large Monkey statue and the Monkey has 4 tiles These 4 tiles also contain images. Name the 10 tiles on wall the WALL TILES and number them, from top left to bottom right, as 1 to 10. Name the 4 tiles of the Monkey the MONKEY TILES and number them, from top left to bottom right, as A, B, C, D
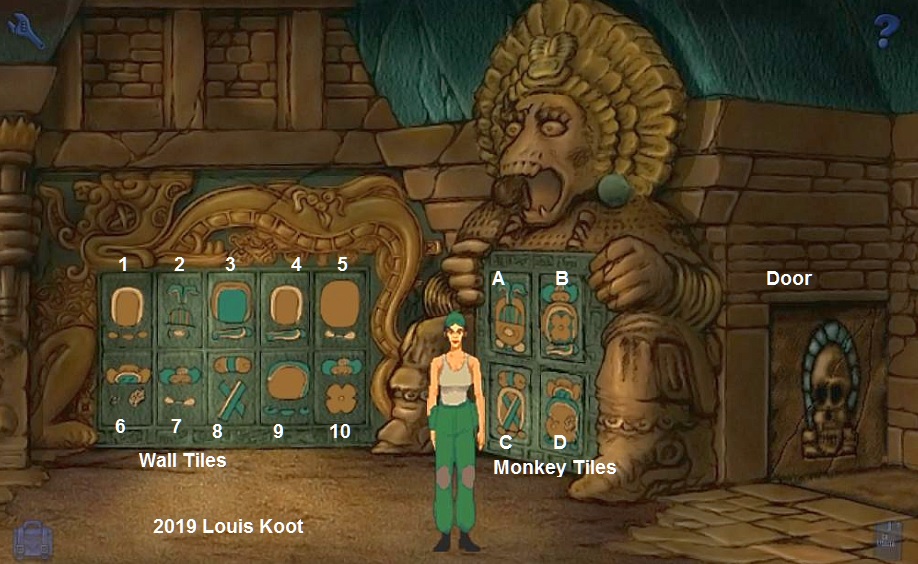
Behind the Monkey is the Exit from this room, but that Exit does not open now.
|
If you now compare the images on the 4 Monkey Tiles t A, B, C, D, with the images on the 10 Wall Tiles, you will discover that an image on each of the 4 Monkey Tiles is composed of the images of 2 Wall tiles. Study all tiles. You will come at the following conclusion:
The intention is that Nico will be able to press the 4 Monkey Tiles. To be able to do this Nico has to set the images of these 4 tiles on the two big wheels. This must be done piece by piece. For each of these 4 monkey tiles, Nico has to set 2 wall tiles on the two wheels. Nico will turn the wheels when you click in the center of a wheel. Nico must set up the 2 Images of a Wall Tile on the 2 wheels where the wheels meet in the middle
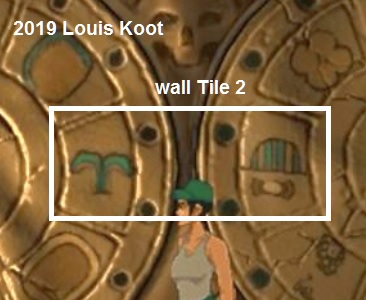
If a Wall Tile image is set on the wheels, where the 2 wheels meet in the middle, Nico then has to press the corresponding tile on the large wall. If Nico has pressed the second tile on the WALL then she can press the corresponding Monkey Tile. When all 4 Monkey Tiles have been pressed, the EXIT opens at the right corner. STEP 1: Monkey Tile A: Monkey Tile A consists of the wall tiles 2 and 5. Go to the 2 Wheels. Now set the image of Wall Tile 2 on the Two Wheels first,
Walk back to the wall tiles and left click on Wall Tile 2 and ......... Nico pushes this tile
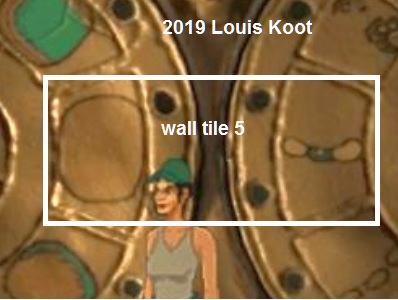
Go back to the wheels and now set the image of Wall tile 5 on the Wheels
Walk back to the wall tiles and left click on Wall Tile 5.
Nico presses wall tile 5 and ......... You will now hear "click". Now click on Monkey Tile A and
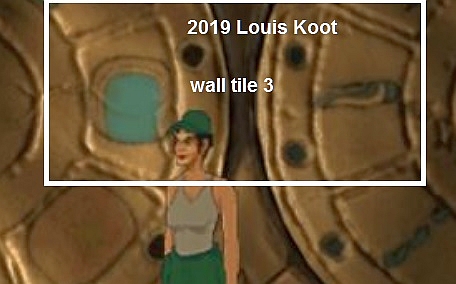
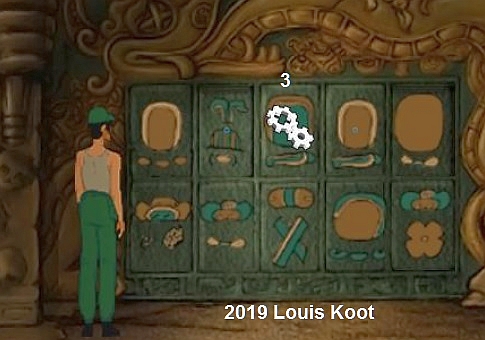
........ Nico presses Monkey Tile A. STEP 2: Monkey Tile B: Monkey Tile B consists of the Wall Tiles 3 and 10: First set the image of Wall tile 3 on the Wheels.
Walk back to the Wall tiles and click Wall tile 3.
Set the image of Wall tile 10 on the Wheels.
Walk back to the wall tiles and left click on Wall Tile 10. Nico presses wall tile 10 and you hear "click" again.
Left click on Monkey Tile B and ..... Nico presses Monkey Tile B.
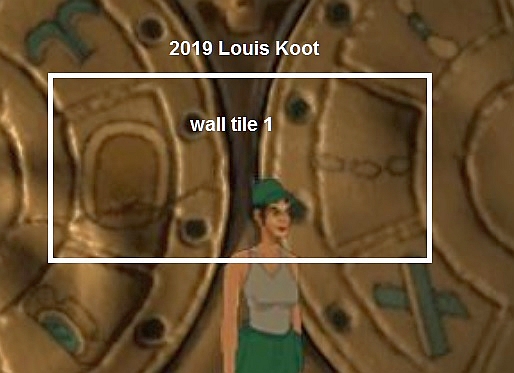
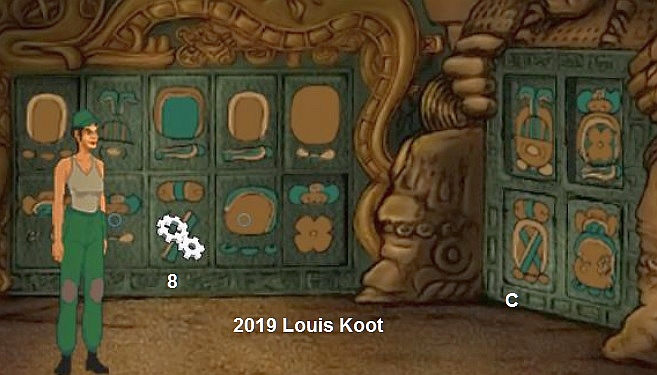
STEP 3: Monkey Tile C: Monkey Tile C consists of the Wall Tiles 1 and 8 Set the image of Wall Tile 1 on the Wheels.
Then go back to the Wall tiles and press Wall Tile 1
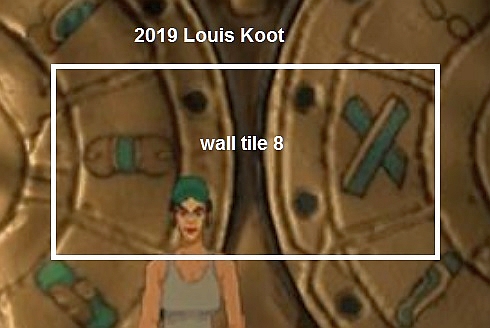
On the Wheels set the image of Wall Tile 8.
Then go back to the Wall tiles and press Wall Tile 8. You hear "Click" again. Now press Monkey Tile C
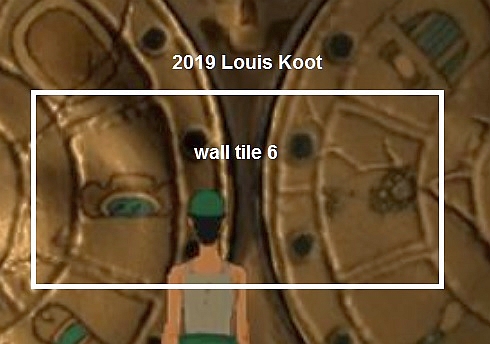
STEP 4: Monkey Tile D: Monkey Tile D consists of the Wall tiles 6 and ": Set the image of Wall Tile 6 on the Wheels.
Then press Wall Tile 6.
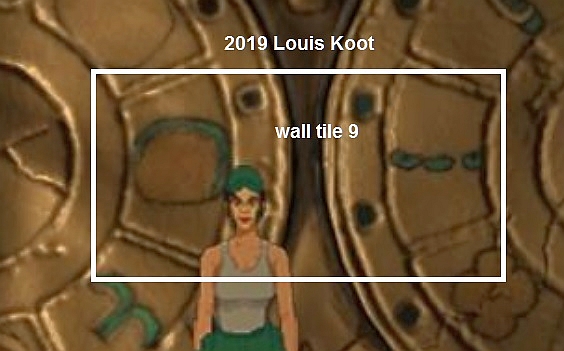
Set the image of Wall Tile 9 on the Wheels.
Then press Wall Tile 9. You hear "Click" again. Press Monkey Tile D and ...
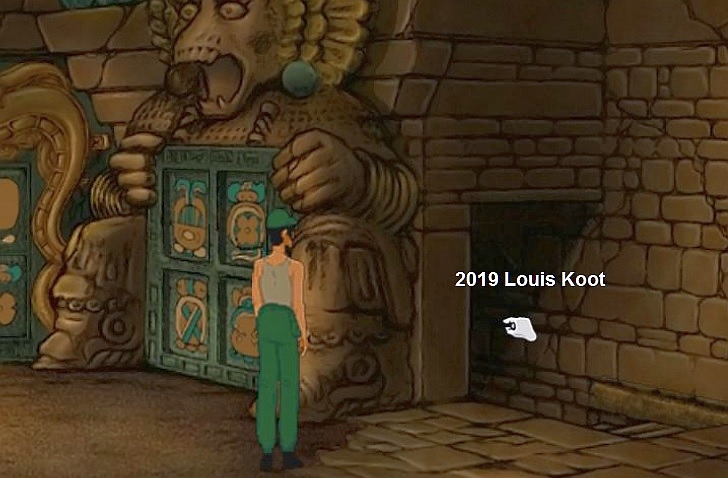
.. When you have done everything right now the door, right in the corner, will now open.
Go through the now opened EXIT and ...... we will continue with: |
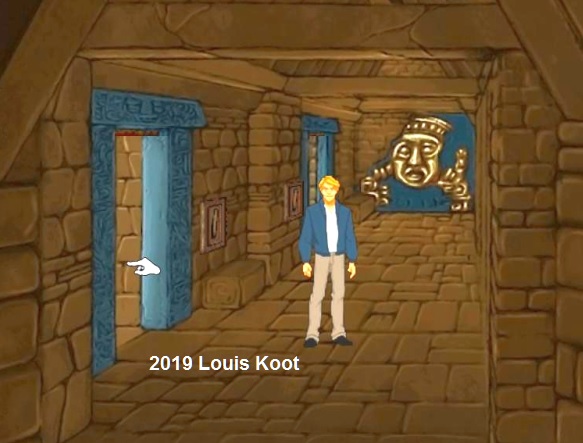
Pyramid: Part 4: George.
George and Titipoco have ended up in a hallway and this seems again to be a "Dead End".
Titipoco sits down on a bench. A torch sticks at the wall. Take the torch of the wall and then click on Titipoco
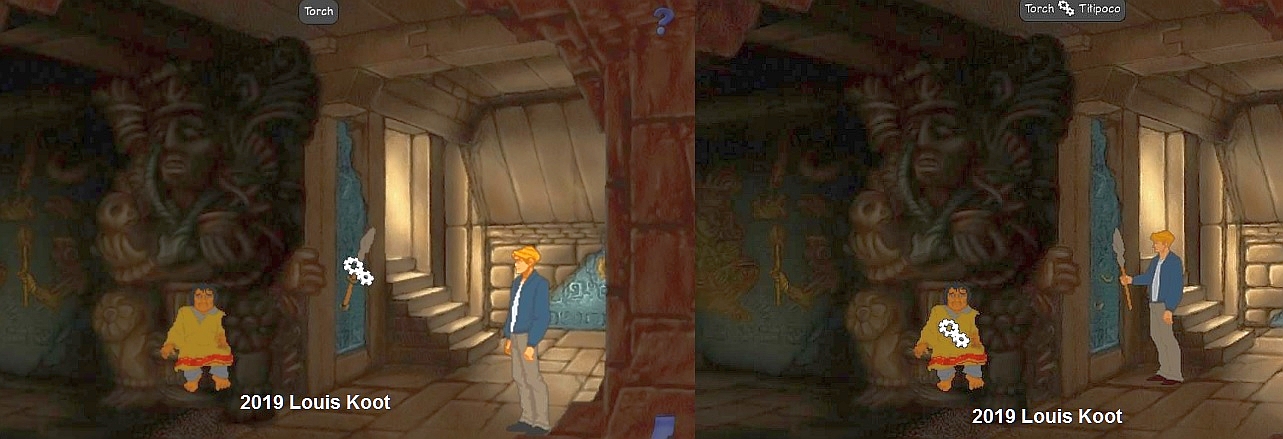
Ask Titipoco to light the torch with its lighter gun....Titipoco will light up the torch.
To the left of George is a lever in the wall. The lever has the shape of a torch. Click on the lever and ....
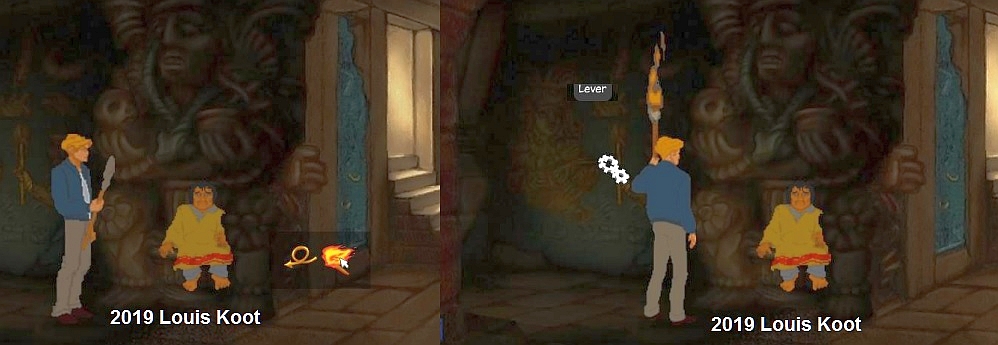
Nothing seems to happen for a moment, but then Tipiponco disappears into the wall and George sinks down the floor and ........
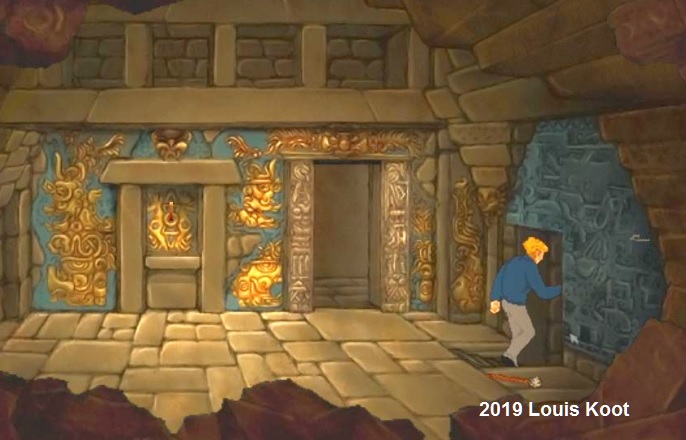
George lands uneasily on the floor of a next room. Take the burning torch from the floor.
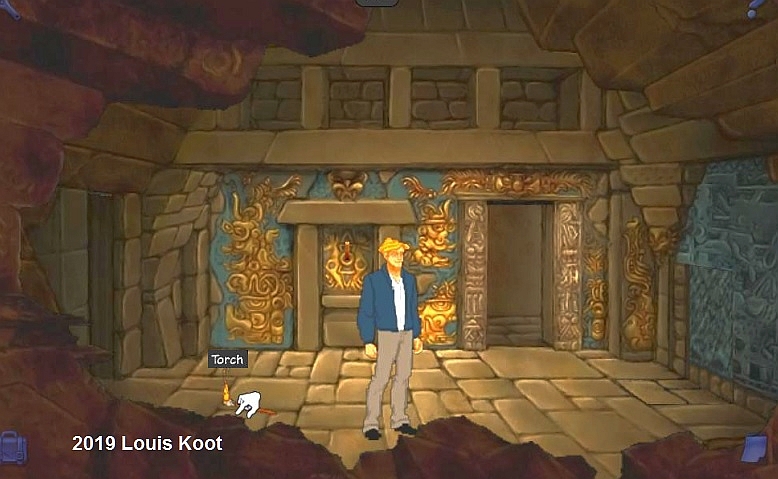
Move the screen slightly to the right with your mouse. You see a torch on the wall. Light up the torch hanging on the wall with your burning torch.
In this 1st room are two exits and a Niche. A Lever is placed in the Niche. Click the Lever that's in the Niche and.....
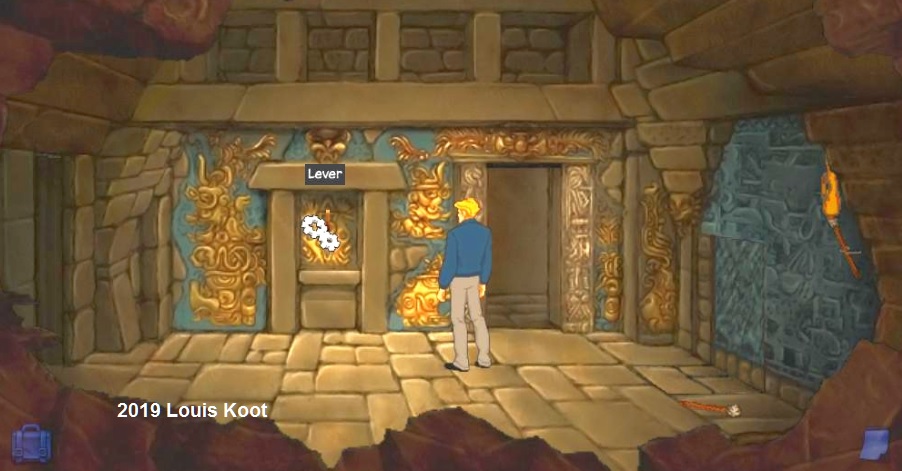
....The right exit door closes. Go through the left exit into the next room
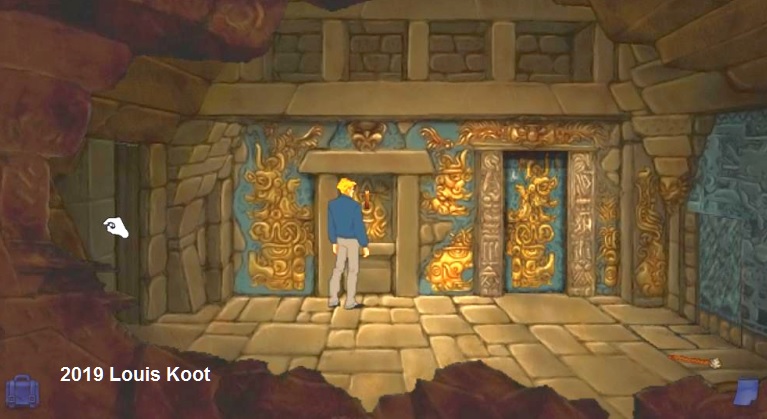
In the second room there is also an exit to the hallway and on the left and right of that exit there is another lever.
That exit is closed now. Click on the Lever on the right side of the door.
The door to the hallway goes open now.. Click on the lever at the left side of the door and........
The door to the 1st room closes now but you see that the hallway door in the first room goes open again
So go into the hallway and then back into the first room and ........
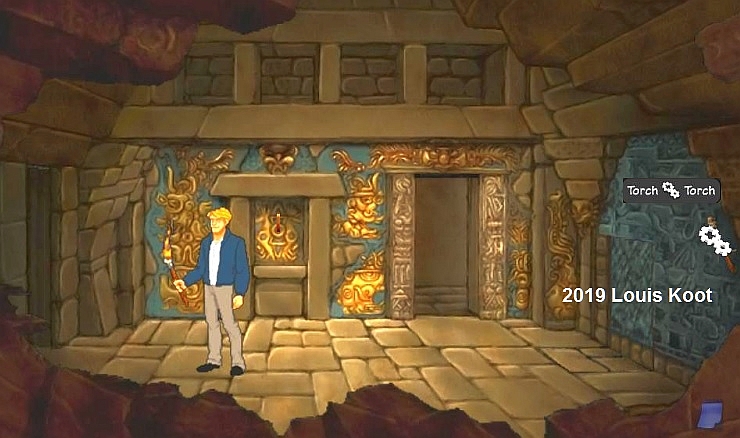
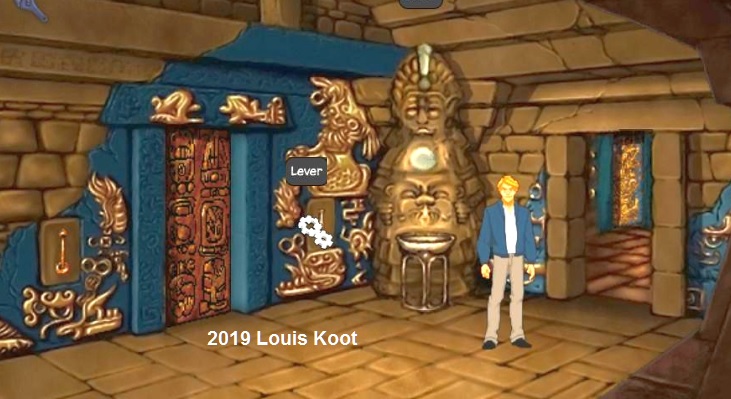
Now look, in the wall on the right a secret door has now opened but first take the Burning Torch from the wall.

Or if you had not lit the wall torch, do it now first and then grab the burning torch off the wall and .......
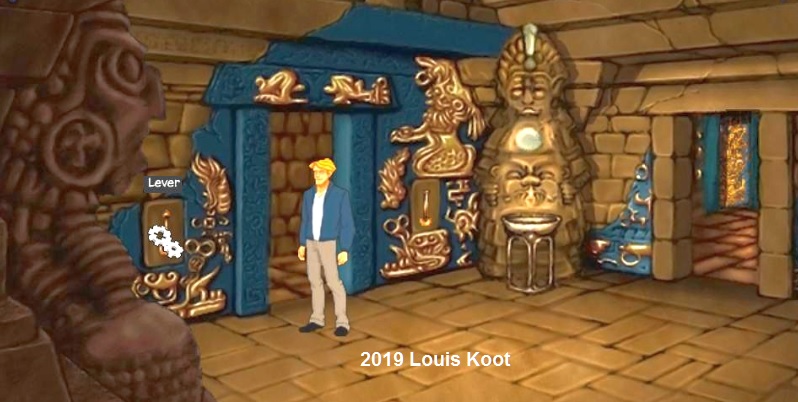
George goes through the Secret Door and down the stone stairs and then he stands at the bottom of the stone stairs.
Behind George is a lever on the wall. Click on the Lever and .........
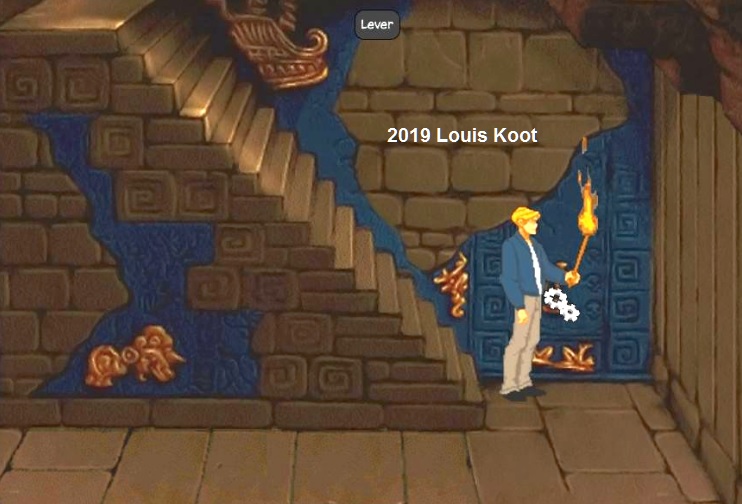
.... the floor slides open and a second staircase is visible. Click that second staircase and.......

...... George goes further down and .... Now the game takes over, you don't have to do anything anymore...just sit back to enjoy the....
ENDING ...........
George automatically enters the Temple Cave through the door on the right and

.....Well watch the END SCENES.....I shall not spoil this for you with screenshots.
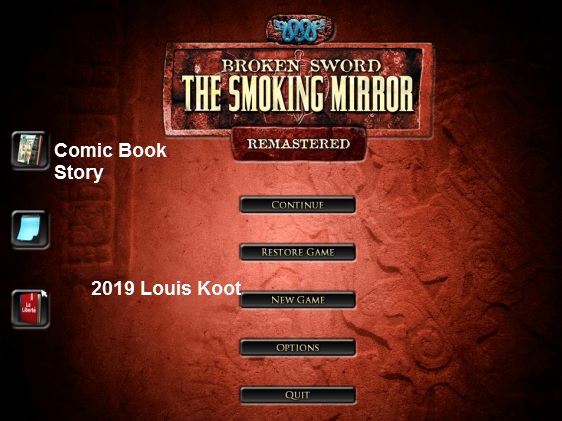
After the credits you'll return on the main menu screen and there you can now read the COMIC BOOK of the first chapters of this Remastered Broken Sword 2 The Smoking Mirror game
2019: Walkthrough by: Louis Koot