2019: walkthrough by: Louis Koot
If you have found this walkthrough via google search or via another site then you have probably not visited my site.
A lot more very detailed game walkthroughs can be found on my site at: www.pcgameswalkthroughs.nl
Broken Sword 2.5: The Return of the Templars is a Fan made game and it's a Freeware game, witch means you can get is for free. The story of the game plays a few years after Broken Sword 2 and continues on the storyline of Broken Sword 1 The Shadow of the Templars
The game is again in 2D, not in 3D as Broken Sword 4 was, and is completely controlled with the mouse. So it's again an "old-fashioned Point and Click" Adventure game. The game is suitable for Windows XP and Windows Vista and Windows 7. You can download the game completely free of charge, and legally. The game works in exactly the same way as Broken Sword 1 and 2. So you have to talk a lot and in these conversations you must ask the right questions. It is therefore wise to always fully exhaust all conversation topics in conversations, in order not to run the risk of skipping an important question or comment. There is also a truck full of stuff to find and to use somewhere else in the game.
When you start the game you will enter the start menu.
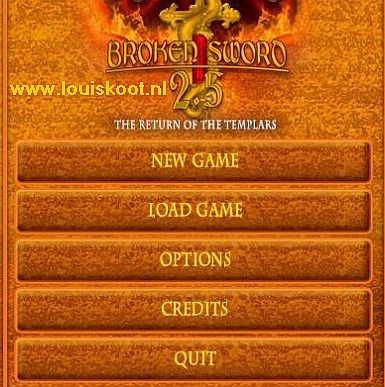
On this screen you can start a New Game, load a previously created Saved Game, go to the Options or Quit the game.
In the Options of the game you can set the sound volume and also set the Subtitles.
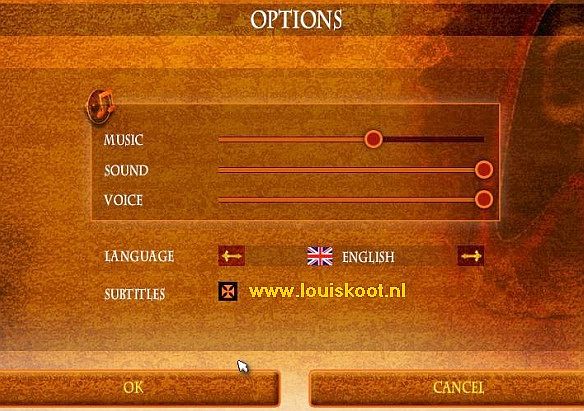
Originally the voice actors were German, but the makers have a Patch available so that you can also play the game in English, with English voice actors. All further texts in the game, such as documents, letters and the Object names, are also in English. In the game you reach the menu bar by moving your mouse cursor to the top black border. A menu bar will pop up where you can choose Exit, Save, Load and Options.

To save, click on the Save button. You will then see the Save Game screen. You can save unlimited and you do that by clicking in one of the screens.
Prologue:
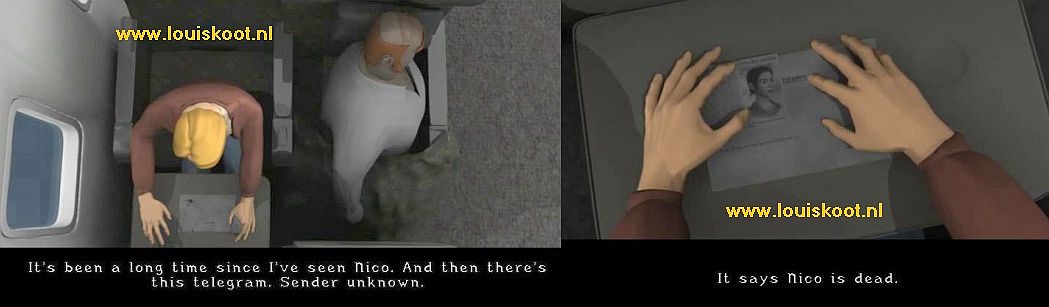
George Stobbard is on a plane, on route from Madrid to Paris. It has been several years since his adventure in Broken Sword 2 The Smoking Mirror. George has not seen Nicole Collard for several years. The reason why George is now on his way to Paris is that he has received a telegram telling that Nicole (Nico for friends) has died. However, the telegram was sent anonymously.
It is not such a pleasant flight for our hero George but well ..... everything comes to an end, so also this flight.
The plane has a successful "touch down" at Orly, one of the airports in Paris.
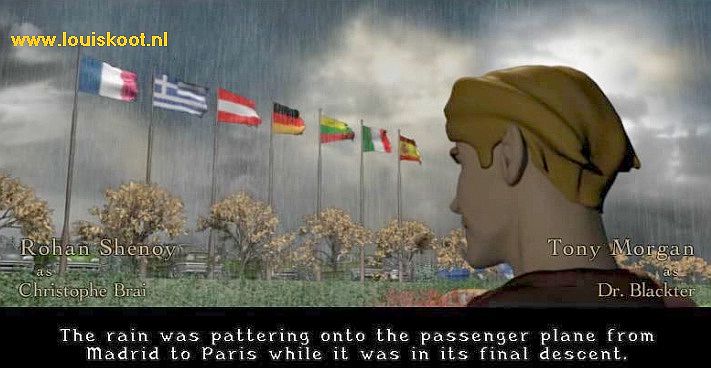
It is crazy weather in the city of lights and this does not make George's mood any better. George takes a taxi to Rue Jarry, the street where Nico's flat is, and he gives himself some courage. Then he goes inside and we end up in Nico's living room and.......... Nico appears not to be dead at all. On the contrary ... "She's A life and kicking".
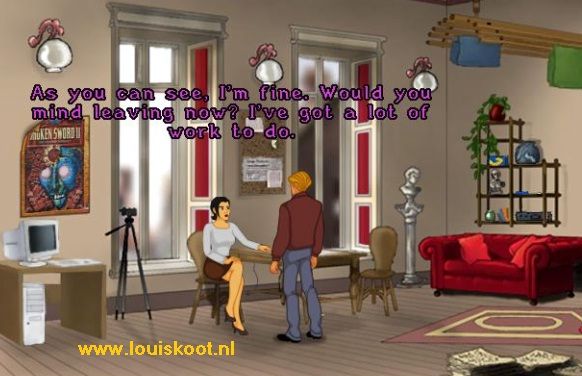
However, Nico is also not very friendly to our pathetic hero. A short conversation follows, in which Nico claims not to know who sent George the telegram, and then she kicks George out of her apartment, saying that she is busy with work. George is then in the hallway near the elevator.
Chapter 1: Paris:
As George Stobbard:
Rue Jarry: Nico's flat:
Of course George is relieved that Nico is not dead. but he is also puzzled as to why Nico wasn't happy to see him again. George can't take the elevator down, so click on the stairs with the "Pointing Hand" and ...... George walks towards the stairs to go down but ... We then hear the phone ring in Nico's apartment and we hear Nico ask who's calling.
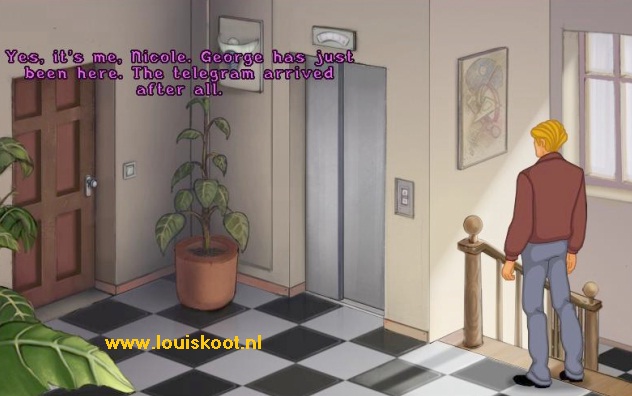
Nico tells the person who is calling that George has come by and that he has received the telegram.
Click on the stairs again and .... George walks down and then stands outside on the street. It seems as if time has stood still in Paris. The old flower woman is still knitting at her flower stall, in front of Nico's apartment building. George is in a great deal of confusion about Nico's behavior and he decides to talk to the flower lady, who has helped him well before. So click with your mouth cursor on the flower woman to talk to her. Your conversation options will then appear in the lower black border of your screen. Click on an option to discuss this with the flower woman. Use all options and do so just as often until an option has disappeared or until the flower lady repeats herself
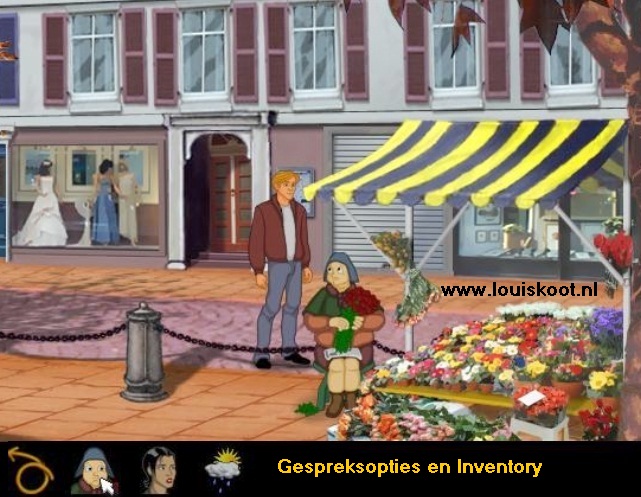
The flower woman tells that Nico has been out every evening in the company of a man, and that man was not Andre Lobineau. But suddenly Nico's nights out has ended and the flower woman has not seen Nico come out her apartment for a few days now. The flower lady gives George a newspaper and she tells about the Park Rouge and she advises George to visit the ice cream parlor that can be found in that park.
When you have asked everything that you could ask for, you close the conversation bar via the arrow. Then move your cursor to the lower black border again. Now open your Inventory and here you will find the Newspaper that George has just received from the flower lady. Right click on the newspaper. George says that the newspaper has been folded twice and that an article is catching his attention. The article states that Café de la Chandelle Verte opens its doors for the first time, after the bombing in the beginning of Broken Sword 1. Right-click for the second time on the newspaper and .... George finds an envelope in the newspaper which says "For the right moment". Right click on the Envelope and ... George takes out 3 euros, so 3 coins of 1 euro each. Click with the "Pointing hand cursor" in the middle left of your screen to leave Nico's street and .... You end up on the Paris Map.
The map:
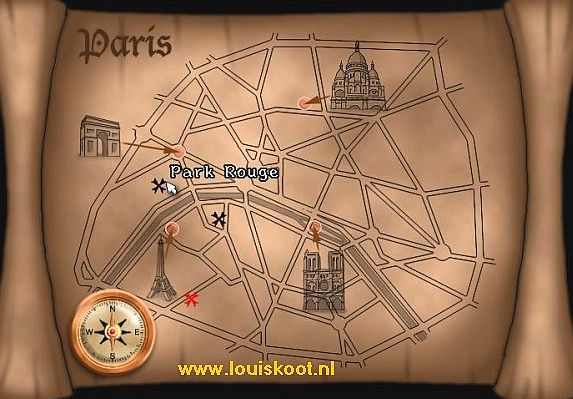
Via the map you travel quickly and safely to the various locations in Paris. However, a location must first become available on the map. Locations become available if you have heard about it in conversations or if you have been there a first time. You can see the available locations as black / red stars on the map. The red asterisk is where you are at the moment. The black asterisks are the locations you can go to. There are already 3 locations available and these are: Rue Jarry, where Nico's flat is, the Café de la Chandelle Verte and the Park Rouge. Now go to:
Park Rouge:
Well ... the flower lady was right ... there is an ice cream truck in the park. There are also 2 benches and you see a fountain. Continue to the ice cream truck. On top of the ice cream truck is a huge ice cream cone, which of course serves as a sign. Click with your "gear cursor" on the window of the ice cream truck. George knocks on the window and the ice cream man opens the window.
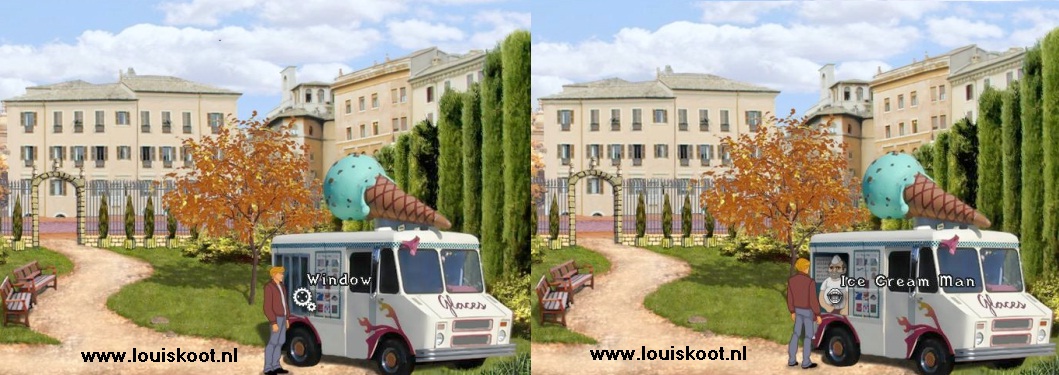
Talk to the ice cream man and ask for an ice cream. George orders an ice cream and pays with the 3 euros. George then walks to the 2 benches and he licks his ice cream for a moment .... yeah ... the ice cream tastes like sweat socks. Click with your hand in the gate of the park to return to the map. Travel now to:
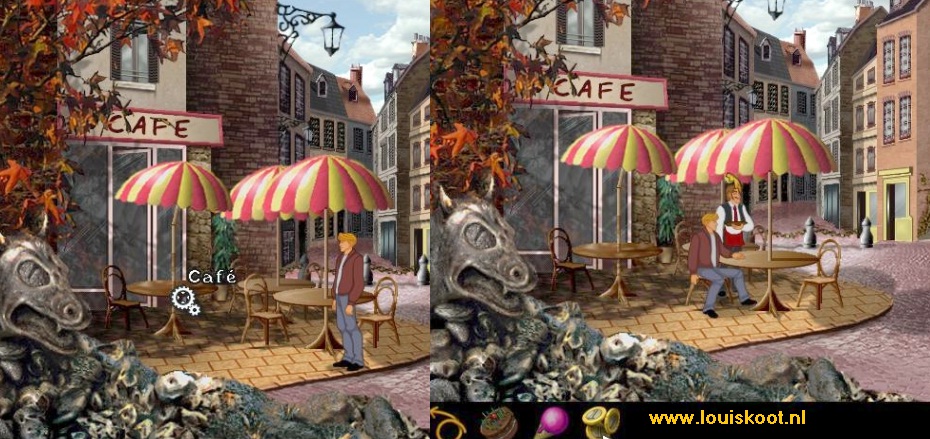
Café de la Chandelle Verte:
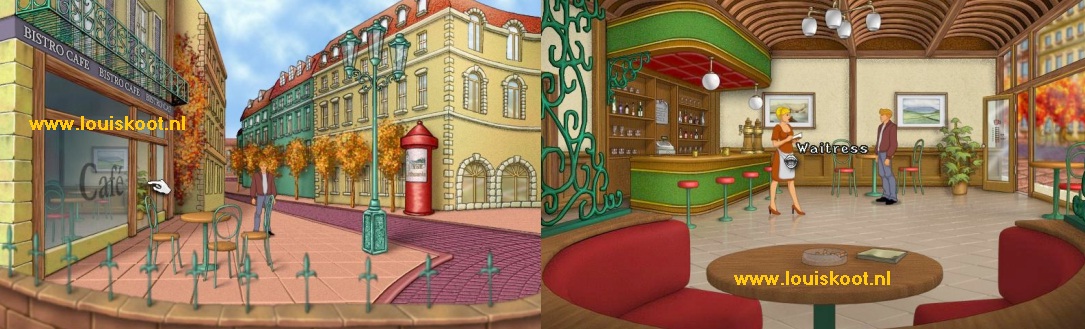
Enter the cafe and talk with the pretty waitress. A conversation about the good old days follows. Close the conversation. George wants to sit down, so click with the gear cursor on the left chair, which is behind George at the round table and ..... George sits down and .... André Lobineau comes in and takes a seat at George's at the table.
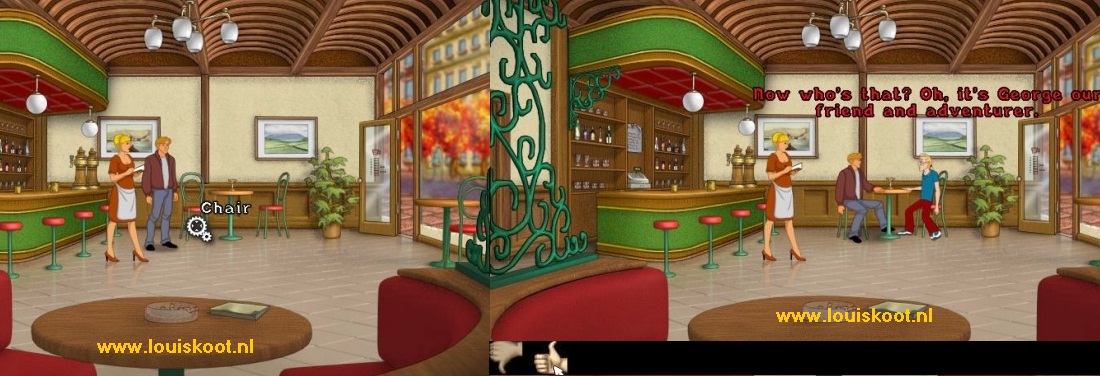
André and George have never really become friends, because of Nico. André asks if Nico is the reason that George is back in Paris. You now have to answer André via the 2 thumbs you get in the bottom left of your screen. Thumb down is no and thumb up is yes. Why lie to André, so say yes by clicking the thumb up. André then asks if George has come back because of the disappearance of Nico. George is very surprised .... first to be told that Nico is dead and then that she has disappeared, while he has just talked to Nico. Continue to talk to André about Nico and he says that Nico has been "in hiding" for about three weeks and nobody knew where she was.
André even reported Nico's disappearance to the police. André continues and says that after 3 weeks Nico suddenly returned. There was a rumor that Nico tried to kill the mayor of Paris, Bernard Lemere. Nico also regularly attended meetings of a strange group of people. André once followed Nico, but he lost sight of her in Montfauçon. Montfauçon is where the Temple of the Templars was and where now a group of "Neo-Templars" hold their meetings. André advises George to consult the archive of the France National newspaper. André then disappears again. George feels that Nico is in danger.
Leave the café and outside you click with your hand to the green buildings to open the map again. Go back to Nico:
Rue Jarry: Nico's flat
Enter through the door between the 2 stores. George is back in the hall by the elevator and at Nico's door.
Click on Nico's door to enter. Nico is not there, so take the opportunity to take a look around Nico's flat.
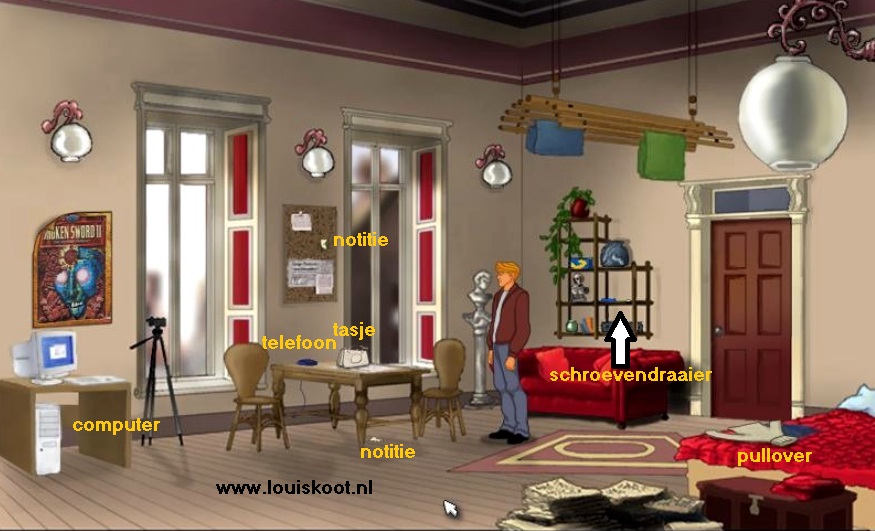
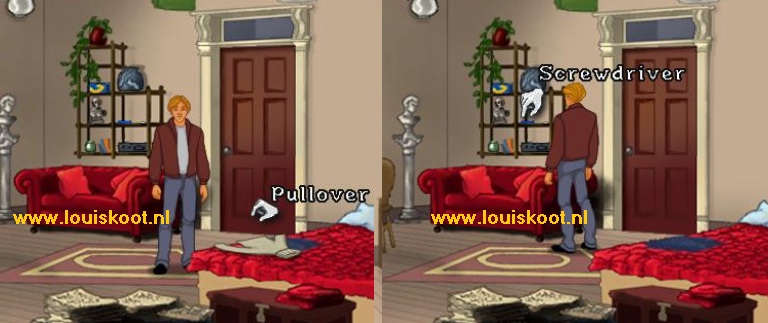
There is a Pull-over on the bed. Take the Pull-over.
A shelf rack hangs on the wall above the red sofa. On one of the shelves of that rack is a Screwdriver. Take the Screwdriver.
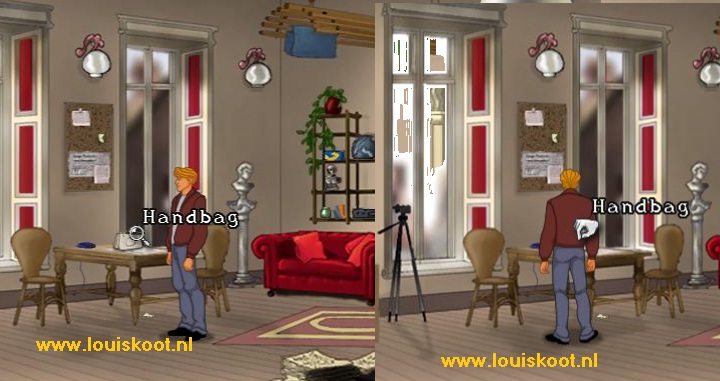
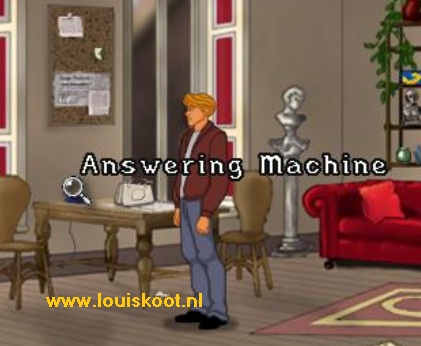
On the table, which stands by the windows, is the Handbag from Nico and also the Telephone (Answering machine). First view the Handbag with your magnifying cursor. The handbag is fairly full. Take the Handbag and ..... George find a pair of scissors in Nico's handbag and he takes the Scissors from Nico's handbag.
Click again with your grab hand cursor on the handbag and George now takes a hairpin. Grab a 3rd time in the handbag and ..
..George is now taking a pair off panties from the handbag. In your inventory you must now have a pair of scissors, a hairpin and Nico's panties.

Open your inventory and then right click on the Hairpin. George bends the hairpin open and you have made a Lockpick with which you can try to open locks.
Now click on Nico's telephone / answering machine with the magnifying cursor.
Underneath the table is a part of a torn note on the floor. Take the Note George reads the letters M-E-T on it.
There is a notice board above the table, between the 2 windows. The second part of the torn note is on the notice board.
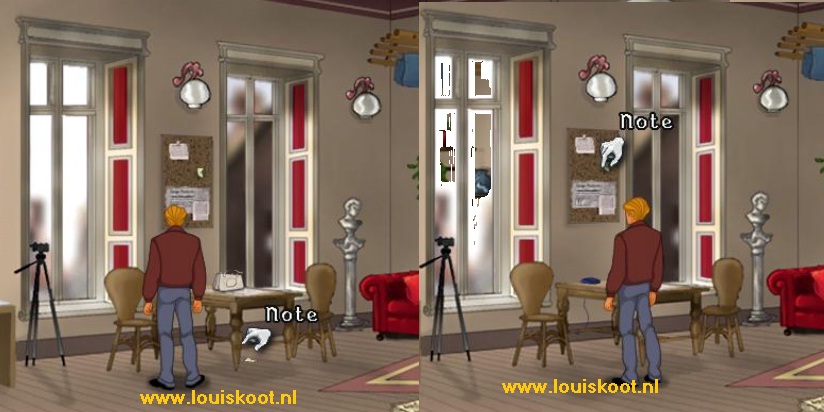
So grab this 2nd part of the Note from the notice board. "Bapho" is on it.
Open your inventory and then pick up one of the two halves of the note and click with it on the other half to merge both halves into 1 piece of paper and .... BAPHOMET is what George reads on the note. In front of the left window is Nico's photo camera but George doesn't want to do anything with it. To the left of the left window hangs a poster of Broken Sword 2. If you try to pull the poster off the wall, George won't do that. Under the poster is Nico's computer. Right click on the computer and George tells that the computer is on. Left click with the gear cursor on the computer and ..... nothing happens .... According to George a password is needed to view the files of Nico. Take the Baphomet paper from your inventory and click it on the computer and ....
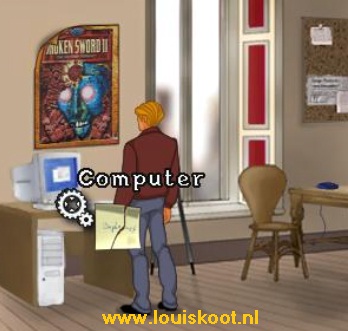
George keyed in "Baphomet" as a password and ... finds an address list of the Paris police that he says is of no use. Well ... there is nothing more to do here, so leave Nico's flat again and then down the stairs to the street. Click left again in the middle of the screen to go up the map. A new location has become available and that is the France Nationale (the newspaper) location. So now go to this location:
France Nationale:
A car will tear away upon arrival. The building, where the archive of the France National newspaper should be located, looks rather run-down. Right click with the gear cursor on the front door. George reads an announcement that this building is closed for maintenance. However, a temporary office has been opened at a different location in Rue Marie-Curie. But the newspaper archive is still in this building. In the side wall of the building you see a gray side door.
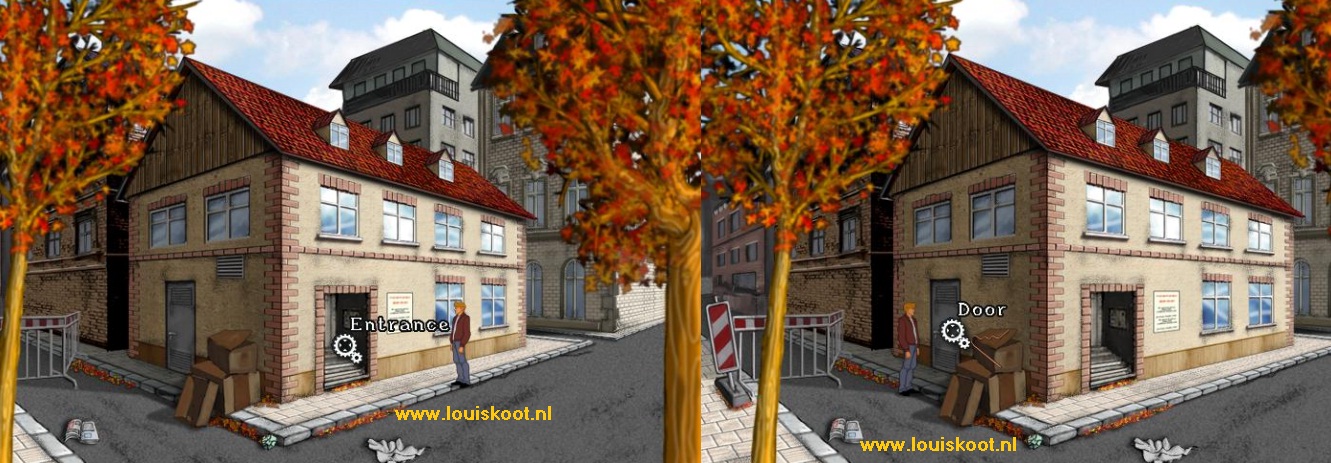
View that gray side door with your magnifying cursor. The door has a padlock. Take the Lockpick (the bent hairpin) from your inventory and then click it on the gray side door. With the lockpick George forces the padlock and the gray side door opens. Now try to go inside, but .... it is very dark inside and George damn it to go in without a flashlight. Click the pointer hand cursor, at the right tree, to return to the map and then go back to the:
Rue Jarry: Nico's flat
Go back to Nico's flat and .... the red light on Nico's phone is now flashing. First click with your magnifier cursor on the phone again.
George then reports that a conversation has been recorded. Then click on the telephone with the Gear Cursor and ...... George listens to the recorded message
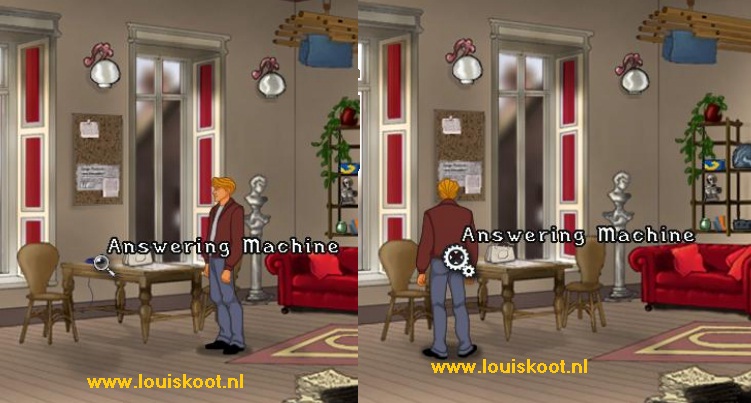
A man's voice says he expects to meet Nico at the "Fountain". Leave Nico's flat again and go back to the map.
The Montfauçon location has now become available on the map. So travel now to:
Montfauçon:
If you have played Broken Sword 1 and Broken Sword 2 then Montfauçon is also familiar territory for you.
George at least remembers this place through a number of flashbacks that are presented to you as photos.
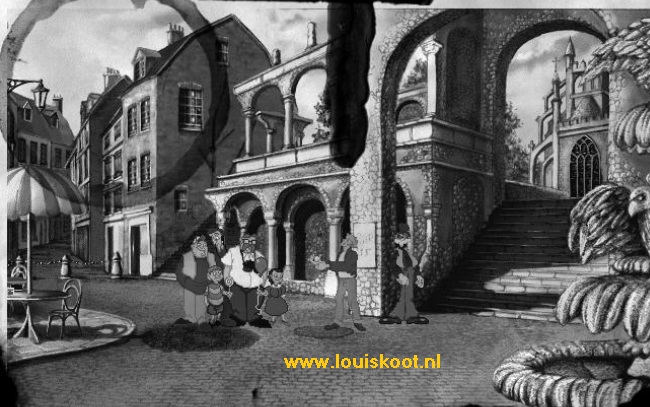
In the pavement of the street you see again the Manhole cover that George has already given access to the sewer twice before.
Click on the manhole cover with the gear cursor so that George walks towards it. The screen then scrolls along with George
George definitely doesn't want to go into the sewer again. There are 2 stairs. In Broken Sword 1 and 2 you went to the Church via the right staircase. Now we go up the left stairs. So click with your hand on the left staircase and you end up at the side of the church. A Tramp sits against the wall and he has a flashlight. Talk to the tramp. His name is Homeless Lesson. Ask Less about his flashlight. Less wants a women's panties in exchange for his flashlight. So when this idiotic conversation is over, then take the pink panties from your inventory and give it to Less

In exchange for the panties George gets the Flashlight, but unfortunately .... the batteries are empty.
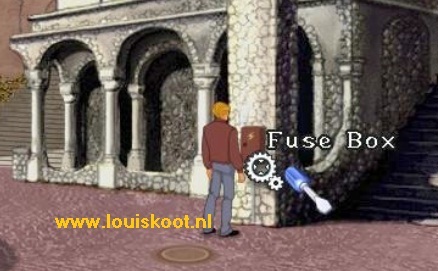
Go back down to the street. At the manhole cover you see an Fuse box. The box is on the left pillar of the right stair gate. Try if you can open the Fusebox. That is not possible. Take the screwdriver from your inventory and then click it on the Fuse box. George now opens the box
There are 2 batteries in the cabinet. Grab the batteries from the box ... but ..... the power is still on so George asks if he should take the batteries. Click Thumb Down to tell George not to take the batteries. Then take the Pull-over from your inventory and click with it on the Batteries in the box and now George takes the batteries from the box.
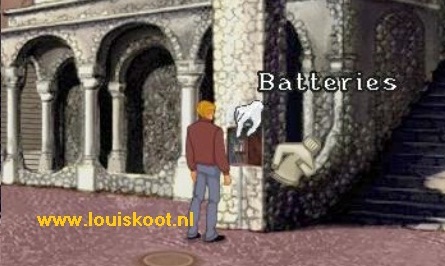
In your inventory, combine the batteries with the flashlight to put the batteries in the flashlight.
Walk back to the left, via bottom left, until you are back on the map. Travel back to:
France National:
Go back to the gray side door. Go through the opened gray side door. The inside of the building is pitch dark but George has a flashlight and after some stumbling around the flashlight works. Save your Game here because George can die here. Behind George is the large filing cabinet. To the left of the entrance is a beautiful red Fire Extinguisher. Right click on the Fire Extinguisher. The fire extinguisher is screwed to the wall.
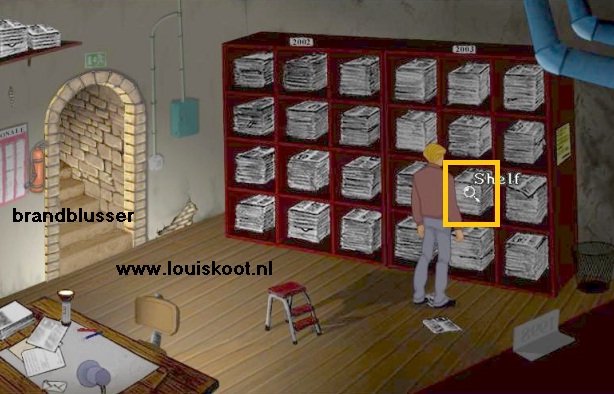
The file cabinet has a 2002 and a 2003 section. Right click with your magnifying cursor on the 2003 part of the cabinet. George will tell you the newspapers from the current year 2003 are in the 2003 part of the cabinet. Left click in each shelf of the 2003 part of the cabinet with your magnifying cursor (left click) and ... from the 3rd shelf in the middle column, George then takes a newspaper that has the article that he is looking for.
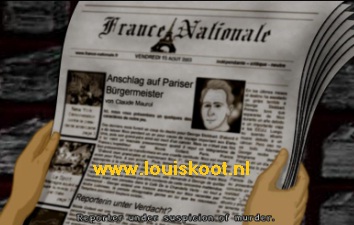
The article in the newspaper is about the alleged assassination attempt on the Mayor of Paris by Nico. Nicole was arrested and interrogated as a suspect, but there was no evidence against her, so she was released from custody. Journalist Ferdinand Irvine accused Nicole of being in contact with a group of "Neo-Templars"
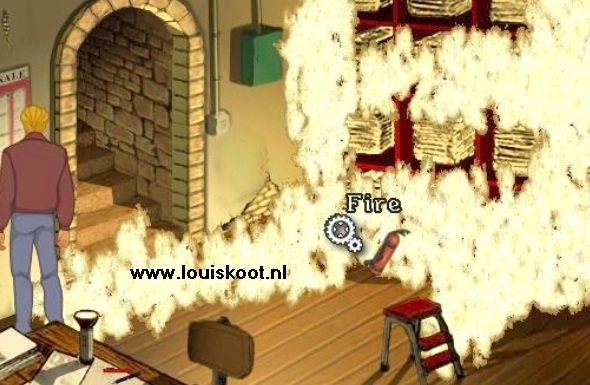
Someone then throws a Molotov cocktail inside and a fire starts. The fire starts small but will spread quickly and then the exit is unreachable for George. If you linger too long, George will die here. Quickly ... Take the Screwdriver from your inventory and click it on the Fire Extinguisher to unscrew the fire extinguisher from the wall.
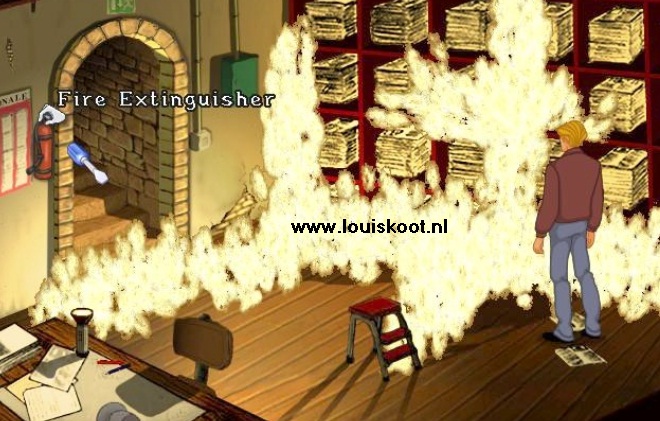
George may say that a screw breaks off when you click on the fire extinguisher with the screwdriver. If this happens in your game, you click a second time with the screwdriver on the fire extinguisher and George takes the fire extinguisher off the wall. Take the Fire Extinguisher from your inventory and quickly click with it on the flames to extinguish the fire.
NB: When you are too slow, George will die here. Then click on the Load option in the menu bar and you immediately get the Second Change.
George himself ends up outside again. George then realizes that only André Lobineau knew that he would go to this newspaper archive.
Go to the map and travel back to the:
Rue Jarry:
Enter Nico's apartment again and click again with the gear cursor on Nico's computer. George revisits the address list and finds the name Ferdinand Irvine, the journalist mentioned in the newspaper article. Irvine has made a report about the assassination attempt on the Mayor. Irvine currently resides in hotel Ubu. Leave Nico's flat again and look for the map again. Hotel Ubu is now on the map, so travel to:
Hotel Ubu:
On arrival you immediately save your game, because George can die here again. Well .... at the risk of becoming monotonous .... Hotel Ubu is also well known to George and for everyone who has already played Broken Sword 1 and 2. Try to enter the hotel and .... Flap and Guido, the 2 gangsters, pop up.
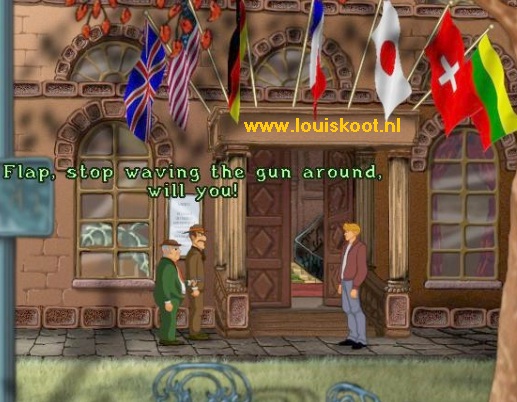
Flap pulls his gun and takes George at gunpoint. Continue to talk to Flap and Guido via the conversation options. Guido tells that Nico has meetings with a group of people who call themselves "the new Templars". So a new group of Knights Templar has risen. A family with children will leave the hotel. Quickly ... as soon as the family comes out of the hotel and blocks the view of Flap and Guido, you click with the hand cursor in the hotel entrance to quickly enter the hotel.
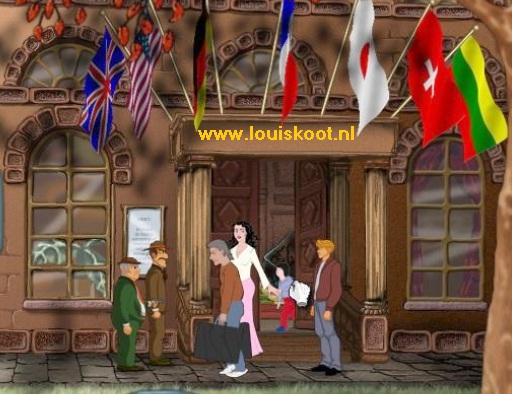
NB: If you wait too long, for example if you wait until the whole family has left the hotel, George will be shot dead.
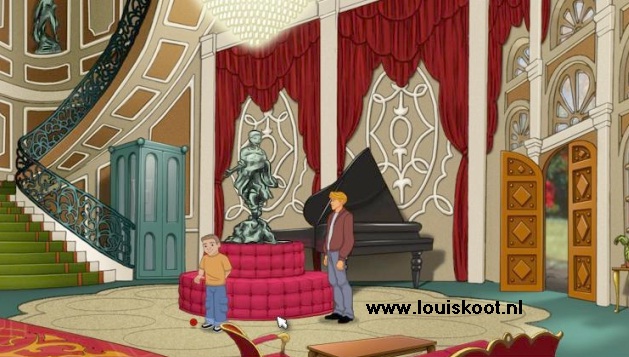
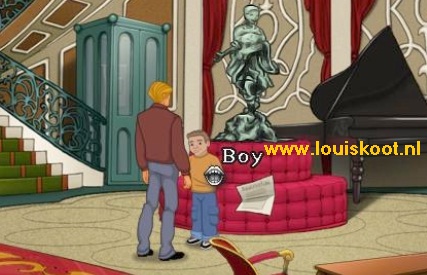
George ends up safely in the lobby of the hotel. A boy is yo-yoing near the red round sofa.
Click on the stairs to go to the 2nd floor. Under the middle door, on the right, sticks a paper.
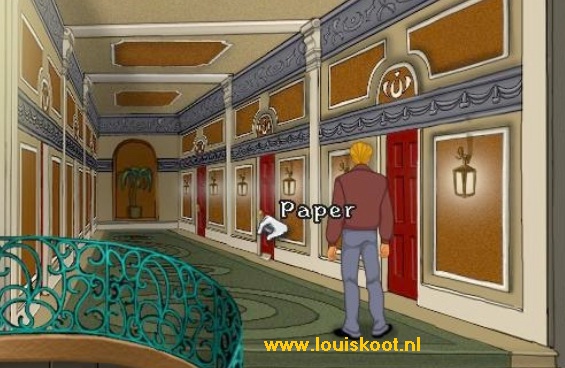
Take that paper. It is the hotel reservation of that Ferdinand Irvine. The reservation is for a double room because Ferdinand took his son with him.
Go back down to the lobby. Back below you see that the receptionist is standing behind the counter. Talk to the receptionist to pick up some memories. Talk to the yo-yoing boy. Ask the boy about himself and his yo-yo. This is the son of Ferdinand Irvine. The boy's yo-yo is a "Freggy", a small rubber ball. If there is nothing more to ask then you close the conversation with the curved arrow. Walk back to the receptionist and talk to him again. Use the option and George tries to rent a room. Unfortunately .... the hotel no longer has any free rooms. Go back to Ferdinand's son. Take the hotel reservation from your inventory and click with it on the boy.......
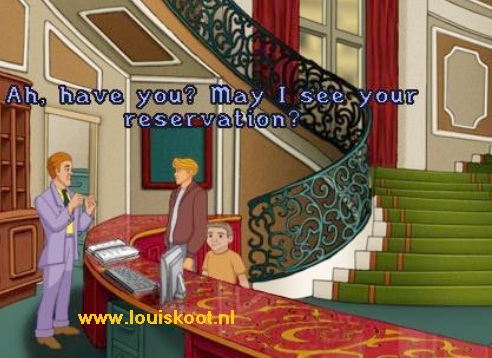
George ask if the boy wants to pretend to be his son and the kid wants to do this. George and the kid then walk back to the receptionist.
George says that he is Ferdinand Irvine and that a room has been reserved for him and ... You now get the keys to Ferdinand Irvine's room.
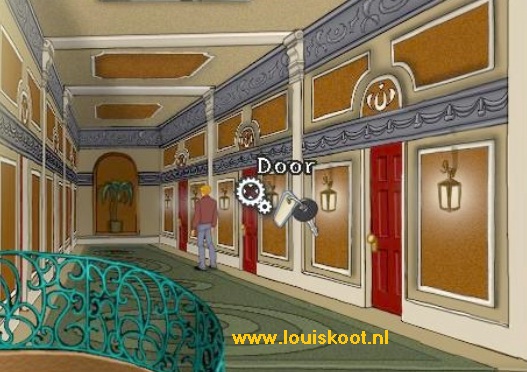
So go back to the 1st floor and then click with the Keys on the middle door on the right, and you will end up in Ferdinand Irvine's hotel room.
On the bed is an opened Briefcase. Look at the briefcase with your magnifying cursor
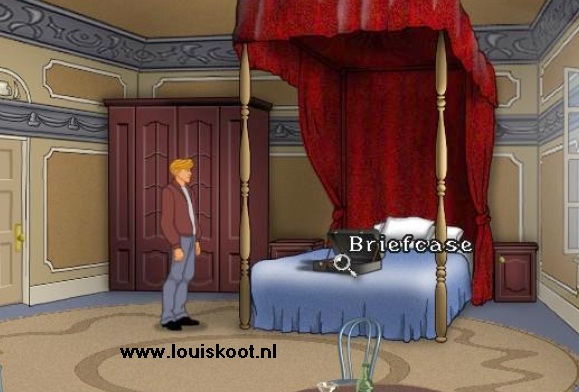
George sees 3 photos in the suitcase. The first photo shows the attack on the mayor. On the 2nd photo it is night and this photo was taken in Montfauçon. A group of men in dark cloaks is together. On the 3rd photo George sees the boss of the neo-Templars. The boss is wearing the Templar Cross around his neck. In all 3 photos George also sees Nico .... or someone who looks a lot like Nico.
You cannot take the photos from the suitcase, so leave the room and go back down. Back in the lobby you continue to the right and then you leave the hotel through the front door. Guido and Flap have disappeared. Walk to the right or left to return to the map and click on the Rue Jarry location .... but .....
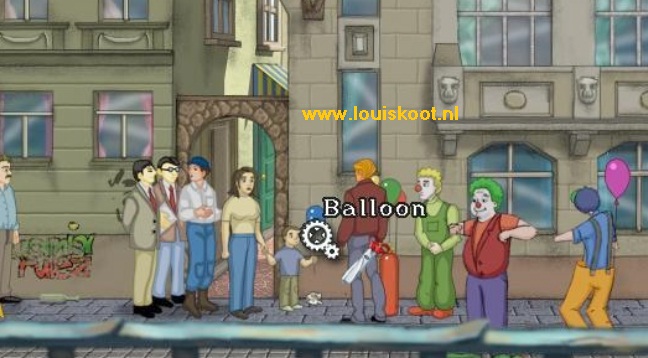
Detour:
George does not reach the Rue Jarry because of a festive procession passing through Paris. George has to find another way to reach Nico's flat. A Clown stands in the middle of the spectators. In front of the Clown is a gas bottle with balloons. At the gate stands a mother with a small child. The child is holding a blue balloon. The gate is the entrance to an alley. You get the Gear Cursor on the child's blue balloon. The group of spectators block the entrance to the alley. You can try to talk to those spectators, and also to the clown, but nobody understands you and you don't understand them. It is of course very mean and almost child abuse, but take the Scissors from your inventory and click with it on the child's Blue Balloon and.........George punctures the blue balloon and ......
Mother and the child walk to the clown to buy a new balloon for the child. The gate of the alley is now free, so go through the gate into the alley. Oh no .... it never stops ..... A dog pops up in the alley and the dog stands in front of the gate. If you try to get past the dog then that will not work. The alley behind the dog is the only way to Rue Jarry. A few empty ice cream cones lie on the floor in front of the dog and those empty cones must give you a clue to what to do here........
So take the ice cream from your inventory and click on it with the dog and ... The dog will lick up the ice cream.
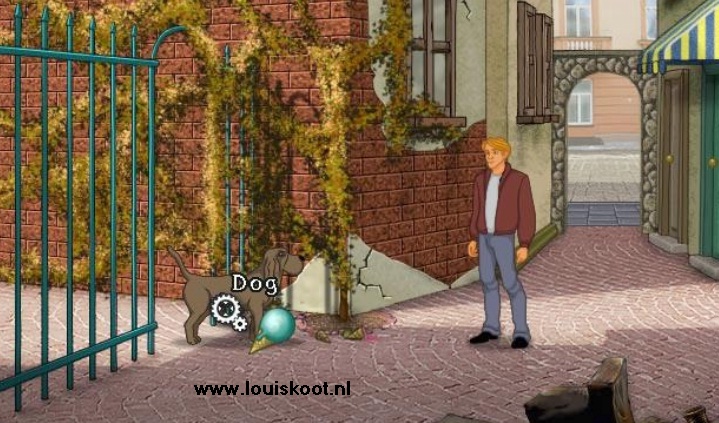
So quickly click with the pointing hand behind the dog and .... George will automatically return to Nico's flat:
Nico's story:
Nico is back and she now will tell George what's going on.....
Nico says that her uncle is a member of the Neo-Templars and that she has only joined that group to get her uncle out of the group. Nicole is infiltrated into the Neo-Templar group under the name Christine Roux. Her uncle, however, was no longer approachable and kept muttering the word GATE. Nico further explains that the only one who knew about her plan was a friend of André Lobineau. That friend's name is Jimmy Mclaugh. Mclaugh has a country house in York, England, and is an authority on the Knights Templar. Nico never met that Jimmy Mclaugh, only talked to him over the phone. George decide to fly to York, in England, and Nico advises him to go directly to the local library to find the address of that McLaugh.
When the conversation ends, you leave Nico's flat again and go on the map again. At the top right of the map you will see an orange arrow.
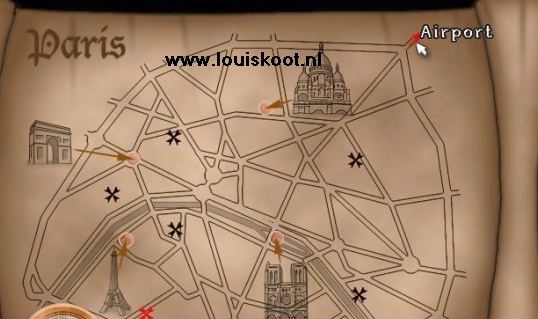
The Orange Arrow is the arrow to go to the Airport (Airport). Click on the Airport arrow and ... George flies to York in England.
Chapter 2: England: York
A: George:
George shows you the map from York and says that the blinking cross is where he is now.
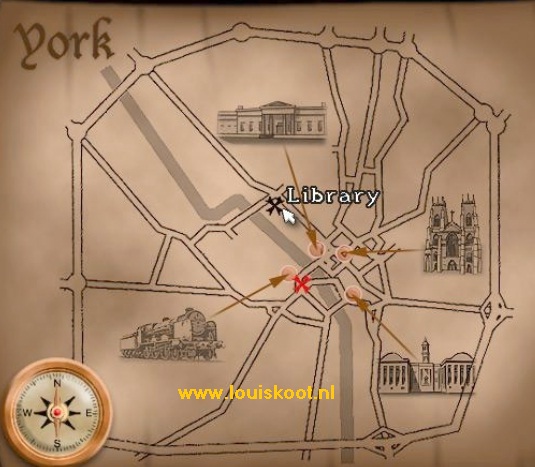
The black cross is the Library. So click on the black cross and George ends up in the:
Library.
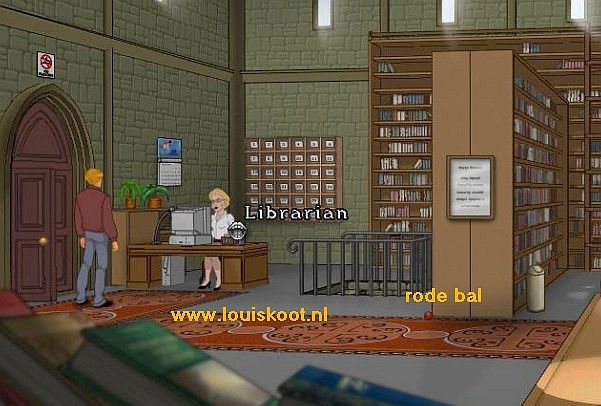
The librarian is busy mistreating the keyboard of her computer. A red rubber ball is lying on the floor in front of the front bookcase.
Talk to the librarian and then use all the topics you get. The only really important question is of course the question about Jimmy Mclaugh, the rest is nonsense.
When you ask the librarian for McLaugh's address, she says she is not allowed to provide personal information about the members to strangers. She then asks if you are Micheal Burns, McLaugh's friend. You must now answer through the Devil or through the Angel. If you click on the little devil you will lie. If you click on the Angel then you tell the truth. However, it doesn't matter because the librarian has invented the name Micheal Burns. So lie or don't lie .... it doesn't matter.
When the conversation has ended, close the conversation bar via the arrow. There is a red rubber ball in front of the first bookcase. Take the red Ball.
Then continue a screen to the right. You will then see a Student reading at the rear reading table. Talk to the student, his name is David.
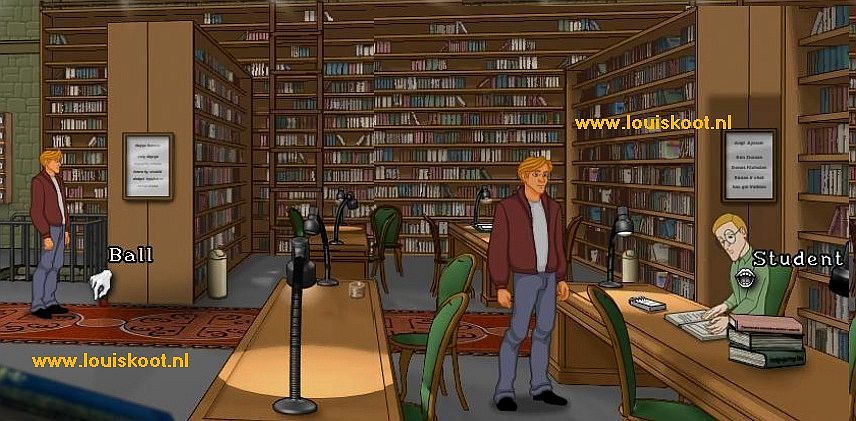
Talk to David about the Templars and about the Librarian and then about the basement.
David studies Animal Science and knows nothing about the Knights Templar. The computer of Mrs. Leroy, the librarian, is not working properly due to a power outage, which is why she is so annoying. The library apparently has no maintenance person who can solve the problem. There must be a power box in the basement and the basement can be reached via the stairs at the librarian.
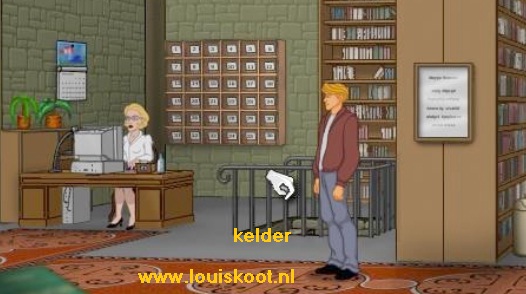
Walk back to the librarian and now go down the stairs to the basement.
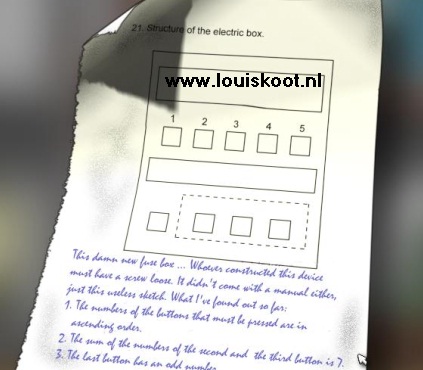
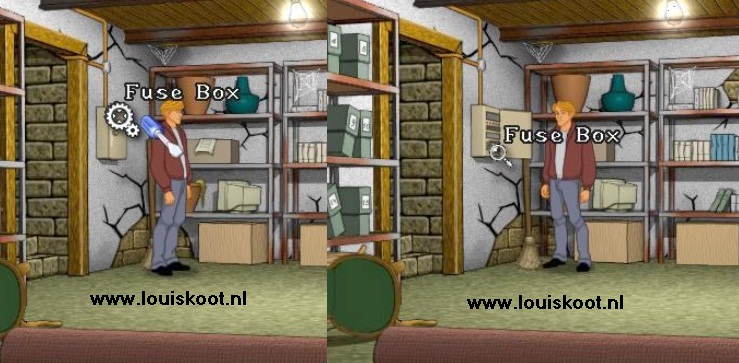
When George is in the basement you see the fuse box on the wall, right next of George. On the long wall stand a rack and in the first section of the rack hangs a red football shirt on a box. In the corner stand a broom. Take the red Football Shirt. When George has taken the "York United" football shirt, he sees a Notepad on the box
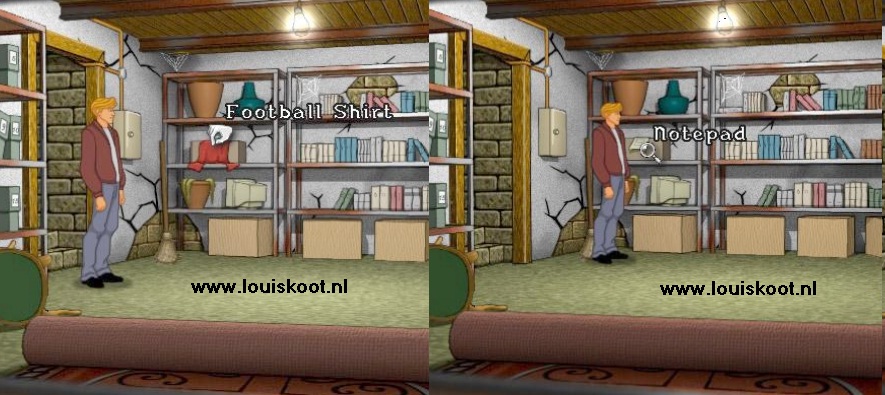
Click with your magnifying cursor on the Notepad and you will see the code for the fuse box. Read the text below the diagram. You read: that the number buttons must be pressed in consecutive order. And that the sum of the 2nd button and the 3rd button is 7. And that the last button has an odd number.
Exit this close-up screen via the pointing hand on the right or left edge of the screen. Click on the fuse box with the gear cursor. However, the door is stuck, so grab the Screwdriver again from your inventory and then click on the fuse box again. The door will now open. Zoom in with the magnifying cursor on the Fuse Box
You see 5 red buttons and there is also a red button at the bottom left.
If you put the gear cursor on the buttons, you will read, from left to right, that the buttons are numbered as 1, 2, 3, 4, 5.
The bottom left button is an Unused Button.
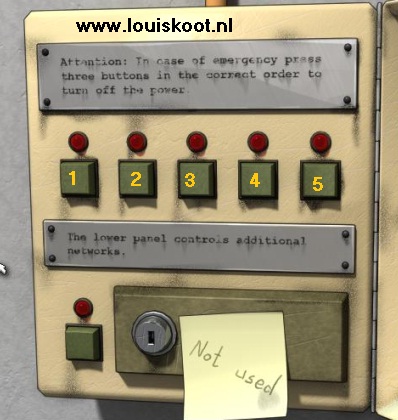
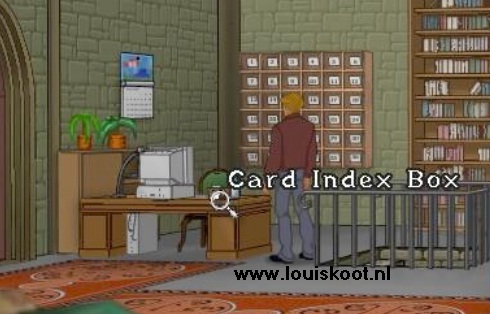
You have to press 3 of the 5 top buttons and the note has already told you which 3 buttons that are. Because ..... the numbers must be consecutive. So you start with button 1. Button 2 and button 3 together are 7, but button 3 must be odd. Well ... 2 and 5 make 7 and 5 is an odd number. So press button 1, button 2 and button 5 and .... you will end upstairs again and Mrs. Leroy disappears to the basement. On Mrs. Leroy's desk is an Card Index Box .. Click with your magnifying cursor on the index card box and .... George finds McLaugh's card and his address is Rangesfield Hall.
Leave the library. You end up on the map where the Rangersfield Hall location is now available, so go there
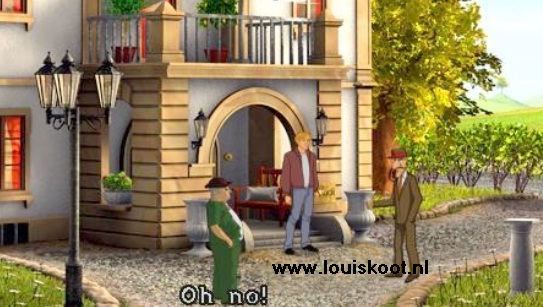
Rangersfield Hall:
Rangersfield Hall turns out to be a beautiful country house. Gently move your cursor around the gate of the house, under the porch.
There is a tiny doorbell under the veranda and you get the gear cursor on it. So click on the Door Bell.

A woman's voice answers through the intercom and George introduces himself. George then goes in and is taken by the housekeeper to the 2nd floor of the house. The housekeeper says that McLaugh's room is at the end of the corridor. So click with your gear cursor on the double door at the front right of your screen. George listens at the door and hears a conversation between 2 men. "Without the seal we have no chance" George hears. Suddenly the door opens and ..... André Lobineau appears.

George accuses André of betrayal, but André says that "it is not what George thinks"
You cannot talk to André and you cannot enter the room either. Click with your hand at the housekeeper, to get out of the house and........
....Outside George falls directly in the hands of Flap and Guido and ....
George is now being captured and locked up in the basement of the house. The guy that imprisons George disappears. George is not alone in the basement. On the left is another prisoner. Talk to the Prisoner. George is shocked when he sees who this guy is. It is ......... Khan .... the assassin of the Templars from Broken Sword 1, which we all thought had died at the time.
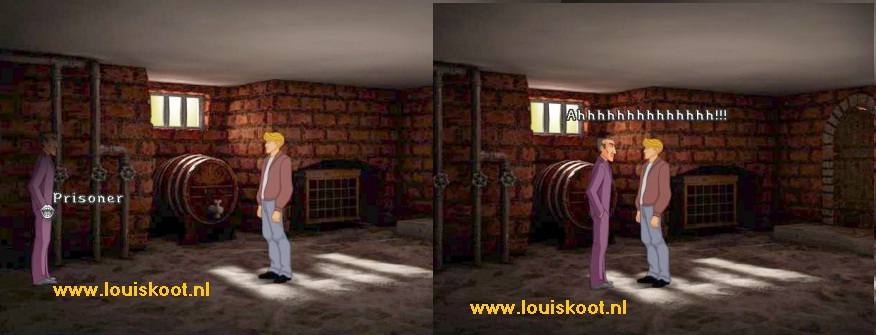
Khan now explains to George how he was able to escape and ...... In the meantime we are switching to Nico:
B: As Nicole Collard:
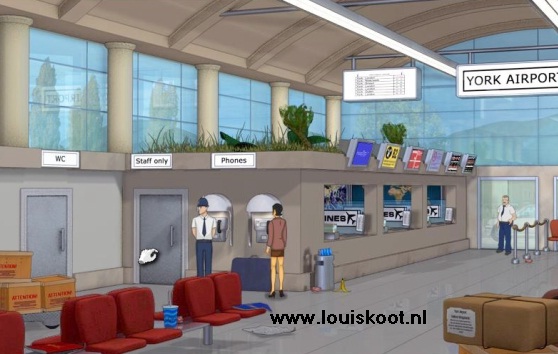
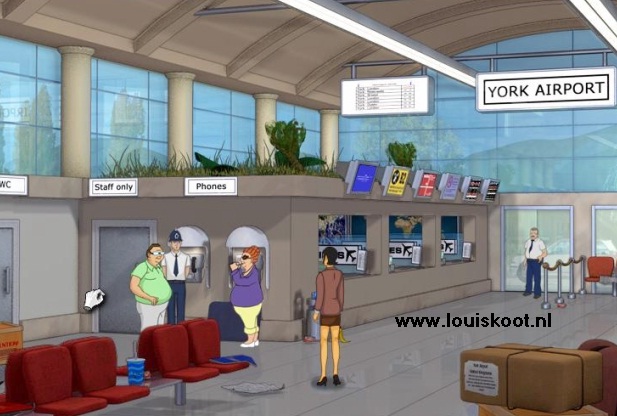
York Airport:
Because she hasn't heard from George, Nico has also taken a plane to York. Nico only has telephone number with here, nothing else. Nico has arrived in the arrival hall of York Airport. On the left you see 2 public telephones on the wall of the ticket office. Click with the gear cursor on the left phone and Nico calls Jimmy McLaugh.
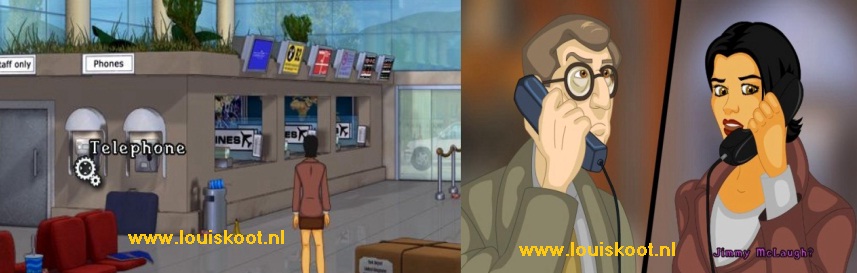
Nico pretends to be an reporter for an important European TV station. She says she wants to interview McLaugh because her TV channel wants to broadcast a portrait about McLaugh. After some talking back and forth, McLaugh agreed. McLaugh will speak to Nico at 2 o'clock in his house. But McLaugh does not want to tell his address over the phone and says that Nico must go to the Historical Museum to meet his secretary there. The secretary will then take Nico to McLaugh's house.
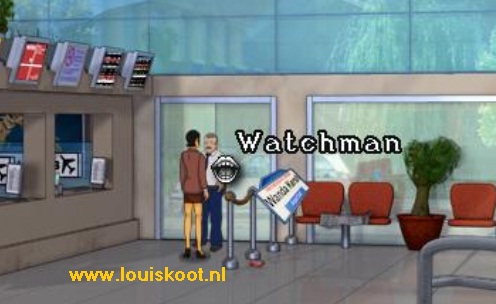
The telephone call is then over. Through the public broadcast system, the announcer of the airport then reports that some luggage has been stolen. Anyone who wants to leave the terminal will be searched. Nico has no time for this because it is almost 2 o'clock. Nico must therefore come up with an alternative way to get out the hall quickly. At the telephones and at the exit there is now a Watchman. Next to the telephones is the "Staff only" door. Try to go through this "Staff only" door.
The cop at the telephones, however, stops Nico. The cop wants to see an ID card with which Nico can prove that she is a member of the airport staff. Nico is lying about it and says that she has her ID card in her bag and that she left her bag in the "Staff only" room. The cop then enters the "Staff only" room to get Nico's so-called Id card from Nico's so-called bag. Quickly ... When the agent has disappeared through the Staff only door, then quickly click on this door again. Unfortunately ... the cop comes out again and again you are not allowed to enter the Staff only room. Nico's lie has therefore failed. Go all the way to the right and ...... We meet 2 old acquaintances again.........Duane and Pearl Henderson. Talk to Duane and Pearl.
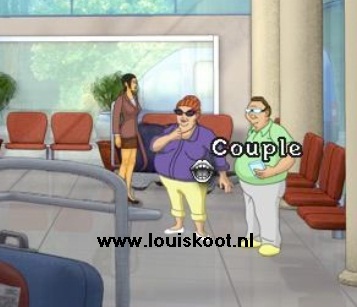
Nico does not remember that she met Duane and Pearl 4 years ago in Broken Sword 2, but the Henderson's explains it to her.
Then continue to talk to this crazy American couple through all the conversation options. The most important thing that Duane and Pearl tell is that they know Jimmy McLaugh and that they have a meeting with his secretary at the Historical Museum. You then get the "Agent" option last. Via the Agent option, Nico then asks whether the Henderson's can distract that cop, at the telephones. The Henderson's want to do that. Nico and the Henderson's then walk back to the telephones and Pearl asks the agent if she can take a picture of him.
Quickly ....as soon as Duane stand left of the cop and Pearl has taken her camera you click on the "Staff only" door
Nico now goes through the door and ends up in the changing room of the staff. There is a towel on the bench.
On the table, which stands in front of the window, is a Staff ID Card. There is a Uniform in the right cupboard.
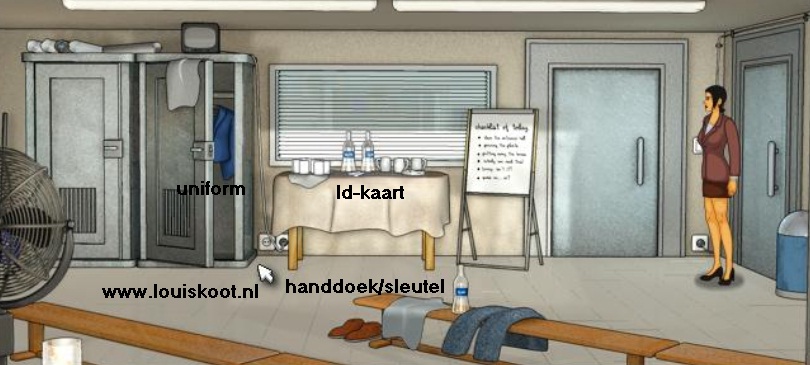
Take the Towel. When Nico has grabbed the towel, a key becomes visible, which was under the towel. So also take the Key.
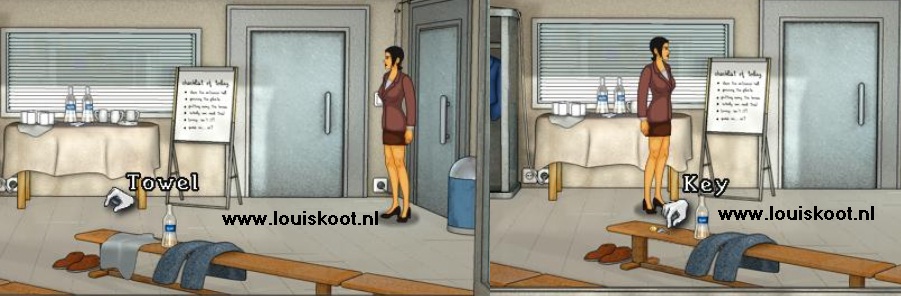
Take the Employees' ID
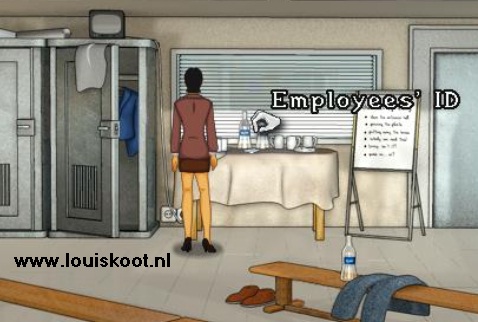
Take the Uniform from the closet and ..... Nico says she can only use the uniform jacket if it is her size. Your screen turns black for a moment while Nico puts on the uniform to fit. However, Nico has not put on the uniform jacket because it does not fit her. Try whether you can leave the room again through the right door. Unfortunately ... the cop has locked the door. So take the key from your inventory and click it on the door to unlock the door.
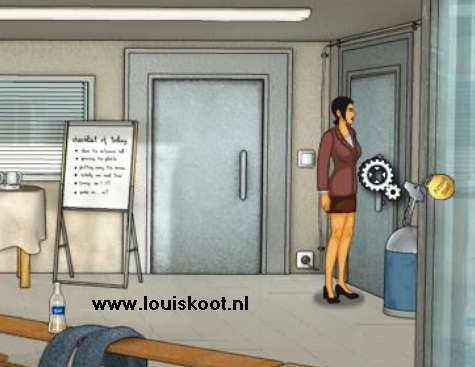
Then go out through the door into the main hall. Duane and Pearl are still taking pictures of the cop at the telephones.
Walk on to the cop who is on guard at the exit of the terminal. Talk to the cop. Then take the ID card from your inventory and click it on the cop and ......
after some talking back and forth, Nico can now leave the terminal and we end up on the map. Click on the "History Museum" asterisk and Nico ends up at the:
Historical Museum:
There is a group of men in front of the museum entrance. The boy in Short pants and a green T-shirt is a pedestrian who is taking pictures of the reporter and the cameraman. In the door of the museum stand a guy in a blue suit and with a black eye. Apparently there is something going on in the museum that prevents anyone from entering and that is important enough for a news crew to make a report about it.
Talk to the pedestrian and keep talking to the boy.
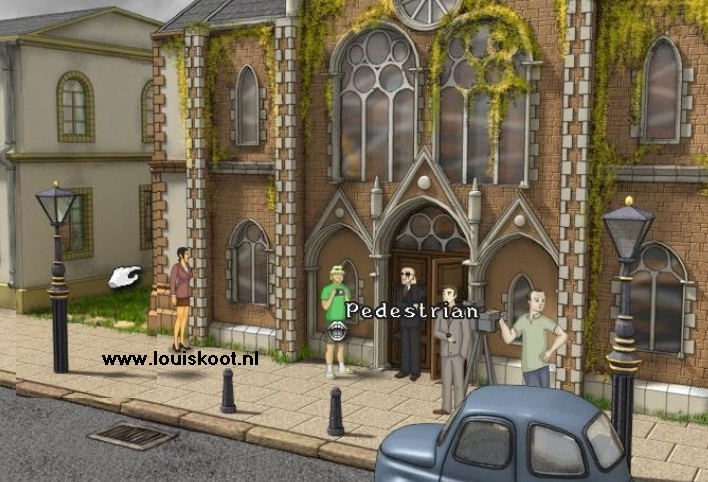
The boy says that one Haiko Mcewans is about to honor the museum with his visit. This Mcewans is an authority in one area or another.
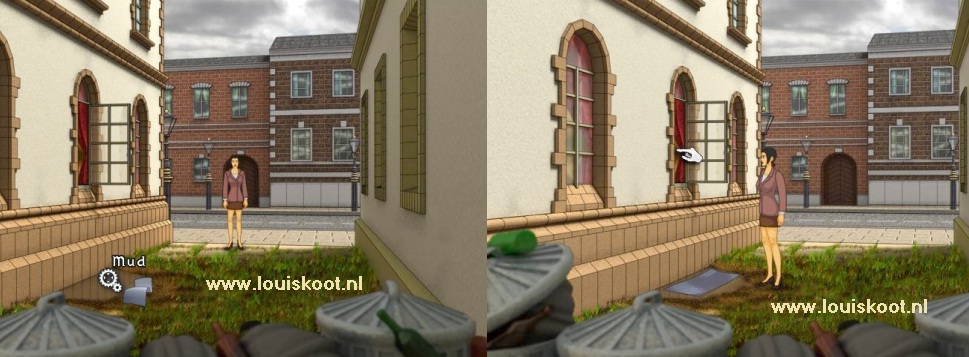
To the left of the museum is an alley. Enter that alley. Nico is then in the front of the alley and you see the side of the museum.
The middle window is open and under the middle window is a large puddle of mud. Look at the Mud puddle
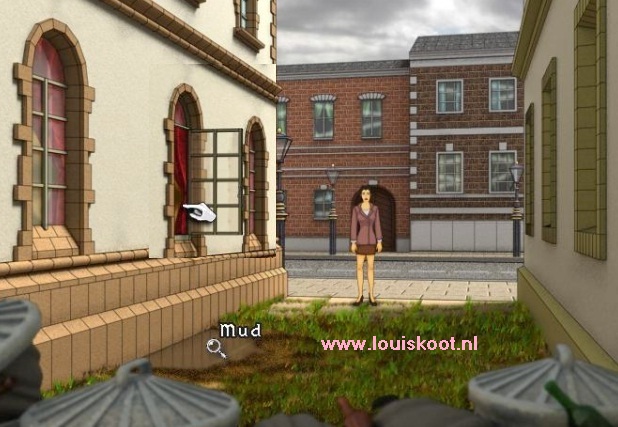
Nico is afraid that the mud won't do her shoes any good. Climb in through the window and ..... Nico steps into the mud and the mud gets on her shoes. Nico is noticed by a guard because of the mud and she is evicted from the museum. Ok ... second chance. Go back into the alley and then first take the towel from your inventory. Click with the towel on the mud puddle to lay the towel over the mud puddle. Then click in the window again and .... now Nico does not get mud on her shoes and she is not noticed by the guard.
In the museum room a woman with a group of children is standing around a statue. The guard is on the left.
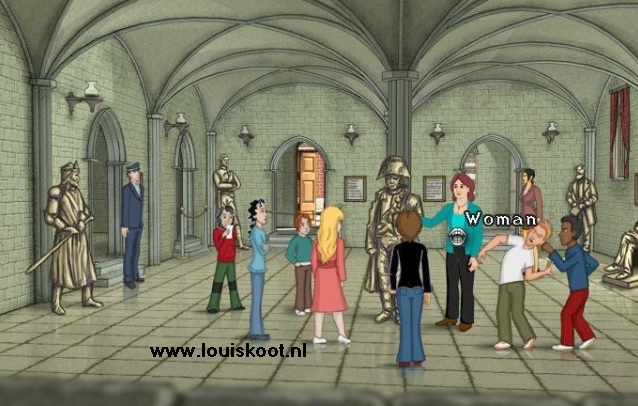
Talk to the woman. This appears to be the secretary of McLaugh and .... we end up at:
Rangersfield Hall:
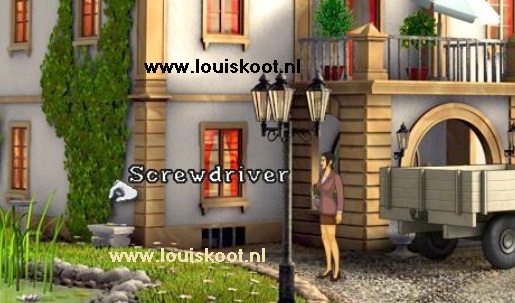
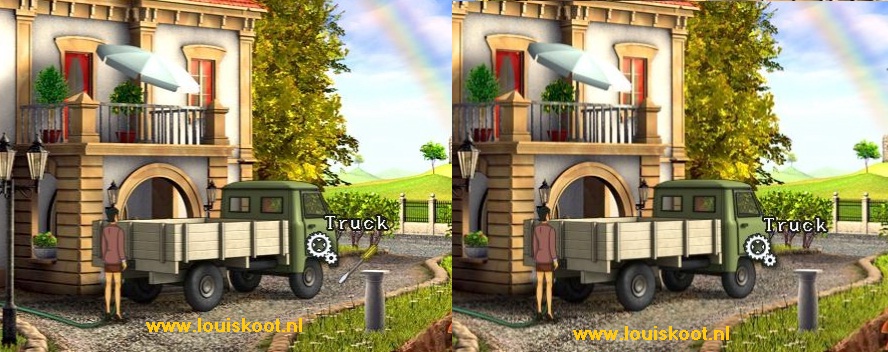
The secretary disappears and Nicole finds that she is 5 minutes late for her appointment with McLaugh. There is a small truck in front of the house now. The truck blocks the front door, so Nico cannot ring the bell. There is a dormer window on the roof and the window of the dormer window is open. In the lawn, left behind the lamppost, is a green garden hose. Take the garden hose.

There is a concrete block against the side of the house. A screwdriver is located on that concrete block. Take the Screwdriver.
You can click on the truck with the gear cursor, hoping that Nico will then climb onto the balcony via the truck, but Nico won't do that. Nico wants to find George first. Under the bottom left window you see the basement window. Click with your magnifying cursor on the basement window and ...

Nico talks to George through the window. George asks Nico to free him Khan from the basement. Nico, however, has major objections to lend Khan a hand, but George insists. After you talk to George through the cellar window, take the Garden hose out of your inventory and then click on the truck.
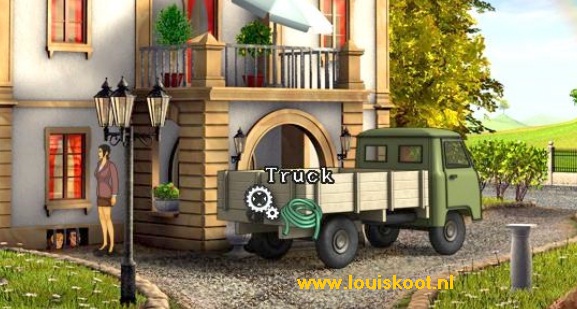
Nico ties one end of the garden hose to the truck and the other end to the bars of the basement window.
Take the screwdriver from your inventory and then click the door of the truck. Then just click the gear cursor on the truck door and ...
Your screen goes black while Nico gets into the truck and drives the car forward to free George and Khan from the basement ........ and ....
Nico, George and Khan get into the car and drive away and we all end up in a subway train of the York subway. Khan explains some things and then .......

The train rushes through the metro tunnels. Someone calls and we see that a "train accident" is being prepared.
A piece of rail was removed. The subway train rushes for the missing track and ..... derails.
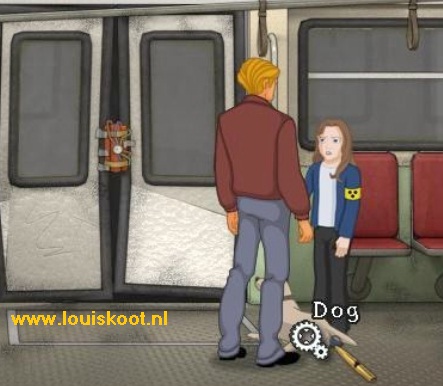
C: As George in the Metro train:
After the accident, George is standing in the train carriage. Nico and Khan have disappeared. A little girl is standing in front of George. The girl has a yellow band on her arm with 3 black dots on it. Behind George is a Dog Tag on the floor. Take the Dog Tag. "Dog" is engraved on the picture. Talk to the girl.
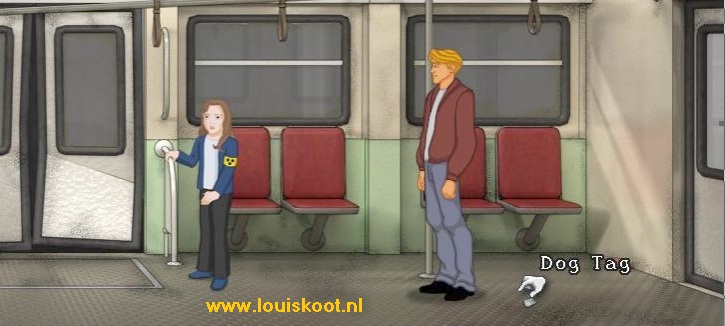
The girl's name is Miranda and she is 12 years old and she is blind. Miranda has lost her dog Max and because she is blind she cannot go find the dog herself.
George offers to go find the dog. Miranda hopes that George will find her dog whistle with which she can call her dog.
Examine the train door with your magnifying glass.
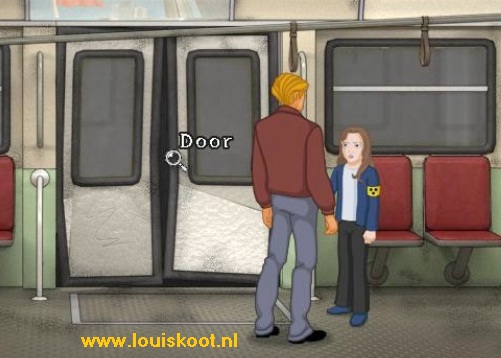
The doors are slightly bent and there is a narrow gap between the doors. Walk to the left and you will see dog Max. Max is standing with an older man lying on the floor.
This injured man has a Chinese appearance. Click with your magnifying cursor on dog Max.
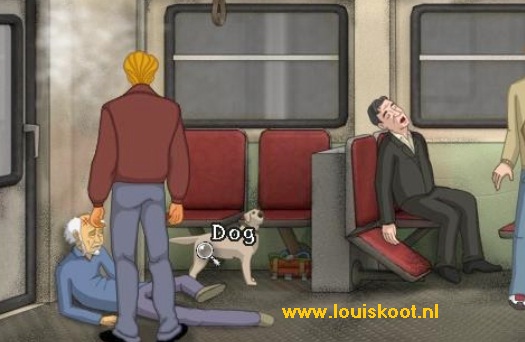
George notes that Max is sniffing suspiciously at the train seat. Under the right-hand seat, which Max is standing at, hangs a "Suspicious Object". Click again with your magnifying glass on dog Max and now George finds the dog whistle in Max's mouth. Take the dog whistle from your inventory and click on Max.
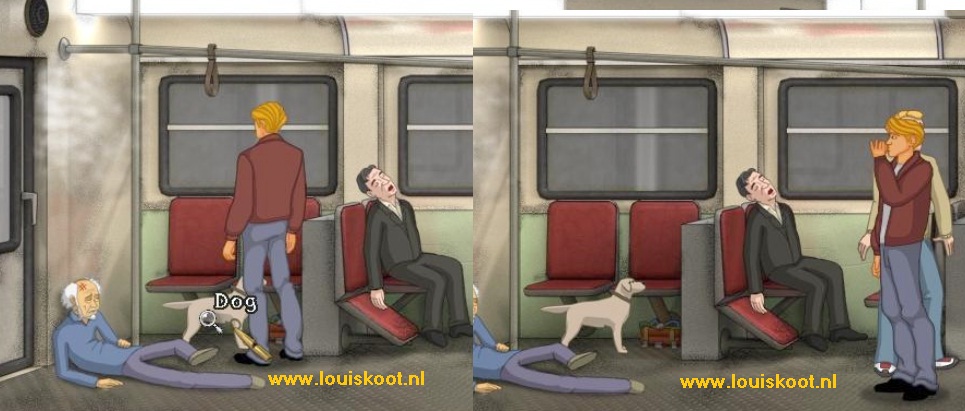
George walks back slightly to the right and then blows the whistle. This brings Max to George. Take the dog whistle again and click on Max again. Keep doing this now until George and Max are back at Miranda. So always quickly take the whistle out of your inventory and click on Max. Each time George walks a little to the right and Max follows him. Keep doing this until George comes to Miranda again.
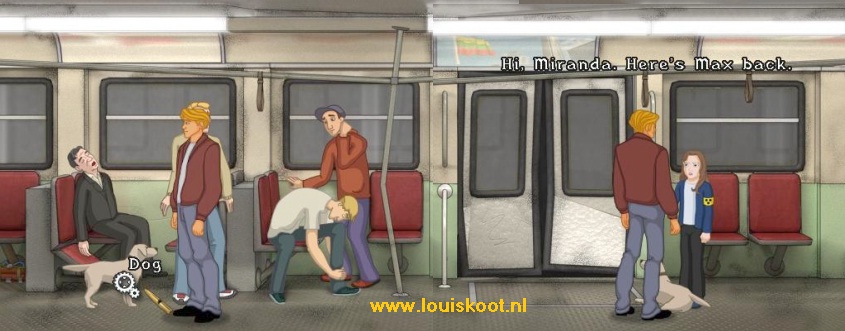
Max will then lie down on the floor in front of Miranda and George will tell Miranda that Max is back and he will give her the whistle back.
Go back to the Chinese man, who is lying on the floor on the left side in the carriage. Examine the "Suspicious Object", which is hanging under the right seat, with your magnifying cursor. It is a BOMB. You end up in the bomb's close-up. Click again with your magnifying glass on the bomb and George tells you that the timer is set to 30 minutes. So there is still 30 minutes to switch off the bomb. Take the Dog Tag from your inventory and click it on the Bomb.
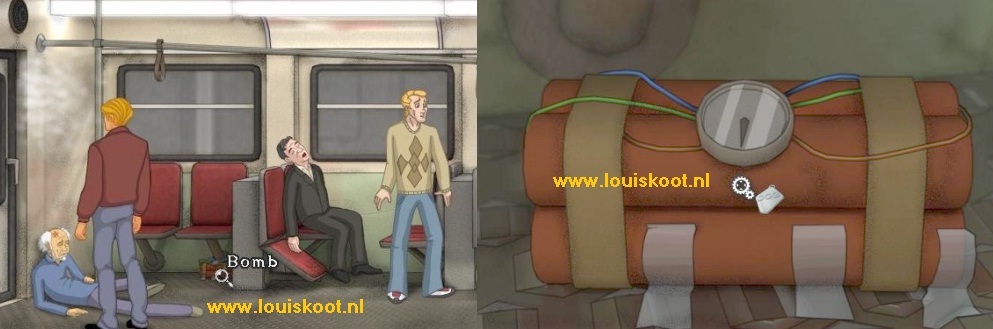
George cut off the tape that hold the bomb under the seat and stowed the ticking bomb in his pocket. So now you have a ticking time bomb in your inventory.
Talk to the Chinese man lying injured on the floor. Ask the man about Nico and Khan.
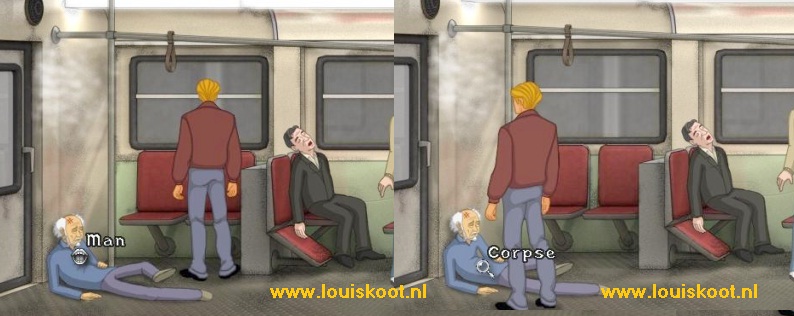
The Chinese man mumbles a few words and then dies.
Examine the corpse with your magnifying glass and George finds a photo and a letter. Read the letter.
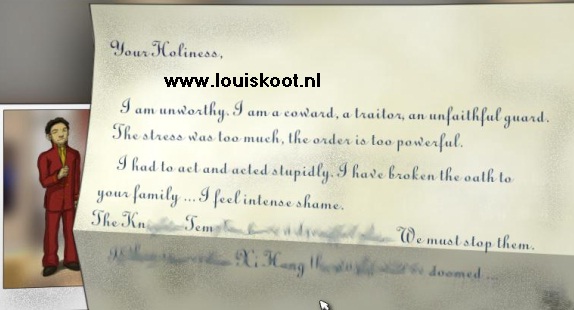
The last 2 sentences are only half legible because important words are erased. Zoom out of the letter and examine the corpse again. Now George finds a roll of Duck Tape on the corpse. Walk back to Miranda. Take the bomb from your inventory and click with the bomb on the crack (Rift), between the doors.
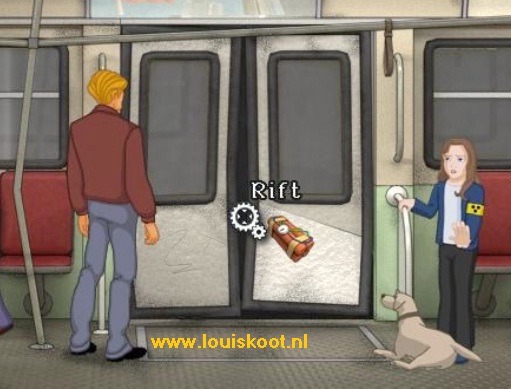
Make sure you have the bomb ajar on the gear cursor, not on the magnifying cursor. Then click and .... George thinks it's a good plan to place the bomb between the doors, but the bomb won't stay stuck, so George puts the bomb away. Combine the duck tape with the bomb in your inventory. Take the bomb from your inventory again and click again with the bomb on the crack between the doors (Bomb on Gear cursor ajar = Rift).
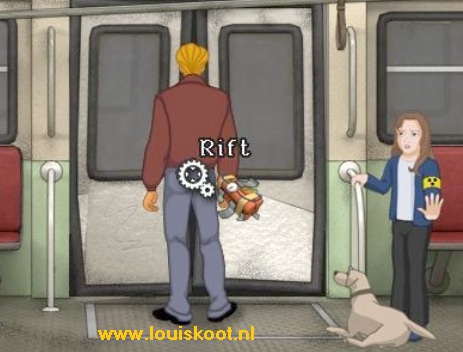
Now the bomb stays. There are still 5 minutes to warn the other passengers. Talk to Miranda again and ask her for the Dog Whistle.
Miranda returns her whistle to George. Take the whistle from your inventory and click it again on dog Max and
........George yells at the other passengers that they must go quickly to the next carriage and then .... the Bomb explodes and .... George ends up in:
The Village:
If you have played the Demo of the game before then you will recognize this piece. George stand in the middle of the street.
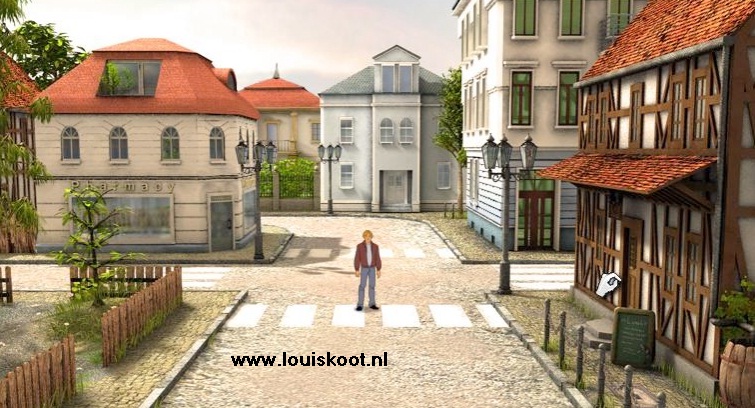
The house on the right is the local pub. The beige house, behind George on the left, is the pharmacy. To the left is a park.
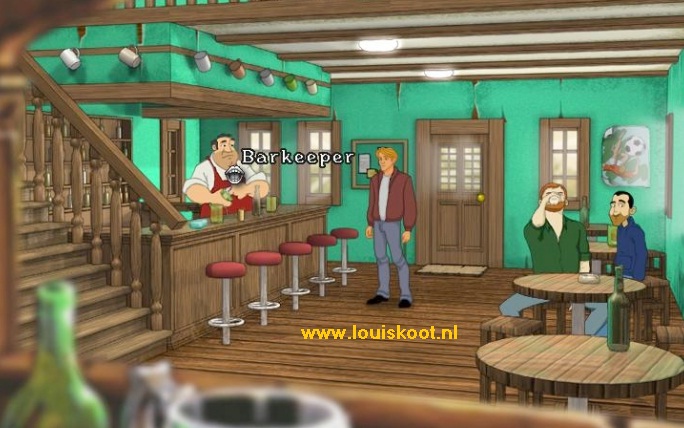
Pub:
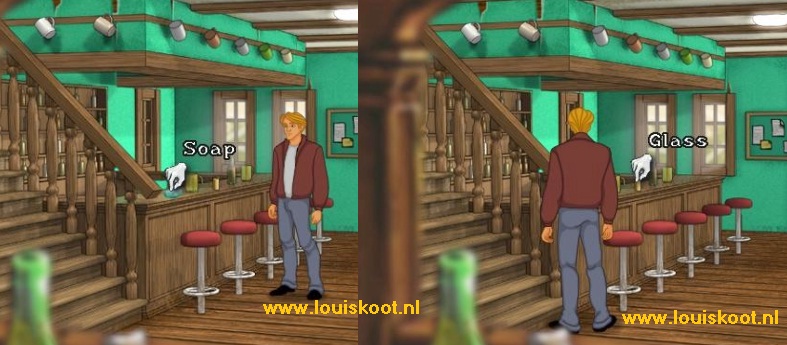
Enter the pub. There are 2 guys at a table and the bartender is rubbing a glass to pulp behind the bar. There are 5 bar stools at the bar counter. There is a bar of soap on the bar counter and there is a small yellow glass with needles. Mugs are hanging above the bar. On the table where the 2 pub tigers are sitting is an ashtray. There is a bottle on the front table. There is a notice board to the left of the door. There is a poster next to the right window. Next to the bar is the stairs to the 2nd floor where the rooms are. Talk to the bartender and use all conversation options.
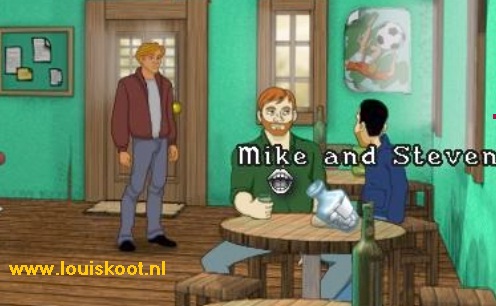
The pub is not busy because a super-luxury establishment has been opened in the village that attracts all customers. Only Mike and Steven, the two pub tigers at the table, have remained as regular customers. The pub owner appears to know a lot about the Knights Templar. There seems to be a connection between the Templars and China. The pub owner says that there will be an exhibition about the Templars in Paris. The pub owner also tells about the "Seal of the Knights Templar". The bar boss knows nothing about Nico and Khan. George rents a room and gets the key.
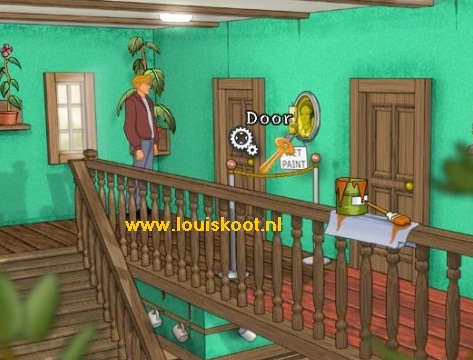
Go up the stairs. When you reach the top you can see that a painter must be doing some renovation work. The upper corridor is closed with a rope and there is a pot of paint with a brush on the balustrade. George cannot take the pot of paint and the brush. The first door is the door of the room that George has rented. Click on the door with the newly obtained key and.......
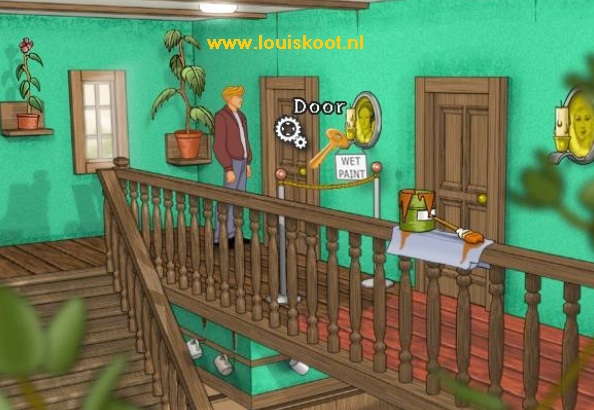
.....George puts the key in the lock and ..... the key does not fit. Either the bartender has given George the wrong key or the lock is broken. Go back down
The Bartender has disappeared. Take the bar of Soap. Click with the gear cursor on the small yellow Glass and George takes out a Needle.
Go talk to Mike and Steven. Keep talking to these 2 pub tigers until Mike challenges George to a game of arm-pressing. Mike only wants to tell George how he can open his room door if George wins the arm prints. Your screen goes black for a moment while George plays the game of arm wrestling and loses. Then continue to talk to these two idiots, but do not ask about your room anymore, because then George will start the arm pressing again. Ask about the glass that Mike keeps drinking from. You do this again via the talk options. Mike says he drinks water because he can no longer tolerate alcohol.
If you want to keep wrestling with Mike indefinitely then you just click on the room door option .... George will never win ........
.. unless George pulls a mean trick, but that must first be prepared and for that Mike and Steven must first left the pub. Leave the pub and enter the Pharmacy.

Pharmacy:
The pharmacist is behind his counter. On the counter there is a rack with all kinds of Phials.
On the right is a magazine / newspaper rack. Right click on the rack with medicine phials.
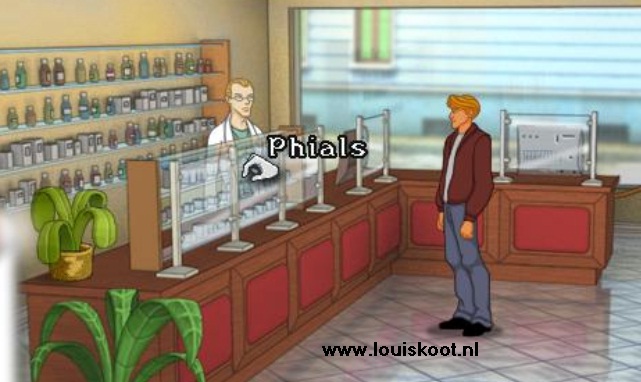
George then tells you that there are Laxatives in those phials. Talk to the pharmacist about the pharmacist and about the laxative phials. A bottle of laxative is free and without prescription, but the pharmacist only gives it to someone who really needs a laxative. So George doesn't get such a bottle of laxative. You have an Old Newspaper in your inventory for a while. Right click in inventory on the old newspaper and George reads an article about an outbreak of a disease at a school in London that made hundreds of school children sick in their bellies. George now gets an idea. Take the newspaper from your inventory and click on it at the pharmacist and .......
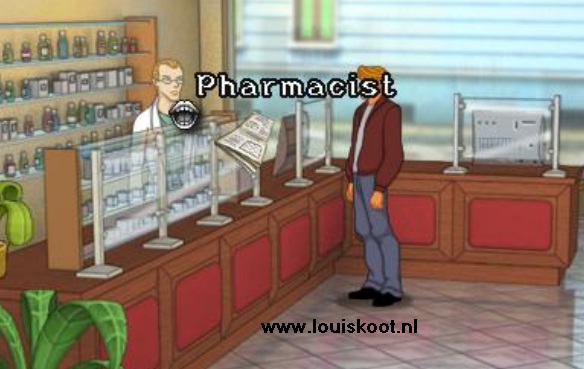
George is now acting that he has a great stomachache and he gets a Phial with Laxative from the pharmacy. Leave the pharmacy and go back to the pub.
Pub:
Take the Laxative phial from your inventory and click on it with Mike and Steven and ....
Secretly George puts the laxative in Mike's glass and .... Mike and Steven then disappear because they desperately "need to".
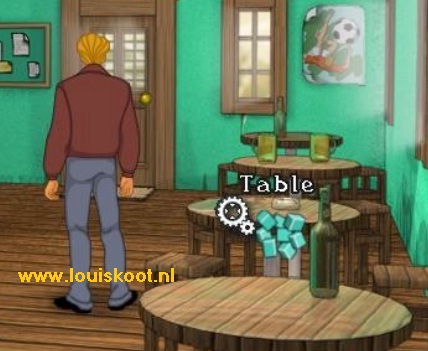
Take Mike's glass, which he left on the table. Immediately take the glass from your inventory again and click it on the table.
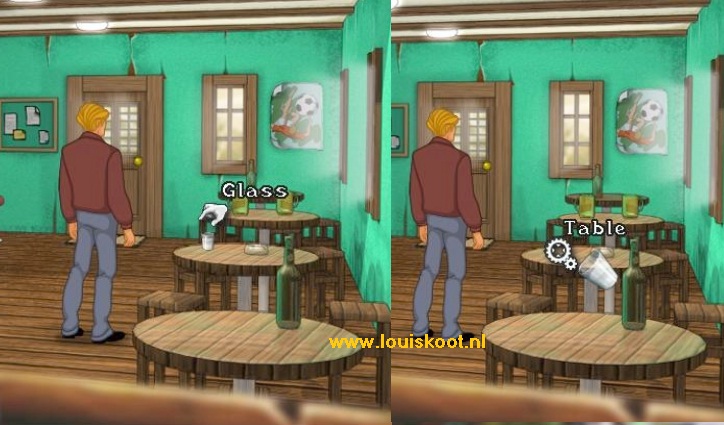
George pours the water from the glass on the table. So there is now a puddle of water on the table. Combine the dog tag with the soap in your inventory to make soap biscuits. Take the soap biscuits from your inventory and click them on the table. George makes the tabletop nice and slippery with the soap.
Leave the pub but immediately go back inside. Mike and Steven are back at their table. Talk to the two idiots again and ask about your room again to wrestle another game. George is now winning the arm wrestling because you have just made the table on Mike's side slippery. Mike now tells George that he just has to give a firm kick to the door of his room to open the door. So go back upstairs and click again with the key on the door and ........
George puts the key back in the lock and then gives the door a firm kick and .....
Well ....... we don't see what happens further in the room. George flies back to Paris and we are then in:
Chapter 3: Back in Paris
It is the next morning and George is back in Nico's flat. George couldn't find Nico and he doesn't know where she is. George thinks about what he has heard from the bartender about an exhibition organized in a Paris museum. The only museum that George knows in Paris is the Crune Museum. George hopes he can still find the Crune Museum. Leave the flat and look for the map on the street and then go to:
The Park behind the Crune Museum:
Because George no longer knows the location of the Crune museum, he does not end up at the museum but in a park behind the museum
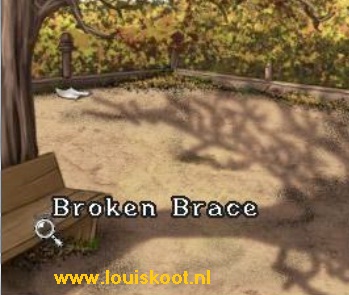
A man with handcuffs chained to his feet sits on a bench. On the bench that stands by the tree is broken Brace.
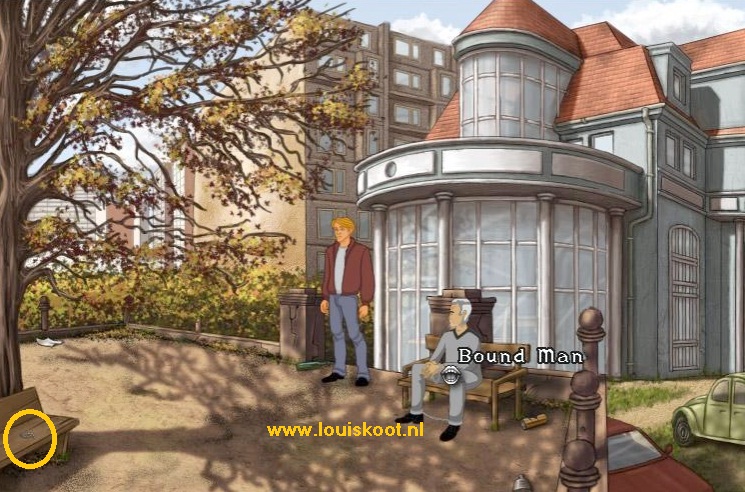
Talk with the Bound Man. The man introduces himself as Dr. Blackter.
The crime of Blackter is that he ate one of his patients. Blackter wants to tell George where the Crune museum is, but only if George first tells some personal things about himself. If George does not answer truthfully, Blackter will not tell where the Crune museum is. Blackter wants to know the name of George's girlfriend, so tell the truth that this is Nico. The conversation then continues and Blacter then tells George how to get to the Crune museum
When the conversation is over, take a look at the Bracket on the other bench. It's a broken dental brace.
Leave the park, via the beckoning hand to the left of Blackter. You end up on the map again, so click again on the Musée Crune cross and ... You hear George then say that the Crune Museum is closed due to renovation and now the other location crosses also appear on the map. Now go to :
The Café de la Chandelle Verte:
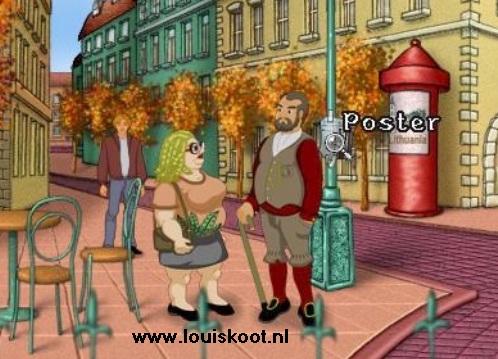
2 Passerby's are talking on the sidewalk in front of the Café. Those 2 persons have a problem they know no solution for. There is now a Poster on the lamppost. View the poster with your magnifying cursor and you will read that a fund-raising campaign for the 3rd World is being held in the church of Montfauçon. George now thinks that this is it .... that he should go to the Church in Montfauçon. So click with the pointing hand on the dark green houses to return to the map and then travel b to:
Montfauçon:
When you arrive at the Café in Montfauçon you continue walking to the right and you go up the stairs to the church.

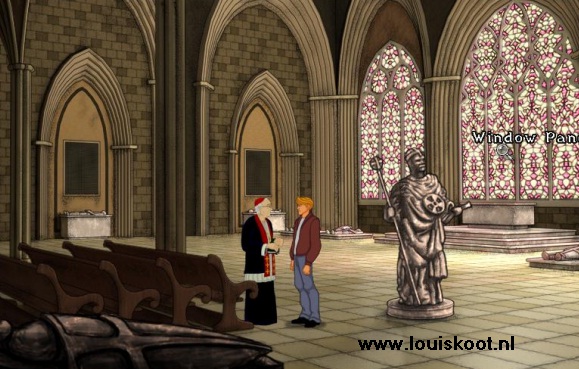
George is then at the entrance of the church. Walk one screen to the right and then talk to the Priest. Use all the talk options you get.
When you get 2 Thumbs during the conversation, just click on the Thumb Up, because you don't want to lie to a priest, do you? You could end up in Hell ...
This conversation wasn't very useful. View the large middle stained glass window with your magnifying glass. George notice the word "Baphomet" in the texts that are stained on the large window. However, beneath the "Baphomet" word there is a smaller word that George cannot read properly. Leave the church again. A group of tourists has arrived again in the street.
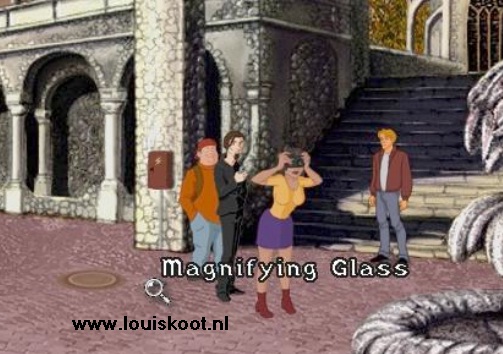
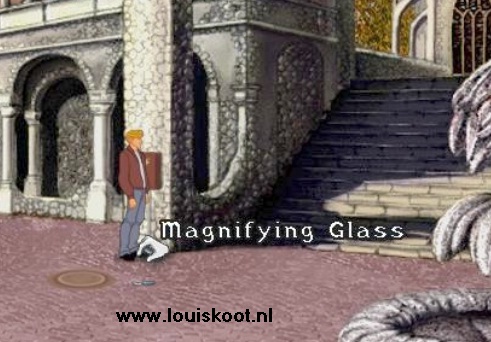
Between the 3 tourists and the manhole cover there is now a Magnifying Glass on the ground. View the magnifying glass. George thinks one of those tourists dropped the thing. You cannot take the magnifying glass now. Continue to the terrace of the Café and then click with your gear cursor on the leftmost table to take a seat. George, however, sits down at the front table. The waiter comes out to take George's order.
You can order an ice cream, a cake or a cup of coffee. Order a cup of coffee. When the waiter brings the coffee, click on your euros to pay. In the meantime the tourists are walking away, so click on the curl arrow to close the bottom bar. George gets up again and the waiter returns to the cafe. Well ... the tourists are gone, but the magnifying glass is still near the manhole cover. So now take the Magnifying glass.
Go back into the church and walk to the right again. Take the magnifying glass from your inventory and click it on the large stained glass window.
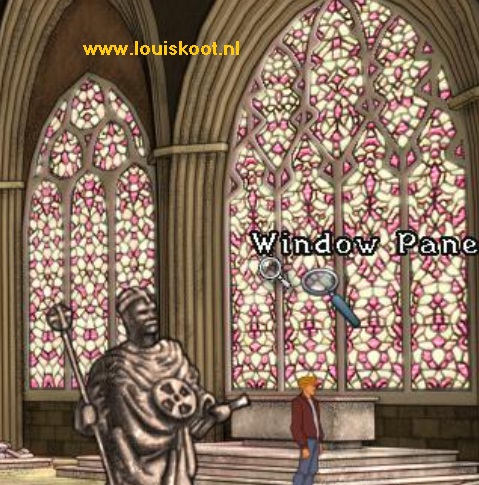
Now George can read that little word and he reads "Soué".
Leave the church again and walk down the street again to the left until the map appears again. Go back to the:
Café de la Chandelle Verte:
The 2 passers-by are still standing on the sidewalk. Click with your talk cursor 2 or 3 times on these 2 passers-by
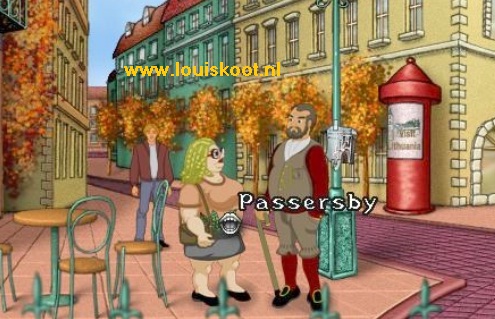
George then screams the "Soué" word and that is exactly the solution for the problem of these 2 passers-by. Now you can talk to these 2 passersby, so use the conversation options. The woman then says that the Templar exhibition is probably in the Natrès Museum. This Natrès museum is near Montfauçon. So look up the map again and then click on the Musée Natrès location.
Natrès museum:
George ends up in the hall and at the ticket office. The 2 ticket sellers are in the counter but they are standing with their backs to George
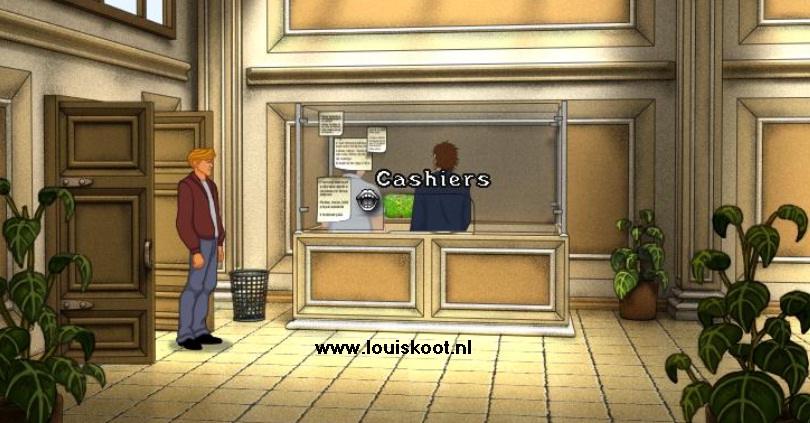
Click the ticket sellers with the talk cursor. The right guy turns his head to George for a moment and says that George should buy back later. They don't have time to sell tickets because ..... they are watching a football match on the TV. George also has no money, so he must secretly get into the museum. As long as those 2 ticket sellers watch football, and therefore don't face George, you can sneak into the museum without paying. So go quickly right , into the corridor and ..... At the entrance of the museum room stand a Watchman Talk with the Watchman
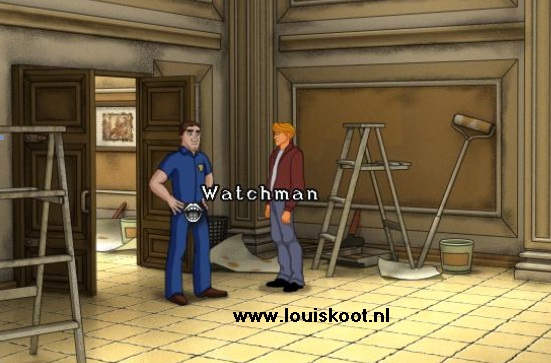
The main hall is being renovated, so the watchman may not admit anyone. The hall will be open again for visitors in 2 months. Talk extensively with the watchman about all topics. The watchman is a football fan. You get the Football options via the Sun option. So continue talking about Soccer and George tells the watchman that the 2 ticket sellers are currently watching the France-Germany match in the ticket office. However, the watchman may not leave his post. He has asked to have the day off today, but he did not succeed.
When you have asked everything and all conversation topics have disappeared, close the conversation topics bar with the arrow. Then immediately click again with your talking cursor on the watchman and .... George now comes up with a plan. George walks away for a moment and around the corner he screams that a penalty has been given to France. Zinedine Zidane will take the penalty.
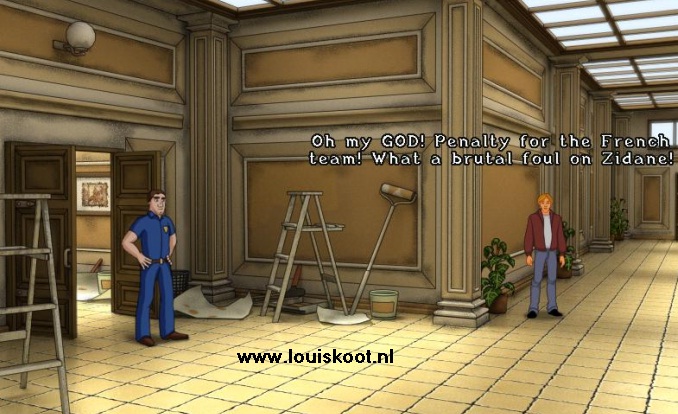
The watchman asks George if he can take over his watch duty so that he can secretly watch the game. The watchman now leaves to watch the game secretly. Quickly ... now that watchman has left you enter the main hall. A worker is busy in the hall. There is a display case in the middle of the room. In front of the display case there is a standard with a Magazine . Look at the display case with your magnifying glass. There is a piece of parchment in the display case
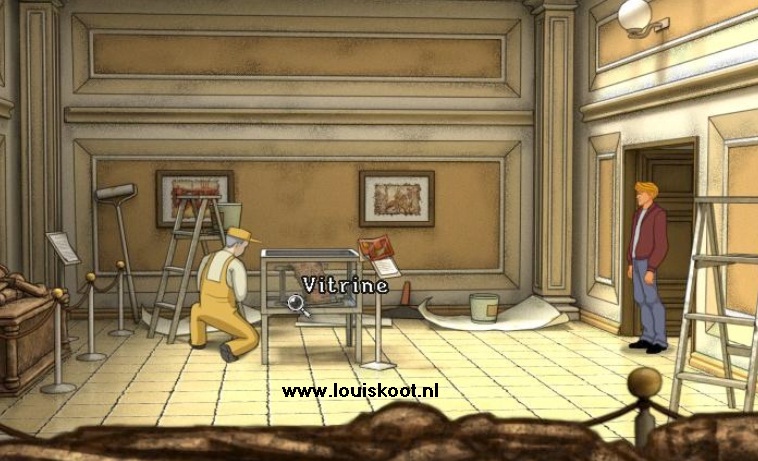
Take the magazine. Look at the magazine (right-click) in your inventory.
Now that you have taken the magazine, George can read the information sign in the display case. So now click with your magnifying glass on the info Plate.
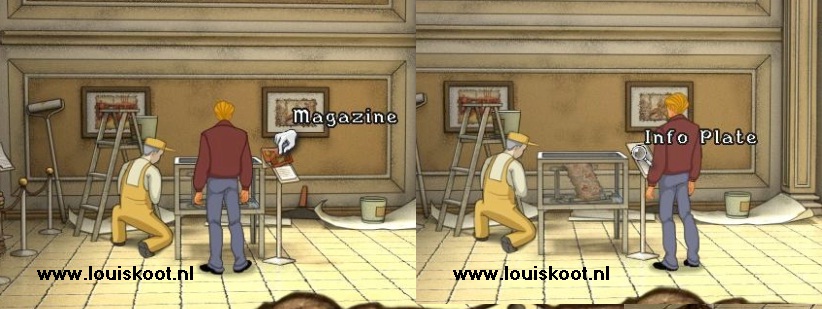
George now reads that the piece of parchment comes from a follower of Jacques Molay.
The parchment tells about the Seal of the Knights Templar and tells that the trail refers to a place called Tomar, in Portugal. George must now go to Portugal.
Leave the room and go back to the ticket counter in the front hall and then leave the museum.
Click on the map again, top right, on the Airport Arrow and ..... George takes the plane again and ends up in:
Chapter 4: Portugal
Tomar:
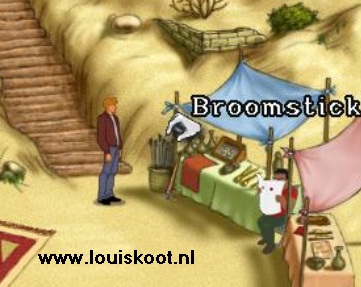
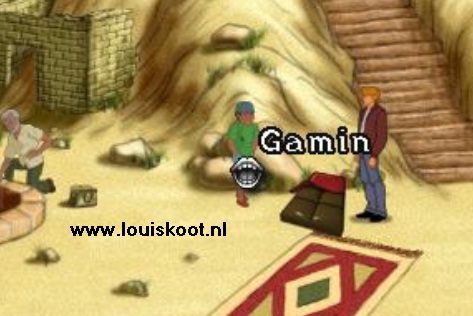
George has landed on the archaeological dig site, near Tomar in Portugal. To the right is a souvenir stall. The souvenir seller is reading the newspaper on his stall. A Broomstick is standing against the green / blue stall. At the left of the stairs is a boy named Gamin. The Archaeologist sits at the deep well. Just before the Archaeologist is his Bag. A wristwatch is located on the edge of the well.
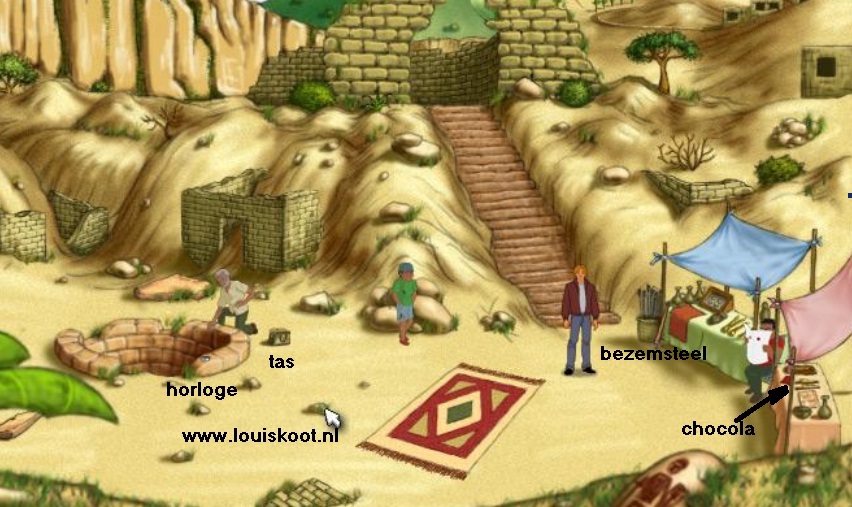
Take the Broomstick, that stand against the green / blue stall
Walk to the well and then take the wristwatch. George sees a few letters on the watch that looks familiar.
Click with your hand on the Archaeologist's Bag. George don't want to steal things from the bag, but he does take a Wire from the bag.
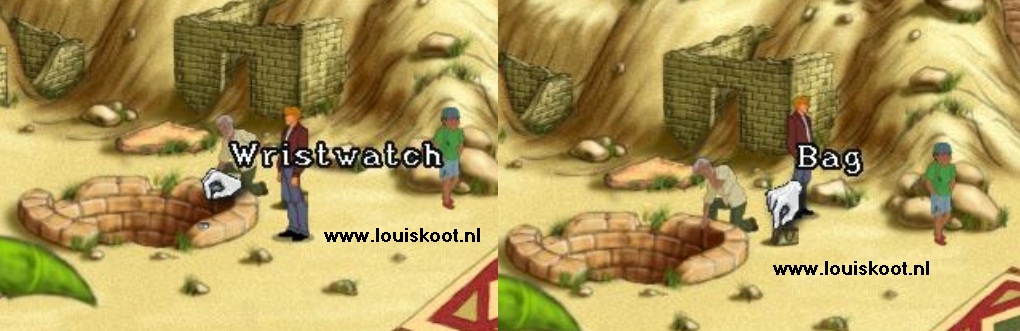
View the Well. George tells you that the well is 4 meters deep.
Talk with the Archaeologist and use all conversation options again. This is Professor Arruda and he has a lot to say.
The well is not a well but it's a Cistern, an ancient underground rainwater reservoir. The professor has a lot to tell about the history of the Templars and their presence in Portugal. So listen carefully to what the professor says. The professor thinks that the Seal of the Templars is hidden in the well, and the professor also talks about the connection between the Templars and China. The Professor thinks the Seal is hidden in the well. If the "Seal of the Templars" is ever found, then the Templars will return. However, the Portuguese Government has forbidden any further excavations of the well. Nobody is allowed to descend into the well.
When you are finished talking to the Professor, you go and talk with Gamin, the boy standing by the stairs.
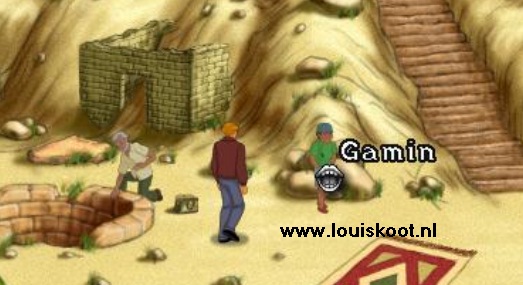
Gamin lives here and earns his money as a shoe cleaner. Ask Gamin about the well. George asks if Gamin can briefly occupy the professor so that George can descend into the well unseen. Gamin wants to do that, but only if George can give him some chocolate. The souvenir seller sells chocolates, but Gamin has never managed to steal a box of chocolates.
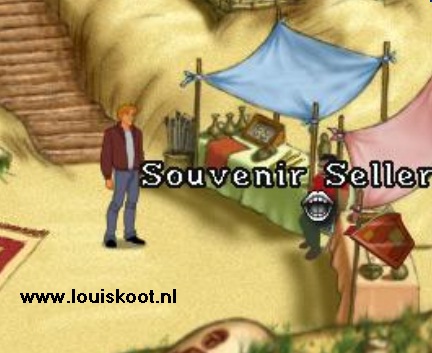
Go talk with the souvenir seller. Use all options again, but especially the Chocolate option. The souvenir seller has lost his wrist watch and he does not want to give George a box of chocolates as a gift. When you are finished talking with the souvenir seller, you end the conversation with the arrow. Then take the wristwatch from your inventory and click it on the souvenir seller.
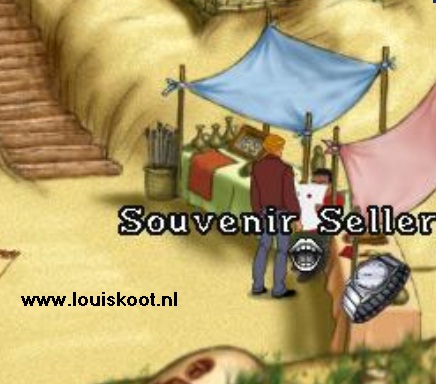
As a thank you George gets a key ring in the shape of an anchor. Talk to the souvenir seller again and talk to him about the newspaper he is constantly reading. The man has read his newspaper over and over and he's bored with it. Gamin has said that if the souvenir seller is reading his newspaper, he does not have a good view of the things in his stalls. There is a box of chocolate on the yellow stand. But if you try to grab it now, the seller will see this because he is not reading a newspaper now. In your inventory, combine the Broomstick with the Wire and then with the Anchor. You have then created a Fishing Rod. Take the Magazine from your inventory and click it on the souvenir seller.
George gives the magazine to the seller who will then read it.
Quickly take the home-made fishing rod from your inventory and then use your cursor to find the box of chocolate on the yellow stall.
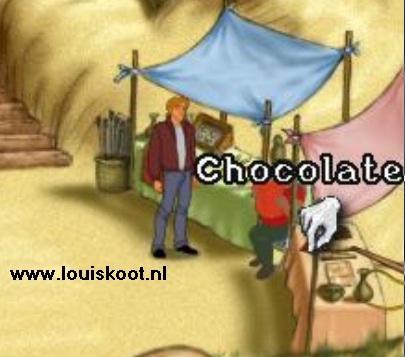
Make sure you have the Fishing Rod on the Gray Hand on the Chocolate box. Then click to fish up the box of chocolate.
Then give the Chocolate to Gamin and ....
Your screen turns black again while Gamin steals the professor's bag and runs away with it. The professor runs after Gamin.
The professor has now disappeared, so click with your hand in the Put and ....
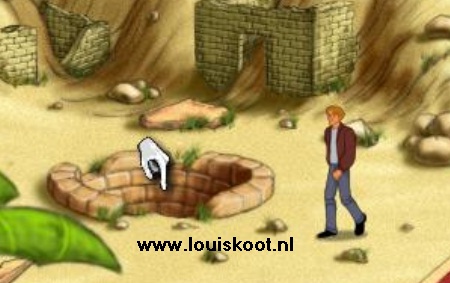
George climbs down the well and ends up at the bottom.
At the bottom of the well:

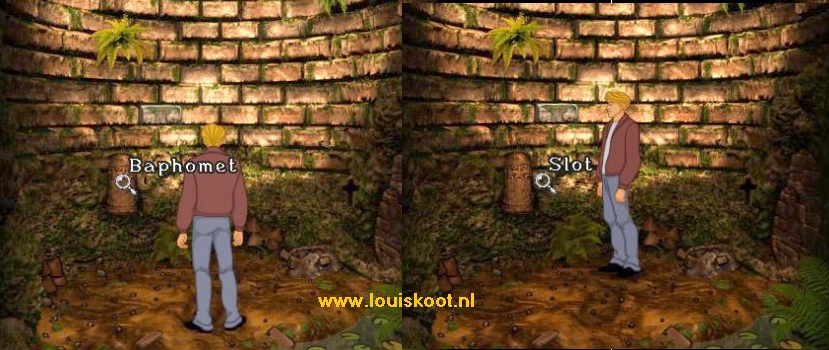
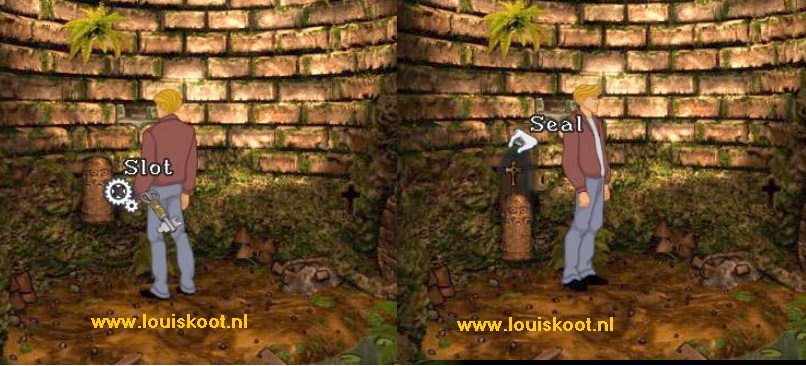
In the well wall you can see the Head of Baphomet. Right next to "Baphomet" is a small Slot. On a Brick above that hole you get the gear cursor. Right next to George is a Heap of Debris. Above the debris you see a cross-shaped slot in the wall. Look at "Baphomet" with your magnifying cursor. Look at the small Slot with your magnifying cursor
Look at the Heap of Debris with your magnifying glass. There is something hidden in the debris. Click with your Hand on the debris and George finds half a key.
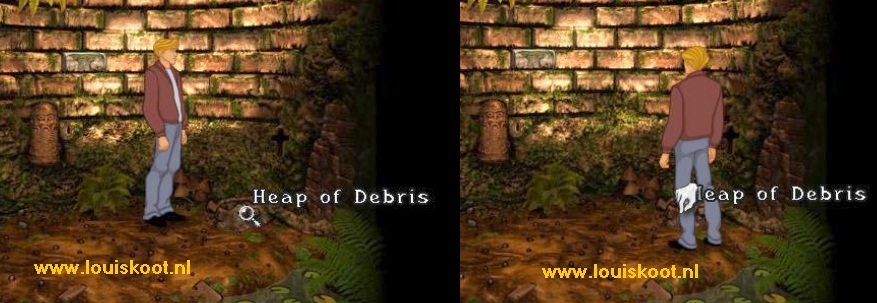
George says that the other half of the key must also be hidden somewhere here. Look at the Cross-shaped slot (Deepening) with your magnifying cursor, but George doesn't find it interesting. Take the Screwdriver from your inventory and then click it on the Brick above the Slot and ..... with the screwdriver George breaks the stone from the wall and ... finds the 2nd half of the Key. Take the key piece.

Right-click in inventory on the Fishing Rod to dismantle it again. Then combine the Wire with the 2 key halves to tie the two halves together into one key....Save Your Game Now....... Then take the Key from your inventory and click it on the Lock, right next to "Baphomet" and .........Baphomet slides down and the seal cross hangs in the little niche. Take the Seal .....
George now wants to climb back out of the well, but then he hears voices. The professor is back but he is not alone. Guido and Flap pop up and Flap shoots the professor while Guido looks into the well. If you now try to climb out of the well through the beckoning hand, George is shot dead. So don't do that. Quickly take the Seal Cross from your inventory and place it in the cross-shaped groove (Deepening), which is above the debris heap, in the wall.
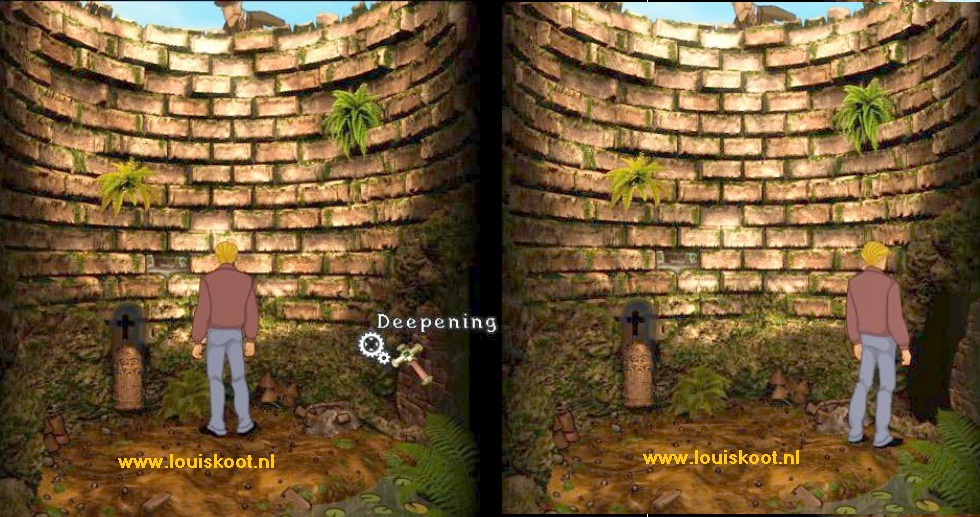
Part of the well wall slides open. George has opened a secret exit and ..... George escapes again and we end up in:
Paris:
Rue Jarry: Nico's flat:
There is a letter on Nico's table. Look at the letter with your magnifying cursor.
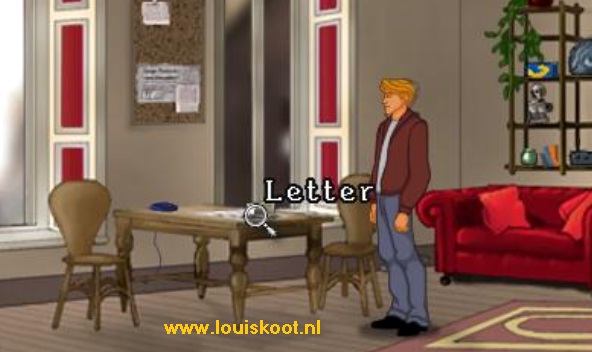
It is a letter from Nico in which she asks George to come to Beijing, the capital of China. In Beijing George has to find a man named Brai who will then bring George to Xi Hang where he will meet up with Nico. Well ... leave the flat and go on the map and click on the map on the Airport arrow to take the plane to:
Chapter 5: China:
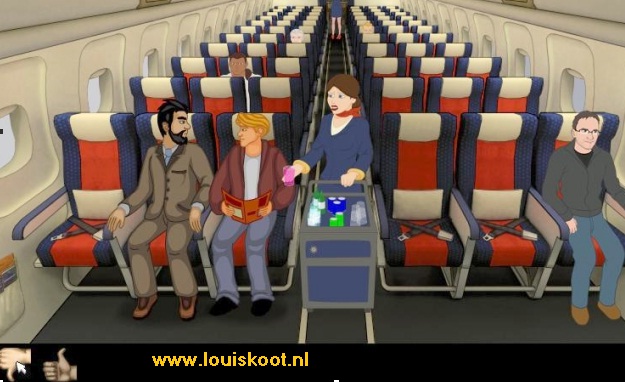
A: Aboard the Airplane:
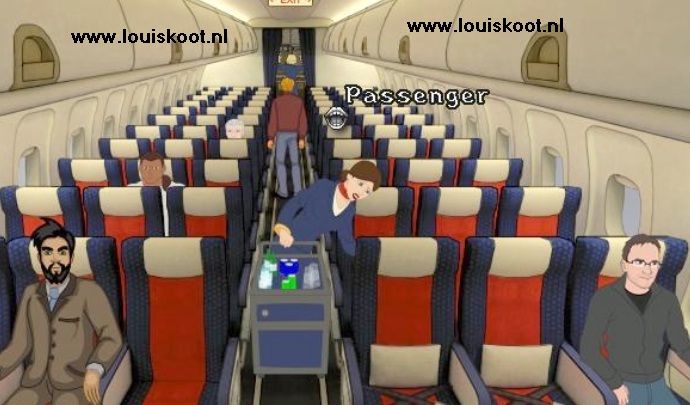
George is sitting on the left in the front row of seats. There are 2 stewardesses. One of the stewardesses goes with her cart down the aisle to provide the passengers with food and drink. The other stewardess is busy in the back. The front stewardess will come to George. When the stewardess is standing with her cart between the seats, George cannot walk backwards in the plane. The stewardess stays with the white-haired man who is wearing a gray sweater. There is a Coke can in the cart of the front stewardess.
Don't wait for the stewardess to come all the way to George. Click with your hand on the Coke can , in the cart of the stewardess.
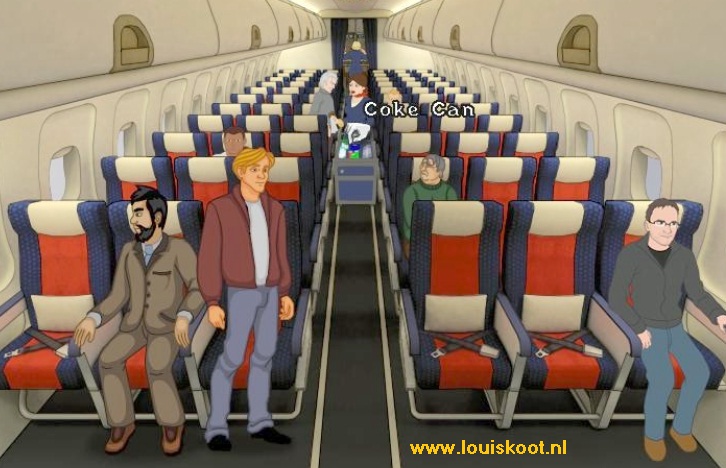
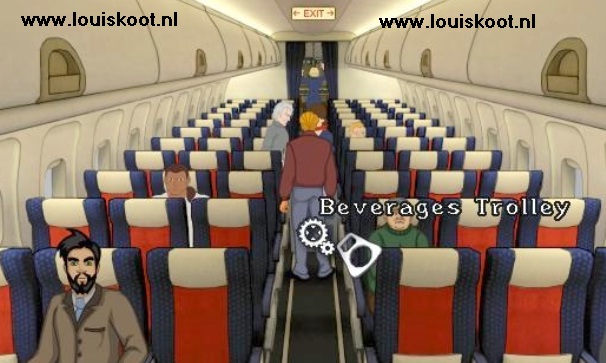
George gets up and walks to the cart and grabs the Coke can. In inventory you then right click on the coke can. George wants to drink the coke but the washer breaks off the can. You then have a Coke can and the broken washer in your inventory. George hopes that there are more cans of coke in the cart. So click with your magnifying cursor on the Beverages Trolley .........
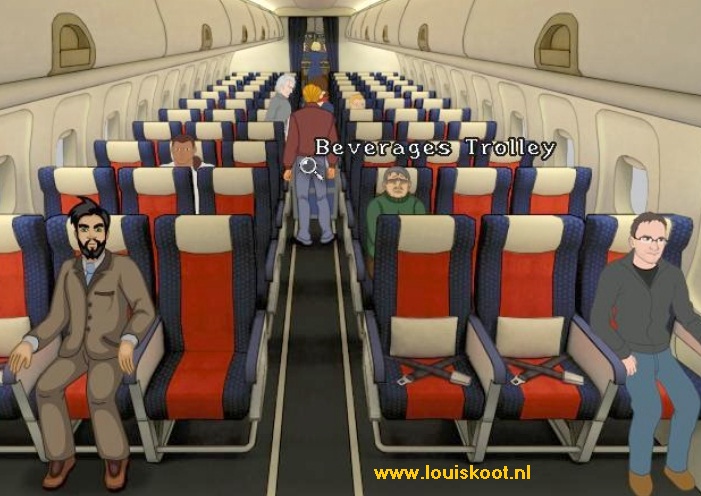
But there is no coke anymore but the stewardesses says she will be picking up new cans of coke from the pantry.
There are 4 passengers in the front half of the plane. Go talk to the guy in the green sweater, who is in the second row on the right. His name is Siegmund Braun.

Braun is somewhat visually impaired and he has lost his glasses and he thinks George is the pilot. Close the conversation but immediately talk to Braun again. You now get 2 George Icons in the conversation bar. The left George is George as a passenger and the right George is George as Steward. Click on George as Steward, so click on the right George.
George now pretends to be the Steward, and he asks if Braun wants something to drink. Braun wants a fruit juice. Close and Right-click with your magnifying cursor on the stewardess' cart. However, George cannot see what else is in the cart. He sees a small hatch in the cart, but that is closed. Take the Coke can's Washer from your inventory. Then place the washer on the gear cursor on the cart (you have to read Beverage Trolley again) and then click in the hope that you can open that hatch with the washer. But unfortunately .... the metal washer is too thick.
On the left side sits a Muscular Man in a white sweater. Talk to the Muscular Guy. This is Armando. Continue to talk to Armando.
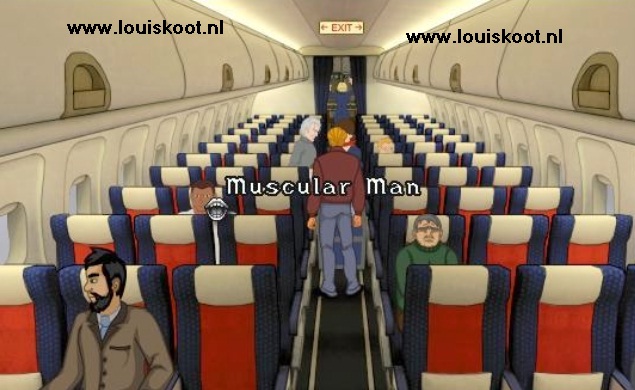
Armando is Argentinean and he is Bodybuilder. Close when you've completely talked to Armando. Then click on Armando with the Coke can's Washer .
George asks if Armando can bend the metal washer for him.
Armando wants to do that, but he is thirsty and the stewardess is not coming. So give the Coke can to Armando.
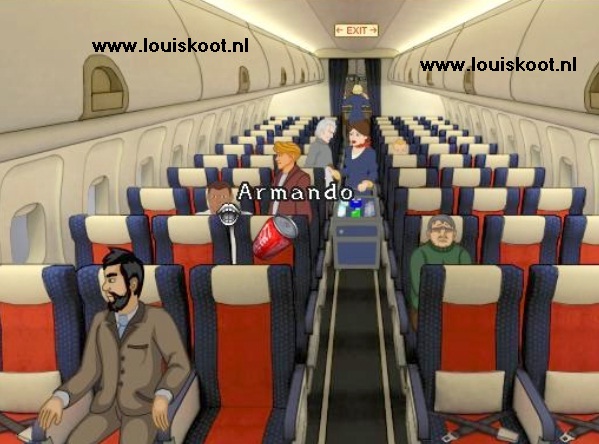
It is no problem for Armando to open the Coke can. Armando quenched his thirst and as a thank-you he bent the washer for George.
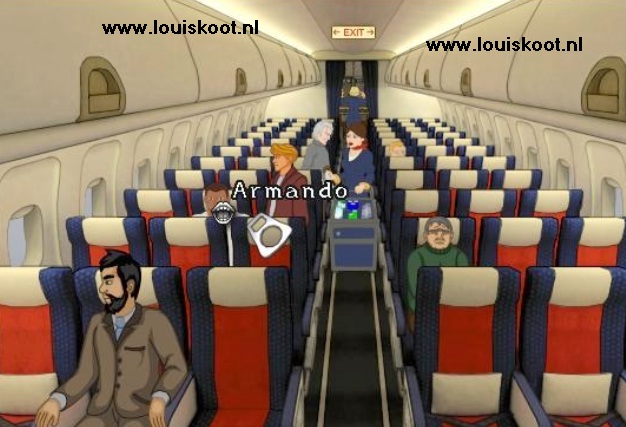
So grab the bent washer from inventory and click it again on the stewardess' cart. The hatch of the drinks cabinet will open.

Now click 4 times with your magnifying cursor on the beverages Trolley and each time George takes 4 bottles out of it.

The 4 bottles appear at the bottom of your screen. Then click on 1 of the 4 bottles to place that bottle in your inventory. So do this 4 times. In the end you have 4 bottles in your inventory. You then have a bottle of beer, a bottle of spirits, a bottle of wine and a bottle of fruit juice. You will automatically recognize what's inside by the shape of the bottles. Take the bottle of Fruit Juice from your inventory and then give it to Siegmund Braun.
Braun drinks the fruit juice and returns the empty bottle. You now have an empty Fruit Juice Bottle in your inventory. Click Braun again with your talk cursor and talk to him like George de Steward again, so click on the right George. You ask if Braun wants to drink something and Braun ordered another bottle of fruit juice. Combine the empty bottle with one of the 3 full bottles in your inventory, it doesn't matter which one. Then take the, again full, fruit juice bottle from your inventory and give it back to Braun. Braun drinks the bottle empty again and returns the empty bottle. Braun has enjoyed the drink and he wants another one. So combine the empty fruit juice bottle with one of the 2 remaining full bottles in your inventory and then return the fruit juice bottle to Braun. Braun drinks the bottle empty again and ... well ... this was too much for Braun. Braun is now knocked out and the stewardess is coming to investigate what is going on with Braun. George can now go back down the aisle.
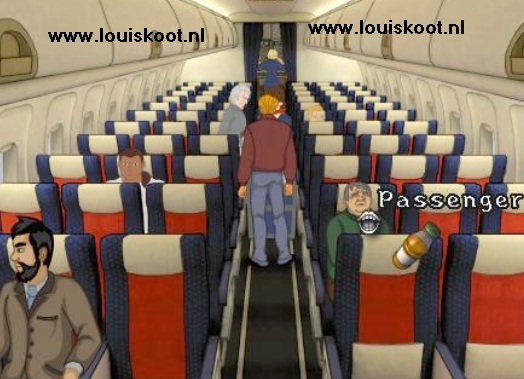
There is another passenger 4 rows behind Braun. Click with your talk cursor on that guy, who is 4 rows away on the right.
George then walks over to the passenger to talk to him. You get the Airplane topic. While you talk to the man, the guy who sat next to George gets up and orders a drink from the stewardess. The idiot you talk to is talking to you for a long time about his theory that the airlines are criminal organizations aimed at poisoning their passengers. When this nonsensical conversation has ended, the stewardess has walked on with her cart and has reached the end of the seats. The stewardess is then completely at the front. Use the Gear Cursor to click on George's chair, so where George was sitting, and George walks back and sits back in place and reads in a magazine
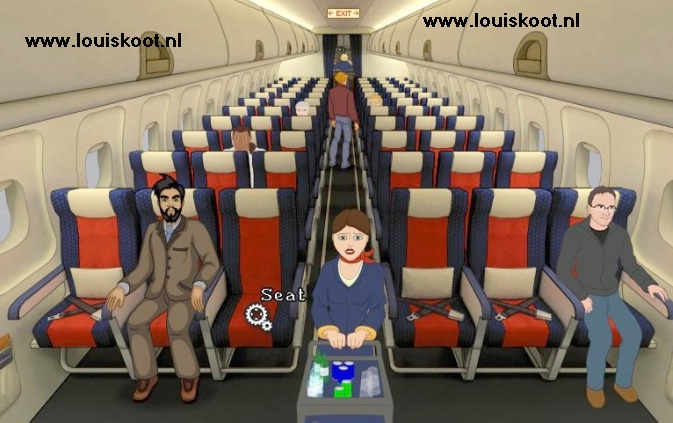
The stewardess then offers George a drink. George is surprised because he has not ordered a drink. The man next to George now introduces himself to George as Brai, the man whom George must meet in China. Brai has ordered the drink for George. You get the 2 Thumbs.
Click the Thumb Down to refuse the drink. George tells Brai that he does not drink alcohol, but Brai insists. Click again on the Thumb Down and ..... it will be:
An hour later:
Brai is now sleeping next to George. On the floor, in front of George, there is now a Wallet and a few Coins.
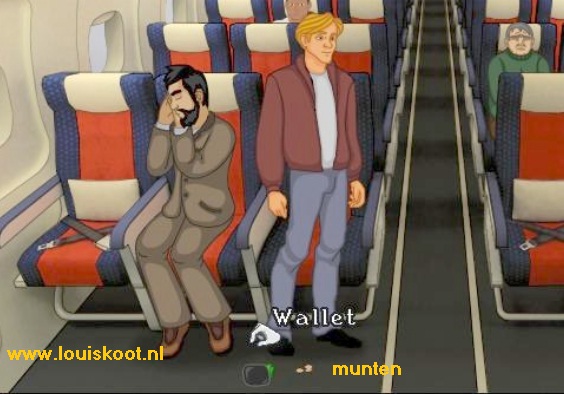
Take the wallet and the coins. Then right-click in your inventory on the Wallet. A photo comes out of the wallet. It is a photo of Prince Chen-Yang of Xi Hang. The photo shows a date ... July 18, 2002. Right-click in inventory again on the Wallet and ..... The Seal Cross is now coming out of the wallet. Brai wakes up and Brai and George start talking in the toilet.
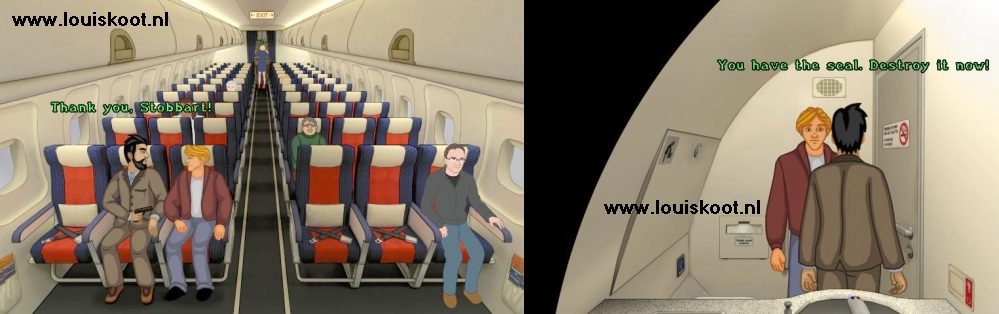
Brai says he is not a Templar. Use the seal cross topic and then all other topics and fully deplete them again.
Brai says that he works for the French Secret Service and that he has been researching the Neo-Templars for 7 years. He contacted Nico when he found out that Nico was infiltrated into the Neo Templar group because of her uncle. Continue to talk about Nico. Nico's uncle was Brai's contact in the Templar group. Also use the Newspaper topic. Brai says that Nico has refused to kill the mayor and she, together with her uncle, has fled the Templar group. Brai derailed the train in York to take out George.
When the conversation ends, we finally end up in China.
B: The Secret Temple of the Templars:
Brai, George, Nico and Khan discuss the plan. We are close to the secret temple.
Brai has explosives but a decoy is needed and guess what .... that will be George. The whole party is then at the top of a staircase.
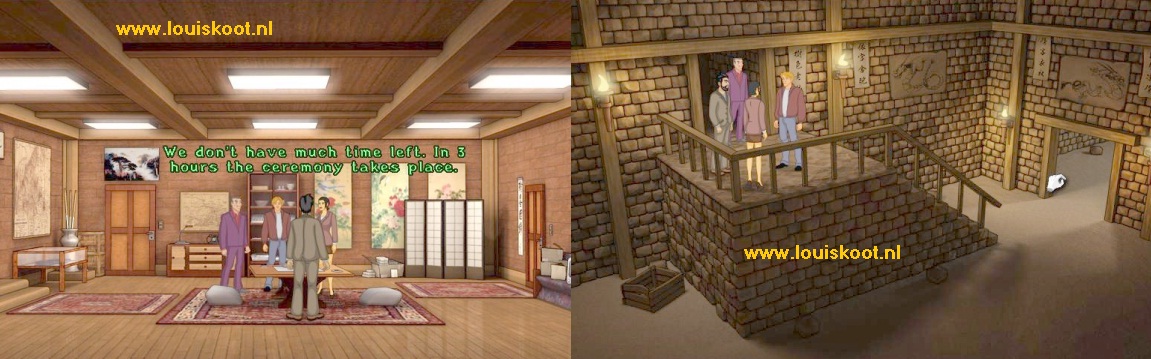
Go through the gate, down the stairs and George ends up in the Temple. Grandmaster professor Arruda leads the mass. To the left of George is a Rock on the floor.
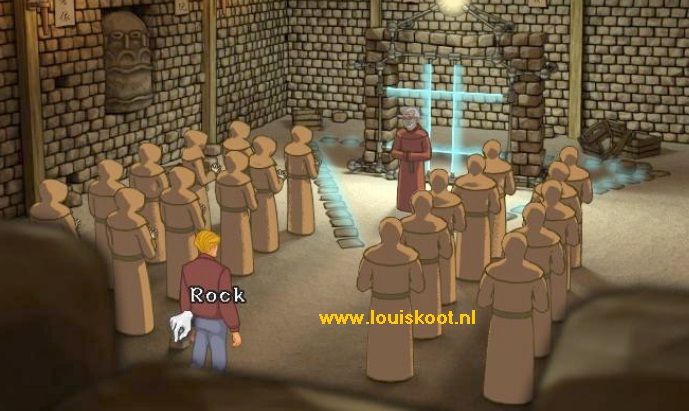
Take the Rock and combine it with the Seal Cross in your inventory. George grinds a sharp point on the seal cross with the rock.
SAVE YOUR GAME NOW
Talk to Arruda and be alert to act quickly when you get control again
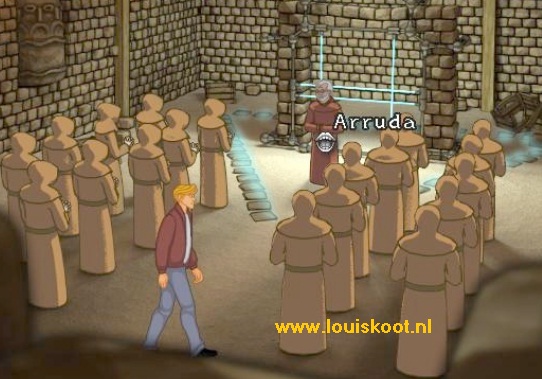
Brai also sneaks in during the conversation. Brai places a time bomb behind the altar and goes in hiding again. At the end of the conversation,
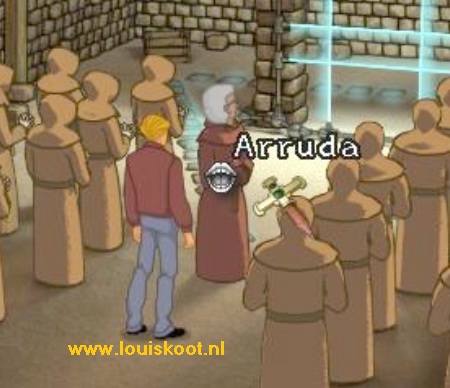
Arruda orders George to give him the Seal Cross. A short scene then follows in which you cannot do anything for a while.
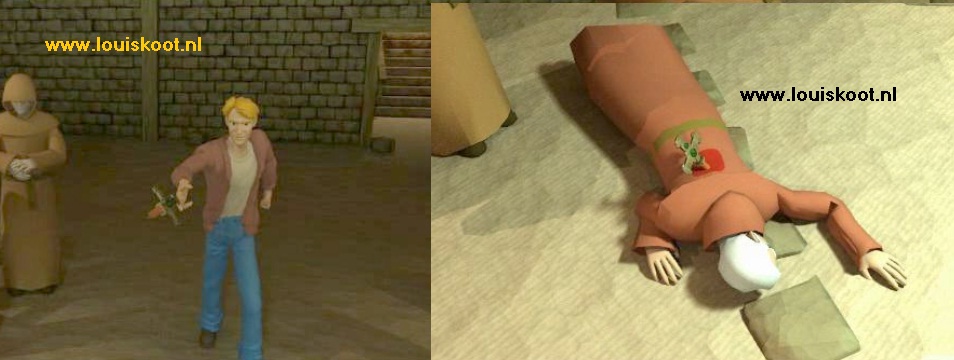
As soon as you regain control, take the Seal cross from your inventory and click it on Arruda and........
George throws the sharply sharpened cross in the back of Arruda, who does not survive this.
We then see the time bomb and .... well ... the bomb explodes and nobody in the temple survives this.
Fortunately George was able to escape. George, Brai, Khan and Nico survived. Well .....All is well that ENDS well
The credits then roll over your screen. At the bottom of your screen you will see a WIN CODE.

Note this WINCODE. The WINCODE is always different. Go to the site where you got the url at the Win code. Enter your WIN CODE on that site and you will be taken to the BONUS page where you can view and listen to things that has not made it the game
NB: I haven't checked whether this site still exist now in 2019 and frankly I don't care...go check it out yourself
2013: Original Dutch Walkthrough by: Louis Koot
2019: English walkthrough by: Louis Koot