
2023 :Walkthrough by: Louis Koot
If you have found this walkthrough via google search or via another site then you have probably not visited my site.
A lot more very detailed game walkthroughs can be found on my site at: www.pcgameswalkthroughs.nl
After starting the game, you can choose to do the tutorial or to skip this
If you do the tutorial you will learn how to look at something closely with the magnifying glass cursor and pick something up with the hand cursor. If you do not need to do the tutorial and want to go straight to the game then you can skip the tutorial. While playing you open the inventory by moving the cursor to the top of the screen. At the top left of your inventory you will find Carol's diary. Your tasks are listed here. Click on a task on the left page and on the right page you can read how to complete that task.
Carol's Apartment (Home)
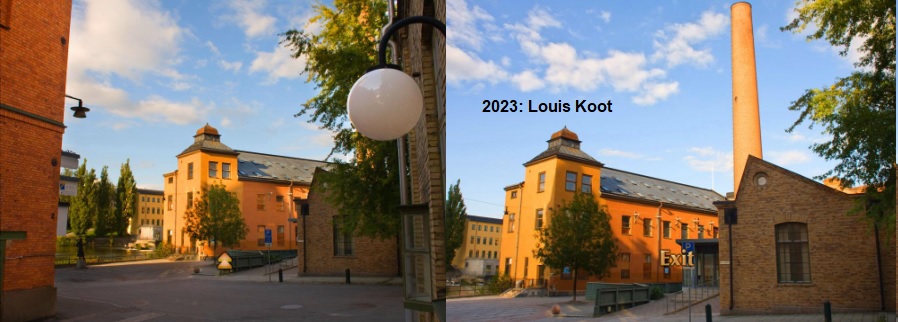
As usual, this Carol Reed game also starts with Carol's voice and a few pictures of the town of Norrköping, Sweden, where Carol Reed's adventures take place. And then the game starts in Carol's bedroom. As It's summer vacation and Carol thinks she can sleep late. However, she forgot to turn off the alarm clock, so it promptly goes off at 7 o'clock.
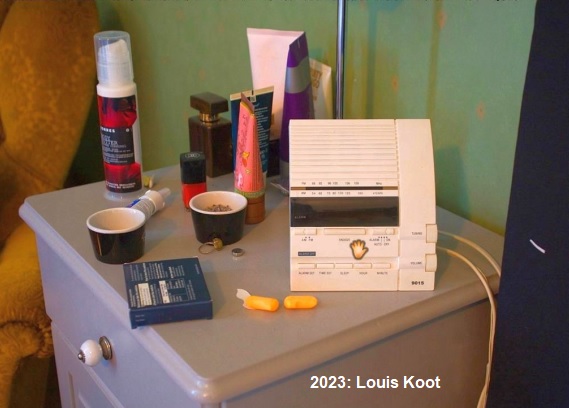
Click on the alarm clock to turn it off. Then click the arrow at the top of your screen to get out of bed. If you want, you can neatly make the bed by clicking on it. Exit the bedroom and you'll be in the hallway, facing the front door. Turn right twice and you will see the living room.
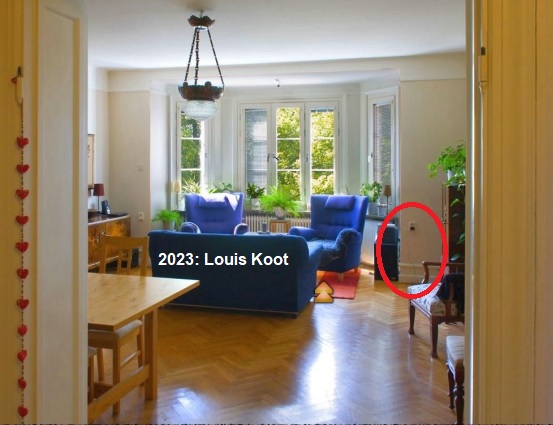
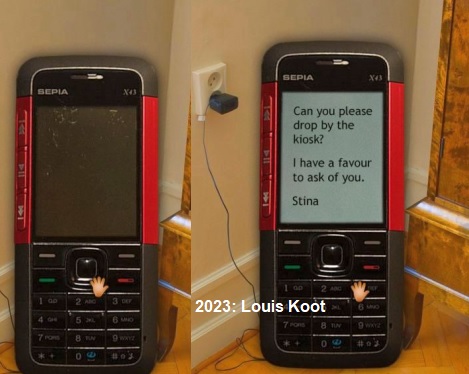
Enter Carol's living room. On the right wall you see a socket with a plug in it. Carol has put her cell phone on the charger here.
Take a step towards the blue armchairs and turn to the right. Pick up the cell phone.
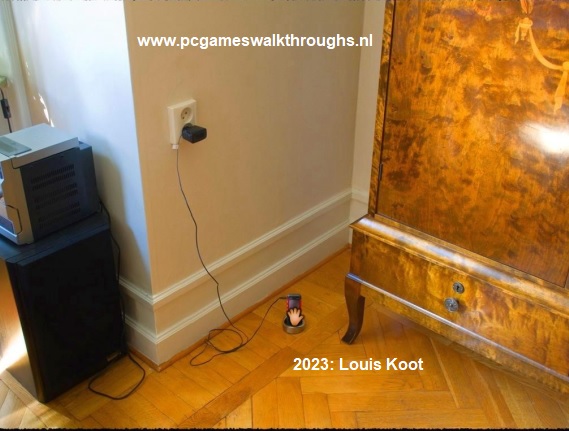
Press the middle button and Carol sees that she has received a message from her friend Stina.
Stina asks Carol to drop by the kiosk to ask her a favor.
After you put the cell phone in your inventory, a map will flash in the top left corner. This shows the places you can visit during the game. At the moment these are Carol's apartment (home) and Stina's kiosk. Of course you don't leave without first searching Carol's apartment for things to take with you. In the living room you see a double white door. Open it and enter the study.
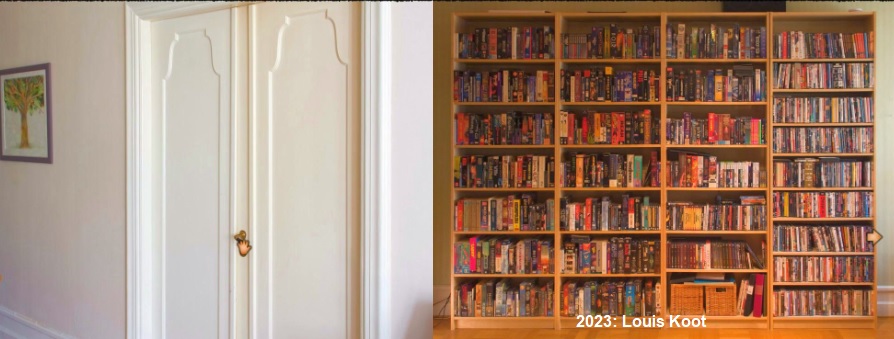
The bookcase is full of adventure games. Turn right to Carol's computer desk.
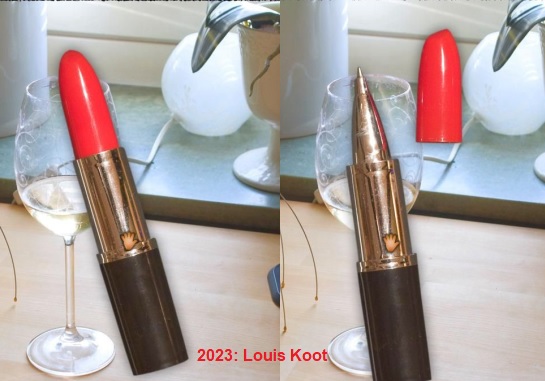
On the desk you see a lipstick to the left of the monitor. Take a close look at the lipstick and then pick it up

In the close-up click the lipstick to take off the cap. It's not a lipstick, it's a ballpoint pen. Always handy, so take it with you.
Turn to the right from the desk and you will see a dollhouse. To the left of the dollhouse is a little trash can made of wire.
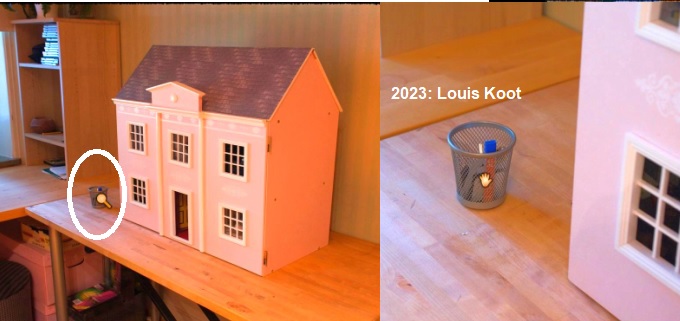
Click that little trash can and then take out a ballpoint pen refill.....click it to the inventory
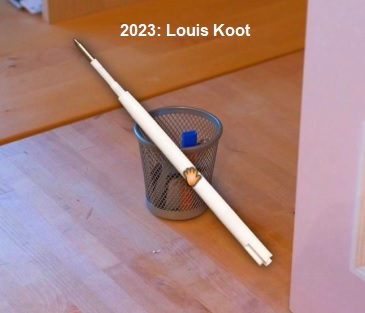
Move your cursor to the top of your screen to open up the inventory.
In inventory combine the ballpoint pen with the refill and you have a working ballpoint pen.

Exit the study and living room. Enter the kitchen.

Turn left to Carol's kitchen table. Carol's wallet is on the kitchen table. Pick up the wallet and open it.
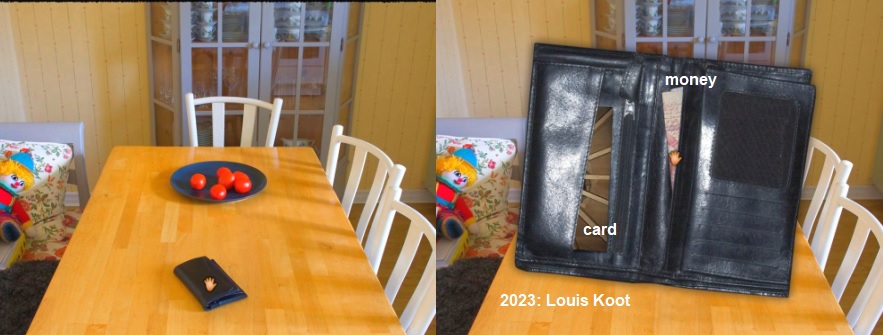
There's card and some money in the wallet. Take the money from the wallet and then take out the card to see what it is.
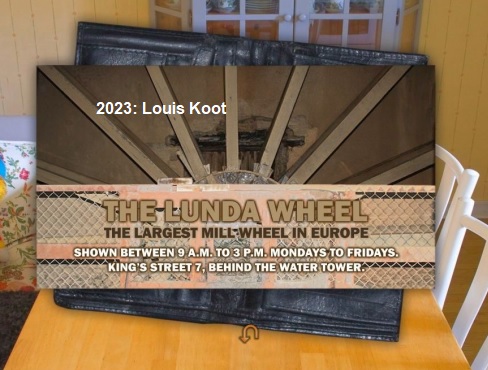
The card shows the address and opening hours of the "Lunda Wheel", the largest mill wheel in Europe.
Exit the close-up to put the wallet back on the table. Go to the hallway and exit the house through the front door.....
The map of Norrköping appears.
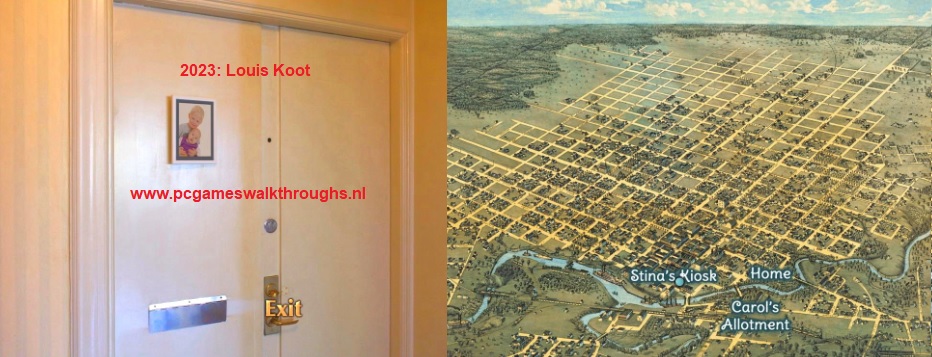
Via the map Carol can go to the different locations. Click on "Stina's Kiosk" on the map to go there now.
Stina's kiosk
Walk to the round kiosk. Read the note that Stina has taped to it.
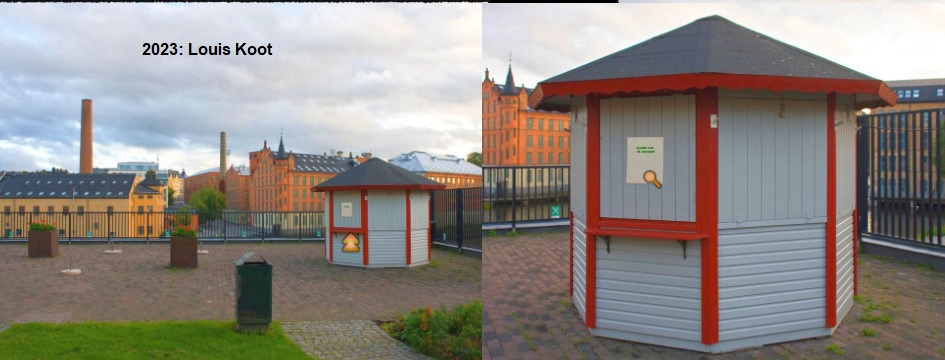
The kiosk is closed because Stina has an accident. Carol immediately decides to go to Stina's house, which will now be added to your map.
So find the "EXIT" here to get the map and then click "Stina's Home" to go there
Stina's apartment
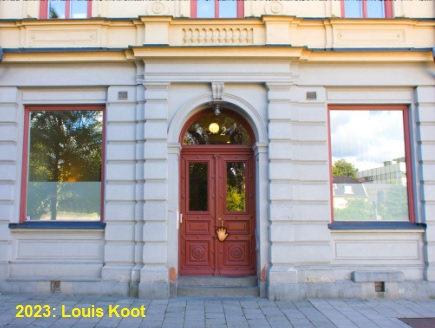
Click the red door and enter. Stina is in bed with a sprained ankle. Click on the dialogue options to talk to her.
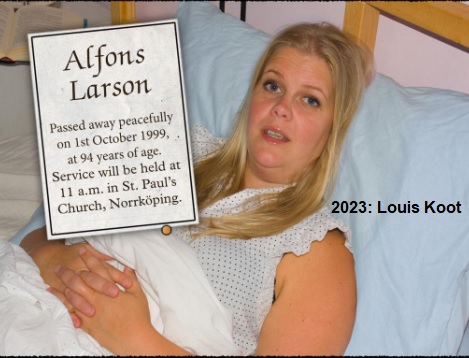
Stina says she was clearing out some things that were still there after her father's death, a year ago. She found an obituary notice from her grandfather, Alfons Larson. He would have died October 1, 1999, at the age of 94. And that's much later than what Stina always thought. Stina checked with the National Registry, but she was told that information about her grandfather was confidential and therefore not available. Stina still has a box of stuff in attic room 8. Carol offers to look into it for more information.
Stina's attic
Click on "Stina's Attic" on the map and you are immediately on the attic floor.
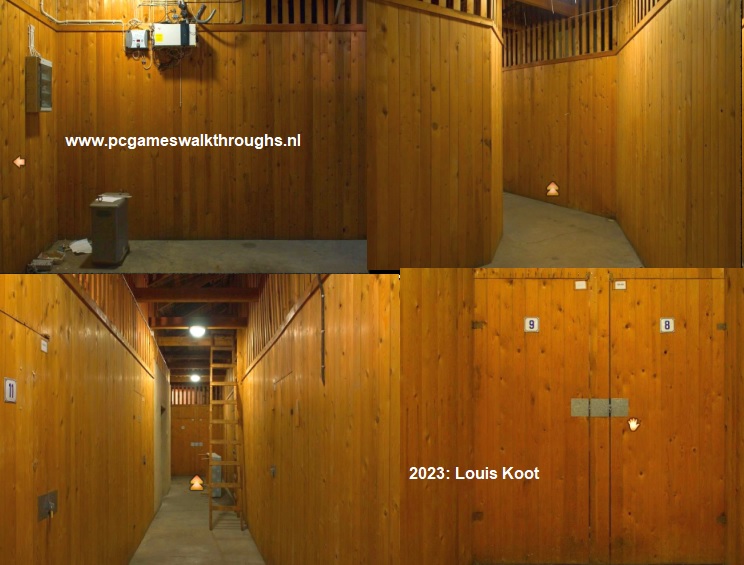
Walk down the hallway. Room 8 is at the very back, the right door. Go inside.
There's a banana box on a shelf, but Carol can't get to it because it's to high up. Turn right twice and you will see an old toilet block in the corner.
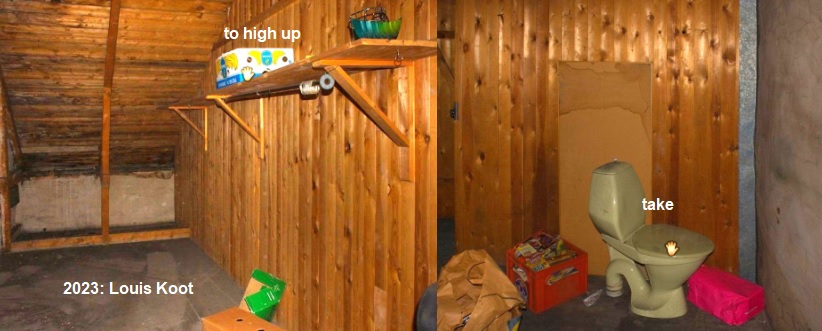
Pick up the toilet block and put the toilet under the shelf with the banana box. Then click on the banana box.
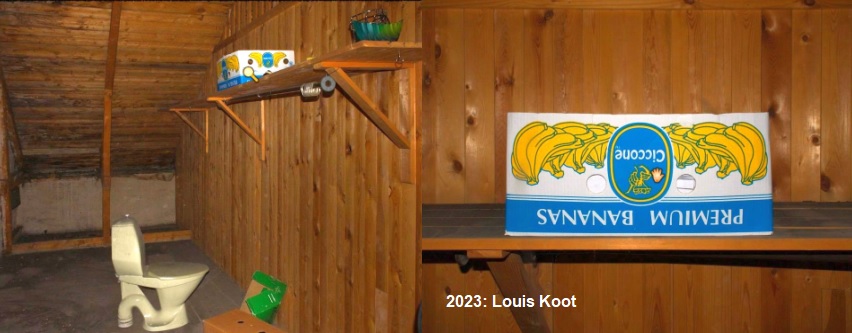
Carol climbs onto the toilet and can now look into the box.
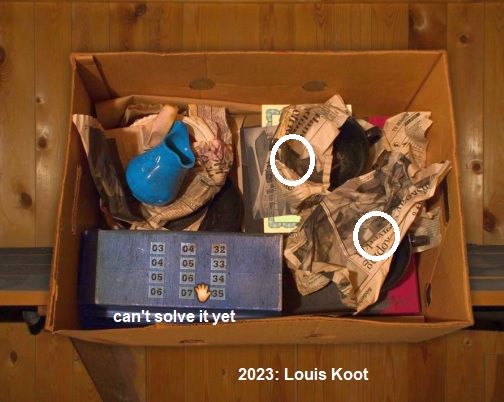
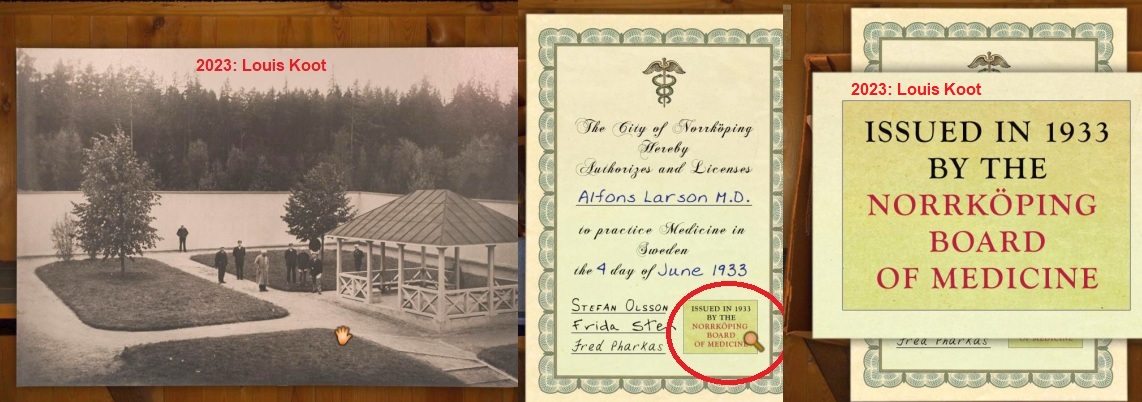
The first thing you notice is a box with number buttons on it. They look like dates, but you have no idea of a possible code yet, so you can't do anything with it for the time being. In the middle, under an old piece of newspaper is an old photo. Pick it up, you might be able to do something with it. You will also find a license to work as a doctor in Sweden under the old newspaper, in the name of Alfons Larson. This is Stina's grandfather's medical certificate. Click on the license at the bottom right. It was issued in 1933 by the Norrköping Medical Registry Office and this location will now be available on the map
Carol wants to look there for more information. Exit the attic.
On the map go to the Board of Medicine, the office that deals with registrations and licenses for doctors.
Board of Medicine
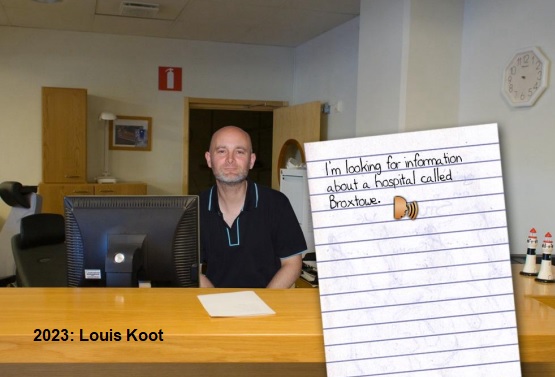
Enter the building and talk to the man behind the counter. Carol shows him the license and asks for information. The man searches his computer, but can't find anything. Perhaps the license was revoked before Larson's death. In that case, there would still be information to be found in the archive. Ask if you can look in the archive in the basement. The man says that only a small group of researchers is allowed there. Their names are on the paper on the counter. Ask the man to search the computer again.
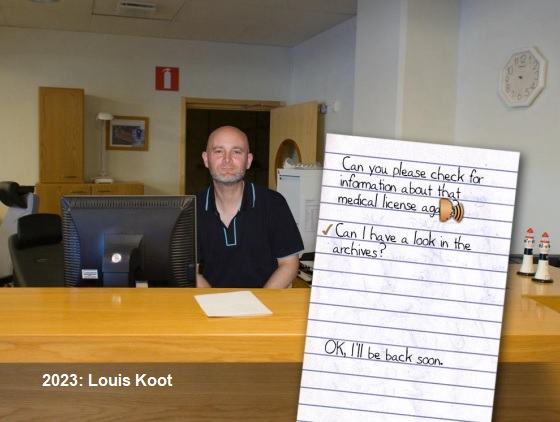
While the guy is searching his computer, take the list from the counter.
Take the lipstick ballpoint pen from your inventory and click it on the list. Carol writes her name on it.

Then you can have Carol say her name is on the list.
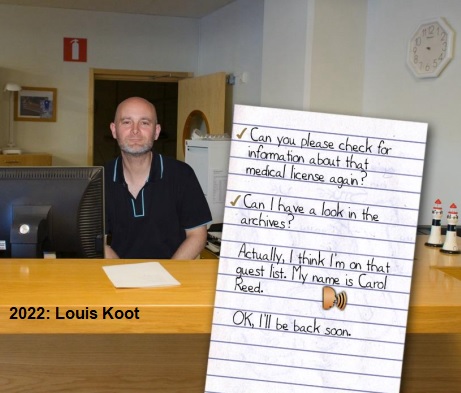
The desk clerk checks it, gives her permission to enter the archive and tells her to use the code her supervisor gave her.
Carol automatically goes to the basement.
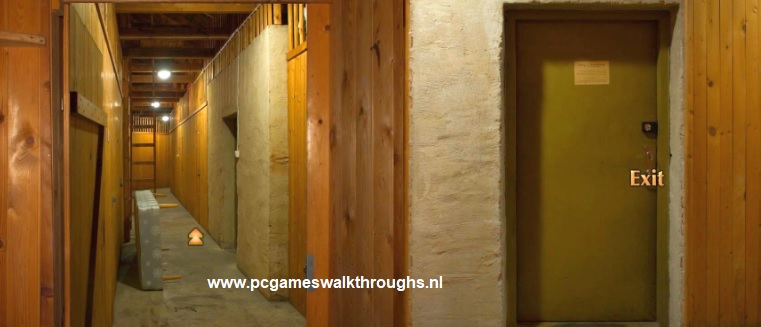
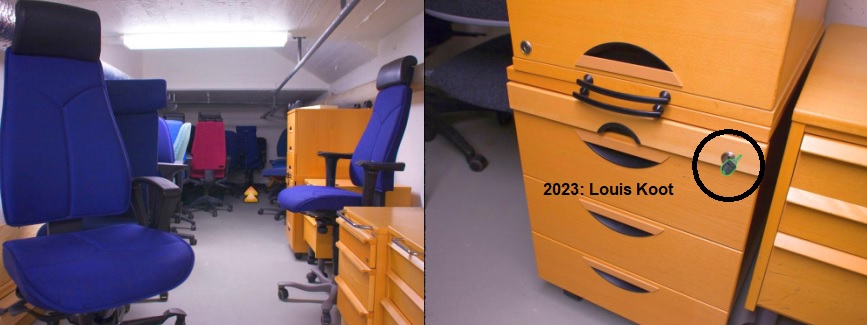
Basement:
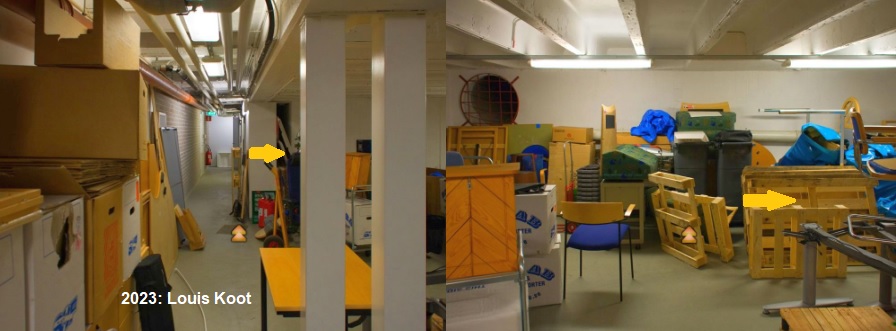
Before you go further through the hallway look at the door on your right.....This is the archive door but you need a code to enter the archives
Zoom out the code box, turn left and go forwards until you can't go any further
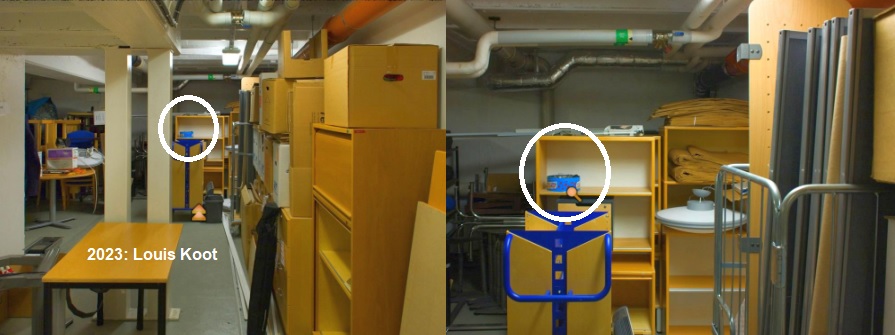
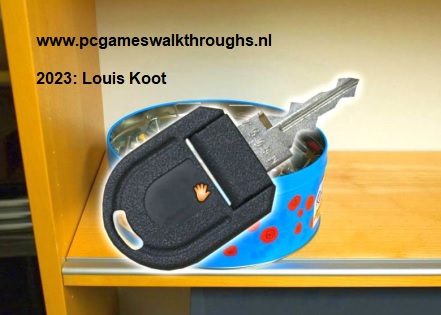
In the yellow rack directly in front of you, you will see a blue cookie tin.
Take a closer look at that blue tin, then click in the tin to take out a desk key.
Exit close-up.Turn to the left and you will see a checkered jacket hanging.
Click the jacket and you will find a book, which you can do nothing with.
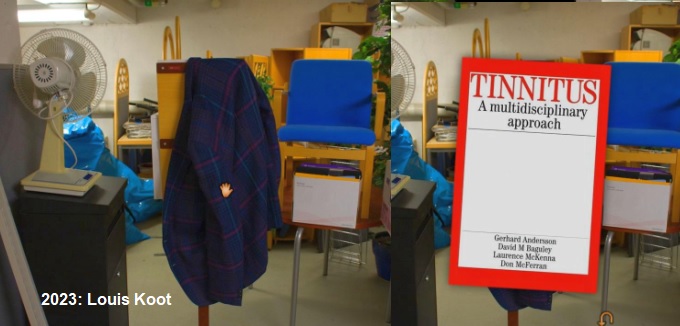
Of course, the jacket also has a pocket on the other side, but you can't reach it from this side.
You'll have to go around to the other side of the room So click the book away, turn left, go forward 1x and then go right.
Forwards 1x and then right again and then forwards and turn right again....

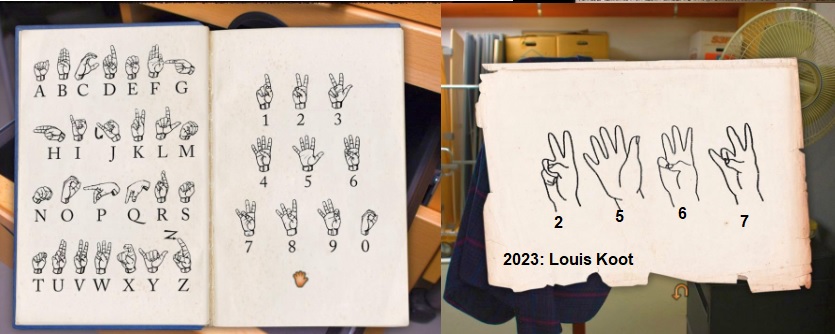
You are now on the other side of the jacket. Click the jacket again to find a note with pictures of sign language.
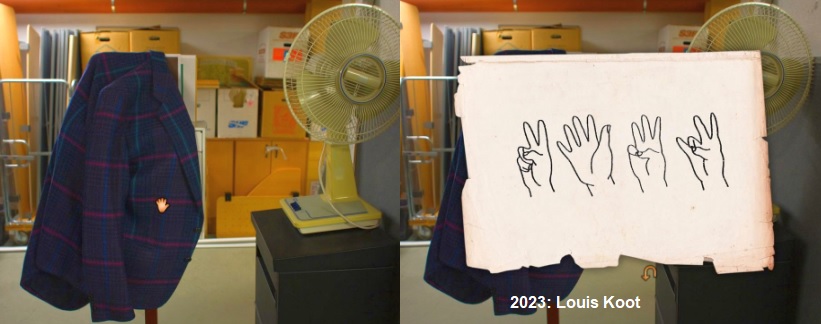
These 4 hand signs are the code for the archive door, but it must be translated into 4 digits. You can't take this note with you so you better draw these 4 signs over. Click the note into the jacket again, turn right, forwards and.....in the right corner of the room you'll see a gray door.....go to the gray door
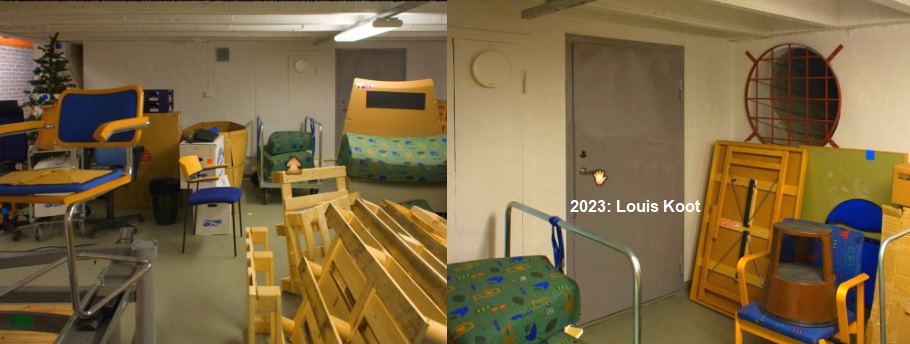
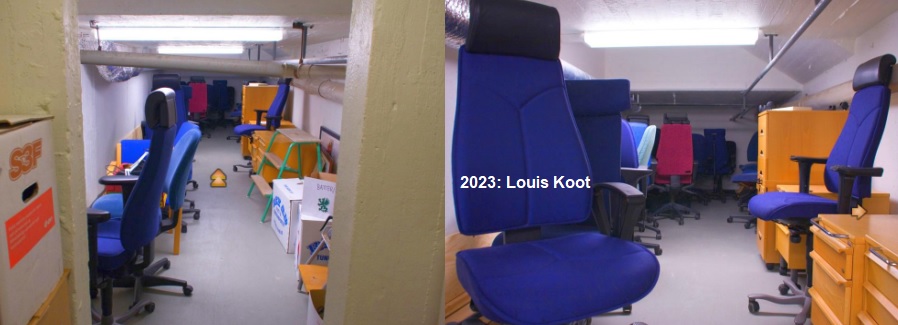
Open the gray door and go into the next room. It is a narrow, low space with office chairs and 2 office desks at the right wall.
Go forwards and then turn right to stand at the first desk.
Open the top drawer of this desk and take the bag with blue sticky stuff that's in this drawer
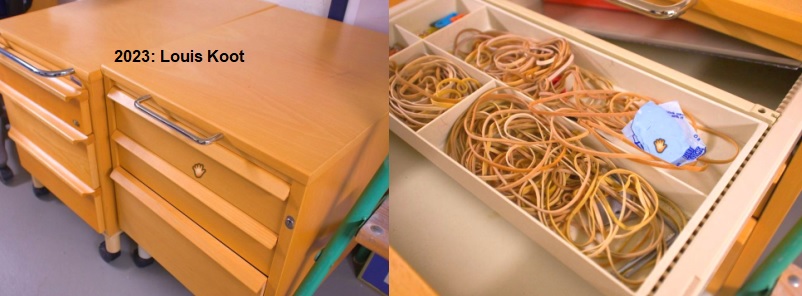
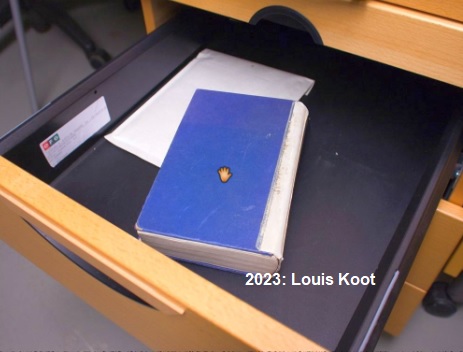
Close the drawer, turn left and go forwards again and then turn right again. You are now standing at the rear tall cabinet. It is actually two low cabinets on top of each other.The drawer of the lower cabinet is closed. Use the key you found in the blue cookie bin on the keyhole to open the drawer.
You will find a blue book with sign language pictures.
Compare the 4 hand sign on the note that you found in the jacket pocket with the hand signs in this book and.....
You now understand what is written on the note that you found in the jacket pocket. Those hand signs are the numbers 2 5 6 7.
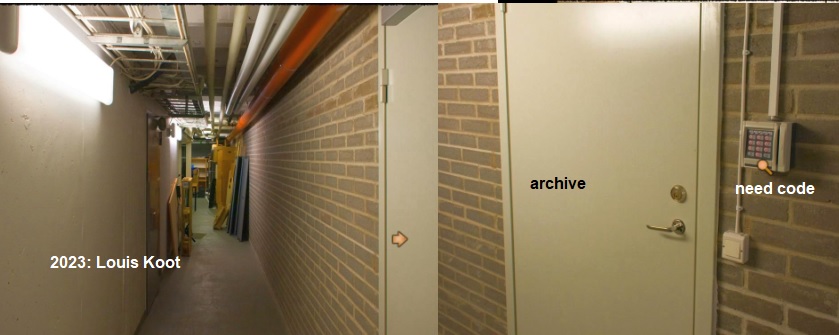
Leave this narrow lower room and go back through the basement to the right corridor and zoom again in on the code box of the white archive door
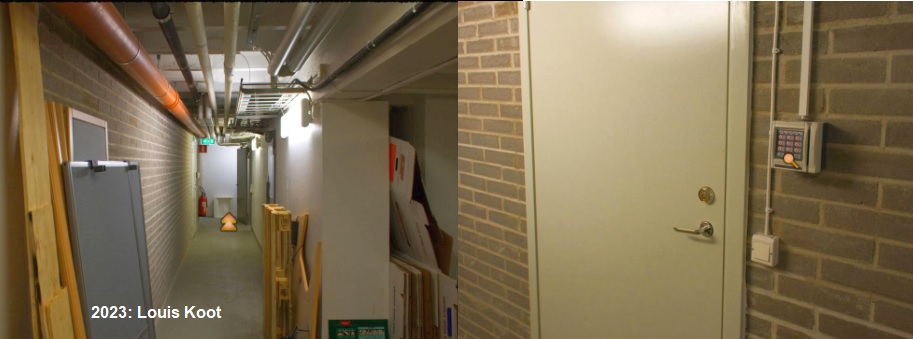
On the code box press the numbers 2 5 6 7. You hear a click. The door is now unlocked, so open the door and Carol enters the archive
Archive
Turn left.......You see sliding archive closets everywhere. Walk 1 step forwards and then turn left to the table that stand at the left wall
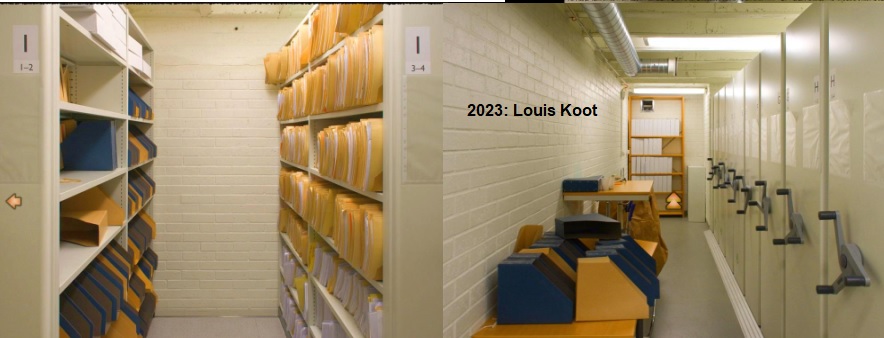
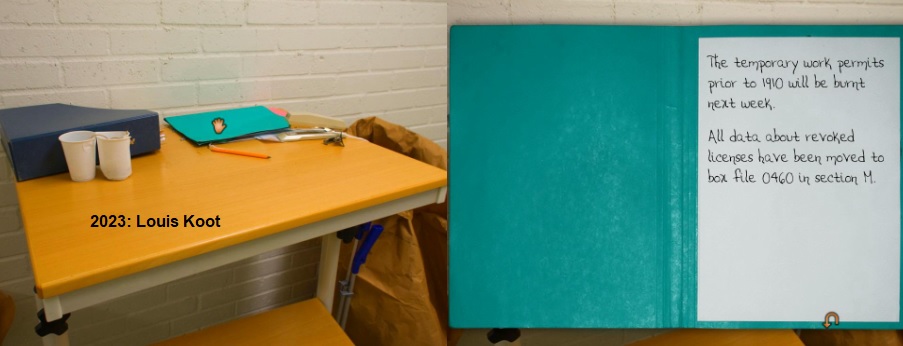
Take the blue folder from the table and open it.
There is a sheet of paper in it, on which it is written that the license revoked data has been moved to box 0460 in section M.
At the end of the hallway is an open rack with white archive boxes.
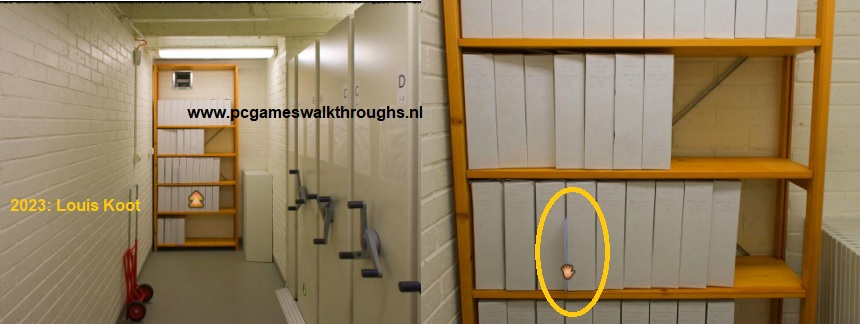
A sheet of paper sticks out between two boxes. Grab the sheet of paper and read it. It has codes for moving the cabinets C, F and M.
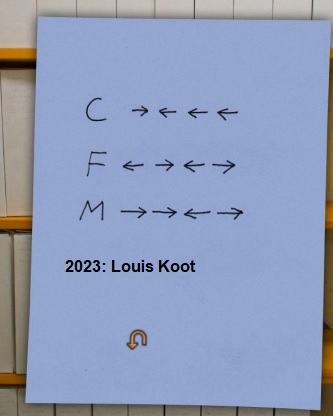
Turn around and go to the other end of this hallway and then turn left
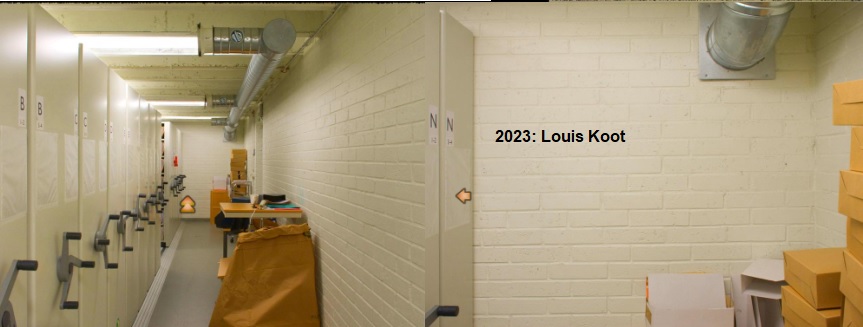
You are standing at the archive closets L, M and N and it has two turning wheels. On the left turning wheel you get a left arrow and on the right turning wheel you get a right arrow. By clicking with these arrows you turn the wheels to slide the closets to the left and to the right. Click on the turning wheels as you have seen read on the code note....These are the arrows for closet M on that note so : Click twice to the right, once to the left and once more to the right.
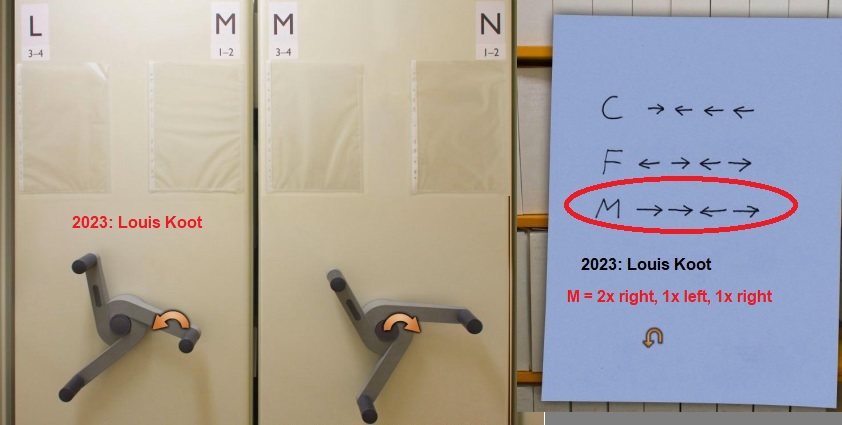
The L, M closet slide to the left and the M, N slide to the right. Turn right and click on box 0460.
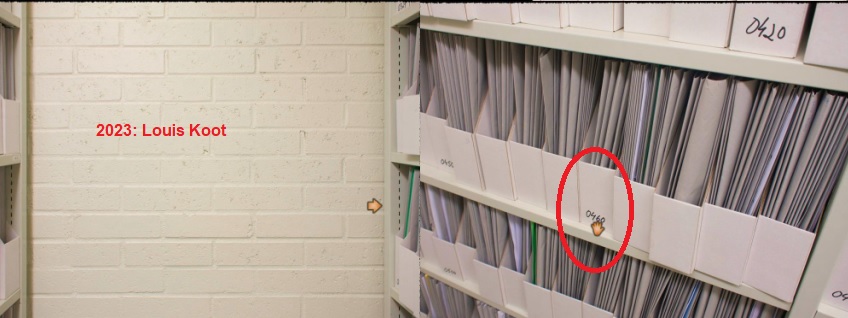
Carol takes the file of Alfons Larson out of box 0460
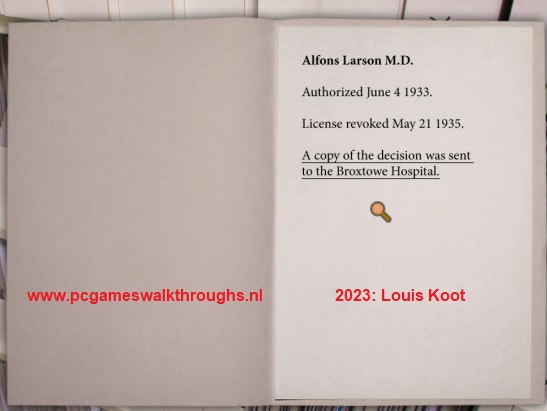
Alfons Larson received his license in 1933, but it was revoked in May 1935. A copy of that decision was sent to Broxtowe Hospital. If you click on the text, Carol wonders if Larson worked there. Put the file back in and exit the archive. Exit the basement and go back to the counter.Talk to the guy behind the counter again and ask him about the Broxtowe sanatorium.
The guy says that this sanatorium no longer exists. But maybe Carol can find more information in the library. The Library location will be added on the map
Exit the medical registration office and on the map go to
The Library
Enter the building and turn to the left bookcase.
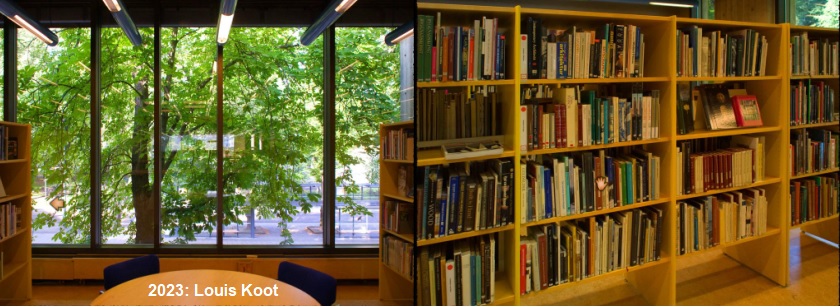
In this bookcase you will find a book with tourist attractions in Norrköping, but Carol has no use for it now.
So put the book back into the bookcase, turn right 2x to see the right side bookcase. Click this bookcase to take out a book about the Broxtowe Hospital
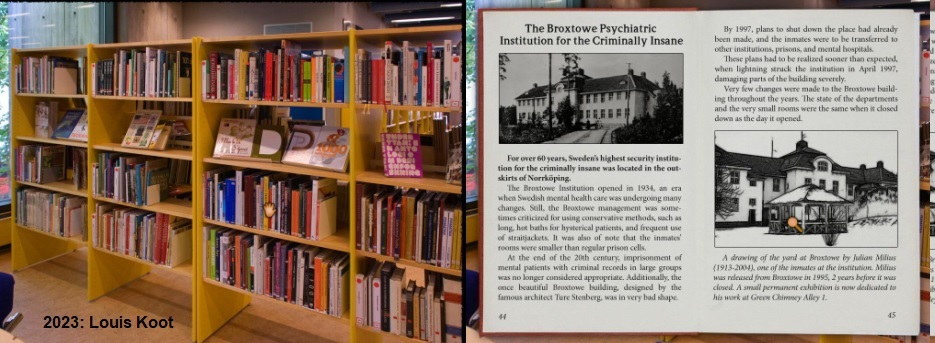
Read about Broxtowe Hospital, which opened in 1934. Mentally disturbed criminals were nursed here! In 1997, the institute was closed and residents relocated elsewhere, after a lightning strike that severely damaged the building. Click on the right drawing, which was made by Julian Milius. Carol recognizes the gazebo, which she also saw in Stina's photo. In the city there is a permanent exhibition of the work of Julian Milius. Carol decides to go see him. Put the book away and find the Exit and leave the library. The Exhibition has been put on the map, so go there now
Exhibition
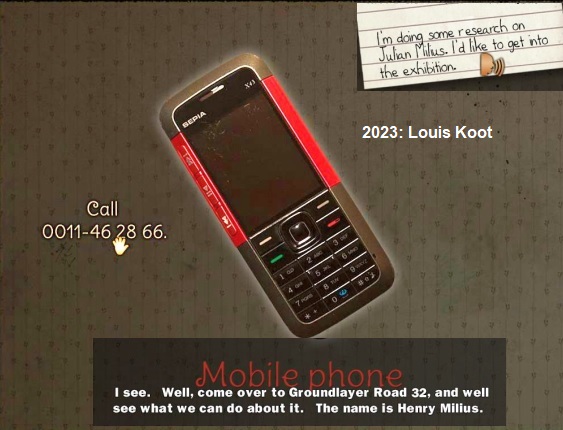
Go to the entrance, There is a note on the door.
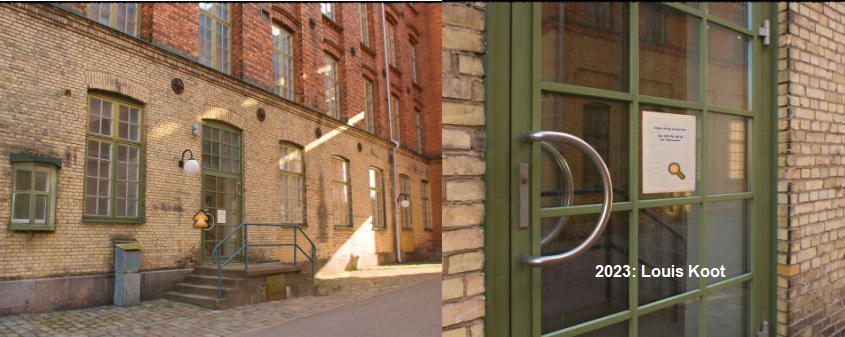
The exhibition is closed during the summer holidays. For more information you can call a phone number. In inventory right click on Carol's cell phone. Click on the telephone number you see on the left and Carol will talk to Henry Milius. Tell him you want to do a paper on Julian Milius and he will give you his address.
Put the phone back and go find the Exit here and on the map go to Henry Milius
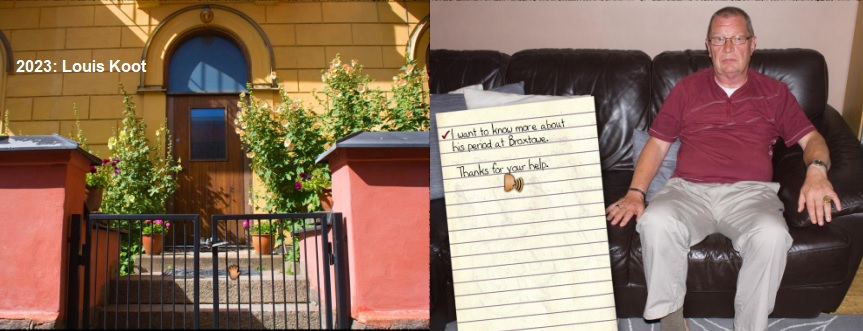
Henry Milius
Walk through the gate and enter the house. Henry is Julian's son and he gives you the keys to the exhibition
Go back to the "Julian Milius Exposition" via the map.
Exhibition
Open the door with the key you got from Henry Milius and go inside.

Turn right and keep turning right but look at all displayed information.
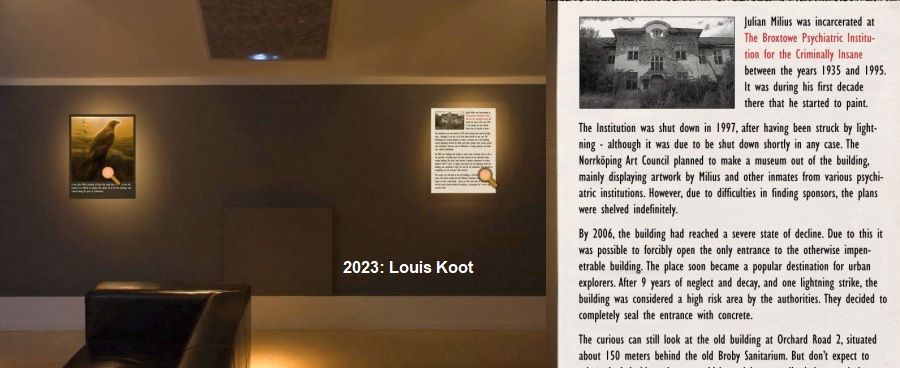
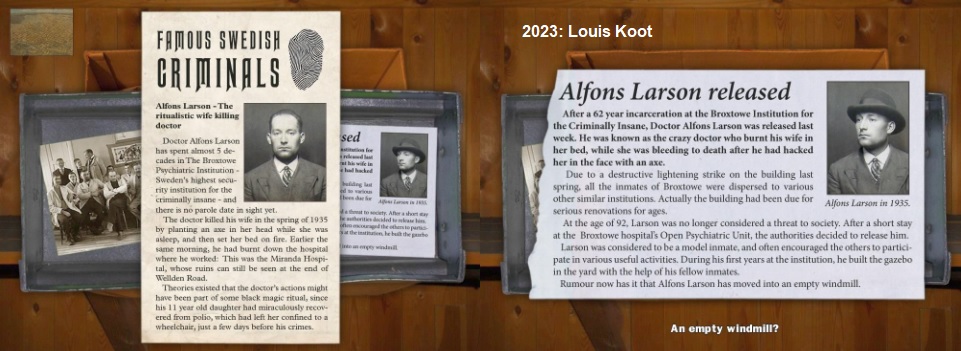
Look at the bird painting and look at the newspaper article. Read the newspaper article
In the newspaper article you read what happened to the building and it gives Carol the address of the Broxtowe Sanatorium.
Go out the close-up and turn right again.
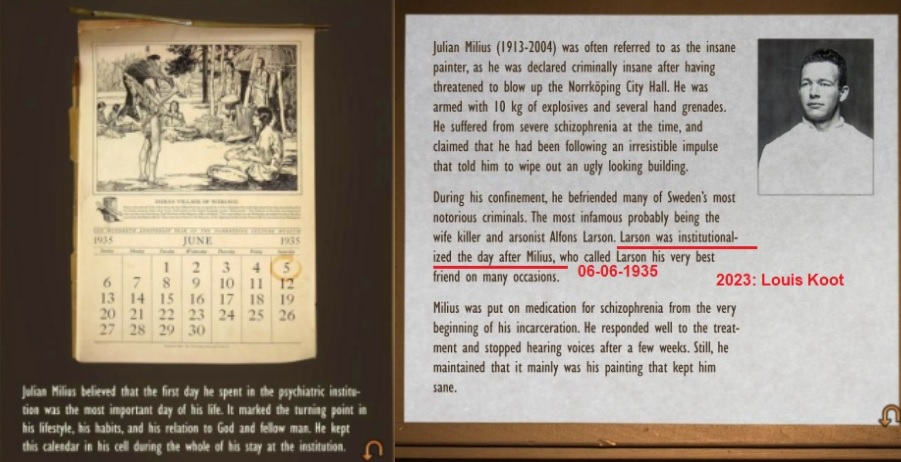
Look at the calendar and look at the painting The calender tells you that Julian Miles was admitted to the sanatorium on June 5, 1935
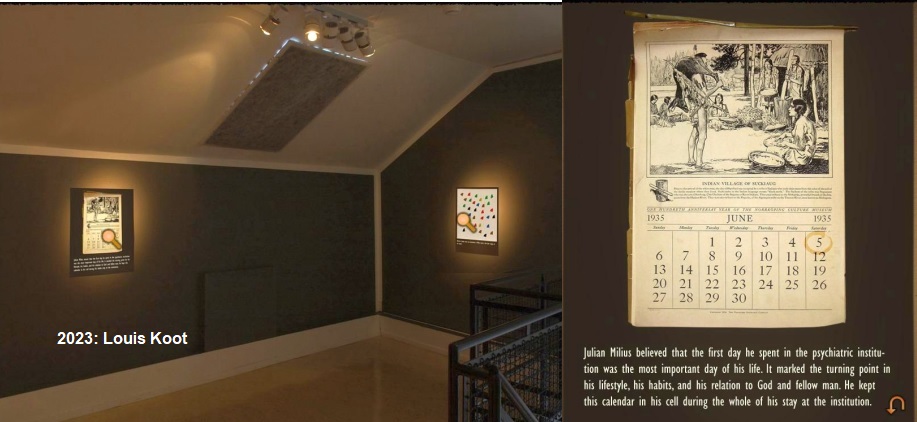
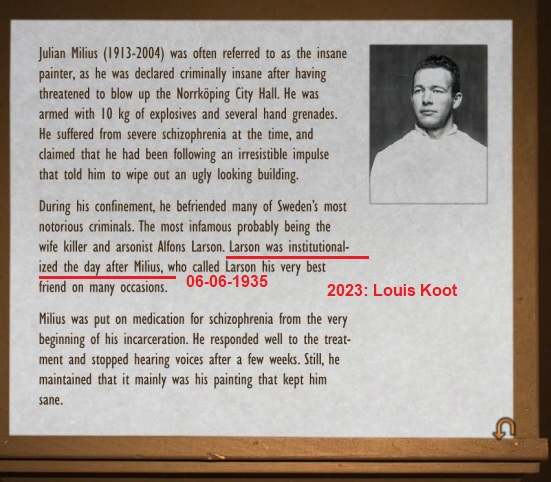
Go out the close-up and look at the painting with the colored segments on it. Then turn right 2x and zoom in on the biography stand
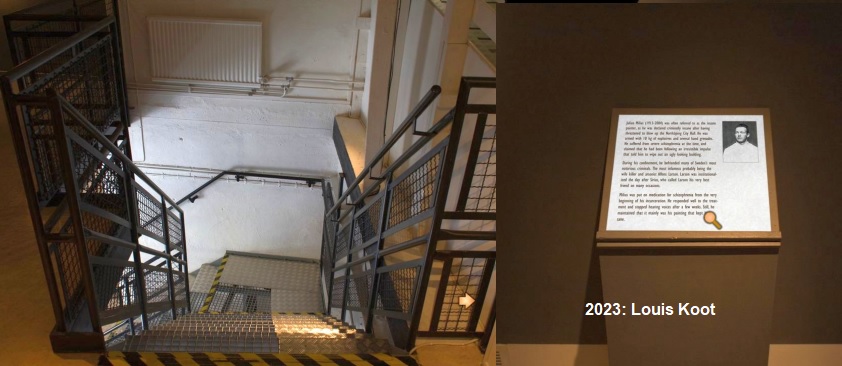
You read that Julian Milius was schizophrenic. He tried to blow up Norrköping City Hall because he heard voices telling him it was an ugly building .On June 5, 1935, he was admitted to the Broxtowe Sanatorium for criminals, as also noted on the calendar. A day later, so on 06-06-1935, Alfred Larson was also admitted. The two men became friends. Larson did not work as a doctor in Broxtowe, but was admitted as a criminal patient for killing his wife!
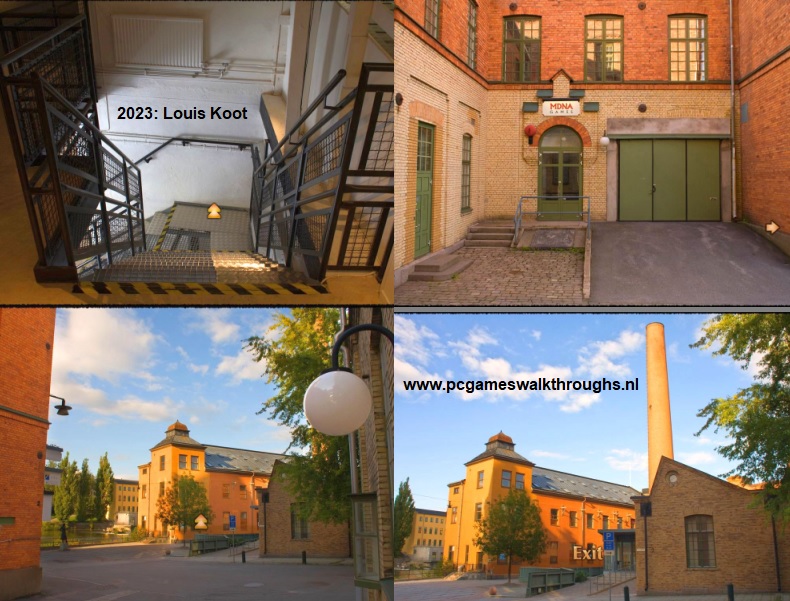
After you have viewed everything, you leave the exhibition again via the stairs and the Exit
On the map, go back to Stina's Attic
Stina's attic
Walk Go into Attic no 8 and climb onto the toilet block to look into the banana box again.
Click the blue box that's inside the banana box to see that box in close-up again.
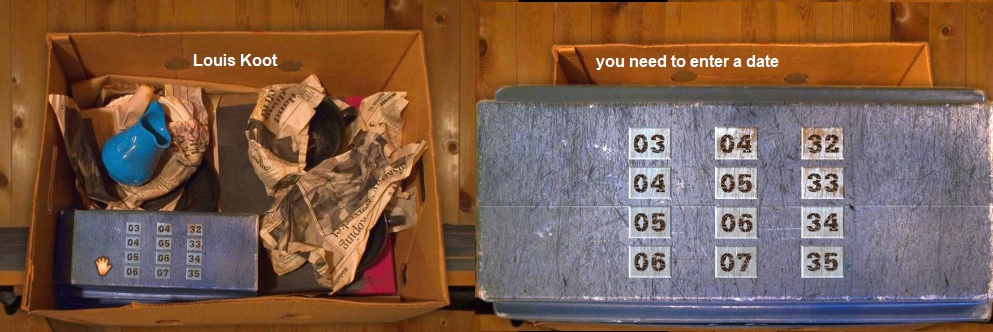
Since this box belonged to Alfred Larson, the code is probably a date that was very important to him.
In this case it is the date when Alfred Larson was admission to the sanatorium which was 06-06-35. You know this from the calender and the biography that you have read in the exhibition
Click on the box on 06 in the left row, 06 in the middle row and 35 in the right row and the box will open.
In the box you will find a collector's card of Swedish murderers. This picture shows Alfons Larson. You read that he killed his wife with an ax when she was sleeping and then set fire to the bed. Previously, he had already set fire to the hospital where he worked, Miranda Hospital. And all this just days after his daughter, who was hospitalized for polio, was discharged. There is also a newspaper article in the box. In it you can read that Larson came out of prison at the age of 92 after 62 years of imprisonment. He went to live in an abandoned mill.
So you have to find out where this windmill is. Maybe Stina knows it. So leave the attic and on the map go back to Stina's House.
Ask Stina about Windmills and she will put 2 Windmill locations on your map
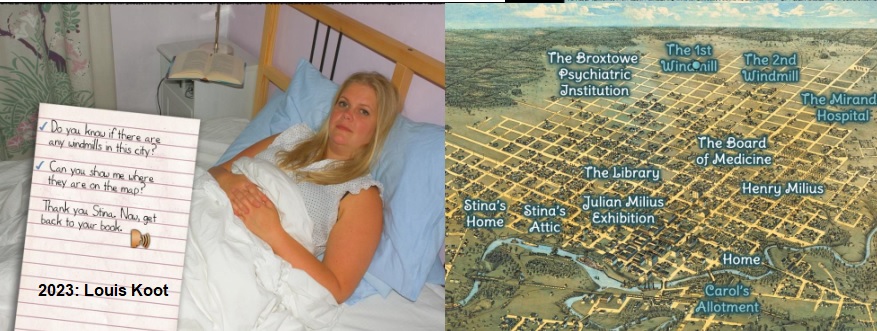
On the map go to the 1st Windmill
2023 :Walkthrough by: Louis Koot