
If you have found this walkthrough via google search or via another site then you have probably not visited my site.
A lot more very detailed game walkthroughs can be found on my site at: www.pcgameswalkthroughs.nl
2019: Walkthrough by: Louis Koot
The Birdwatcher is the 13th game in the Carol Reed series. Meanwhile there's also Carol Reed 14: The Fall of April. Because of the Hint system that's within these games I have been hesitated to do a walkthrough for these latest Carol Reed games. In my humble opinion there's no need for a detailed walkthrough if you just follow the hint system of these 2 Carol Reed Games. But nevertheless....I have received many request, pleats even, to do a Louis Koot walkthrough for The Birdwatcher and The Fall of April. Well........Why not............So here we are once again in Sweden in the town of Norrköping to help Carol solve her 13th case
As always in a Carol Reed game you first can do a tutorial to get a grip of how you move through the game.
I can't be bothered with the tutorial. After 30 years of playing computer games, of witch there were 12 Carol Reed games, I know the drill by know
As said, the game has an excellent Hint System, that tell you what to do next and even give you complete solutions to the puzzles.
You find the Hint System within Carol's Notebook / Journal, that's in the inventory

So, if you still get stuck in the game, despite my excellent walkthrough, go check the Hints in the notebook
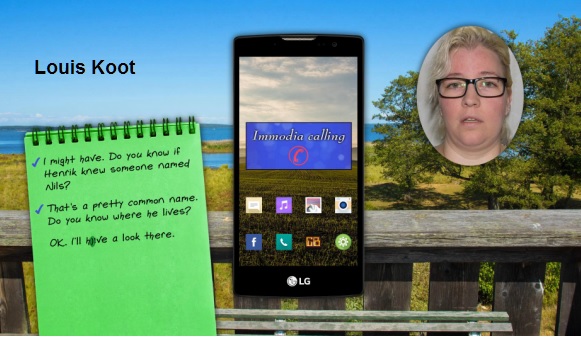
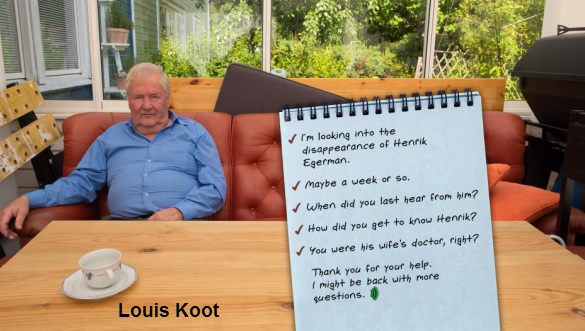
It's in the middle of the summer, but Carol didn't get much of it after spending three weeks in bed with the flu. Just when she feels a bit better, Immodia will contact her. She is worried about the widower Hendrik whom she is going to marry. Hendrik is missing and she wants Carol to find him. What seems a simple matter, however, turns out to be a lot more difficult than expected.
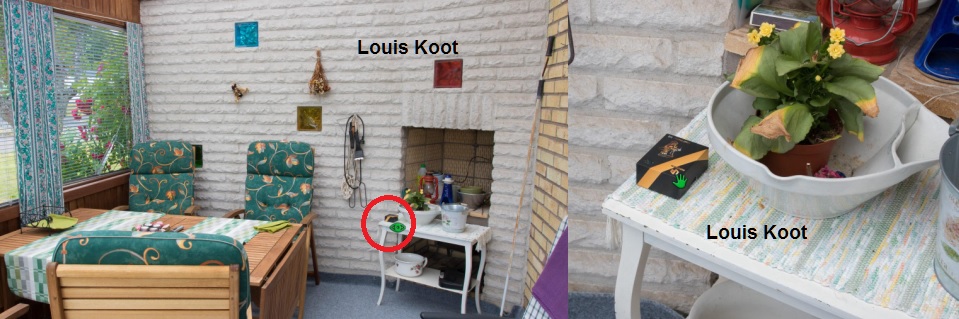
Carol's Apartment
After the openings scene we start, as always, in Carol's Apartment at Norrköping. Go into Carol's living room and go check out her guitar, that's in the chair
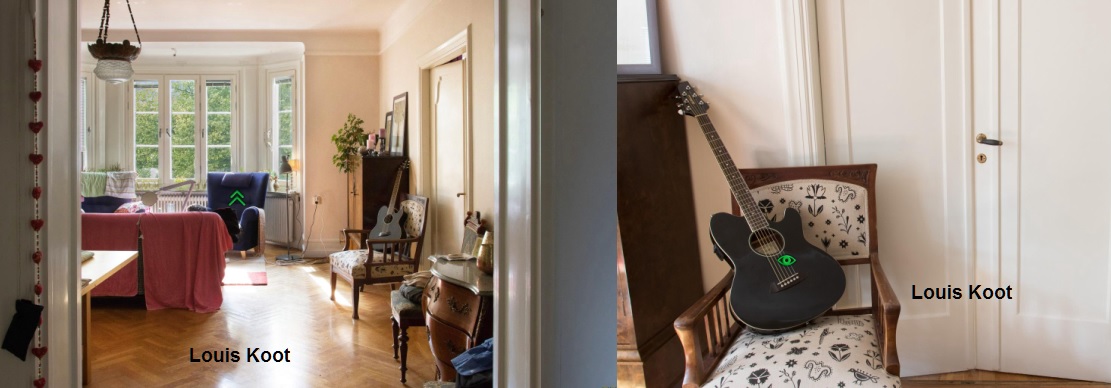
Carol is still taking guitar lessons. Zoom out, turn around and go into Carol's study.
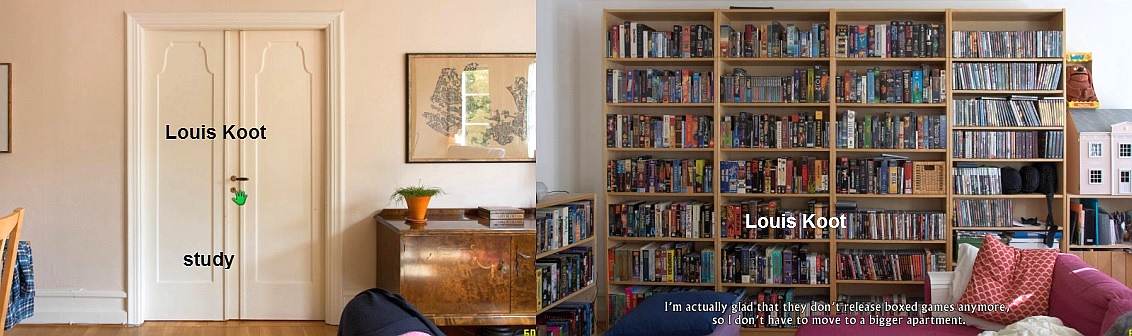
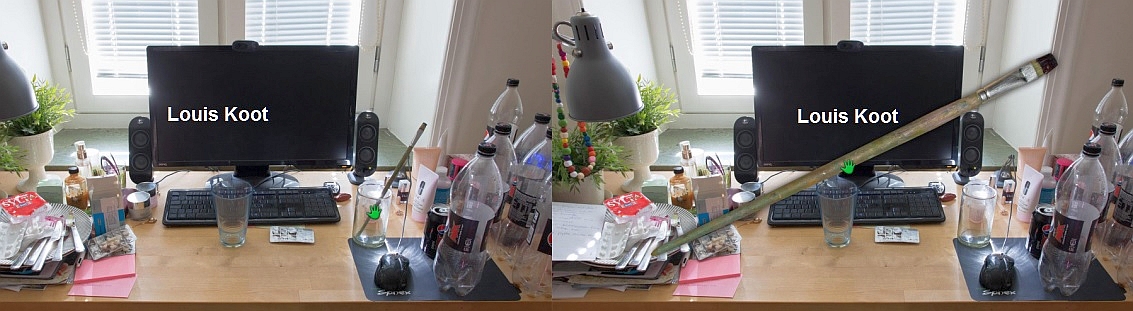
Turn right and you are standing at Carol's desk. On the mouse mat stand a paintbrush in an drinking glass.
Zoom in on the paintbrush and take it and click it to the inventory
Leave the study back to the living room and then go back into the hallway. Find Carol's toilet door and the door of her Shoe closet. Take a look inside the shoe closet
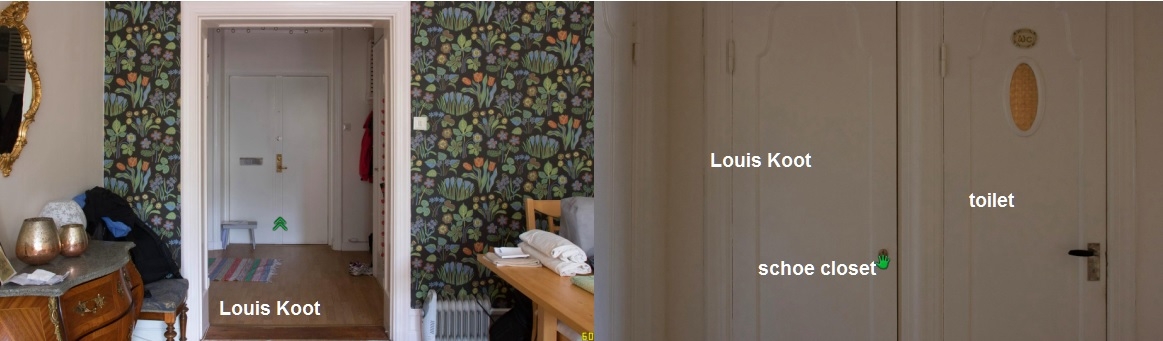
Carol doesn't need new shoes, so at this moment you can't take anything from the shoe closet, so step out of it again.
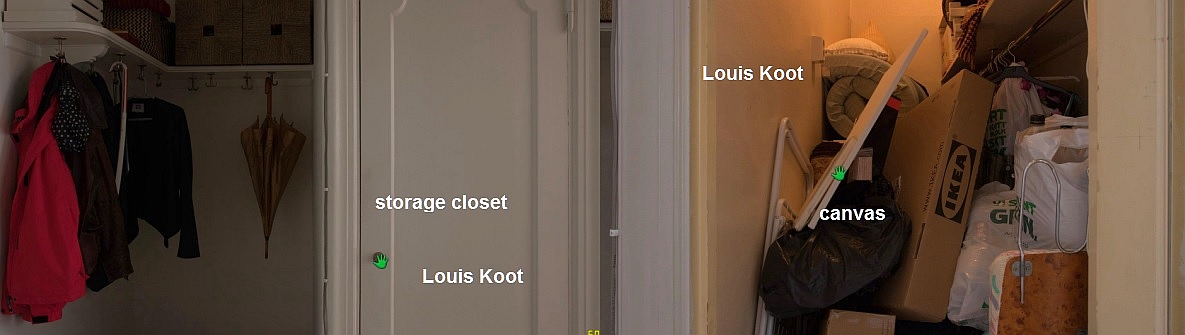
Turn around to find Carol's storage closet, next to the area where Carol hangs her coats. Open this closet and take a blank Canvas out and click it to the inventory.
Step out the closet and now go to the kitchen. Go to the windows and then turn right to the kitchen cupboards
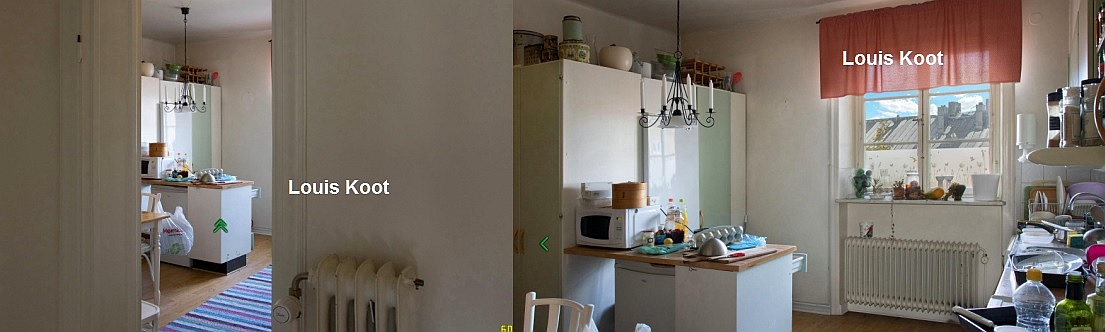
On the upper cupboards is a note. Reed the note....It's a "Save Water" note

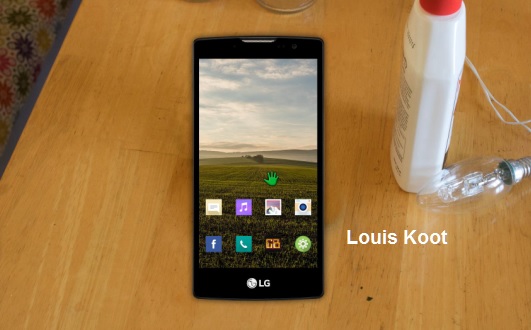
Zoom out, turn right an go to the kitchen table. On the kitchen table is Carol's Cell Phone.
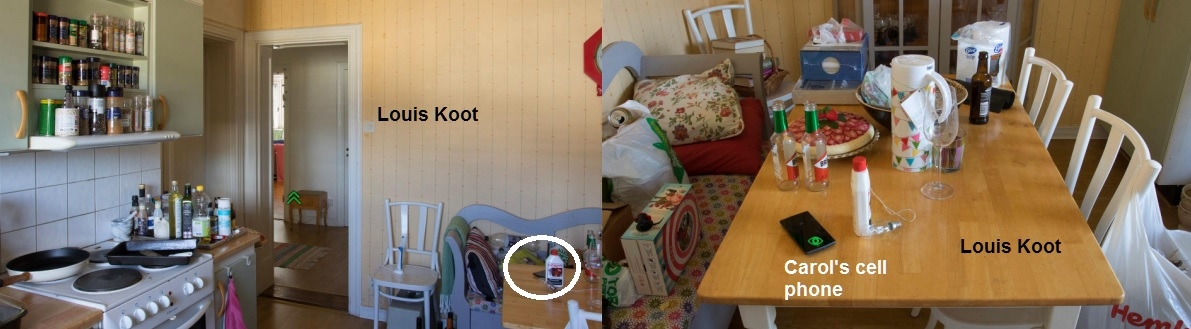
Zoom in on the cell phone, click on it to turn it on and then click the phone to the inventory
Now you have to wander around the apartment a bit, until Carol gets a call from Immodia. I received this call when I stepped back into Carol's living room.
Read Immodia's message. You know Immodia still from Carol Reed 12 Profound Red.
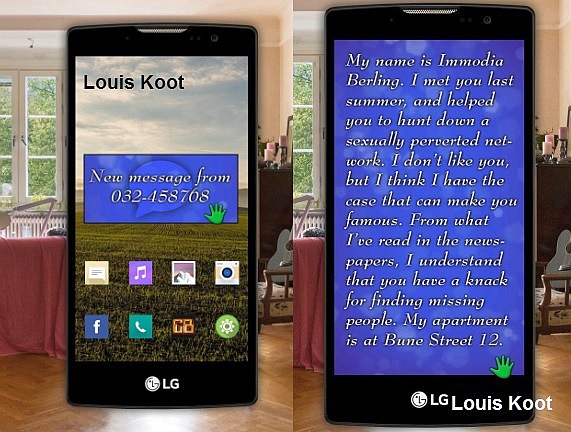
Immodia's place is put on the map, so leave Carol's flat via her front door and travel, via the map, to
Immodia
Talk with Immodia via all options that you get
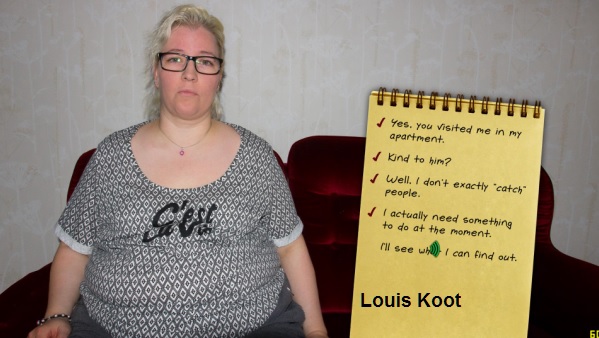
Immodia gives Carol a note with information about Hendrik and she also gives Hendrik's house keys. You click both to the inventory.
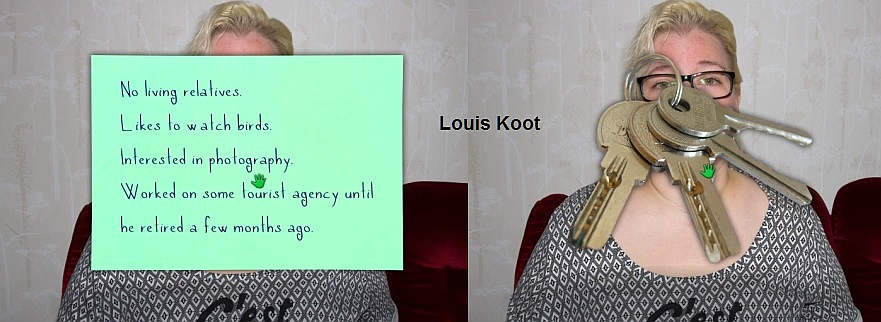
Hendrik's House is added on the map, so say goodbye and travel to
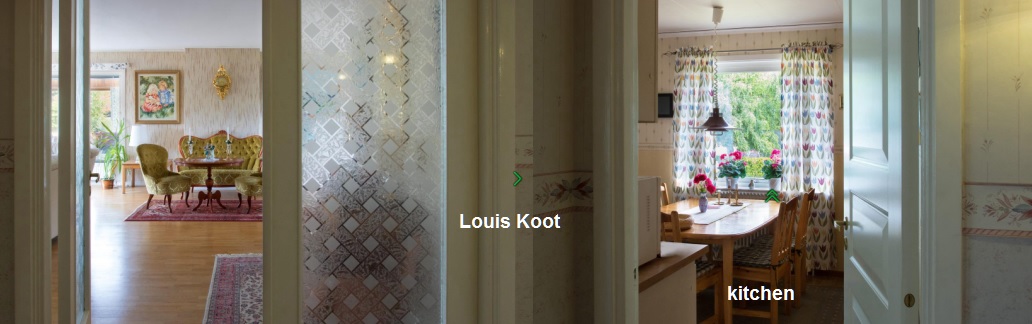
Hendrik's House
Use the house keys on the front door and enter.
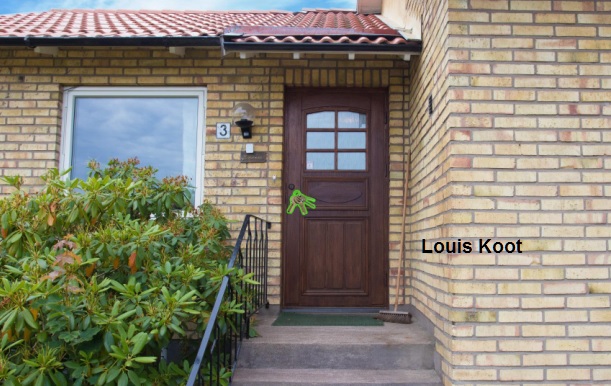
Carol enters the hallway of the house. The first door on the left is locked and then there are 2 bed rooms. Go around the corner and.........
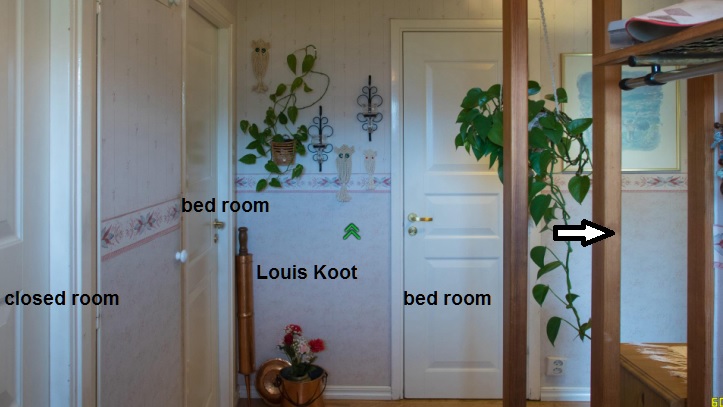
.....Carol gets a message from Immodia on her cell phone.......Immodia sent a photo of Hendrik, so now we know what he looks like

Via de hallway we can go into the TV room, the kitchen, the living room and into 3 bed rooms. Also we can do down to the basement

Go to the TV room and then turn left to the coffee table.

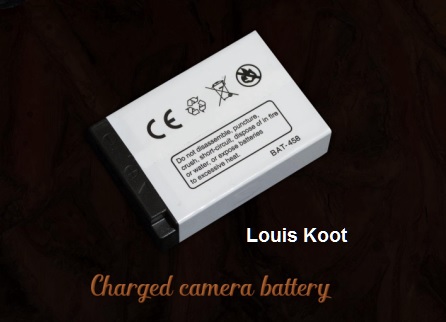
There's a photo camera on the coffee table. Zoom in on the camera and take it and try to turn the thing on, but the camera has no batteries.
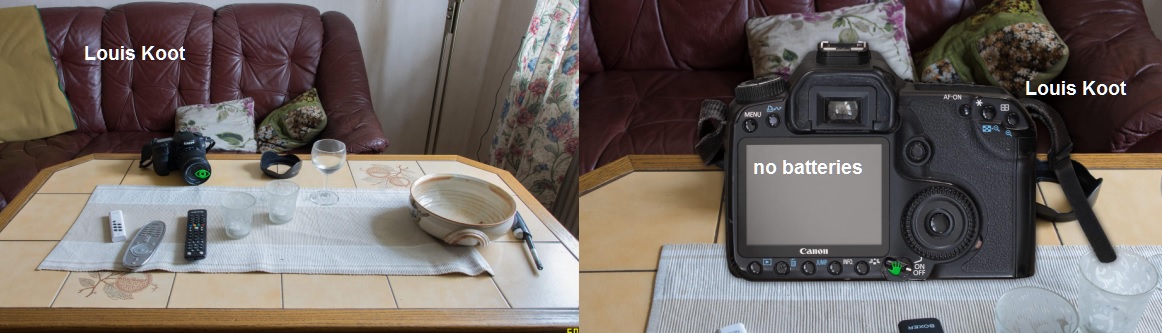
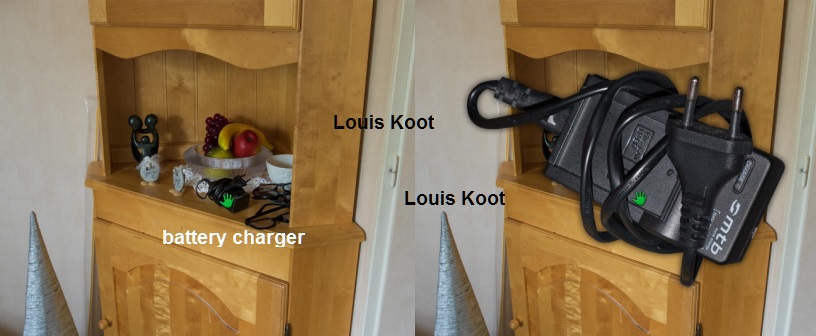
So Carol needs to find the battery for this camera. Put the camera back on the table and then turn around.
On a shelf of the cupboard lies a Battery Charger. Take the Battery Charger and click it to the inventory
Leave the TV room and follow the hallway to the entrance of the living room. Then turn right and step into the kitchen.
In the kitchen turn to the kitchen table.....You see that you also can enter the living room via the kitchen. Turn further to the hallway entrance of the kitchen.
You see kitchen cupboards and on the cupboards sticks a sticky note
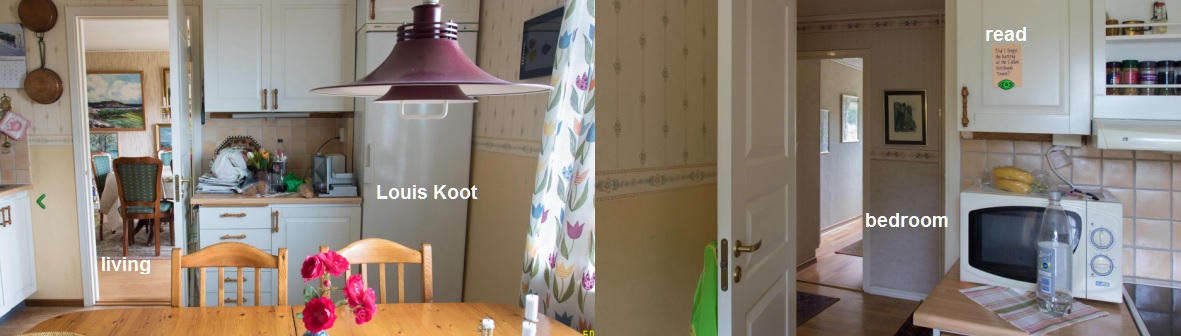
Read the sticky note against the kitchen cupboard, The note tell Carol where se might find the battery for the photo camera

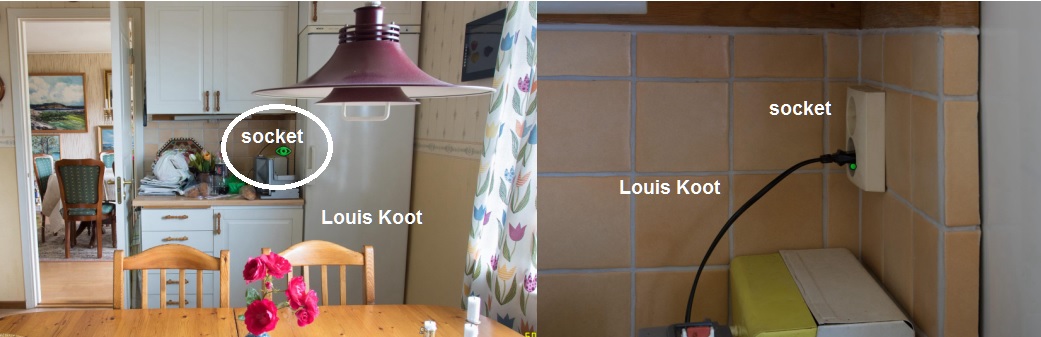
Hendrik thinks he has left the battery at the Salem Wetlands Tower and this location is on the map now. Turn back to the kitchen table. You see the other kitchen cupboards and the fridge again....Left of the fridge is an electrical socket. Zoom in on the socket / outlet. If you want you can plug the Battery Charger into this socket now, but you can also wait until you have found the camera battery.
Zoom out and leave the kitchen to the hallway. Go into the bed room opposite the kitchen

Standing at the bed turn right. Look at the box on the shelf above the bed and take the city tour list, that's on top of the box.
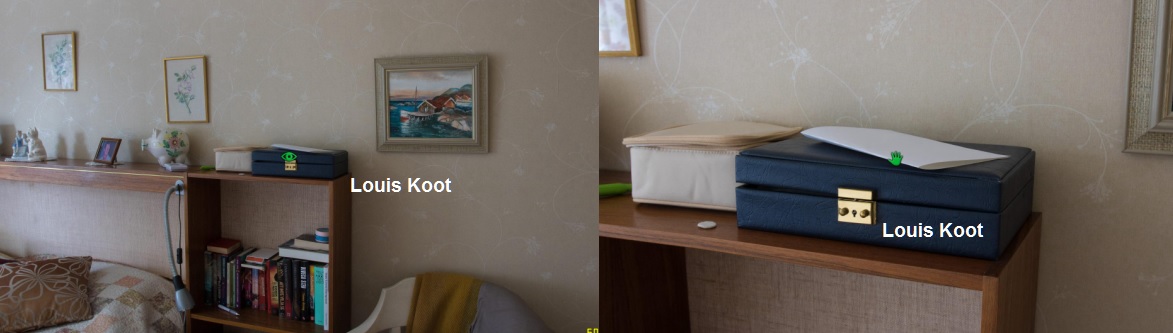
The list has 3 questions that must be solved
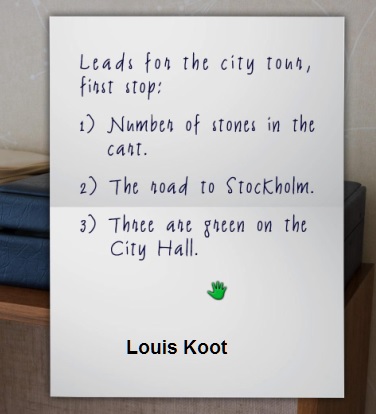
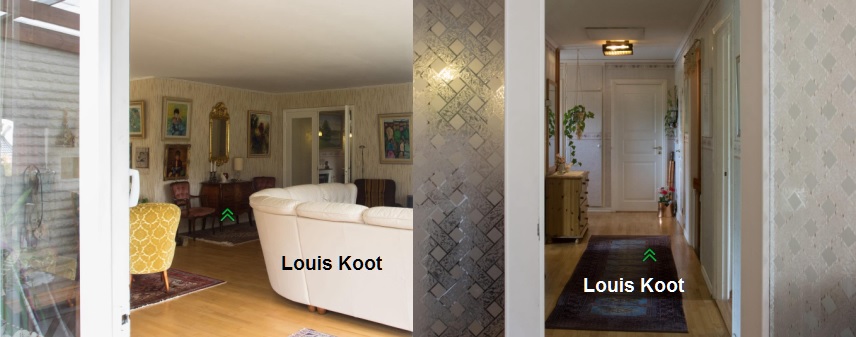
Click the list to inventory, leave the room and now go into the living room, via the hallway entrance.
When you are in the living turn around. You are standing at a low cabinet. On the cabinet is a little treasure chest.
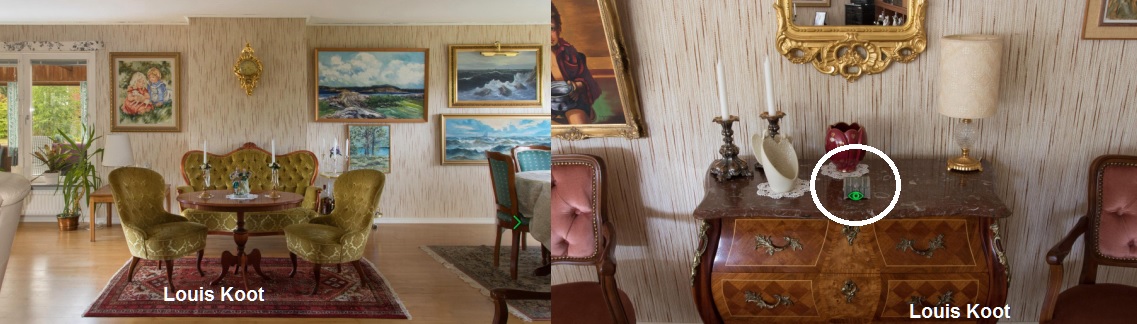
Look at the treasure chest. The lock of the chest has 4 colors, red, yellow, green and blue
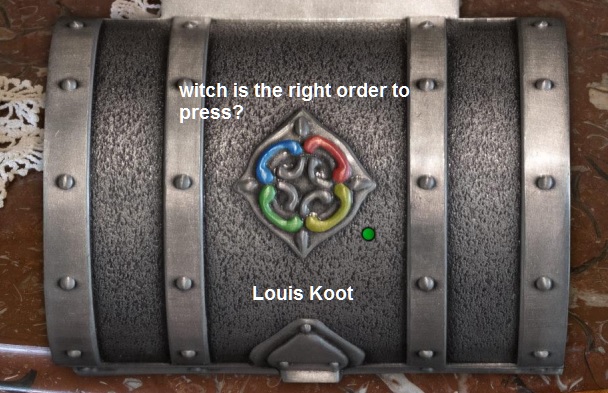
You have to press the 4 colors in the right order to open up the chest, but you don't know that order yet. So zoom out to put the chest back on the cabinet.
Turn right and go to the conservatory door, behind the couch.
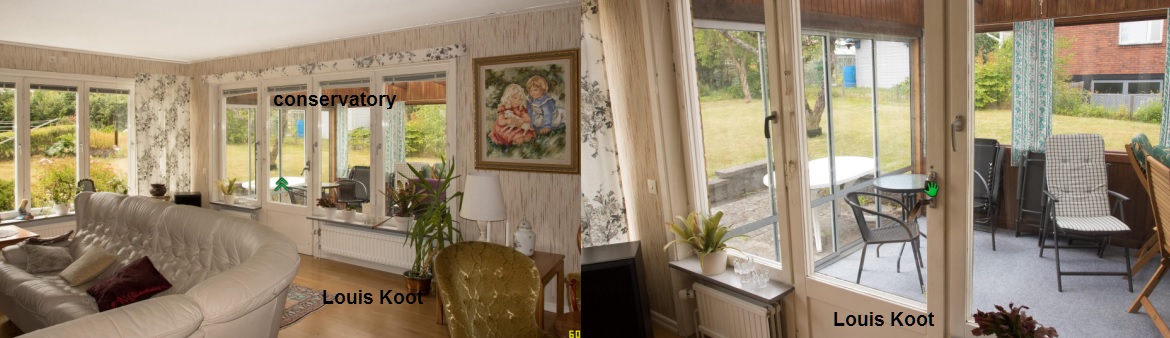
Open the conservatory door and step inside. Turn right. On the to the right of the side table stand a box. Zoom in on that box.
It's "Mad Hatter V2" box. Open the box to see what's in it
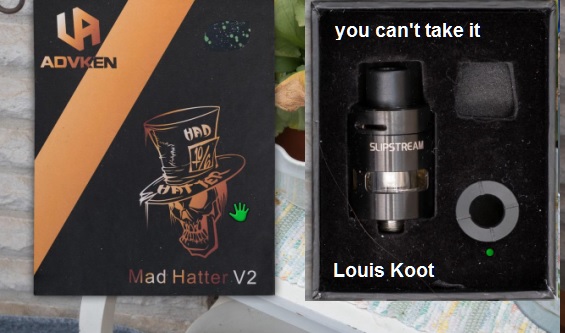
You can't take this thing that's in the box, but remember that you can find it here. Zoom out to put the box back on the table.
If you want then you can look around in the garden, but you will find that it is absolutely useless.
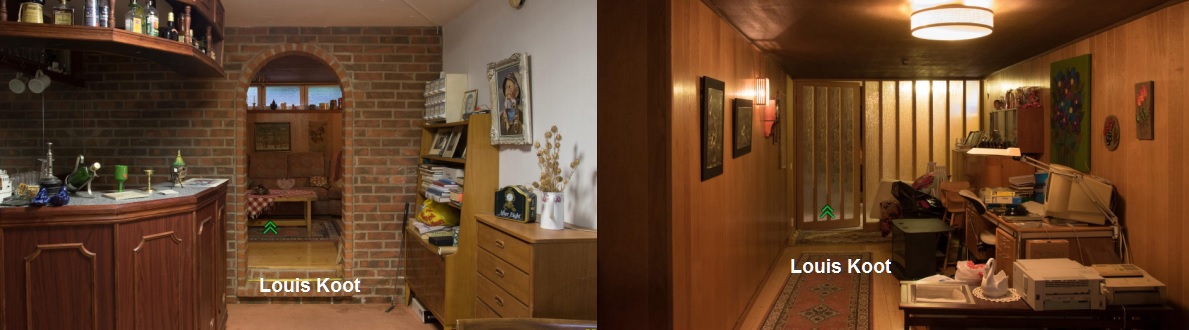
So go back to the hallway, via the living room and now go down to the Basement
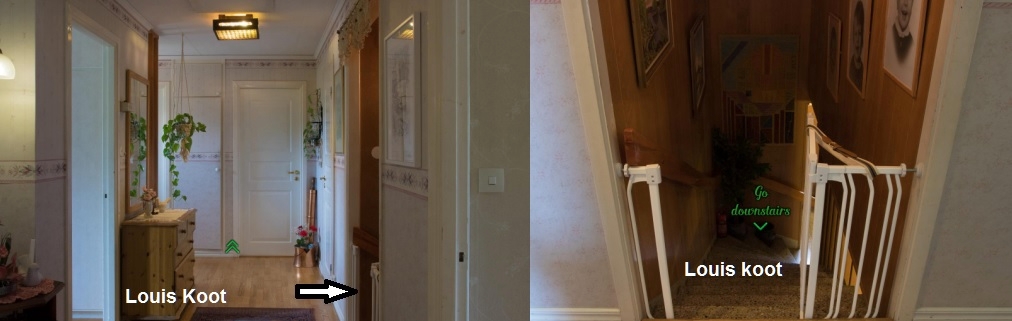
Basement
Go through the glass door and walk on to the mantel piece at the back
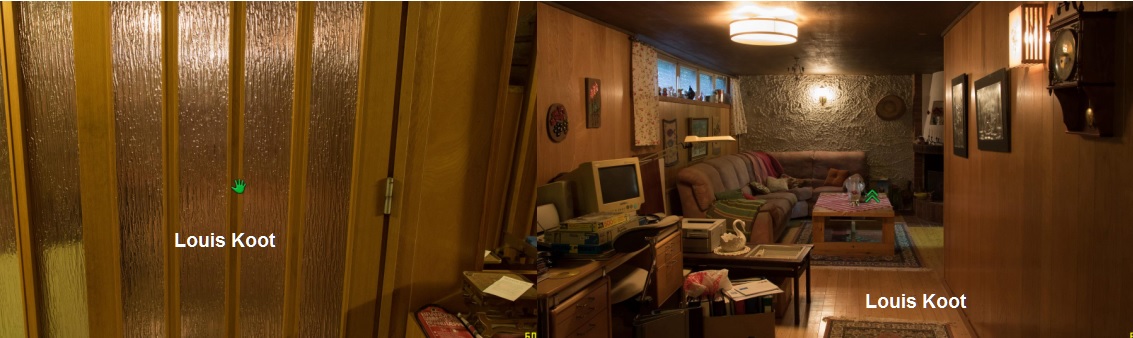
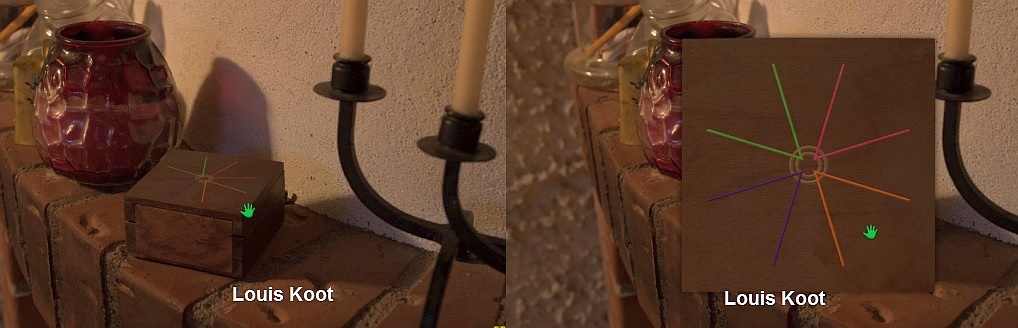
There's a box standing on the mantel piece...Zoom in on the box
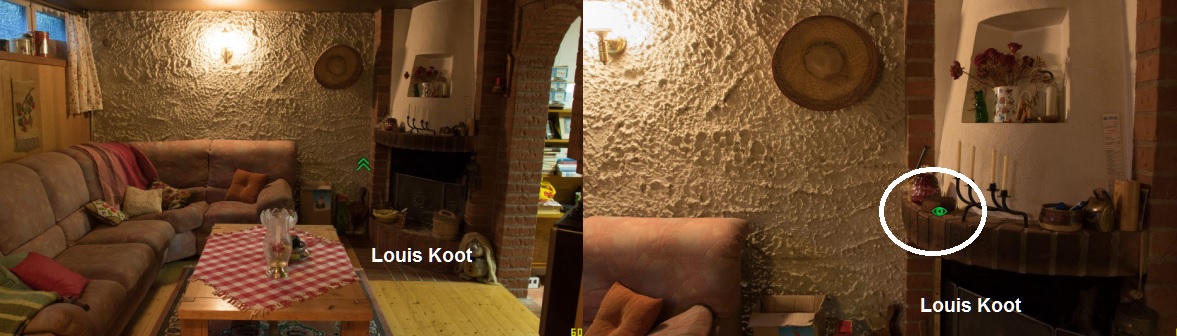
You can't open the box because the lid has 4 colored "V" that change color when you press them. You need to know witch colors the "V" must have
So zoom out turn right and go to the back room. Walk on until the round table and then turn left.....
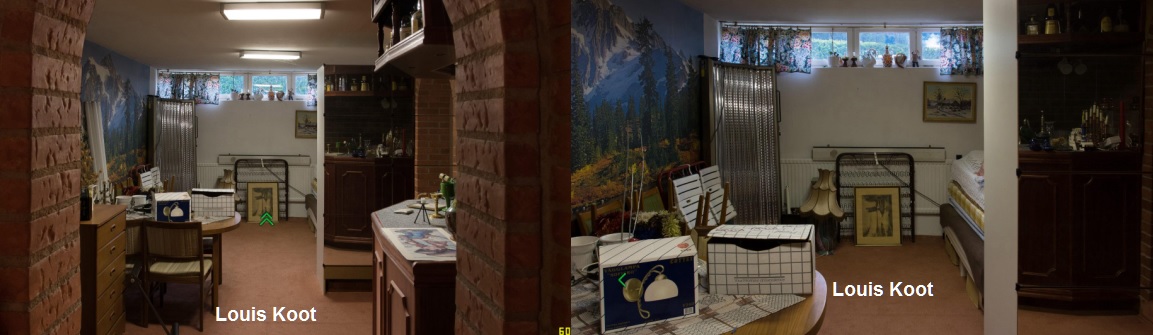
On the cabinet stand an empty After Eight box. You can zoom in on the After Eight box and open it to see that it is empty.
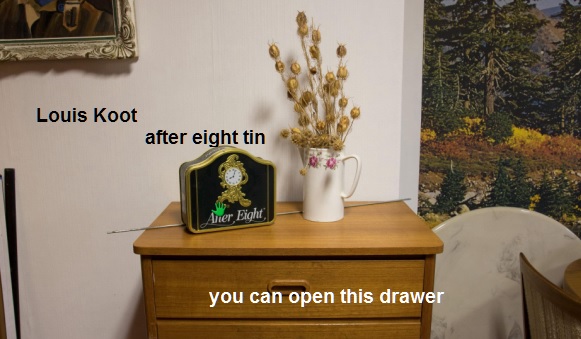
You can also slide the top drawer open but you won't find anything useful in it
Turn around and look at the bar. There's a little white pouch on the bar. Zoom in on the pouch, click on it to take a Key out the pouch.
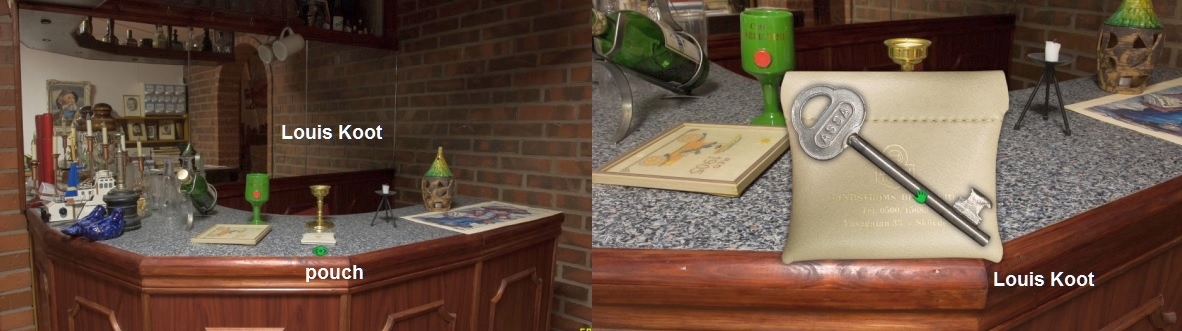
Click the key to the inventory. Zoom out and now go to the bed, that's at the back of the room.
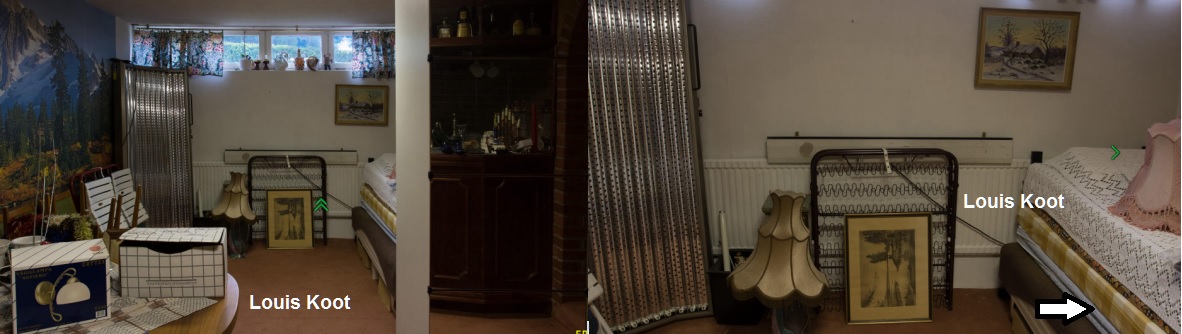
Then turn right and.....There's a little ladder standing here in the corner. You can pick up the ladder and carry it with you, but Carol won't take the ladder out of the basement.
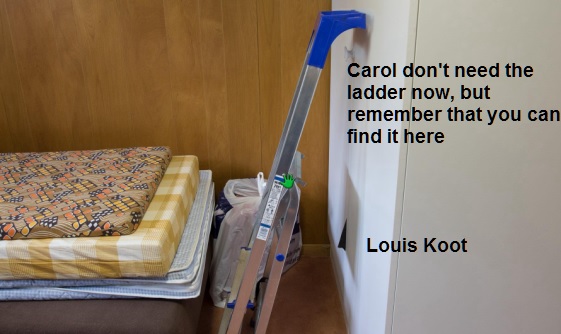
Leave the ladder here until you know that you need it and where you have to use it.
Now walk back through the rooms to the glass door and step through the glass door into the hall of the basement again
Don't go back upstairs yet but turn right. The brown door is locked......you do not have the key
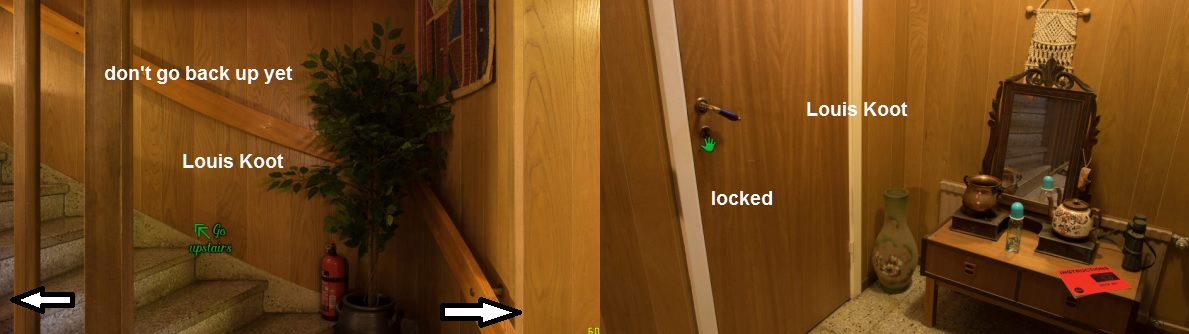
Turn left 2 times.....You see two doors....The right door is locked.
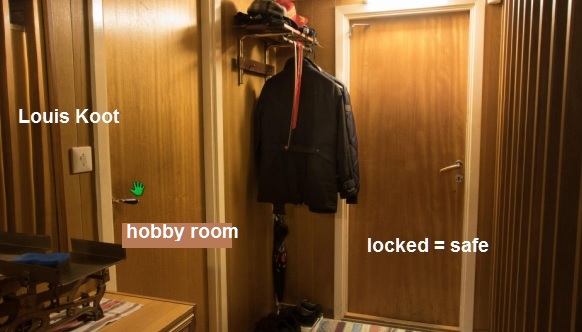
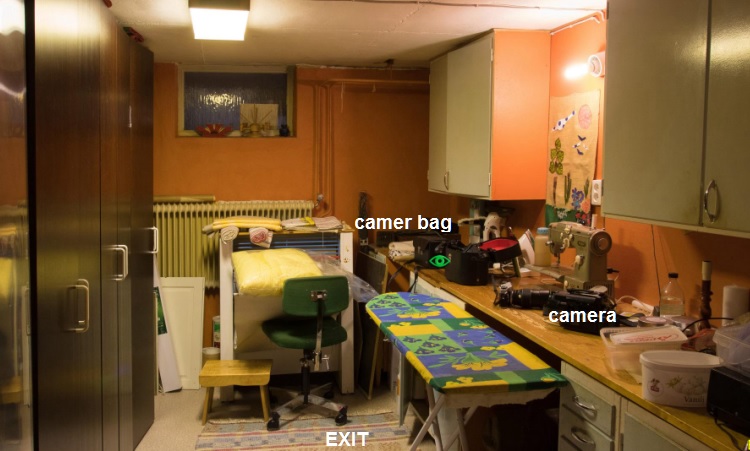
The left door brings you in a hobby room where you can take a closer look at a video camera and a camera bag
Exit the hobby room and then open up the right door with the Key you found in the Pouch. There's a locked vault in this closet
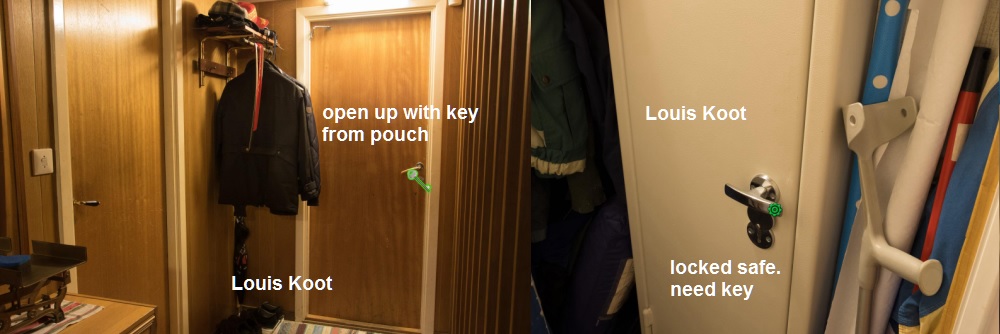
You do not have the vault key, so go out the closet and now climb back up the stairs
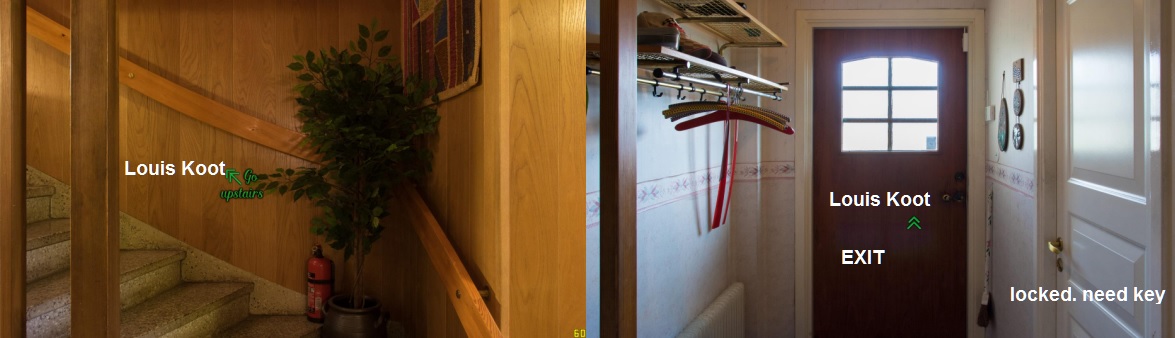
Exit the house and outside click EXIT to be on the map. Now travel to the
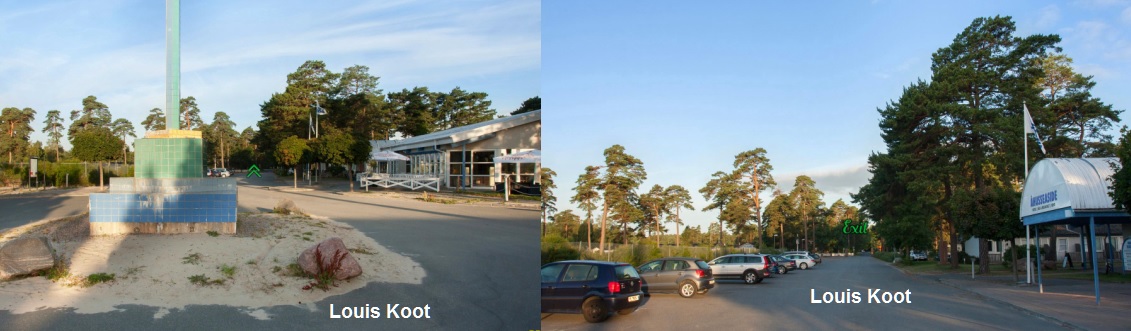
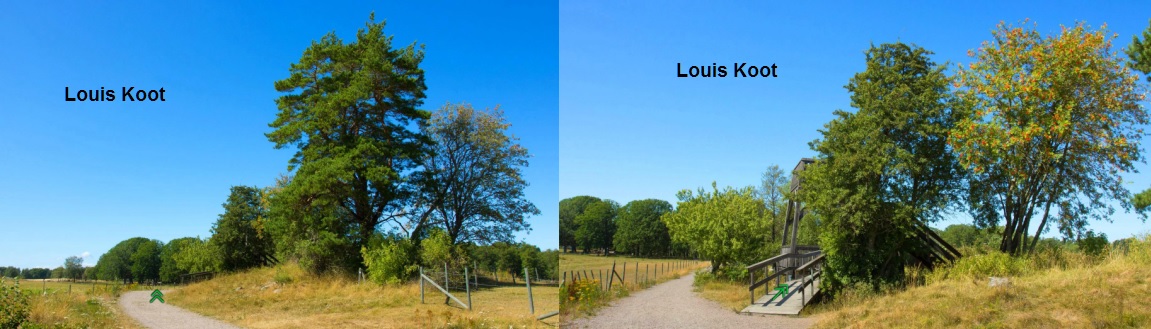
Salem Wetlands
Carol is at the beginning of a path that goes through the meadows. We are at the Wetlands. You just have to follow the green arrows that you get on the path
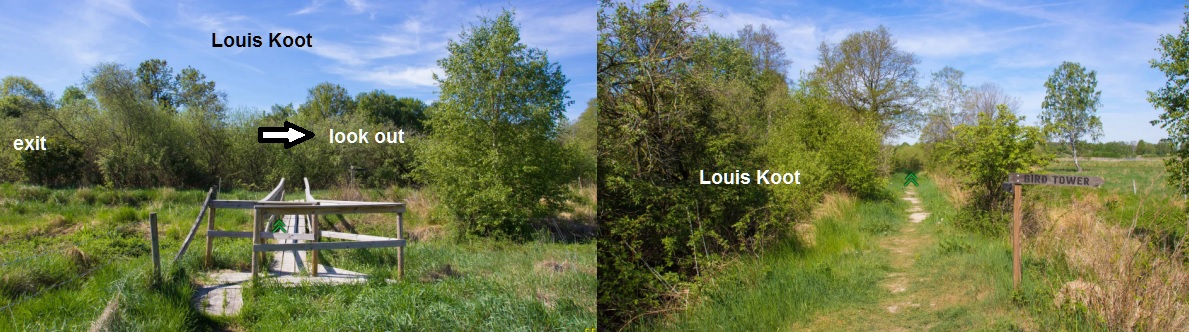
You can't get lost. Now first follow the path 9x forward, until you reach a sign that point to the right, to the Bird Tower

The path goes straight on to the look out at the lake but we first go to the Bird Tower. So turn right and follow this right path.
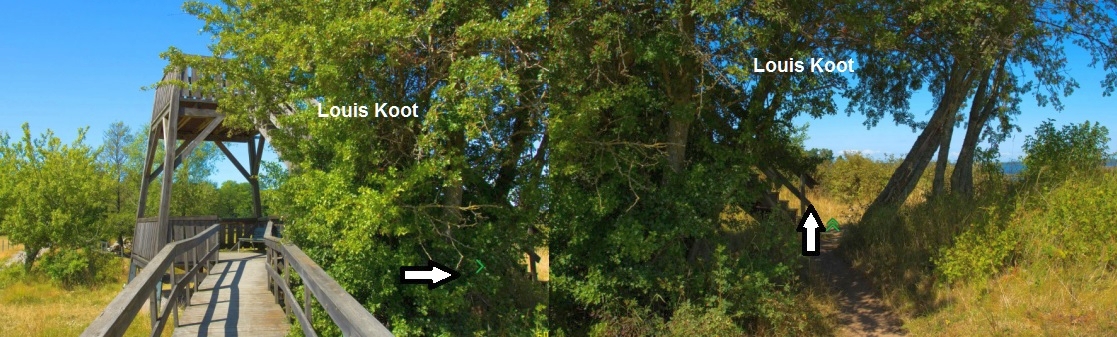
Again...just click the green arrows that you get on the path and do this 6 times

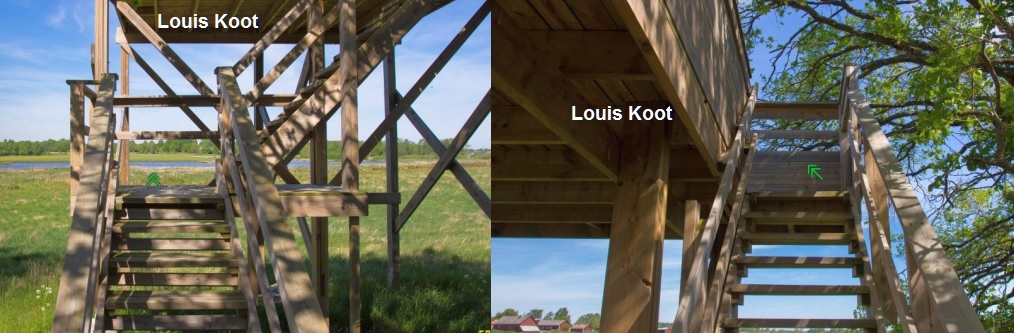
After 6 clicks you will reach the Bird Tower, so climb up the tower
On top you can enjoy the view and then you urn left to see an information board. Zoom in on that information board.

Read the information. There's an reader on the board but Carol needs an membership card from the Norrköping Bird Association to be able to use the reader. You can't take the reader with you. Turn left. A picnic table....there's something on the picnic table, so zoom in on it. It's the lost battery for the photo camera from Hendrik.
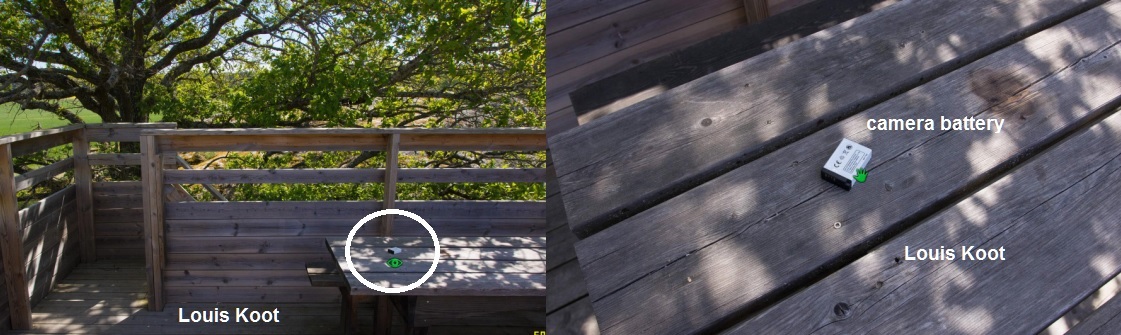
Take the battery and click it to the inventory. Leave the tower
Follow the path back to the main path and then turn right. You see the Bird Tower sign again.
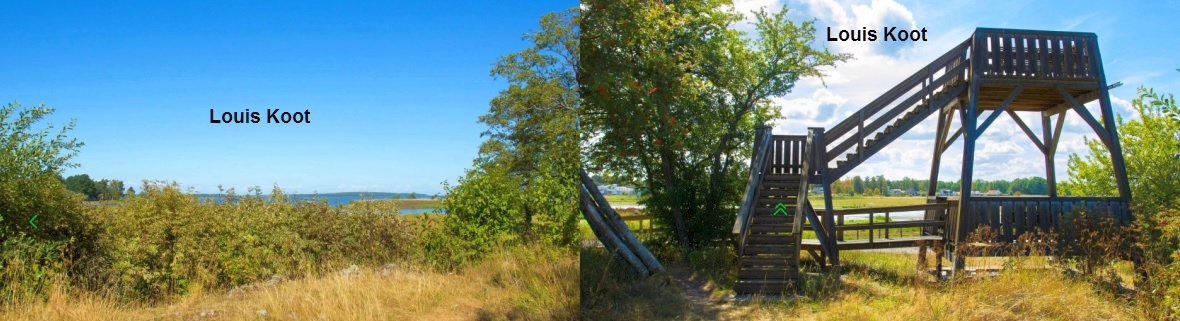
Now follow the path to the "Look out cabin". First follow the path 8clicks...you cross over 2 wooden bridges
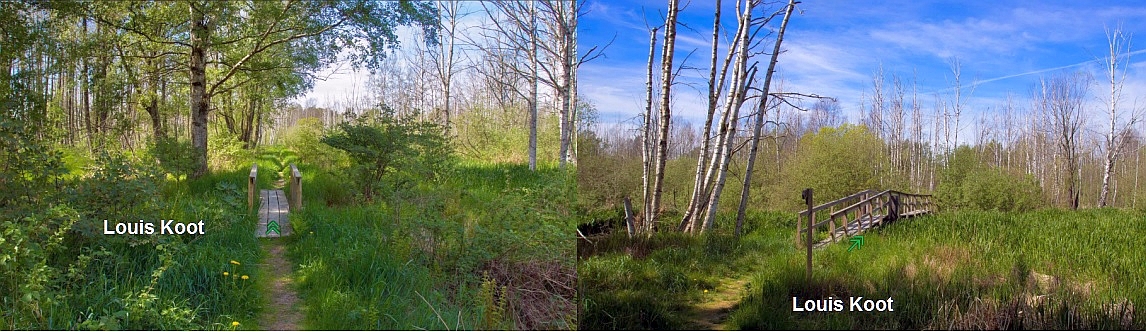
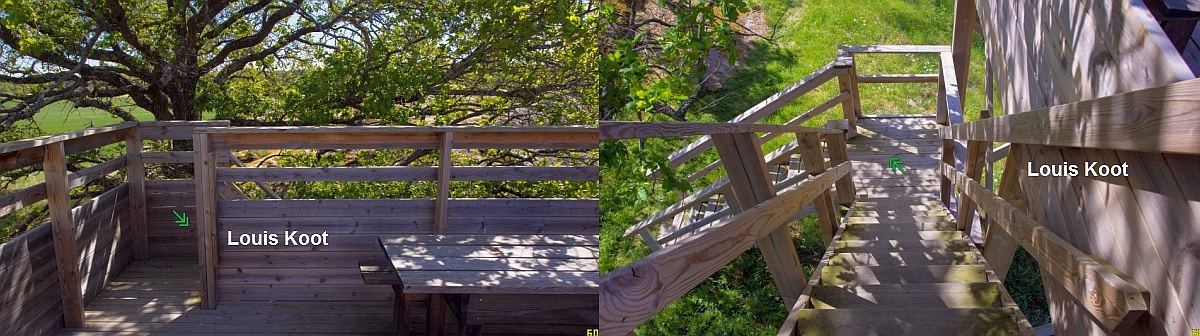
The forest path becomes a wooden path....Follow the wooden path 6 clicks further until you reach the Look Out cabin
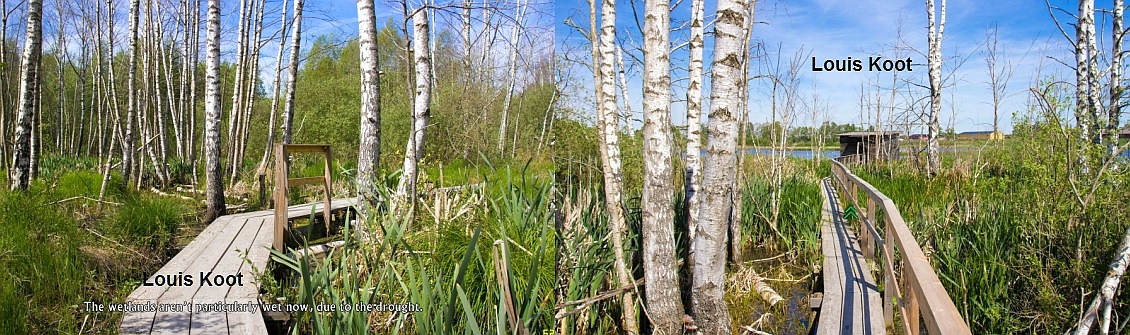
Step inside the Look out cabin

Inside you can open up one of the wooden hatches and then look out over the lake, to enjoy the scenery for a bit
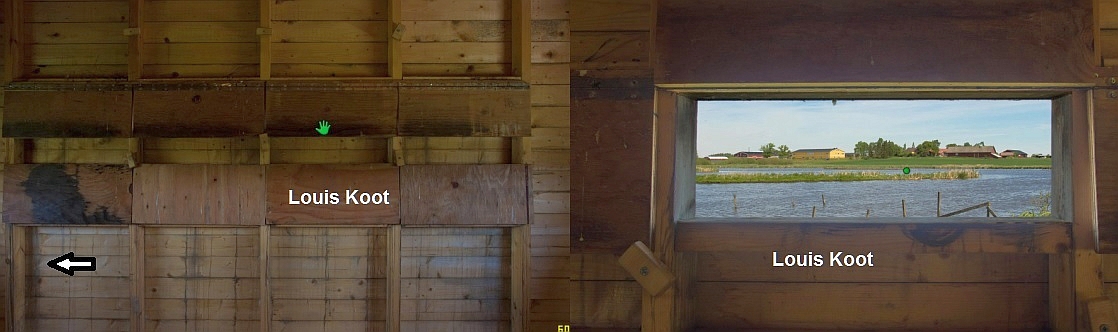
Zoom out the window and turn left. 2 chairs are standing at the left window. On the left chair is a note.
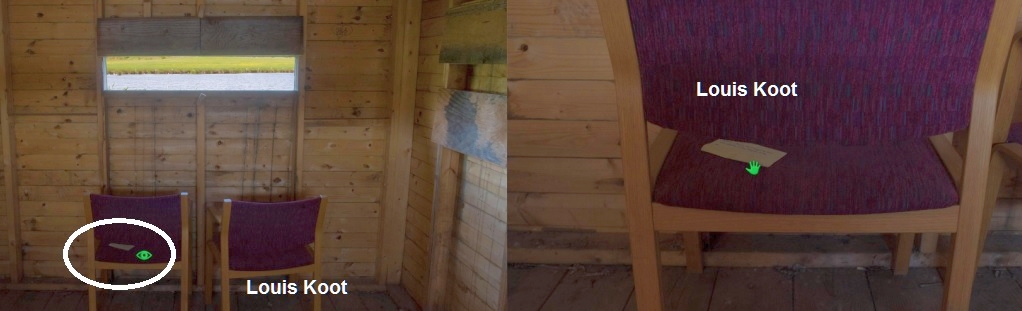
Zoom in on that note, take it and read it and click it to the inventory
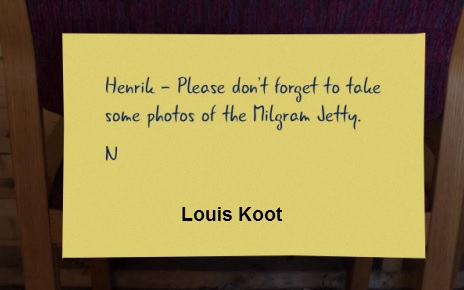
The Milgram Jetty will be put on the map now and that's were we are going to now.
Leave the look out and follow all the paths back to the EXIT...just click all the green arrows you get on the way
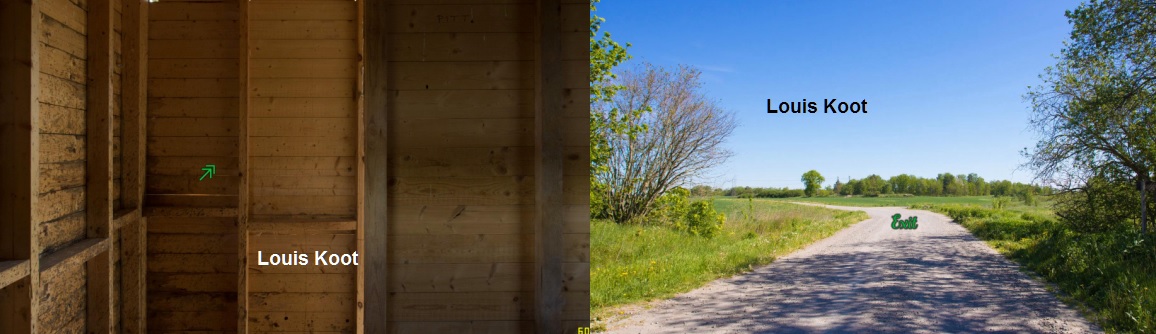
Exit to the map and then travel to the
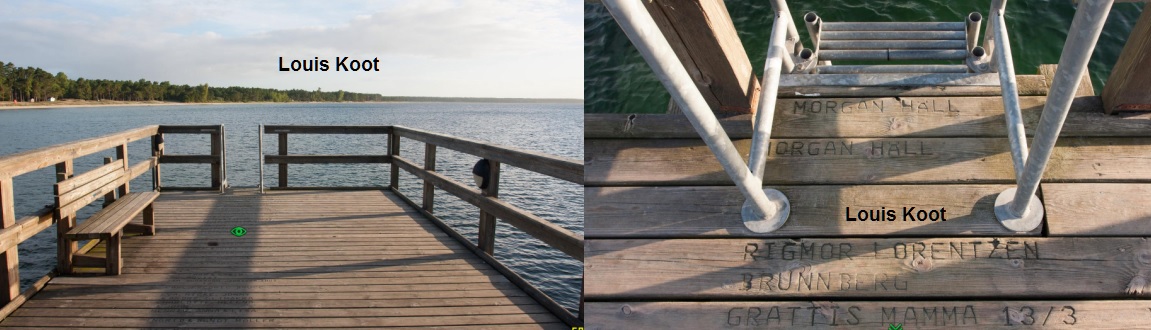
The Milgram Jetty
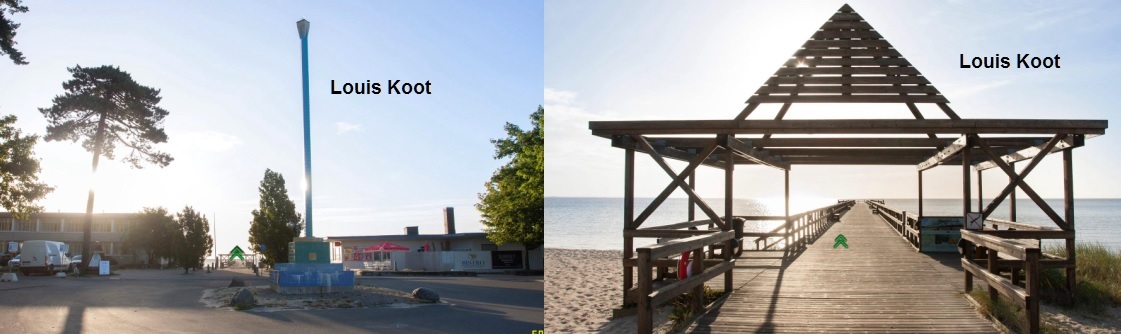
Carol arrives at the Needle. Just go forwards 6 click and Carol will be on the jetty
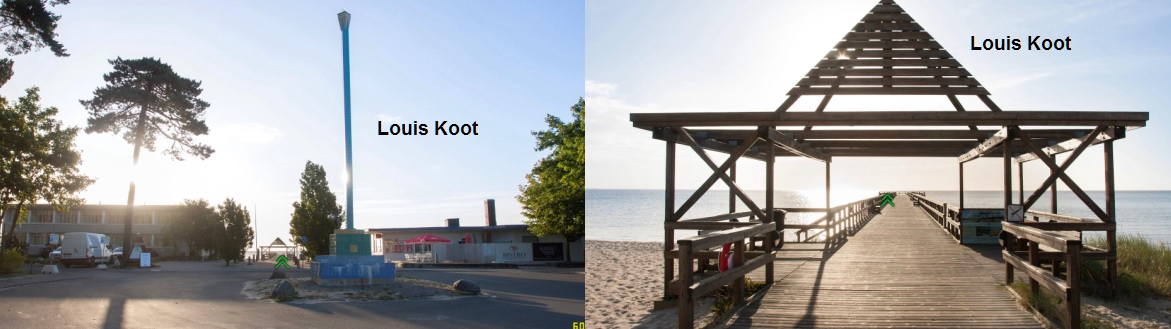
After 6 clicks, from the Needle, Carol is about halfway on the jetty. Stop and turn left. There's something on the bench

Zoom in on the bench and then take the box. Open the box. Take the camera memory card from the box and turn it around...... H. Egerman is written on the label
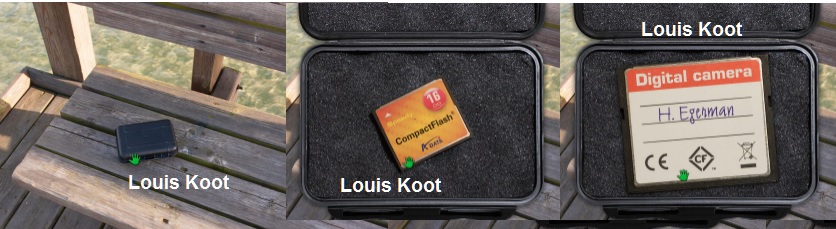
Click the memory card to inventory and zoom out. Turn left and walk back to the Needle and then past the needle to the Exit and travel back to
Hendrik's House
Enter the house and go to the outlet / socket in the kitchen, left of the fridge.
Zoom in on the outlet and plug the Battery Charger in the socket.
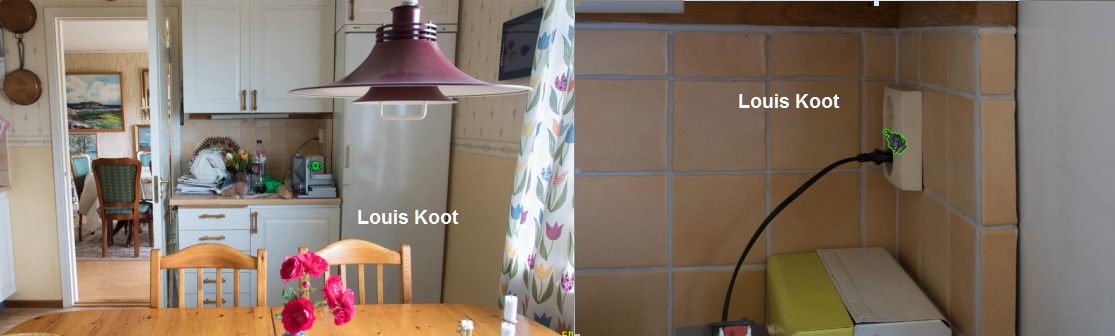
Then put the Camera Battery in the Charger

It take some time to charge the battery, so leave the house and go, via the map, to one of the other location such as Carol's apartment. Walk around in Carol's apartment for a minute or 2 and then travel back to Hendrik's House. Back in Hendrik's house you go to the kitchen again and you take the now charged battery from the charger. Check in inventory whether the battery is really charged now
When you now have a charged battery go to the TV room. Look at the photo camera on the coffee table.
Click the photo camera and put the charged battery in and then insert the memory card in the camera.....Just click both on the camera to insert them
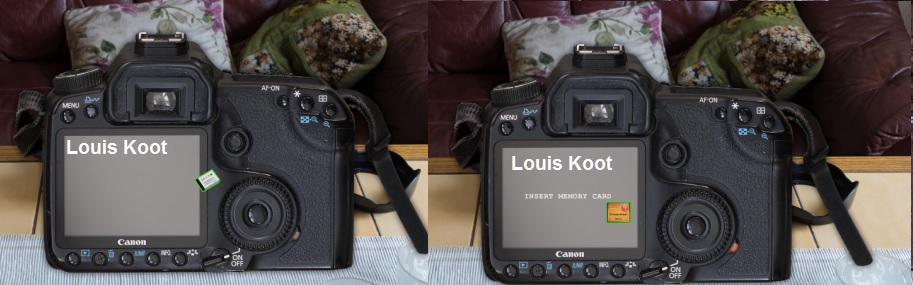
You now can look at the photo's. Click the round knob to scroll to the next photo's. One of the photo's is from the Bird Tower.
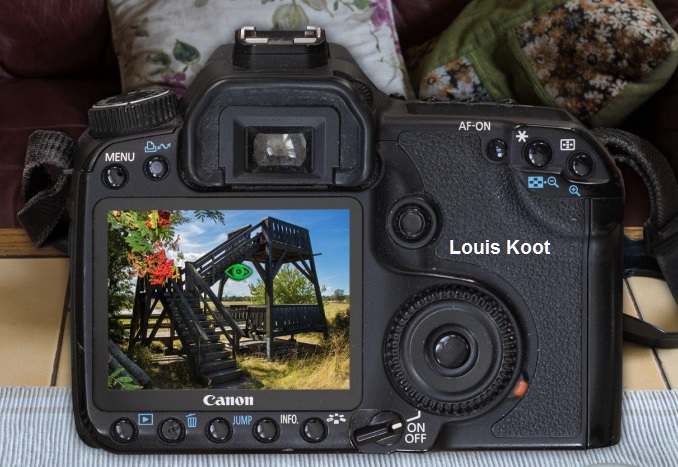
Zoom in on the Bird Tower photo, to enlarge it....Carol doesn't know where this tower is but maybe Stina knows. Stina's location will now be on the map.
Zoom out and click the camera to the inventory. Leave the house and travel, via the map, to
Stina
Stina has a new job again...she's now working at the library. Talk to Stina about everything
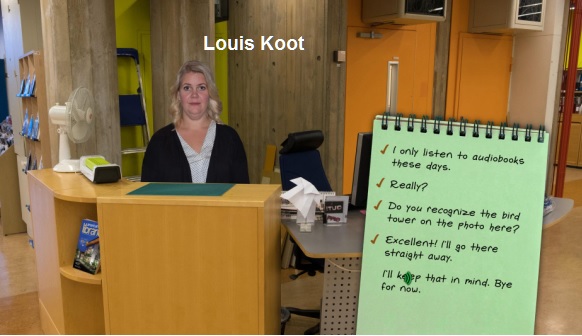
Stina knows that the tower in the photo is the Oakland Bird Tower and this location will be put on the map now, so say thanks to Stina and go to the
The Oakhead Bird Tower
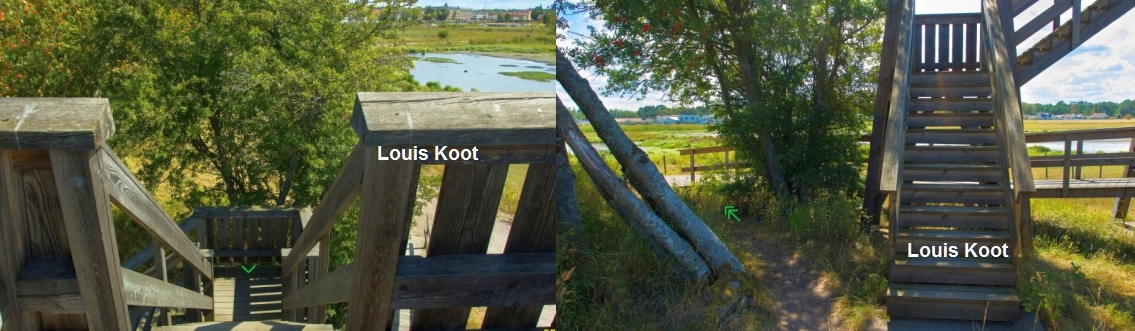
Go forward to the entrance of the tower. The tower has a low floor and a top floor and you have to go up to the top floor. So turn right, 1 step forwards through the bush and......
.......turn 2x left and then forwards to the stairs of the tower............
Climb the stairs up to the top floor of the tower.........

On top find the name board that's on one of the balustrades of the tower. Zoom in on the name board and then click your eye on "Hendrik E / Nils A"
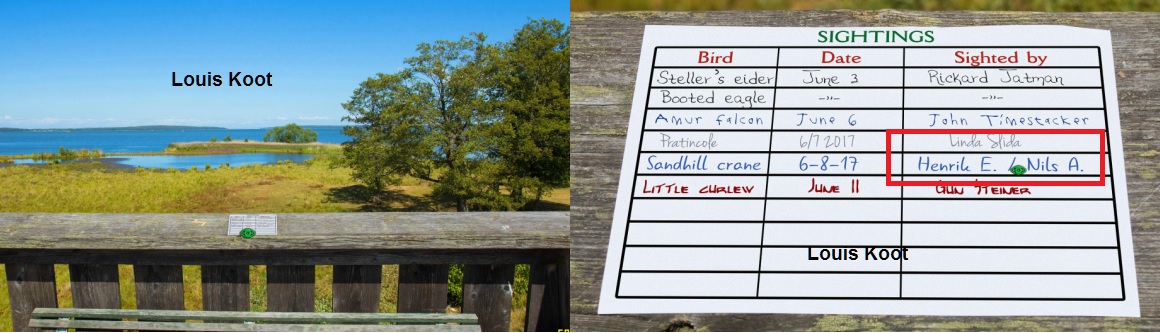
Zoom out and............Immodia calls. Ask Immodia everything about Hendrik and Nils
Immodia refers Carol back to the Milgram Jetty about that Nils person, so we have to go back there now.
Say goodbye and decent the tower. When your down again turn around and go diagonally to the road
...and then to the EXIT.....and travel back to the
The Milgram Jetty
Now go to the end of the pier and then turn right
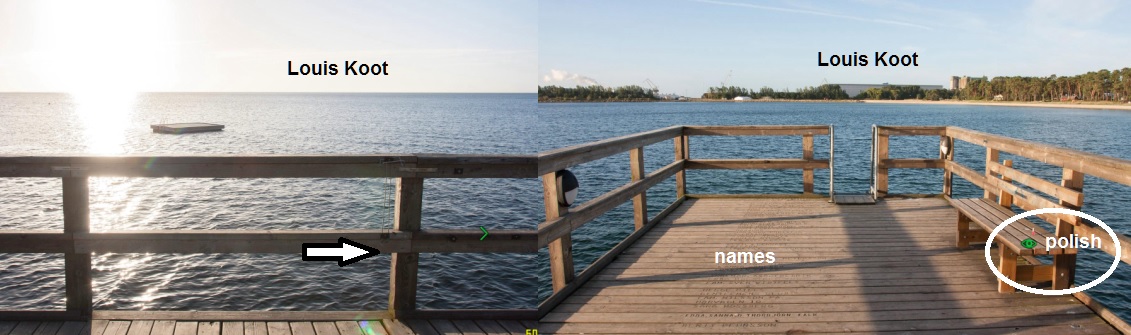
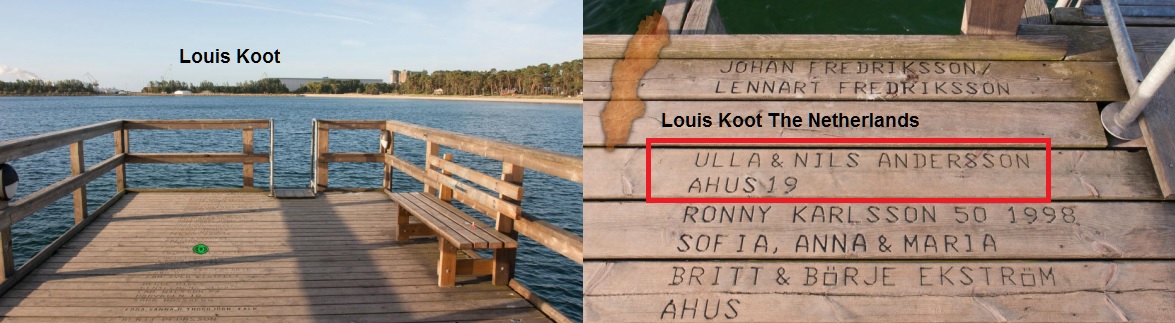
On the bench stand a nail polish bottle and there names engraved in the floorboards of the jetty. First zoom in on the bench and take a closer look at the nail polish bottle
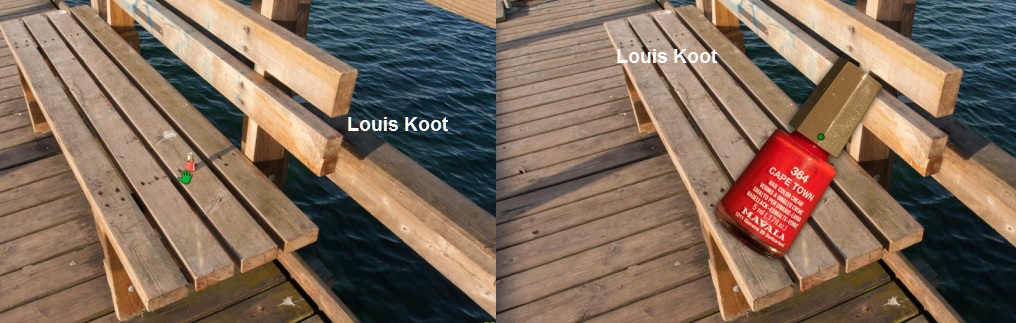
You can't take the nail polish, so zoom out to put the bottle back on the bench. Now zoom in on the names that are engraved in the floorboards and.......
Carol reads that Nils Andersson lives at Arhus 19 and this location will be put on the map
Zoom out and urn to the other side of the jetty and also read the names on the floor boards there.
Zoom out and leave the jetty to the EXIT past the Needle and travel to o to the house of Nils
Nils House
Look, left of the front door, at the doorbell and then press the bell a few times. See also the keypad on the right of the bell.
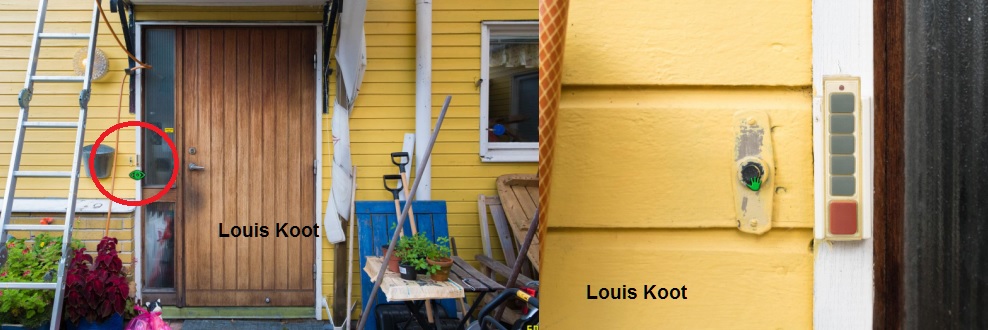
It seems that Nils isn't home, so zoom out and......Carol get's another messages from Immodia who says that Nils Andersson is at his holiday residence.
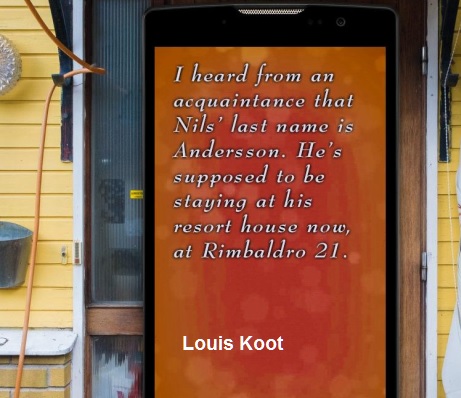
Find the EXIT and go to Nils's holiday home via the map.
Nils Resort House
Talk to Nils about everything and you get the St. Anna Chapel as a new location on the map. Go there now
2019: Walkthrough by: Louis Koot