2019: Walkthrough by: Dick Leeuw
If you have found this walkthrough via google search or via another site then you have probably not visited my site.
A lot more very detailed game walkthroughs can be found on my site at: www.pcgameswalkthroughs.nl
NOTE FROM LOUIS:
Please
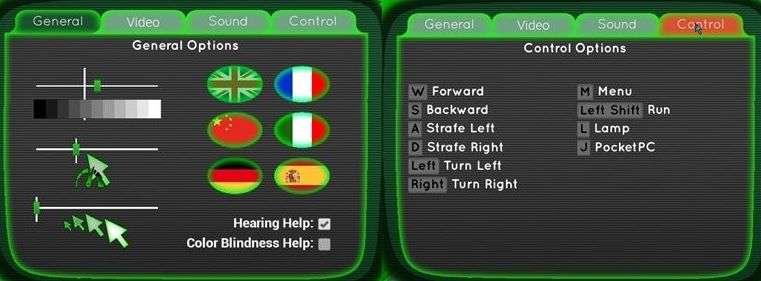
be sure that you have version 1.1 of this game, because version 1.1 has some
improvements that are not in version 1.0. This is especially important if you
can't see the colored Bird Notes in the beginning of the game. If you do not see
those colored Bird Notes but you have version 1.1 (or higher) then please
activate the "Hearing Aid" function in the options menu. When you
activate the "Hearing Aid" function you will see those colored Bird
Notes and you then will be able to open up the door in the top room of the Tower
Start a new game and click on options.
You first see an intro film how you end up on
the island.
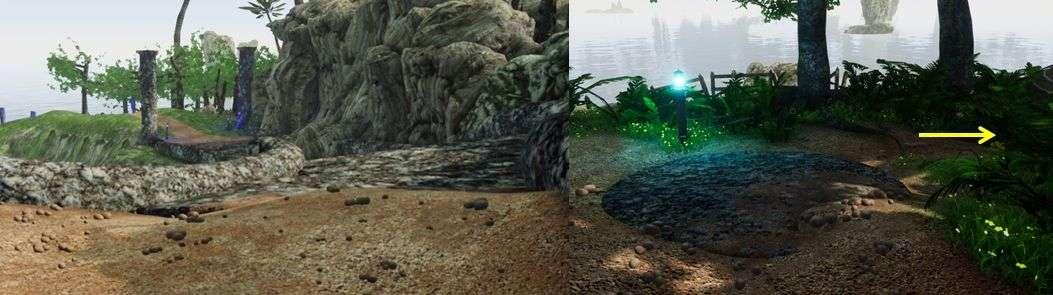
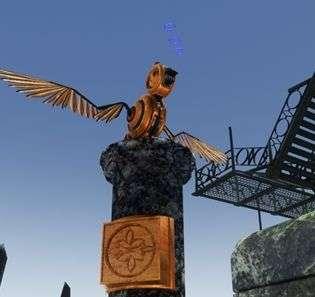
You see a bird on a pole, green musical tones
come out of its mouth.
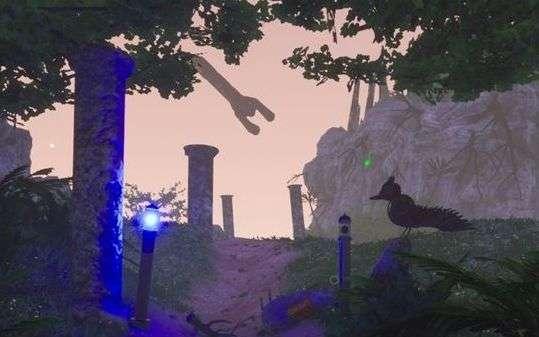
Walk to the bird but it flies away, it has
something in its mouth.
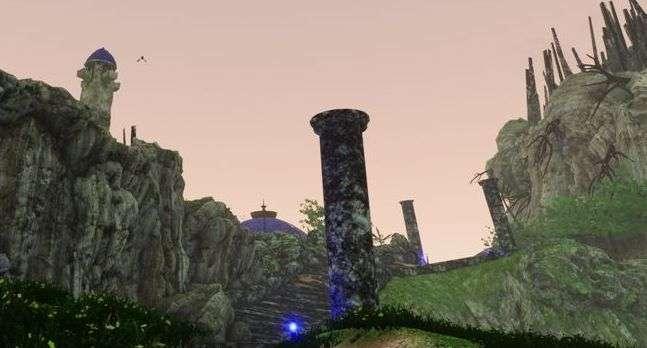
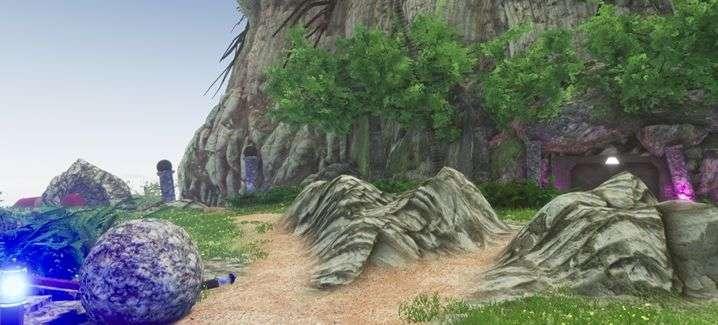
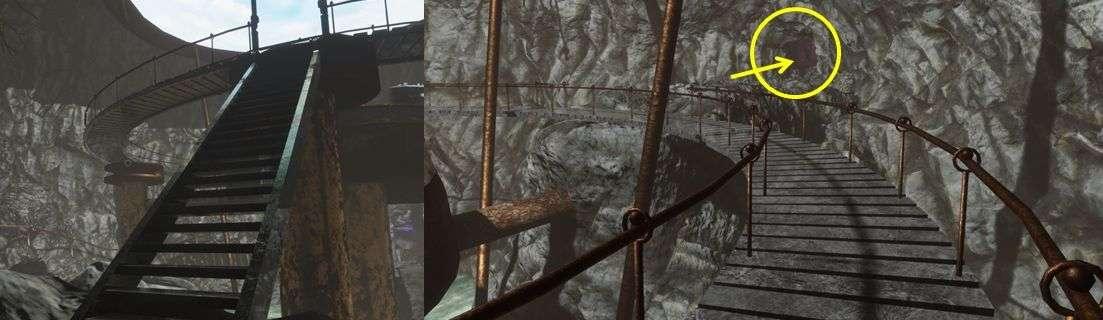
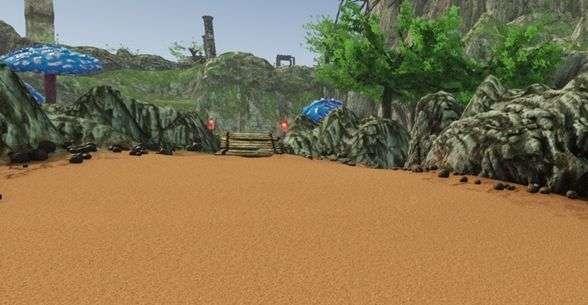
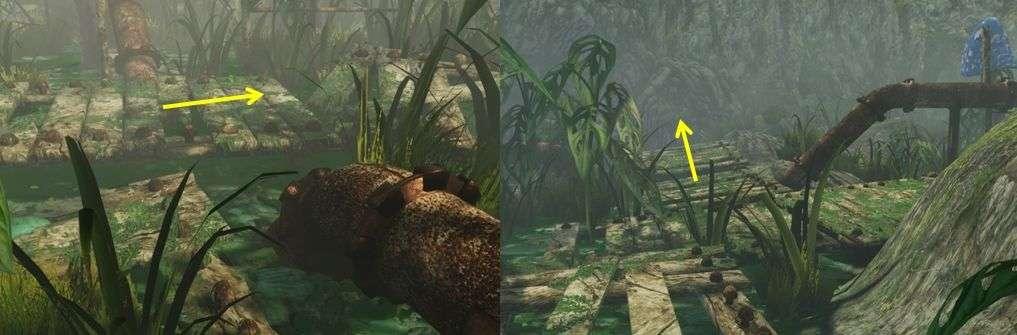
Follow the path and go up the wide stairs, on
the right you see a swamp with large blue mushrooms.
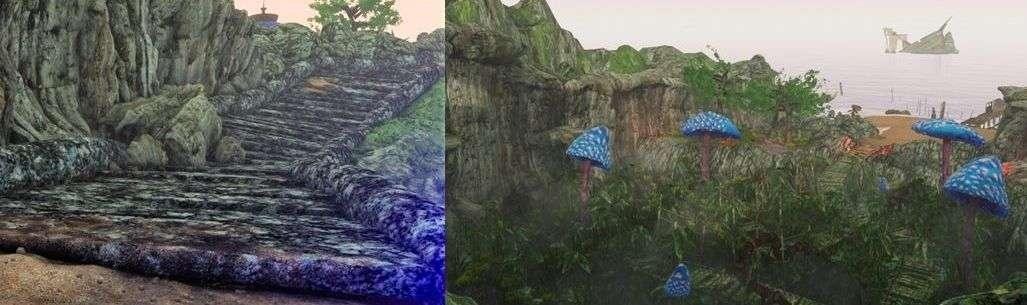
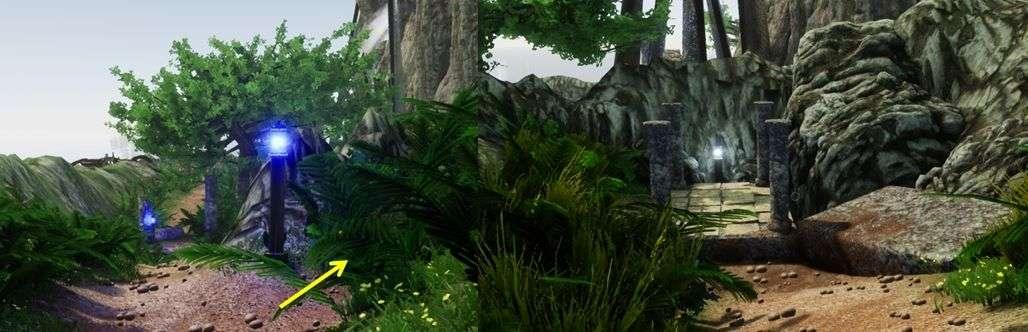
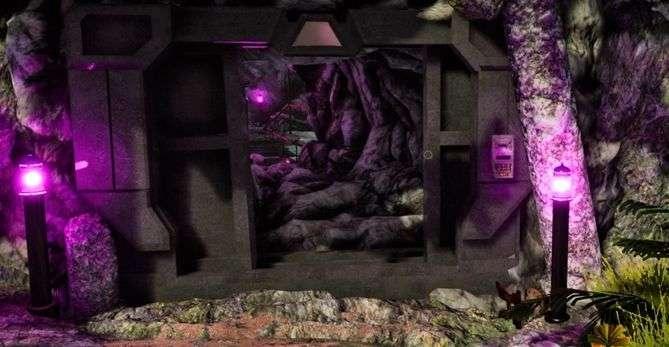
At the top you see a gate on the right in the
rock.
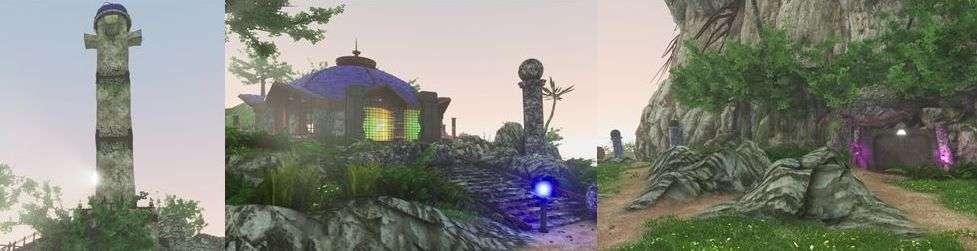
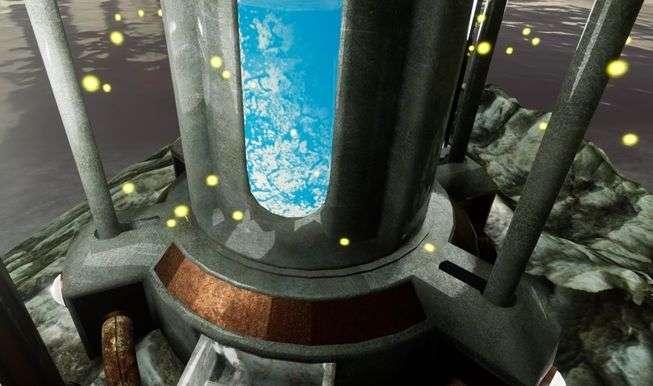
Go left to the tower, go up the stairs and you
are at the bottom of the tower.
You cannot go further here because the door is
locked.
You go back to where the bird was.
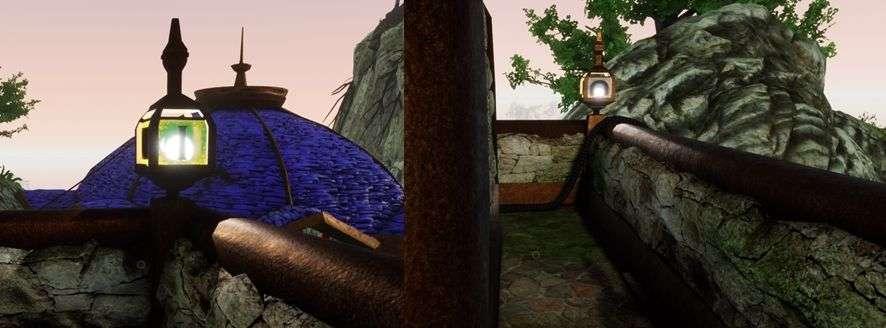
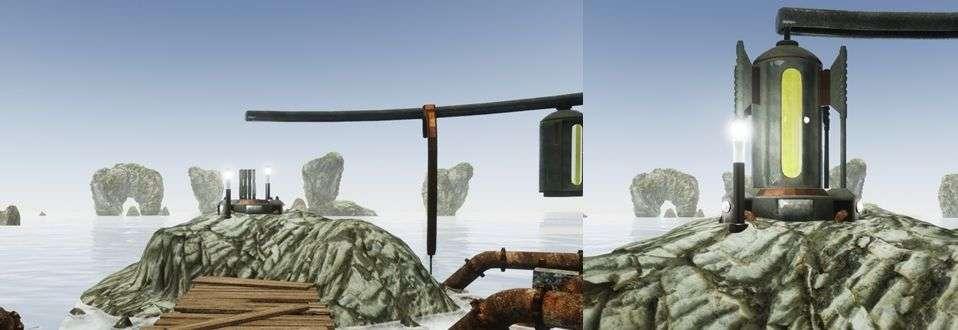
You see a white lamp at a plateau there.
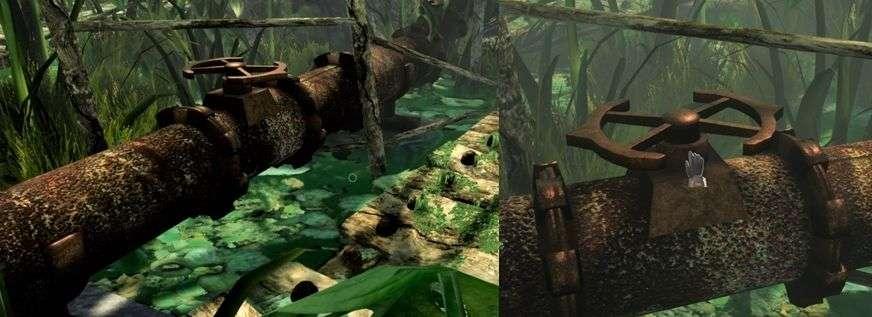
Go to the right and walk between the strange
square posts.
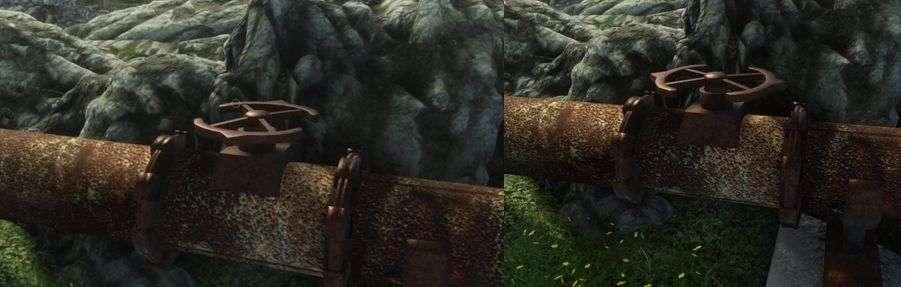
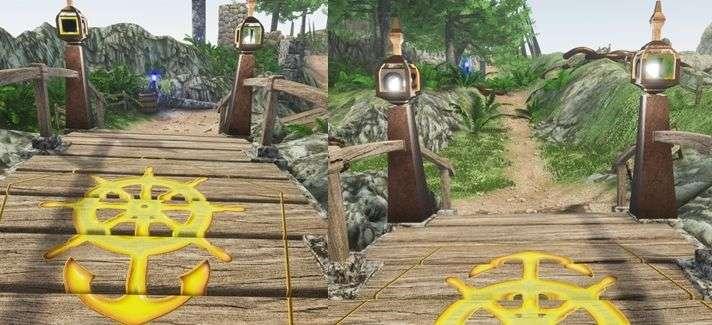
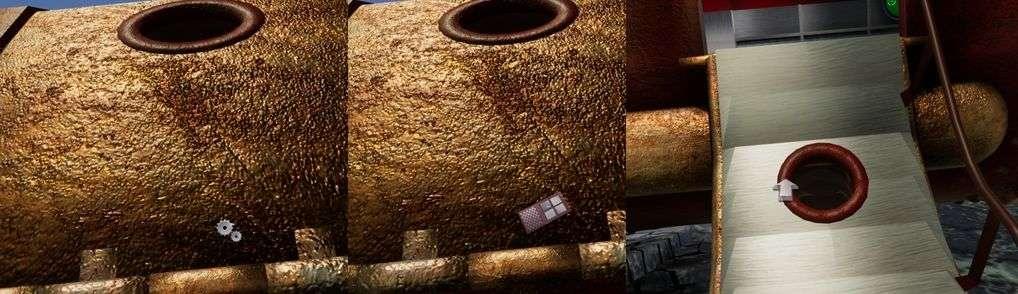
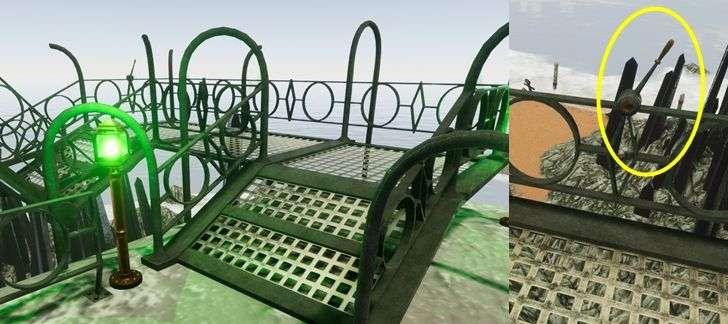
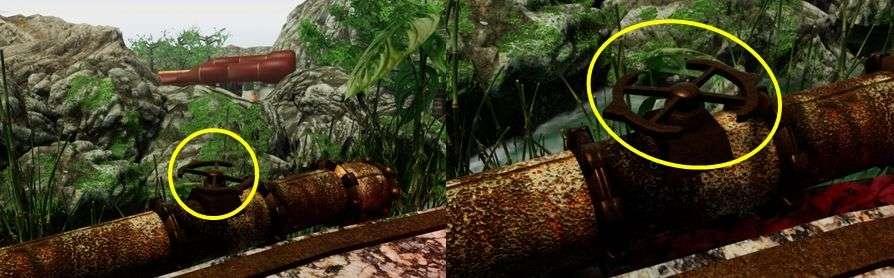
Turn to the left and there you will see a
turning wheel on top of the pipe, click on that wheel and the wheel turns.
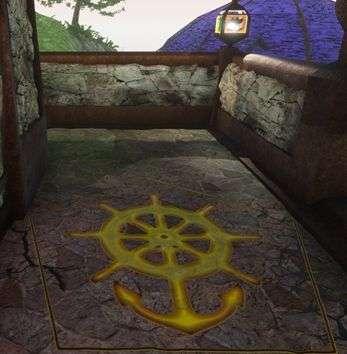
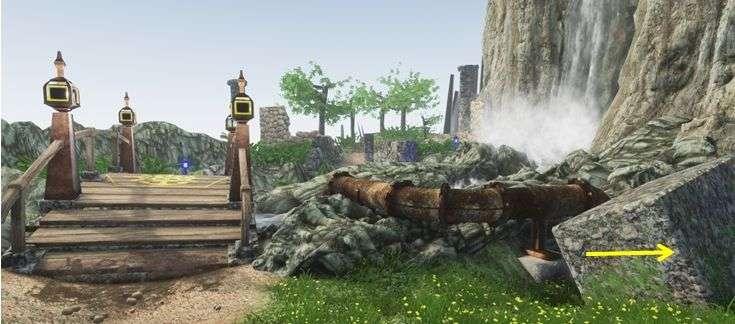
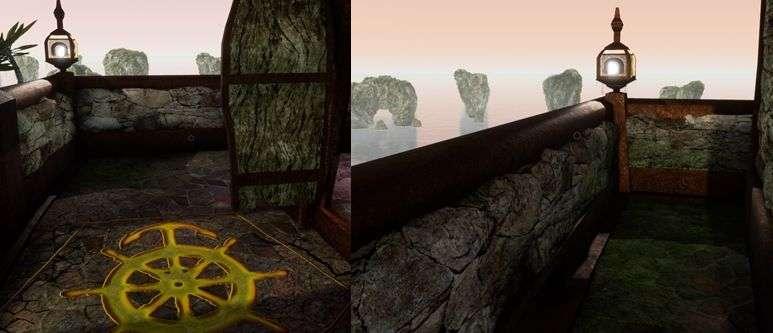
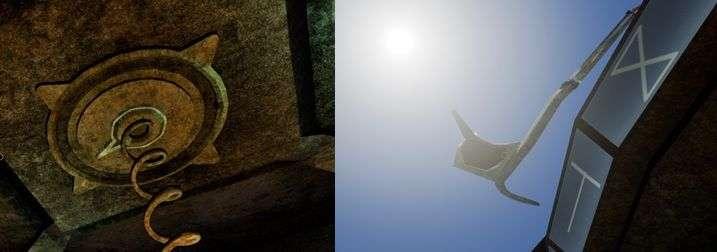
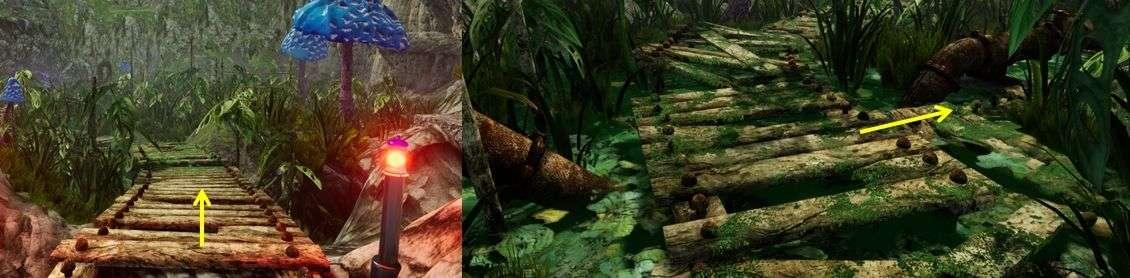
Walk back to the bridge, on the bridge you see
the same sign as in front of the tower, a steering wheel with an anchor.
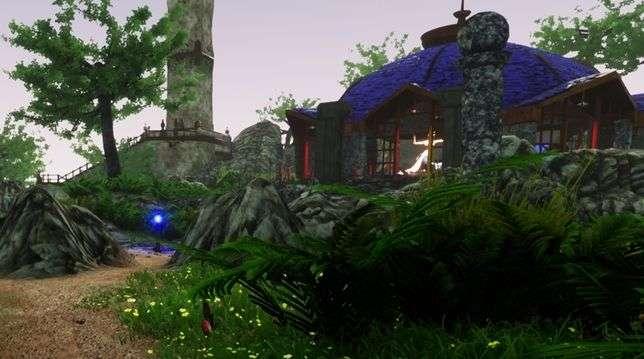
Follow the path further until you see a kind of
tent on the right.
Just past it you see wooden steps to that tent,
it is a kind of playground / classroom.
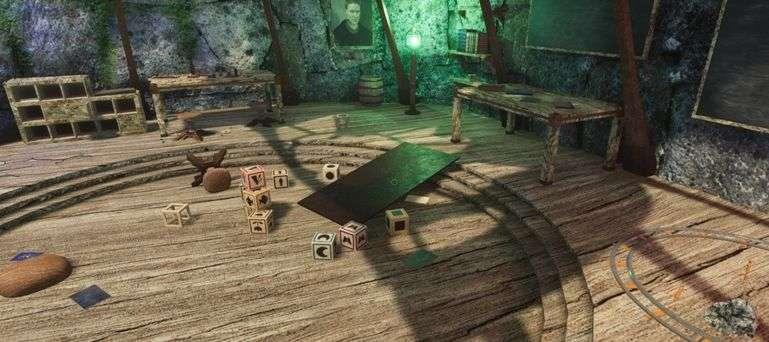
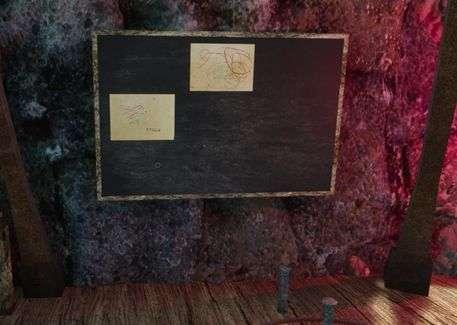
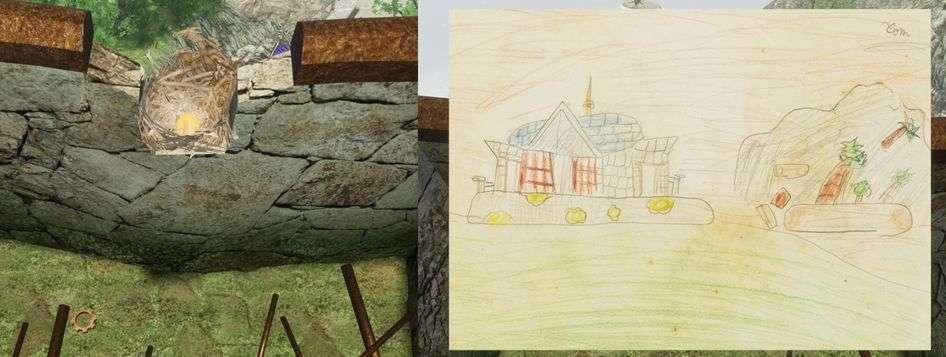
On the left you see a cupboard and a table, in
the cupboard is a drawing.
You get a magnifying glass at that, then click
on the drawing.
In the left you see a puzzle piece with a
drawing of a fish.
Read it through and then click the PDA away.
You can view and rotate them with the
magnifying cursor, but you can't do anything else with it.
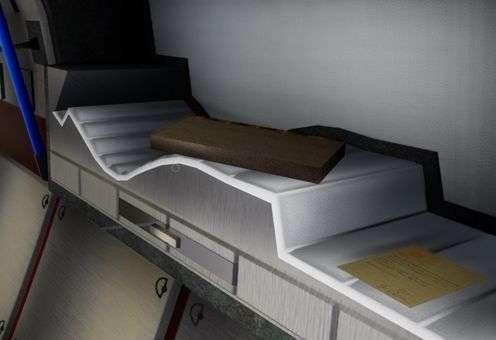
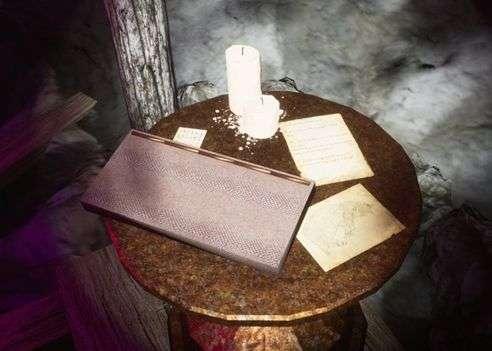
Walk to the other table, there is a note under
the blue book.
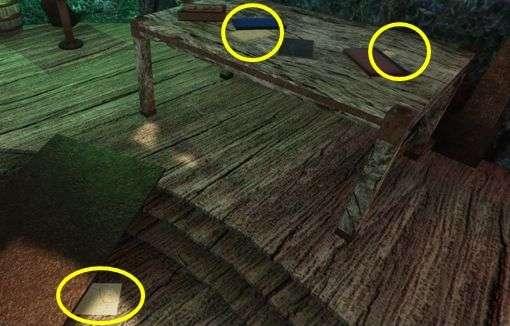
On the same table is a brown book on the right,
also a note here.
There is also a train on the ground, click on
it and it runs a circle.
This also shows those characters.

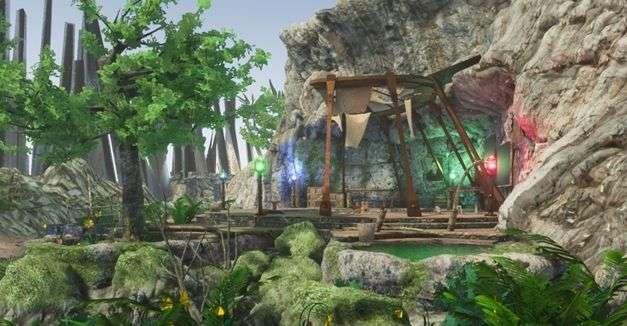
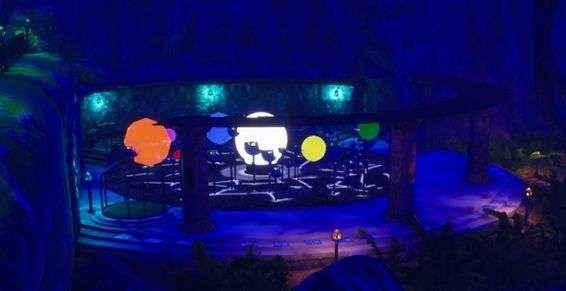
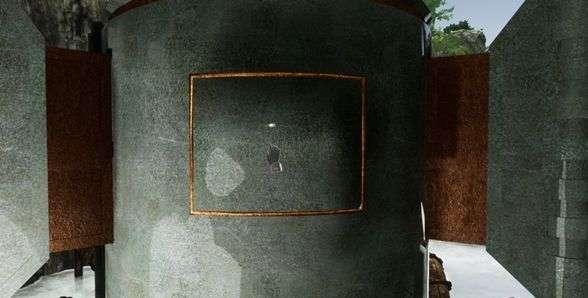
Go to the path and go to the right, you will
come to a planetarium with coloured and transparent spheres.
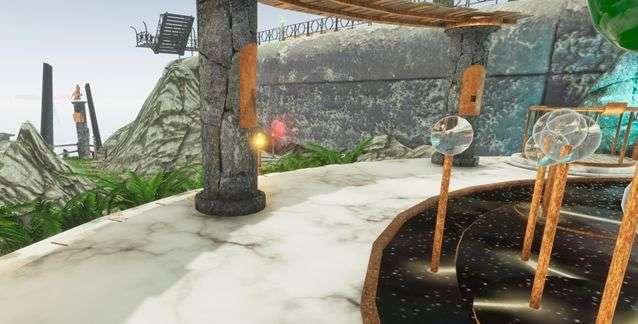
Walk the edge back to the wall. The control
device is there.
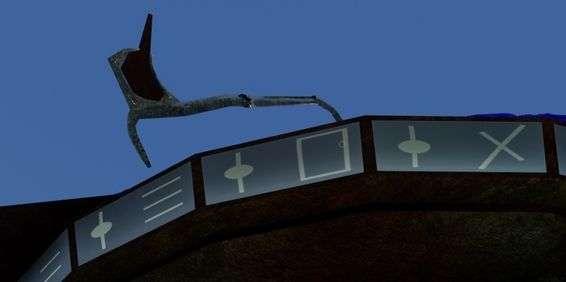
Go back to the tower, you will now open the
door of the tower.
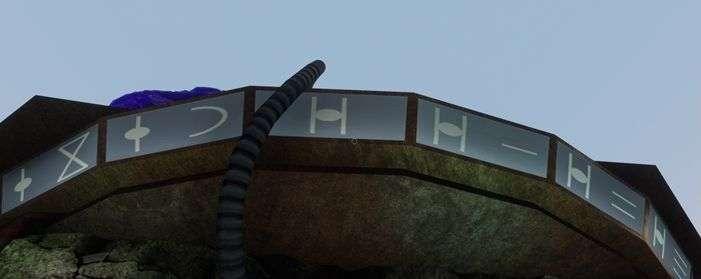
On the bridge you can see which symbol must be
where.
If they are positioned correctly, the door will
open, go inside.
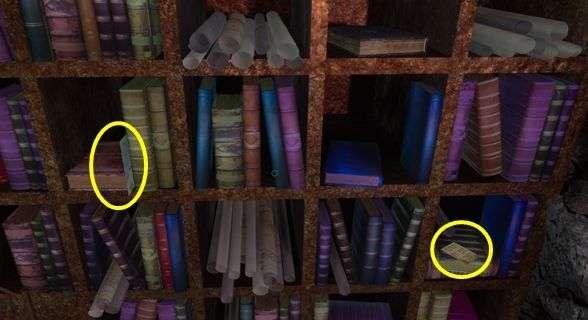
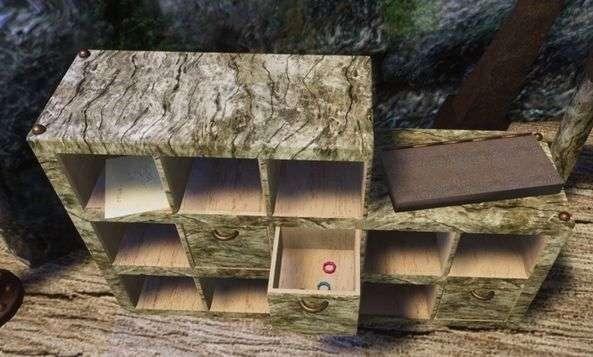
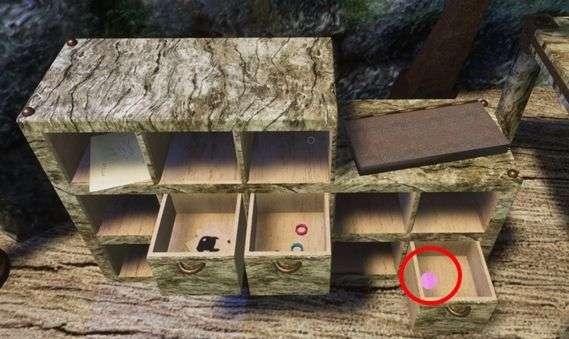
In the fourth box on the third shelf is a
drawing, click on the drawing with your magnifying- cursor.
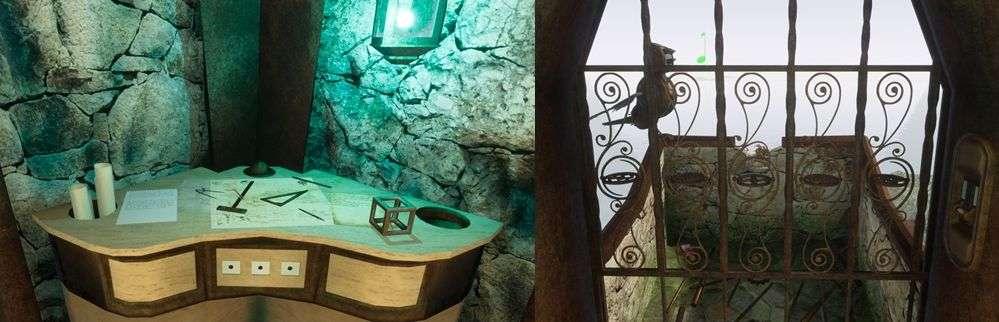
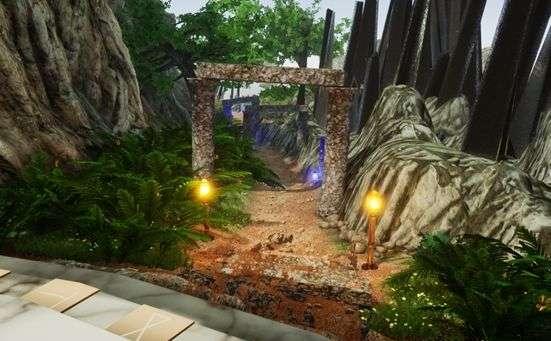
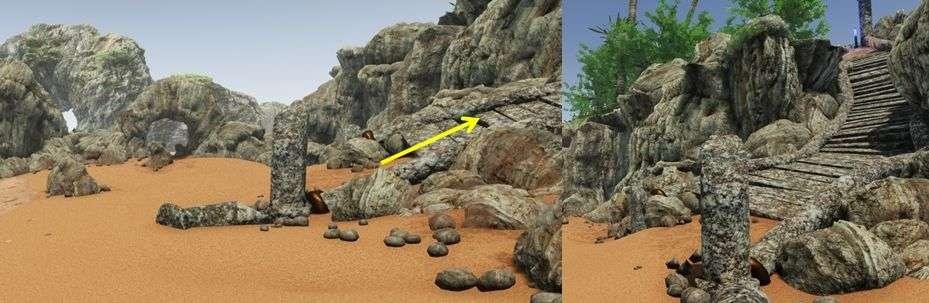
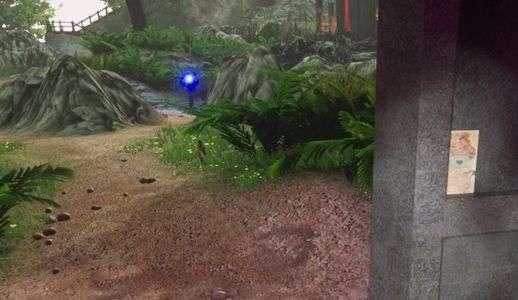
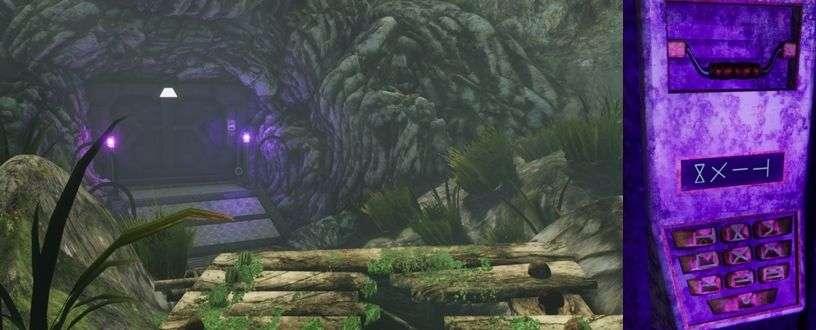
Go to the gate, on the right next to the gate
is a switch. Click on it but unfortunately blocked.
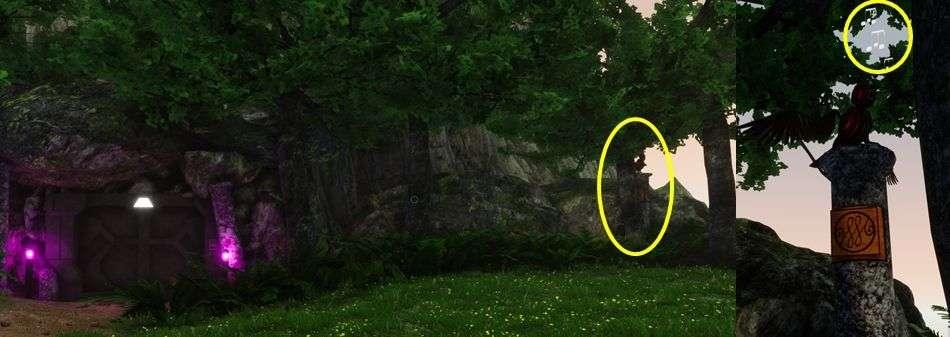
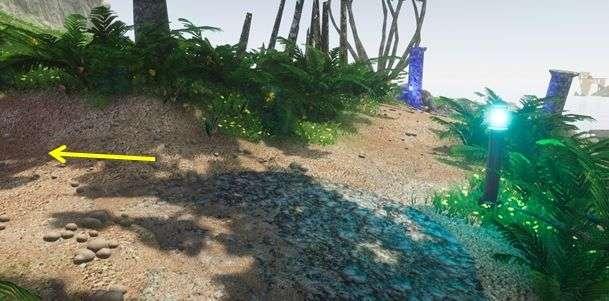
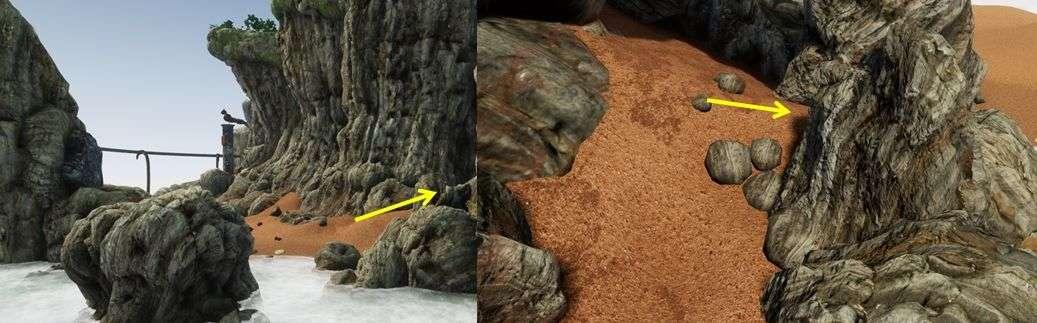
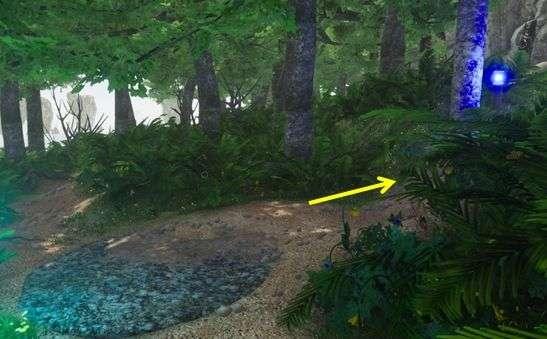
Turn slightly to the right and you will see a
column with a symbol among the trees next to the rock.
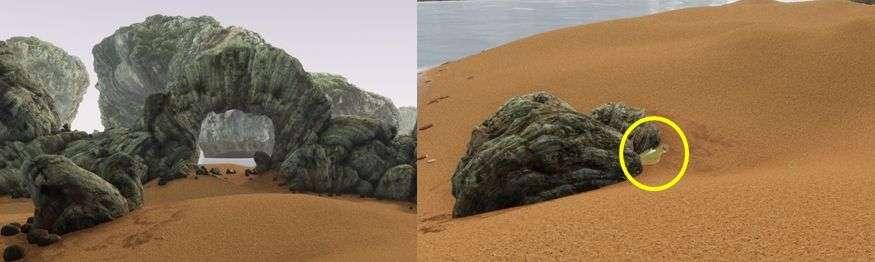
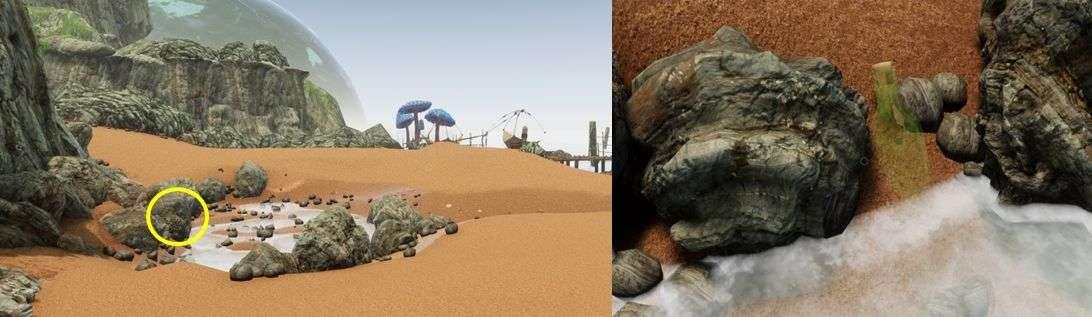
Walk under the arch and a little further you
see a few boulders on the beach on the left.
There you will find a bottle, click on it with
your hand cursor.
The bottle is picked up, the cork goes out and
you see a letter with a number of names.
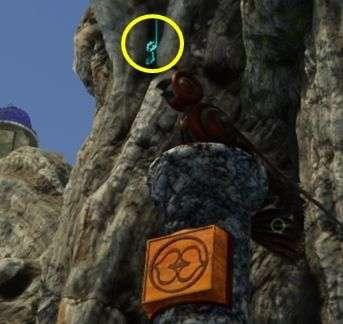
Turn around and walk towards the bird, make a
drawing of the symbol on the column and what color music tones you see: light
blue.
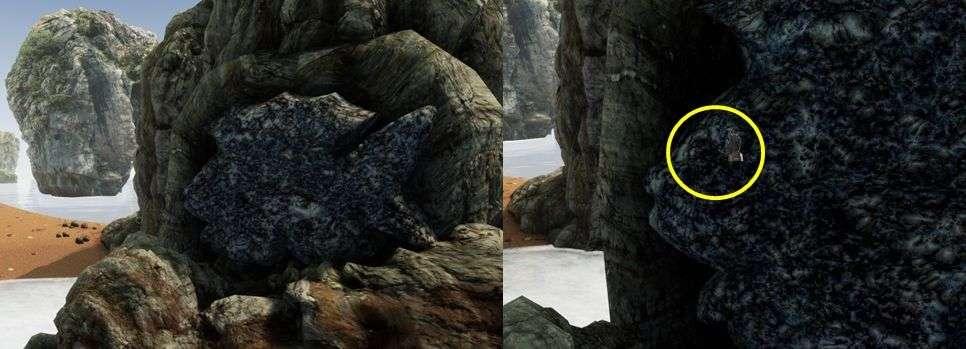
Turn around and walk back, on the rock on the
right you see a stone in the shape of a fish.
Click with your hand cursor on the eye of the
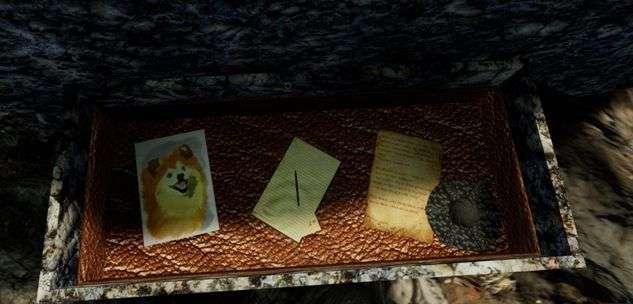
fish, at the bottom of the fish a drawer slides out.
This contains a drawing, a letter and a note
with numbers and figures from MYHA.
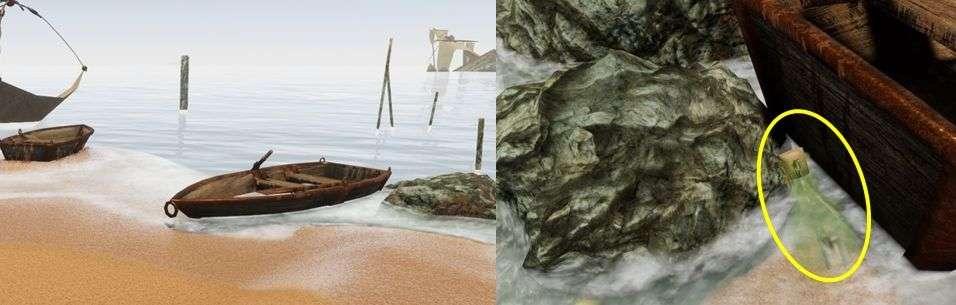
Then walk back along the beach, under the arch,
along the stairs.

Walk into the water and on the left between the
rocks you will find another bottle, here too is a letter with names.
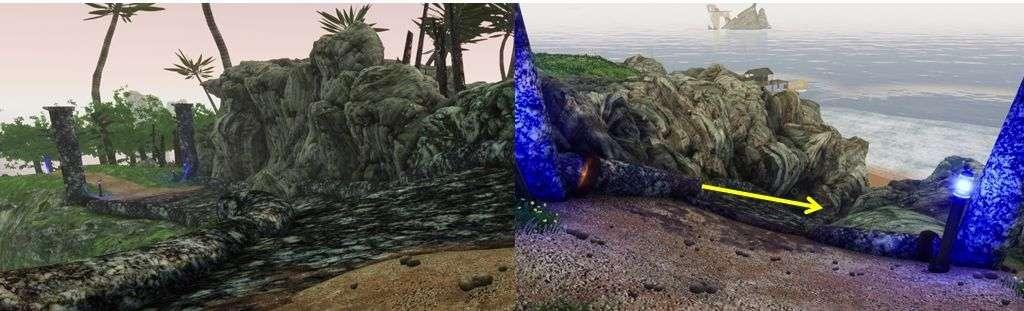
Then continue on the beach to the 2 jetties,
walk up the left jetty.
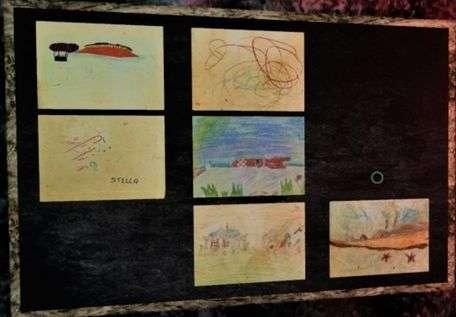
Click on the drawing and then click it away,
the drawing will hang on the board in the playground.
Click the bottle away and then walk towards the
tower, you will come to the start of the swamp.

Then walk back over the beach to the stairs,
walk upstairs and then to the T-junction.
Go to the right and walk up, then go up in the
tower.
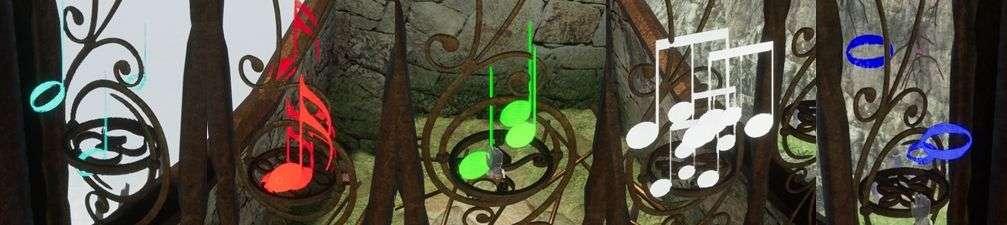
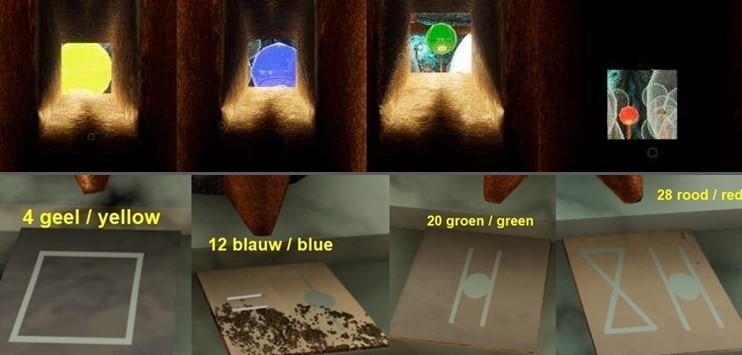
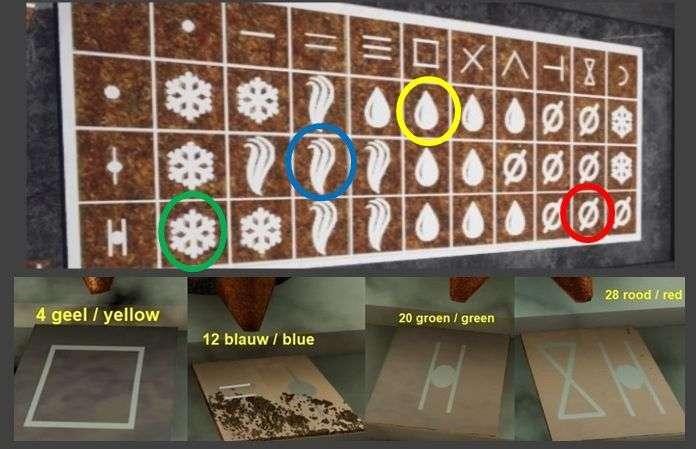
Go to the fence and view the round discs, you
have also seen the symbols on the columns of the birds
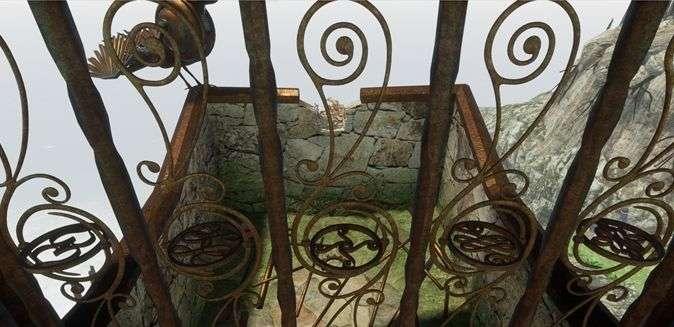
Through the symbols you know which color
belongs to which disc.
Click on the discs until you have the correct
color for each disc.
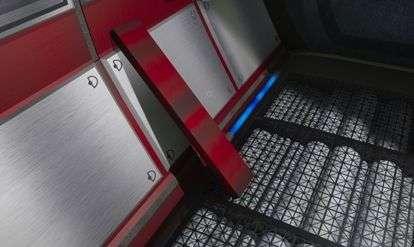
Then click on the switch and the gate slides
upwards, there is a rectangular plate on the balcony.
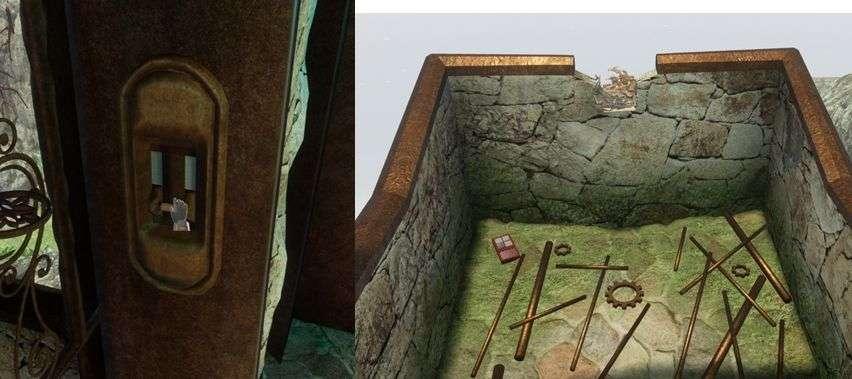
Take that plate, you need it for the rocket.
On the edge of the balcony is a bird's nest,
you get a magnifying glass on the nest. Click with the magnifying glass and you
find a drawing.
Click the drawing away and the drawing goes to
the board, also you see in that nest an orange ball. Take the ball.
Go inside and look at the cupboard,
On the left is a letter, click on it with your
magnifying cursor and read the letter. Click the letter away.
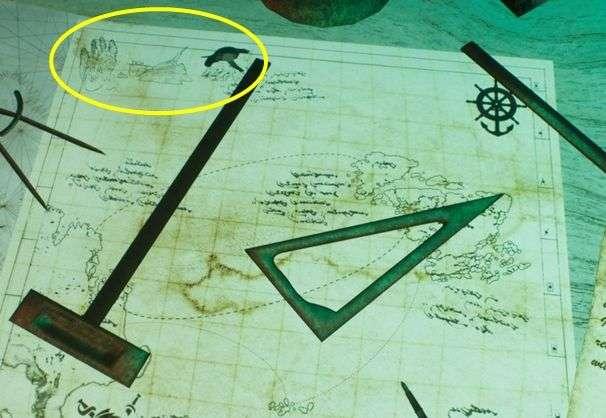
Then click on the map, top left you see a clue
for the code of the box.
Click the card away and click on the letter on
the right, read it.
These are the numbers 0 to 23, the 24 hours of
the day.
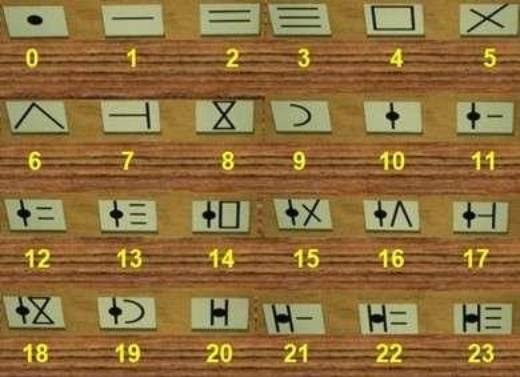
With these numbers and logical thinking you are
able to translate these signs into numbers.
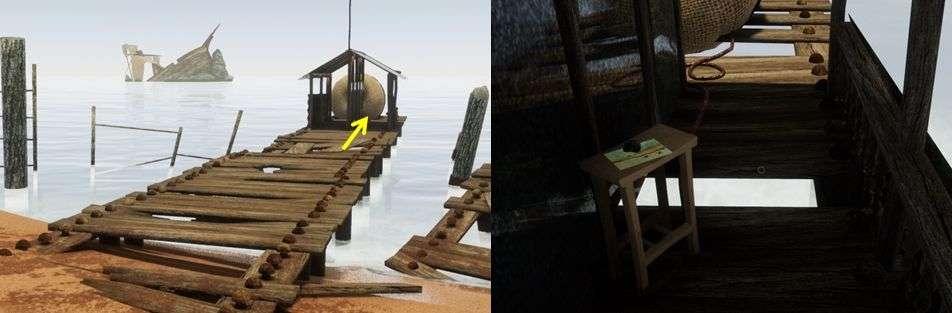
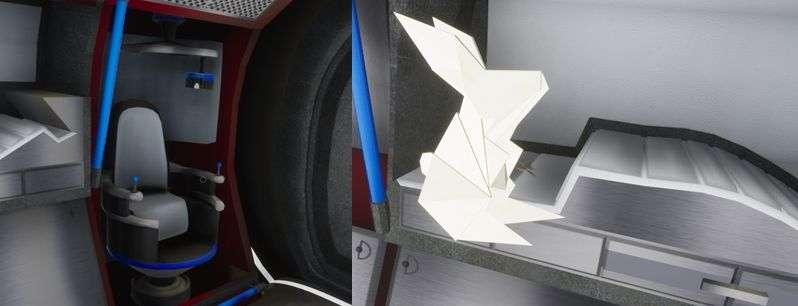
The chair is linked to another chair in the
pagoda.

From here you can't see the hand, the boat and
the sea lion, so click right to get out of the chair.
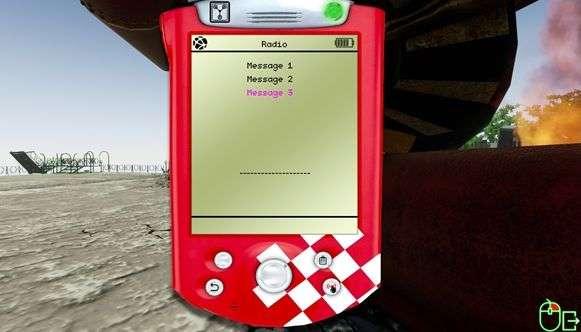
You will also hear the signal that you have
received a radio message.
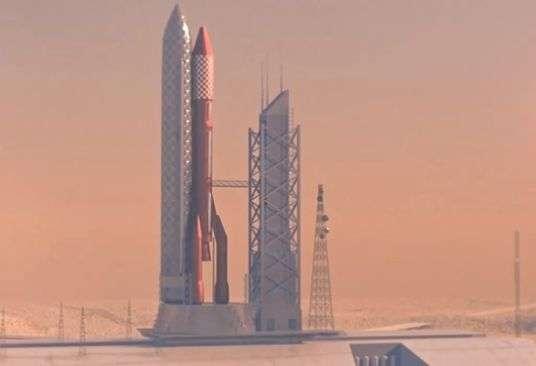
Walk further and there you will see the rocket,
go down the stairs and walk to the rocket.
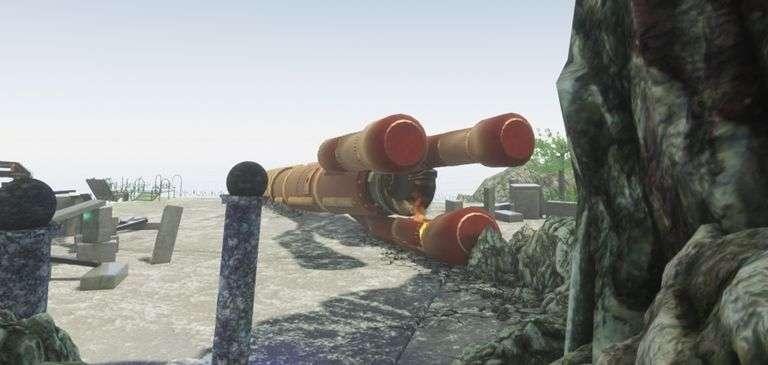
First walk to the tail of the rocket, there you
will again receive a radio message.
Now walk to the rocket hatch, when you are
close to the hatch you get the gear cursor.
Then select with your mouse wheel the plate
that you have just found on the balcony and then click on the hatch.
Click with the arrow and you will enter.
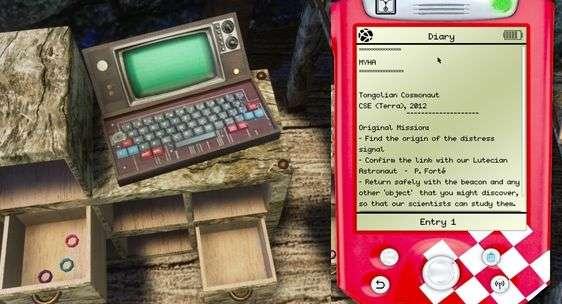
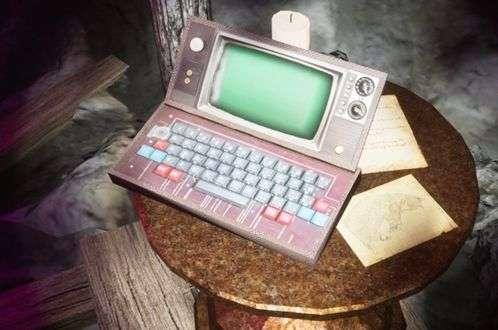
Read the letter and then click on the laptop to
open it.
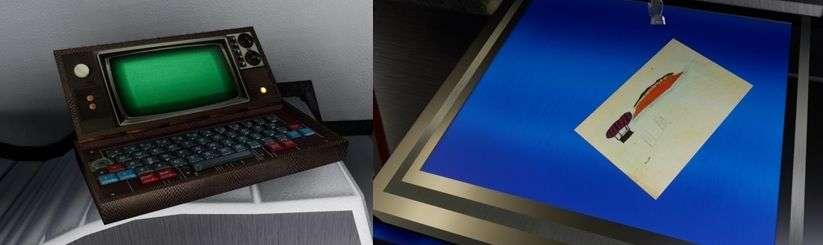
Click on the drawing and then click it away, it
will also hang on the board in the game room.
Then walk to the other side of the rocket, on
the left you see a red board.
Grab that plank, turn to the other side.
Click on the paper there you will find a
formula to calculate the diameter of a planet.
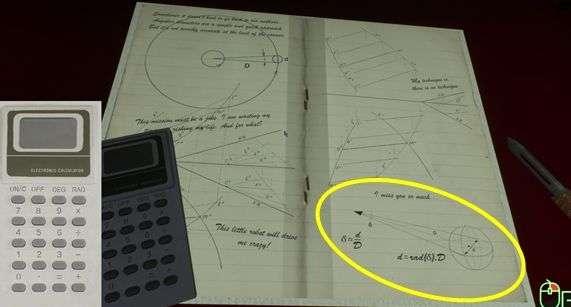
Only which planet?
Turn to the right and walk to the corner. The
stairs is lifted up.
There is a lever on the rail for the stairs,
click on the lever and the stairs will go down.
You can now walk around the island and from
this side also reach the planetarium.
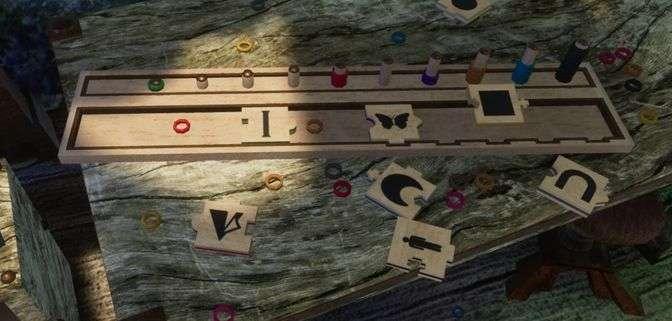
You have seen these drawings before on the
puzzle pieces in the playground.
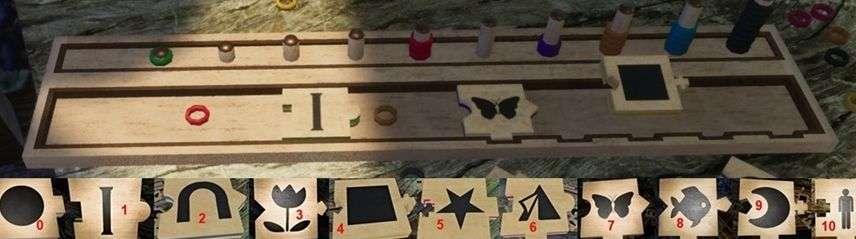
You have to take a good look at them and
determine the correct order based on their shape.
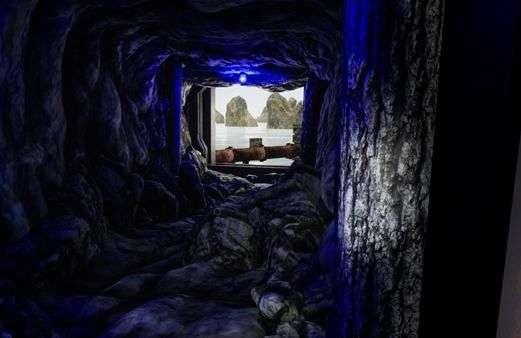
Walk back through the planetarium, the stairs
and along the rocket to the stone stairs.
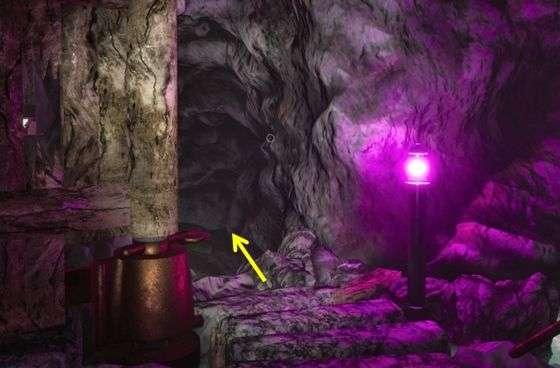
Go inside and turn around, you'll find another
drawing on the right door.
Click with your hand cursor on the drawing and
then click it away again.
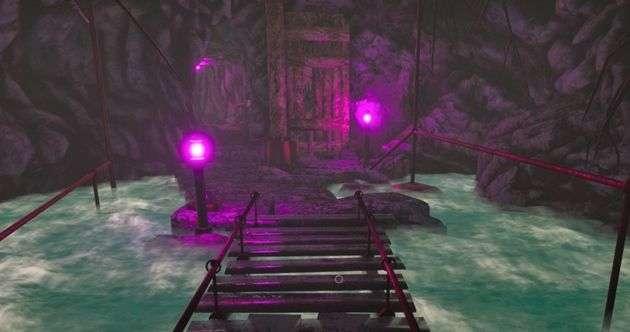
Turn around and walk further into the cave,
across the bridge to the wooden door.
Just after the bridge you see a lever on the
floor on the left, stay away from that.
To the left of the wooden door, the corridor
continues, enter it.
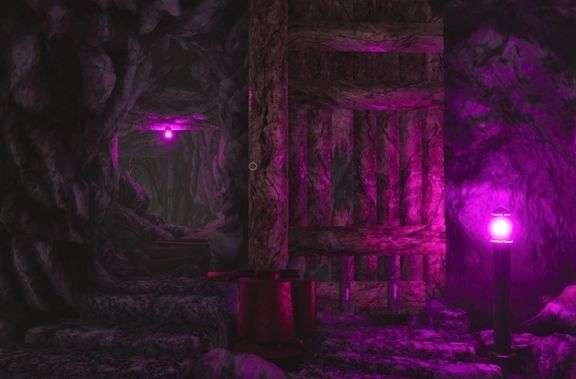
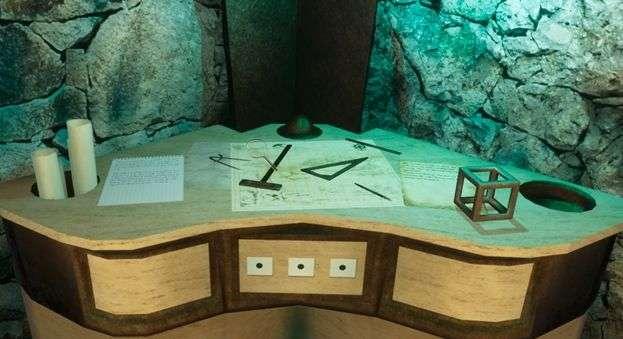
The corridor is not that long, you come to a
table.
Click on the first letter, it's a drawing.
Click this way.
Click on the next letter, this is about a man
calledRolan doing strange things.

Remember the name Rolan.
Behind the laptop you see another paper, these
are again calculations with the numbers from MYHA.
Then click on the laptop with your hand cursor,
then click on the keyboard.
You will receive an addition for the diary
again, click on the J key and read the message.
Click the lever again and the mechanism will
turn back.
Click with the board at the bottom of the door
and the board is placed in the brackets.
Go to the lever and click on it again, the
mechanism will turn and the door will open.
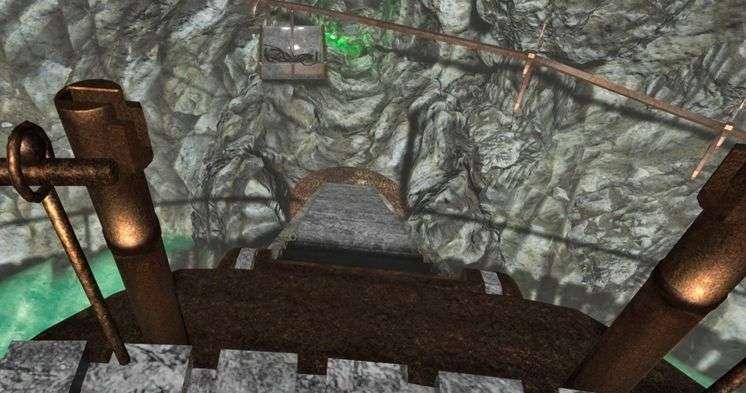
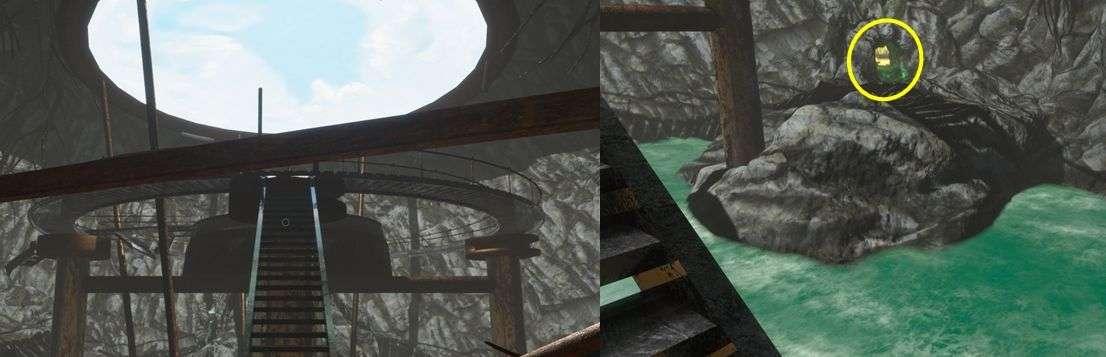
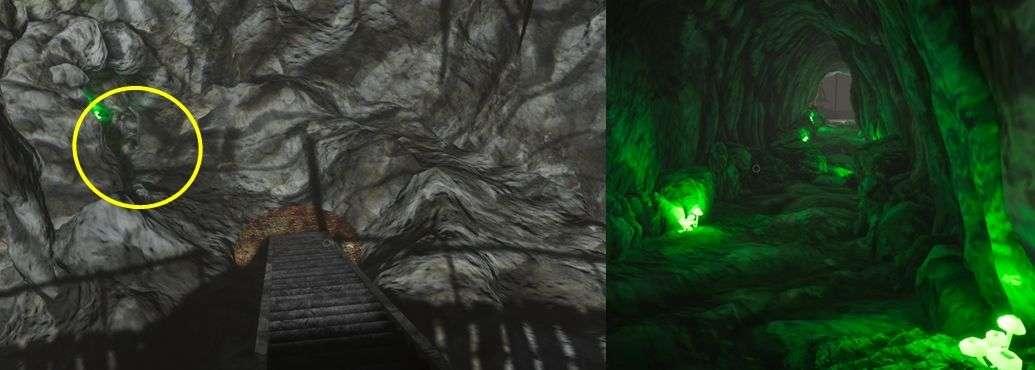
Walk through the corridor and you will enter a
large space, you will come to a circular walkway.
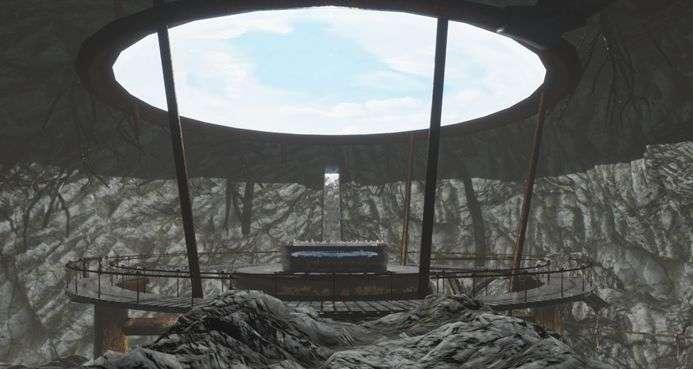
Go to the right and you will come to a path to
the middle, on the right is a broken staircase.
Continue walking along the walkway and you will
see a staircase on the right, below you see a cave.
Walk further and you will see another cave
below, only no stairs but a barrier.
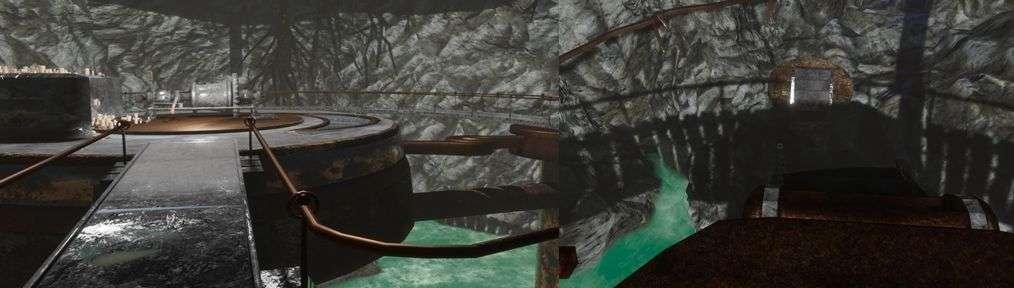
You now have to investigate those caves,
continue walking until you reach the path to the middle again.
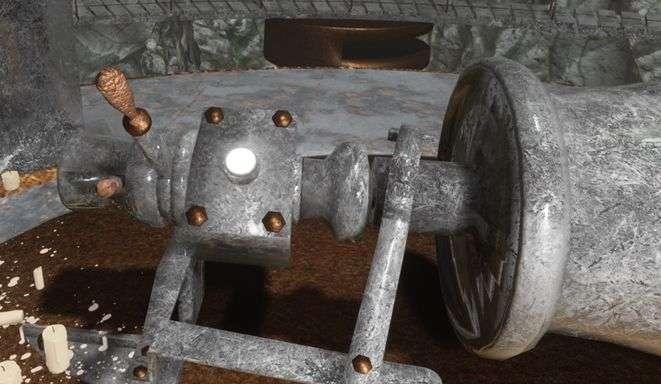
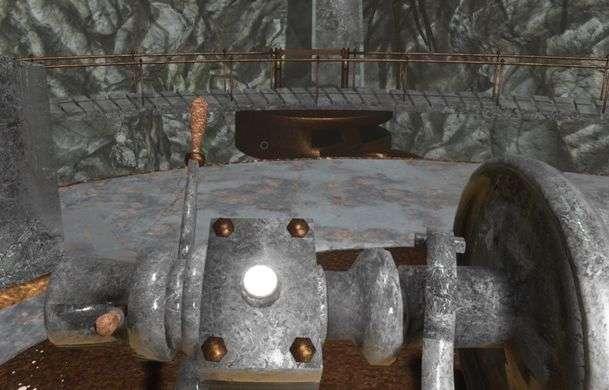
Then turn to the engine in the middle, you see
3 levers and a button.

|
The right lever is a brake, the lever in the
middle determines what happens. The middle lever is blocked or released with
the left lever. This lever has 3 positions: front, centre and
rear. With this lever forwards you can lower the
stairs, with the lever to the rear then you move the stairs. |
|
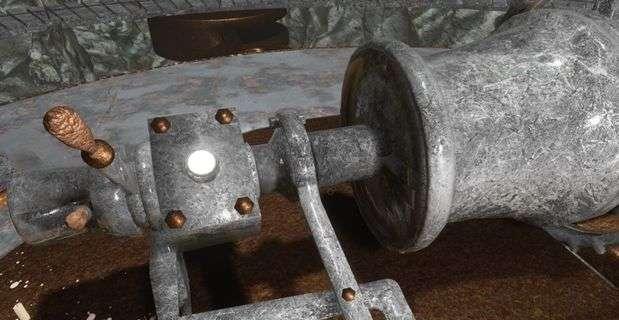
Make sure the lever is facing forward, then
slide the left lever to the right. Click on the right-hand lever to move it to the
right, otherwise nothing will happen. Now press the white button and the stairs will
drop, when the engine stops click on the right lever to turn it to the left. If you don't do this, the stairs will go up
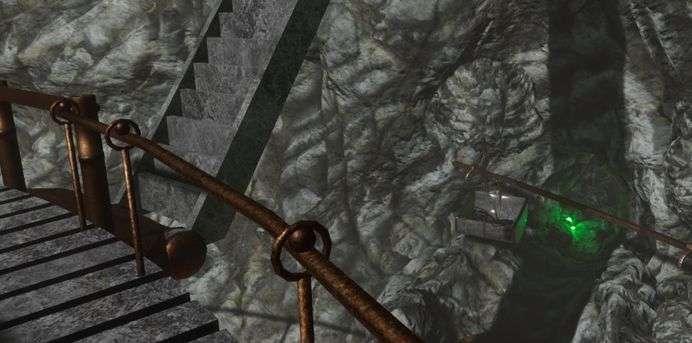
again. Go to the walkway and go to the left, the
barrier is up and you can go to the cave via the stairs. |
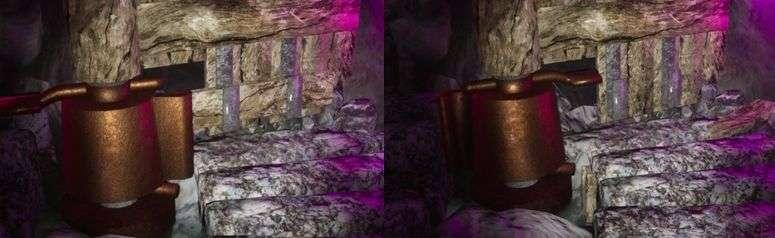
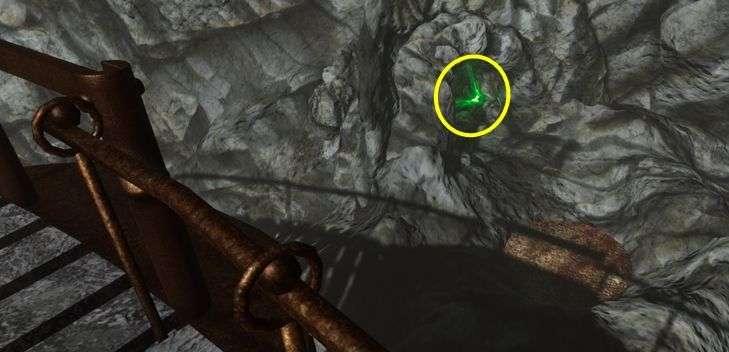
Go down and walk into the cave, there is a
chest.
Click on the J-key to hear and read this
message.
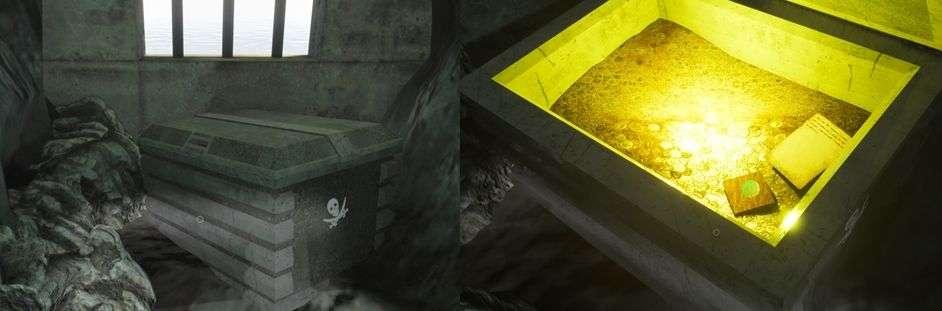
Then click the PDA away, in the box is a green
sphere and a letter.
Click on the right lever, it goes to the right
and the stairs rise.
Slide the left lever to the left and then click
twice on the middle lever, which is now backwards.
|
Move the left lever to the right again and
click on the white button. You'll see the stairs going to the other cave. Slide the left lever to the left and then click
twice on the middle lever, which is now forwards. Slide the left lever to the right and click on
the white button. When the engine stops, click on the right-hand
lever to slide it to the left. |
The stairs now goes to the other cave.
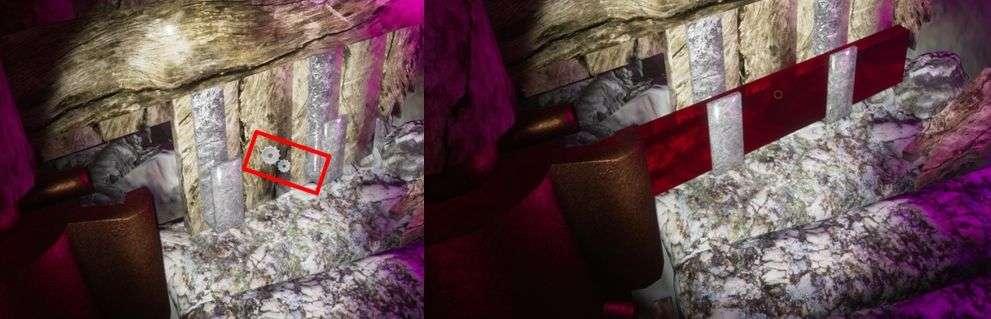
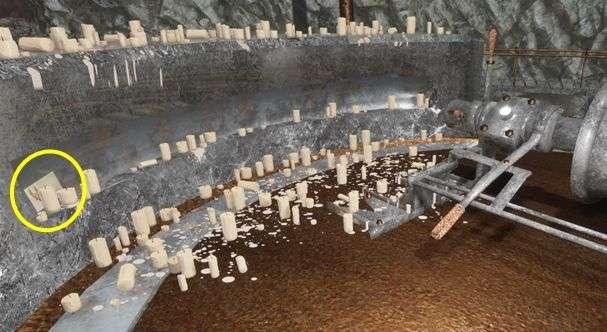
You have found the generator, immediately to
the right you see another thick pipe with a rotary wheel.
Click on the rotary wheel.

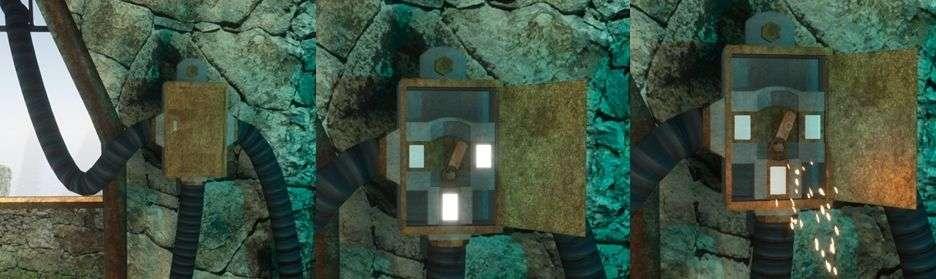
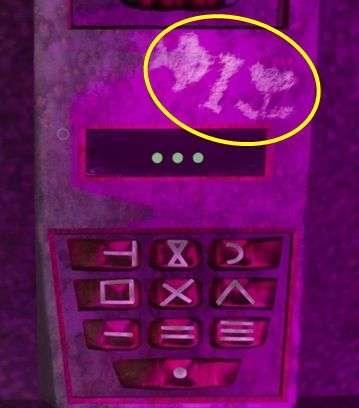
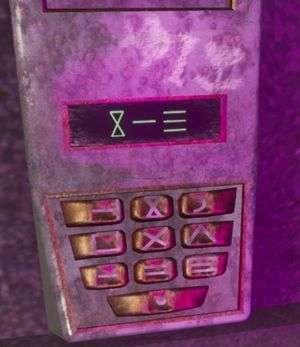
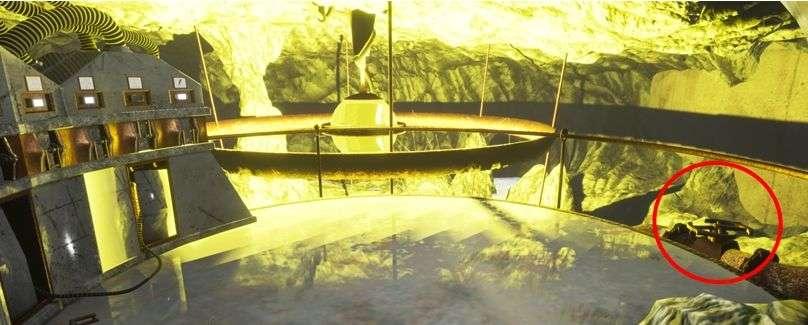
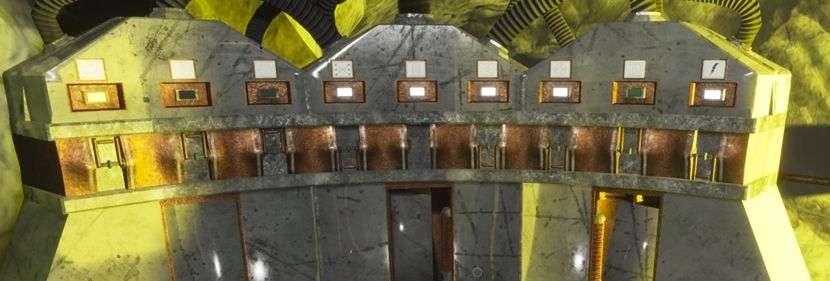
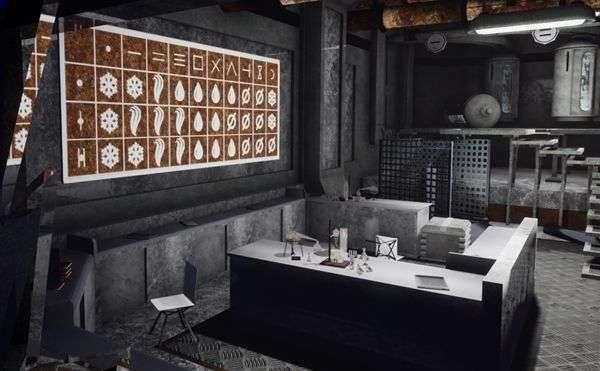
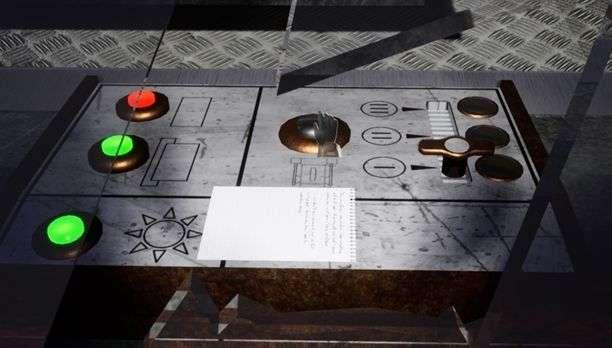
Turn around to the control panel, you will see
9 plates with symbols.
You must now turn off a few things and turn on
a few others.
You see the levers under the symbols, number
them from left to right: 1 to 9.
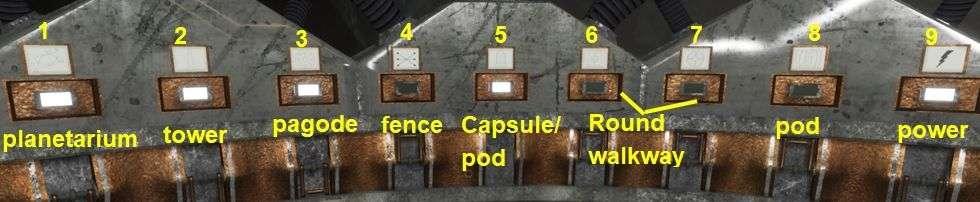
Turn off 4, 6 and 7 and switch on 1, 2 and 3.
You now have power in the planetarium, the
tower and the pagoda. The electric gate for the pagoda is now off.
Go back up and out, it's time to search the
pagoda.
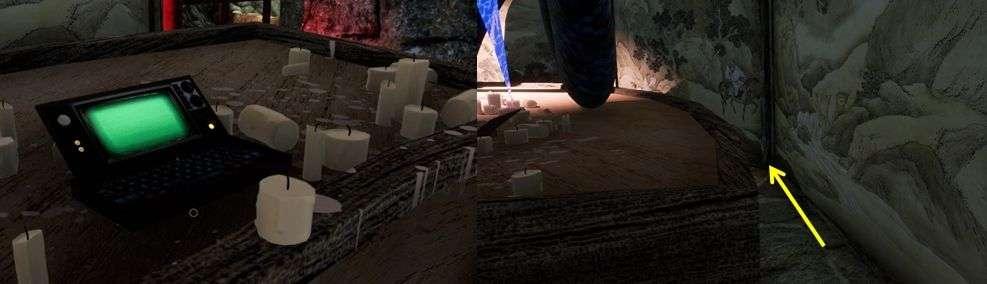
There you see the same chair as in the top of
the tower.
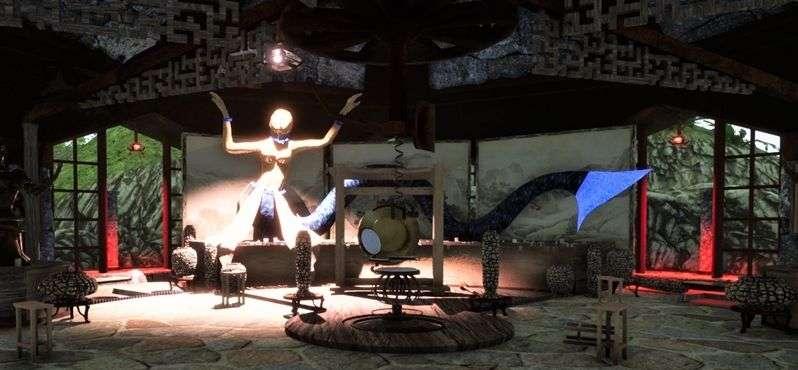
Sit in it and you will see the same as in the
chair in the tower, these 2 chairs are linked.

Behind the chair there is a gong and behind it
you see an statue of a mermaid with a long tail.
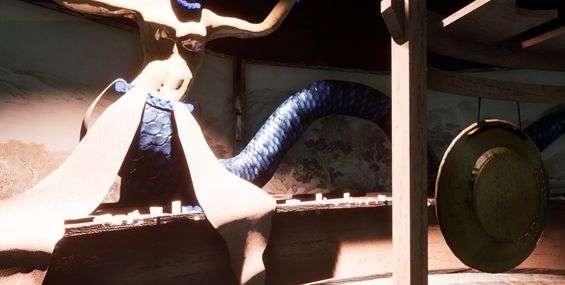
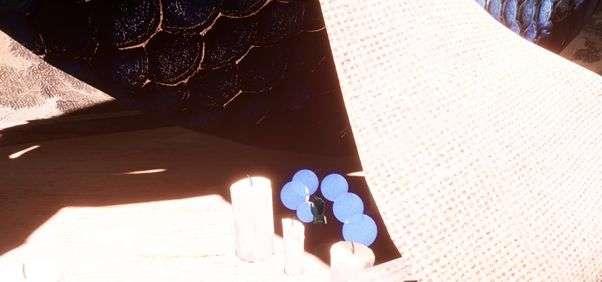
You see blue spheres in front of the statue at
the right lap of fabric, where you get your hand cursor.
Click on the balls to get a blue ball.
Walk to the right past the statue, in the dark
part you will first find a letter.
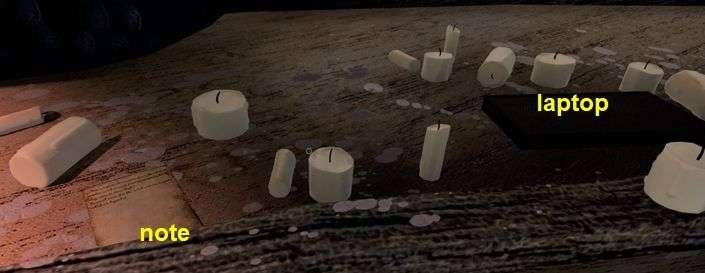
Click on the laptop and then on the keyboard
and you will get a part of the diary again.
You then go to the back of the statue.
Click on the drawing and then click it away,
the drawing is now on the board. Turn around and walk back.
Go left again, go outside. There you see again
a thick pipe with a rotary wheel along the platform.
Click on the rotary wheel to rotate it.
Then turn to the left and walk behind the
pagoda.
Go through the opening and you see cables on
the right, you also see a box with 3 lights and a switch.
Turn the switch to the right, the seats are no
longer connected.
Go back to the chair in the tower, do not sit
in the chair yet but first go to the box with the 3 lights and the switch.
Turn the switch to the left, now you will not
get a short circuit.
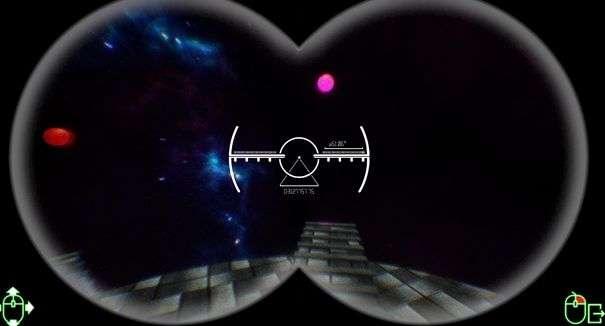
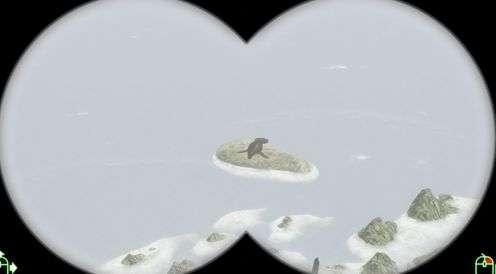
Sit in the chair, you now look through
binoculars on top of the tower.
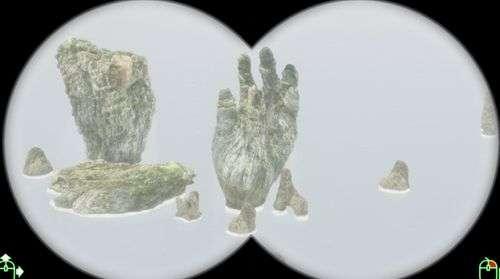
Look at the ceiling and there you will see an
arrow pointing to 1 of the balconies.
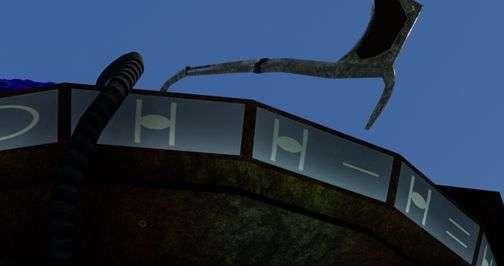
|
Go to that balcony and turn around, look at the
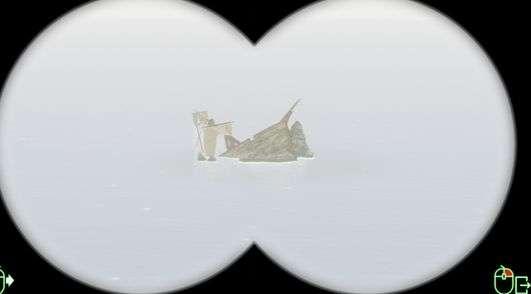
eaves. You see a hook that indicates a number. Note this sign, this is the sign for 7. Sit back in the chair and turn the viewer to
the left, there you will see the bow of a sunken ship. Place the bow in the centre of your screen and
get out of the chair. |
Look again at the ceiling to see which balcony
the arrow points to.
Note the mark, this is the mark for 13.
Sit back in the chair and turn the viewer
further to the left.
Place this in the centre of your screen and get
out of the chair.
Look up and go to the balcony where the arrow
points.
|
Note the character that indicates the hook,
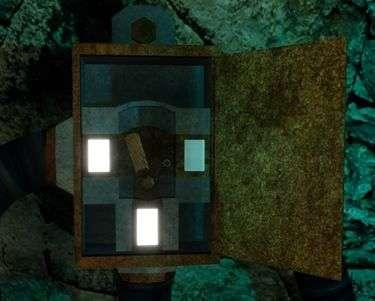
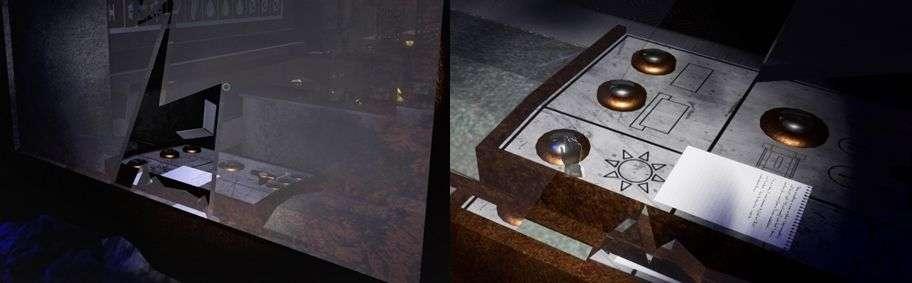
this is the character for 21. Go to the cupboard and click on the left button
until you see the hand-rock sign. Then click on the middle button until you see
the sign of the ship's bow. Then click on the right button until you see
the sign of the sea lion. |
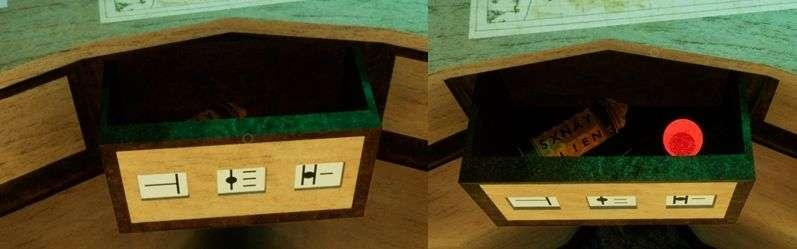
The drawer opens, you will find a red sphere
there.
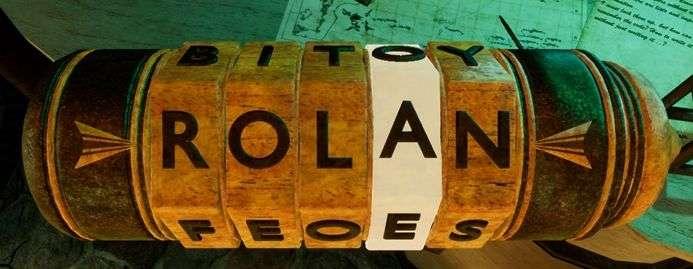
Turn the rollers so that you readRolan there,
the case opens.
The size of the planets is also important.
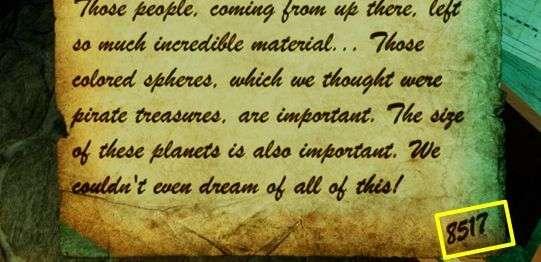
At the very bottom you see a number,
8517. This
is the code for another cave.
Here you are ready, go down and then to the
planetarium.
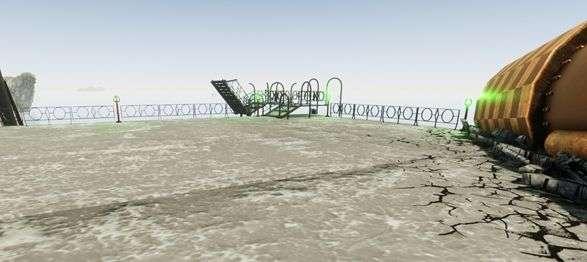
You must restore the constellation here.
Go there and step onto the plateau, you will
see a control panel on the railing.
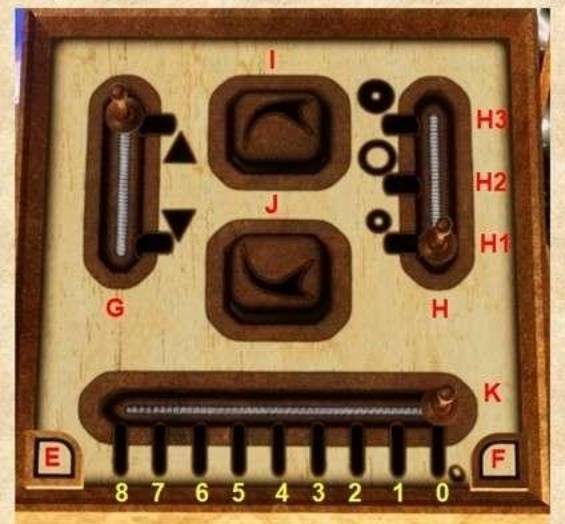
At the bottom you see the buttonsE and F, click
on them and a drawer slides open.
Here you will find a letter and a yellow
sphere, grab the sphere and read the letter.
|
Click away the letter and click button E or F
to close the drawer. You can see a slider between E and F, which has
9 positions: 0 to 8. At the top left you see a button G, with which
you can raise and lower the platform. At the top right you see a slider with 3
positions H1, H2 and H3, with this button you select a ring or a circle. H1 is for the inner ring or the inner circle,
H2 is for the outer ring or the outer circle. With H3 you select both of them. Buttons I and J speak for themselves, with this
you can turn a ring or a circle. I made a drawing of the planetarium where you
can see if the rings are positioned correctly. Raise the platform, the K slide is now at
position 0. This is to turn the rings.
|
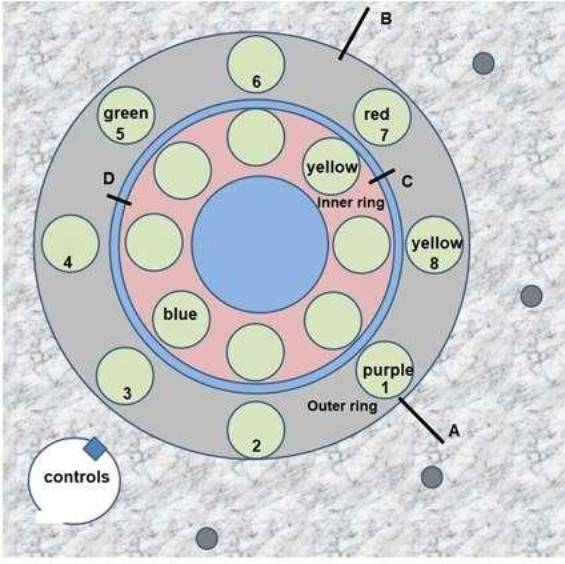
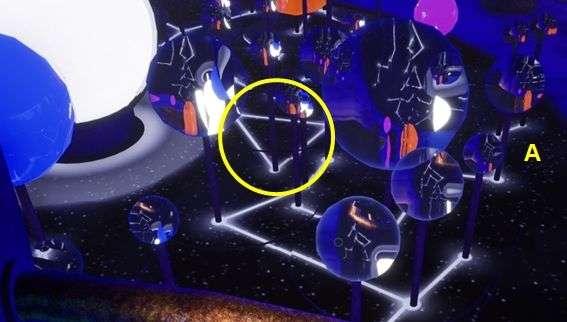
First you turn the outer ring well, so you have
to turn knob H to H2.
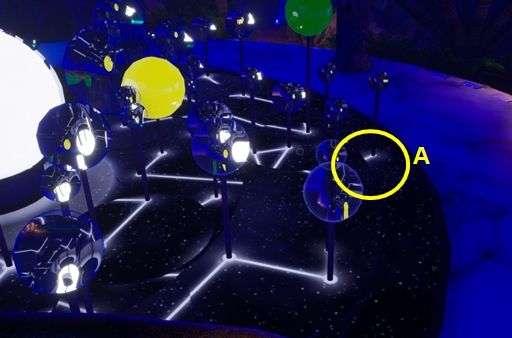
Then look at point A, where you can see if the
ring has been turned to the correct position.
Click on button I or J to turn the ring, I
turns left and J turns right.
|
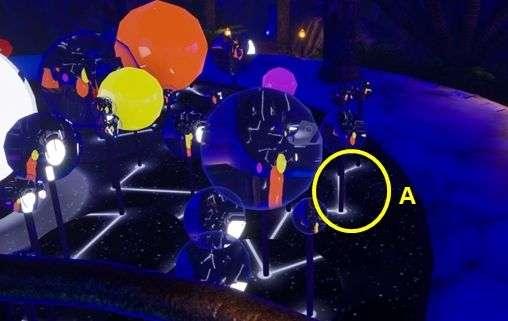
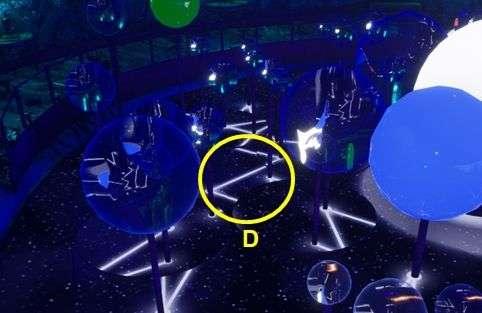
Now turn the inner ring to the correct
position. Click on button H, this must be on H1. You have
to click button H twice to put the button on H1. Then look at point D, where you can see if the inner ring is in the correct position |
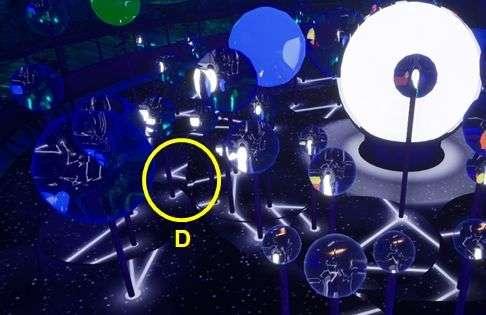
Click button I or J again to turn the ring.
|
If the rings are positioned correctly you will
see the coloured spheres as shown in the drawing. You still have to turn the circles to set the
constellation correctly. Now click on button K to put it on position 1,
now you can rotate the circles on position 1, you see them at point A. You can clearly see from the platform how to
rotate the circles. You must switch with button H between H1 and H2 to set the inner and outer circle correctly. |
|
Are these 2 circles correct then click on
button K, this goes to position 2. Now also set these 2 circles correctly and then
click again on button K, this will go to position 3. This way you can turn the circles right up to
position 4 from the platform. For the other position you have to lower the
platform and walk to the positions. Then note at each position which circle to
rotate and how many degrees. After 8x click on button I or 8x on button J
then a circle is rotated 360 degrees. When you have noted everything, walk back to
the control panel to rotate the different circles. |

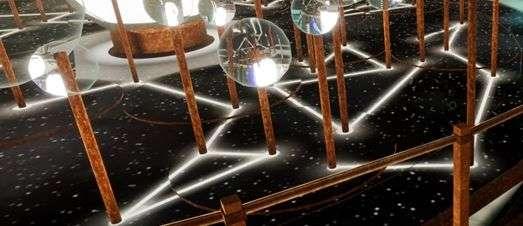
When you have done all this, walk around the
planetarium to check that the constellation is restored.
All lines must connect.

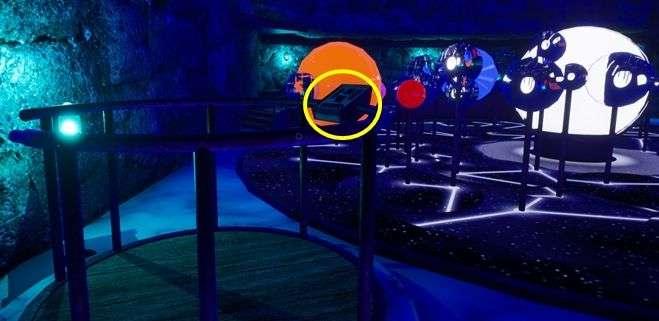
If everything is correct, go to a pillar and
look through the hole in the pillar from outside to inside.
Now you know which planets you need.
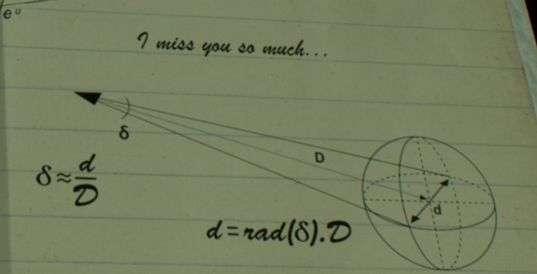
On the paper you see that you must know the
distance to the planet.

First point the viewer's centre at the left
edge and note the number of degrees that the viewer indicates.
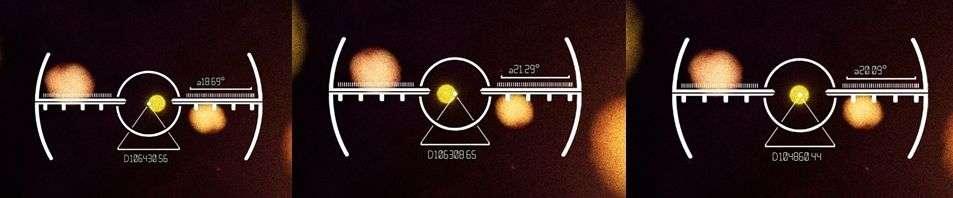
You have to look carefully but there is a
decimal point, you don't need the decimals
|
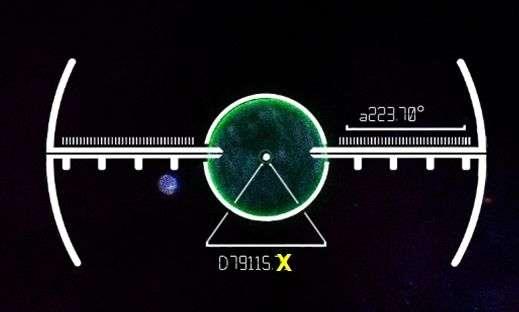
Do the same for the other planets, the blue one
is a bit harder because it revolves around the green planet. If you have the data for the yellow, blue,
green and red planet, go back to the rocket. Click on the calculator, turn on the
calculator. Grab the data, start with the yellow planet. Subtract the number from the left and right
sides of each other and you will find that the angle is ± 3 degrees. Enter this in the calculator and then click on
the RAD button, you have then converted the angle to radians. This is also a method to indicate angles. Now multiply this number by the distance, for
yellow this is ± 104800. It is not all that precise, the result is ±
5485. |
Do the same for the other planets.
|
planet |
angle |
distance |
diameter |
rounded |
|
yellow |
3 |
104860 |
5490 |
5000 |
|
blue |
2 |
79500 |
2775 |
2500 |
|
green |
11 |
79113 |
15188 |
15000 |
|
red |
3 |
136775 |
7161 |
7500 |
Later you will see why you have to rounded the
diameter.
Leave the rocket and go to the generator in the
cave, move lever 1, 2 and 3 up.
Now move lever 8 downwards, otherwise you will
have no power in the cave to which you are going now.

Now go back outside and then to the beach, go
left.
At the first side path to the right you see a
thick pipe, go the path and turn to the left.
There you see another rotary wheel on the thick
pipe, click on the rotary wheel.
Go back to the main path and continue to the
right.
Follow the path further until you reach a large
heavy door in the rock, on the left is a code lock.
On the letter in the case was a number at the
bottom: 8517

Use your flashlight and shine in the hole in
the window.
You see a letter and to the left of it you see
a button, click on the button and the lights come on.
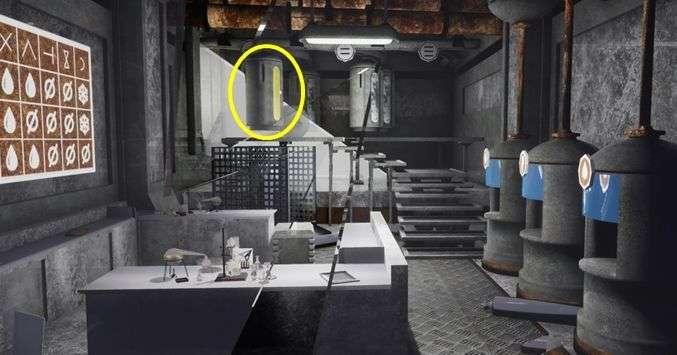
On the left side of the wall you see a poster
hanging on the wall.
|
In the middle you see another button and on the
right a slider with 3 positions. Now click on the button in the middle, the
button next to the slider turns red. Move the slider to position 2 and click the
button in the middle again, the button next to the slider also turns red. Move the slider down and press the button in
the middle, now the button next to the slider turns green. |

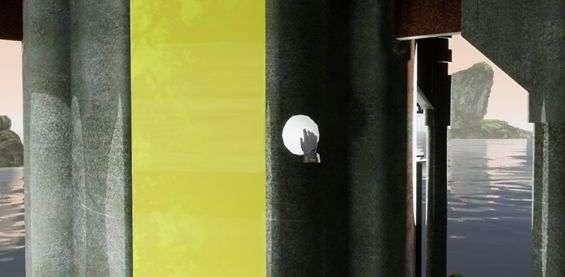
You will then see a capsule / pod going left
over a rail.
Turn to the left and you will see an exit, walk
to the exit and go outside.
You see the capsule come to the left along the
rail and the capsule is placed on a platform.
4 supports are now being raised.
Walk to the capsule and go to the back, there
you will get the last radio message.
Click the J button to hear and read the
message.
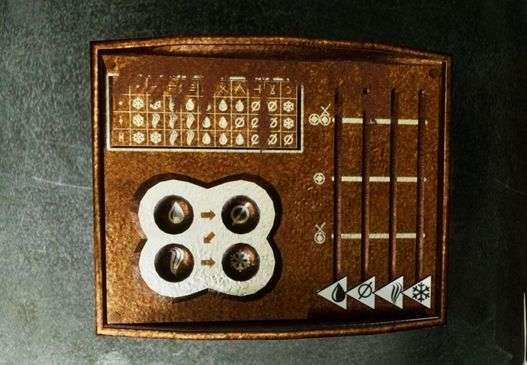
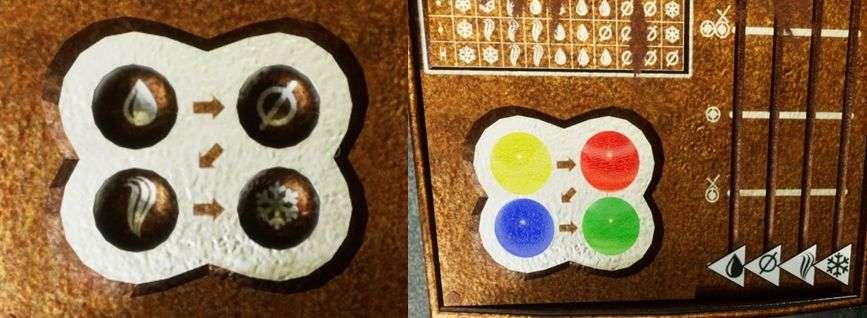
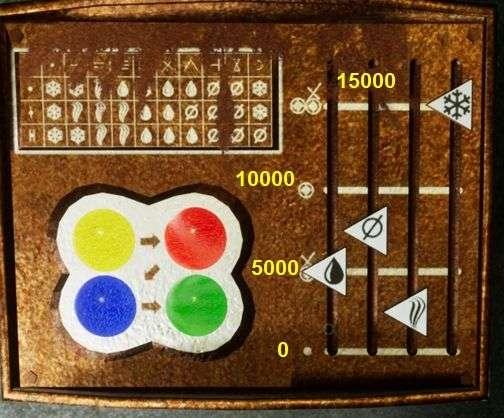
Above left you see the same diagram as in the
control room, below that you see 4 cavities with symbols.
You should now have 6 coloured spheres in your
inventory.
Stand on a cavity with your cursor and you will
get the gear cursor, then select the correct sphere by turning your mouse
wheel.
|
On the right you see another sliding panel, 4
slots and 4 symbols and also 3 yellow stripes. Here you must enter the diameter of the
planets, now you see why you have to round. You can only take steps of 2500. The bottom is 0, the first line is 5000, the
second line is 10000 and the top line is 15000. You know the diameter of each planet and also
which symbol belongs to the planet. Move the triangles with the symbols to the
right place. |
Then go to the front and click on the white
button.
If you have done everything right, the button
will turn green and a drawer will open at the bottom.

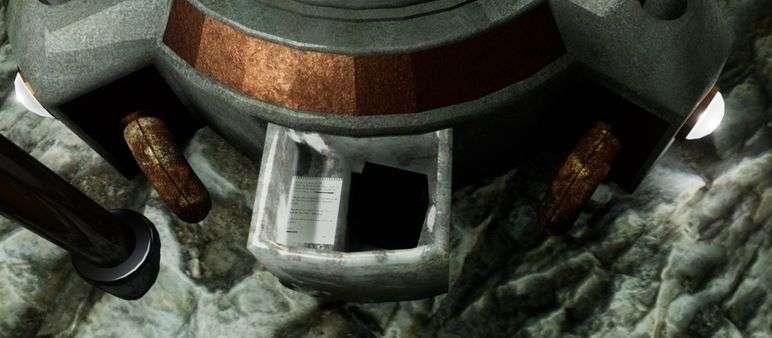
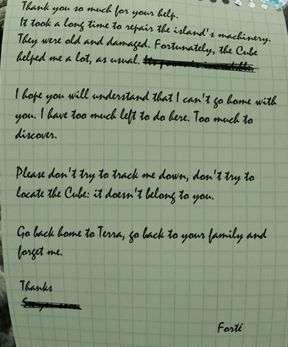
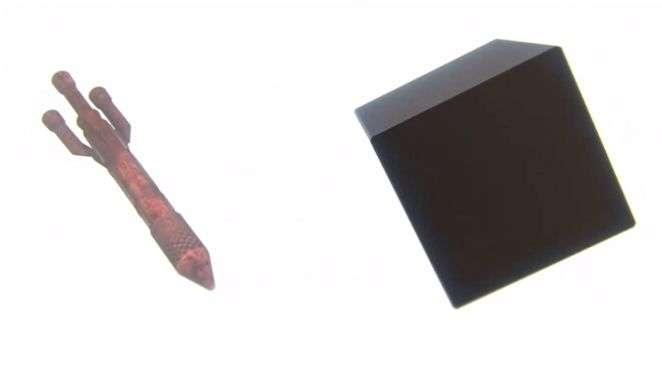
Read the letter that lies there, click it back
and then take the "Black Cube".
Sit back and watch the final film.
End
Here are the
translations of the notes with the strange signs.

2019:
Walkthrough by: Dick Leeuw (lion_1251)