2024: Walkthrough by: Louis Koot
If you have found this walkthrough via google search or via another site then you have probably not visited my site.
A lot more very detailed game walkthroughs can be found on my site at: www.pcgameswalkthroughs.nl
The game starts with an intro video. You are a journalist and you embark on a space journey to a colony on a planet. You step through a portal and end up on a different planet and the portal is gone. You are on the planet Reah and there seems to be no way to get back to your own world
A: Desert City
At the City Gates
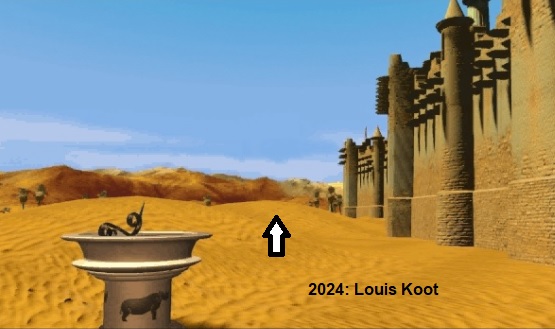
You are standing in a desert in front of the gate of what appears to be a city.
When you move your cursor to the top of the screen the menu bar will pop out. In the menu bar you find all the options

Go forwards to the city gates.
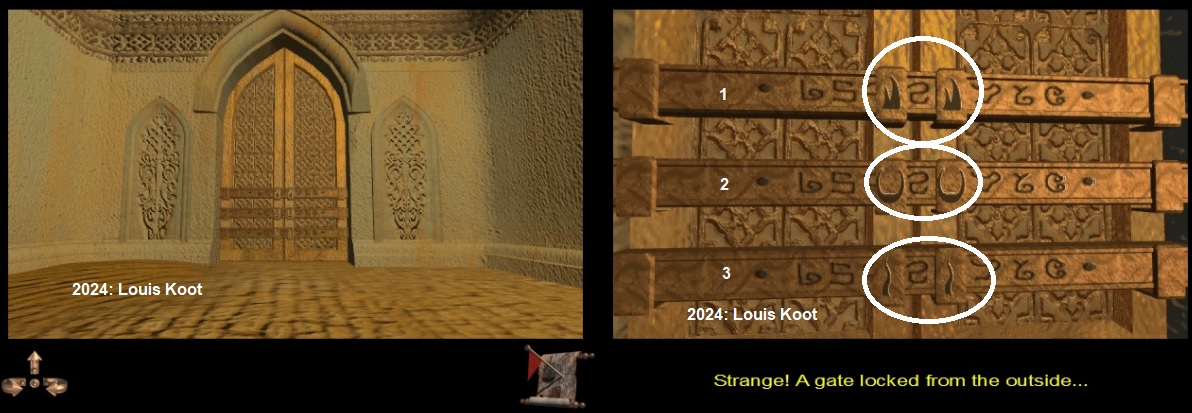
This is the first puzzle to be solved. You find it strange that the city gate is locked on the outside. The 3 wooden beams are sliders that you can slide to the left and to the right. On each of the beams you see horns and symbols. You have to open the gate by sliding the beams so that the correct symbol will be between the horns. So the first thing to do is to find out which symbol must be places between the horns on each of the 3 beams.
There are 3 Sundails around the city an on each of these sundials is a picture of an animal with horns. On two of these sundials, the sun casts a shadow of the pointer over one particular symbol. So let's find those 3 sundials. Turn around and go forwards between the two flags. You are outside the city entrance again. Click and hold down your left mouse button and turn around to the 2 trees on the left side of the city.
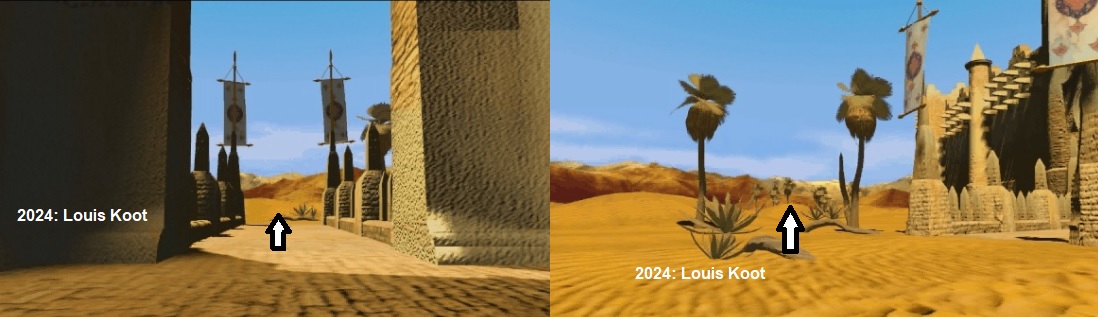
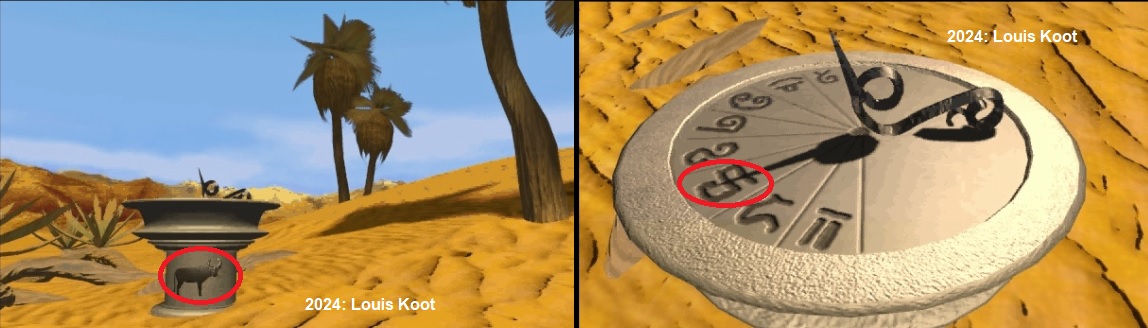
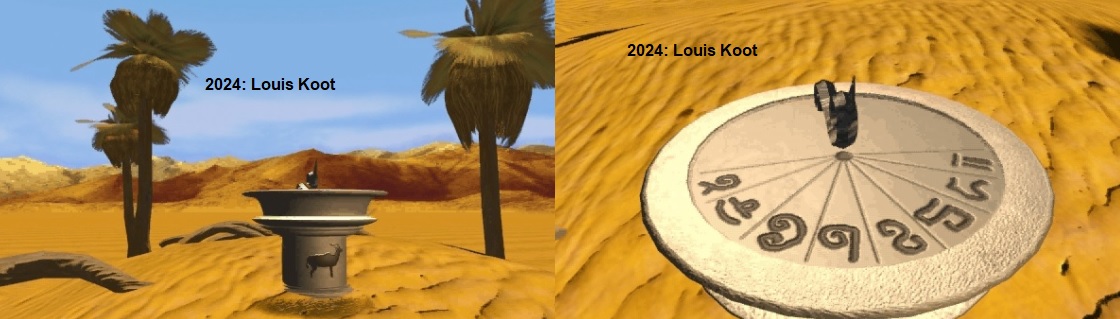
Go forwards between tose 2 trees and you be at the first sundial. You see an animal with horns on the base of the sundial. Note down the shape of the horns. Then zoom in on the pointer of the sundial and note down the symbol on whitch the pointer throughs a shadow by the sun. This one is for beam 2 on the gate doors
Zoom out and turn right to see the back wall of the city. Now find the forward arrow that points to the left of the city

Click the forward arrow to go forward to the second sundial. Note down the shape of the horns of the animal on this sundial.
Then zoom in on the pointer and note down the symbol on which the pointer throughs a shadow. This one is for beam 1 on the gate doors
Zoom out then go forwards on the right side of this sundial.
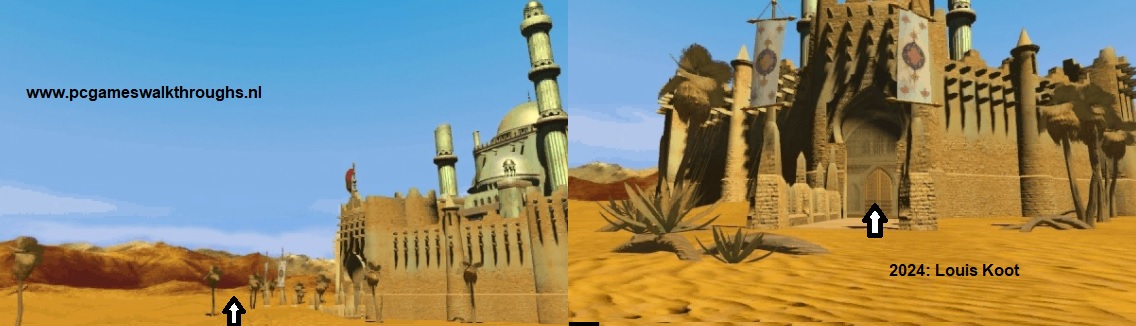
You end up on the frontside of the city again. Turn left until you get the forward arrow to a sandhill in the distance.
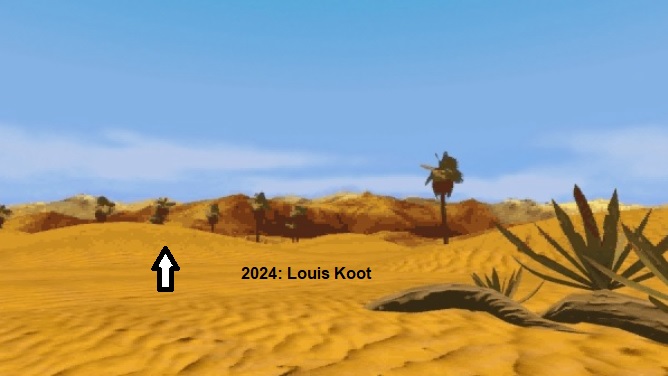
Then click the arrow and you end up at sundial 3.
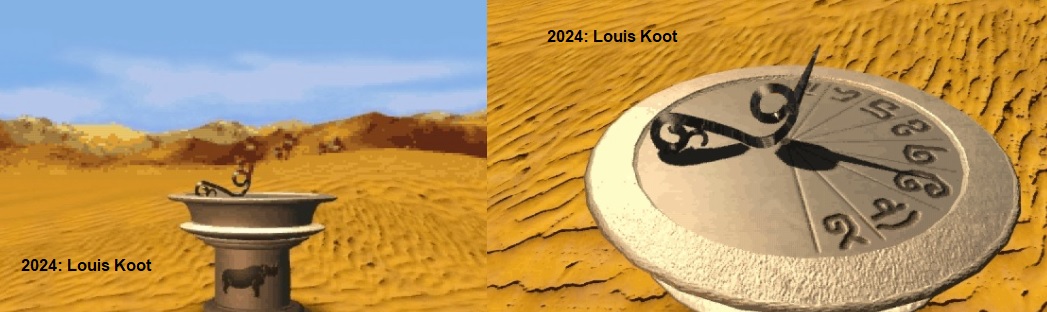
Note the shape of the horns of the animal and then zoom in on the pointer......
....this dial doesn't through a pointer shadow on any of the symbols. This dail refers to beam 3 on the gates doors
Zoom out and turn around to the front side of the city and then click the forward arrow to go back to the city gates.
Go back to the city gates and zoom in on the 3 wooden beams of the doors again.
Now move the beams 1 and 2 left or right until you have the correct symbol between the horn on both beams.
From the sundials you now the shapes of the horns and which symbol belong to it.
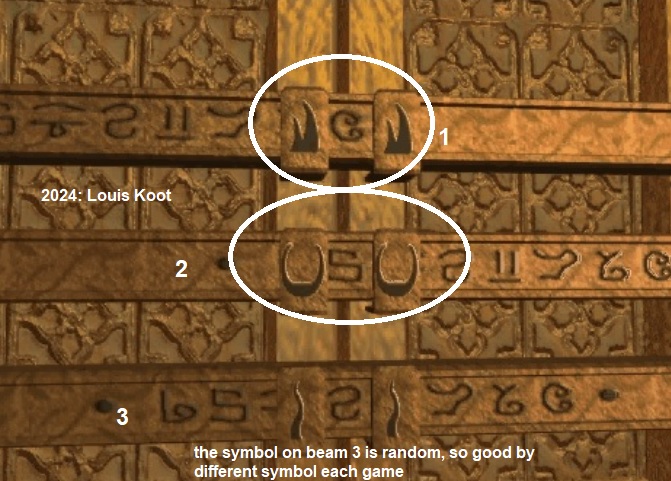
You then have to move beam 3 until the door opens. The symbol that should be in the middle on beam 3 is different every game, so this is trial and error. You hear some victory music and the gate doors go open and you can go inside. As soon as you enter you will find a piece of porcelain in the container on the left, which you can later exchange with the merchant, as soon as you can understand him.
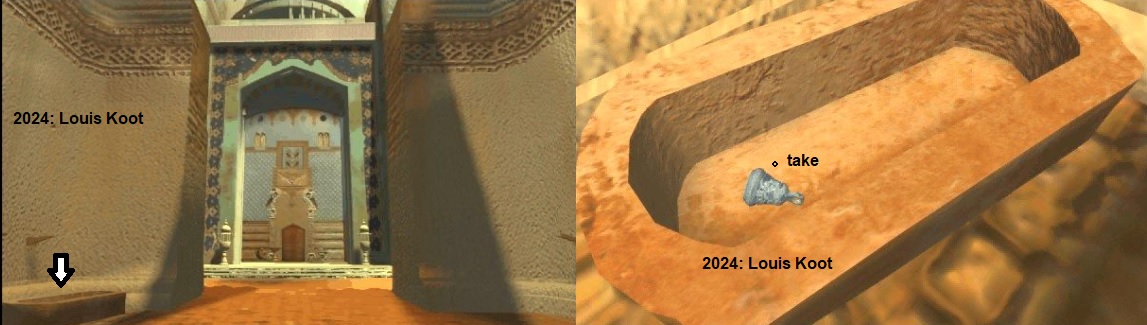
The piece of porcelain will be in your "inventory" below the play screen. Go forwards to enter the city
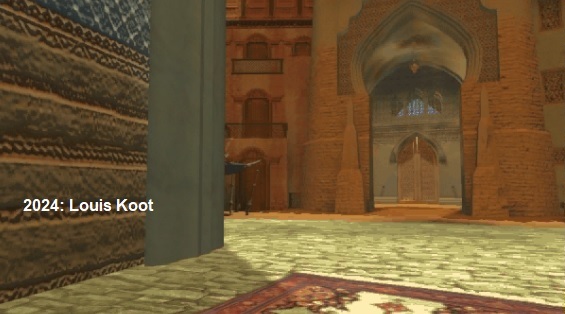
Inside the Desert City
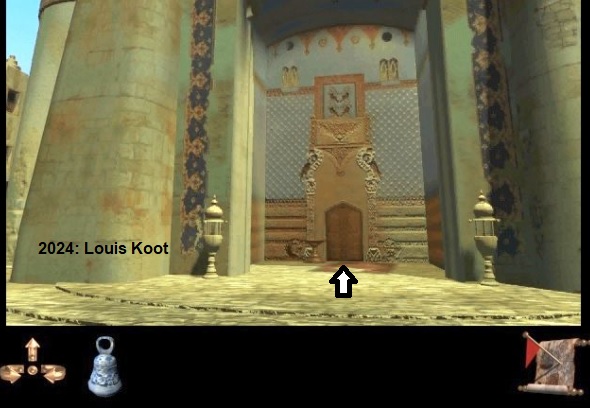
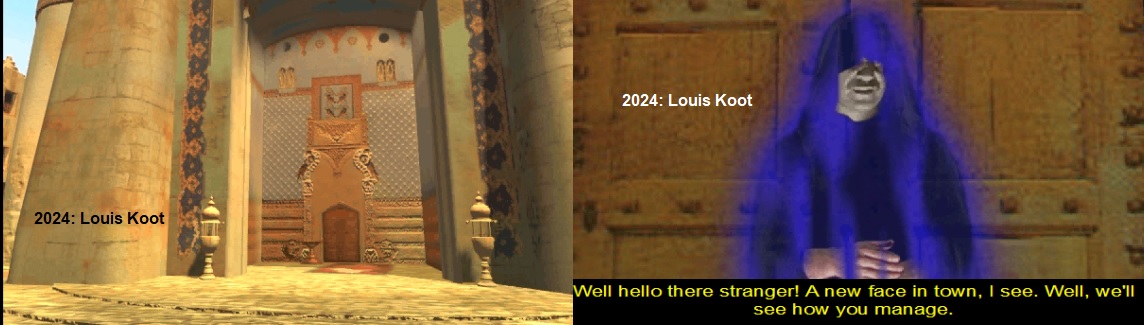
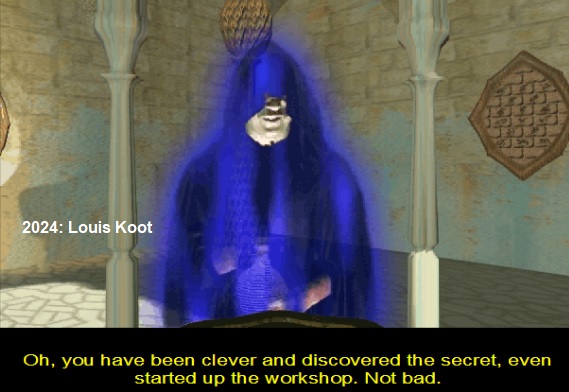
Immediately go forwards again and then knock on the church door, right opposite the city gate. A creep in a blue cloak will now appear and talks to you.
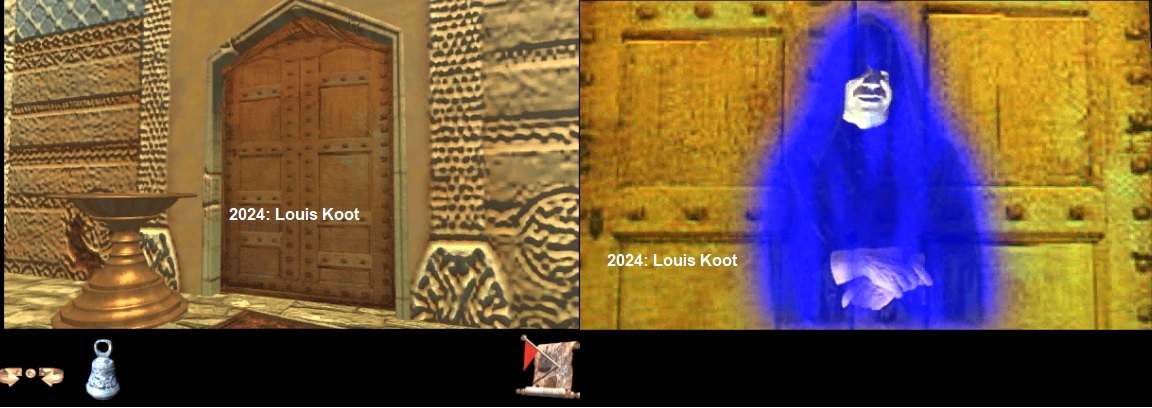
You can't understand this creepy guy and he disappears again. Turn around and go forwards 1 click.
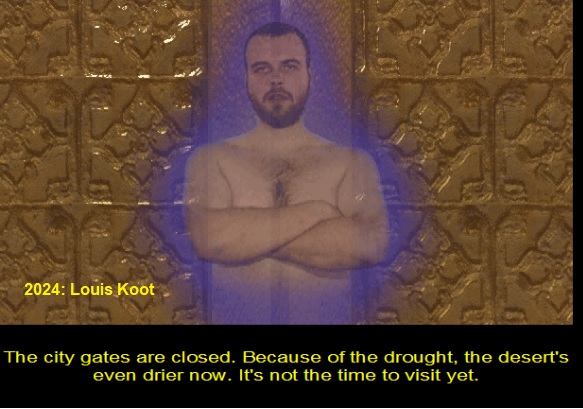
You can try to leave the city, through the city gates but if you try this then a ghostly guy shows up.
He says that the gates are closed and that you cannot leave the city without fresh drinking water
Lets walk through the only street of this city and see what we find.
You can do this left or right and when yo go through the street you will notice that this street runs around the church.
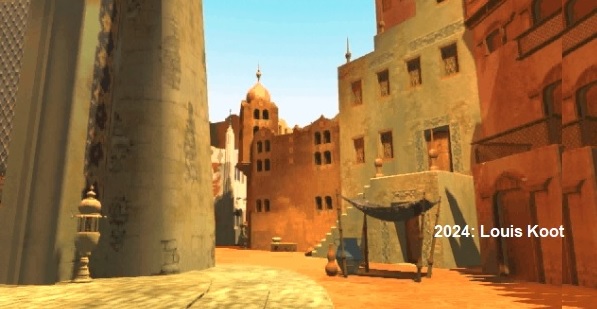
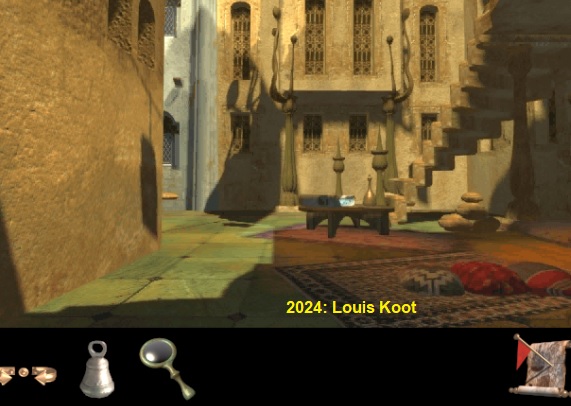
After a few clicks forwards, left or right, you arrive at a square with a fountain that has 3 heads.
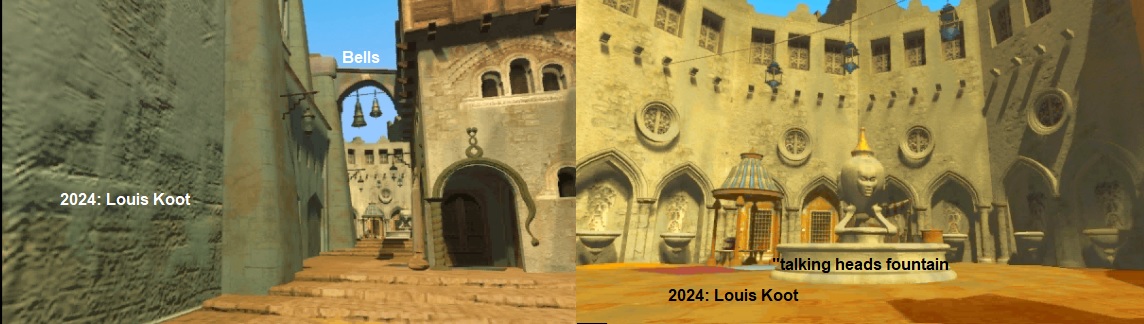
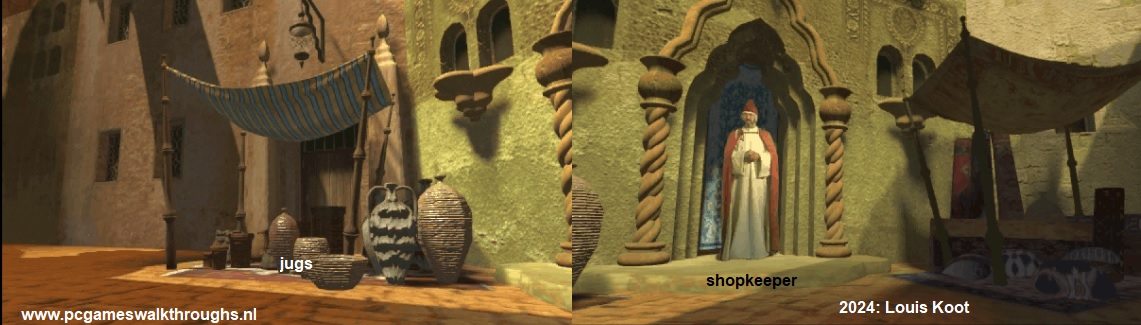
Each head of the fountain is looking in a certain direction and if you click on a head you hear that they make a sound. If you click again you here a differend sound. Each head can "speak" 4 differend sounds. Remember this because it's a puzzle but we do this later . On your walk through the street you will come across a kind of shop and a market stall. The merchant stand outside at his shop door. When you try to speak with him you can't understand what he says..
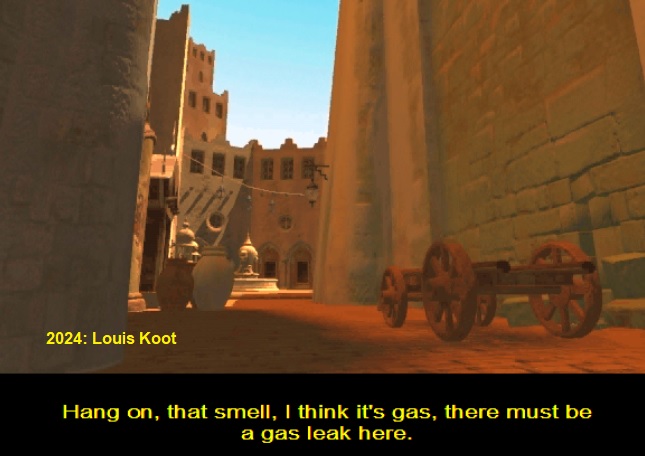
You also find a wooden cart, standing at the church wall. Behind this cart is a weak spot in the wall of the church.
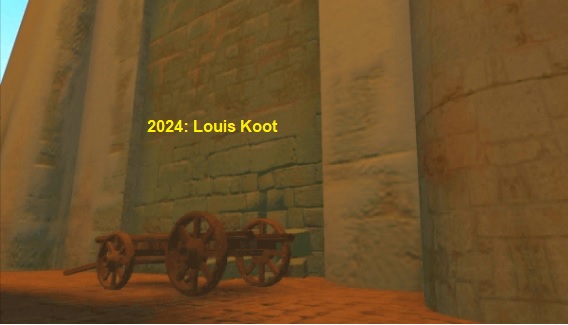
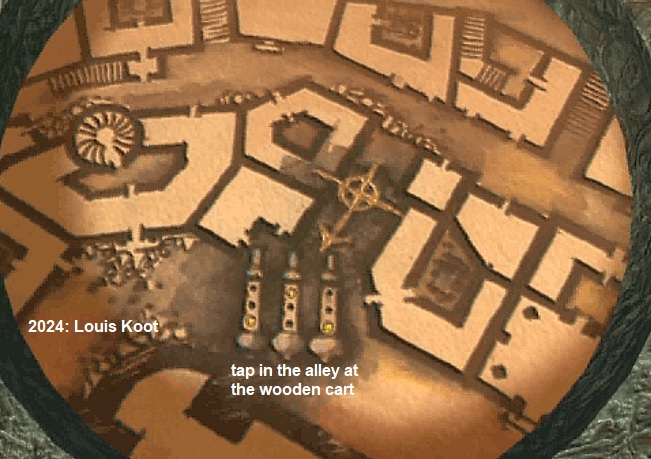
If you click on the cart it moves away a bit but it moves back again. Maybe you also already have discover the three taps during your walk.
Don't twist these taps yet. These 3 taps are a puzzle and you don't now how to solve it yet.
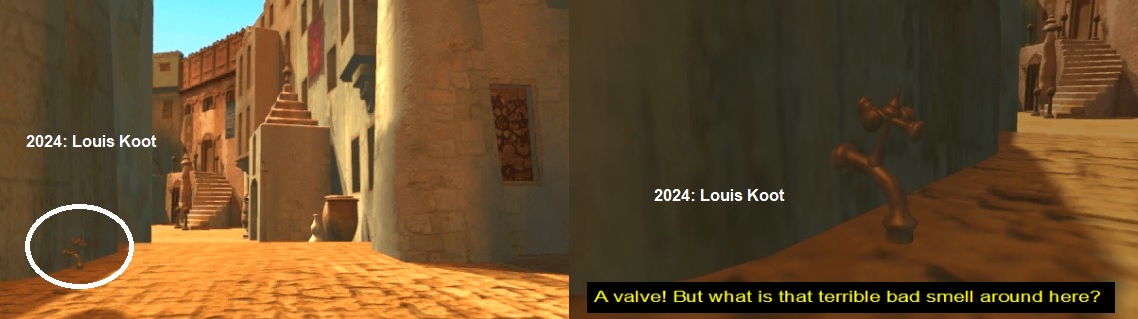
You will come across 3 allyes, but one of them is a dead end. In an other alley you find a tap. You also find a frontdoor at the top of some stairs.
You can go up these stairs and then knock on the door but nobody is home.
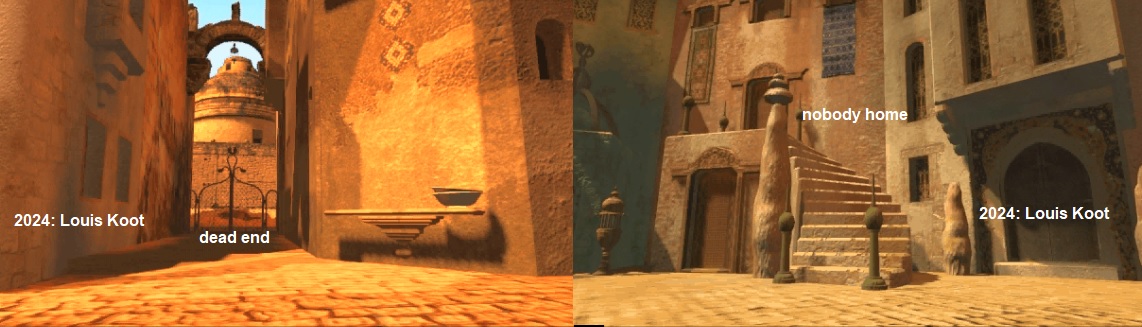
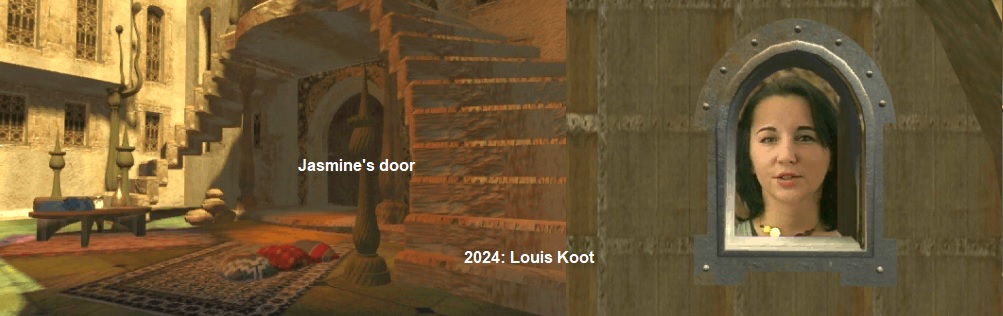
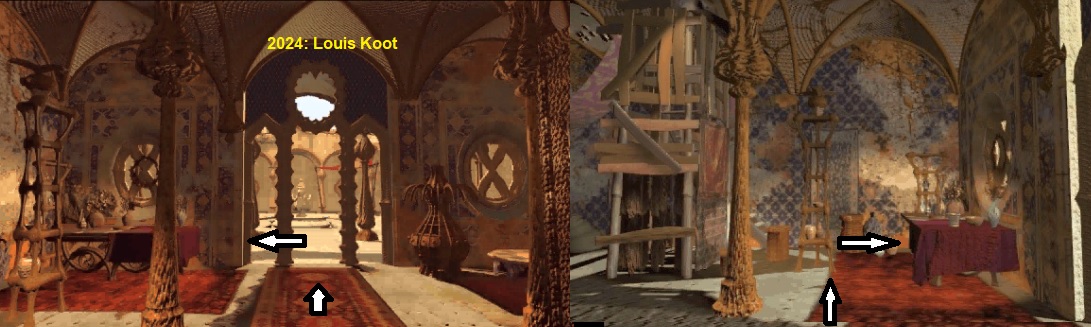
The other alley also has an iron gate but just click forwards and this gate opens and it brings you on a courtyard with the house of Jasmine.
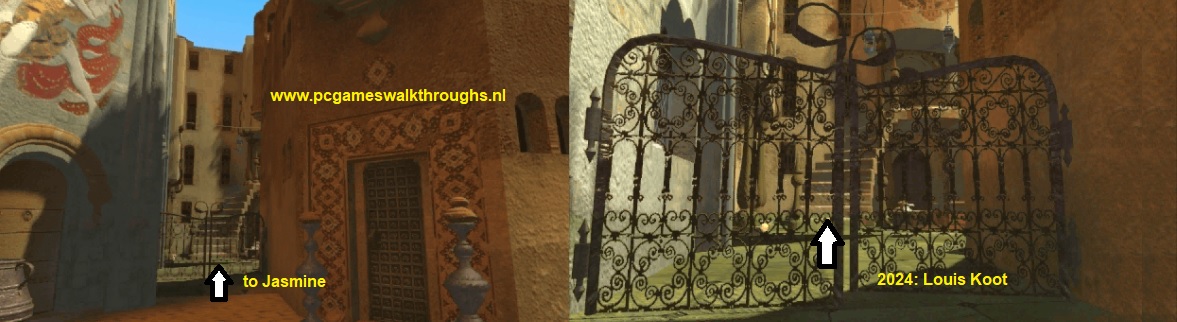
There is a table in front of this house. You can go up the stairs and then knock on the door on top but nobody will appear there.
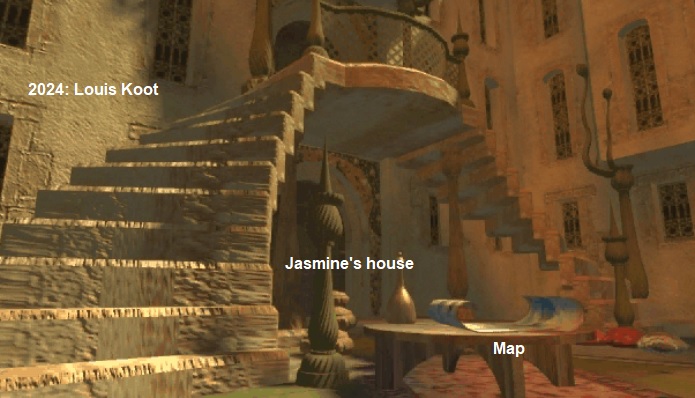
Zoom in on the table. There is a map on this table. The map is a bit folded so click on the map to unfold it.
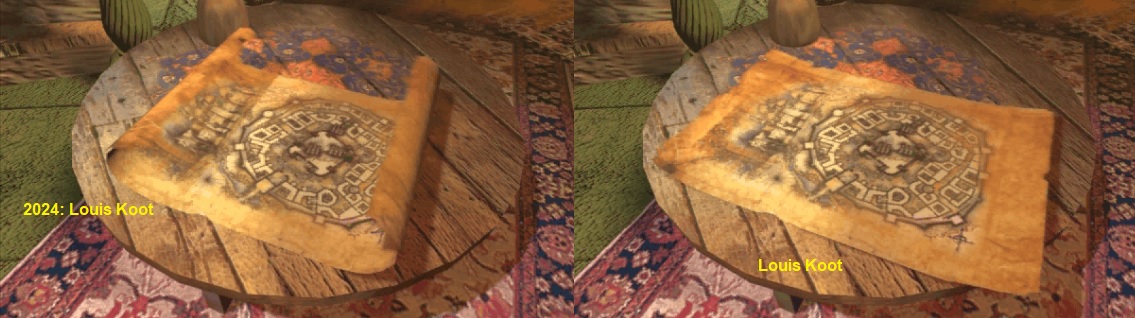
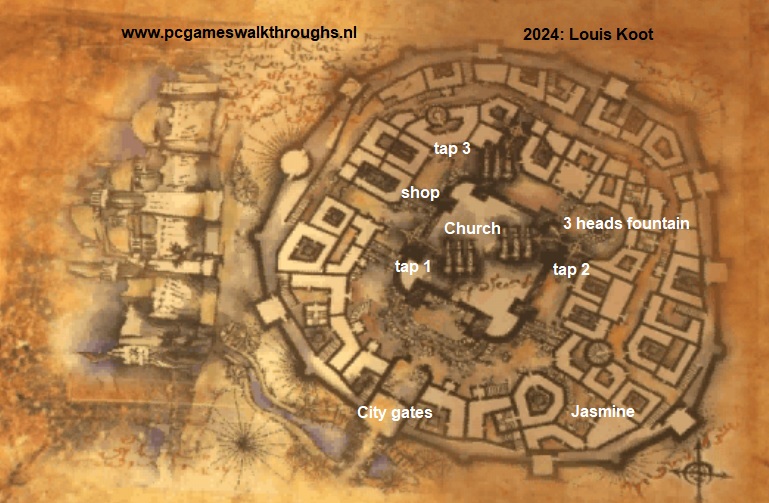
You can then click the map again to see it in close-up, but you can't see clear details
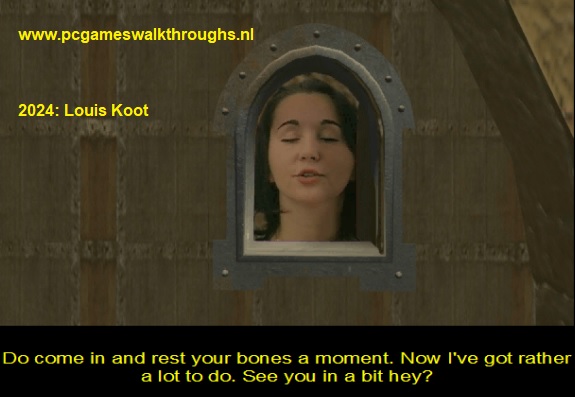
Jasmine's front door is under the stairs. Go there and knock on the door and Jasmine's head appears through the hatch.
You can't understand her either.
Okay.....I think we've seen everything now, except maybe the other 2 taps.
Now let's first make sure we can understand the people here and then we can talk with them. Go back to the 3-headed fountain
The 3-headed fountain puzzle
The fountain has three heads. They make a sound. Each head can make 4 different sounds.
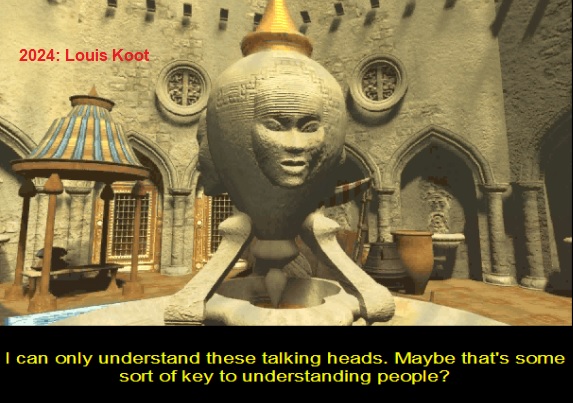
The sound of each head must correspond to something that is in the direction they are looking.The head that looks at the bells should say "BimBam", the head that looks to the small fountain/ sinks should say "Shoe Shoe" (because there is a draft there) and the head that looks towards the wooden cart mus make the "Tor Tor", the sound of the wooden cart.
NB: If you can't hear the sounds clearly then it is best to turn the game music off in the sound options, you will then hear the sound more clearly.
So you click on each of the 3 heads, find out where they looking at and then click on a head again until the head makes the correct sound of the object they are looking at. You hear the victory music to indicate that the puzzle has been solved and you can now talk to the people. When you have solved the 3-heads puzzle then first go talk to the creep in the church again by knocking on the church door.
Then go back to Jasmine. Knock on her door again and you can now talk with her.
She wants you to bring her jug back, that she has left at the market stall at shop.
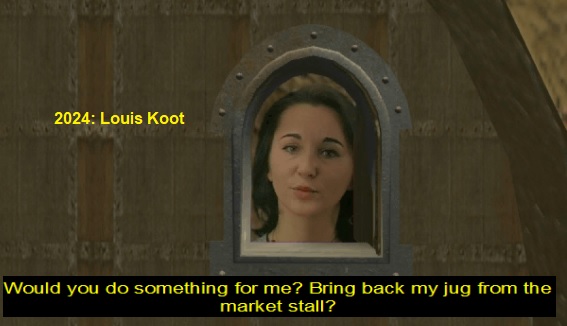
So go back to the shop and that market stall. You will find Jasmine's jug between the other jugs on this stall. Take Jasmine's jug
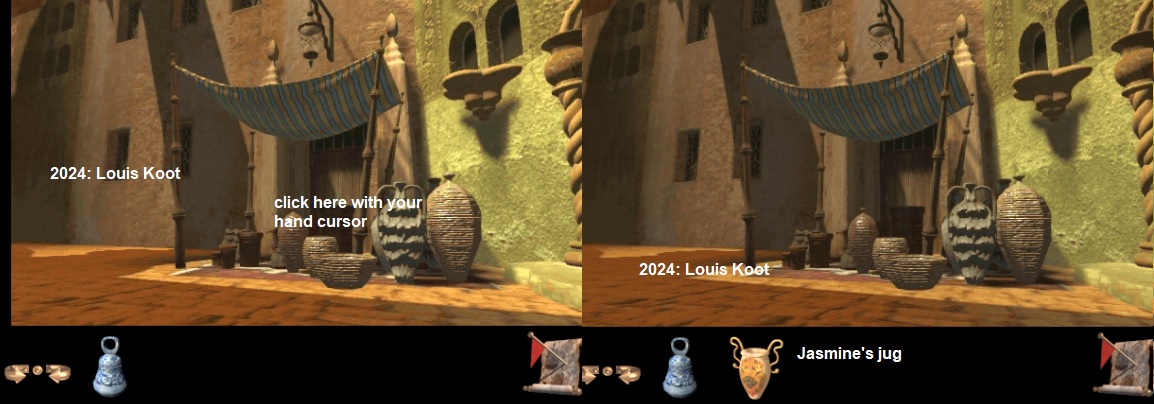
TheMerchant is still standing outside his shop. Go talk with the Merchant again and now you understand him

You may enter the shop, so enter the shop.
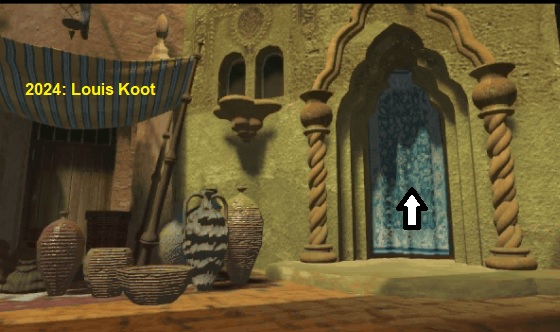
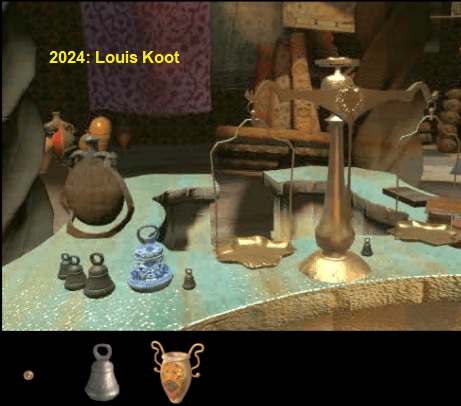
Walk to the large table in the middle and then zoom in on the top of the table
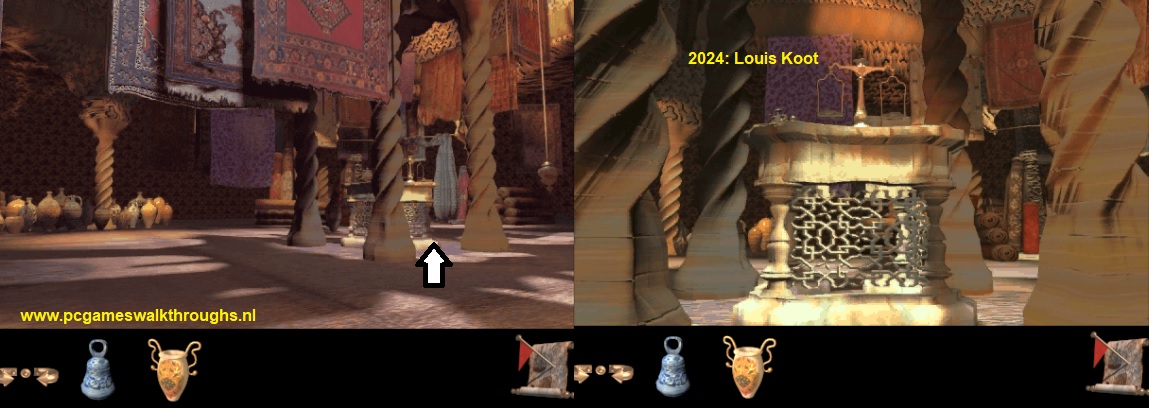
There are a number of items on this table. A scale, a few lead weights and a canteen.
Exchange your porcelain weight for a lead weight, so click the largest lead weight.
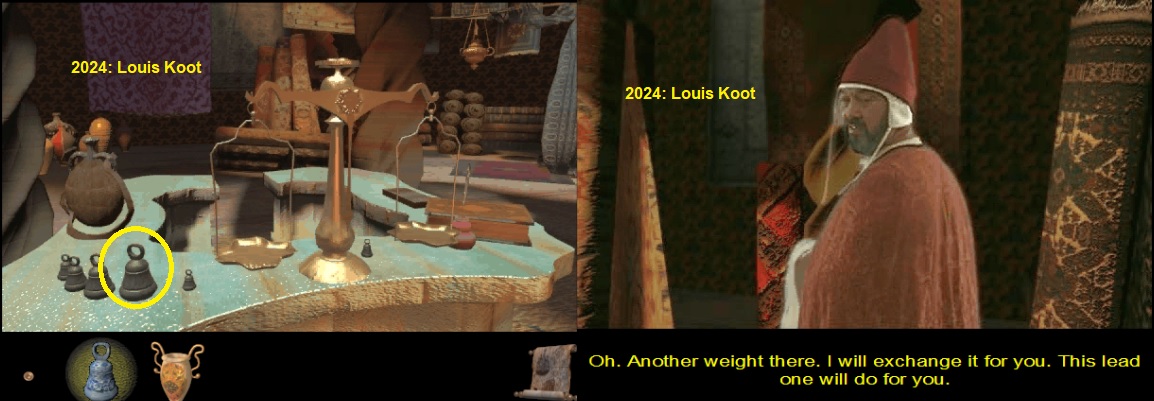
The merchant accept your porcelain weight and you then have the lead weight in your inventory.
Zoom out, turn left until you see the exit and then click 2 times forwards to be outside again
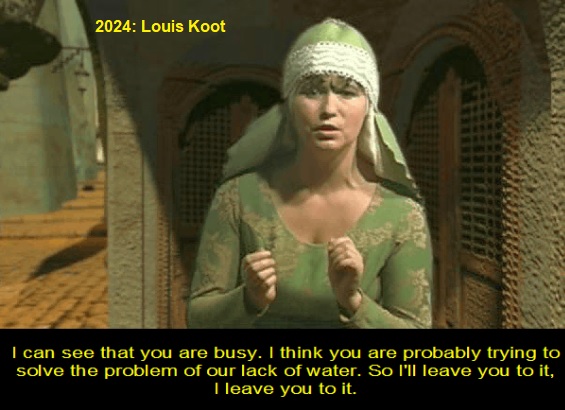
Go back to Jasmine......on your way back to Jasmine you probably meet another woman who comes out of her house.
The woman talks tou you about the lack of drinking water in this town.
Then go on to Jasmine and knock on her door again and you give her the jug.
Jasmine invites you into her house, so you end up inside Jasmine's house.
Don't enter the courtyard yet. That comes later, first you need to get inside the church and solve the puzzles there
Go 1 click forwards and then turn right and then enter the small side room.
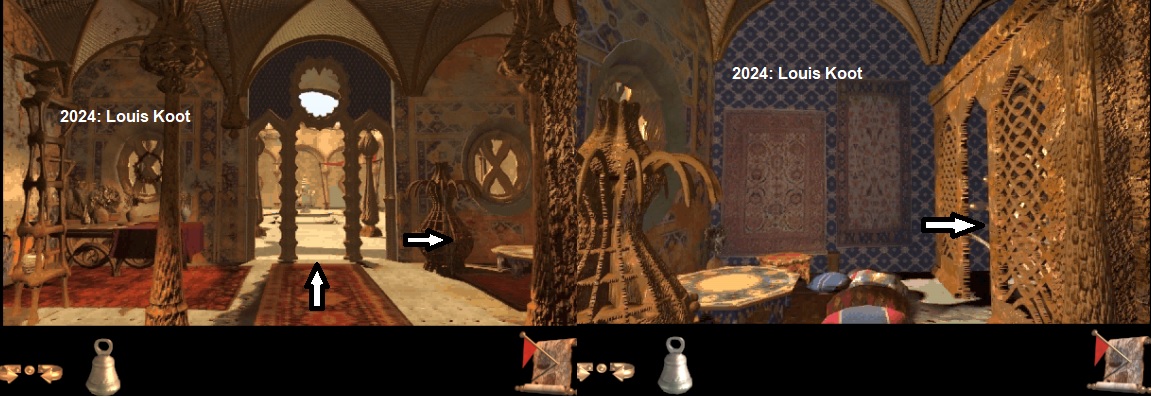
A cat sits on the bed. At the right side of the bed click and hold your mouse button and then look down via the down arrow
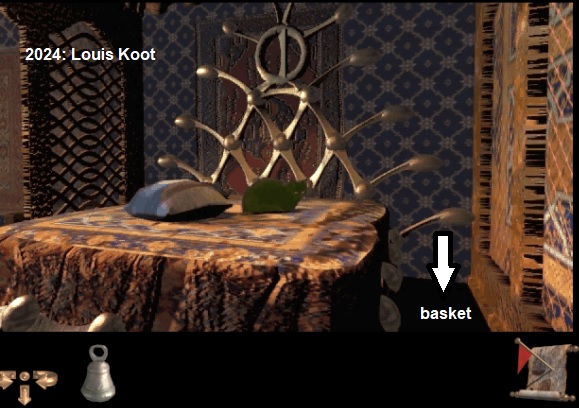
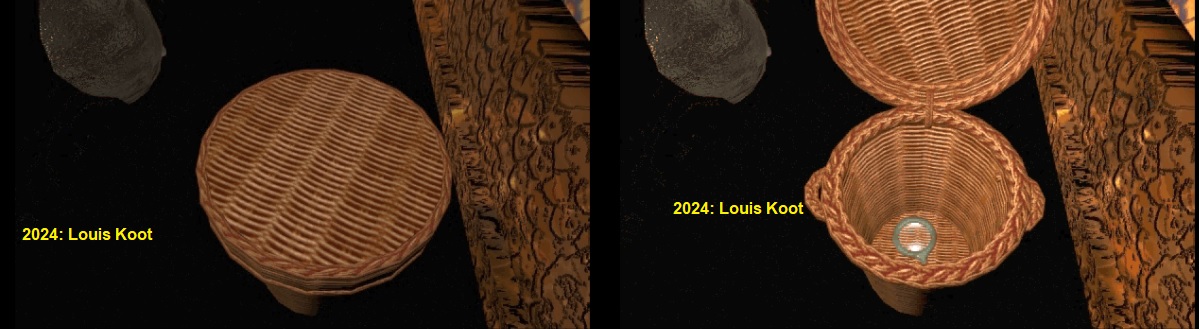
.A basket stand on the floor beside the bed. Click the lid of the basket to open it and then take the magnifying glass from the basket.
Leave this room and find the front door and go outside to be in the courtyard again.
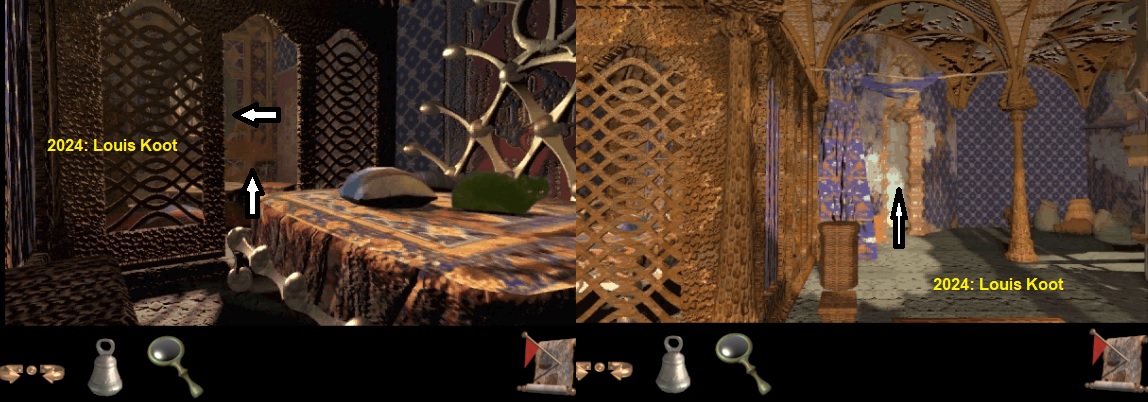
Go back to the table with the map on it.
Click on the map and fold it out again and then click the map to have it in close-up.
Because you have stolen Jasmine's magnifying glass you can now click with the magnifying glass on 3 different spots on this map.
These three spots are magnified.
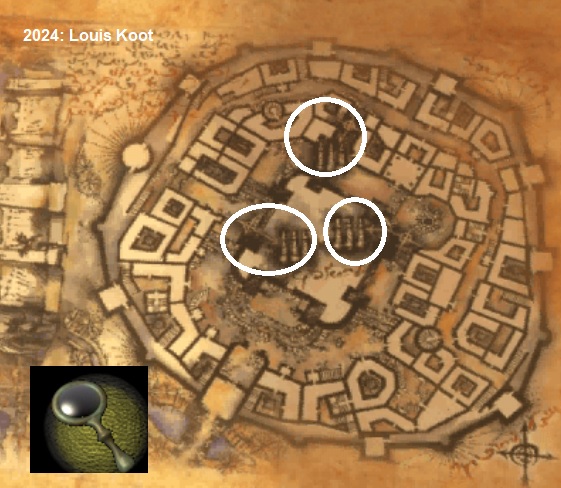
Each of these enlargements gives you an image of 3 flutes. One hole in each of these flutes is yellow.
These flutes represent the three taps you can find on the walls in the street, and the holes are the pitches. You have to open the three taps so that gas flows out. Then you have to set the wooden cart in motion. The iron rims around the wheels of this cart then cause a spark, causing the gas to explode and a hole to be punched in the church wall. This allows you to enter the church. But how to open the taps now?.
The three taps and the church
You need the flute images for this, here the are
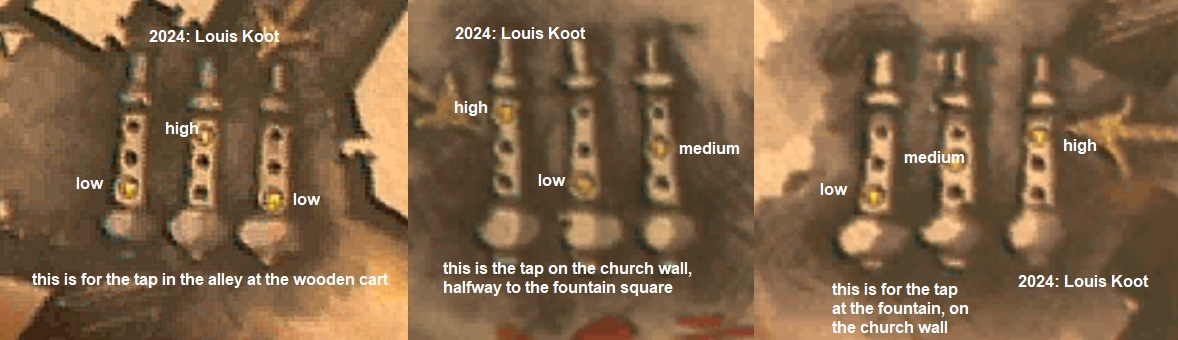
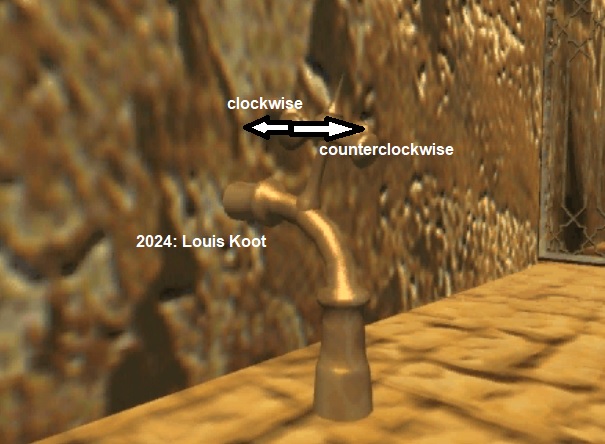
When you have found a tap then zoom in on it. You then must turn the taps to get the gas coming out each of the 3 taps. You can turn a tap left (counterclockwise) and right (clockwise. To do that you click / hold on the tap and then you get a dubble arrow with which you can turn the tap left or right. Make sure you always turn a tap one click at a time.
The tap on the church wall near the fountain: turn it 4 times right and 2 times left.
The tap in the alley near the wooden cart: Turn it 3 times left, 1 time right, 1 time Left.
The tap on the church wall: Turn it 3 times left, 1 time right, 2 times left.
By turning the taps you will have started the flow of gas. When you have gas coming out all 3 taps then go back to the wooden cart and click it again and.......
By pushing the wooden cart, you will generate some sparks. These will set off an explosion and behind the cart will now be a hole in the wall.
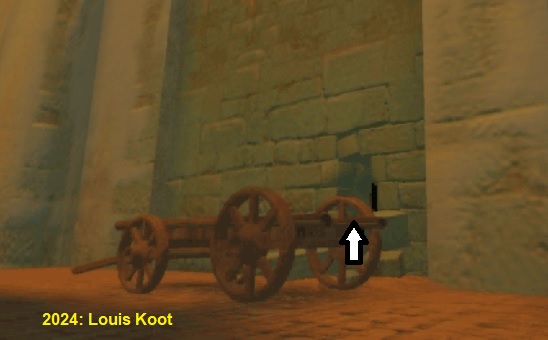
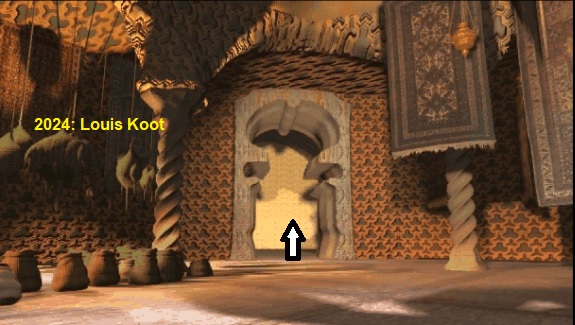
You will now be able to enter the church. So click the forward arrow at the cart / hole and you enter the Church
Inside the Church
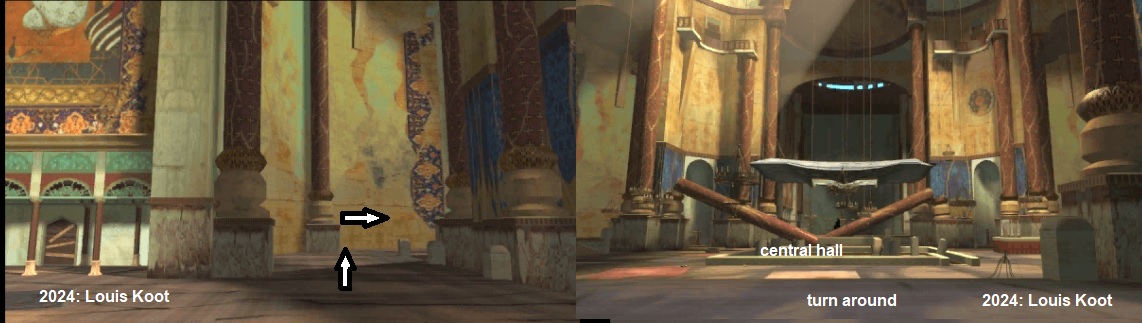
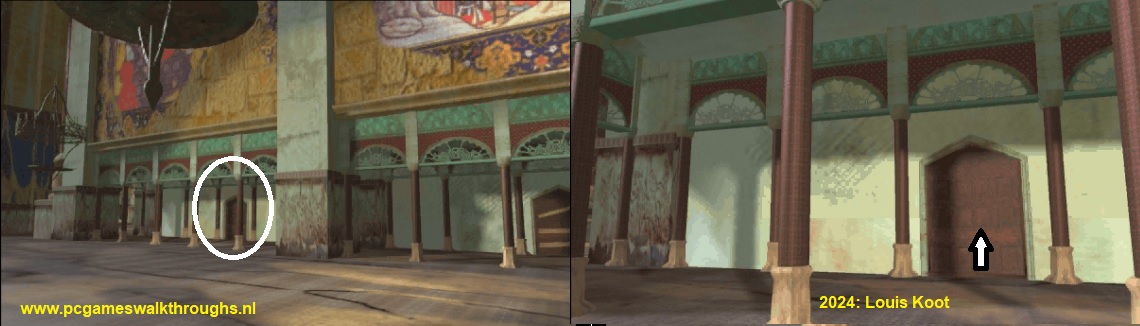
You are now inside the church, in one of the 3 side halls that are around the central hall.
Go forwards. You cant go into the central hall from this side because it's blocked by heavy wooden beams
You can go left and right to foll0w the corridors to the other 2 side halls.
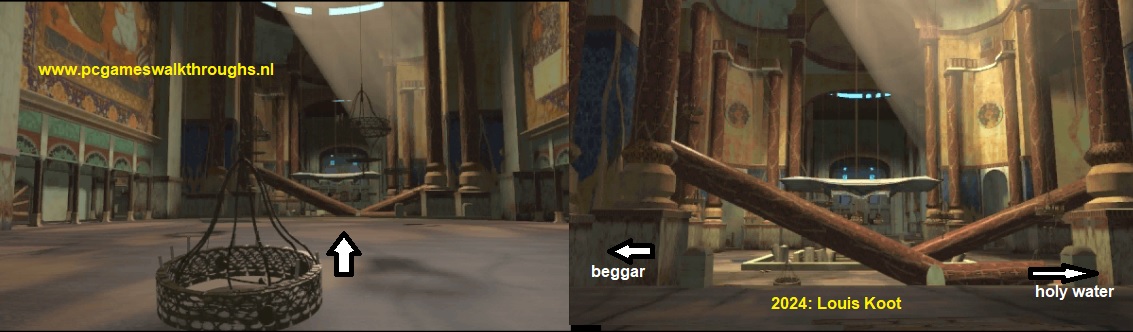
In the left hall you will meet the beggar and in the right hall you find a fountain gazebo. Firs go left to end up in the left side hall
You are then in the hall opposite the hall from where you entered the church. From here you can enter the central hall but don't do this now.
Turn around. You look through an empty hall and at the back you can go up via stairs to a higher part of this hall.
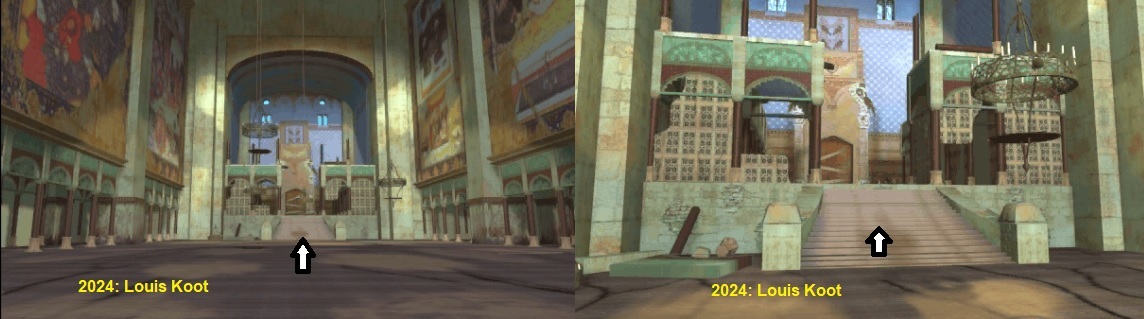
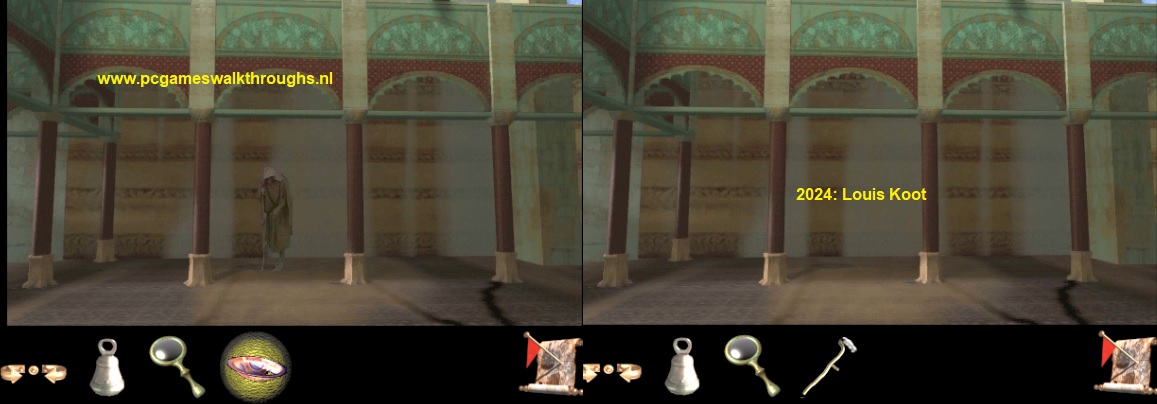
Go forwards 2 times to be on the higher part. Then turn left and.....at the left wall stand the Beggar.
Click the Beggar and listen to what he says
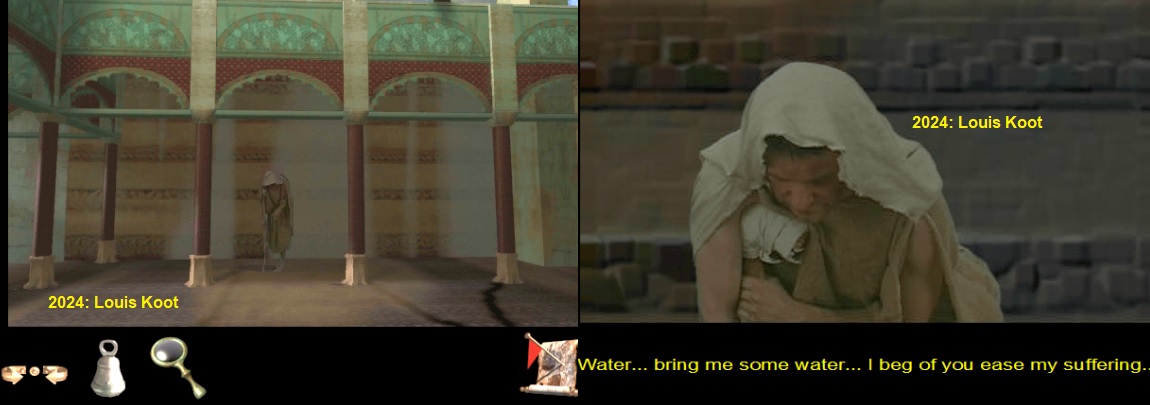
The beggar wants water, so go look for water. Turn left and go back, but don't enter the central hall yet. You will notice that you are not allowed to go to the church tower yet, as the door is locked. This door to the tower is at the beginning of this "beggar"hall. Turn right and follow the corridor to the other side hall where you'll find a gazebo. Go forwards and.......the creep creeps up again
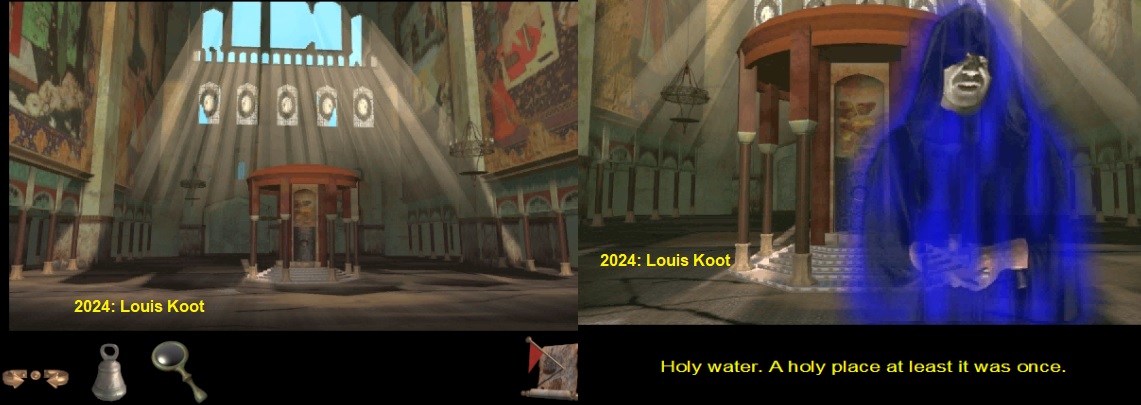
Creep tells something about holy water that you can find in the gazebo.
When creep is gone go forwards into the gazebo and take the bowl with water
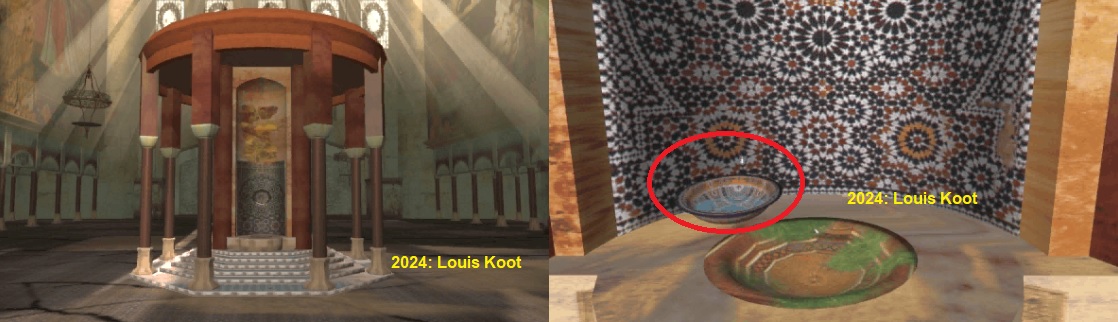
Well.....you now have water so go back to the beggar and give him the bowl with water. The beggar will give you has staff and then he's gone
Now you can enter the central hall where you then must solve the Gong puzzle. You can enter the central hall from here or from the gazebo hall.
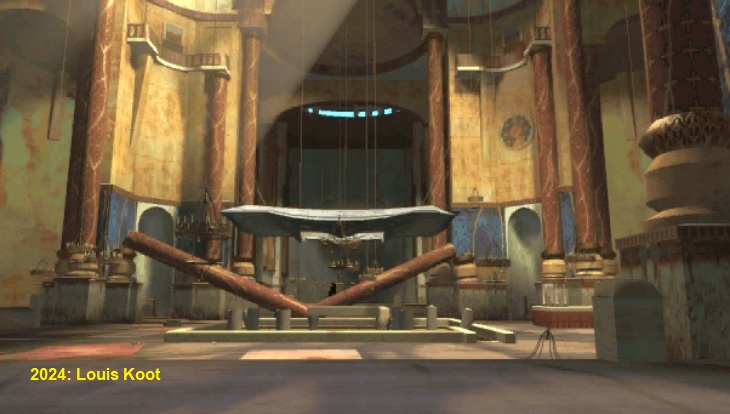
First take a good look around the central hall, So go around through the central hall and try to keep your orientation.
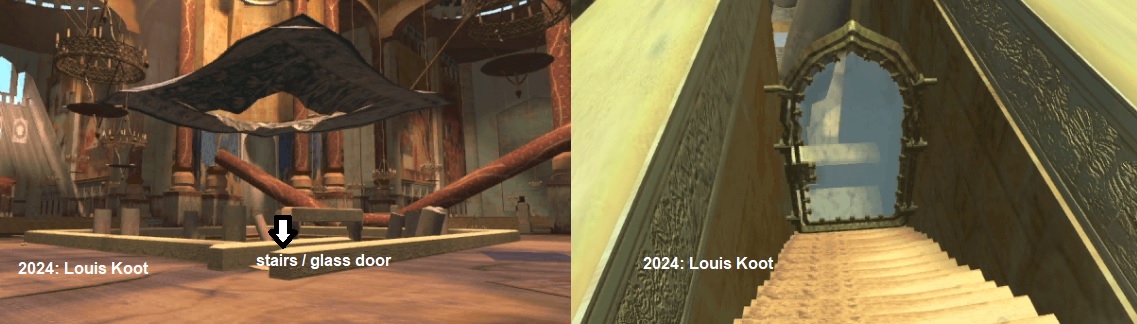
In the middle of the central hall is a stairs that leads to the basement, but it is closed by a glass door.
The Gongs puzzle
In the 4 corners of this hall stand a gong, so there are 4 gongs. The idea is to hit all 4 gongs with the drumstick to get enough resonance from the gongs to break the glass door, but in order to do this the 4 gongs must resonate all at the same time. It's a timed puzzle. First go find the 4 gongs and tfry to keep your orientatian. At one of the gongs you'll find the drumstick that you need to hit the gongs. You will need to know the location of each gong because to solve the puzzle you have to go quickye from one gong to the next gong. You also need to know where the glass door is from the location of the last gong when you hit that gong. You must zoom in on a gong to be able to hit it once you have the drumstick. Now lets go find the 4 gongs first and the drumstick. When you are facing the middle of the hall with the stairs that has the glass door then turn arond completely to face the stairs to the beggar side hall. In the left corner you then see gong 2.
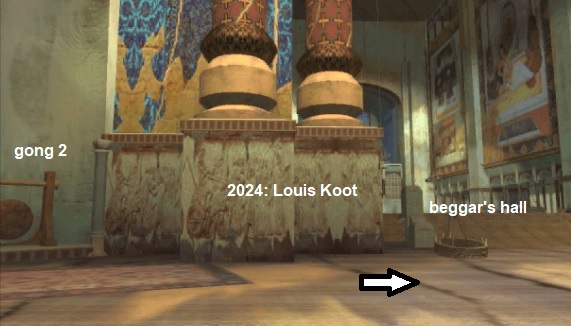
Gong 2 doesn't have the drumstick. In the corner on the right side of the beggar's hall stairs you will find Gong 1.
Turn right until you get the forward arrow to the gazebo hall and then click forwards. When you have stopt you see gong 4 in the far corner.

Turn left until you see gong 2 in the corner to the right of the beggar's hall and it doesn't have the drumstick.

Turn back again and then go forwards in the direction of gong 4.
When you have stopt you look iin the direction of the corner where gong 3 is.
Turn around to see gong 4 in the corner. Gong 4 doesn't have the drumstick.
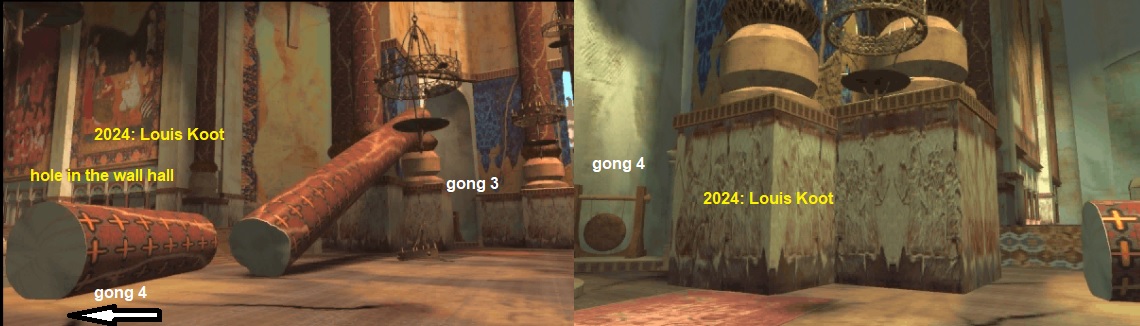
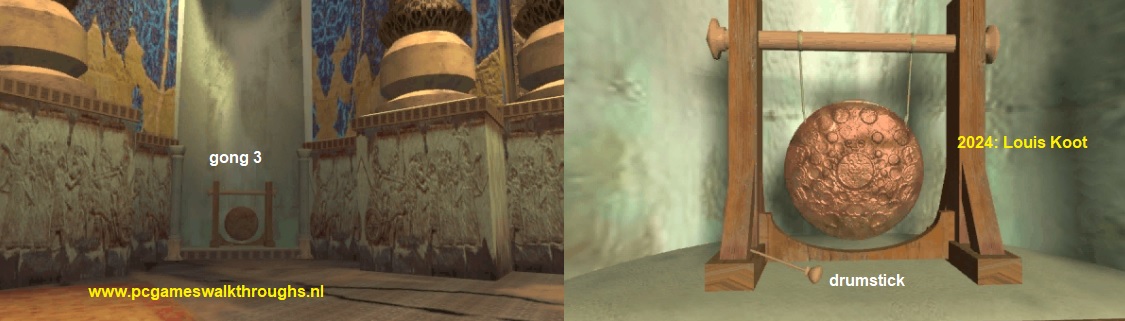
Turn back to face the other corner again and then go forwards and when you have stopt turn left to see Gong 3 in the corner.
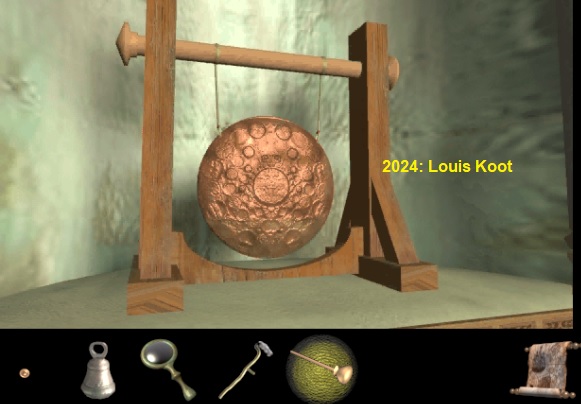
Zoom in on gong 3 because here you'll find the drumstick. Take the Drumstick.
When you have found all 4 gongs and you have taken the Drumstick at gong 3 then you start solving this gong puzzle and you have to be quick because you must hit a gong to make it resonate and you must quickly go to the next gong to make that one resonate, before the first gong stops resonating and so on until all 4 gongs are resonating at the same time. Then you quicly go to the glass door to hit that too with the drumstick and you must do this while all 4 gongs are stil resonating The order in which you must hit the gongs is different in each new game, so I can't help you here. My order was this time gong 1, gong 4, gong 3, gong 2 and then the glass door, but for you it could be a different order.
So hit a gong with your drumstick, the gong starts resonating.
Quickly zoom out and find the next gong that alse moves a little and hit that gong before the first gong stops resonating. Find the 3th gong that's moving a little and hit it before the other 2 gongs stops resonating. Find the last gong and hit it before the other 3 gongs stops resonating. All 4 gongs are then resonating at the same time so quickly go to the glass door and hit it before the gongs stop resonating and you break the glass in the door.
When you have succeeded to break the glass you hear the victory tune and you have lost the drumstick. Go through the door to the:
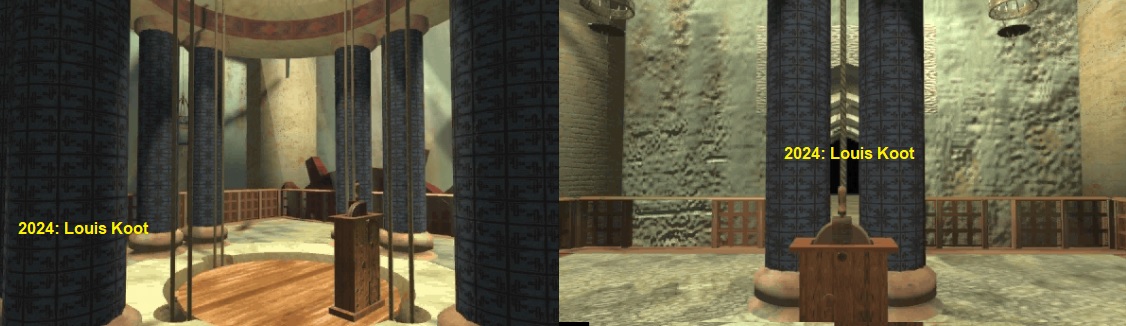
Basement:
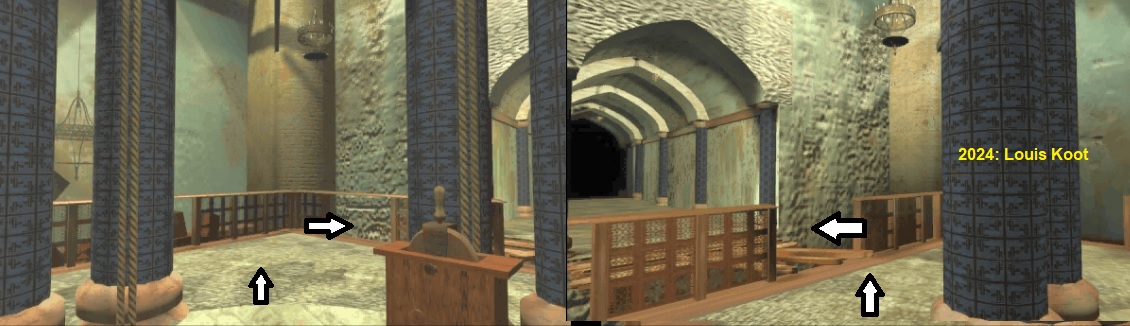
Go forwards...you go up another stairs to the middlde and you are then at a large round stone that's embedded in the floor.
Behind the round stone you see a round pillar with a hole in it.
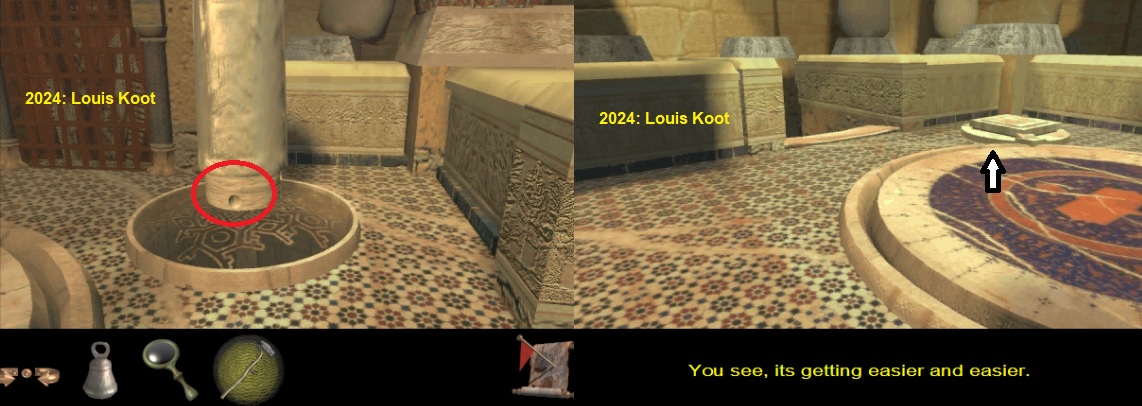
Go forwards to that round pillar and then put the staff of the beggar into the hole and.........
...the pillar turns and you also turn around to see a square platform sink into the floor.
Go forwards to that platform. Zoom in on it. Vaguely you see images on the stone.
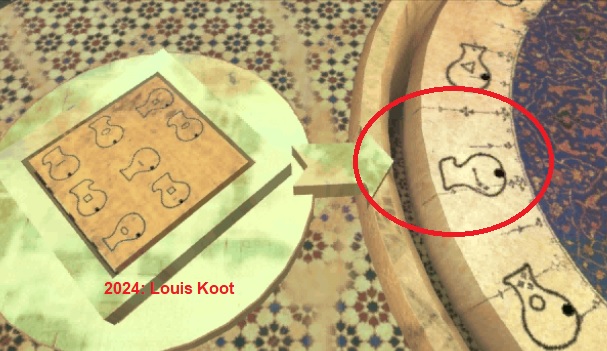
Click the arrow and....Fish symbols appear on the stone and in the outer rim of the big round stone.
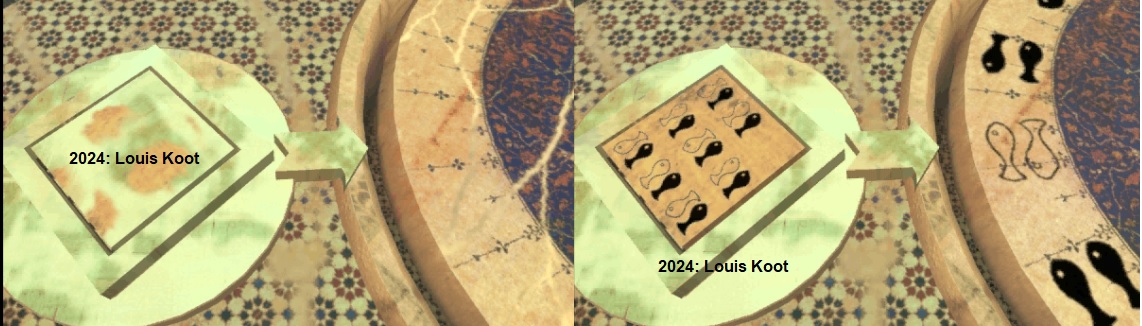
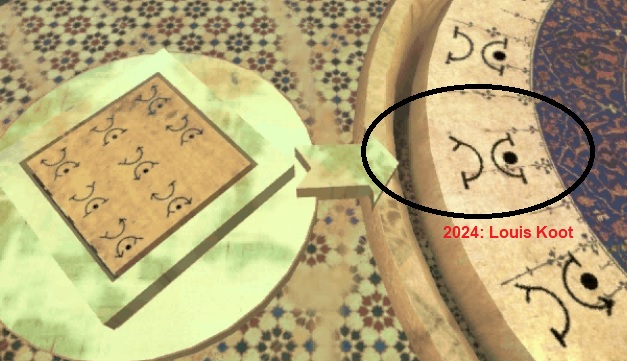
The fish on the stone are pairs of a transparent fish and a completely black fish. The top row is missing a pair. You must set the matching symbol in the outer rim of the round stone at the arrow. Click / hold on the outer rim of the round stone and then you can turn the outer rim up or down. Now set the matching fish symbol on the outer rim. Then click the arrow again to get a new set of symbols. Turn the other ring again until you have a matching symbol at the arrow. Do this again 2 times, so in total you must do this 4 times
1 = Fish symbols
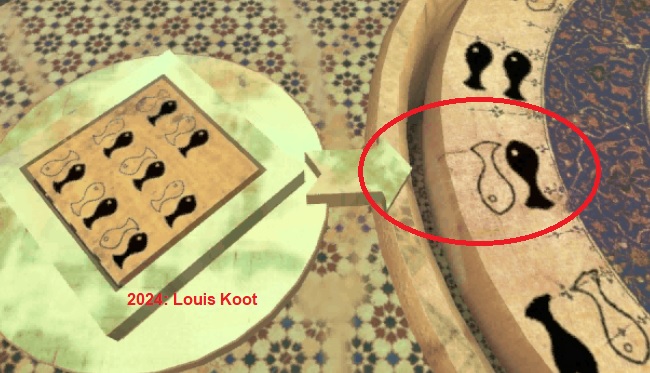
2 = Amoeba symbol
3 = Eye symbol
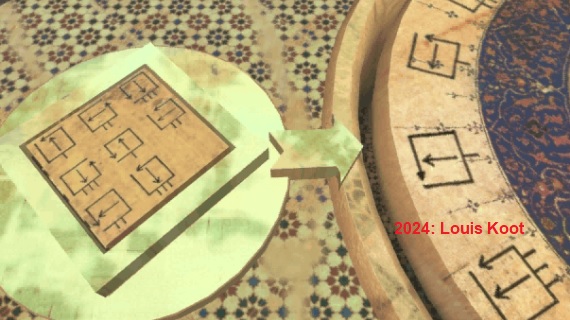
4 = squares with arrows
This last one is trial and error. If you did 1, 2, 3 correct then this last on is just a matter of moving the other rim until the correct symbol is at the arrow.
So this picture dos not show you the correct symbol and I think this one is different each game
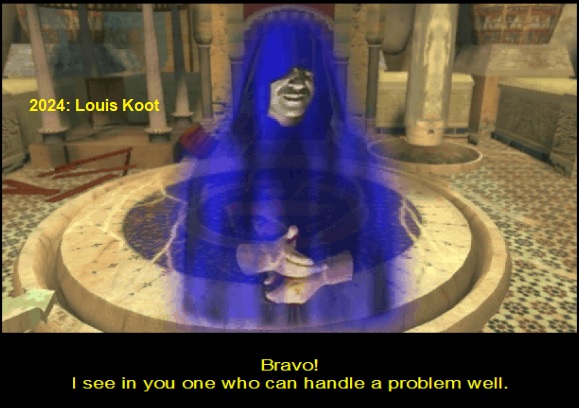
Once you have solved this puzzle correctly you will hear the now familiar music and the creep turns up again who tells that you can now go to the church tower
Turn arround, forwards 2 times to get out of the basement. Go to the beggar's hall.

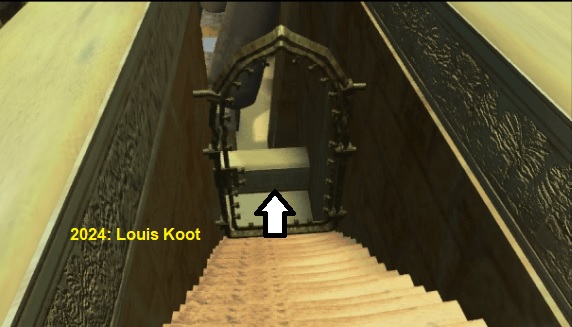
Go 1 click forwards in the hall and then turn left. Find the first door in the left wall and then go to that door.
You have a thought about the alchamist, I think it's the creep. Turn right to the door and click forwards to the door.
The doors go open and you go through it to the elevator

Go forwards again and turn a bit right, or left, and then go forwards, onto the rond lift platform. Turn to the lift lever and click it and........
.........you go up to the tower. Halfway up the lift stops so click the lever again to go further up.....
.......the lift stops again so again click the lever again to now go all the way up and you will be in the tower room
Church Tower
The lift won't go down, you must first solve the puzzles here. Find the forwards arrow and then go forwards 2 times
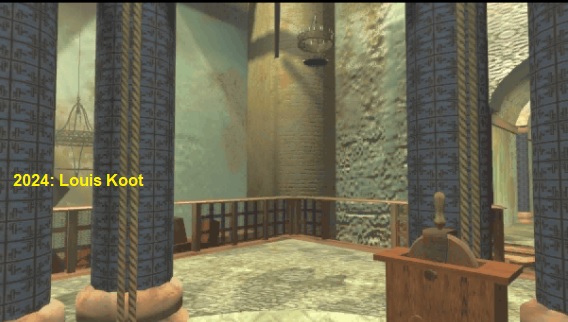
This tower room is circular with 2 rings and you are now on the outher ring. You must solve three puzzles.
Turn right and then go 1 click forwards on the outher ring. When you have stopped turn left. In a niche stand a small table.
Zoom in on this table and.........Creepy creep shows up again....listen to what he has to say.
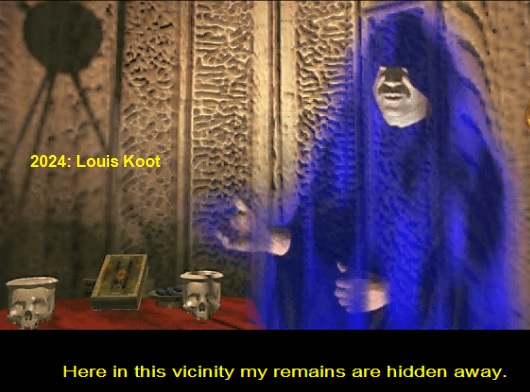
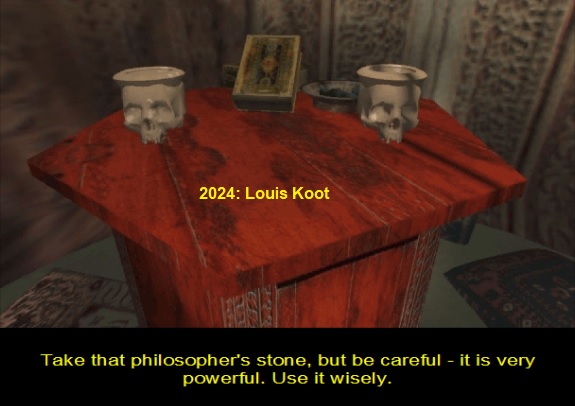
When creep is gone again zoom again in on the table. There are 2 skulls, a book and a bowl with oval stones on the table. Zoom in on the book and then click the book to open it. You can't read what's written on the pages but you can browse through the pages to see some drawings. On the last 2 pages of the book you see a drawing of a telescope and 2 symbols on the right pages. You hear a clue about the telescope and about the Oasis.
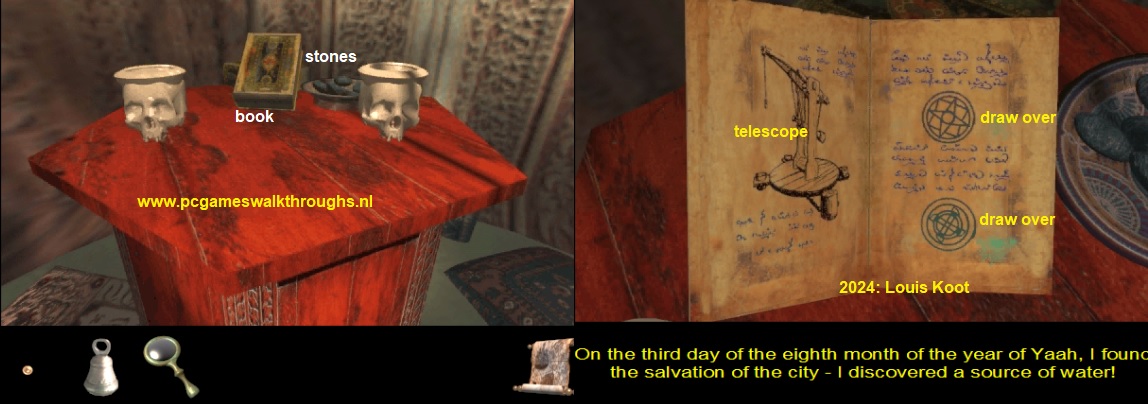
Note down the 2 symbols that are on the right page because you will need to regognize them to solve the telescope puzzle. Then zoom out the book to close it again. Then click on the bowl with oval stones and......a row of those tones are put on the table. You now have to play, and win, the
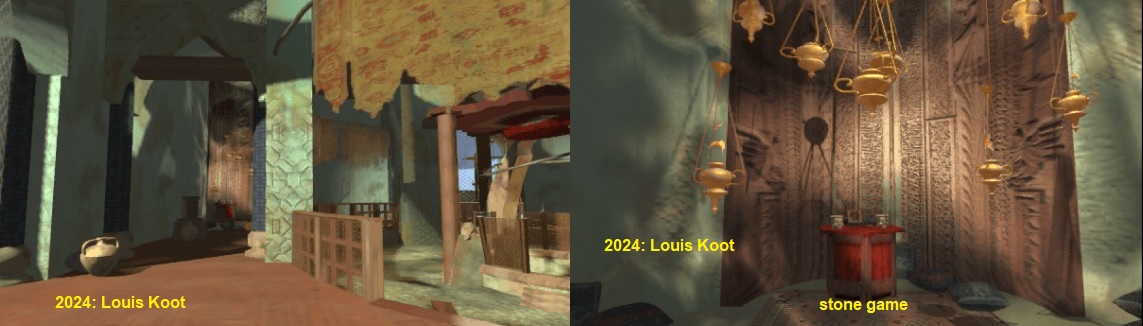
The stone game
A row of stones are put on the table, this can be 8, 9, 10 or 11 stones.
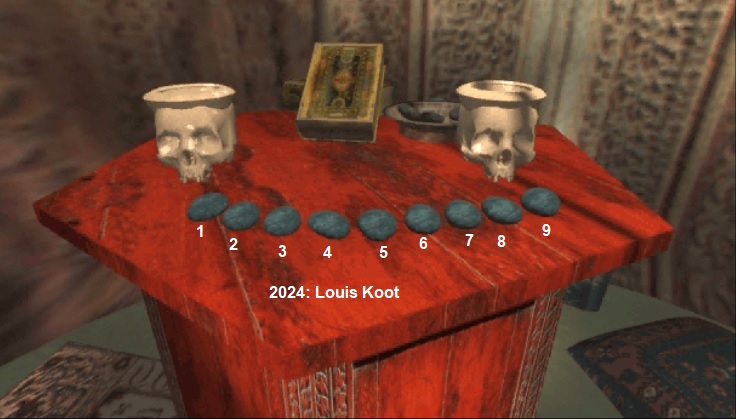
How many stones are put on the table is always random but it can be 8, 9, 10 or 11 stones.. You play against the creep. You have to win this stone game 4 times, so you play 4 rounds. After every round you must click the bowl with stones again to start the next round. The idea is that you always get the last stone. This only works if 9,10 or 11 stones are given. If 8 stones are on the table then you can not win that round because then the Creep always wins that round. You always start a round and Creep react with his move
I can not give you a step by step solution to win this game, but here is a strategy that may work for you, it did for me When 8 stones are on the table you can not win but you still have to play the round When 11 stones are on the table: take the first 3 stones Click the 3rd stone to take the 3 stones), if the creep then takes 1 stone, you take 3 stones again. If Creep takes 2 stonens after your firs move, you also take 2 stones as your second move.You then have the last 3 stones and you win this round. When 10 stones are on the table: Start with 2 stones and then continue as with 11 stones as your second move. When 9 stones are on the table: First take 1 stone and then twice 3 stones. To take 3 stones you must click the 3rd stone of a series of 3 stones You have to win 4 rounds but if Creep wins four rounds first you have to play this game all over again When you finaly have won 4 rounds you get the philosopher's stone.
|
The telescope
Zoom out andturn right, 1 time forwards to the wooden stairs. Doint go up the stairs but turn around to the telescope.
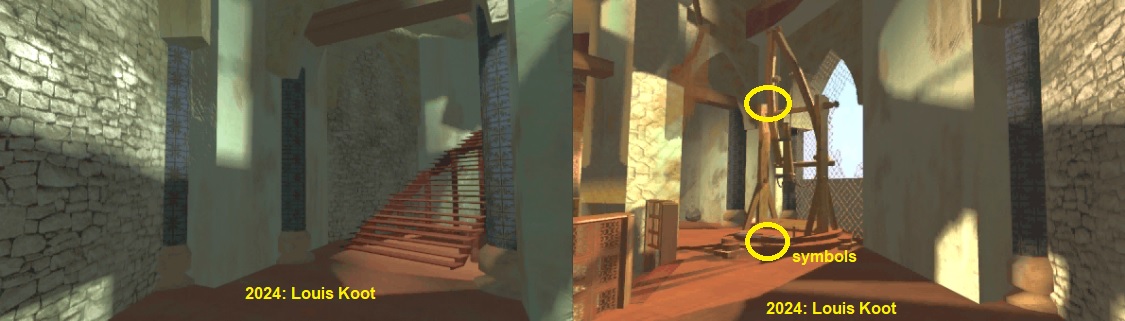
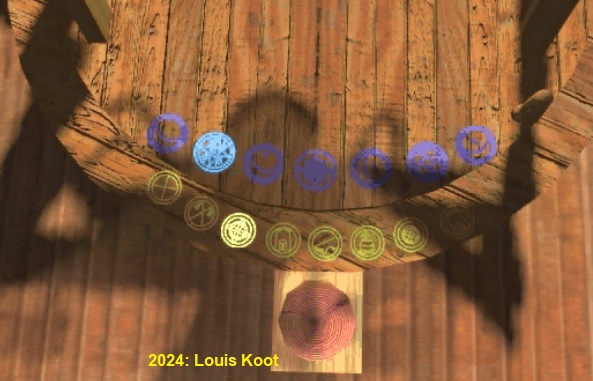
Zoom in on the base of the telescope construction. You see symbols. There are 2 rows with symbols. The top row has blue symbols and the bottom row has green symbols. You must click the correct 2 symbols to point the telescope to the oasis. These are the 2 synbols you saw in the book. Top row 2nd from the left and bottom row 3rd from the left
Zoom out and click with your hand on the top of the telecope construction and .the telescope goes up and looks through the window.
Now zoom in on the back of the telescope to look through the thing and you see the oasis through the telescope
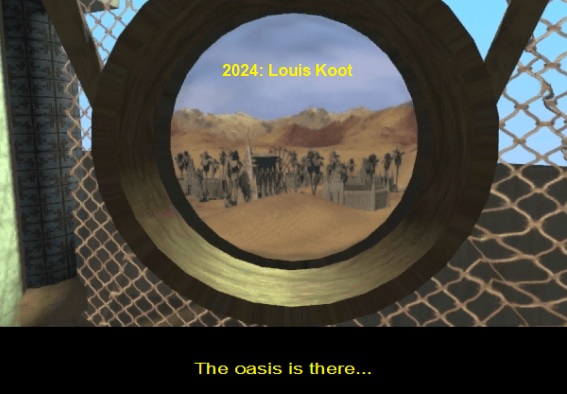
Zoom out. You do not have to go up the stairs because there's nothing on top of it. So go back 2 clicks and when you have stopped turn left and go 2 clicks forwards to the lift platform.....When you are back on the lift platform Creepy creep turns up again and he says that the lift is out of order. .
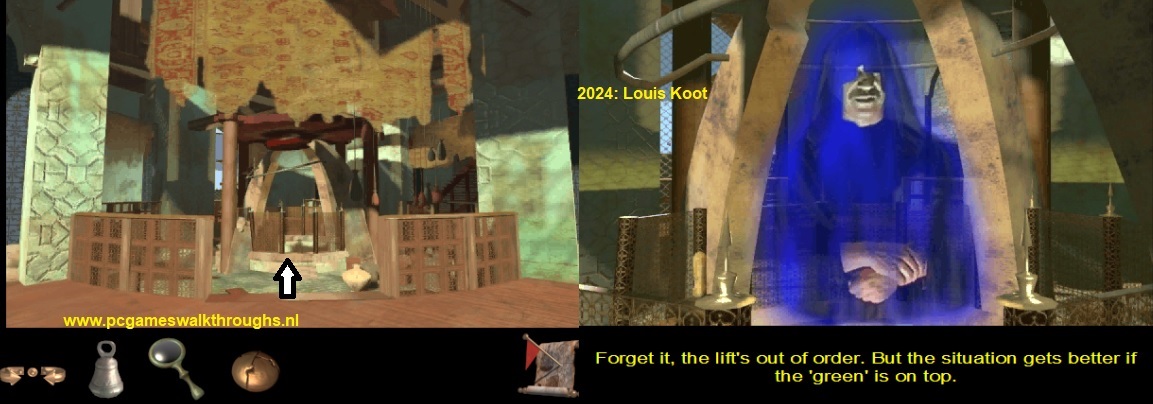
To get back down with the lift you must first solve the sandbags puzzle
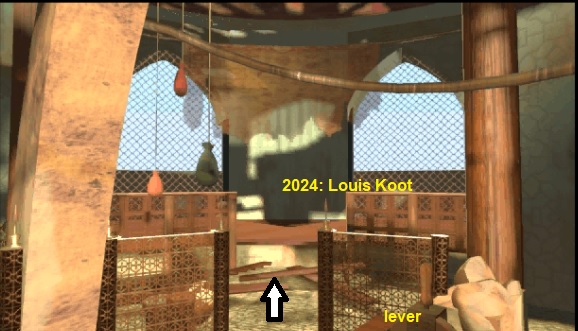
The Sand bags puzzle
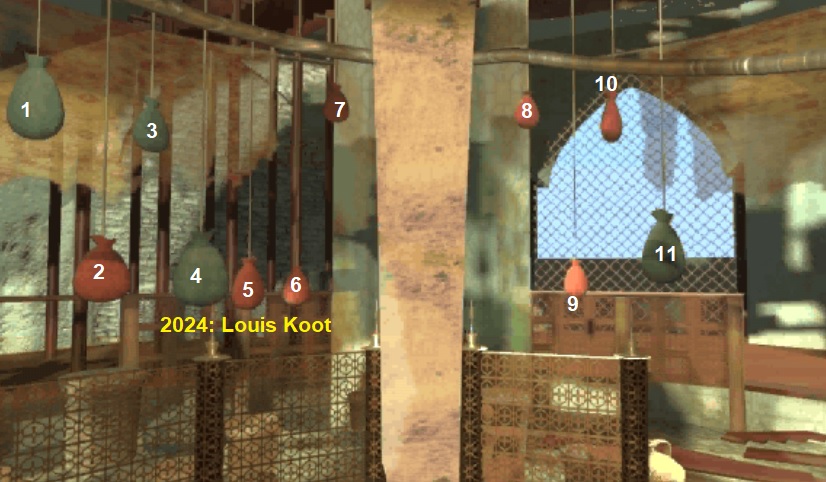
Turn right and make sure you see all 11 sandbags that are hanging on ropes in front of you.
|
There are 4 green sand bags and 7 red sand bags. The idea is to get all 4 green bags up and all the 7 red ones down.
The bags influence each other. If you click a bag up then other bags go down or up and visaversa. If you can't figure it out, I have 3 possible solutions here but they only work from the starting position of the bags: Number the bags from left to right 1 to 10, then click the bags: 1, 2, 10, 8, 4, 3, 6, 3, 9, 4 and 3. Another possibly: Click the bags 1, 2, 7, 8, 9 and 10 It must be like this:
If the above 2 solutions doesn't work for you, then you can also try the following: Starting from the starting position and then from left to right: first click on all the bags that are already hanging high, but do not touch the bags that will rise as a result. After this, there will only be 1 red bag hanging high. Click on this red one and then on the one green one that is still hanging at the bottom. If none of these 3 solutions work for you, well....then you have to figure it out yourself |
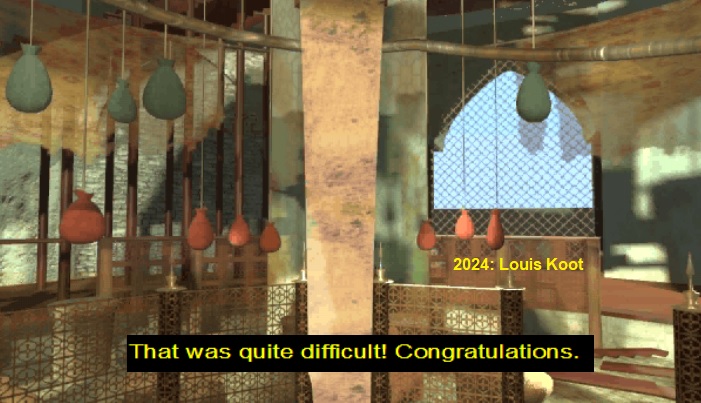
When you solved it you can take the elevator back down by clicking the lift lever...
The lift doesn't go down in one go but it stops 2 times, so you must click the lever again.
When you all the way down find the forward arrow, click it, then turn slighty right and then forwards to exit of the lift.
Then forwards to go back to the beggar's hall.
Back in the baggars go to the side hall withy the hole in the back wall and leave the church through the hole in the wall
Back in the street of Desert City
Go to the city gate and try to leave the town...unfortunately, that is not allowed yet.
The "spirit" does not approve of you going into the desert without drinking water.
Drinking water? Where have you seen a canteen again? Right, in the shop.
So go to the shop and zoom in on the table again and try to get the canteen. Unfortunately, the merchants wants gold for the canteen.

So you have to make gold, but where? And how? Go to Jasmine's house. Enter the house and go to the table to the left of the entrance to the courtyard.
There is a book on this table. Click the book and open it and go through all pages and notice the number symbols within the images of the stone plates.
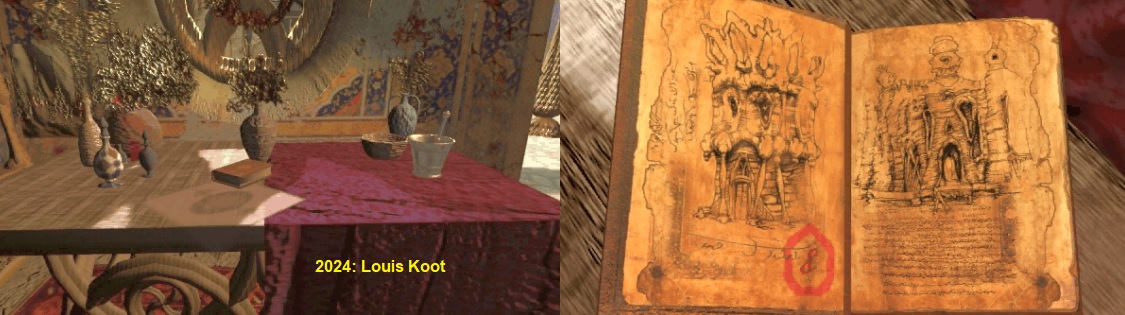
In the book there is an image on every page with a number in it , 1,2,4,8,16,32. These images correspond to the wall panels on the walls in the courtyard. If you click on the text on the last page Creep will read it out loud about a lord who's name is Four and Fourty...4 + 40 =44
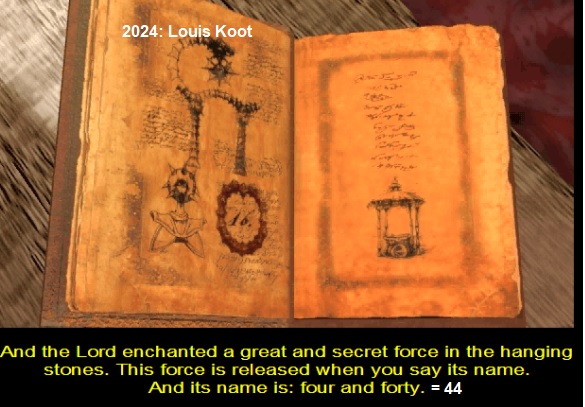
With the numbers you see in the book you must make 44........44 = 32 + 8+ 4,
So you have to go to three stone panels in the courtyard and press them. So go into Jasmine's courtyard and find those 3 stones
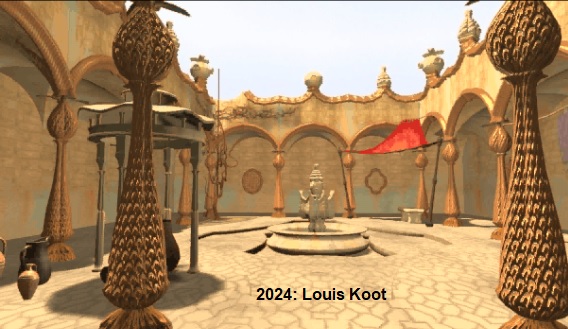
On all outer walls of thecourtyard are stone panels and on each panel you see symbols.
You're looking for 3 panels that have a kind of j with a line through them , on the 4th row of stones from the top.
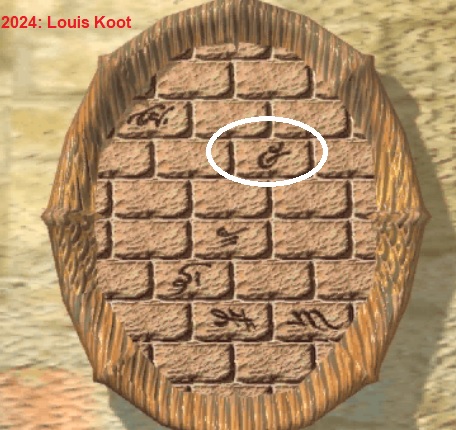
Go find these 3 wall panels and on each panel press the stone with the J-symbol...the J-stone will be darker once you have pressed it

You find 2 of those 3 panels on the back wall and the 3rd one is on the right wall.
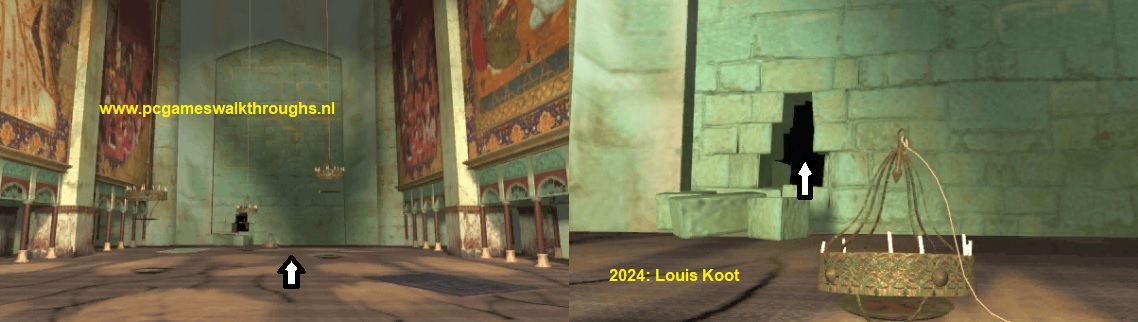
Once you have pressed those 3 J-stones in the Oven Creep shows up again
When Creep is gone again a black pot has come up from the floor....this is the oven.
Now you can melt down the lead weight in the in the black pot. Zoom in on the pot and then put the lead weight on it
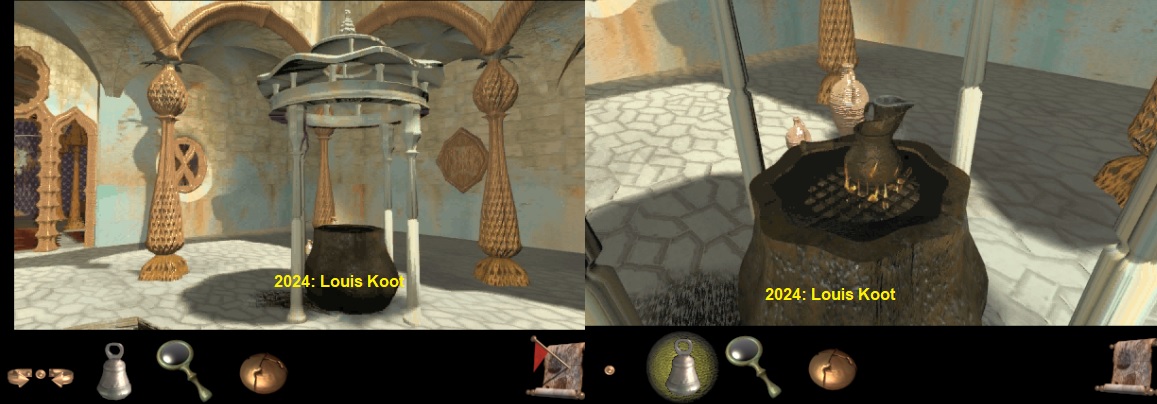
The lead weight now turns into gold and you can now exchange it for the canteen with water at that merchant.
So go back to the shop and zoom in on the table again and take the canteen and you pay for it with the gold weight

Now that you have a canteen with water you are allowed to leave this desert city and go to the oasis.

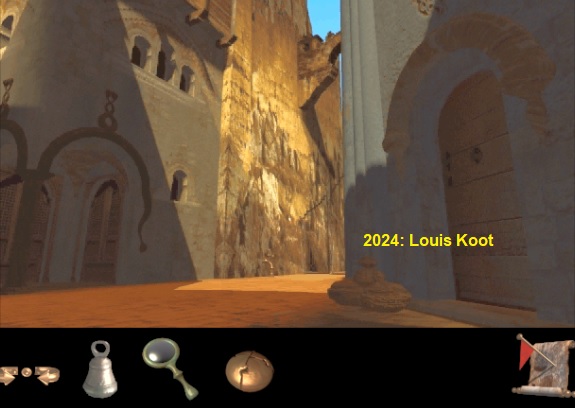
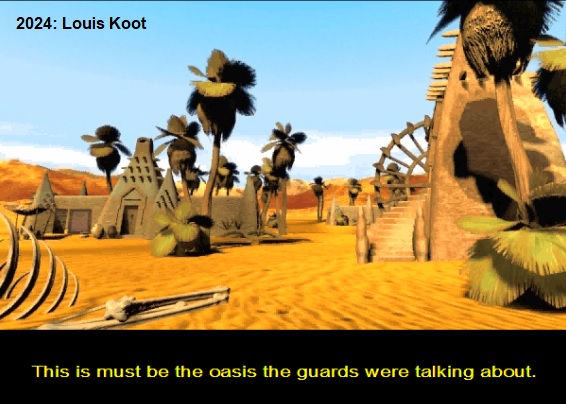
Go to the sundial which casts no shadow. Behind this sundial is the oasis, so go forward on the right side of the sundial and......

.....you reacht he Oasis......
Reah: Face the Unknow: Part 2: Oasis
2024: Walkthrough by: Louis Koot