2006: Original Dutch walkthrough by: Louis Koot
2019: English translation by: Dick Leeuw
If you have found this walkthrough via google search or via another site then you have probably not visited my site.
A lot more very detailed game walkthroughs can be found on my site at: www.pcgameswalkthroughs.nl
Chapter 7: Paris: Nina and Max
The Puritas Cordis Headquarters:
Max:
Meanwhile, Max is still imprisoned in a cell in the Puritas Cordis cult headquarters.
But Max is determined to escape and you have to help him a bit with that. Max's
inventory is of course empty.
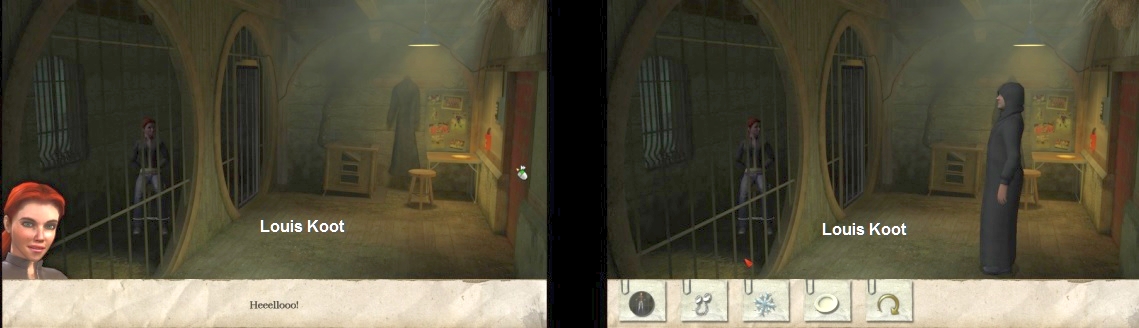
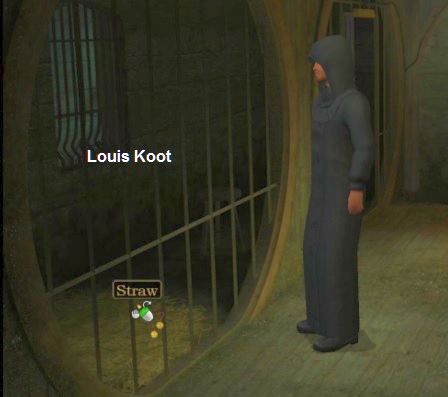
We see Max standing in the cell. You also see the space outside the cell. Take a good look around and first view everything you can see. There is a window in the cell
and the cell door on the right. Max cannot start anything with the window and the cell door. Straw is on the floor of the cell and a mouldy Apple is on the straw.
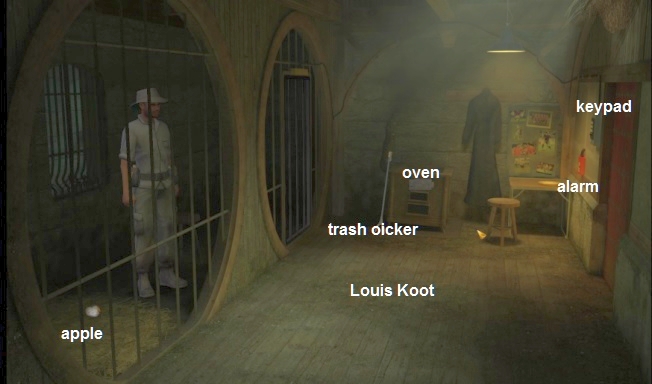
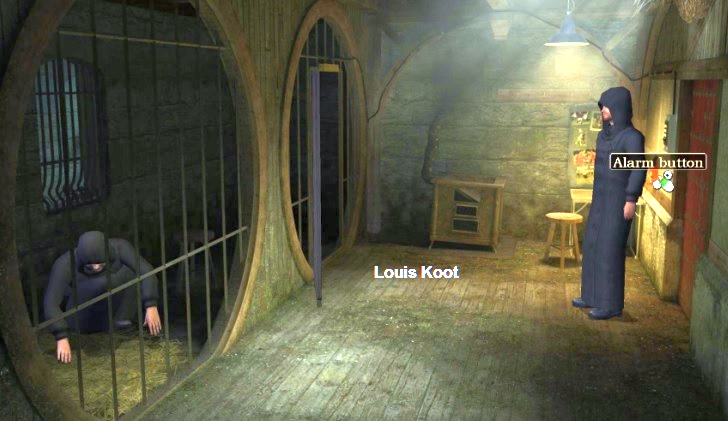
Opposite the cell you see a red door. On the wall, on the left next to the red door, hangs a gray code box and an orange Alarm button. There is a Cowl on the back wall and an
oStove. There is a door in the oven. A long trash picker is leaning against the oven. The apple is of course no longer eatable, but still pick up the apple. Click with the Appel on the Trash
Picker and .....
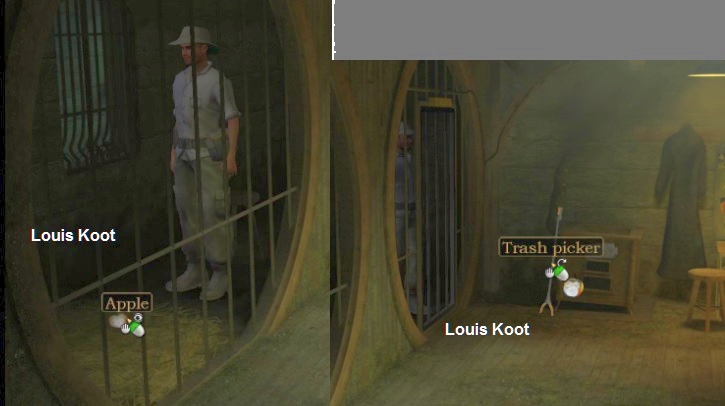
Max rolls the apple against the waste picker and it falls over as a result. Max then automatically picks up the waste picker.
Then click with the Trash Picker on the door of the oven.
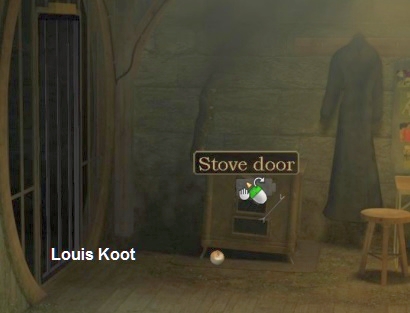
Max lifts the oven door out of the handles and puts the cast-iron door in his pockets.
The door can probably be used to cut out someone with it and .......

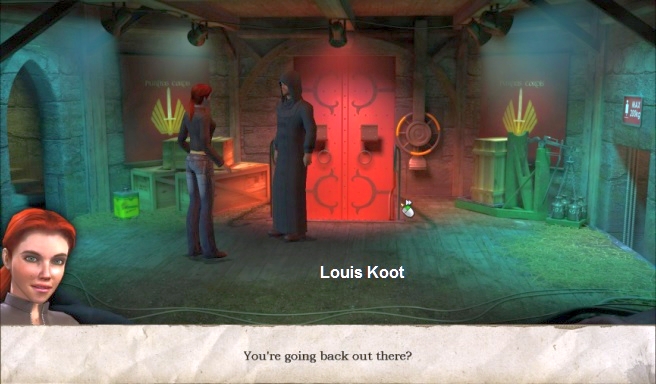
2 cult members come in and take Max to their leader, Pat Shelton, in the control room. In the control room of the large
castle, Pat Shelton is standing in front of a few large monitors. Nina is also brought in. Shelton now tells Max and Nina what his plans are.
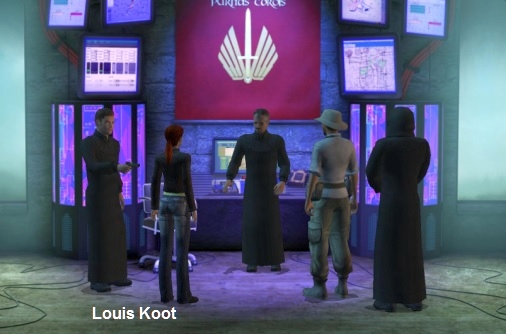
Pat Shelton has had enough of all the destruction of the earth's resources. Shelton wants to blow up the porous flank of the Cumbre Vieja volcano near Las Palmas in
Gran Canaria. A huge Tsunami will then spread across the ocean and flood New York. When all world leaders are dead, Puritas Cordis will take power and let people live again according to the visions of Zandona and the law of God. Shelton will then speak as the
voice of God.
After his story, Shelton wants to know who Nina and Max work for, what the ecclesiastical secret service has to do with it, what they all know and how they think they
will stop him. When Nina says she doesn't know what Shelton is talking about, she and Max are taken outside to the Garden
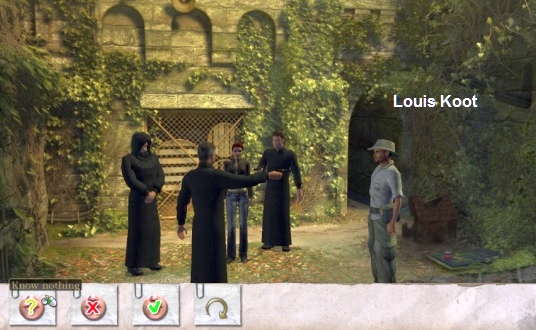
Nina is tied up and Max is kept at gunpoint while he is standing in front of a freshly dug grave. Shelton threatens to shoot Max if Nina doesn't give him satisfactory
answers to his questions. It doesn't matter which answer you give. Shelton is not satisfied with any answer and shoots Max dead, regardless of which answer you give.
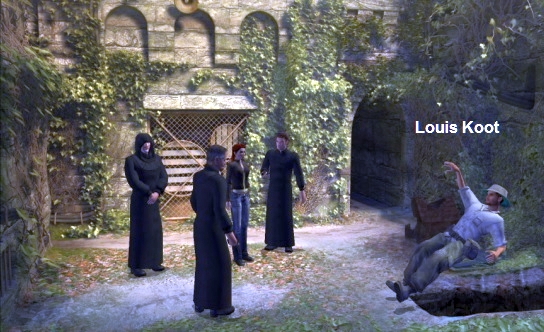
Max falls into the freshly dug grave, he looks death. Nina is taken to the cell, where she blames herself that she is the reason of the death of David and Max. And
her father will also die while she is sitting here. Then we see how Max climbs out of the grave. The cast-iron oven door saved its life because it served as a bulletproof vest.
Garden:
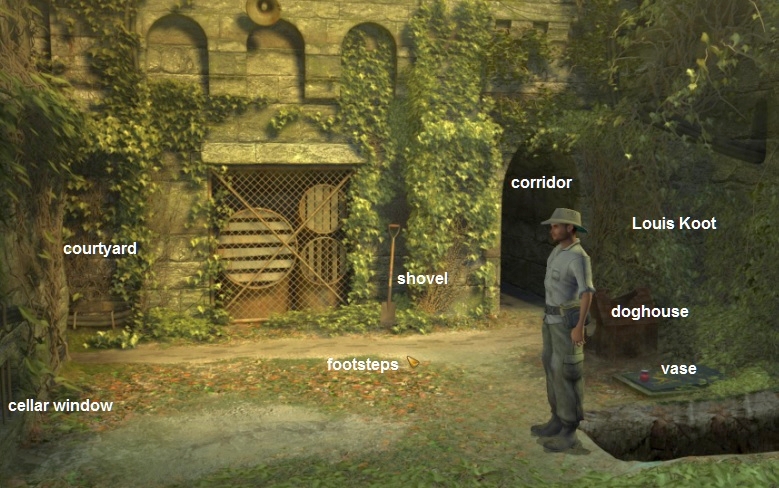
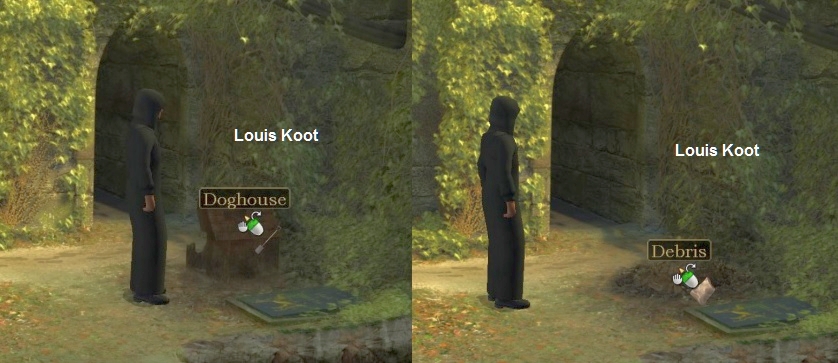
Max is standing in front of the recently dug grave where he has just crawled out again. To the left of the grave is a tombstone on a dog's grave. It is
the grave of dog Fifi. On that dog grave is a small red Vase. There is also a Doghouse, with which Max does
not want to do anything. Behind the doghouse you see a Passage. In the wall, opposite Max's grave, is a Cellar window and a Spade against the back wall. In the left corner is a passage to the large courtyard.
Footprints are on the sandy path that goes from the left passage to the right corridor.
Take the red vase. Take the spade.
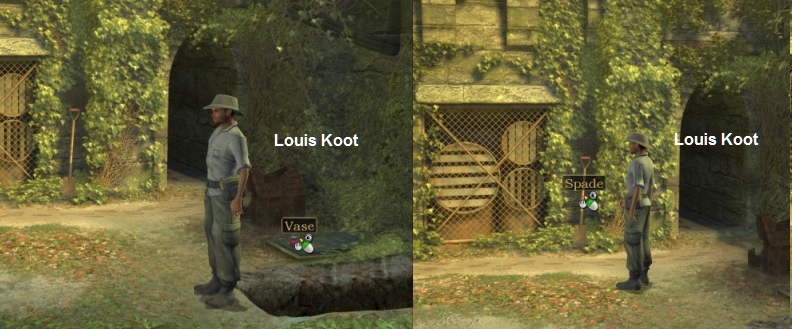
View the cellar window. The footsteps on the sand path go from left to right and from right to left. View the footsteps. Max concludes that guards patrol the path.
Now double click in the left passage and Max then peeks around the corner and over the:
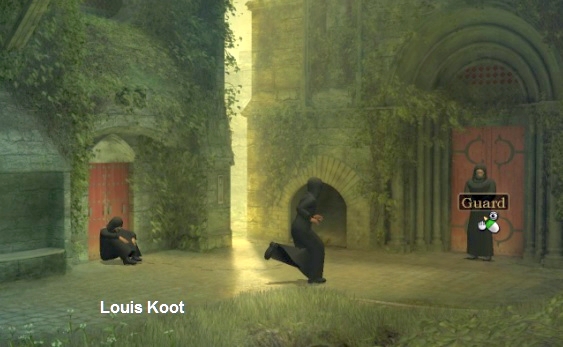
Large Courtyard:
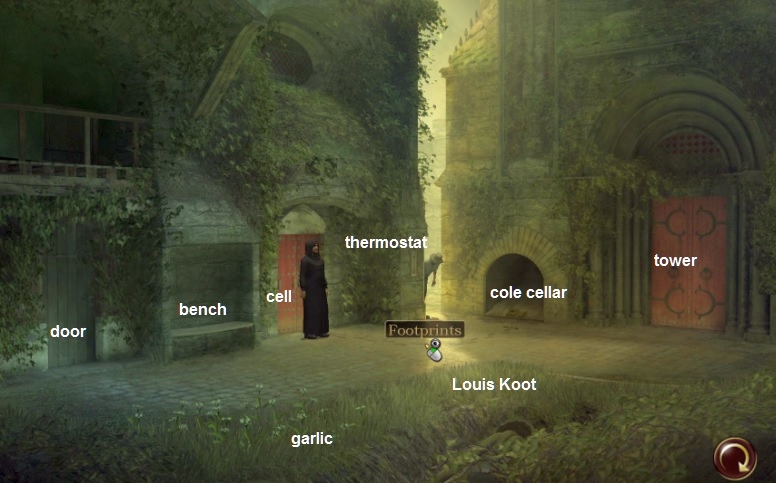
A guard is standing in front of the red door behind which Nina is locked up in the cell. It is the same cell where Max was first locked up. To the left of the guard
is a niche with a wooden bench and to the left of it you see a gray wooden door. Directly opposite this gray door Wild Garlic growing on the bank of the open sewer. On the right you see the red main entrance of Shelton's castle tower. There
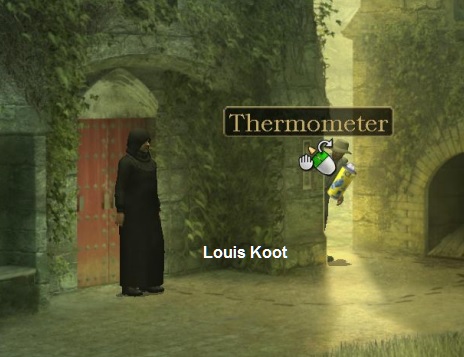
is a deep niche in the façade with a slanted hatch. A Thermometer hangs on the corner, at Max. You see footprints on the stone ground between the cell door and the hatch.
View everything you can see again. The hatch in the deep niche is the basement hatch. The Thermometer says it is 19 degrees Celsius. There is something scratched in
the bench, but Max can't read it from his position. The guard not only guards the cell but he also has a view on the main entrance, the basement door and the entire rest of the courtyard. Max cannot do anything here so double click again at Max Passage to
return to the grave. Now double click in the gate, behind the doghouse. Max ends up in the corridor behind the cell:
Corridor behind Cell:
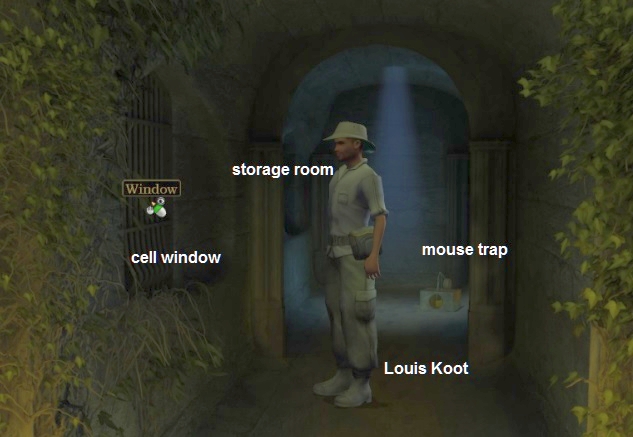
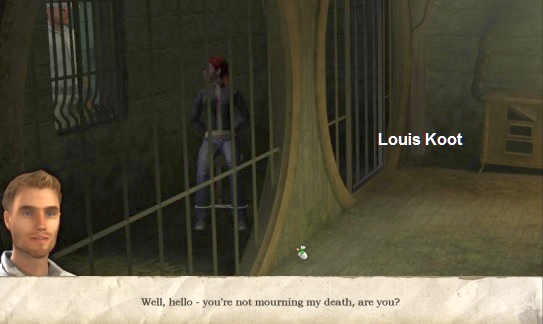
On the left you see the cell window. A Mousetrap is straight ahead in the hallway. Look into the cell through the lattice window. Max sees Nina tied up in the chair
in the cell and a conversation follows. Nina is of course happy that Max is alive and she hopes he has a plan to escape. Well ... Max doesn't have a real plan yet.
Nina is tied up so she can't do anything, so click in the inventory bar on the Max photo to switch back to Max and then close the close-up screen. Continue to the
Mousetrap. View the Mousetrap. The mousetrap is on "sharp". A piece of cheese sticks in the mousetrap. Take the trash picker from your inventory and click it on the mouse trap and ....
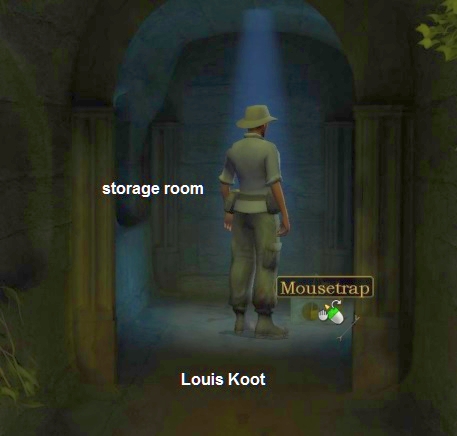
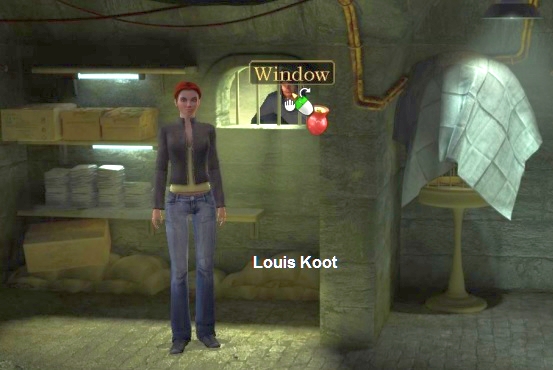
Max then takes the Cheese from the mousetrap. On the left in the wall you see an open window. Look through the open window. Max tells you that there is storage space
behind the window. Double click in the open window and Max climbs through the window to the:
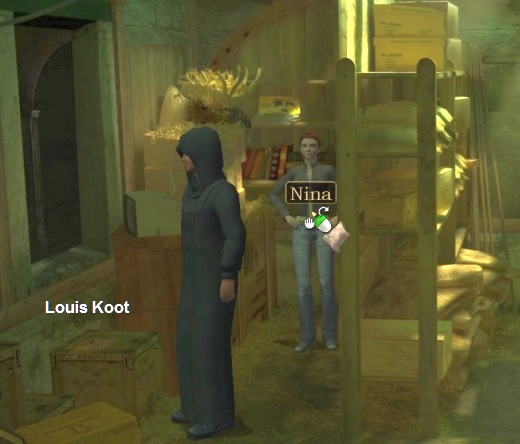
Storage area:
First view everything again and listen to what Max says about it.
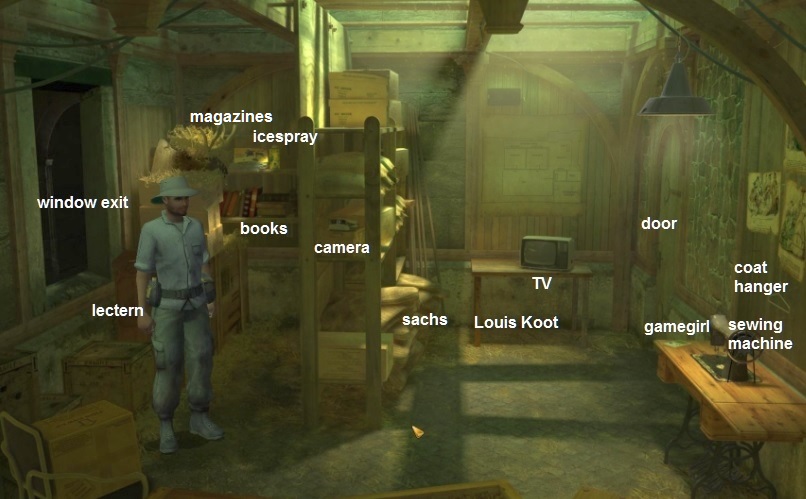
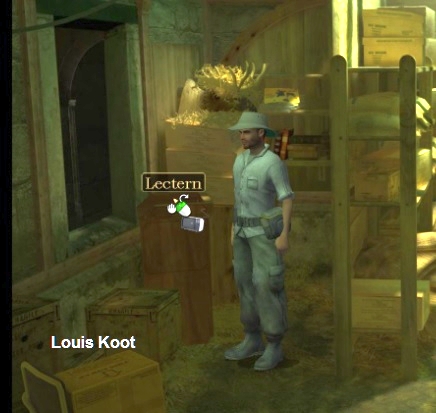
On the left is the window through which Max has crawled inside. In front of the window is an old, dark brown Lectern. Against the left rear wall is a bookshelf with
books and magazines. Next to the magazines is an ice spray canister. Against the dividing wall is a rack.
On one of the shelves in the rack is a polaroid photo camera and the bottom shelf has 2 empty jute sacks. On the right rear wall is an old TV on a table.
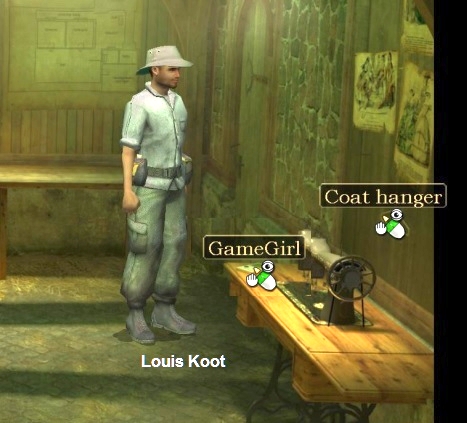
Against the right wall is a very old Sewing machine table with sewing machine. A Handheld Game Girl is located on the sewing machine table. A metal coat hanger hangs above the sewing machine. The green door on the right leads to
the large courtyard, so it is not convenient to open it now.
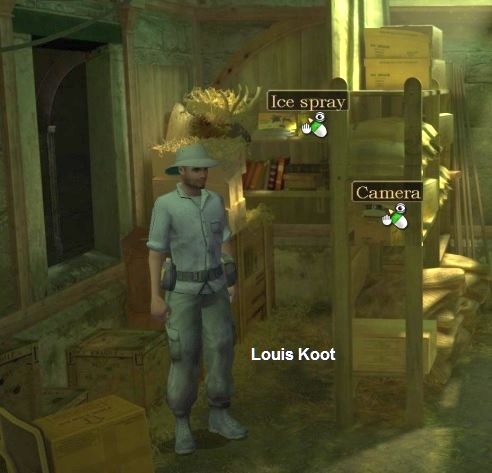
On the top shelf you will find Magazines and Books on the lower shelf. The magazines are the "11 Friends" series. Between the books are the books with the titles: "Snow White and the 7 Dwarfs," 666 the number of the Devil ", If you look at the magazines and the books Max tells you the titles of the magazines and the books. Right next to the football magazines is a can of Ice spray
Take the ice spray. Take the camera from the rack.
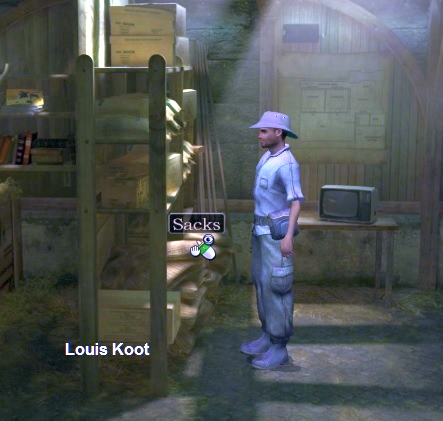
Take the 2 jute sachs from the rack cabinet.
Left click on the TV. Max asks if he will turn on the TV or get it right away.
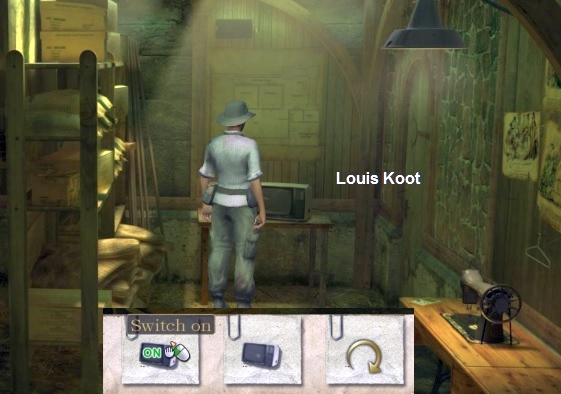
Max turns on the TV but there is no reception. Left click on the TV again and then choose to take the TV with you (Pick up).
Take the Gamegirl. The thing still works
but there is no game in it. Take the metal coat hanger.
In your inventory, combine the metal coat hanger with the TV to put the coat hanger on the TV as an antenna. Walk back to the window. Then take the
TV from your
inventory and place the TV on the Lectern near the window.
Then left-click on the TV again and then click on the "On-icon" again to switch on the TV. Then right-click on the TV and Max will see a live football match
on the TV. Climb back through the window into the corridor and then walk back to the garden and then, via the left passage, to the corner of the large courtyard.
Large Courtyard:
Max:
Max and Nina must now always work together. So you always have to switch between Max and Nina by clicking on their photo in the inventory bar. You start as: Max peeks
again around the corner over the large courtyard. There is a Thermometer on the corner and that Thermometer says it is 19 degrees Celsius. Take the ice spray from inventory and click it on the thermometer.
Max spray ice spray on the thermometer and this makes it 8 degrees colder in the thermometer. Do not close the close-up but switch to:
Nina:
Nina is tied to the chair in the cell. Left click on the red door. Nina calls the guard and he comes in.
Talk to the security guard and use all call options.
The guard does not, of course, want to release Nina and he does not care why Nina is imprisoned. The guard is only interested in the performance of his football club
that is currently playing. Guard also does not want to loosen the rope with which Nina is tied to the chair and he does not care that she is hungry. However, when Nina says she is cold, the guard goes outside to look at the thermometer. Because you, as Max,
have processed the thermometer with ice spray, the guard must admit that it is cold. To show that he is not quite a bad bastard after all, the guard takes the habitfrom the wall and put it on Nina.
Close the conversation and switch back to:
Max:
Go back to the garden and then back into the corridor. In the corridor, right-click again on the window of Nina's cell to look inside again. You see Nina in jail
again, so she has a hard time. Take the Waste Picker from your inventory and click with it on the Habit (Cowl) that hangs around Nina's shoulders. So don't click on Nina but click on the Cowl.

After a short conversation, Max then has the cowl. Stay Max but close the close-up. Take the Cowl from your inventory and click on Max to disguise Max as 1 of
Shelton's henchmen. Now Max can cross the courtyard without danger. Walk back down the corridor and Max will now end up at Nina's guard in the large courtyard.

Talk to the guard. The guard is a Russian and he appears not to be a member of Puritas Cordis. He just has a job here as a security guard. The call options appear.
First ask the guard about the grave of dog Fifi and then about the cell (Prison).
Fifi was the dog of Shelton but one of Shelton's experiments went wrong. Lightning struck Fifi's doghouse while the dog was sleeping in it. If you ask about the cell,
you then get extra options that you also use first. The guard then tells about his passion for football and about his favourite football club. Finally you have the Patrol topic. Use the Patrol subject and ..... The guard will then leave to walk his rounds and
he will stay away for a while.
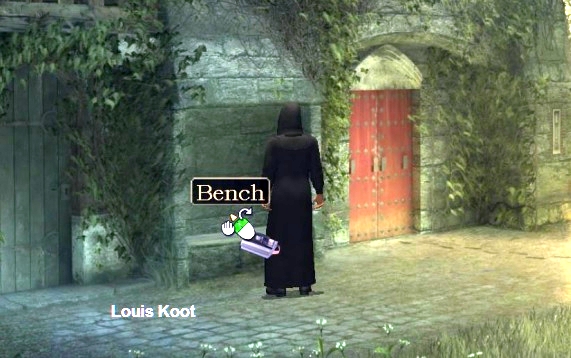
Once the guard has disappeared, right-click on the bench, in the niche, to read the inscription. They are strange symbols and Max does not understand anything. Take
the polaroid camera from inventory and click it on the Bench to take a picture of the inscription.
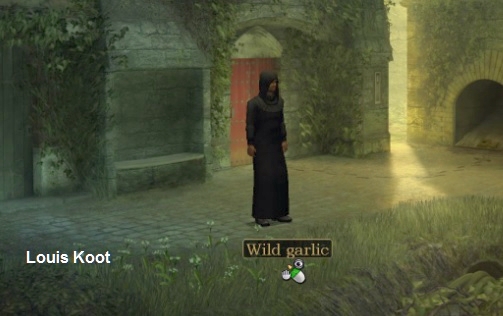
Also grab some wild garlic bushes.
Double click on the red cell door and Max goes inside:
Cell:
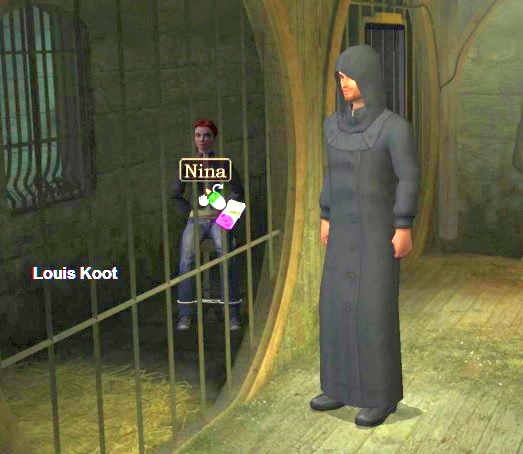
Max is now with Nina, who is still tied to the chair in the cell. Max hopes the guard has found the TV and is now watching the football match of his club. Show Nina
the photo that you have just taken, so click the photo on Nina. Unfortunately it is too dark in the cell, so Nina cannot view the photo. Combine the photo with the gamegirl in your inventory to put the photo in the gamegirl. Then give the gamegirl
to Nina and
now Nina can view the photo.
Nina says the symbols are Russian words for "Snow White, Soccer and Devil". Do you remember the books and magazines in the storage room? Those were the
titles "Snow White and the 7 Dwarfs". "11 Friends" and "666 the number of the Devil". What if the numbers in these 3 titles are a numeric code? To the left of the red door is a gray numeric code box (Number pad). Right click on
the numeric code box.
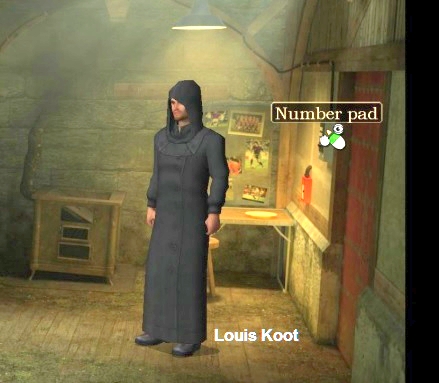
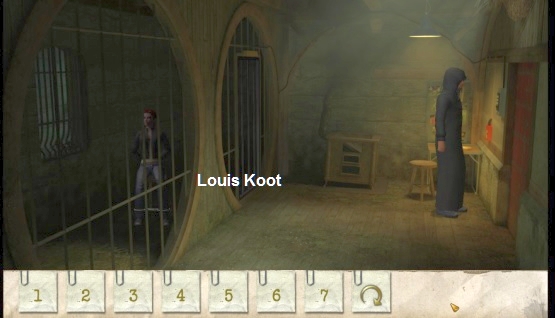
Max says that if he presses the correct code on this box, Nina's cell door will open. Left click on the code box At the bottom of your screen the numbers 1 to 7 now
appear. You must now enter the correct code by clicking on the correct numbers in the correct order. You should "read" the numbers in the book titles and magazine titles as: 7, 1, 1, 6, 6, 6. So click in this order on the numbers, so: 7, 1, 1, 6, 6,
6 and .... Nina's cell door opens.
Max naturally walks to Nina and frees her from the chair. Then Max and Nina leave the prison and go through the gray door to the:
Storage area:
Max:
The TV is off and the guard is gone. Max has said that Nina cannot walk around in a Habit. If she were approached then her voice would betray her. But Nina also can't
just stay open and exposed in the storage space. Take a Jute Bag from your inventory and click it on Nina and ..... after some persuasion from Max, Nina crawls into the bag.
Nina is now stored in the burlap bag (Nina in a sack). Max has "Nina in the Sack" in his inventory.
Go through the door, left of the sewing machine, back outside, to the large courtyard:
Large Courtyard:
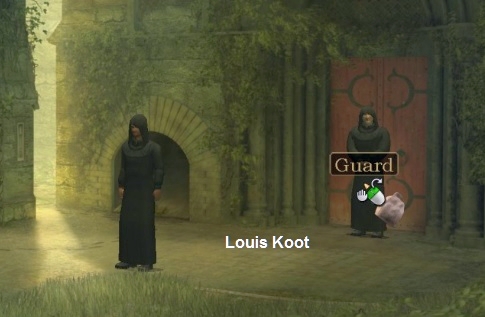
There are now 2 guards in the courtyard. The Russian guard sits dejected in front of the red cell door and the other guard stands in front of the entrance to
Shelton's tower. Talk to the guard who is guarding the tower. Use all call options.
This guard is a supporter of Puritas Cordis and he wants to do a good word for Max if he wants to become a member. The man seems to know nothing about Shelton's plans
for the UN meeting in New York. The closed hatch, to the left of the guard, is a coal hatch and the guard only opens it for a new delivery of coal. It seems to Max that this is a good way to get into the tower. If Max suggests that the prisoner would have
escaped, he says that the responsible guard should then press the alarm button. He will not get rid of his post earlier.
After this conversation you will talk again with the Russian, who is depressed in front of the prison door.
The Russian knows that Nina has escaped, but he has not told anyone yet. Something like this happened to him before in Russia, with a prisoner who looked very much
like Nina. This is a reference to Secret Files Tunguska, the game you are now playing the sequel to. The Russian can no longer watch TV because the batteries are empty, but maybe some cheese soup can cheer him up. Max is not allowed to go to the jail, but he
promises to look for the escaped prisoner.
When you have used all options, close the conversation and return to the Garden:
Garden:
Next to Fifi's grave is the half-decayed doghouse. Take the shovel from inventory and hit the doghouse to smash it completely. When Max has finished demolishing the
doghouse, take the Jute Bag from inventory. Click with the Jute Bag on the pile of remnants (Debris) of the doghouse to put the remains in the bag.
In your inventory, combine the Bag with the debris (Coal sack) with the Nina Bag (Nina in a sack) and .... Max walks to the storage room to put the charcoal remains
of the doghouse over Nina in the bag. In inventory you then have a "Nina in a coal sack". Go through the door back to the large courtyard and click on the guard of the tower with the "Nina in a coal sack".
Max asks if the guard can open the coal hatch. Max is going to pick up Nina in the bag, but the guard first wants to check if there really is any coal in the bag.
Fortunately, Max has put the charred remains of the doghouse over Nina in the bag. Max inserts the bag through the opened hatch into the coal cellar, which Nina does not like. We are then in the:
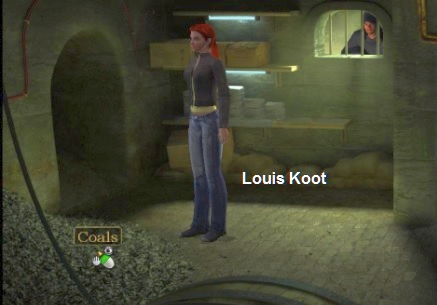
Coal cellar:
Nina:
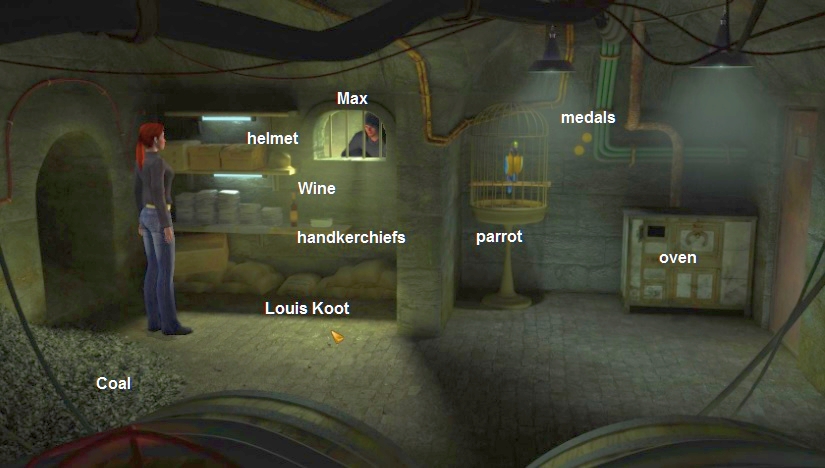
Max is standing outside in the garden and is looking through the window. There are 2 shelves under the window. On the top shelf is a Helmet. On the bottom shelf is a
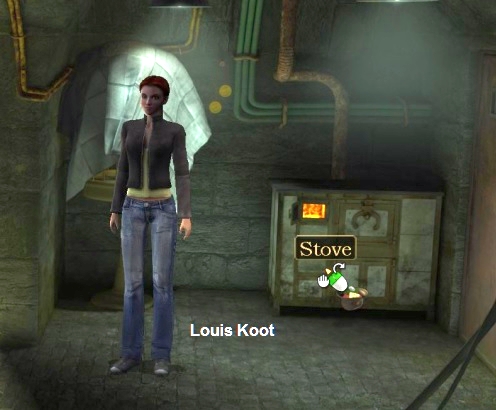
Wine bottle and a stack of Handkerchiefs. In the corner, behind Nina, lies a pile of coal. On the right is a Bird cage in which a brightly coloured parrot resides. Right next to the birdcage is an Stove. Above the oven you see
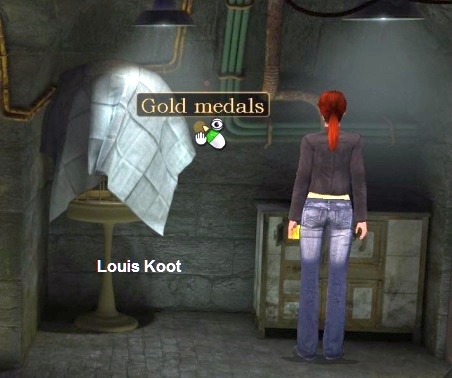
green pipes and next to those green pipes hangs a chain with 2 Gold Medals. On the right is the red exit door.
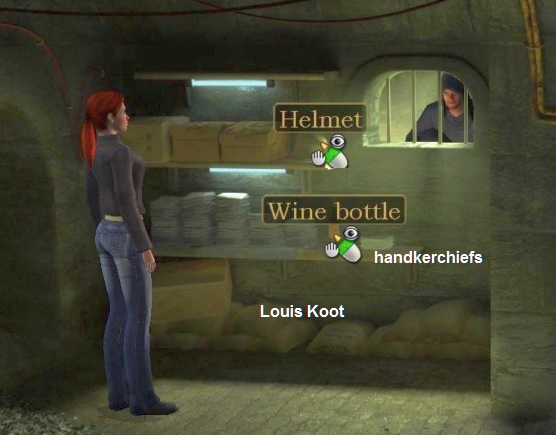
First view everything again. The Helmet is an old soldier's helmet. The Wine Bottle contains French wine.
The initials are L.N. Get the helmet. Get the Wine bottle and get the handkerchiefs.
Grab a handful of coal from the coal pile.
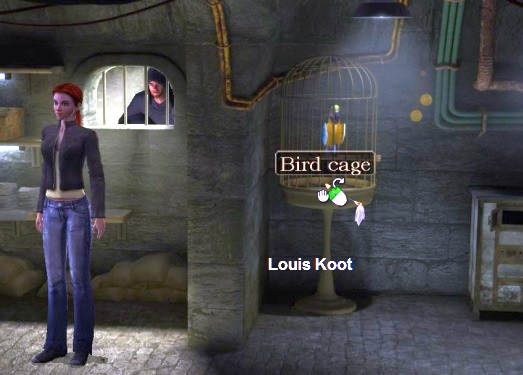
Left click on the 2 Gold Medals and ....
When Nina tries to grab the gold medals, the parrot starts to scream. Nina hides quickly behind the wall because the screeching of that rotten bird has alarmed the
guard, who comes to peek inside. The guard has not seen Nina and disappears again.
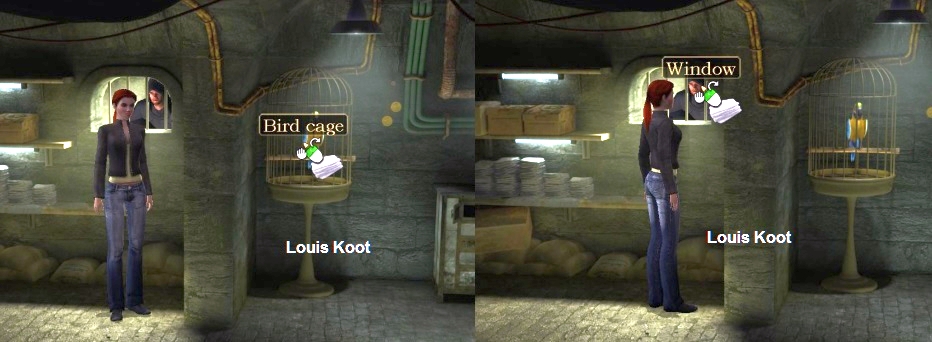
As long as the bird in his cage is watching you, you can't do anything. Take the handkerchiefs from inventory and click on the bird cage to cover the bird cage. But
Nina reports that the handkerchiefs are too small. Give the Handkerchiefs to Max through the lattice window and then switch to Max:
Max:
You have given the handkerchiefs to Max and Max must now turn the handkerchiefs into a cloth.
Go to the storage room, through the window in the hallway. In the storage room, click on the sewing machine with the handkerchiefs and ...

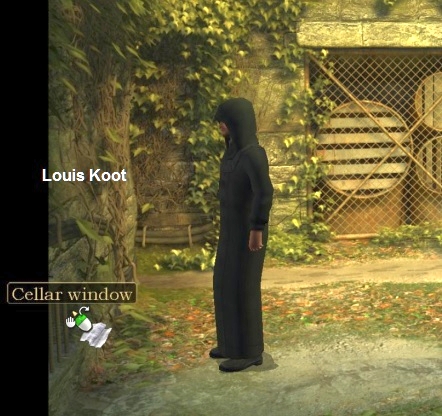
Max sews the handkerchiefs together into a large piece (Sheet). Go back, through the window and the corridor, to the garden and then click with the Sheet
on the
basement window to give the cloth to Nina. Give Nina through the cellar window, the Trash Picker, the Cheese, the Garlic and the red plastic Vase.
Then switch back to:
Nina:
In your inventory, combine the Trash Picker with the Sheet to attach the sheetto the picker. Then click on the birdcage again with the
trash picker / cloth
combo and ... Now Nina covers the birdcage with the cloth. The bird no longer see what Nina is doing.
The oven / stove is still doing fine, but must be filled with fuel. Click with the Coals on the oven and Nina puts the coals in the oven and ......... a fire burns
immediately in the oven. Combine the Cheese, Garlic and Bottle Wine with the Helmet in your inventory. Then take the helmet from your inventory and click it on the oven and .... a few minutes later you have a
helmet with cheese soup.
In inventory, combine the cheese soup helmet with the red vase to pour some cheese soup into the vase. Take the gold medals.
Then give the red vase to Max and also give him the Gold Medals.
Switch to:
Max:
Go through the left passage back to the courtyard and give the red vase of cheese soup to the Russian, so to the guard who is sitting in front of the prison door.
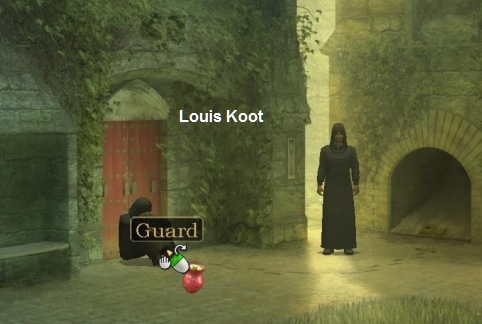
Max and the Russian go to prison where the Russian at the table is eating his cheese soup. In the cell there is a lot of Straw on the floor. On the wall, on the left
next to the red door, is the orange Alarm button. Click with the gold Medals on the Straw in the cell and ....
Max hides the medals in the straw. Talk to the soup-eating Russian and then use the Straw topic.

Max tells the Russian that he sees something sparkle in the straw and, after some hesitation, the Russian gets up to go and see for himself. The Russian finds the
gold medals. While the Russian is busy collecting the gold medals, quickly click the Alarm button to turn the alarm on and ....
The other guard comes to the jail, discovers the Russian in jail and wants clarification that Nina has disappeared. While the two guards argue, Max enters the command
centre, where he also meets Nina on the ground floor.
Max and Nina agree that Max is watching the guards and that Nina is going upstairs to Shelton.
Max quickly gives Nina everything he has in inventory.
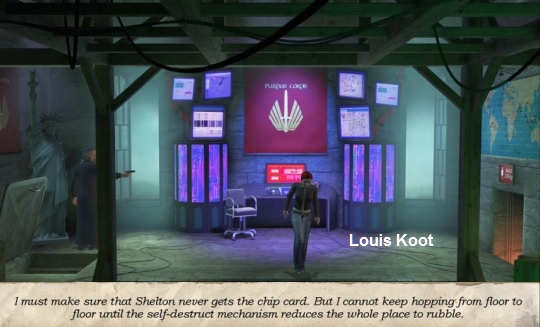
Control centre:
You are Nina again and you will stay that way until the end of the game. You can no longer switch to Max.
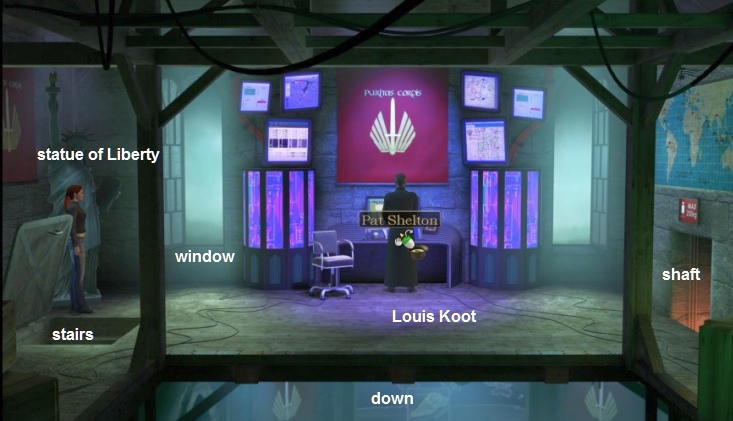
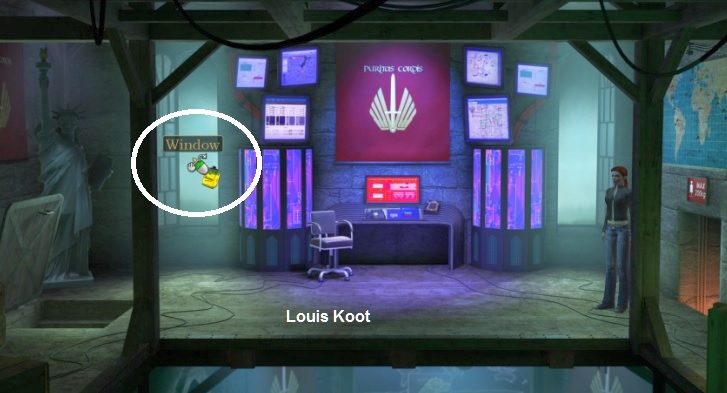
Nina has landed upstairs in the control room. Pat Shelton is at the Control panel. Nina is on the left, near the stairway. In the corner, next to
Nina, is a replica of the Statue of Liberty. There is a window to the left and right of the large control centre and both windows are open. At the bottom of your screen is a large hole where Nina could go down . At the far right is a world map and below
the world map is a lift shaft.
Shelton has to leave here. Take the helmet with Soup from inventory and click with the helmet on with Shelton and .....
Shelton gets the helmet against him and wobbles backwards and .... falls down through the hole at the bottom of your screen.
Control panel puzzle:
Nina then automatically zooms in on the control panel and you are then in the close-up of the panel.
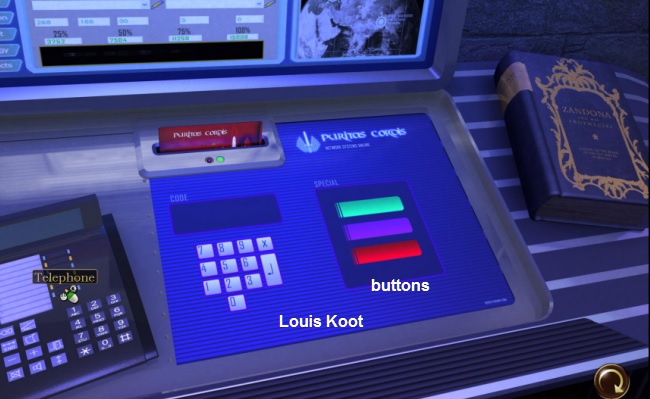
A red chip card is inserted in the blue panel in the slot. The blue screen also has number keys and 3 buttons. The buttons are, from top to bottom, light green,
purple and red. On the left is a telephone and on the right is the Zandona book. Above the blue panel is a monitor. On that monitor you see numbers below percentages. Under 25% it says 3752, under 50% it says 7504, under 75% it says 11258 and under 100% it
says 15008.
View the telephone, chip card, number keys, 3 buttons and the Zandona book. The telephone is not connected and Nina does not want to read or take the Zandona book. We
are now going to use the self-destruction mechanism:
Step 1:
Left click on the top, light green, button. You will hear a warning because with this light green button you can change the frequency between the bomb and the control
centre. The number buttons appear large in your screen. Enter a random number of at least 4 digits. Take for example 1 of the numbers that you saw on the monitor under the percentages. Let's take the number 3752, so click on the numbers 3, 7, 5, 2 and then the
Enter key (that is the arrow key).

The number buttons disappear and you hear that you have changed the radio frequency.
Step 2:
Click on the middle, the purple, button. The warning voice tells you that you can change the alarm of the main gate with this button. The numeric keys appear again.
If you click on 1, you activate the alarm. If you click on any other number, you switch off the alarm. So do not click on 1 but click on any other number and then on Enter again. You have now switched off the alarm.
Step 3:
Click on the lower, the red, button. With this button you activate the self-destruction mechanism, but you must first enter a password. This password consists of a
7-digit number and you do not know that, but you must now reason that.
Do NOT close the close-up. So on the left is the telephone and on the right is the Zandona book. That book is not there for nothing. The phone keys not only have
numbers but also letters. Look on the telephone keys to see what number belongs to the letters of the name ZANDONA and then you know the code that you have to enter.
|
Z |
A |
N |
D |
O |
N |
A |
|
9 |
1 |
5 |
2 |
5 |
5 |
1 |
So click on the numbers display on the numbers: 9, 1, 5, 2, 5, 5, 1 and then on Enter and ....

you have activated the self-destruction mechanism.
End game:
Shelton then appears and threatens Nina with his gun. Shelton wants the chip card back, but Nina has no intention of giving it.
Nina jumps down the hole to the lower floor and says she's not safe yet.
You can wait until Shelton appears or you click in the floor holes. Shelton appears and Nina jumps further down and is then one floor lower. The red door in the
middle is barricaded and if you click on it, Nina will not open the door either. After a few seconds, Shelton reappears and Nina now climbs up again via the elevator shaft and is therefore one floor higher. Until you "tell" Nina what she should do,
Nina will now continue to climb back and forth between floors via the floor holes and the shaft because Shelton keeps popping up and Nina then flees automatically. This continues indefinitely until you undertake something.
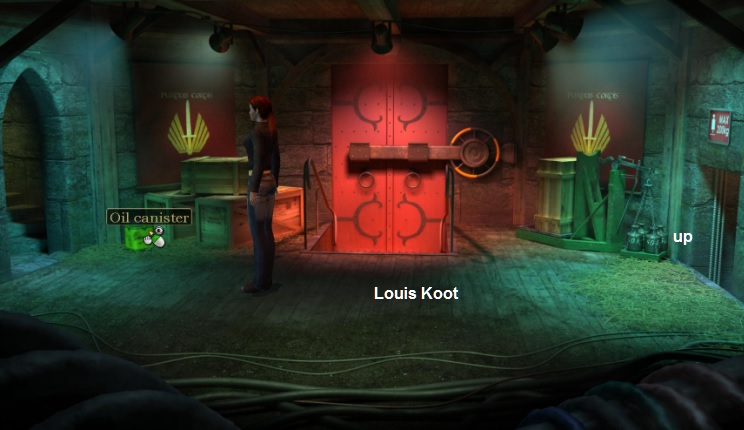
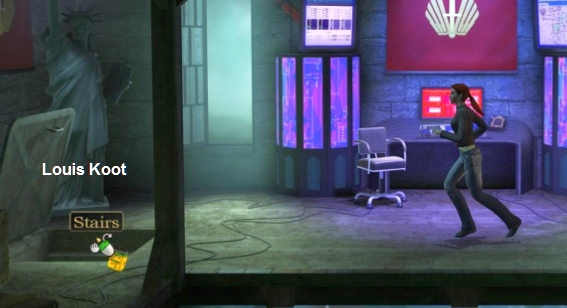
Wait until Nina has landed on the bottom floor again, or jump down through the holes. Nina is then back on the floor where the big red barricaded door is. To the left
of the red door are boxes and also a yellow oil can. Grab the Oil can and then climb back up the elevator shaft to the floor with the blue screen.
Click on the intermediate floor again in the elevator shaft to continue climbing up to the top floor, where the Control Panel is.
NB: If Shelton shows up, Nina jumps down again. Then climb up again via the elevator shaft and try again. This will always happen so you will always have to go up and
down to avoid Shelton.
Back on the top floor you can view the Oil can in your inventory. Nina can't open the oil can because the cap is too rusty. Left click in the left window and ....
Shelton sticks his head out above the stairway and Nina quickly jumps down and is on the floor again with the blue screen. Climb quickly, via the elevator shaft, back up to the Control Panel and .... Quick .... Take
the Oil can from inventory and quickly click it in the left window and ....
Shelton's guards shoot holes in the oil can.

NB: Shelton will probably pop up again and Nina will jump down through the floor again. If this happens, you will climb up the shaft to the control room
Quickly take the oil can out your inventory and click it in the stairwell and ... Nina pours the oil over the stairs
If you have poured the Oil into the stairwell then quickly left click on the Statue of Liberty and ...
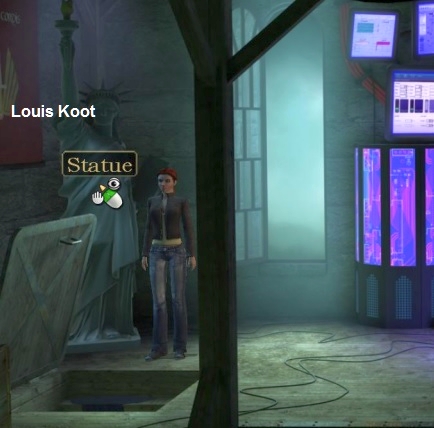
Nina pushes the statue of liberty around and this blocks the stairs.
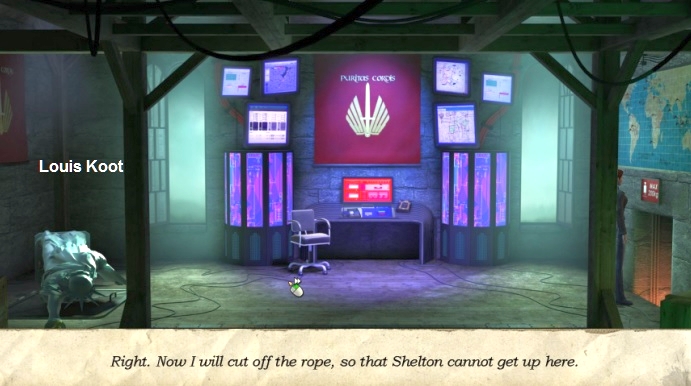
Nina runs to the elevator shaft and cuts the ropes so that Shelton cannot climb up via the elevator shaft either.
Unfortunately, Nina herself is now locked up and the bomb will explode in 60 seconds. Nina says goodbye to her life and then ..... well .... view the long ....
End movie:
Nina hears Max calling from a helicopter. Nina climbs quickly outside and then stands on a ledge and ..... she jumps to the helicopter.
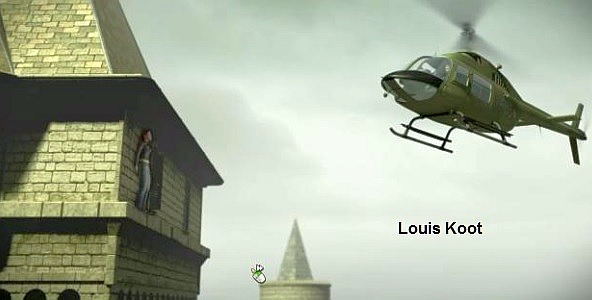
Just in time the helicopter with Nina flies away at the gliders and .... Then we see Nina and Max, 2 weeks later, on a nice vacation on a tropical island.

Nina and Max will then show you what has happened to the various characters from the game and they do this on the basis of photos.

After this a few screens appear in which everyone is thanked. You can click these screens away.
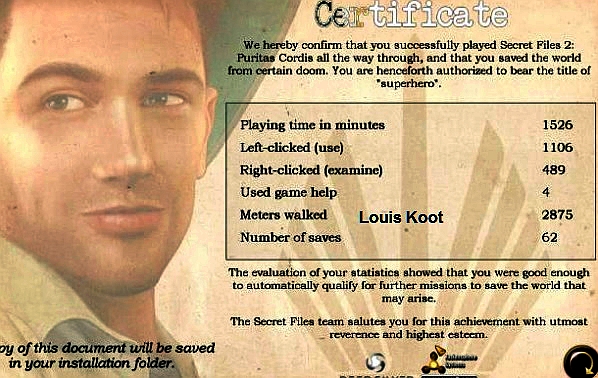
Then the game is so silly to reward you with a silly Certificate because you have finished the game.
2006: Original Dutch walkthrough by: Louis Koot
2019: English translation by: Dick Leeuw