
2019: Walkthrough by: Dick Leeuw
If you have found this walkthrough via google search or via another site then you have probably not visited my site.
A
lot more very detailed
game walkthroughs can be found on my site at: www.pcgameswalkthroughs.nl
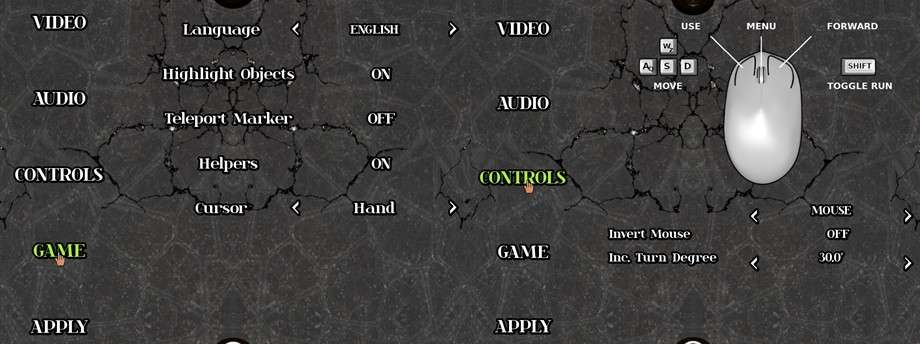
Start the game and click on a button, then
click on options and see what options there are.
You can choose the shape of the cursor. I have
"Highlight Objects and Helpers" on.
Click Apply and start a new game.
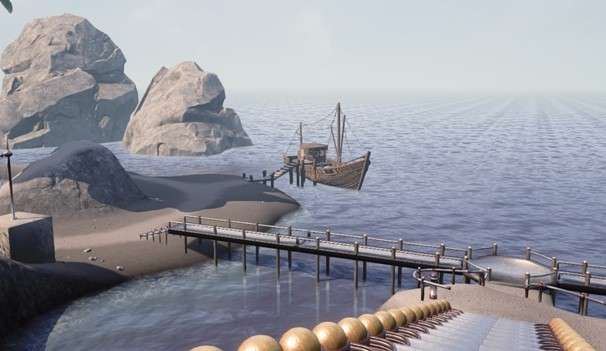
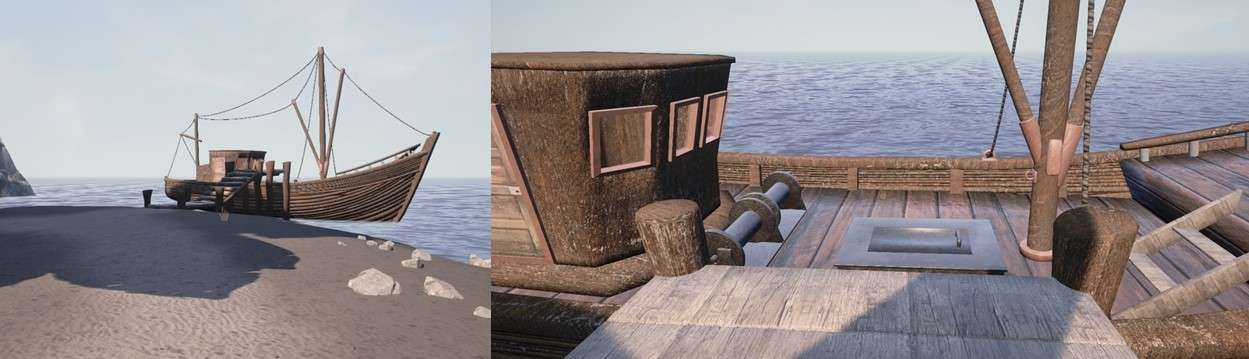
You see an intro film, you are on a boat and
you are wrecked.
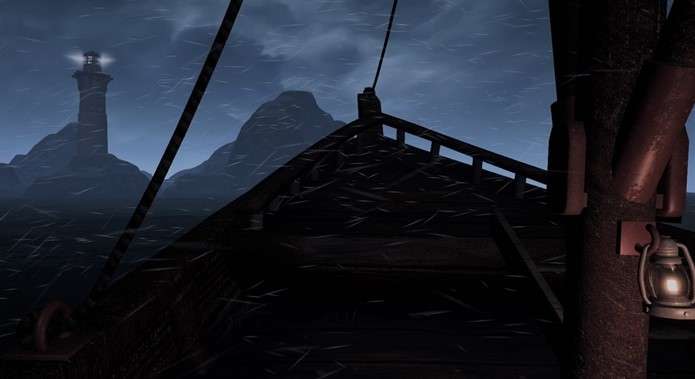
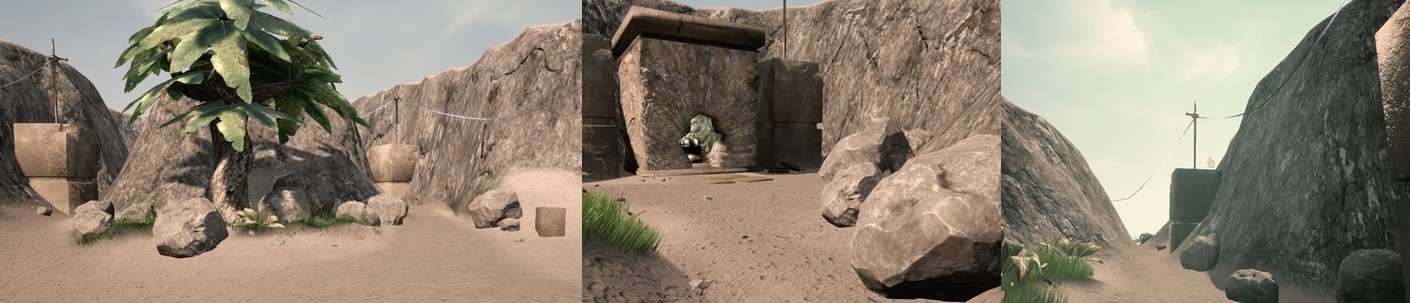
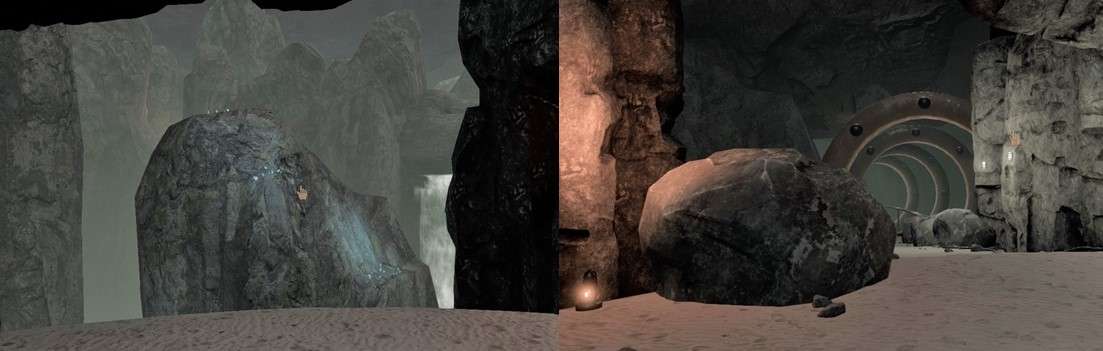
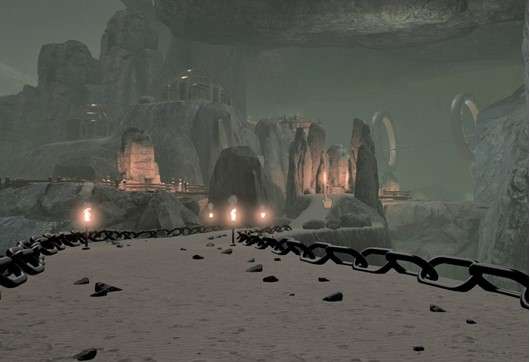
A black screen and then you are on a beach, you
look out over the sea.
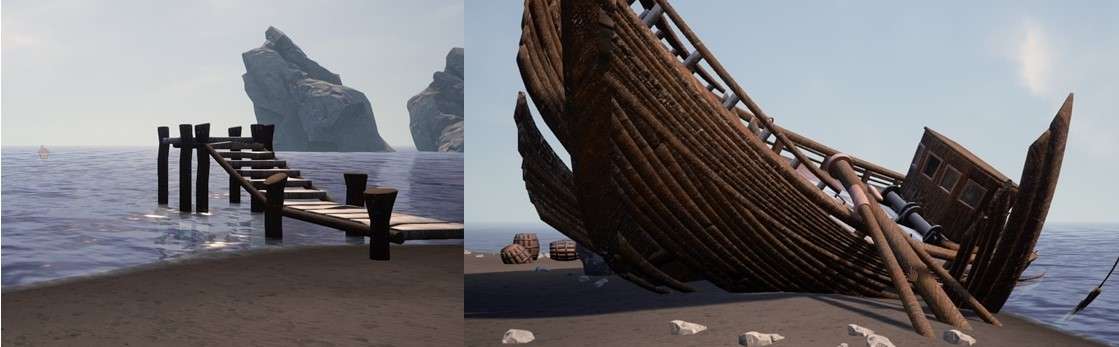
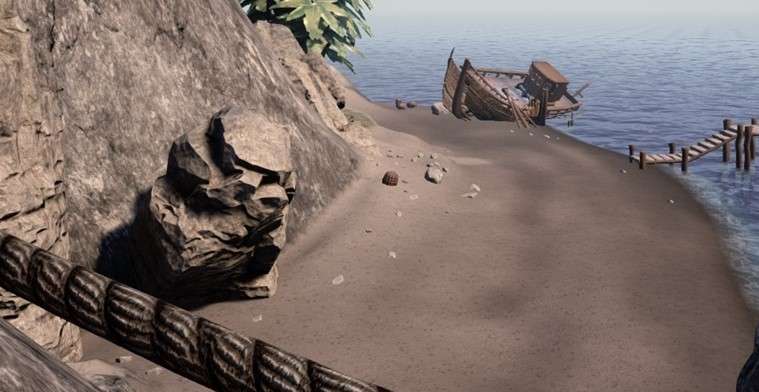
Turn to the left and you will see the wreck of
the boat lying on the beach.
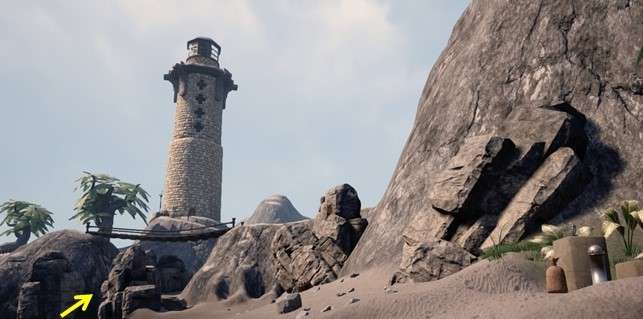
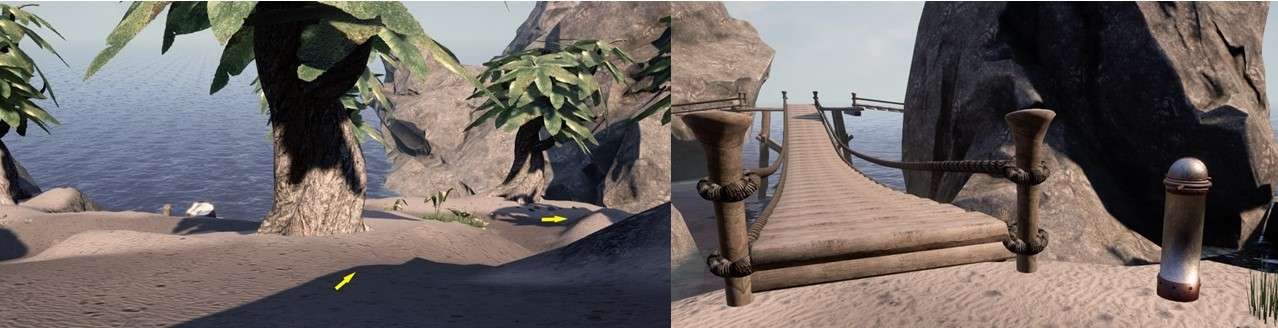
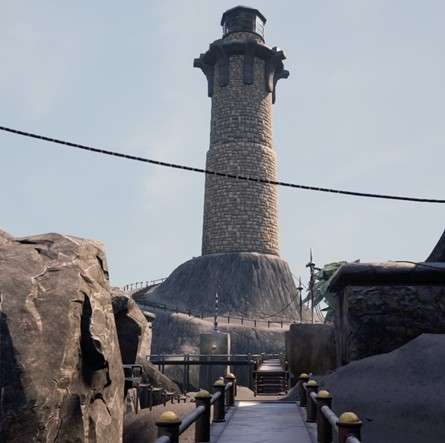
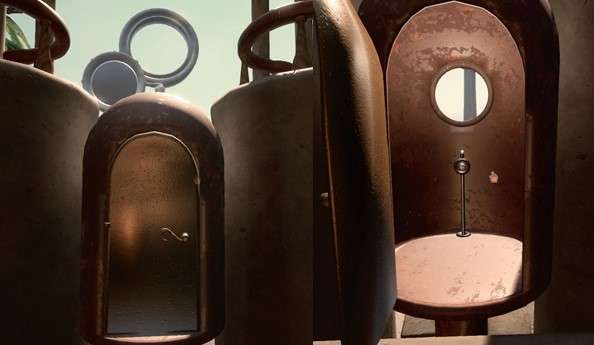
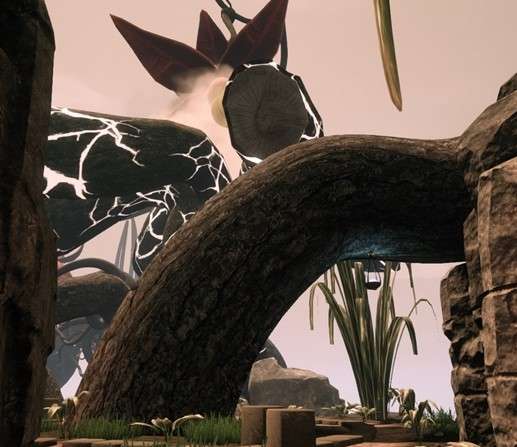
If you turn to the right you see a lighthouse, you
also see a suspension bridge.
You can see a path under the suspension bridge.
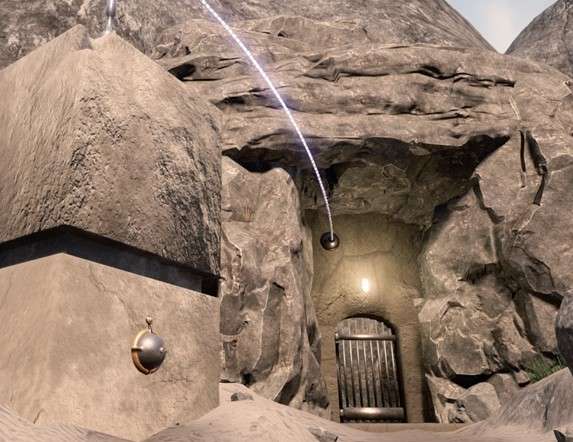
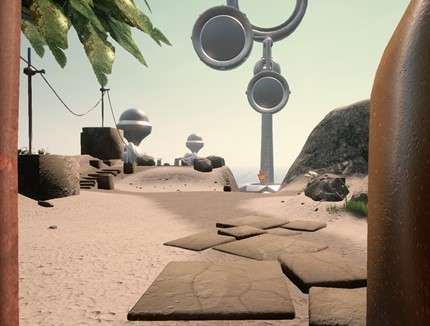
Turn further to the right and you will see a
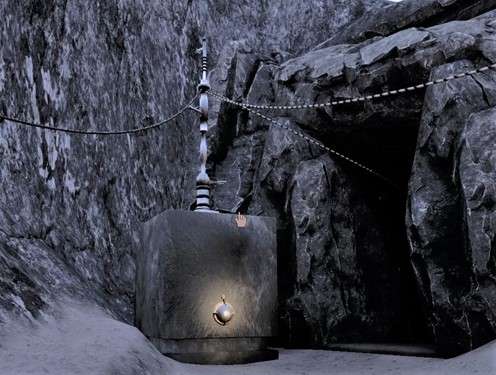
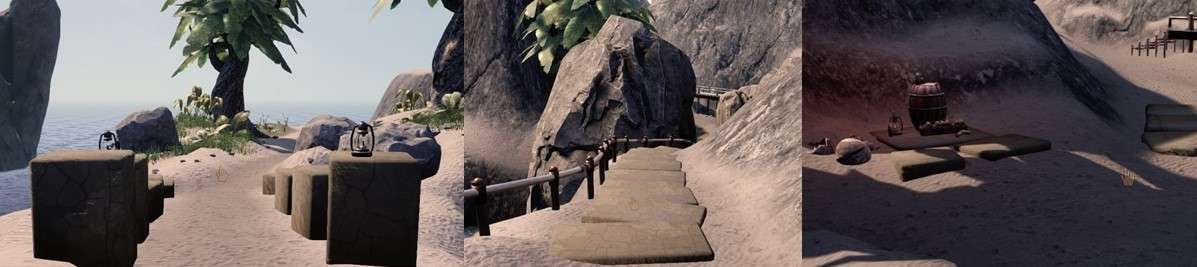
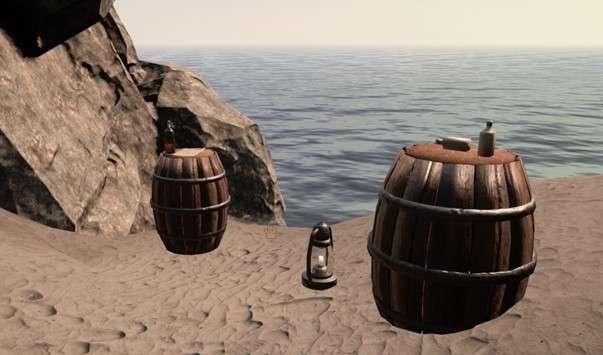
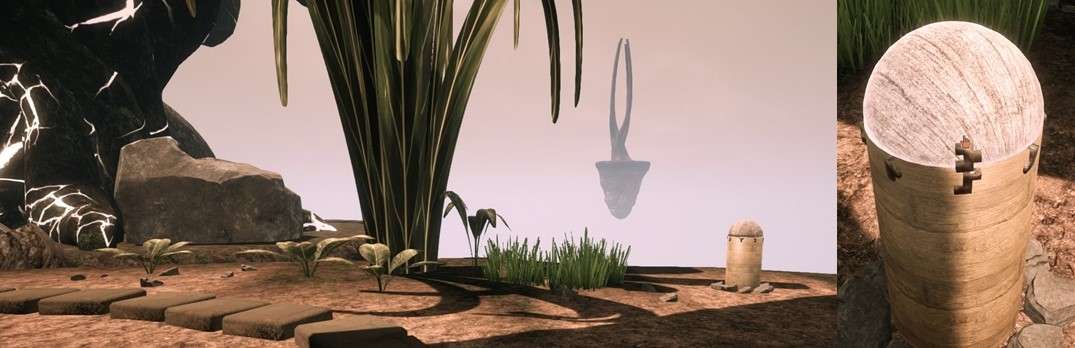
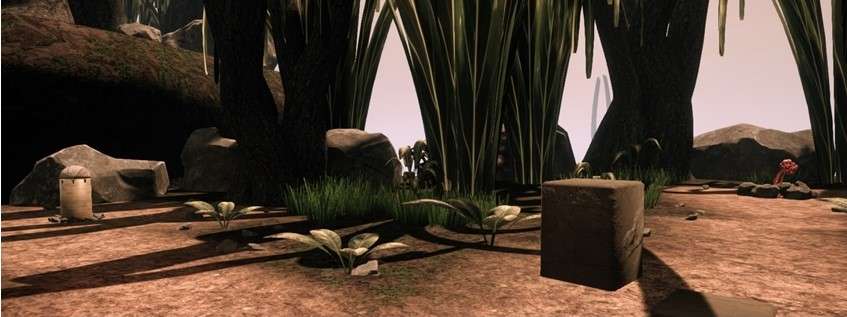
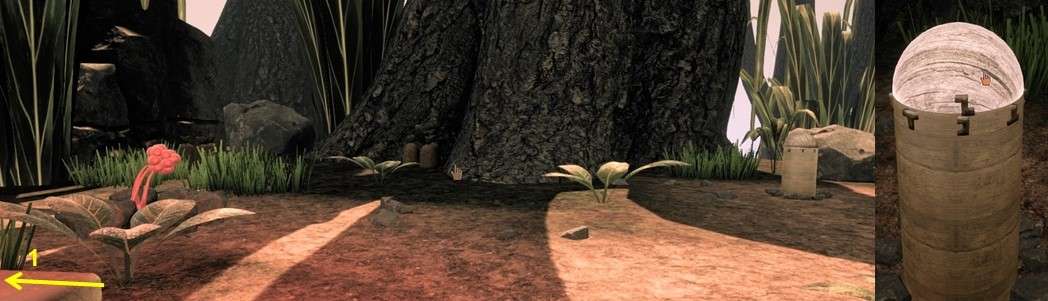
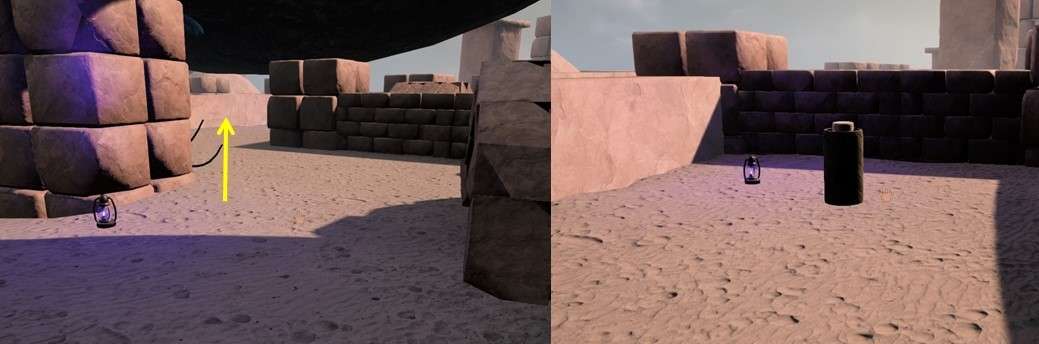
number of things standing by the rock.
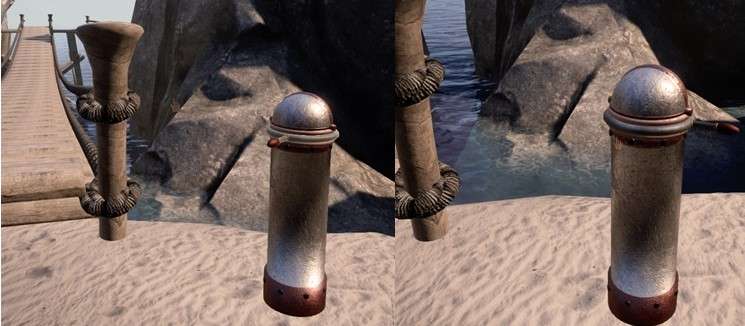
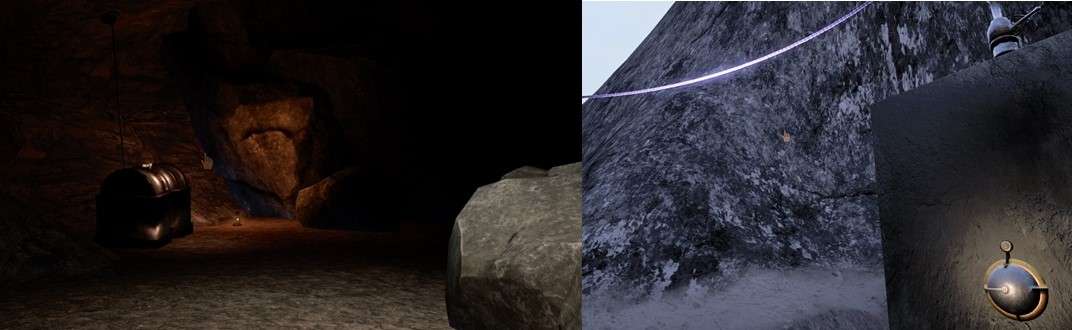
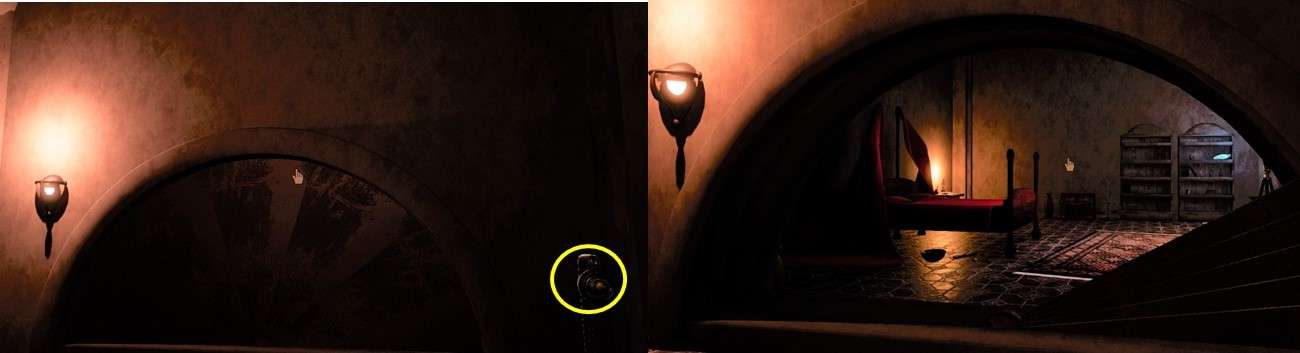
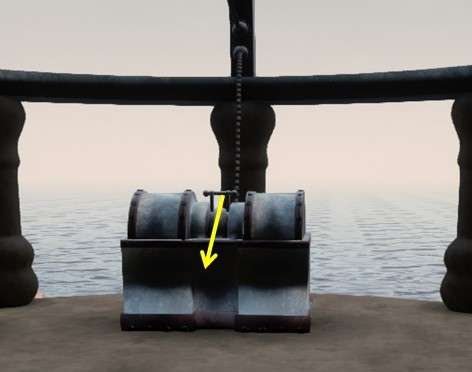
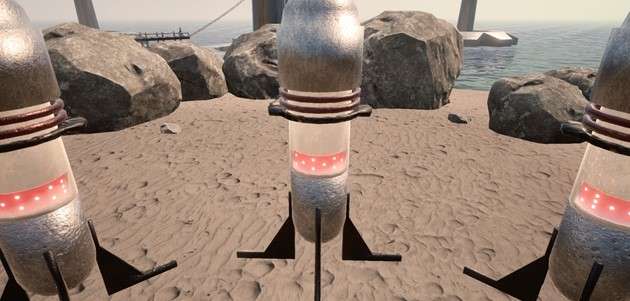
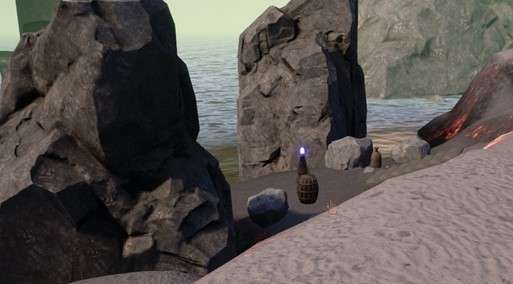
There is an oil lamp on a square block, there
is a bag in front of it.
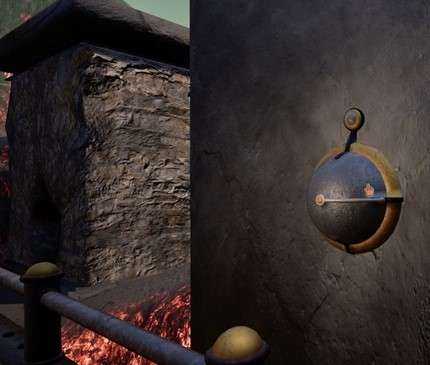
Next to the block is a base with a lever, which
you can turn to the right.
Leave the handle, because you do not yet know
how to position it.
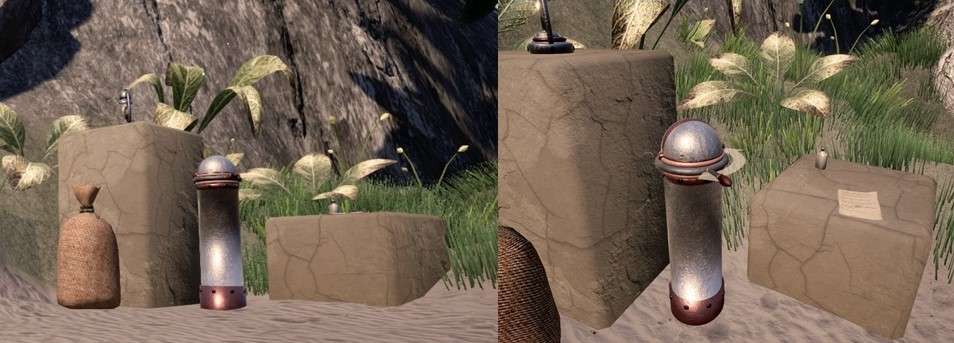
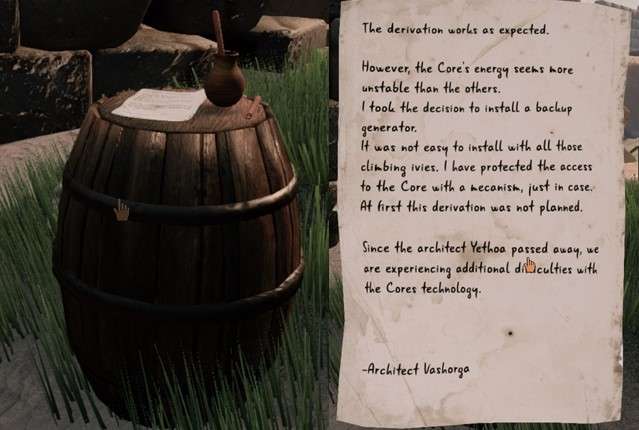
Next on a smaller block is a letter, click on
the letter and read the letter.
Click next to the letter to put it back.
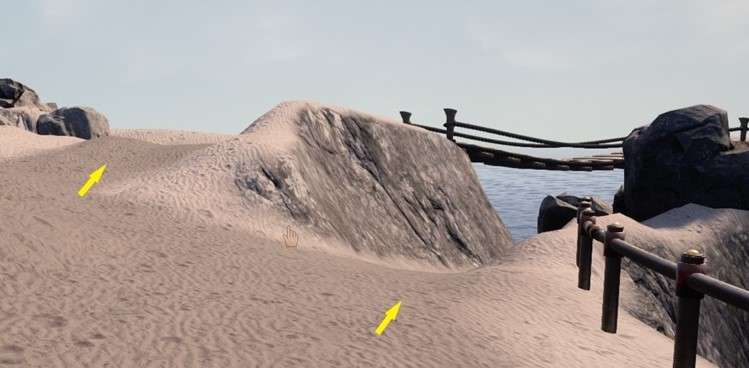
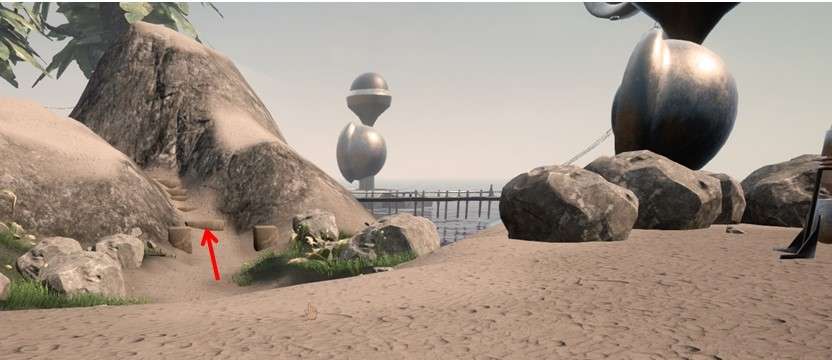
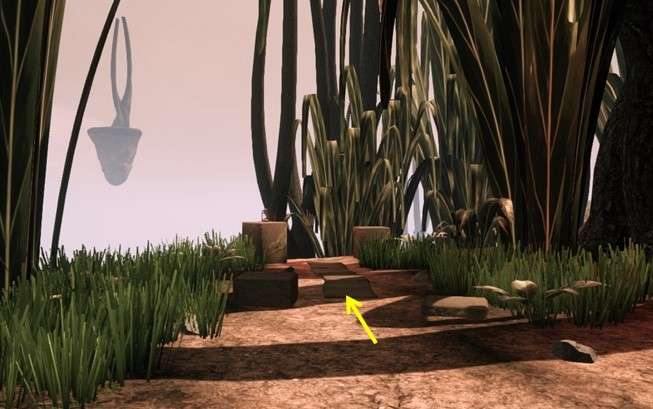
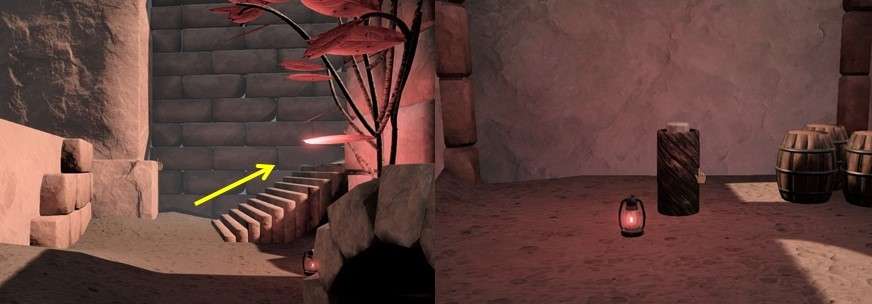
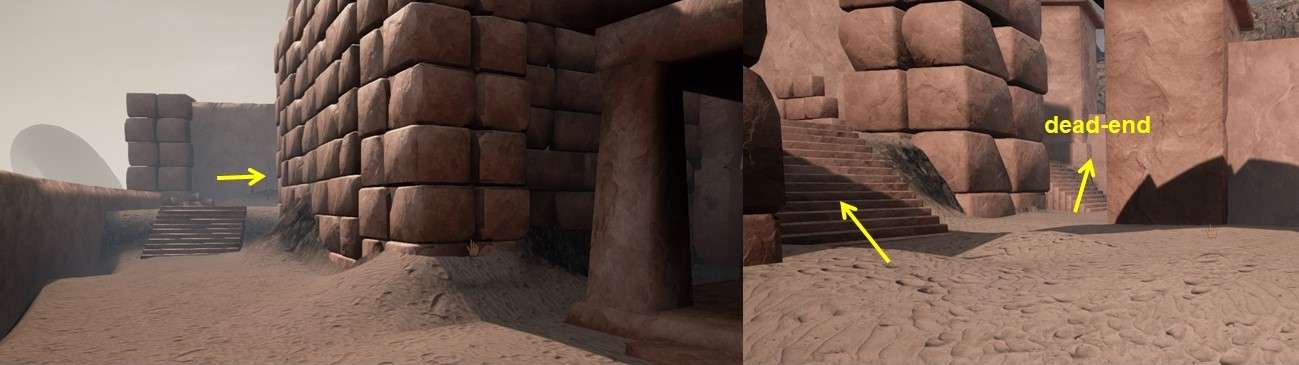
Turn further to the right and walk over the
beach around the tree.
There you see a path, follow it upwards, there
the pathsplits.
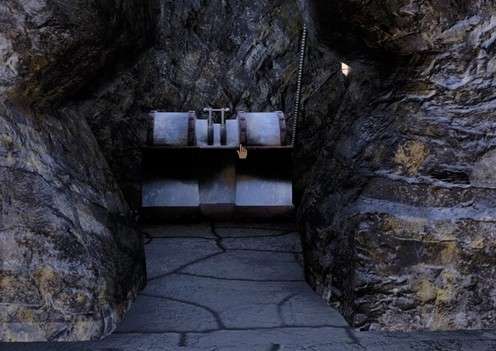
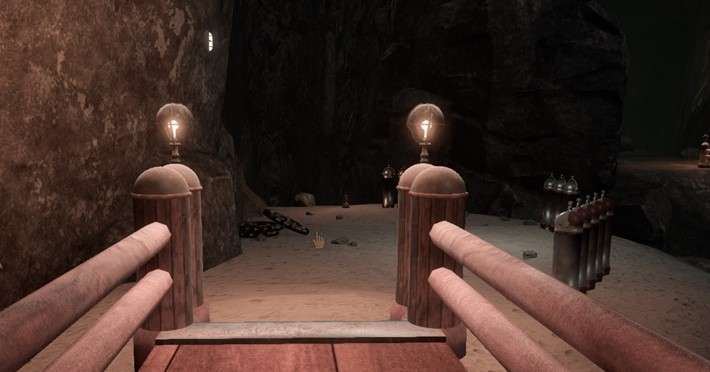
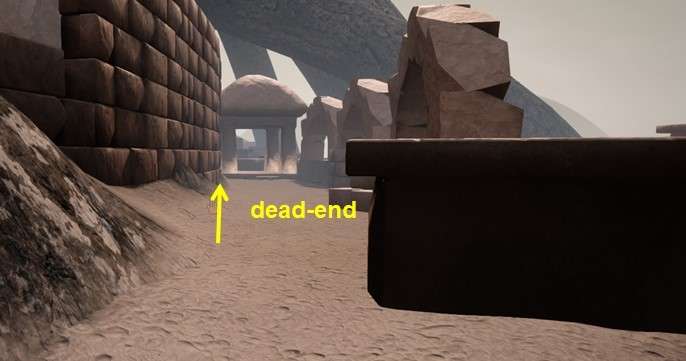
Left goes through a staircase to a cave with a
gate in front, of course closed.
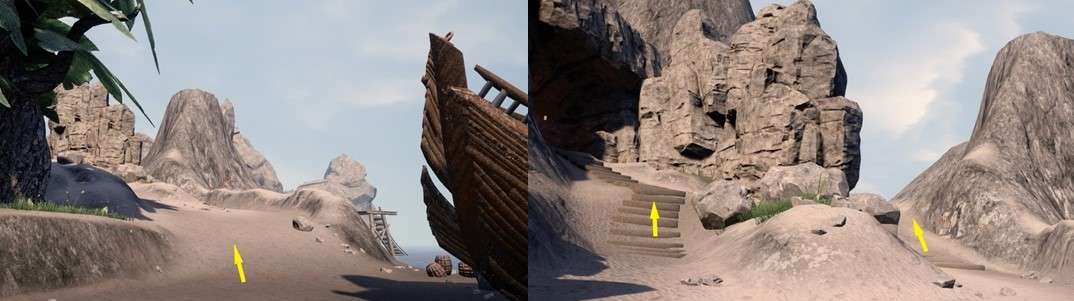
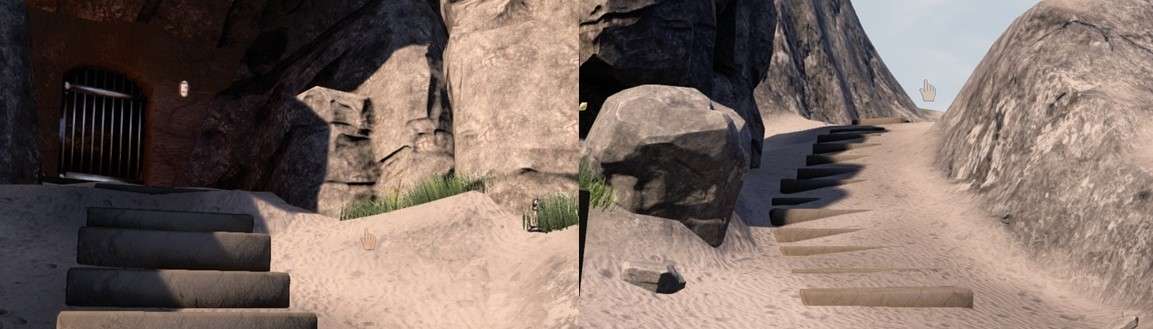
Go back and now follow the other path up, also
a staircase here.
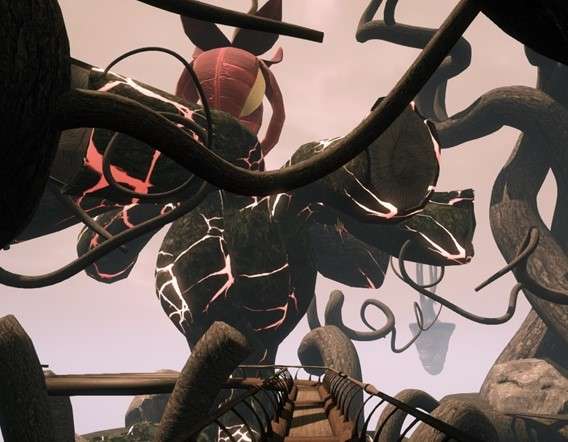
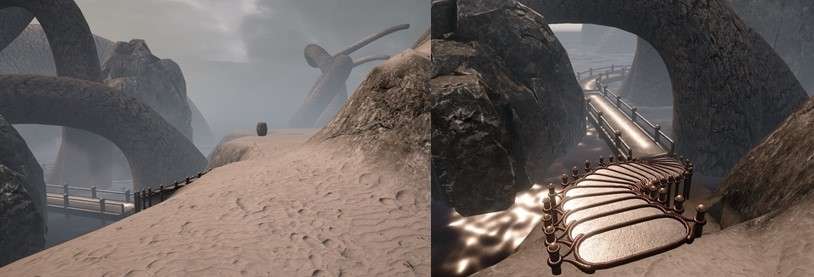
Look over the edge and you will see a few trees
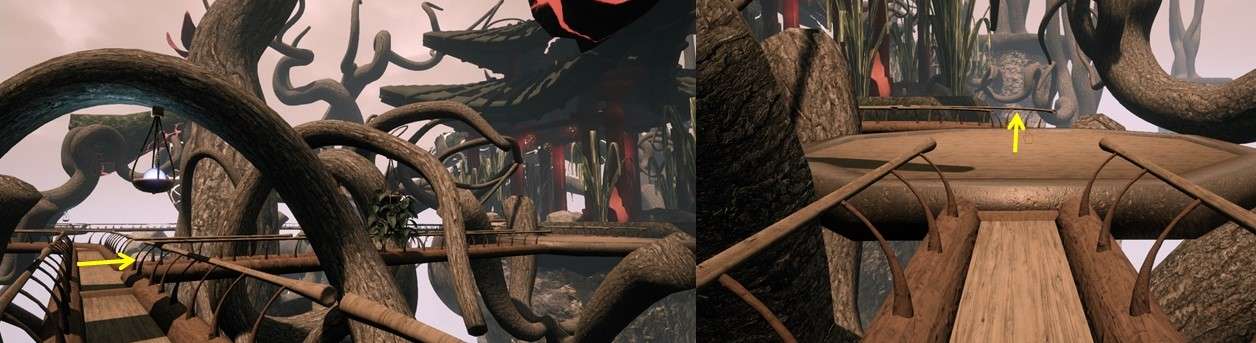
and also a few suspension bridges with a platform in between.
Turn to the left and follow the path further,
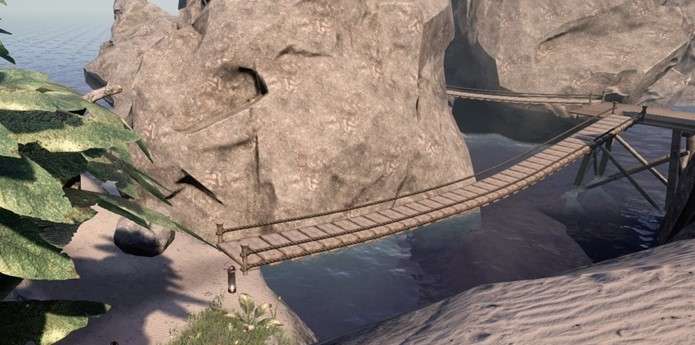
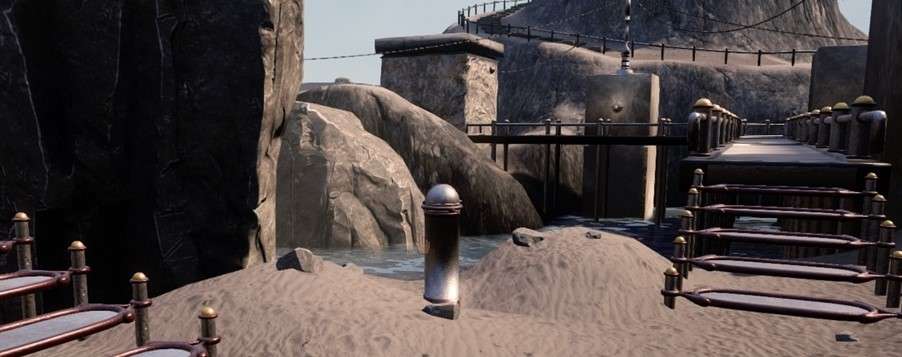
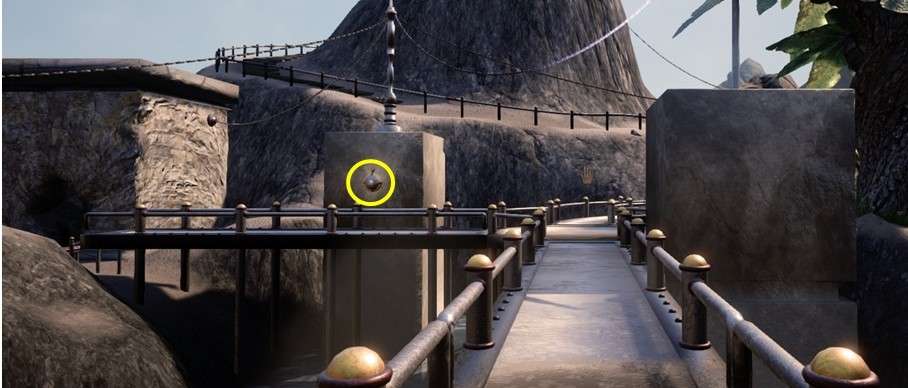
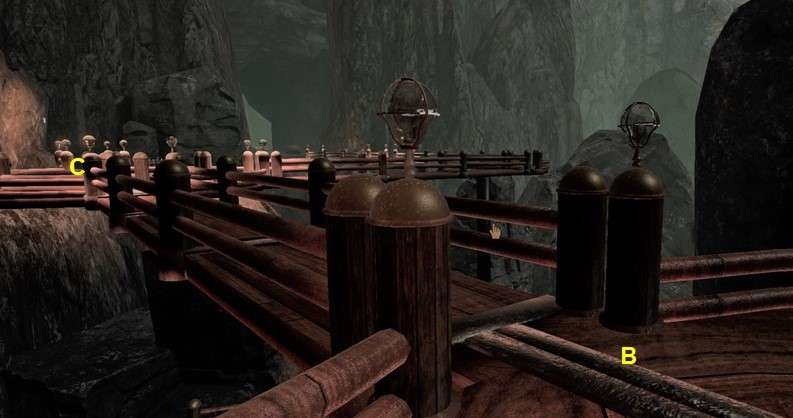
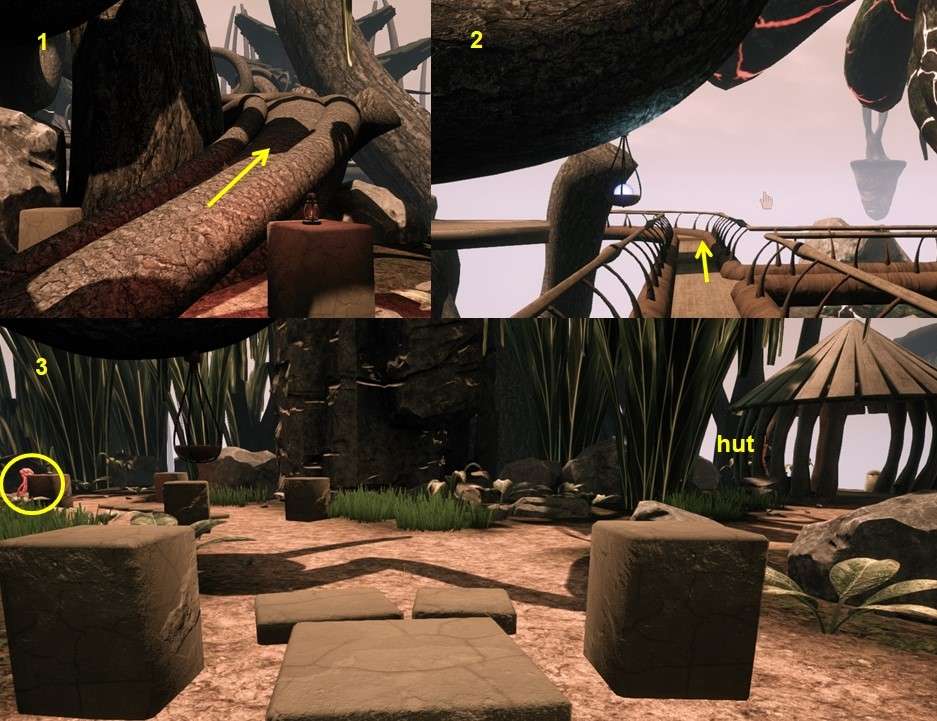
at the trees you turn to the right and follow the path down.
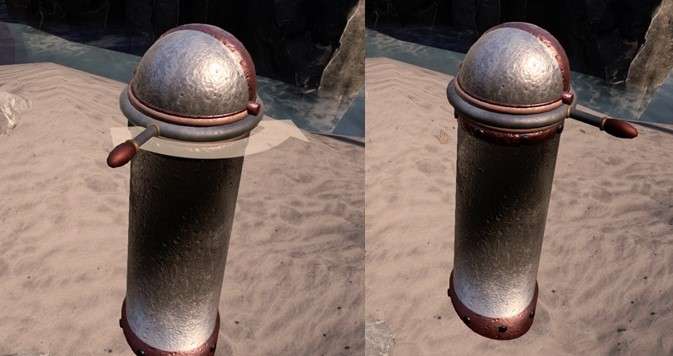
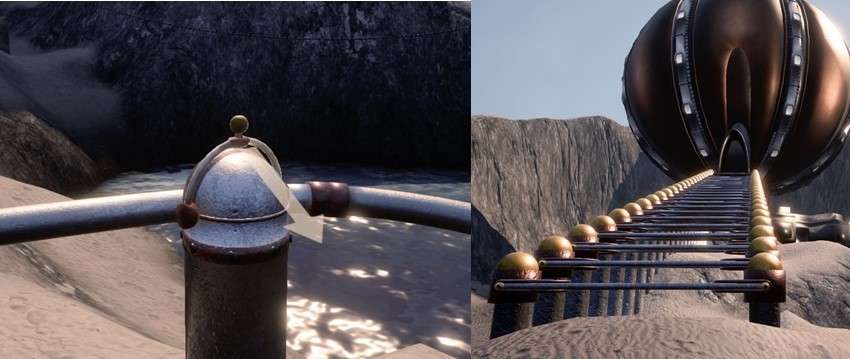
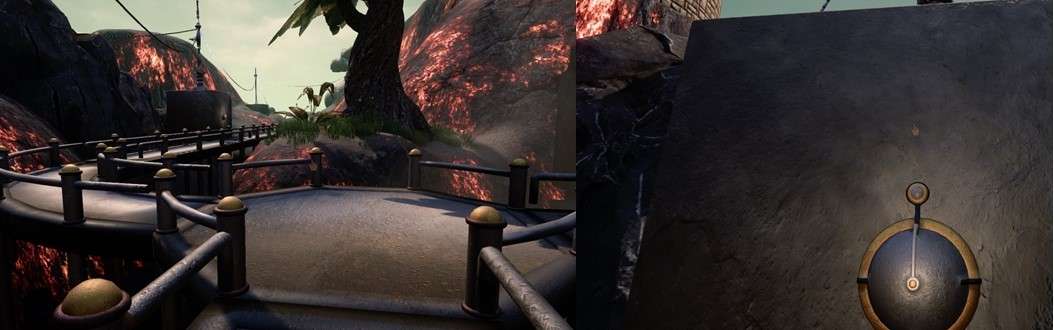
At the start of the suspension bridge there is
another base with a lever, you can also move this lever to the right.
Let it stand forward for now.
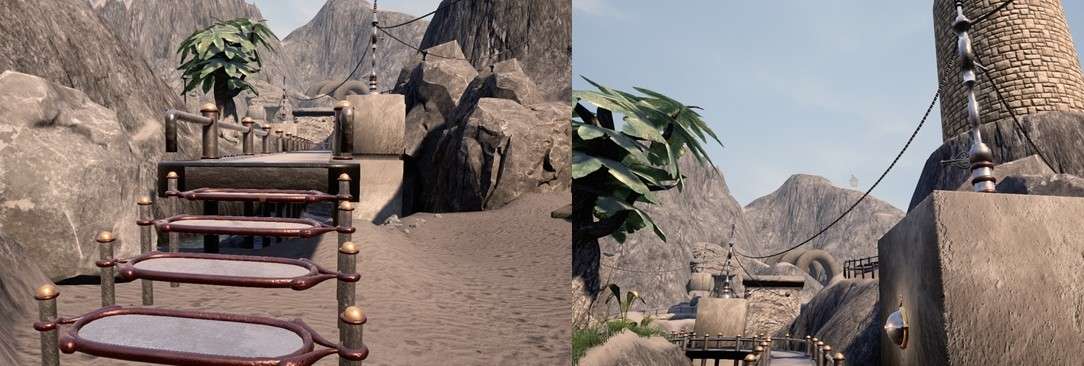
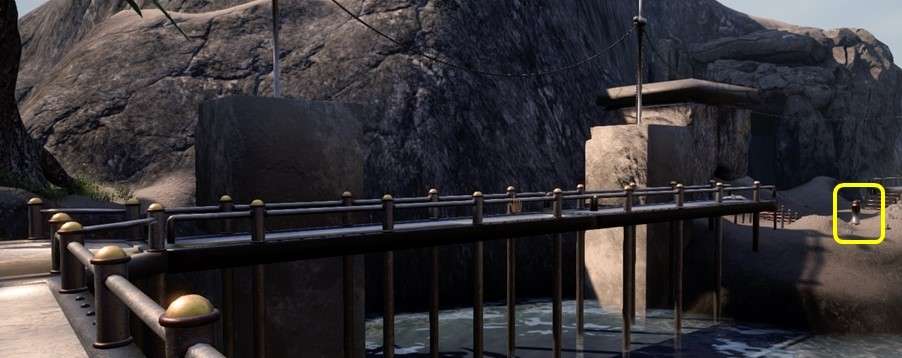
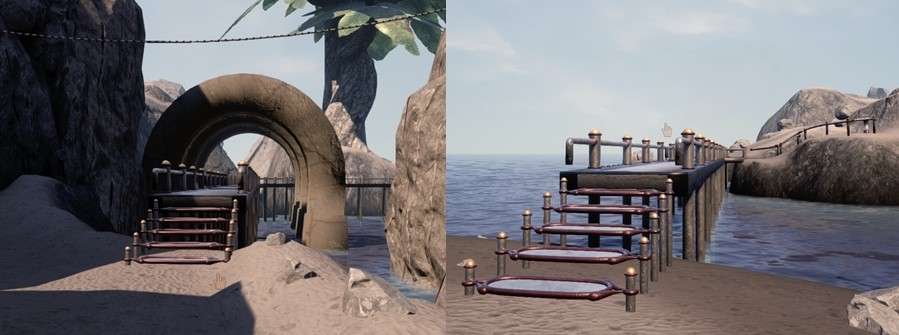
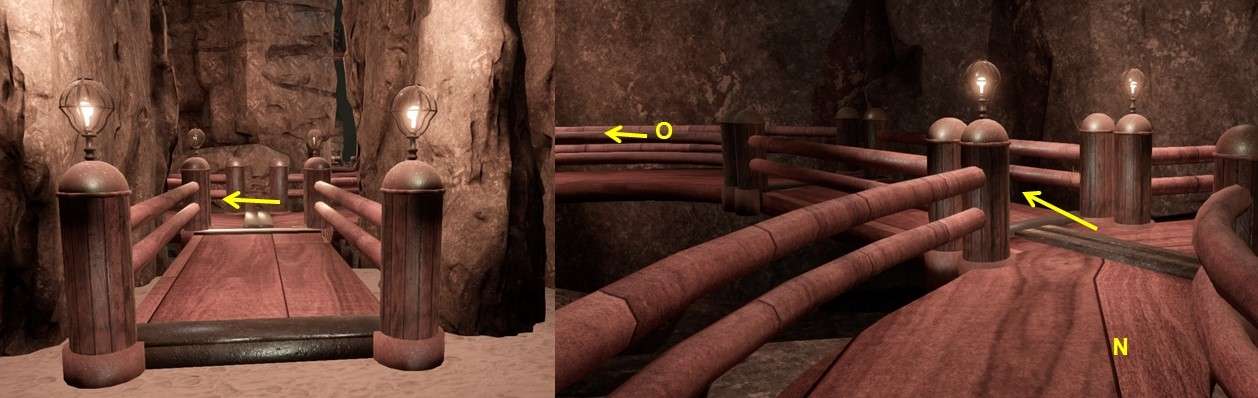
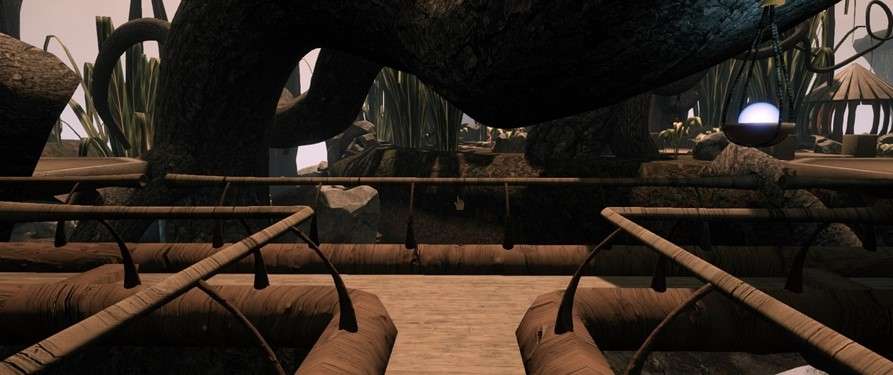
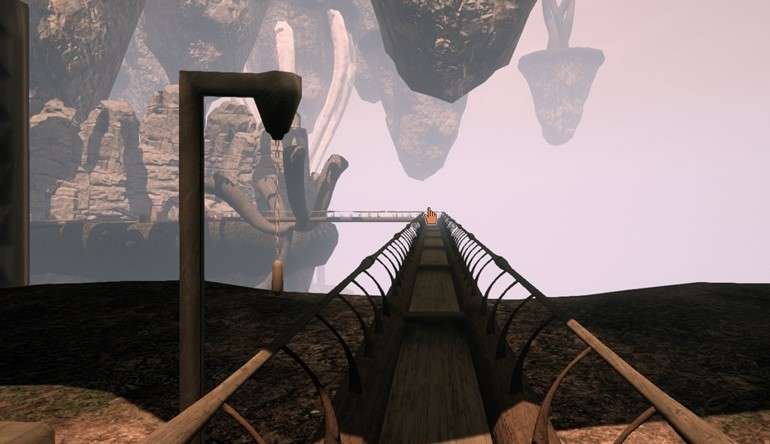
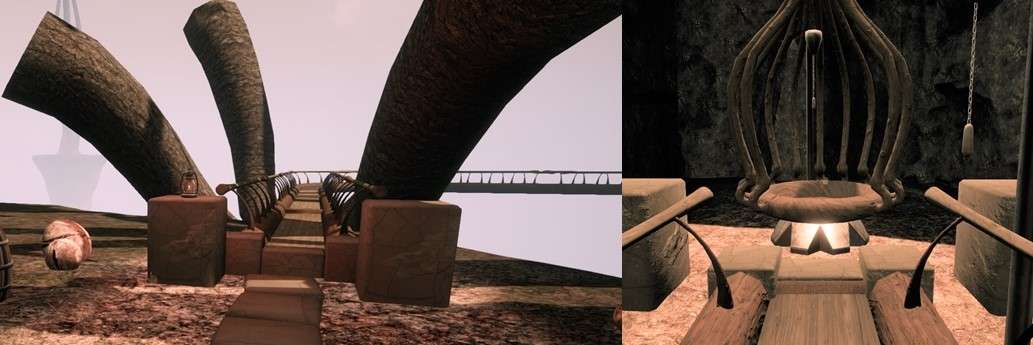
Walk over the suspension bridge and on the
platform you look to the right, there you also see a suspension bridge with a
platform but you can't go further there.
Turn to the left and walk over the suspension
bridge, the platform and another suspension bridge to the hut on the last
platform.

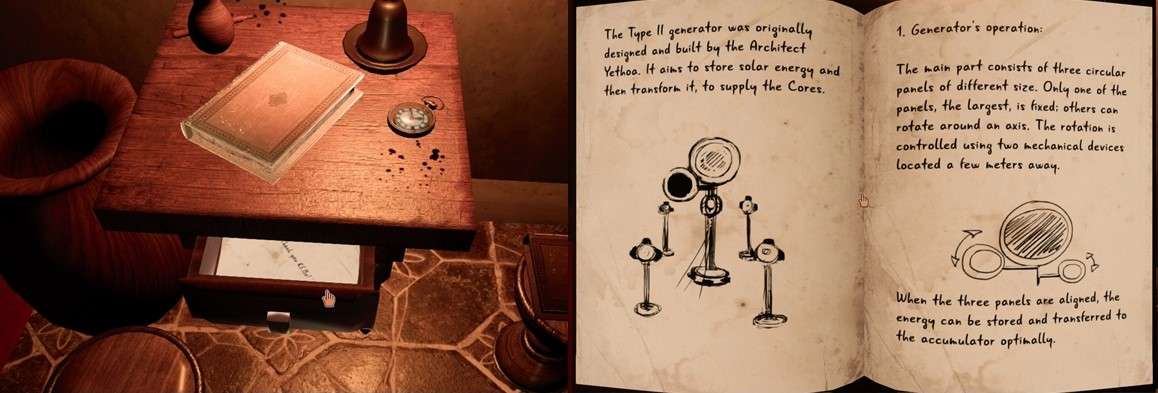
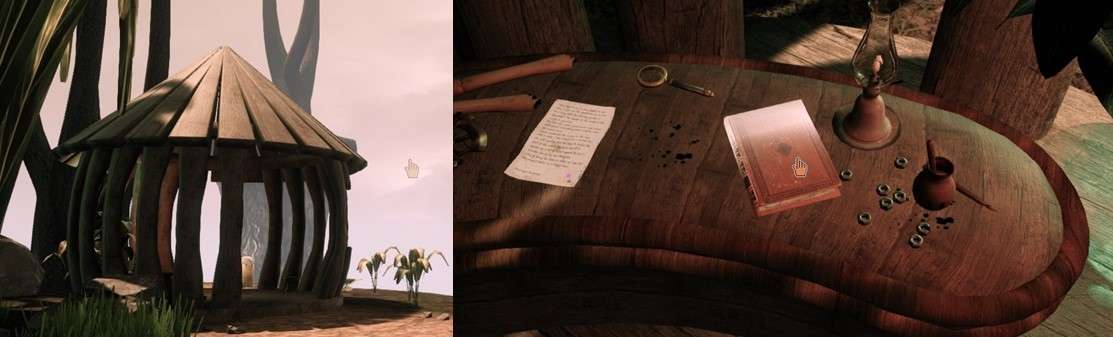
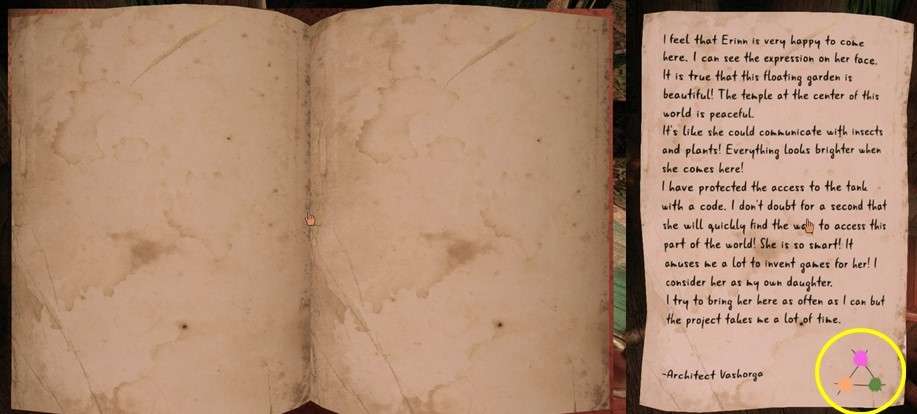
A letter is lying on the low table in the hut,
an architect tells them to make a machine that keeps a young woman awake.
Click the letter away and then click on the
book next to it, this will explain everything a bit further.
Click on the pages to browse through the book,
then click next to the book to put it back.
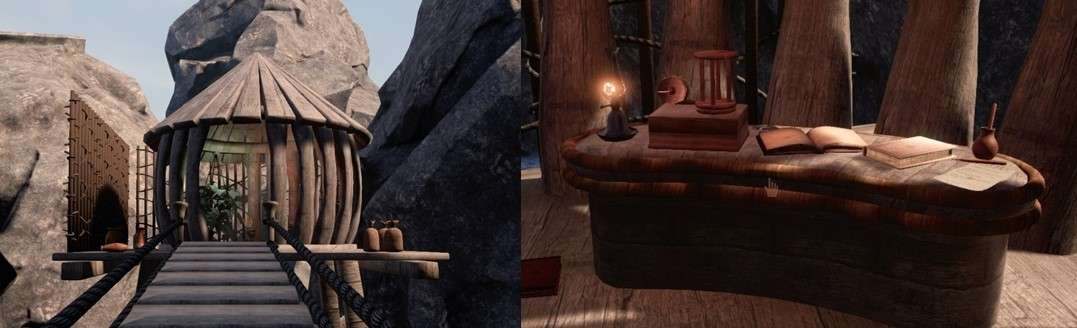
There is a device on the other corner of the
table, when you click on the reel, the cage goes up.
I don't know what to do with it.
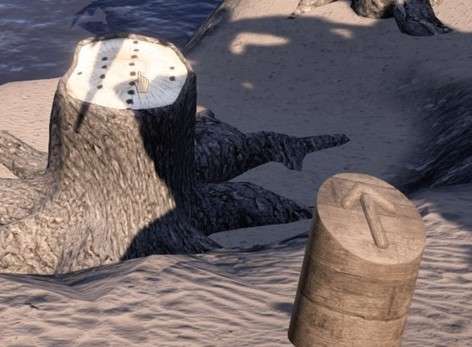
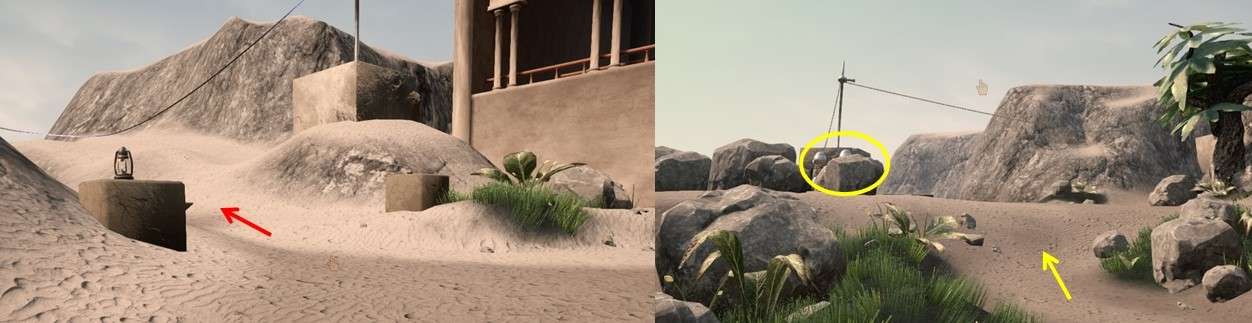
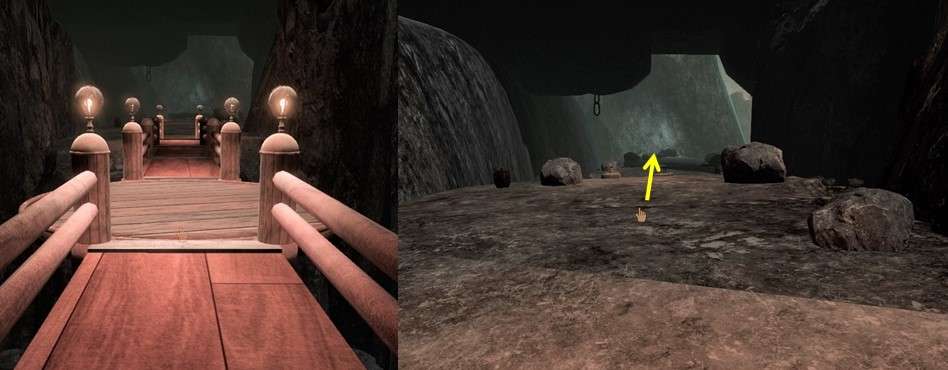
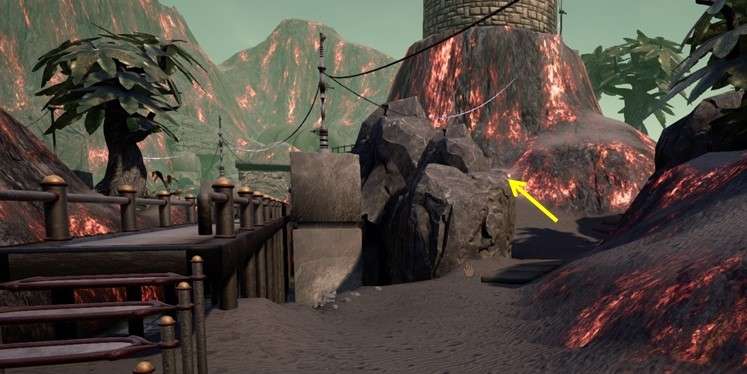
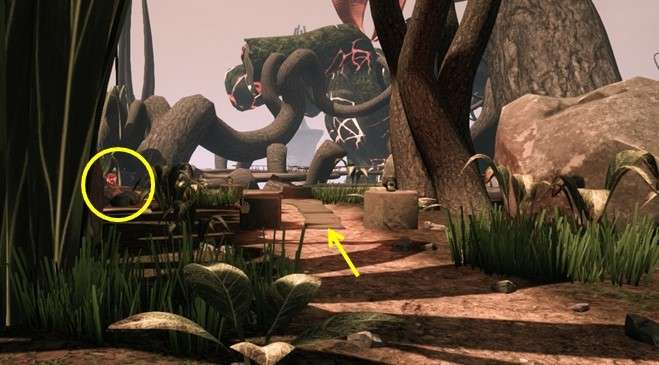
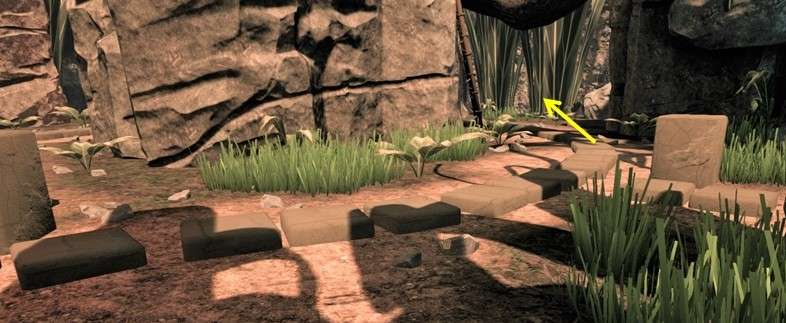
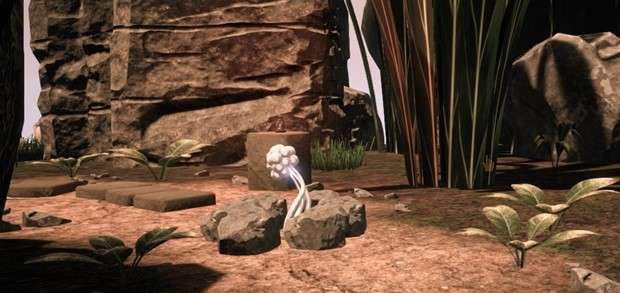
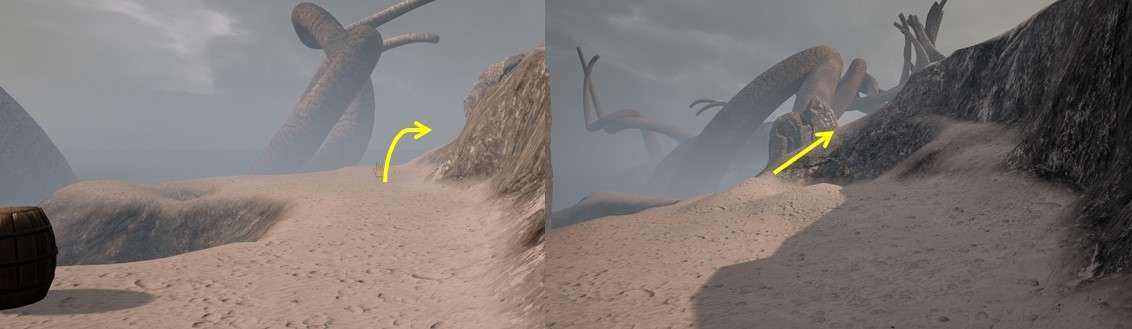
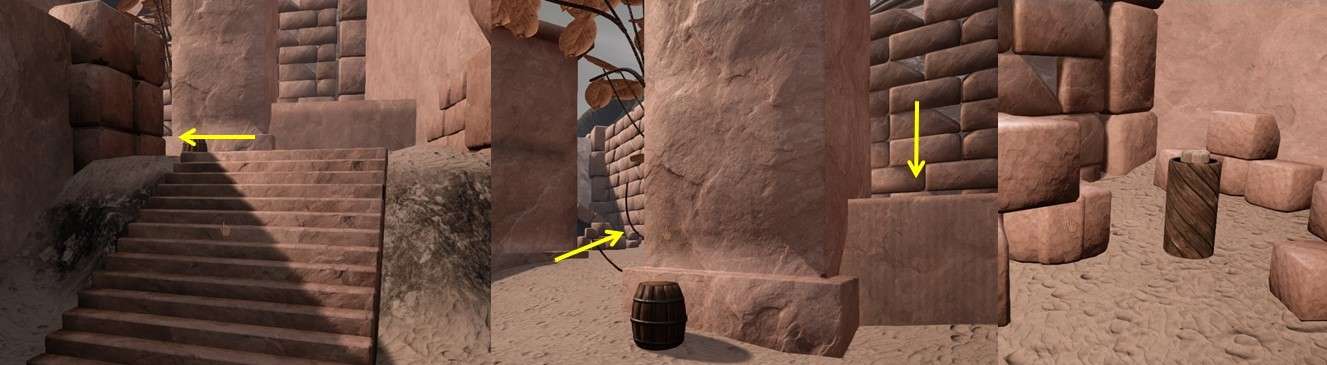
Turn around and walk back to the island.
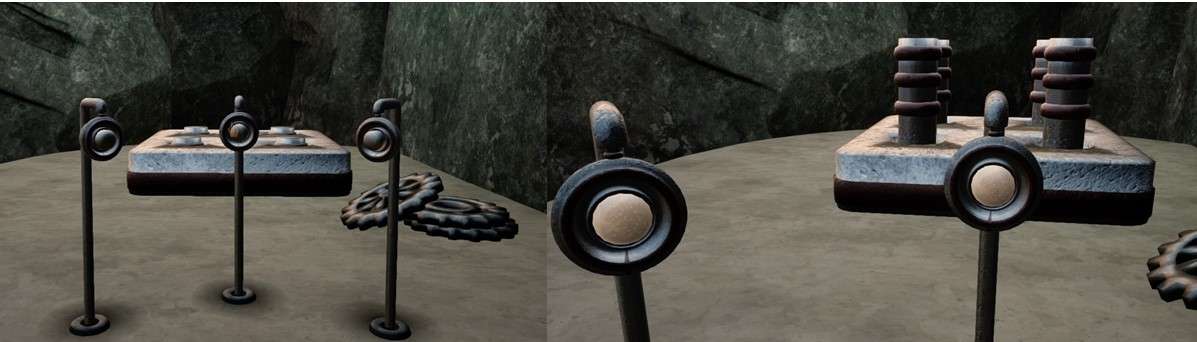
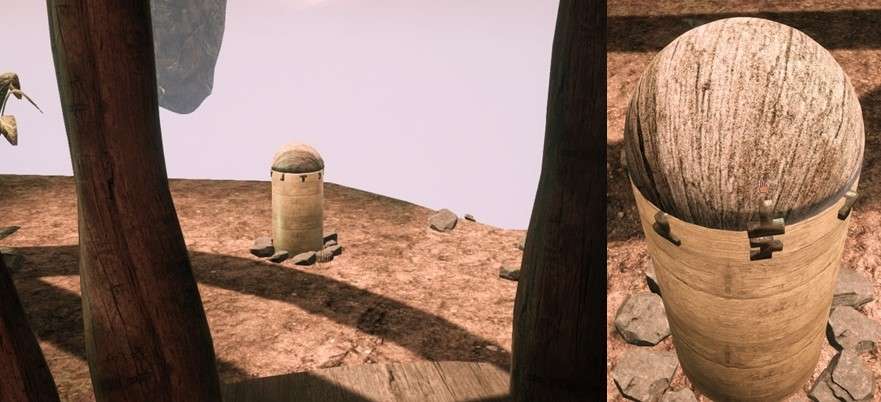
Walk up on the right, you will see a small
column with an arrow.

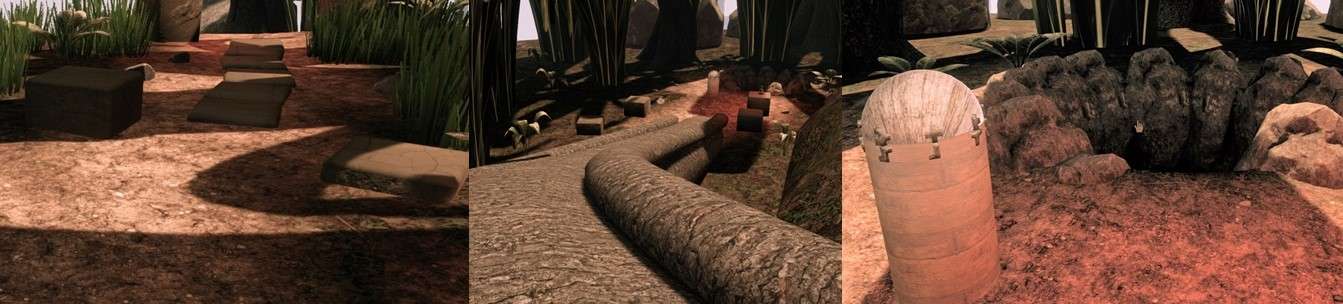
In front of the column you see a tree stump, on
the white top you see 4 columns with dots: 1, 4, 9 and 2 dots.
Make a note of this because you will need this
later.
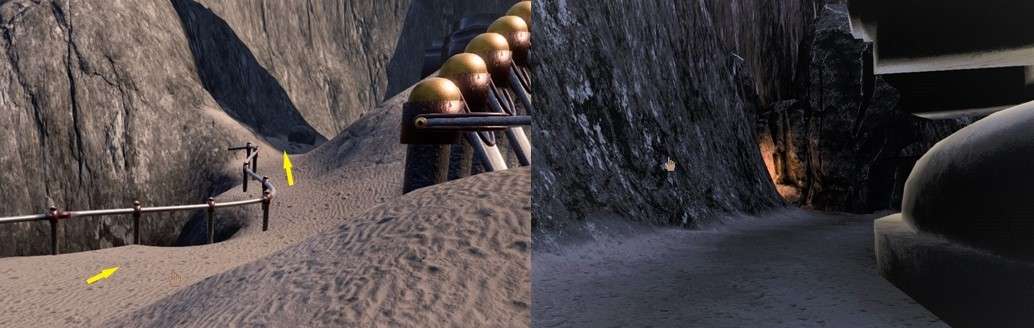
Continue further up the path and then follow
the path further to the right, you go down again.
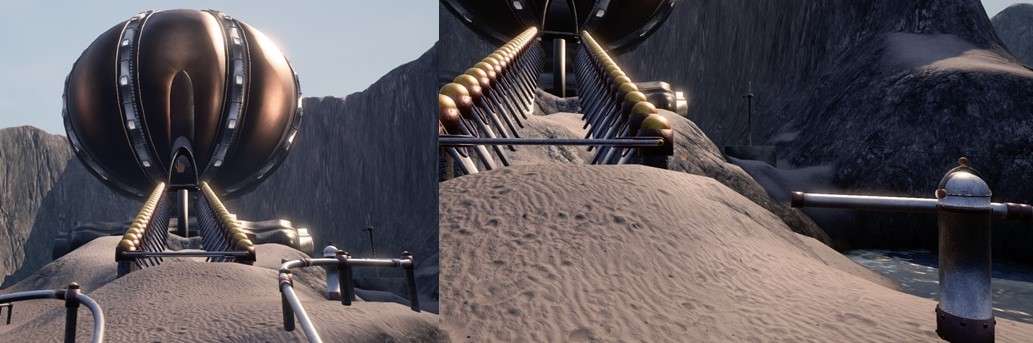
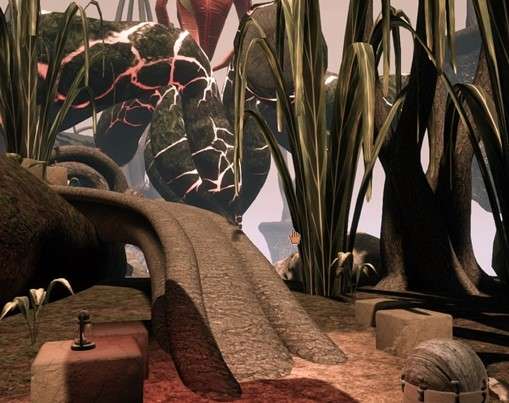
Downstairs the path goes to the left and then
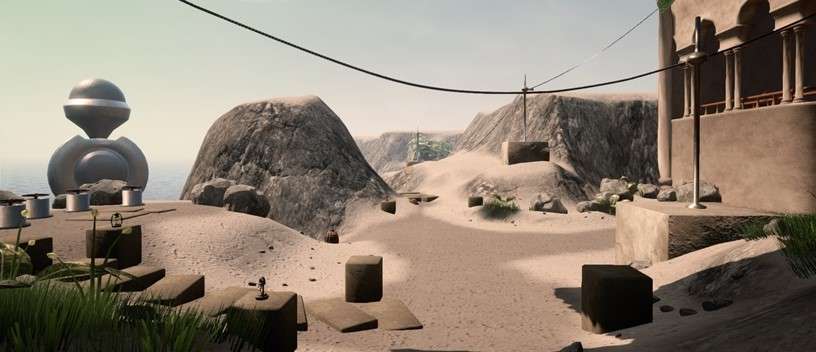
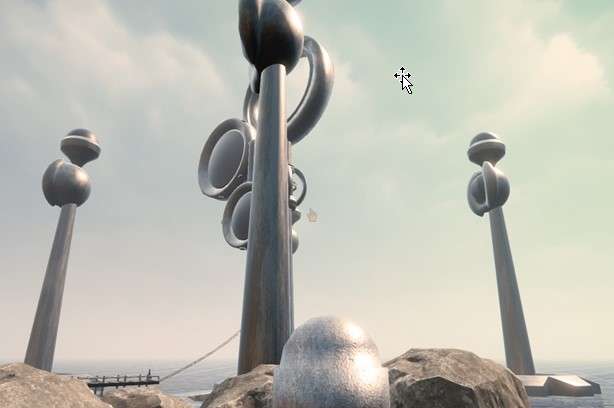
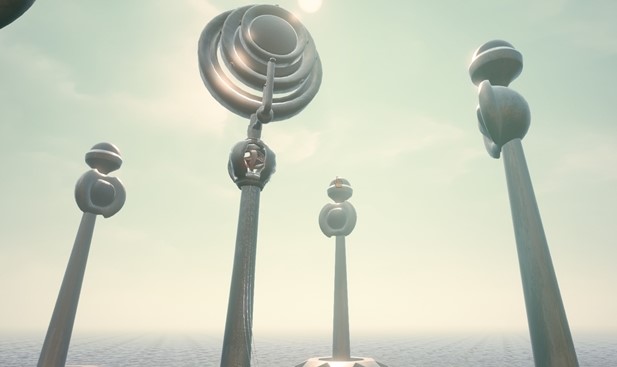
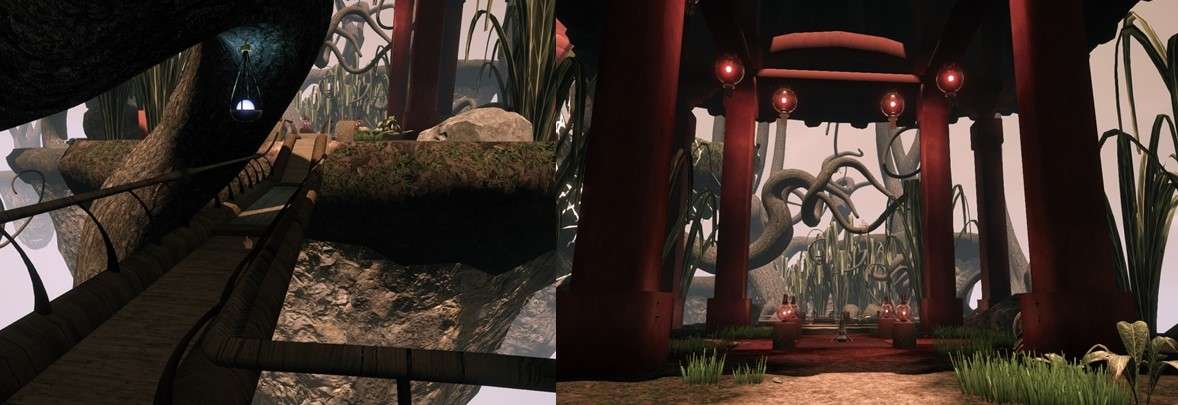
you see a large sphere on the left, this is the temple of the young woman.
Go to the centre of the walkway and turn left
there.
Walk to the start of the stairs to the temple,
only the first step of the stairs is there.
To the right of the stairs there is also a
pedestal but this one is slightly different because the lever is on top of the
pedestal.
Then walk left along the stairs to the back,
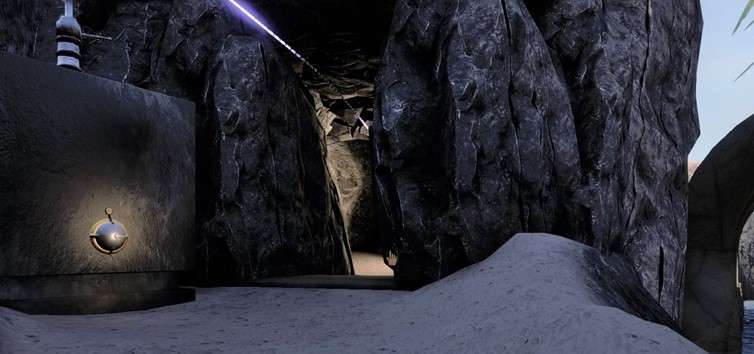
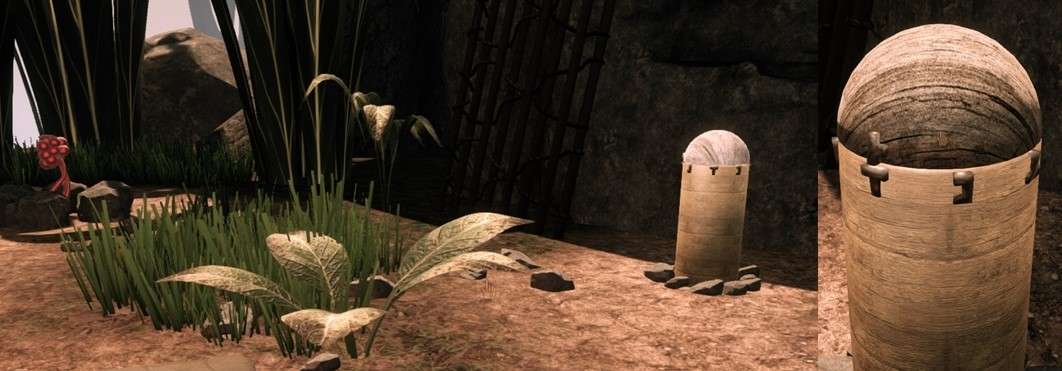
you will find a cave behind the temple.
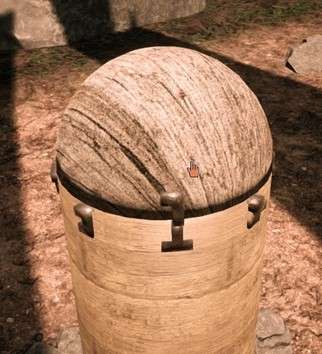
There is a book on a barrel, click on the
book.
On the first page you see a drawing of the
temple, on the other page you see a drawing of 4 pedestals.
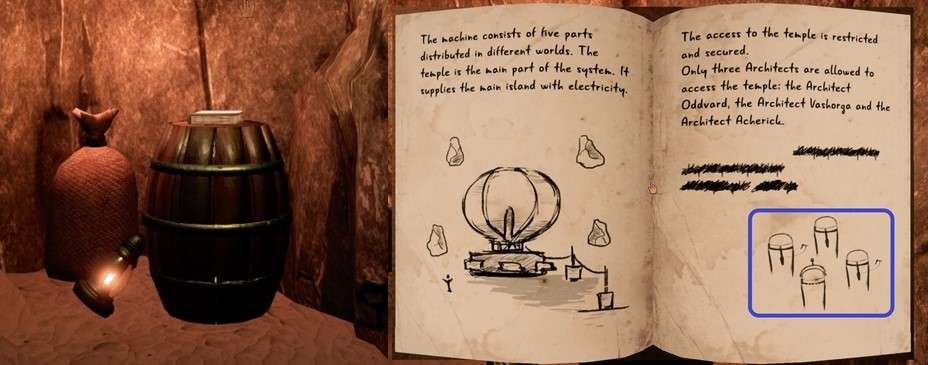
You have already found 3 pedestals, you also
see that with 2 pedestals you have to move the lever to the right.
Read on through the book, by clicking on the
pages you can also read the other pages.
Click the book away, you have to look for the
fourth base.
Exit the cave and walk right past the temple
until you are back on the walkway.
Turn left and walk further, when you have
finished the walkway you can also go to the right but you will find nothing
there.
It all looks nice but you can't do anything.
You also see cables run from the temple, which
is the main source of energy as you have read in the book.
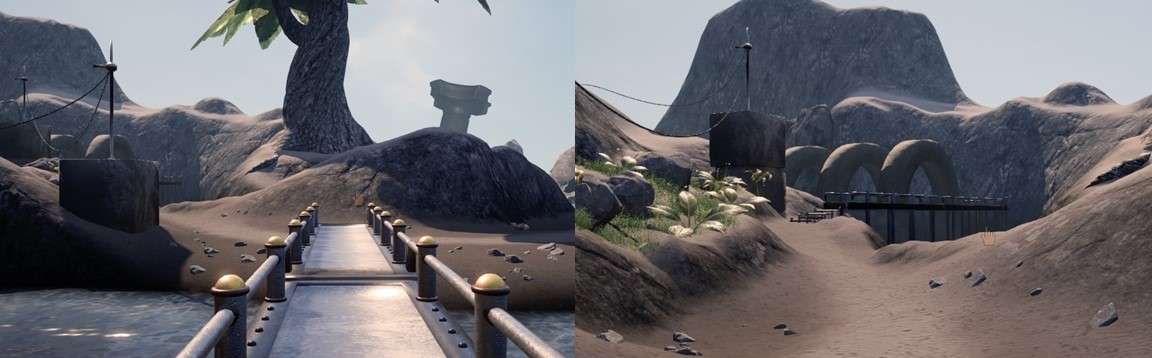
Just follow the path to the next walkway.
Follow the walkway and you will walk straight
towards the lighthouse.
When you have finished the first walkway you
first have a good look around here.
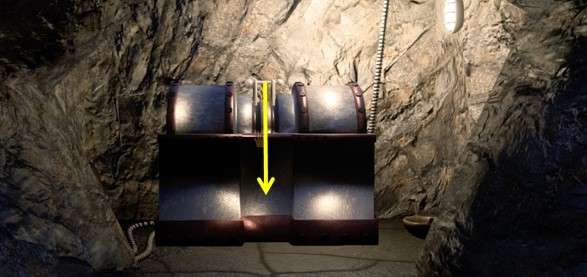
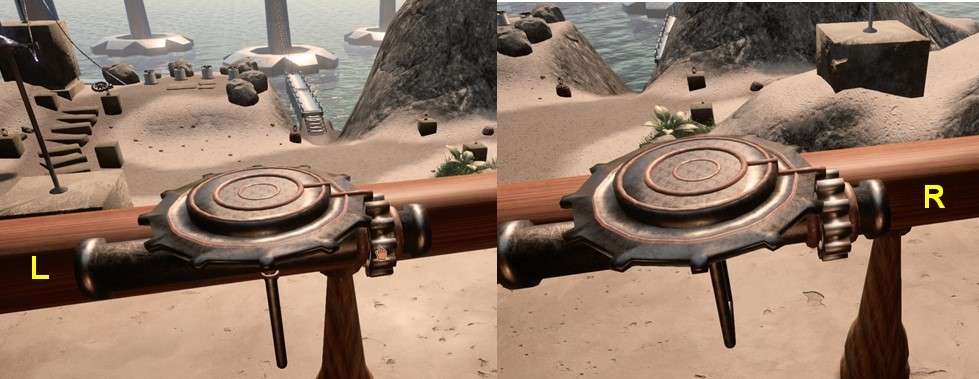
On the right you see a large block, on the
front you see a switch with 4 positions.
On top there is a pole with 3 cables attached
to it, the right cable goes into a cave.
You can walk in here now, but it is very dark
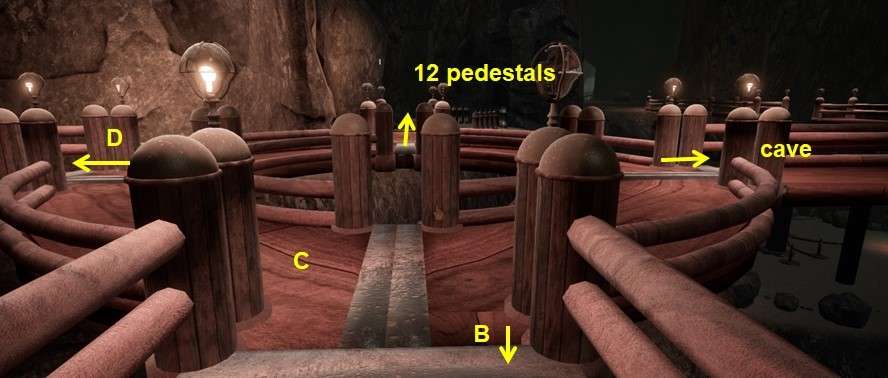
and you cannot do anything here, there is no power.
Turn left and before you see also walkways and
between those walkways you see the fourth pedestal.
First go over the footbridge to the left, just
follow the path and the stairs.
A little further you see another block, on top
is another pole with 3 cables.
On the front of the block is a switch with 4
positions, you also see a cave that is closed with a fence.
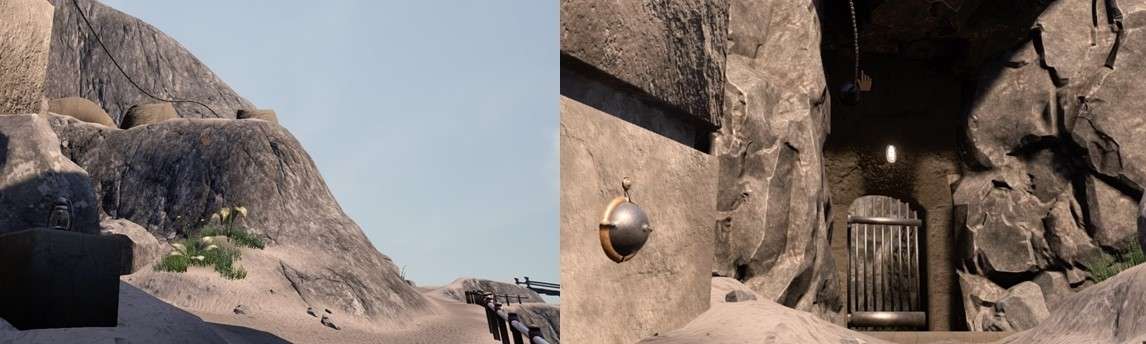
Turn to the right again and follow the path
further.
There you see another block on the left and
also a number of stone arches.
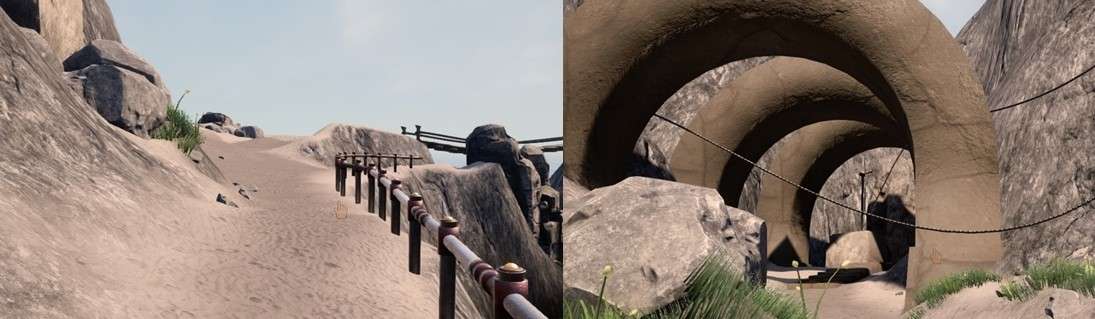
Walk under the arches upwards, there is another
cave with a fence. Also closed.
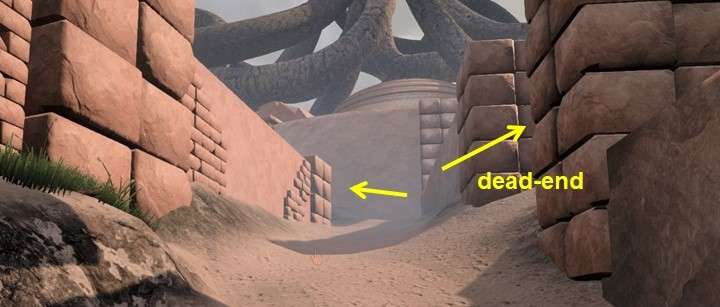
Go back to the path and further to the left,
there you see a fork.
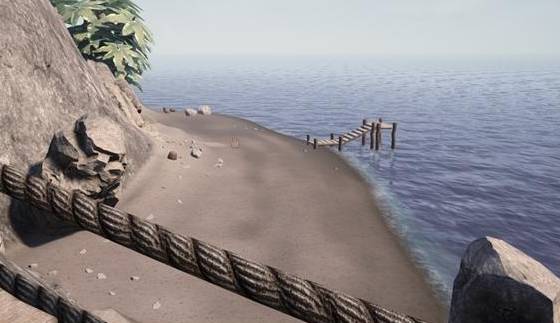
The right path goes to the beach and then you
are back at the wreck of the boat.
The left path goes over the right path, stop in
the middle of the suspension bridge and look to the left then you see the
wreck.
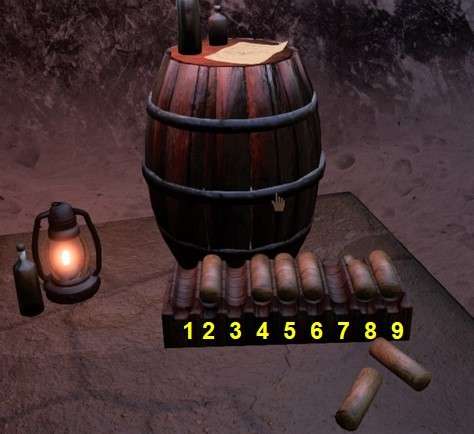
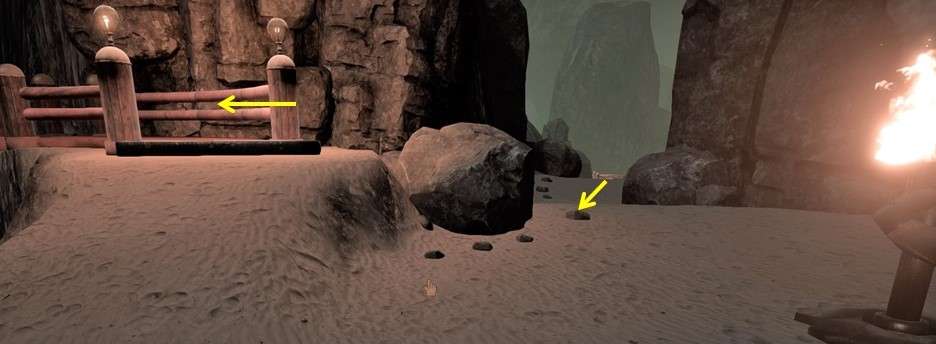
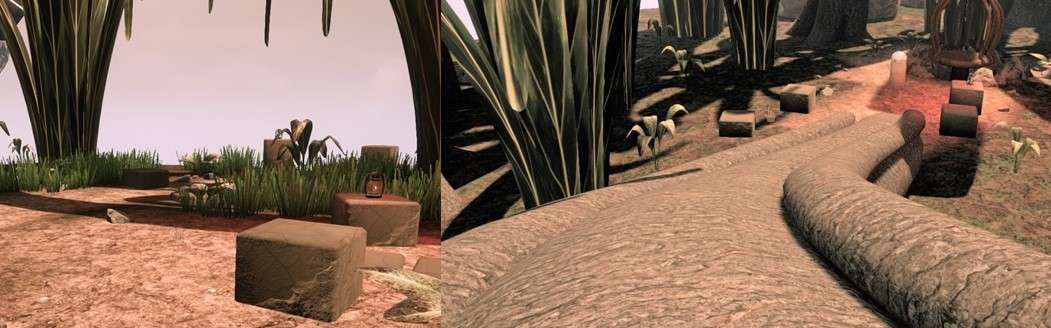
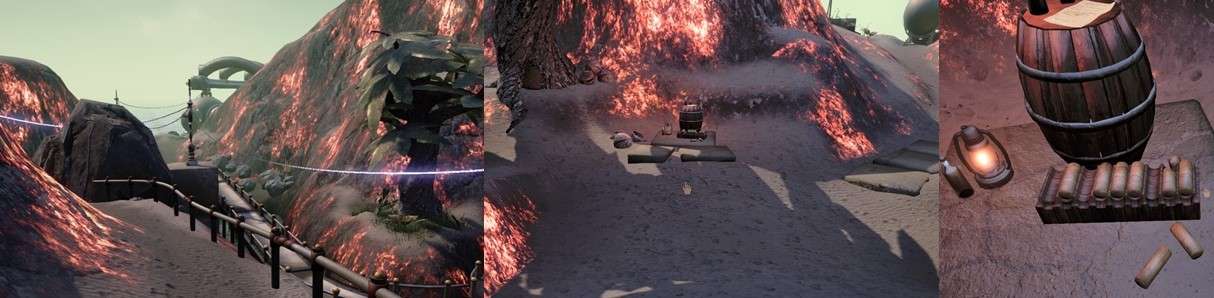
Further on the path, at the bottom of the stone
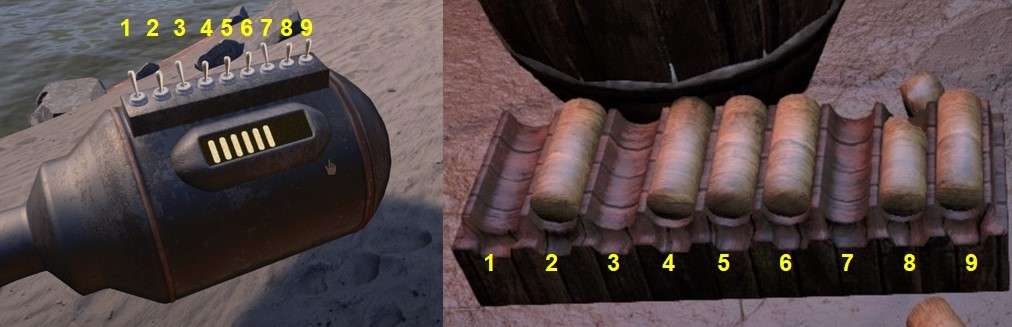
stairs you see a barrel on the left with a letter on it, read the letter.
There is a board with 9 gutters in front of the
barrel, number this from left to right: 1 to 9.
Gutter 1, 3 and 7 are empty, make a note or
drawing of this. This is a code that you will need later.
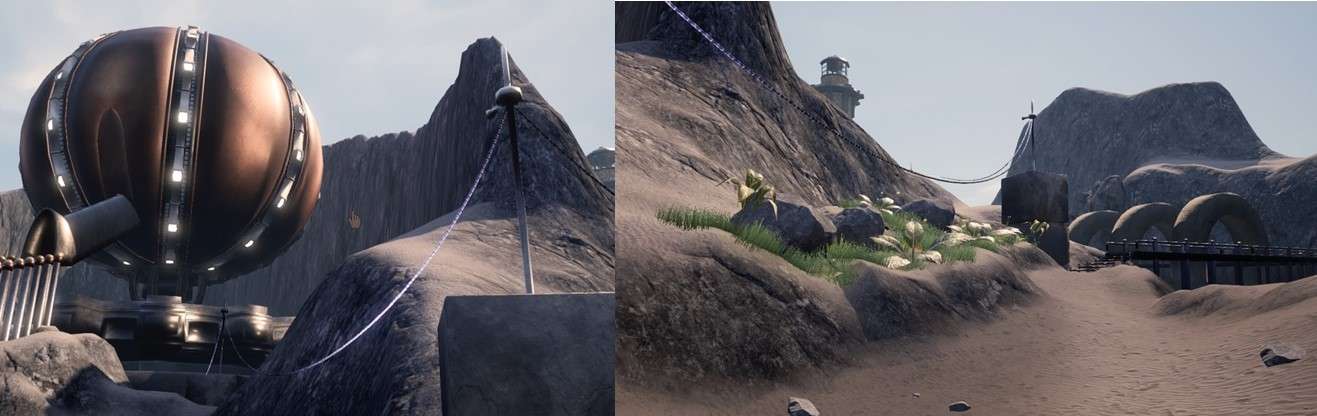
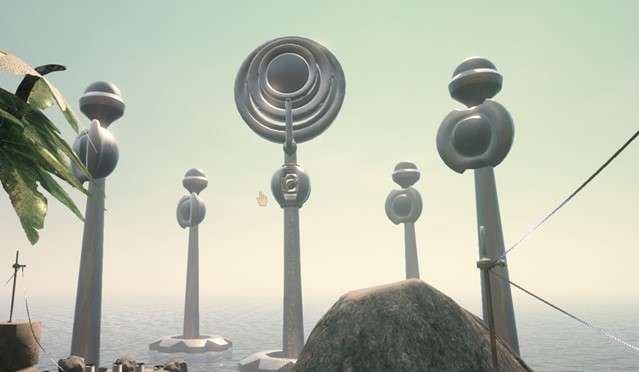
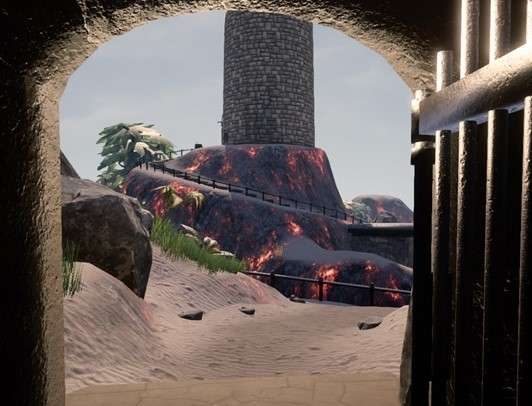
Turn around and you will see the lighthouse,
the path goes up to the lighthouse.
You can go upstairs but the lighthouse is still
locked.

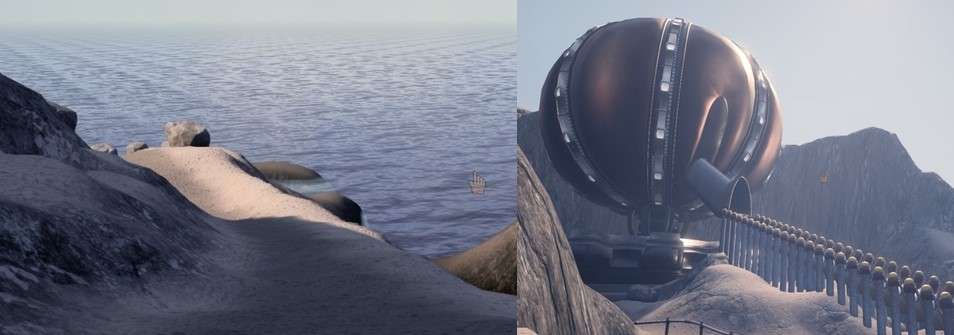
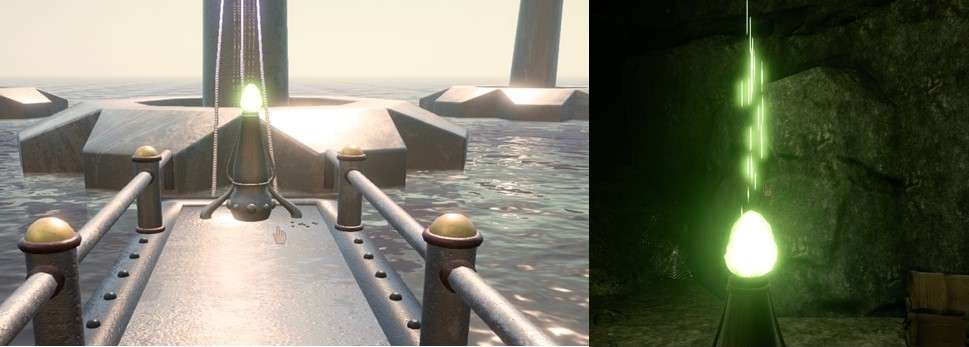
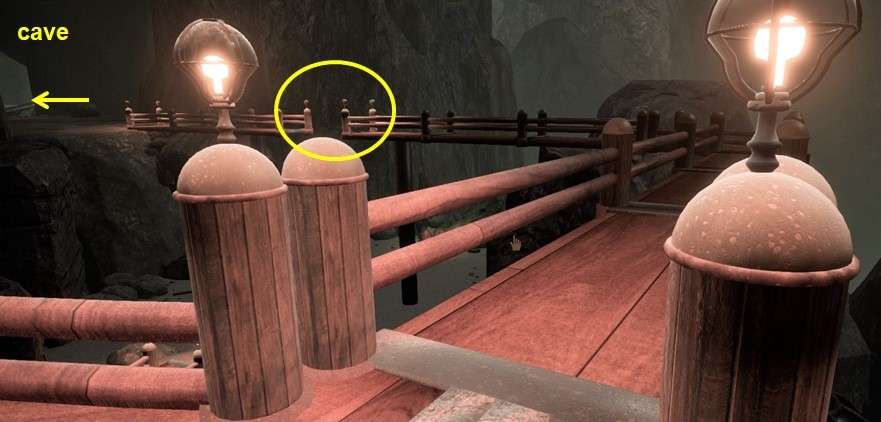
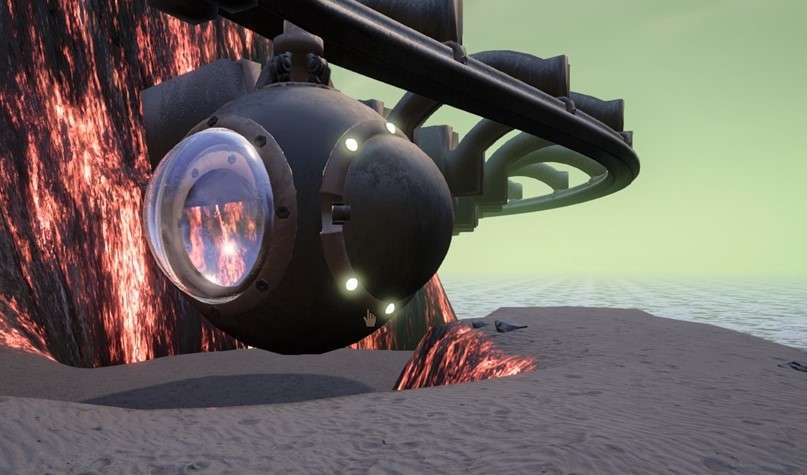
Turn to the left and walk to the footbridge, do
not cross the footbridge yet, but continue to the sphere that you see hanging
there.
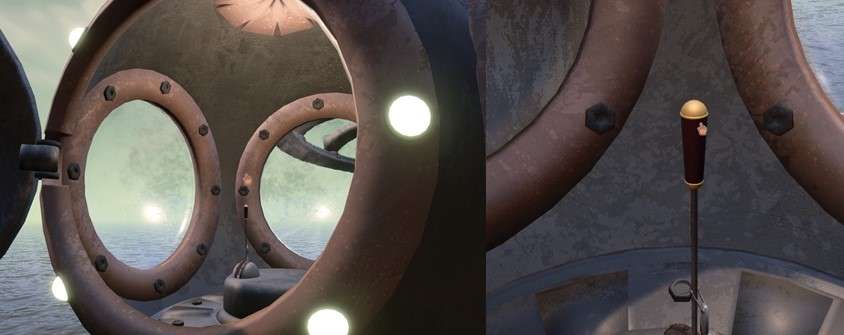
That is the cabin of a monorail.
On the left you see a device with 9 switches,
here you must later enter the code that you have just found on the floor in
frontof the barrel.
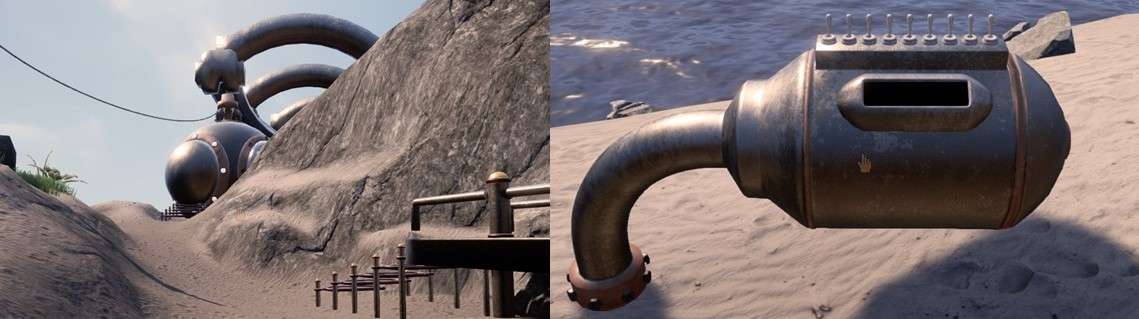
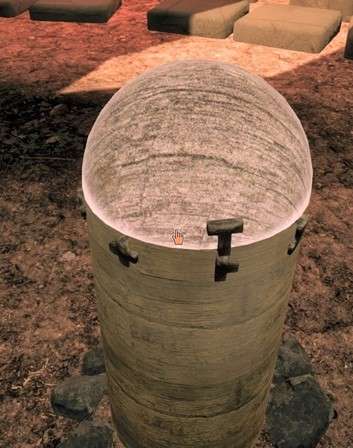
You can click on the door of the bulb, it will
open and you can sit in it but there is no power.
Get out again and turn around.

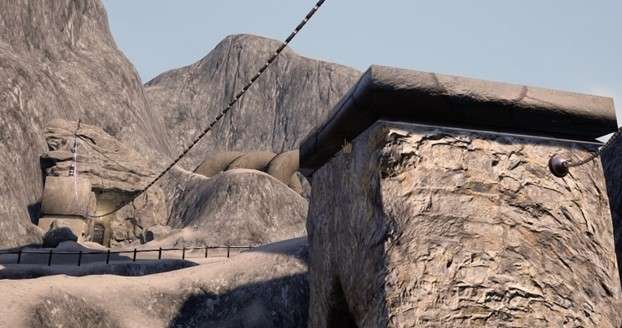
Walk across the walkway and stop at the block,
on the front you'll find another switch with 4 positions.
With all these switches you can later
distribute the power.
Continue further to the circle and turn right
there.
On the front of the block is also a switch with
4 positions, on top of the block a pole with 4 cables.
Walk further to the stone building, go through
the opening and there is an auxiliary generator.
You cannot enable this yet.
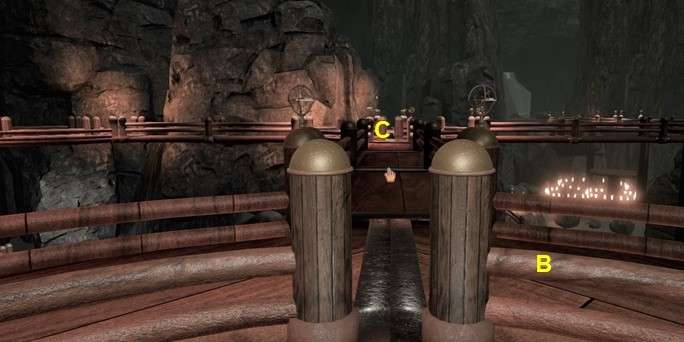
Go outside, it's time to enter the temple and
turn on the power.
Walk across the footbridge, go to the right
across the next footbridge and you are back at the base with the lever.
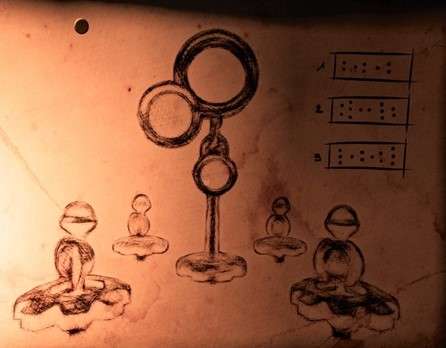
Now think of the drawing in the book in the
cave behind the temple.

At the front is the pedestal that stands at the
temple, the levers of the pedestals left and right must be to the right.
The lever of the last base must be in the
forward position.
Move the lever of this base to the right, click
on the lever with the left mouse button.
Hold down the mouse button and drag the lever
to the right.
Now you have to go to the other side of the
island.
You can go on the beach or along the temple, it
doesn't matter.
Go down to the long suspension bridge and move
the lever on the pedestal to the right.
Walk back to the temple and pull down the lever
on the base.
You hear and see now that the steps of the
stairs rise.
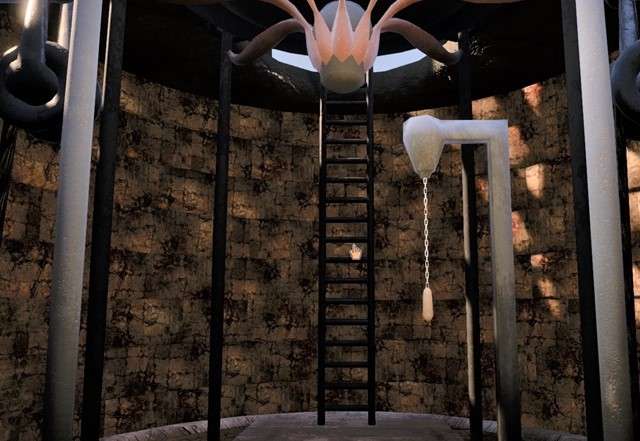
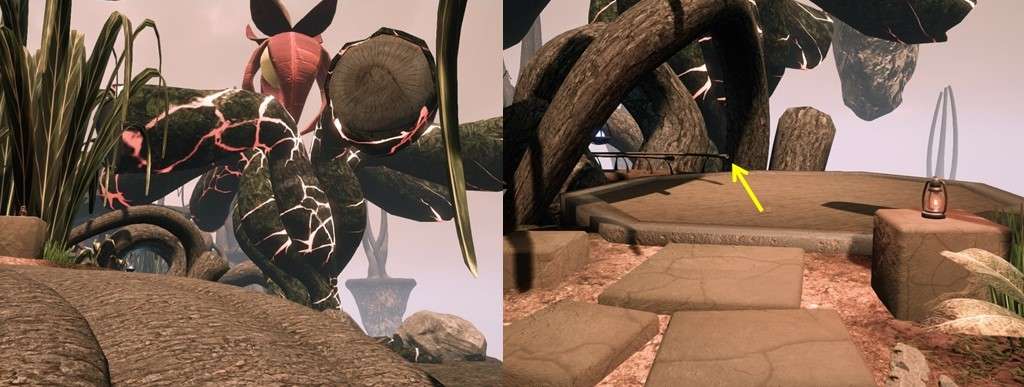
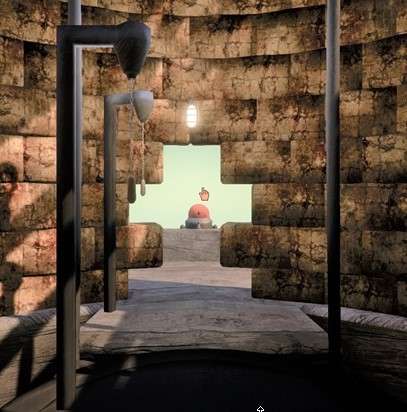
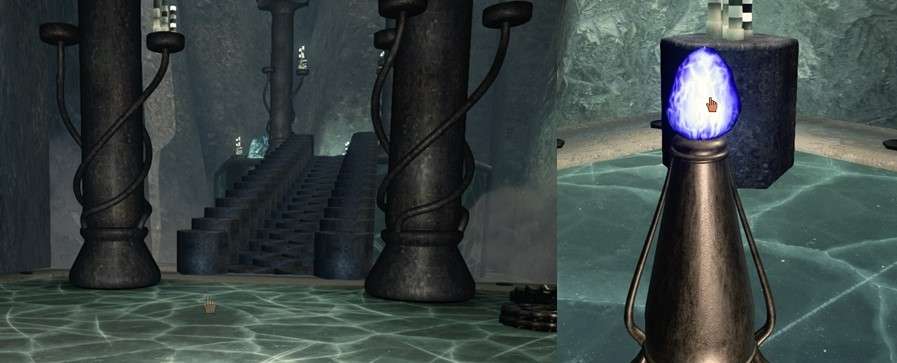
Walk up the stairs and enter the temple.
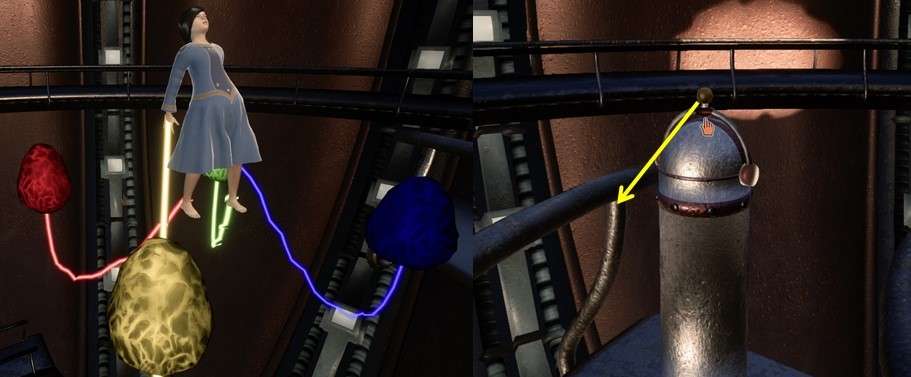
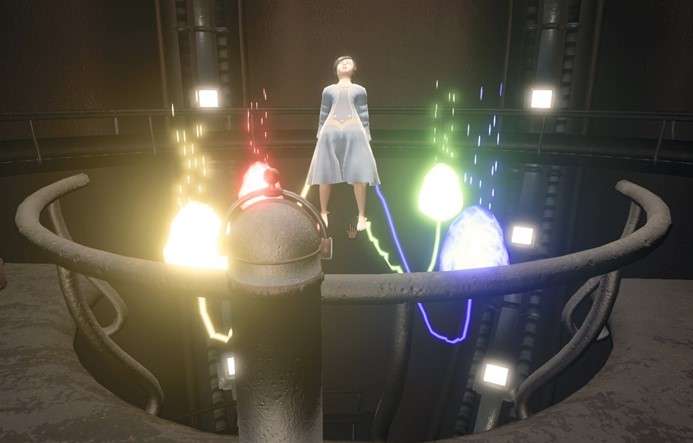
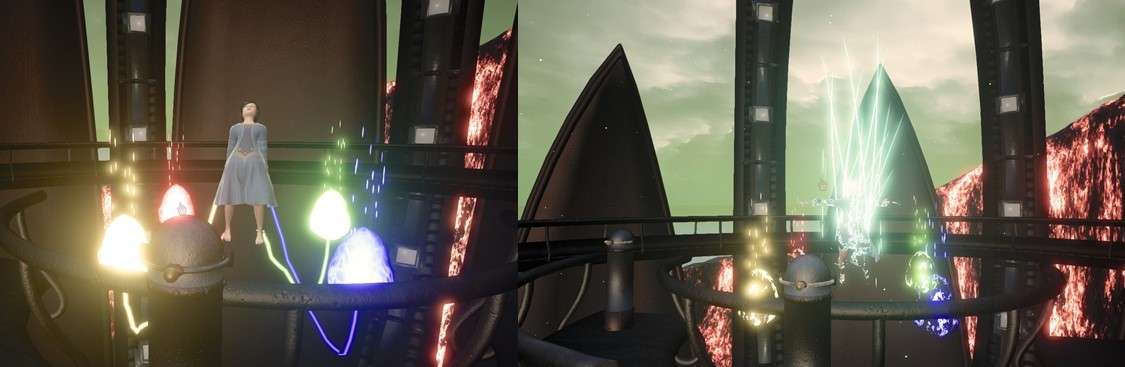
Inside you go to the right to the ladder, click
on the ladder to go up.
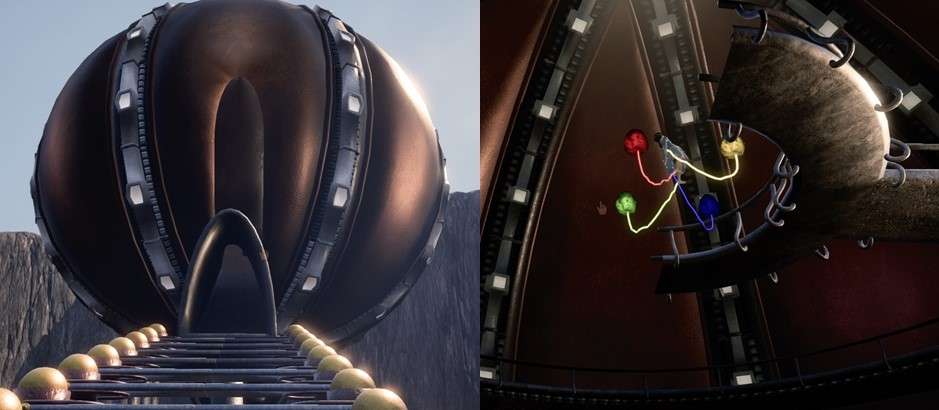
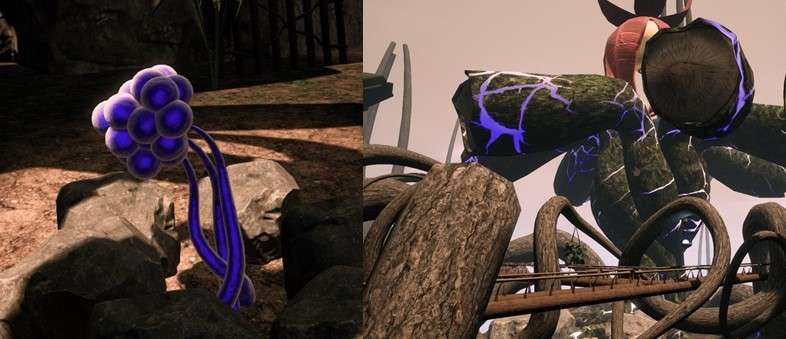
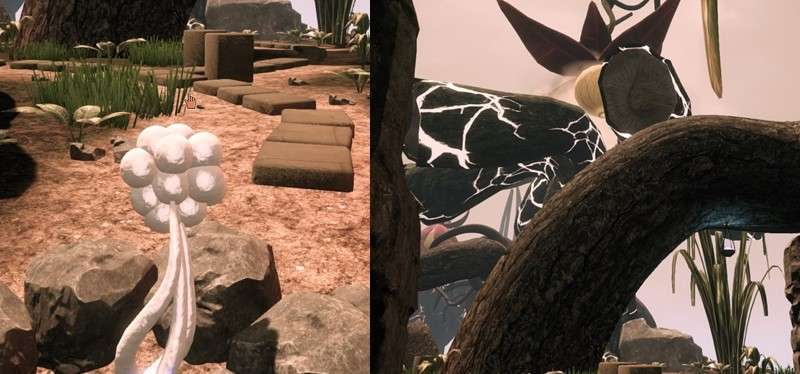
There you see the young woman floating,
connected with 4 coloured cores: green, red, yellow and blue.
There are also 2 pedestals on the landing.
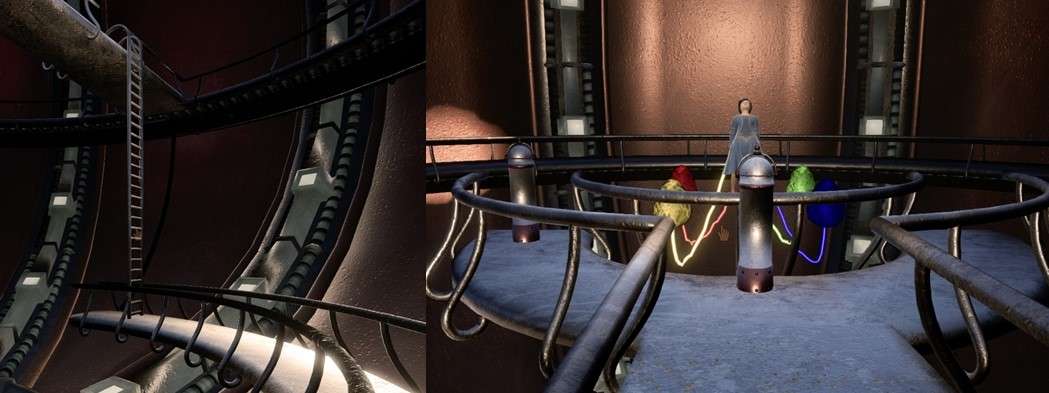
The base in the middle is blocked but on the
base on the left you can pull the lever down.
Pull the lever down on the left base and you
now have power.
Walk to the ladder and click on the ladder to
go down.
Go back outside and at the bottom of the stairs
you go to the left. You also see that power is now going through the cables.
Go back to where the 3 walkways meet.
You can see that many cables now have power.
Go to the block on the right, you will
see that the cave is now lit.
Go inside and switch on the generator, pull the
lever down.
Go outside and put the switch on the block to
the left, the cables to the left now also have power.
Continue over the footbridge and at the fork
you turn left.
Put the switch here on the block upwards and
then enter the building with the generator.
Pull the lever down, this generator is now also
switched on.
Go back to the switch on the block and put the
switch to the left, you see that the power now goes to the other side.
Turn right at the fork, then cross the right
footbridge to the other side.
Follow the path and stairs to the cave on the
left. You see that the power goes to the right, to the fence.
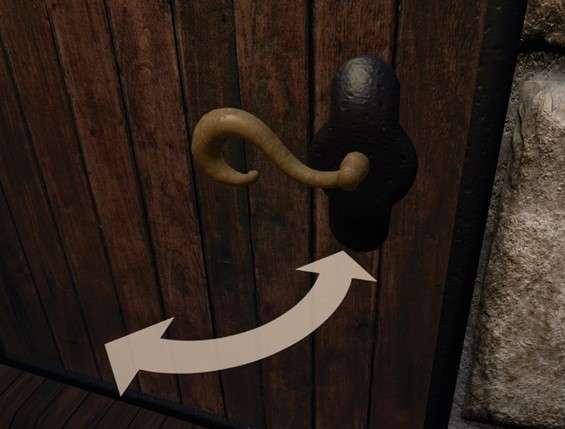
Go to the gate and click on the gate, hold down
your mouse button and push the gate open.
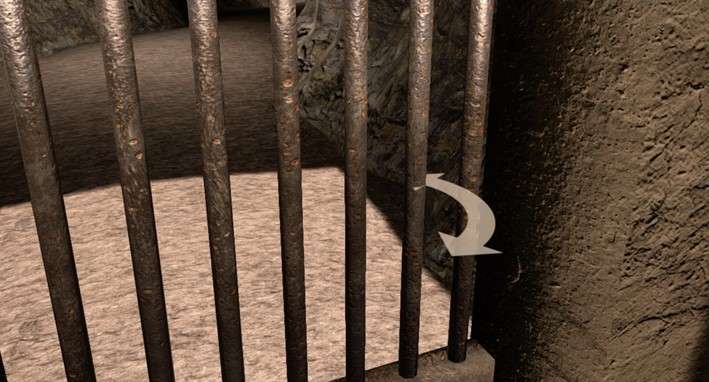
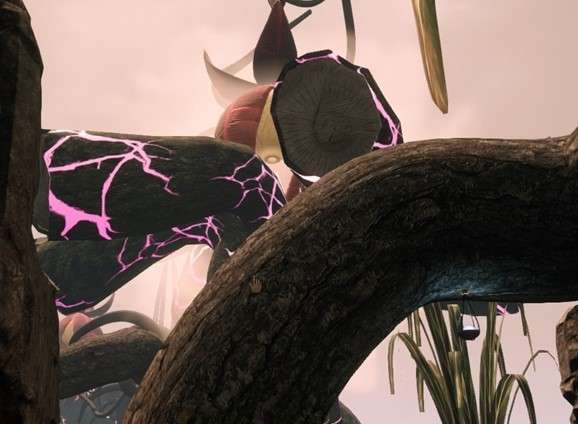
Walk into the cave and you will come to the
green Core.
Click on the green Core and you will be
transported to the area of the:
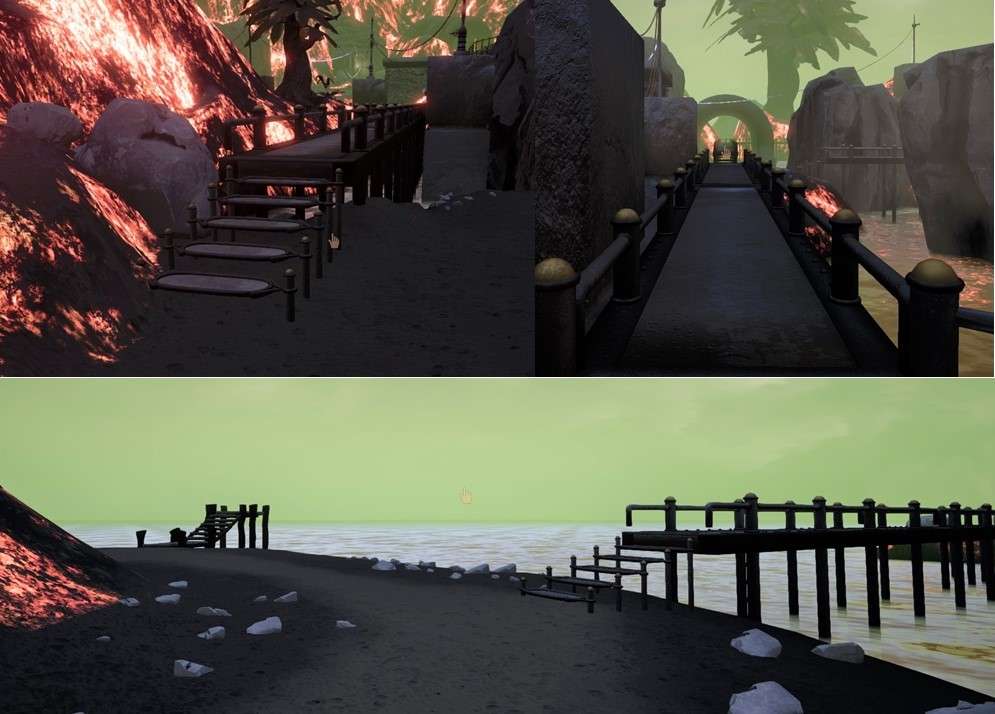
You look out over the sea, turn to the right
and walk to the jetty. You also see the large lenses.
You stand under a tree, walk along the path
until just past the next tree and turn left there.
Read the letter on the barrel.
Go back to the path, you can go left to the
lenses.
You can also see a building there, but it is
not possible to go inside from this sideat this moment.
I now go right onto the path back to the beach.
A path goes to the left between the 2 jetties,
where you see the entrance to the building.

Walk to the building and go inside, walk on until
you reach the lamp on the ceiling.
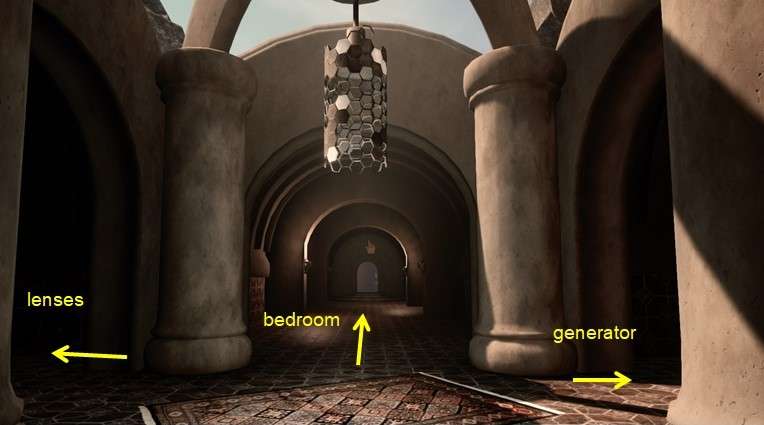
You are now at the intersection of 2 corridors,
turn left here.
You enter a large hall, in there you see the
large lenses on the outside.
Go up the stairs, at the top there are stairs
to the left and to the right.
On both platforms you see a device where you
have to set something but you don't know what yet.
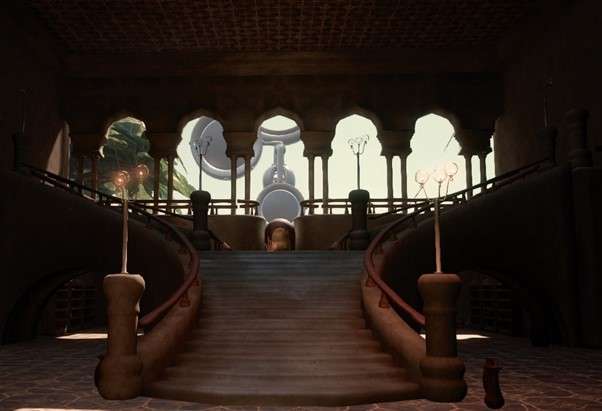
Walk further to the brass door in the middle of
the large landing.
Click on the door handle and the door will
open, then click in the lift because this is a lift.
Click on the button, the lift will lower and
turn 180 degrees.
Turn around and click on the door, then click
in the opening to go outside.
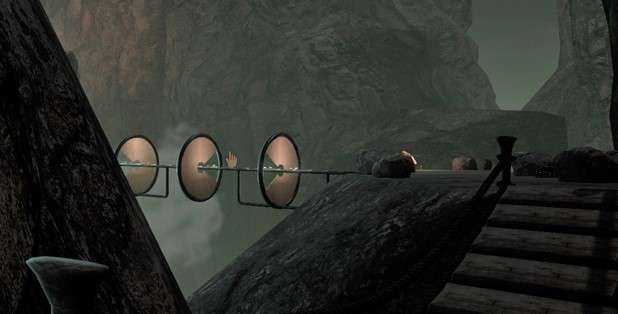
Walk in the direction of the large lenses and
you will come to 4 turning wheels.
With these wheels you can turn the mirrors but
you do that later because they have no power yet.
You also see a metal jetty going to the big
lens, there is the green Core.
This must still be activated.

Walk back to the beach and go to the left, you
see that the cable to the right of the path does have power.
You arrive at another stretch of beach, the
cable goes to the right here. You go there in a moment.
There are 3 devices on the left, they don't
have any power yet.
Every device has a short cylinder that you can
pull down, don't do that yet.
On the short cylinder you see a pattern with
lights.
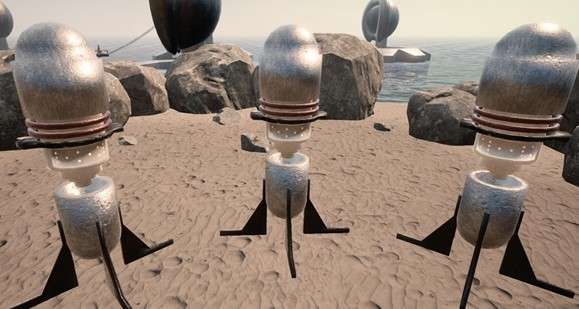
Copy the patterns and also to which device it
belongs: left, centre and right.
Turn around and follow the cable, you will come
to a stone house with a generator.
Enter and pull the lever down.
Now the other cable also has power.
Walk back to the 3 devices and then follow the
path to the left, back to the building.
Click in the elevator again to get in and then
click on the button, you go up again.
Turn around and click on the door, step out of
the elevator by clicking.
You can look around in the large hall but there
is nothing else to be found there.
Walk back to the intersection of the corridors
and turn left.
Go through the gate and here you have to click
on the button at 3 lamps to switch on these lamps.
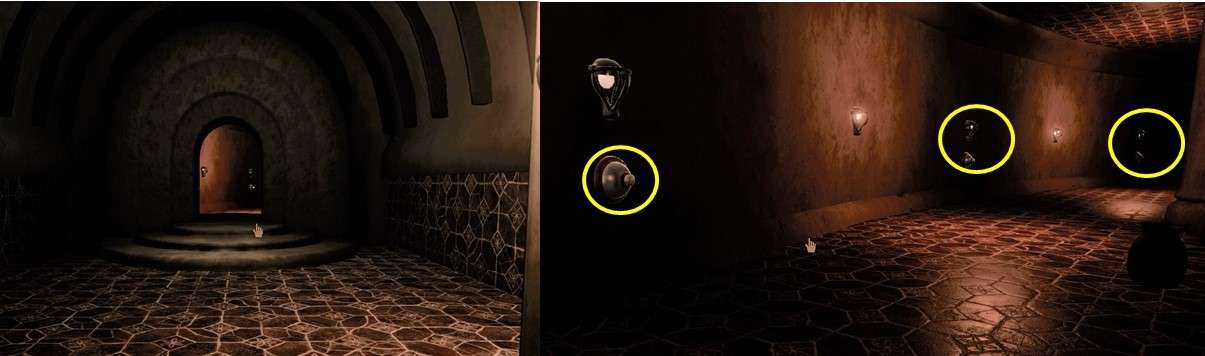
Then walk to the button on the right in the
corner and press the button.
The bedroom door opens like a fan.
Walk to the table to the right of the bed, open
the drawer and click on the paper.
It is a thank you to the Backers of
Kickstarter.
Put the paper back and click on the book, this
explains how the lenses work.
Then go to the table on the other side of the
room.
Above the table is a drawing of the large
lenses.
On the right you see the patterns and also the
order in which they should be pulled down.
Copy the patterns and the order.
To the left of the table you see a sign on the wall,
it is divided into 4 x 4 compartments.
This is a memory puzzle, when you click on a
box you will see a triangle.
Then click on another box, the triangle that
you see there must be the same as in the first box.
There are 8 different triangles, it's not that
hard.
Simply click on 2 boxes and remember where
which triangle is.
Number the boxes from top left to bottom right:
1 to 16.
Then click on the following combinations:
1 + 11, 2 + 4, 3 + 6, 5 + 16, 7 + 14, 8 + 9, 10
+ 13 and 12 + 15.
You see the solution in the screenshot.
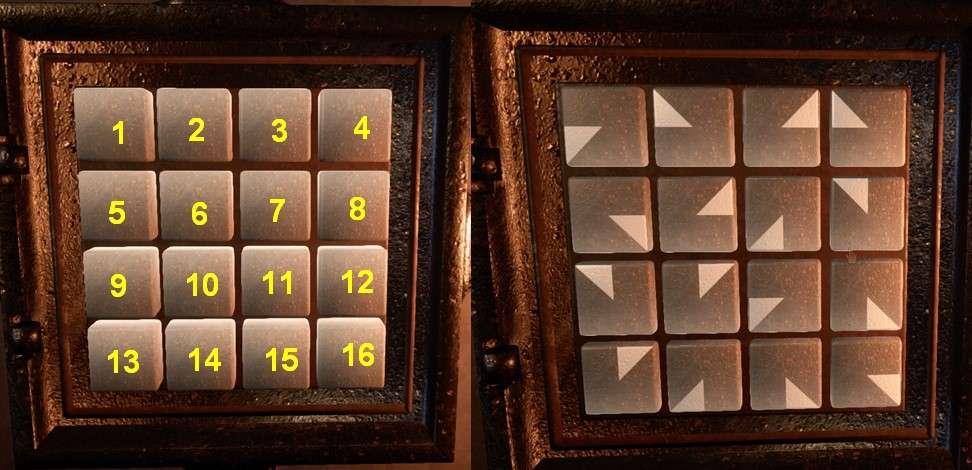
When the puzzle is solved, you hear something
slide open, turn around and walk back to the intersection.
Turn left there and you see that the door here
is now also open like a fan.

Walk outside and walk straight to the
generator, pull the lever down and you will see the power flow.
Turn around and go to the left, there you see 3
buttons.
Behind it you see a plate with 4 pedestals that
are now down.
With these 3 buttons you can now test in which
order you have to push on the buttons.
Combine the patterns on the 3 devices with the
drawing in the bedroom, the order then becomes: middle, right and then left.
If all went well, the 4 pedestals now all go up
to the same height.
Turn around and walk to the other side, there
you see a push button with a device behind it.
It looks like a planetarium, only with few
planets.
You see 3 different spheres, the largest in the
middle is fixed.
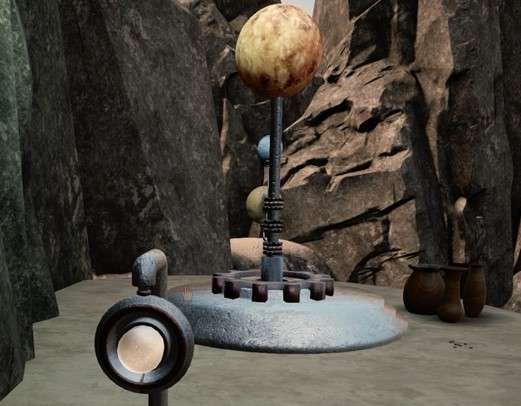
If you press the button, the other 2 turn, at
the bottom you see 12 blocks.
You have to regard this as a clock.
Now press the button and see where the 2
smaller spheres stop.
You have to look quickly because the bulbs
don't stay that way for long.
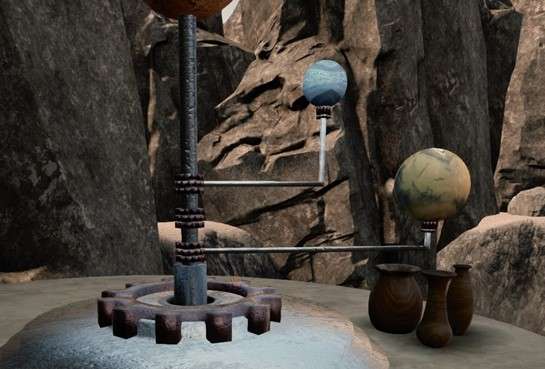
They both stop on the third block.
You are now done here, go back to the landing
by the large lenses.
Click in the elevator and go down, go right to
the 3 devices with the patterns.
Now pull the cylinders with the patterns down
in the order: centre, right and then left.
If the cylinders with the patterns do not stay
down, use the order: right, left and then centre.
A possible explanation for this is that there
is still a layer in the puzzles, you have to click on the turning wheels to
turn the mirrors.
You have to click 2x on the left-hand dial, 3x
on the adjacent dial. The next rotary wheel is positioned correctly and then
click 1x on the right-hand rotary wheel.
You get: right = 1, left = 2 and middle = 3, I
don't know if this is the correct explanation but it works.
The mirrors now go up.
Now you have to turn the lenses in front of
each other and also you have to turn the mirrors in the correct position.
Go back to the building and get in the elevator
again, then go upstairs to the little platforms.
Click on the gears on both platforms until the
pointer is on the 3, do this also on the other platform.
The lenses now turn in front of each other.
Take the elevator down and walk to the turning
wheels.
Click on the turning wheels until the mirrors
are positioned correctly, you will see that the power goes from the lenses to
the Core on the jetty.
You are done here, walk across the jetty to the
Green Core and click on the Core.
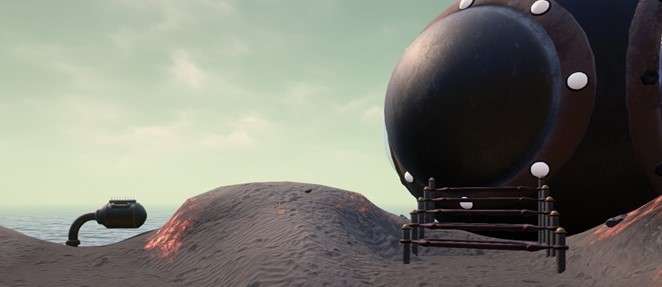
You are back in the cave.
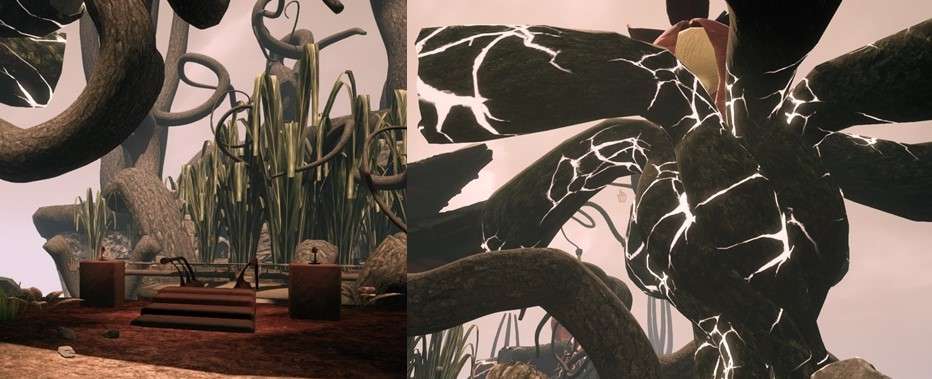
Walk out of the cave and you see that the rocks
have changed, as if they are glowing inside.
Go to the switch on the block and put it down,
the power now goes to the next cave.
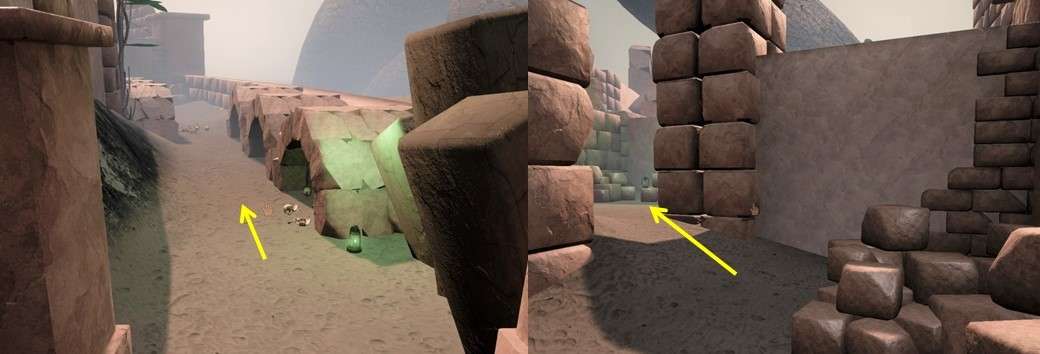
Then walk along the path to the left, towards
the stone arches.
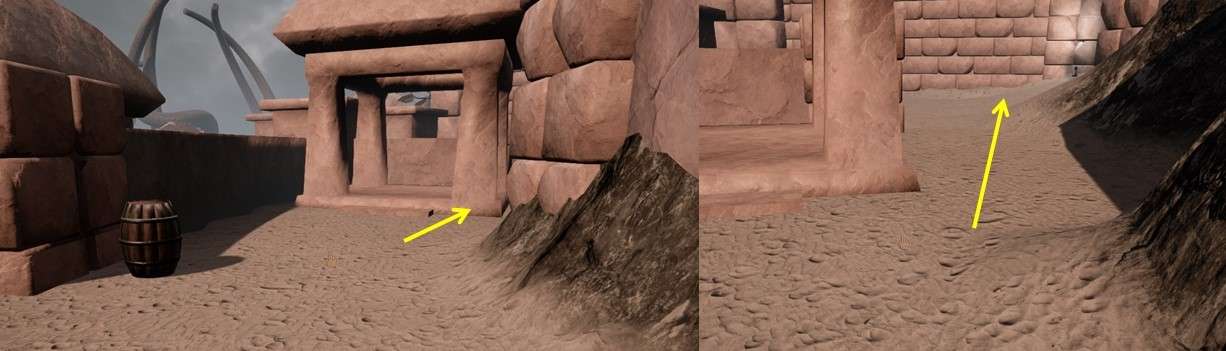
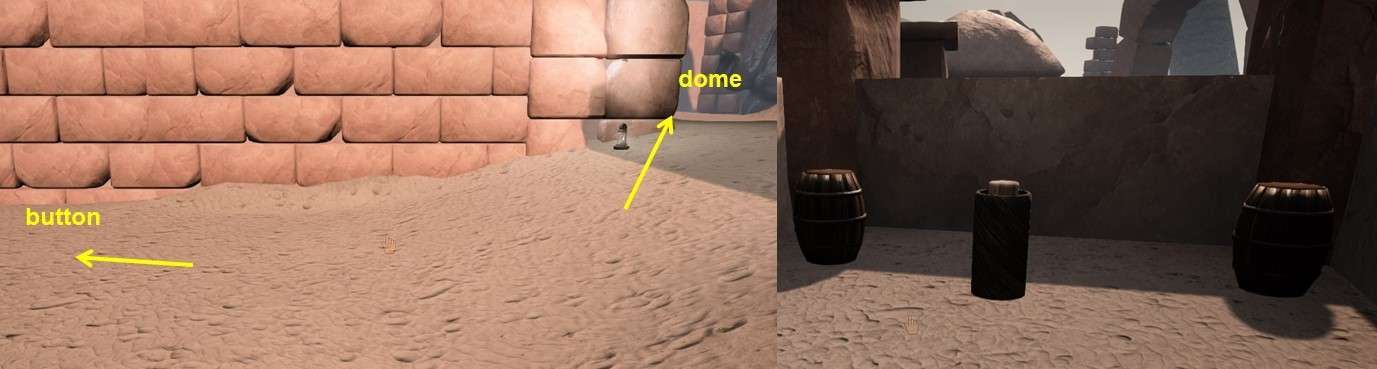
Walk to the fence and push it inside.
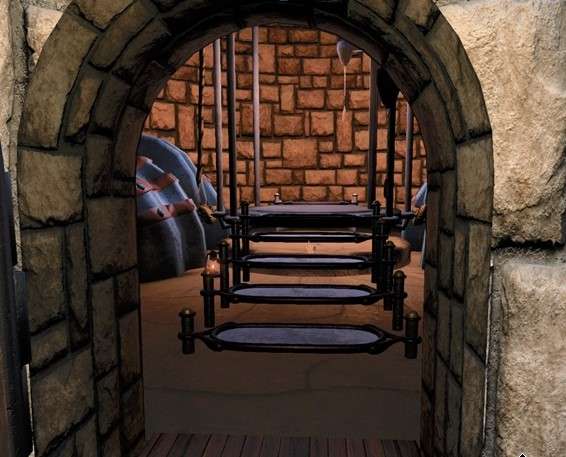
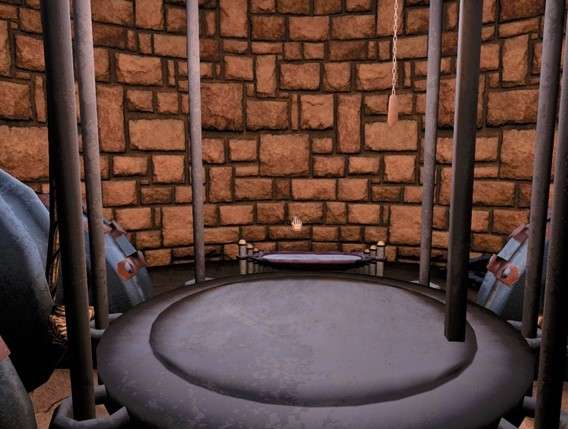
Walk into the cave, you will find the red Core
and 4 pedestals with a button on top.
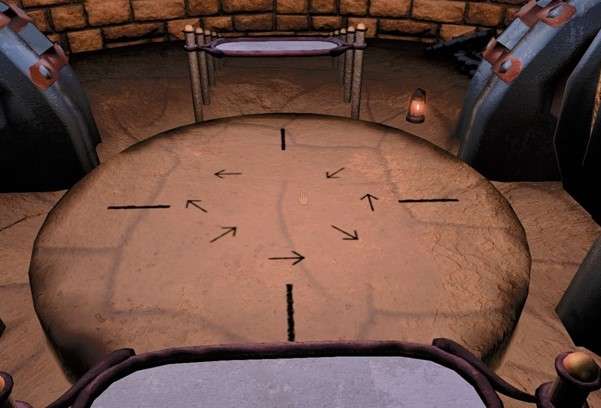
The buttons show points: 1, 2, 9 and 4. You
have seen these numbers of dots before.
On the tree stump with a plinth with an arrow
in front.
If you don't remember, you can take a look,
walk to the other gate and open it.
From here you are quickly at the stump.
The order is: 1, 4, 9 and 2. Press the buttons
on top of the pedestals in this order and the red Core will light up.
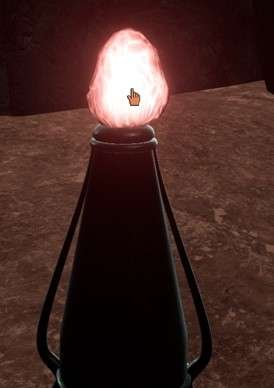
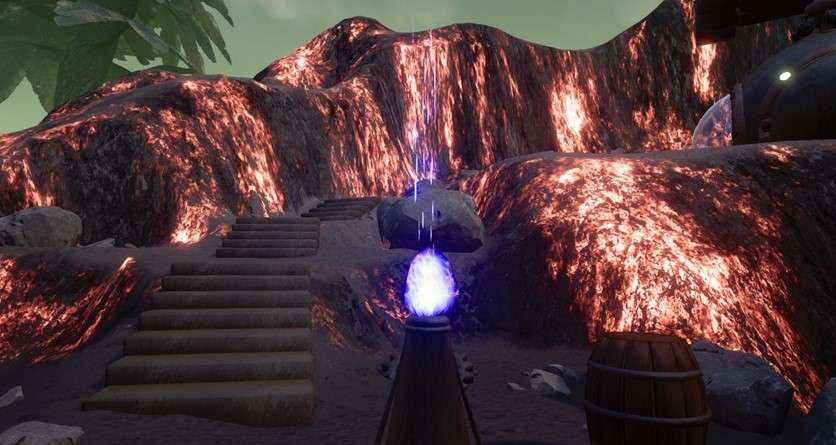
Then click on the red Core.
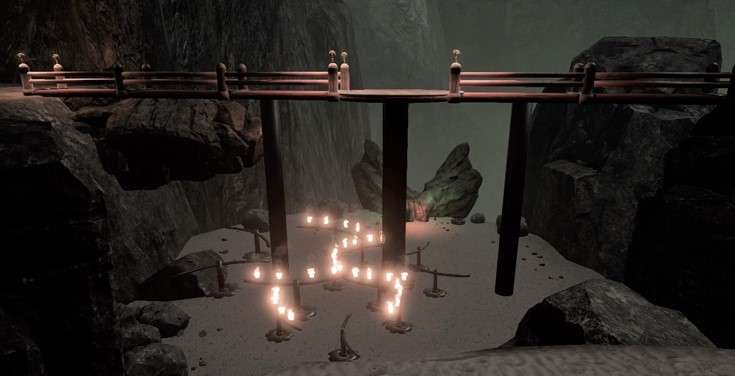
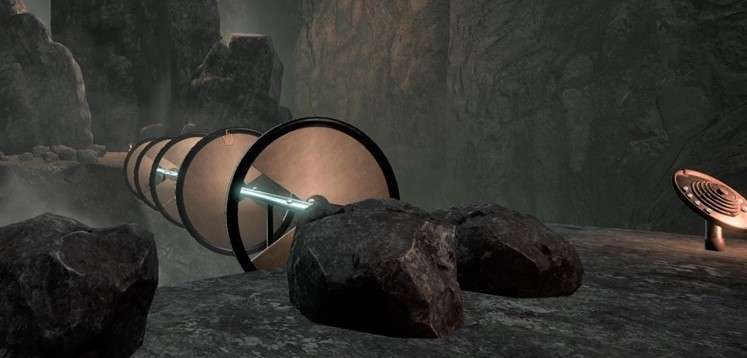
You see a waterfall, turn to the right. In the
corner you see a few large rings.
Walk to that corner and then follow the path to
those rings, you will see that a rail runs through the rings.
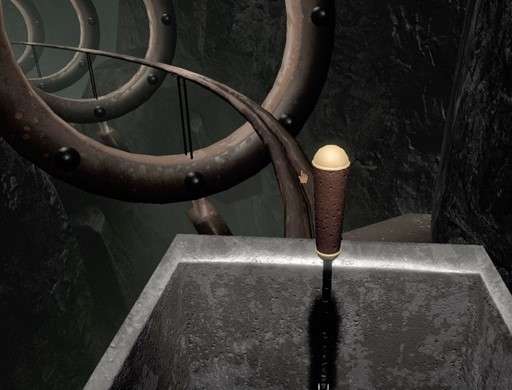
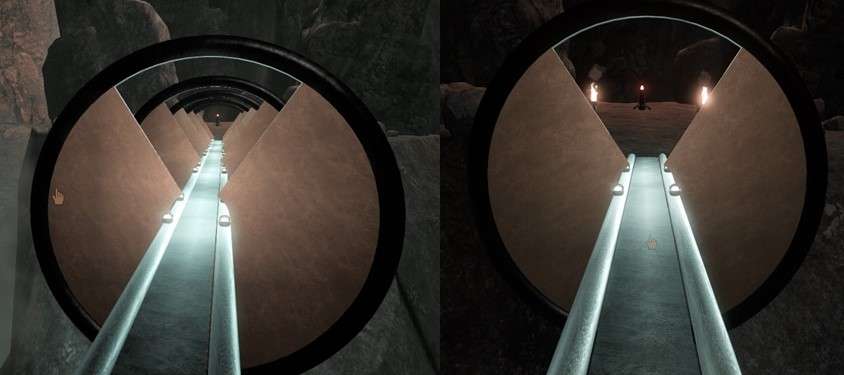
A cart is on the rails in front of you, click
on the cart to get in.
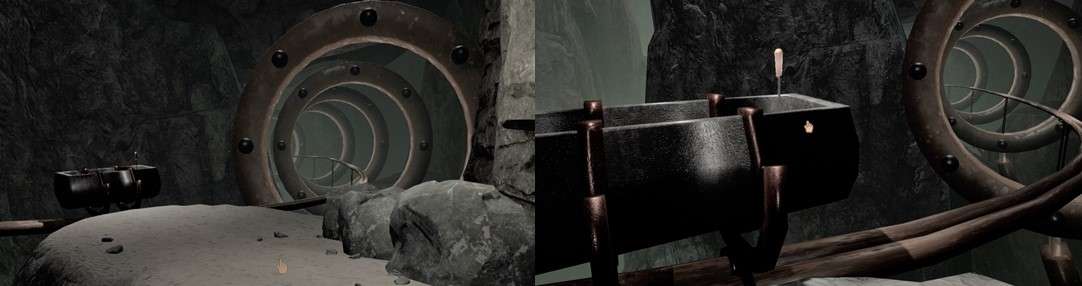
Then pull the lever back and enjoy the short
ride.
During the ride, look to the left and see the
maze of roundabouts, paths and lifts.
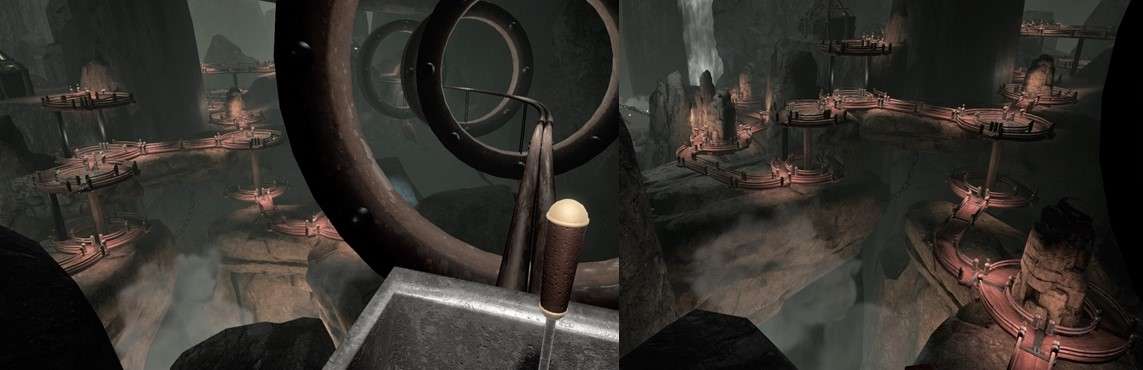
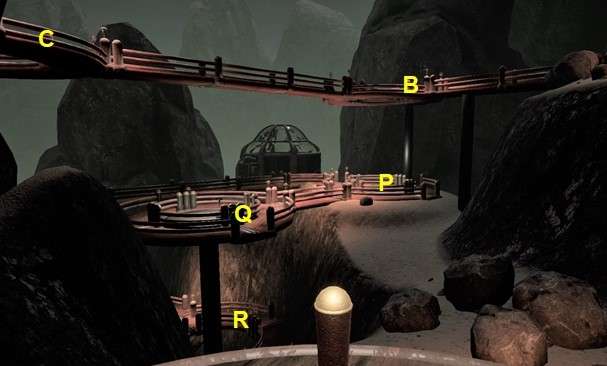
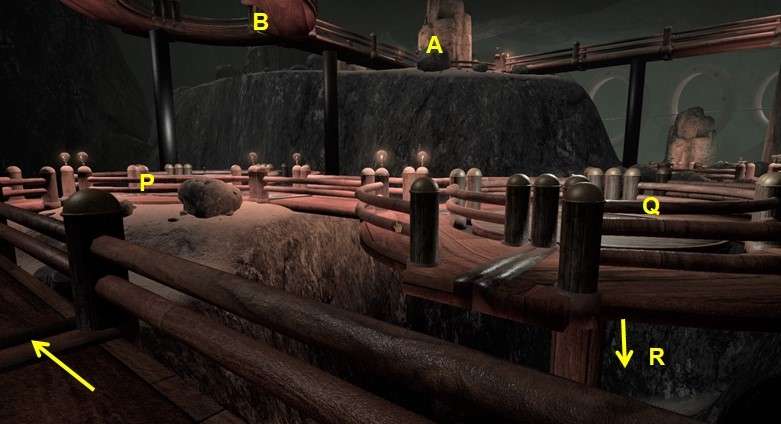
I have numbered the roundabouts from A to R-
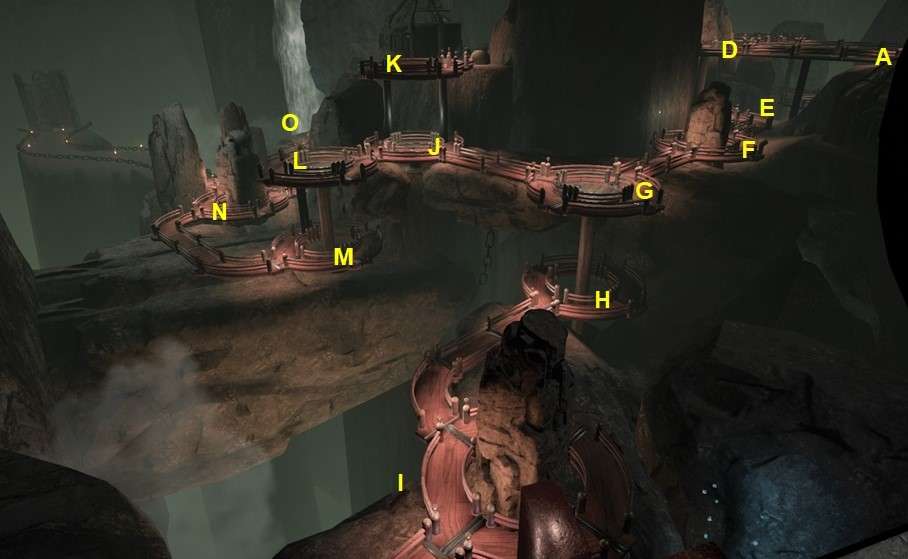
Click on the right to step out and follow the
path to the left.
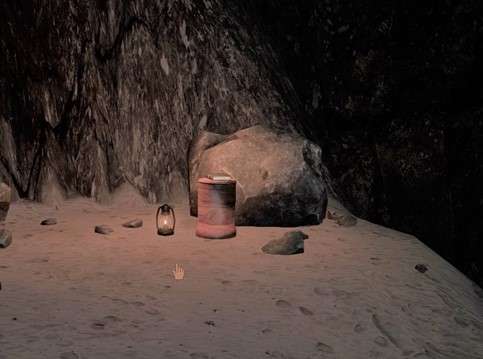
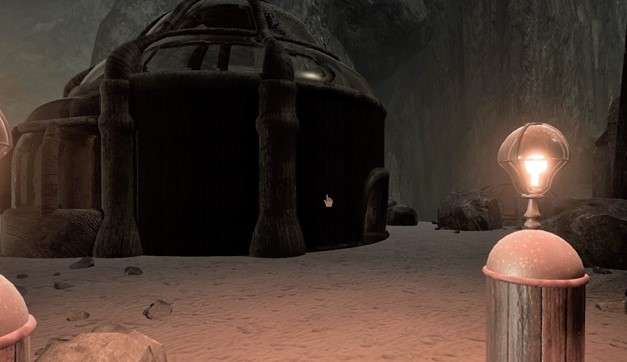
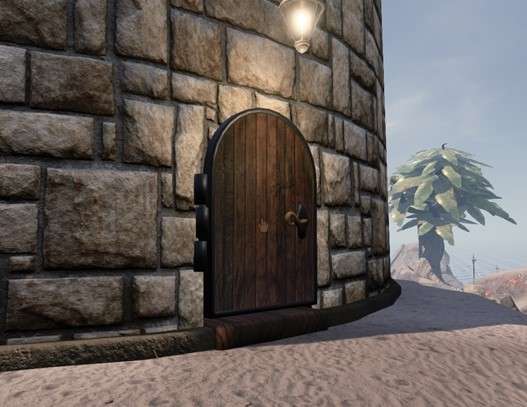
To the right is a hut, walk to the front and
there you will find the entrance to the hut.
You can enter the hut but there is nothing to
be found in this hut.
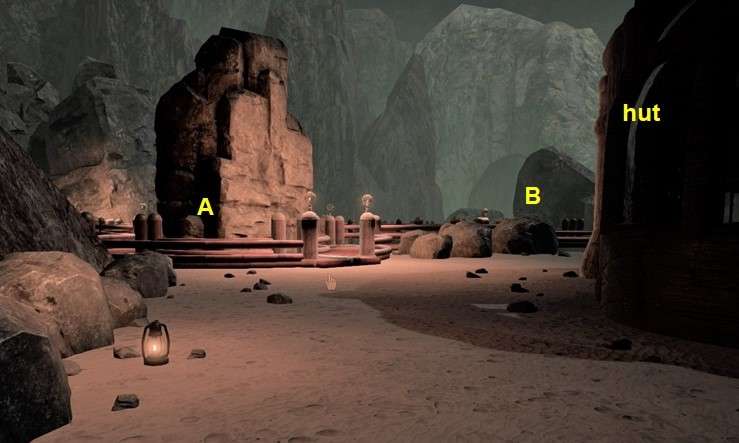
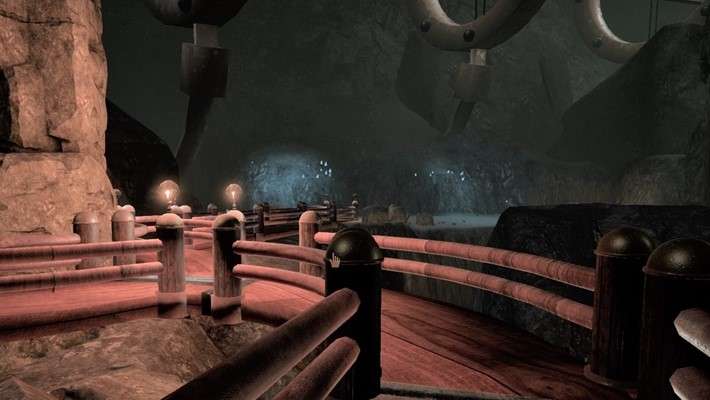
Go outside again and walk to the circular
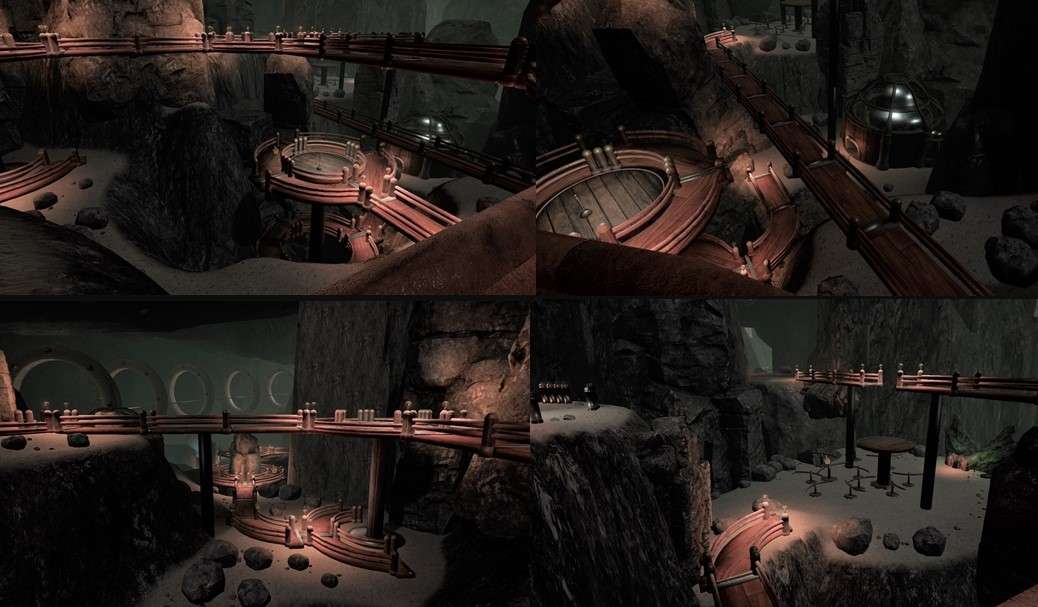
walkway. This is the start of a maze of roundabouts, walkways and lifts.
This tangle is spread over 3 levels, you can
see different huts.
In some you find books and letters, you have to
go everywhere.
Step on the roundabout and walk along the paths
and the other roundabouts, look over the edge and you will see a lot of other
paths and roundabouts.
When you get back to the start, step back on
the roundabout A and then head up the path to the right.
Look at the roundabout B just over the edge in
the middle then you will see roundabout P with a lift.
You can go up with that lift, but you cannot go
down with it from this roundabout at this moment.
From this roundabout, follow the path to the
left and you will come to roundabout C.
Go up the right path and follow this path, it
goes to a cave but you can't get there now because the walkway is missing a
part.
When you reach the opening in the path and turn
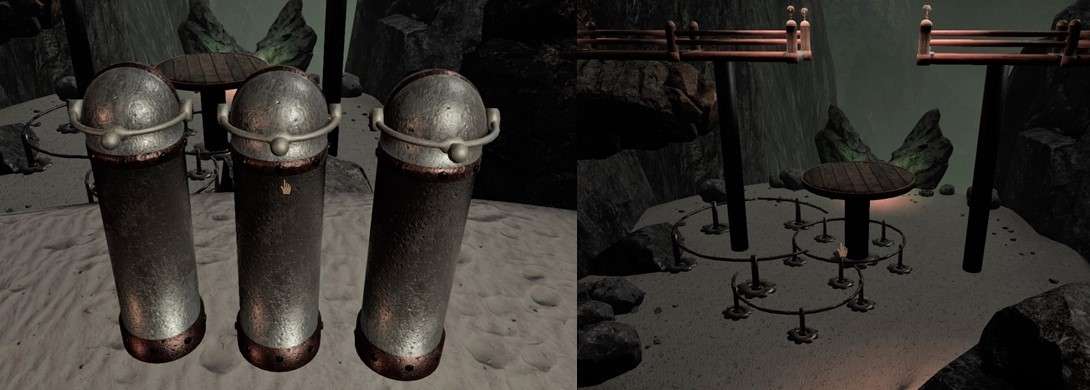
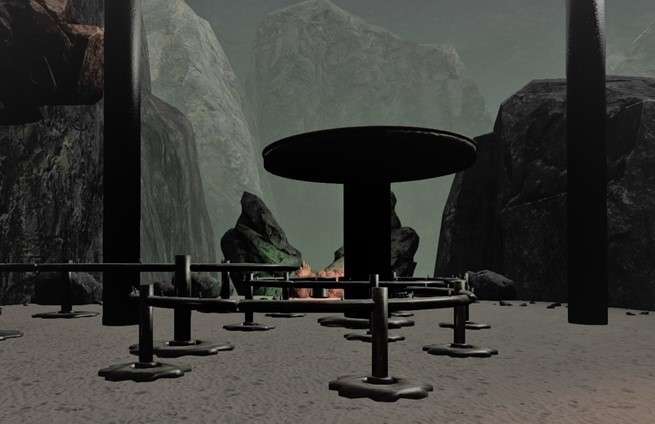
to the left, you see a plateau with 12 pedestals.
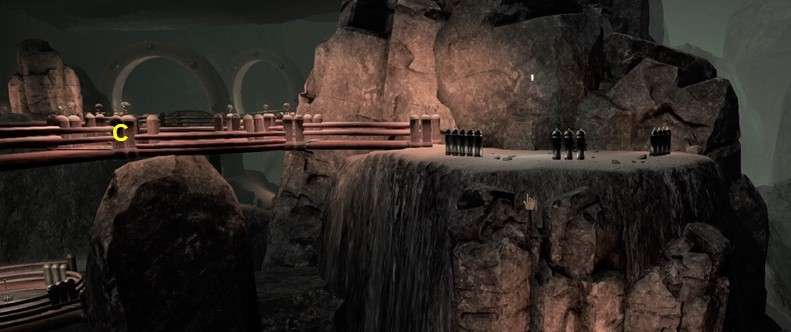
Walk back and then go up the right path again,
you will reach the plateau with 12 pedestals.
All bases have a lever on top.
Walk to the edge and look at the walkway, under
the part that is gone you see a lift platform.
There are 12 things on the floor beneath that
platform, they are bent pipe sections.
The intention is to raise the platform so that
you can go to the cave.
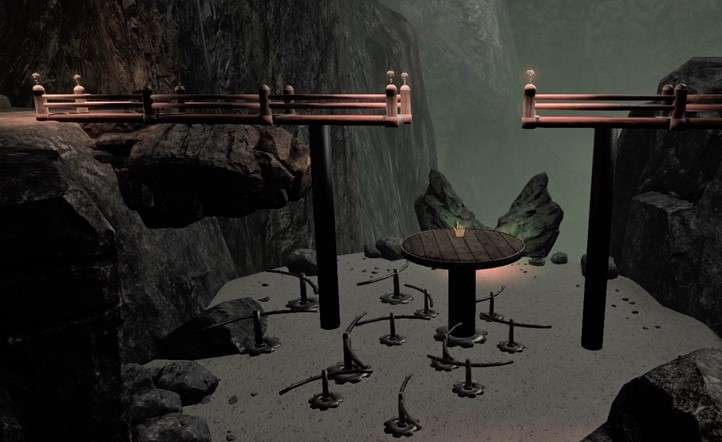
Go back to the pedestals and lower all the
levers, then walk to the edge and look down.
You see that all the pipes are turned, let them
stand in this position.
Later you notice why you have to this.
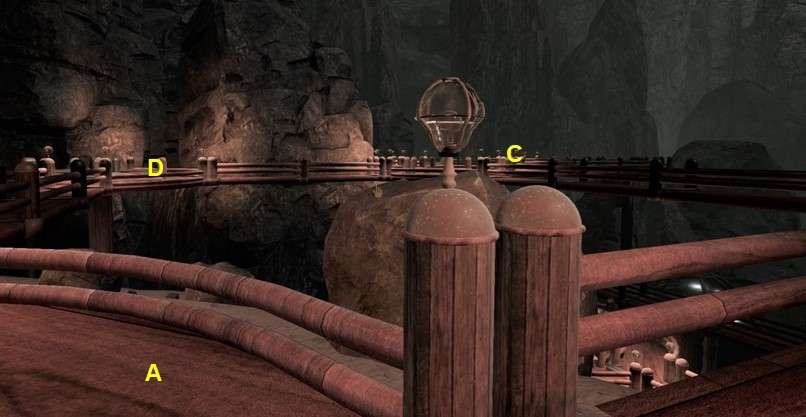
Go back at roundabout C and then go right to
roundabout D.
At roundabout D you can only go back
left to roundabout A or take the elevator down.
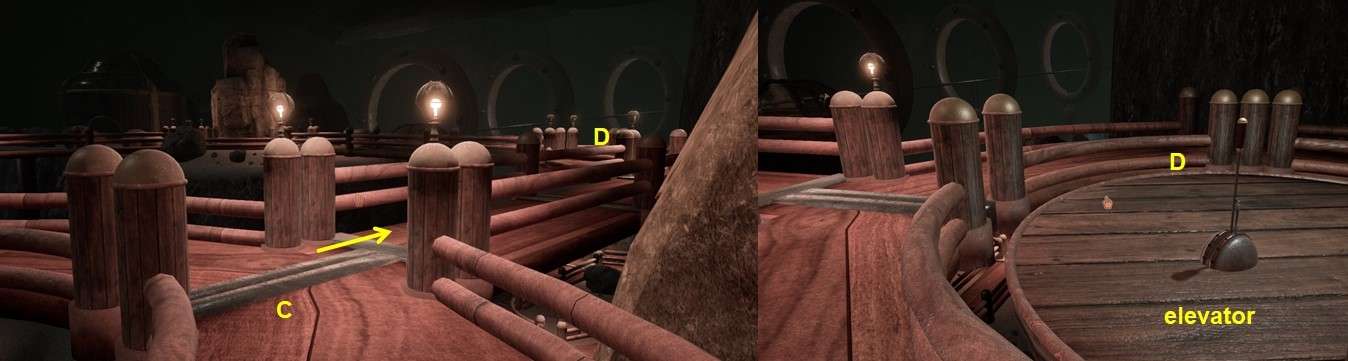
Click on the lift and pull the lever back.
You are then on roundabout E.
You see 2 roundabouts on the other side, there
is no walkway to there.
Turn around.
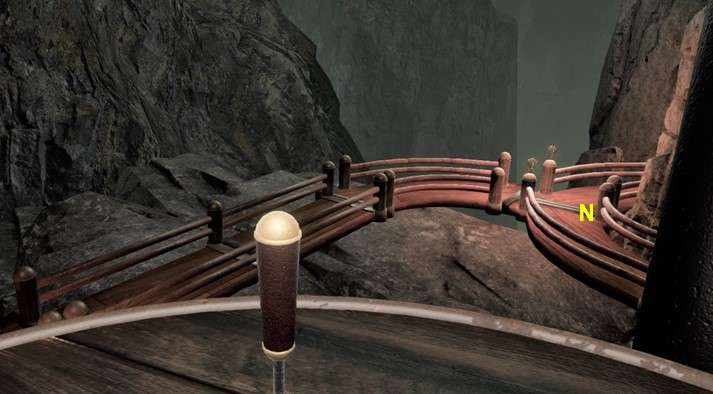
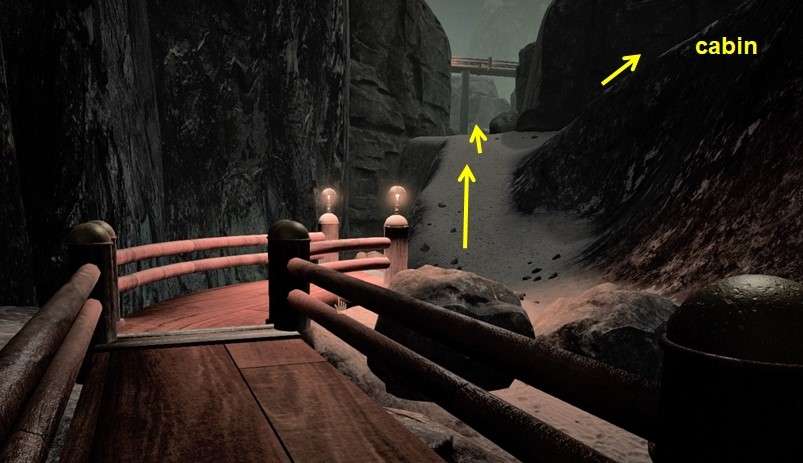
Go up the wooden walkway, after the bend a part
of the railing is missing on the left. You see a cabin there, go there and view
the cabin.
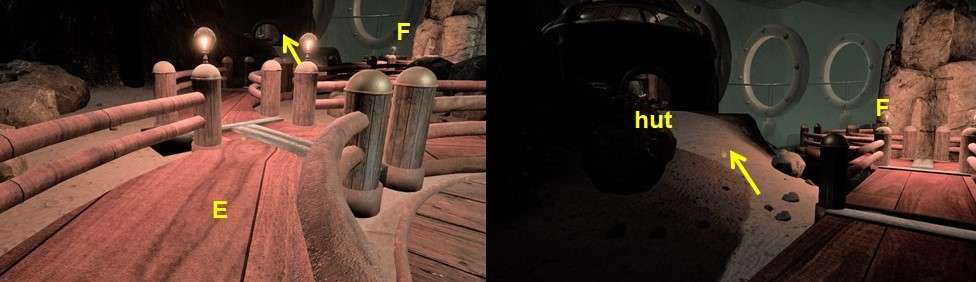
There is nothing to be found so go back to the
wooden walkway and turn left.
You arrive at the roundabout F, go to the other
side and continue on the path.

You will come to roundabout G, get on the
elevator and pull the lever backwards.
You go down and you come to roundabout H.
Get off the elevator and follow the only path
here, via roundabout I you will reach a plateau.
On the plateau you walk to the right, in the
corner you will find a book.

This contains patterns of curved lines, with a
name under each pattern.
Copy the patterns and the names that go with
them.
You will find 3 names later on and you need to
know the pattern.
Walk back to the roundabout H and get on the
elevator, pull the lever.
You go back up to roundabout G.
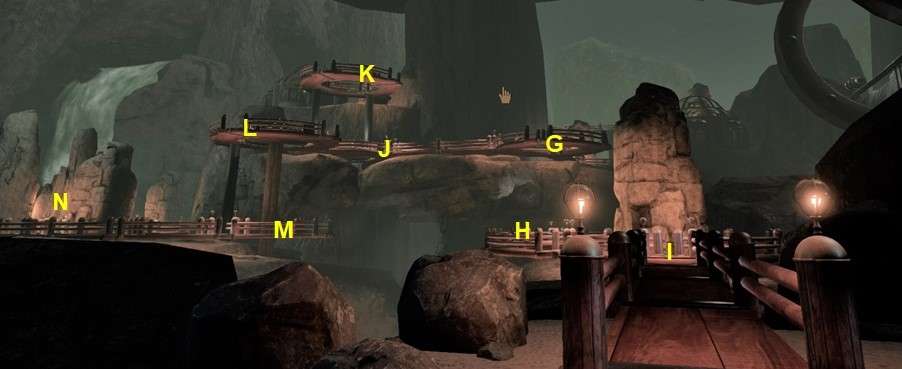
Walk to the next roundabout J, which also has a
lift.
Get on the elevator and pull the lever, you
will come to roundabout K.
Then walk to the hut but you won't find
anything there.
Go back on the elevator in roundabout K and
pull the lever, you are back at roundabout J.
Walk across the other path to roundabout L,
which also has a lift.
Get on the elevator and pull the lever.
Down at the roundabout M, walk along the path
to the next roundabout N.
Go up the left path.
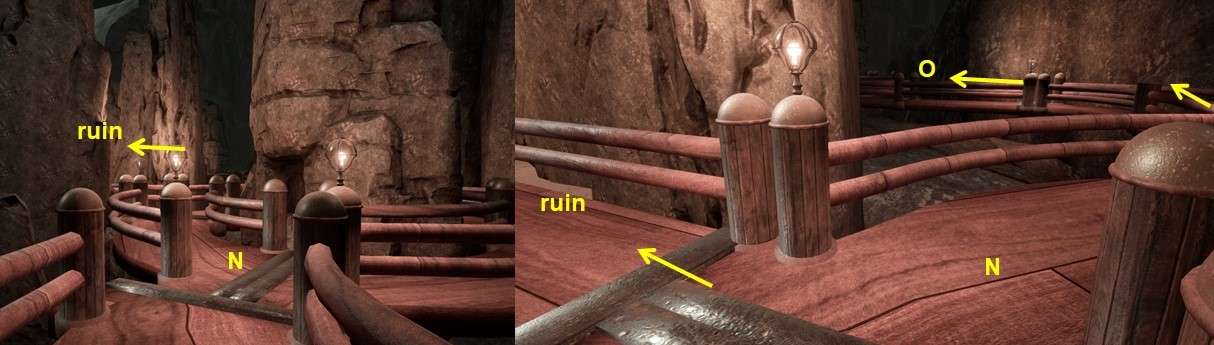
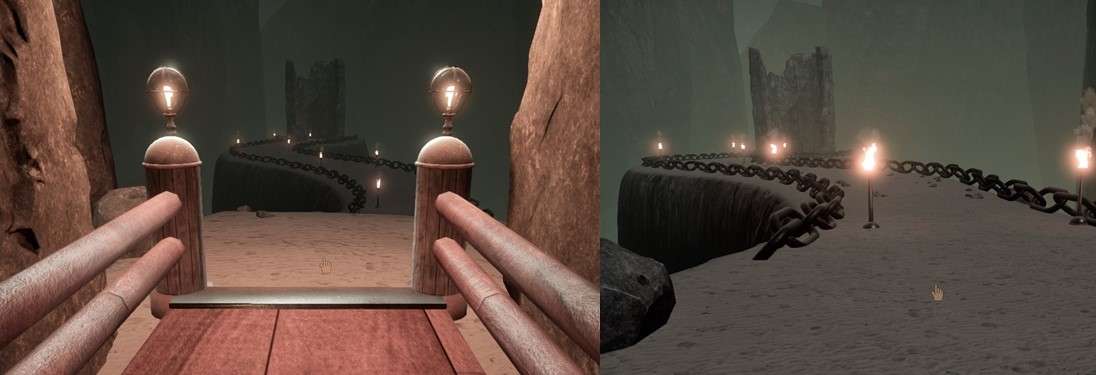
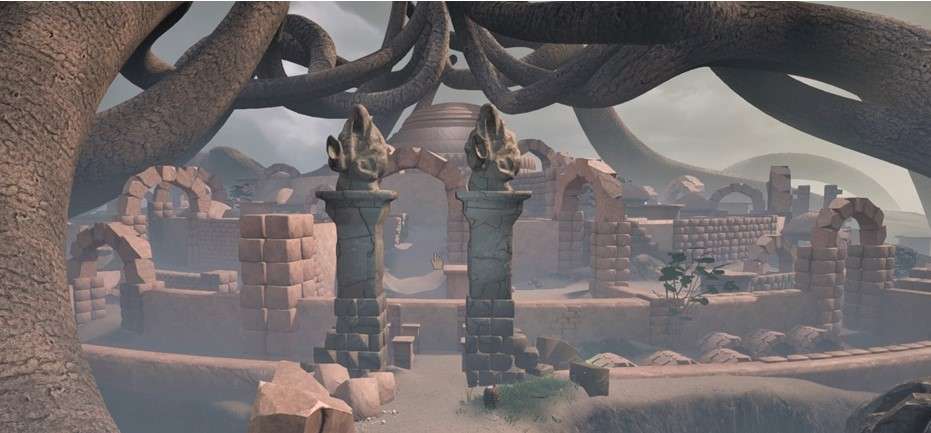
You now see a wide sandy path that goes to a
ruin.
Walk to the ruins, you will see a cage with a
skeleton in it. This is 1 of the architects.
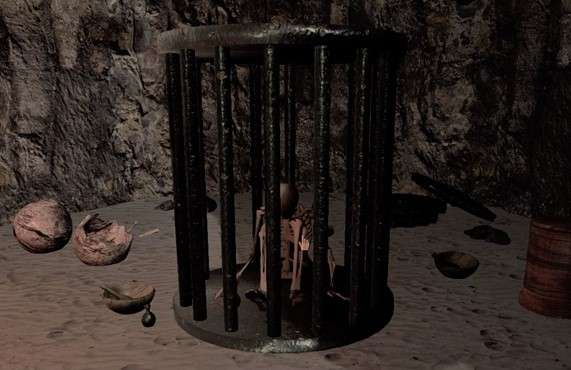
On the left is a book, read this book. It tells
the story of this architect.
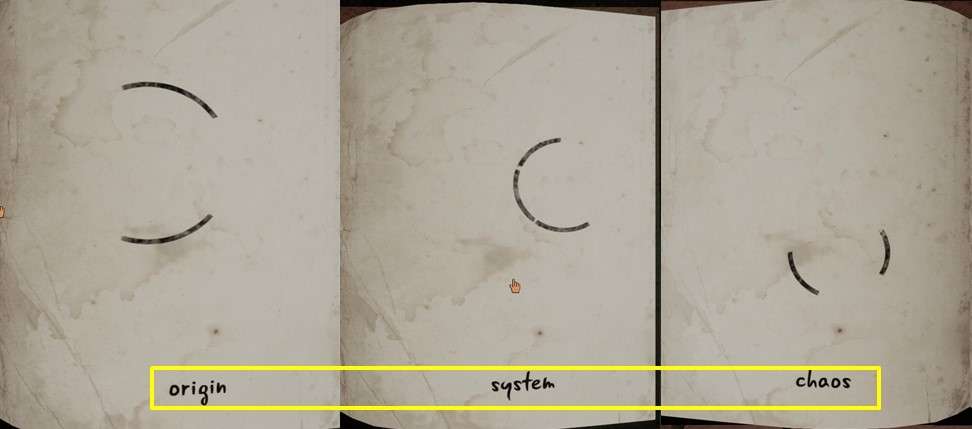
In the book there is a red line under 1 word:
system, write down this word.
Walk back to the roundabout N and turn left
again.
Follow this path, over the roundabout O, it
winds a lot. This path becomes a sandy path that goes up.
Halfway through this path you turn around and
you see a path that goes to a hut.
Go and look in the cabin but there is nothing
to be found.
Go down and walk further up the other path.
You then arrive at the plateau with the curved
pipes.
Walk past the pipes and there you see a rotary
wheel, turn the wheel and fire will come out of the curved pipes.
If you had not previously lowered the levers on
the pedestals, you would not have seen a fire.
Walk back to the path you came from, to the
left of this path you will see a wooden walkway.
Follow this path to roundabout P and then on to
roundabout Q, get on the elevator and pull the lever.
At the lower level you walk from roundabout R
to the hut.
You will find a book here, on 1 of the pages
you see at the bottom 3 words of which the middle words are crossed out.

Also write down those words and then go back
up, walk to the roundabout P.
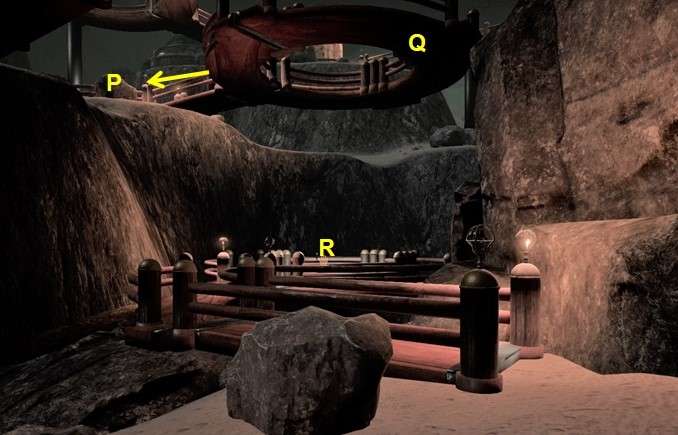
Get on the elevator and pull the lever, you
will be back at roundabout B.
Then walk to roundabout C and continue to the
plateau with the 12 pedestals.
You must now combine the patterns of those 3
words: origin - system - chaos.
You then get 1 symbol and you have to make that
with the curved tubes.
By raising certain levers, a number of tubes
twist and the fire in those tubes goes out.
Number the tubes from left to right: 1 to 12.
Now raise the levers of the following bases: 2,
3, 6. 11 and 12.
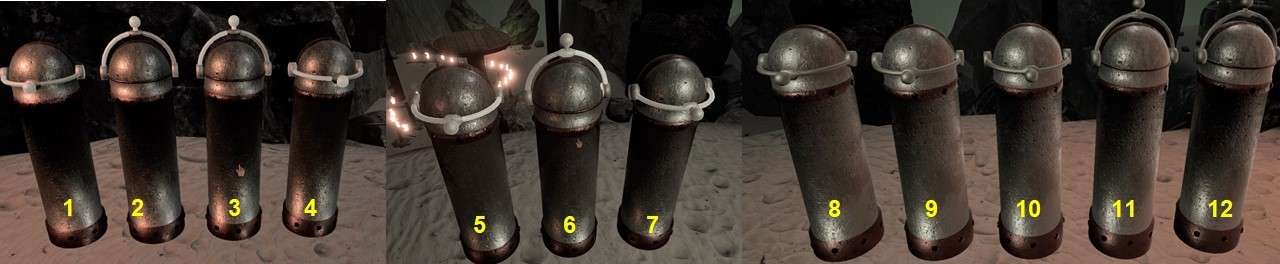
Walk to the edge and look at the tubes, you see
the symbol and also that the platform is now up.
The path to the cave has been restored.
Walk back to roundabout C, turn left onto the
path and walk to the cave.
Walk between the lamps to the suspension
bridge.
You see a metal path to the other side with 5
discs.
You must now turn these discs into the correct
position.
To the right of the path is a disk with 5 rings
and 4 buttons on the left and 4 buttons on the right.
By clicking on the right buttons the rings turn
clockwise, with the left buttons they turn anti clockwise.
Name the buttons from top to bottom: A, B, C
and D.
Name the rings from the outside in: 1 to 5.
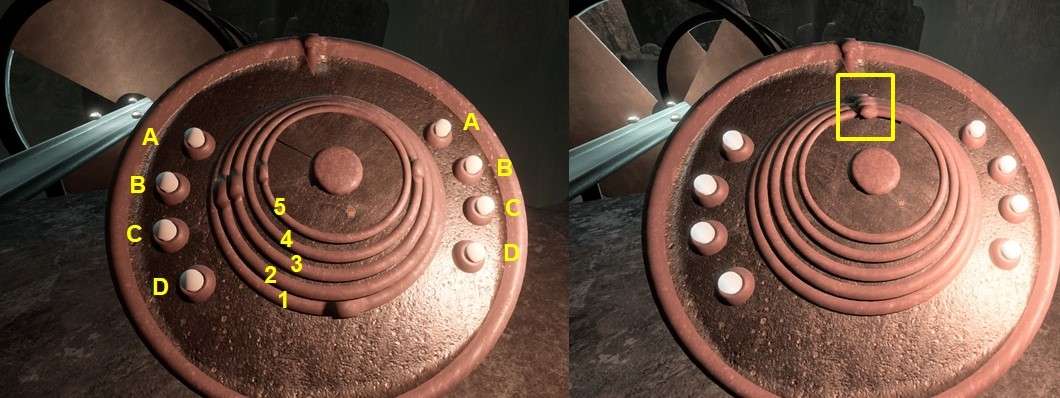
Button A turns rings 3 and 5, button B ring 2
and 4, button C ring 1 and 3 and button D ring 1 and 4.
First set ring 5 with button A, then ring 2
with button B, then ring 4 with button D and finally ring 1 and 3 with button
C.
All disks are now correct and the path is free.
Walk to the other side, there is the red Core,
click on the red Core.
You are back in the cave on the island, then
walk to the generator in the stone house.
You now have to restore the power to the
lighthouse.
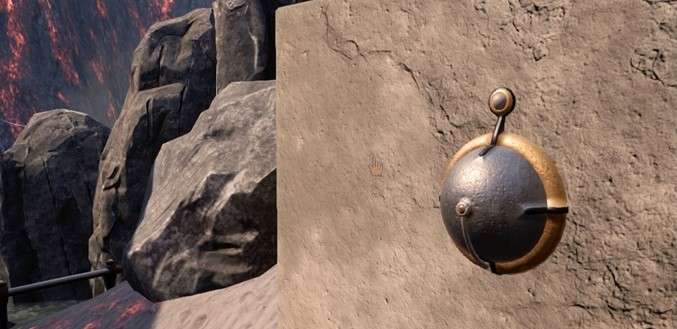
Next to the house with the generator is the
block with the switch, now turn the switch to the right.
You can see that the power now goes to the next
block.
Walk to the next switch and raise the switch,
there is now power in the lighthouse.
Go upstairs to the lighthouse, go to the door.
Click on the latch and hold down your mouse
button, open the door by sliding the mouse down.
Click in the doorway and you are inside, you
are standing in front of a staircase to a platform.
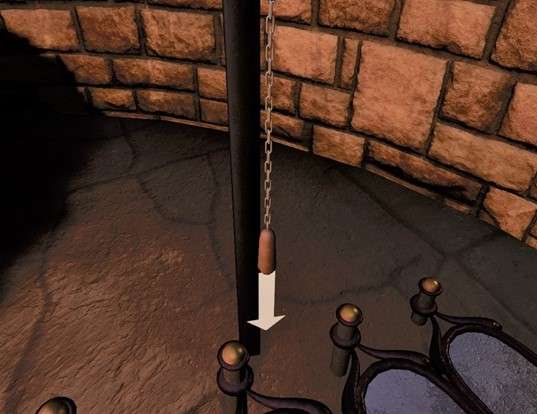
To the right is a chain with a handle.
Pull the chain down and the platform will
raise.
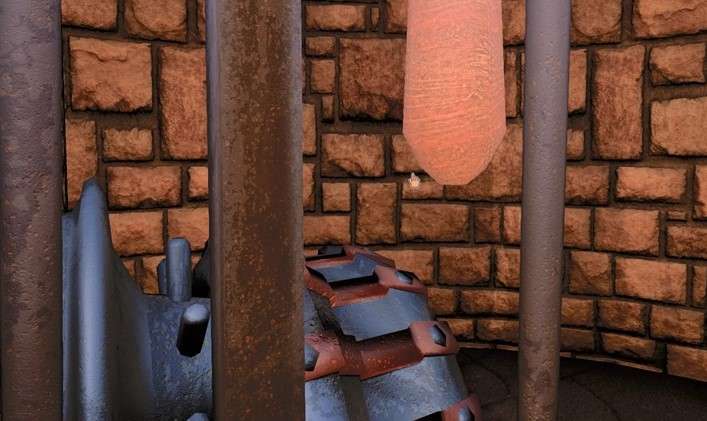
Go up the stairs and you will see a round disc
with arrows on the floor.
Make a drawing of the arrows, you need this at
the top of the lighthouse.
Go back a little and pull the chain again, the
platform will come down.
Click on the platform to step on it, then pull
the chain above the platform.
At the top you step off the platform and go
outside.
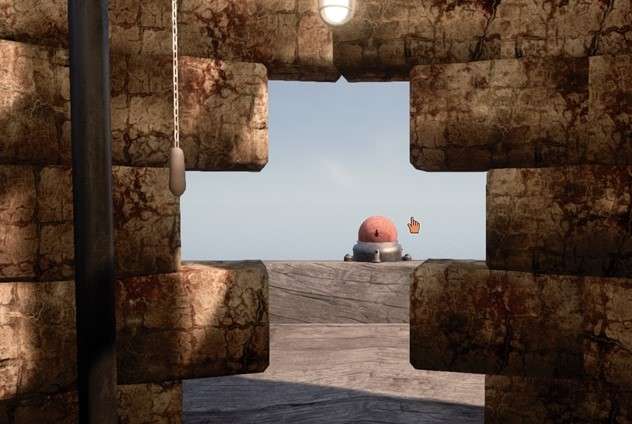
You see a sphere with an arrow, the down arrow.
This is not on the drawing.
There are 8 of these spheres, this is fixed but
you can turn the others to make the other arrows.
Go to the right and rotate the sphere until you
point the arrow to the bottom left.
You make this arrow by standing between the
left arrow and the down arrow.
Go right again to the next sphere and rotate
the sphere until you have the up arrow.
Continue to the right and now put all the
spheres in the correct position according to the drawing.
If all spheres are in the correct position, go
back into the lighthouse and click 2x forward.
You are then standing in front of a ladder,
click on the ladder and you will arrive at the top of the lighthouse.
Here is the yellow Core and if you have done
everything correctly then this yellow Core is now active.
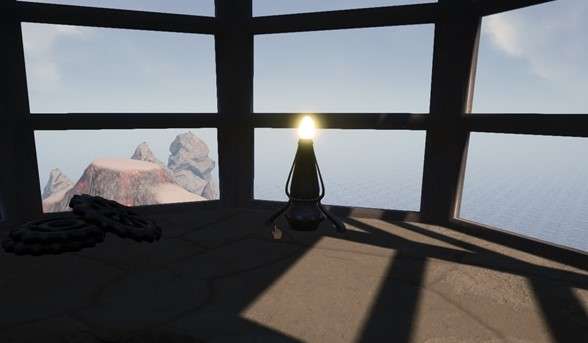
Walk to the yellow Core and click on it, you
will arrive in the Floating Garden.
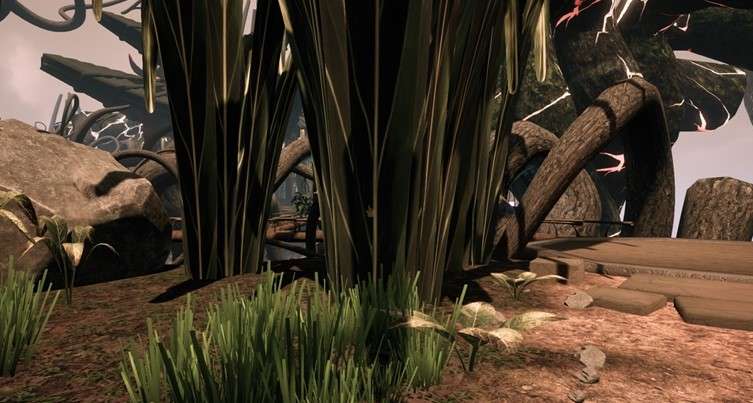
The garden consists of a number of floating
rock islands.
On the drawing you see the most important
parts, you can reach these parts via the walkways.
You are now on part 1 at Start.
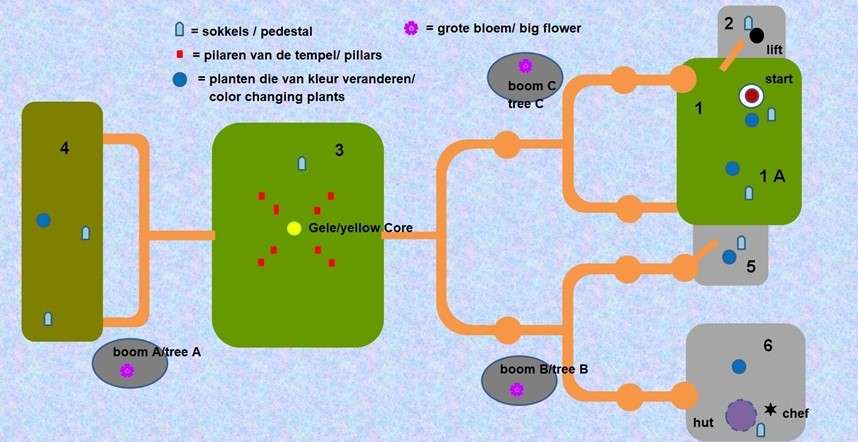
Between the stems you see floating walkways and
on the right you see a round plateau.
Behind that plateau you see a large orange tree
with a large flower above it.

Turn to the right and you will see a tile path
between 2 blocks.
Turn further to the right and there is also a
tile path, there you see a red plant.
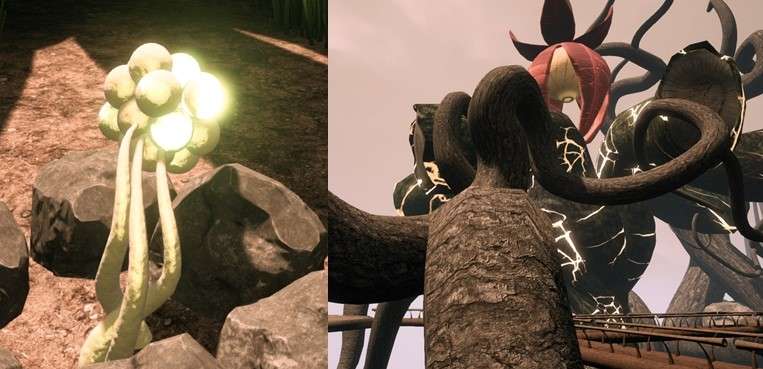
You can click on the plant but it is not yet
active.

To the right of the blocks is a base with a top
that can rotate.
There are symbols on the base and 1 on the top,
you have to turn the top later to make the right combination.
Turn even further to the right and there is
also a tile path, this path goes to part 1A of the garden.
There is also a red plant and a base with a
top.
Turn around and go over the tile path to the
lower part 2 of the garden.
There you will also find a base with a top only
this top cannot turn.
There are 8 symbols on both the base and the
top.
Next to the base, you see a hole in the ground,
here comes a lift later.
Turn around and go up, go right to the round
plateau and continue on the walkway.
You arrive at a fork, straight on you come to
part 1A of the garden.
First go to the right, you will arrive at
another plateau.
Continue walking along the walkway and you will
come to a fork again.

Straight on the path goes to parts 5 and 6 of
the garden, now you turn right again.
You now come to part 3 with the temple, in the
middle of the temple is the Core.
This is not yet active
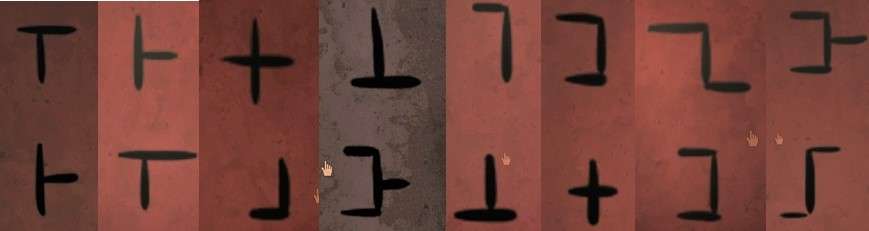
There are 8 pillars under the roof, 2 symbols
on each column.
Go to each pillar and note the combination of
symbols on it.
To the right of the Core is a base with a top.
Walk to the base there and see which
symbol is on top.
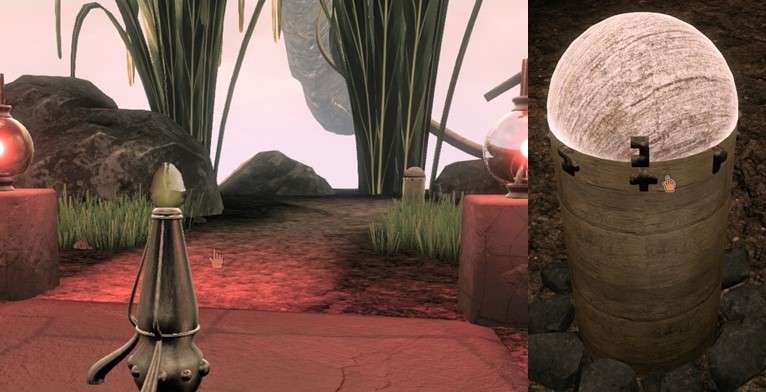
Look in your notes which symbol fits, then turn
the top until you see the right combination.
Turn around and walk to the core and go to the
right.
Walk along the walkway to part 4 of the garden,
take a look to the left.
There you see a large white tree with a large
flower above it.
Continue walking along the path, it does not
matter whether you continue left or right.
You can already see a pedestal between the
stems.
Go to the base and turn the top to the right
combination.
Then follow the tile path to the right, behind
the rock you will find a white plant.
Click on that plant and you will see the large
flower blowing pollen on the white tree.
Nothing changes, you have to do something else
first. Later you come back here and then the tree changes color.
Then walk to the edge to the right of the white
tree, there is also a base.
Turn the top until you have the right
combination.
Then go through the temple to part 5 of the
garden.
Turn right at the fork.
You also see a large orange tree with a large
flower above it.
At the next fork you turn left.
On part 5 you will find a red plant and again a
base.
You can click on the plant but it is not yet
active.

Go to the base and make the right combination
of symbols there.
Now go via the walkway to part 6 of the garden.
On the left you see a red plant, this one is
also inactive, and on the right you see a hut.
Go to the hut, inside you will find a book and
a letter.
There are only blank pages in the book.
At the bottom of the letter you see a triangle
with 3 coloured corners.
Note the colors and where they are, you must
later give the 3 trees these colors.
The white tree must become purple.
Behind the hut you see bars, on the right next
to the hut is the base.
Set the correct combination on the base.
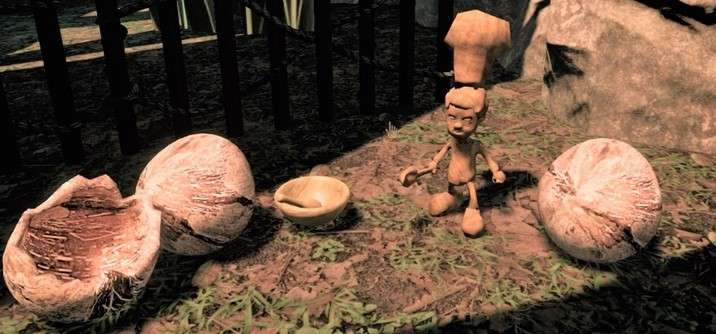
Walk to the red plant and then go to the right
through the stems around the rock.
There is a doll with a big chef's hat, I don't
know what to do with it.
Now go through the walkways to parts 1 and 1A,
you must also set the correct combinations on the 2 pedestals here.
If you now have the right combination on all
pedestals, go to part 2 of the garden.
You see a lift / basket hanging above the hole.
Click in the elevator to get in and pull the
chain.
You sink down, click to get out and walk along
the walkway to the other boulder.
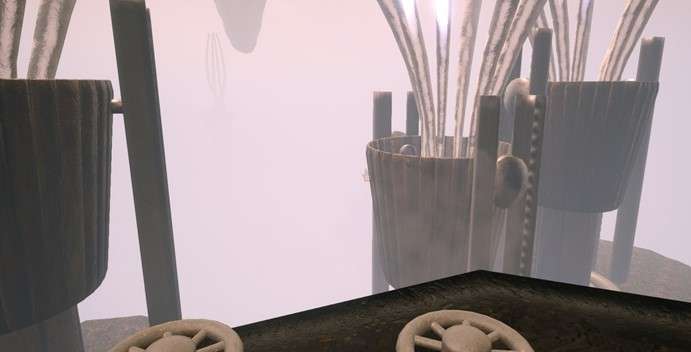
There are 3 turning wheels on the edge. You can
also see 3 containers of liquid hanging under the roots.
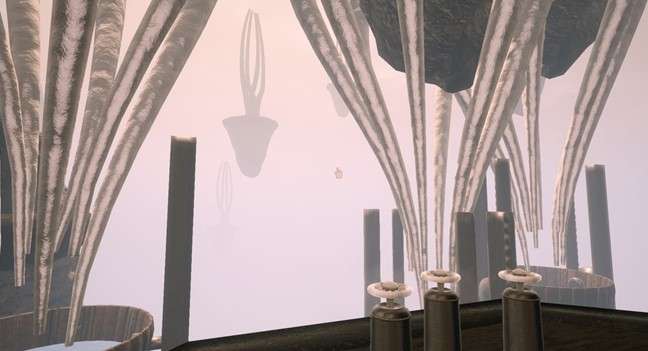
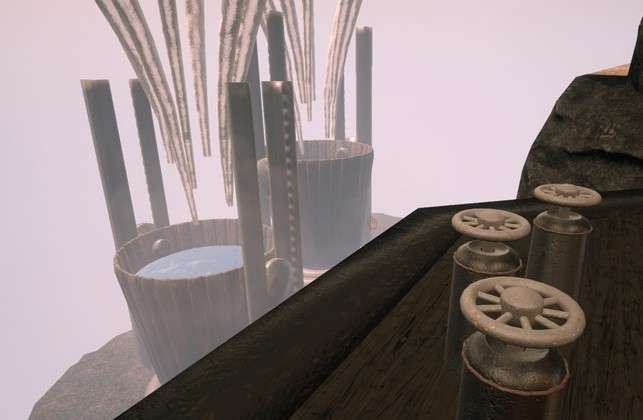
Click on the turning wheels and turn them to
the right, the containers with liquid will rise.
The roots are now hanging in the liquid.
Go back to the elevator and pull the chain to
go up again.
You must now activate the white plant by
clicking on the red plants because they are now active.
|
white |
= |
blue + red + yellow |
|
orange |
= |
red + yellow |
|
green |
= |
blue + yellow |
To make the white plant active you need a blue
and an orange (= red + yellow) tree.
You are now in part 2 of the garden, go to
parts 1 and 1A and make both plants blue there by clicking 2x on each plant.
You now have a blue and an orange tree.
Go to part 4 behind the temple and click on the
white plant.
The white tree now turns purple.
Now go to parts 5 and 6 of the garden and make
1 of the plants now yellow, the tree is now yellow.
If you make both plants yellow then it doesn't work.
Now go to part 1 or 1A, it doesn't matter and
make 1 of the plants yellow.
The other remains blue, the tree is now green.
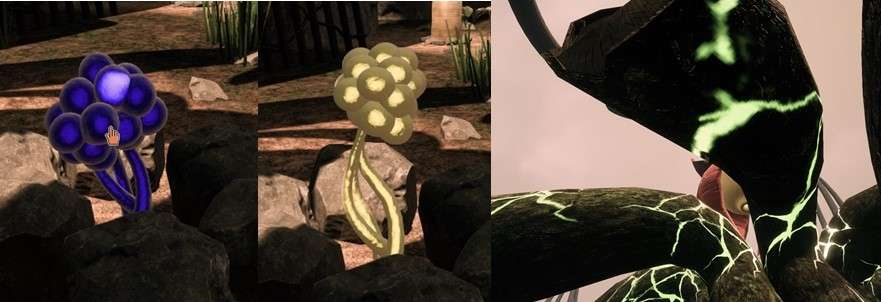
The trees now have the right color according to
the letter in the hut on part 6 of the garden.
Walk to the temple and you will see that the
Core is now active.
Go to the yellow Core and click on the Core and
you are back at the top of the lighthouse.
You can see that the rocks glow even more.
Go to the ladder and click left next to the
ladder.

At the bottom, go a little forward and click on
the platform, then pull on the chain.
You sink to the bottom of the lighthouse, go
outside.
Go down and go to the barrel, look down on the
floor at the board with the round logs.
Walk further down and go along the walkway to
the block with the switch.
Turn the switch to the right, the monorail now
has power.

Walk to the monorail, go left to the box with
the switches.
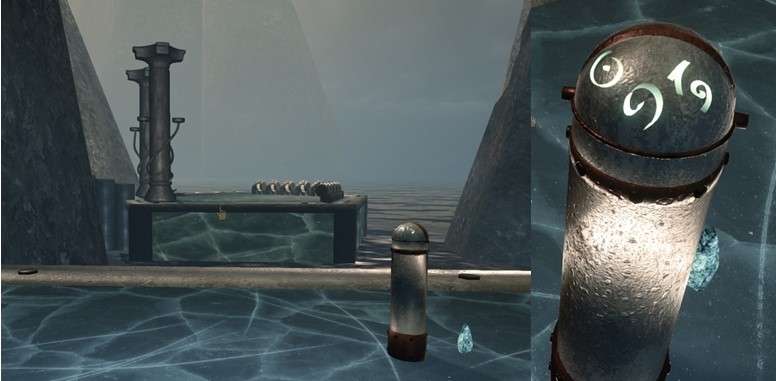
Number the switches from left to right: 1 to 9.
Now place switches 2, 4, 5, 6, 8 and 9
forwards. You now see 6 yellow lines.
Walk to the cabin of the monorail and click on
the hatch.
Click in the cabin and then pull the lever
back.
You now go to the other side of the island,
step out of the monorail and you see the blue Core on the beach.
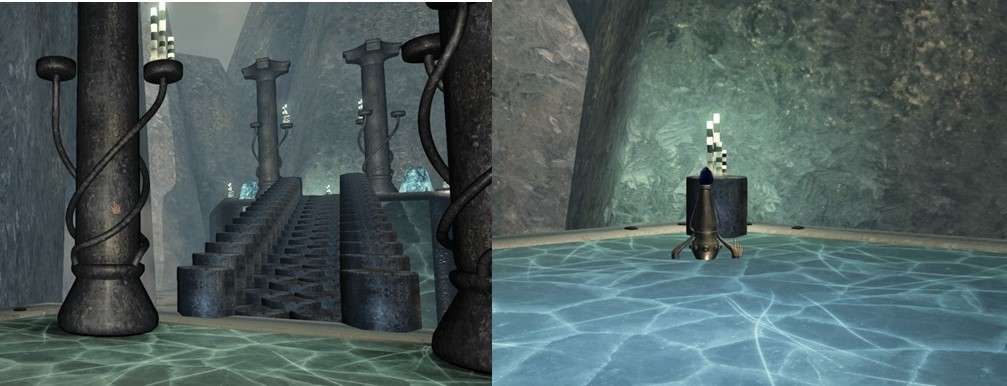
Go there and click on the blue Core.
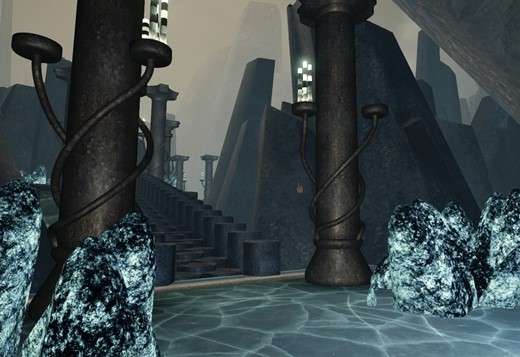
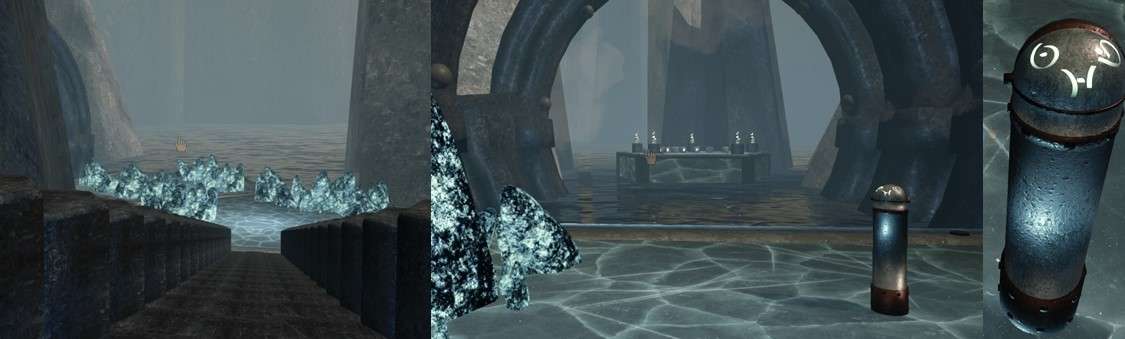
You are now in a world of islands in water, the
islands are connected with bridges.
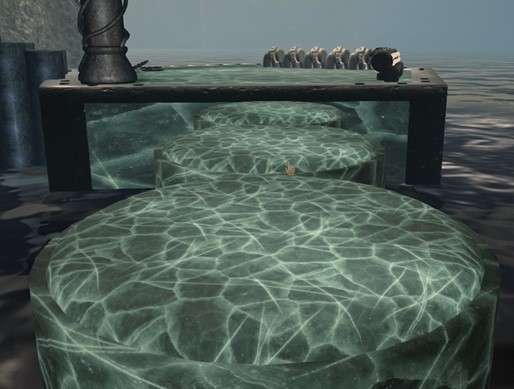
Crystals / blocks lie on the islands.
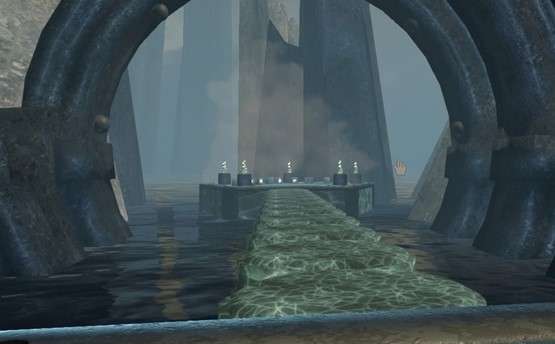
Now follow the path up, walk to the next
bridge.
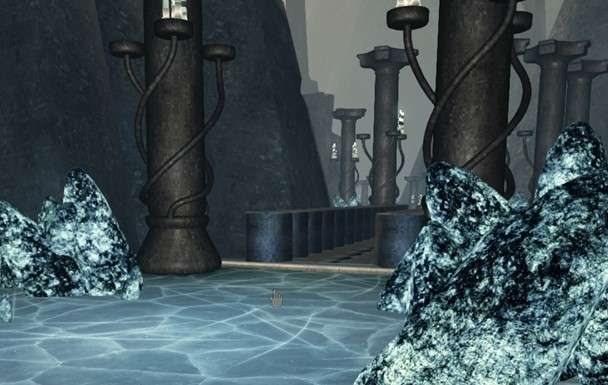
And from there to the next island, here you can
go to the right and you will come to the organ.
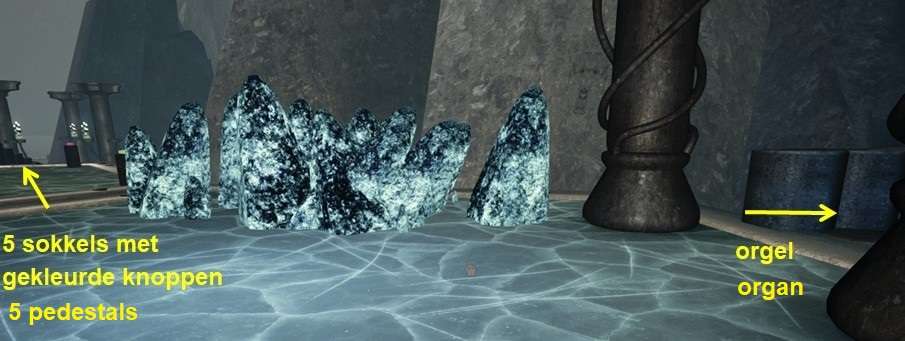
Go straight on to the other part of the island,
here are 5 pedestals with coloured push buttons on top.
Here you can again go 2 ways, diagonally to the
left and diagonally to the right.
Now walk to the left and to the right, it
doesn't matter which one you do first.

Walk until you can go no further, there is a
pedestal with 3 symbols on top.
You also see another island but you can't get
there yet.
Make a note of the symbols on the base and then
walk back to the island with the 5 bases.
Then go to the other path and follow this to
the end, here too you see another island that you cannot reach and here too
there is a pedestal with 3 symbols on top.
Also note the symbols on it.
Walk back to the island with the 5 pedestals.
Then continue on the left path, on the right
you go back to the monorail.
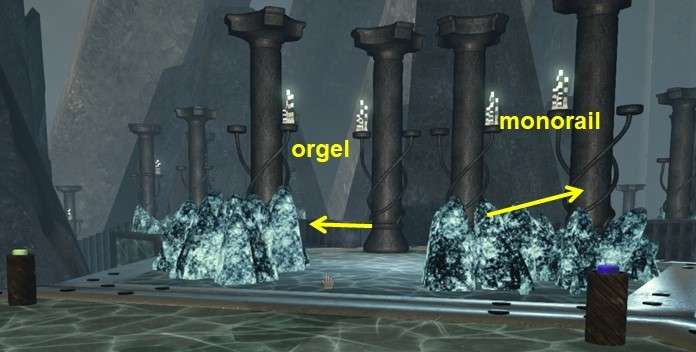
Continue until you reach the organ.
Right next to the organ you see a letter, read
the letter.
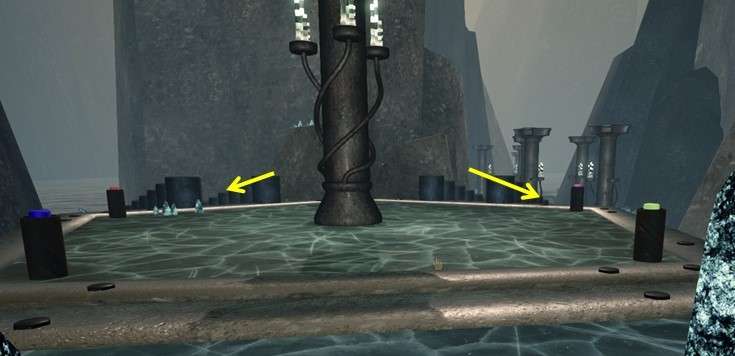
Turn a little further to the right and there
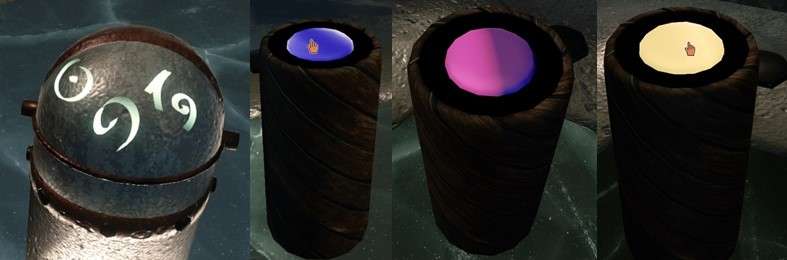
are 5 posts with a sort of clock on it.
There is only 1 hand and there are 10
positions, all hands are now at position 1.
Number the buttons from 1 to 10.
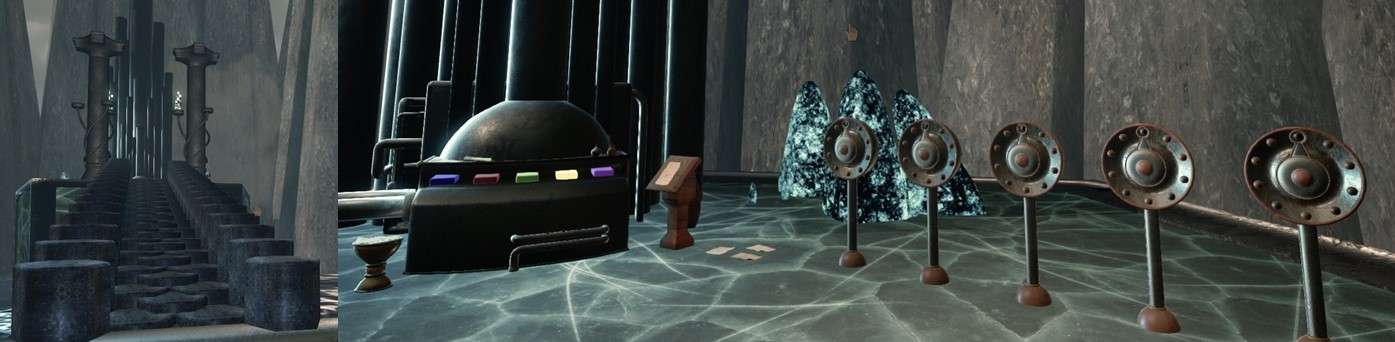
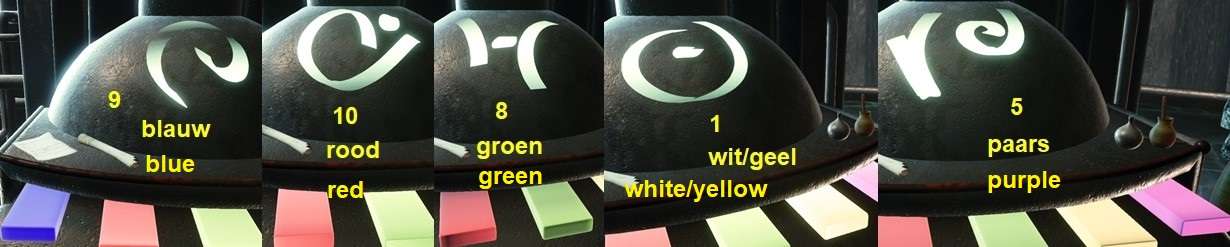
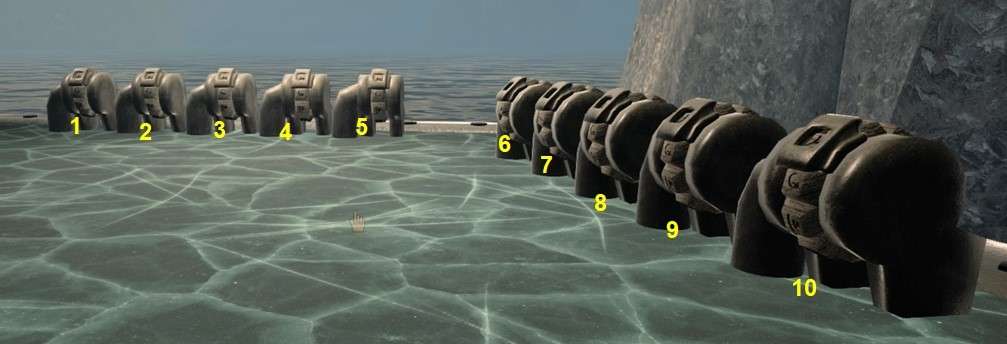
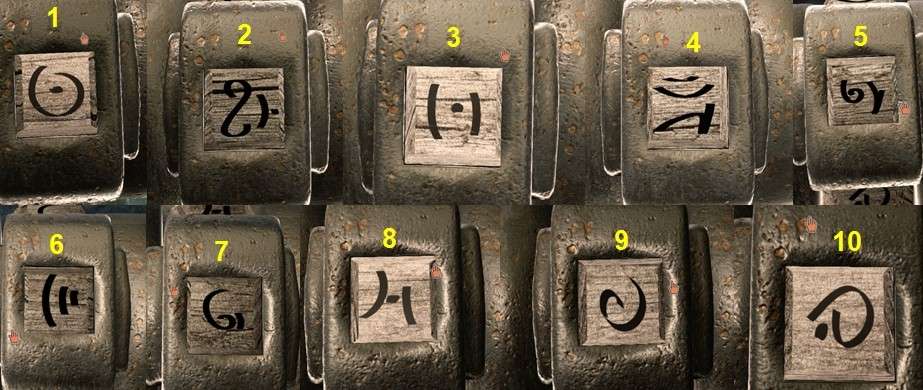
Then go to the organ, there are 5 keys: blue,
red, green, yellow / white and purple.
Each color button has a symbol and you now have
to figure out which symbol belongs to which color.
All hands are still at position 1, now click on
each key and see if a symbol appears on the organ.
At this position you will see a symbol when you
click on the white / yellow button.
Note the symbol, the color of the key and the
position of the pointer:
That is position 1, color white / yellow and
the symbol is a circle with a point in the middle.
Now place all pointers on position 2 and click
on all keys again, no symbol.
Also with the hands on positions 3 and 4 you
don't see a symbol.
Set the hands to position 5 and you will see a
symbol when you click on the purple key.
Note the symbol, color purple and position 5.
At positions 6 and 7 you will not find a symbol
but at positions 8, 9 and 10 you will find a symbol.
Now walk to the island with the 5 bases, on top
of the bases there are coloured push buttons.
Grab your notes, if all goes well you have the
symbols that are written on those 2 pedestals.
Each symbol has a color.
You then know which color buttons to press for
the base at the end of the right path: white / yellow, blue and purple.
So press the blue, purple and white / yellow
buttons and you will hear something shift.
Walk to the base at the end of the right path
and you will see that blocks have come up.
You can now walk to the island.
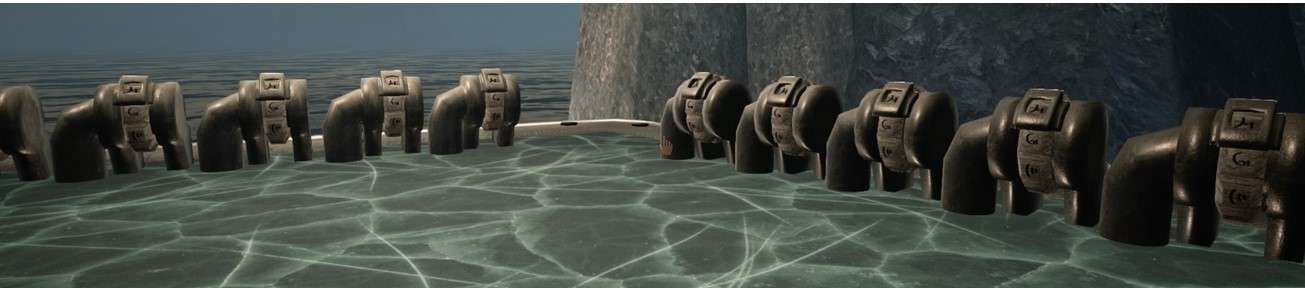
You see 10 statues of elephants there, you have
to set the correct symbol on every elephant.
Which symbols?
Turn around and there is a path to the top, go
up and there you will find the blue Core.
This is not yet active.
Walk back to the island with the 5 pedestals.
Now look in your notes which symbols are on the
base of the left path.
Find out which colors go with it: white /
yellow, green and red.
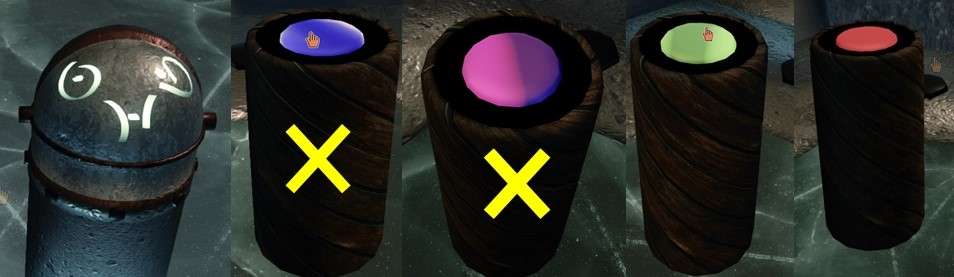
Then click on the blue and the purple button to
raise it again.
Now press the green and the red button and you
will hear something shift again.
Now walk along the left path and you will see
that blocks have also risen here.
Walk to the last island and there are 10 blocks
on the ground.
Number the blocks from left to right from 1 to
10.
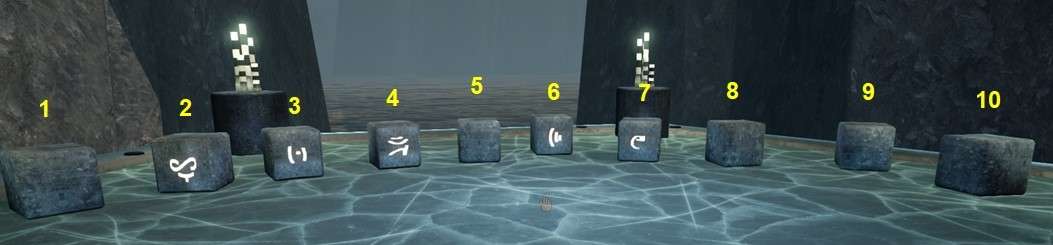
You can see that there is a symbol on blocks 2,
3, 4, 6 and 7.
Note the symbols and the block on which they
are located.
Go back to the island with the elephants,
number the elephants from left to right from 1 to 10.
You know the symbols of elephant 2, 3, 4, 6 and
7, go set the correct symbols on the elephants.
You still need 5 symbols, but you already have
those, which are the symbols of the organ.
These are the symbols of elephant 1, 5, 8, 9
and 10.
You have noted which symbol belongs to which
position.
Go set the correct symbols on the other
elephants.
Turn around and go up the path, there is the
first blue Core and it is now active.
Walk to the blue Core and click on it and you
will now go to the second blue Core.
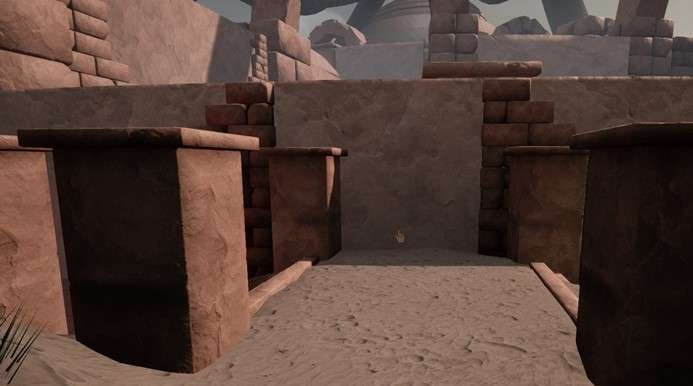
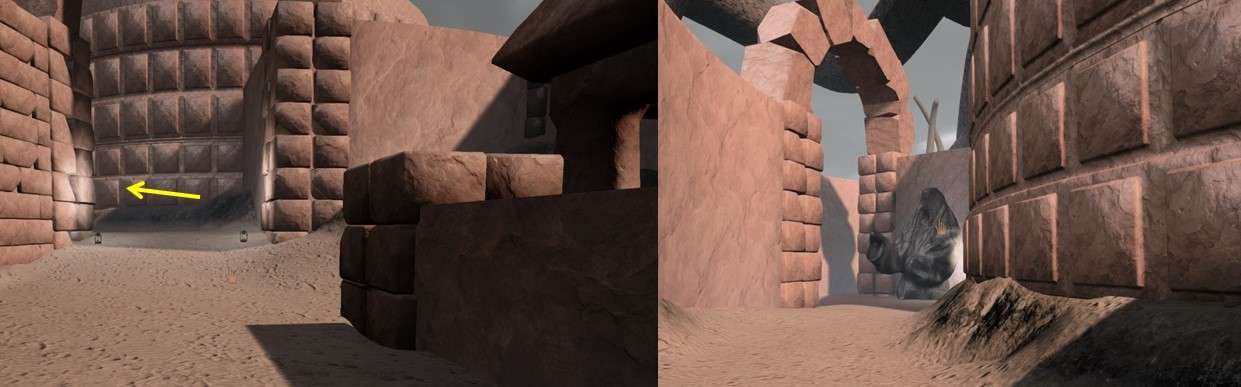
You are standing in front of 2 stone pillars,
behind which you see a dome, stone arches and walls.
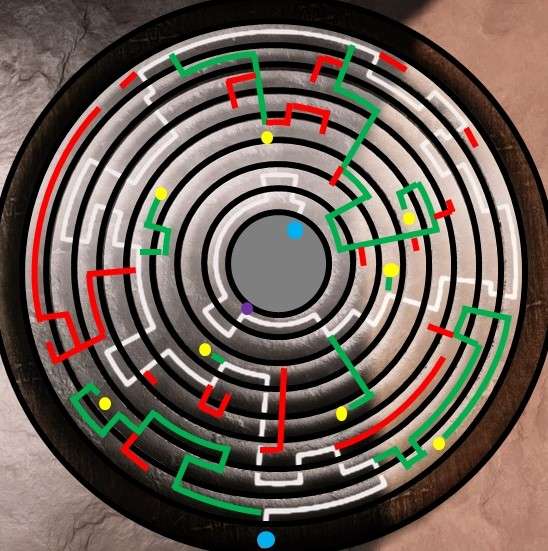
This is the labyrinth and you have to go
through it, you have to find 8 push buttons and also press all 8 of these.
There is a letter on the barrel in front of the
right pillar, read the letter.
Put the letter back and turn around, you'll see
a staircase going down on the left.
Go to the stairs and walk down, follow the path
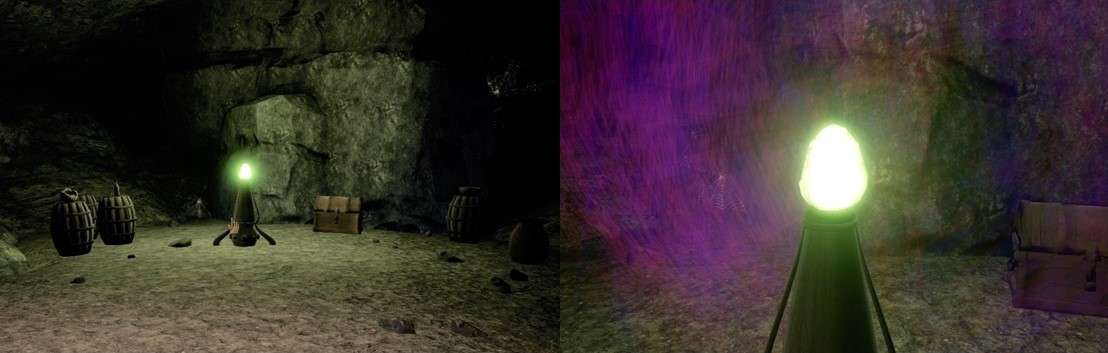
and there you will find a book.
You can view this.

Go back upstairs, you can now walk around the
rock.
You can even walk on the rock, on top of the
rock you have a better view over the labyrinth.
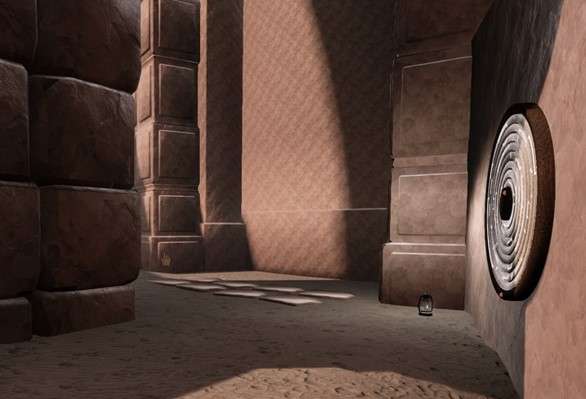
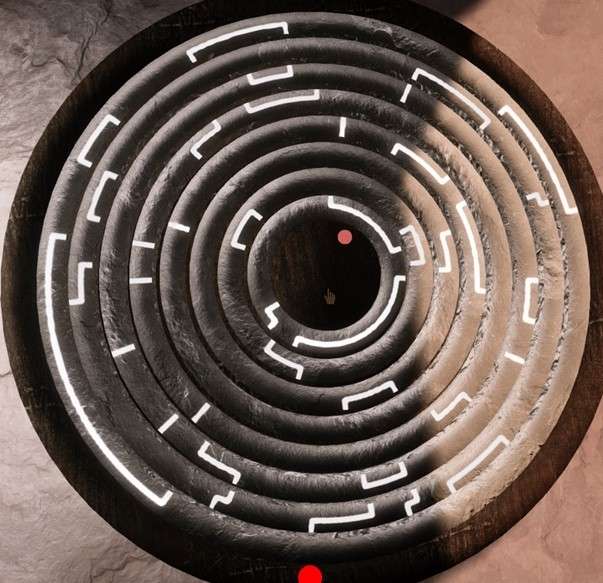
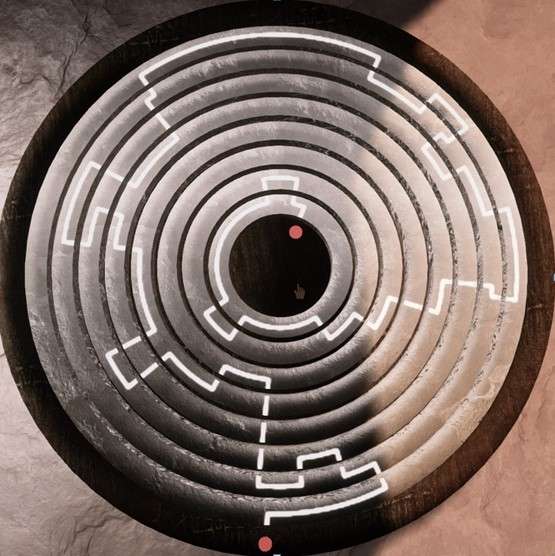
It is a circular labyrinth around a dome and
you must go to that dome.
This is a map of the labyrinth, the white line
is the path to the dome, via the green lines you reach the 8 pedestals with
push buttons.
The red lines are the dead ends, the yellow
points are the bases and the purple point is a statue.
The lower blue dot is the start and the blue
dot in the middle is in the dome.
Walk back to the 2 pillars, walk between the
pillars.
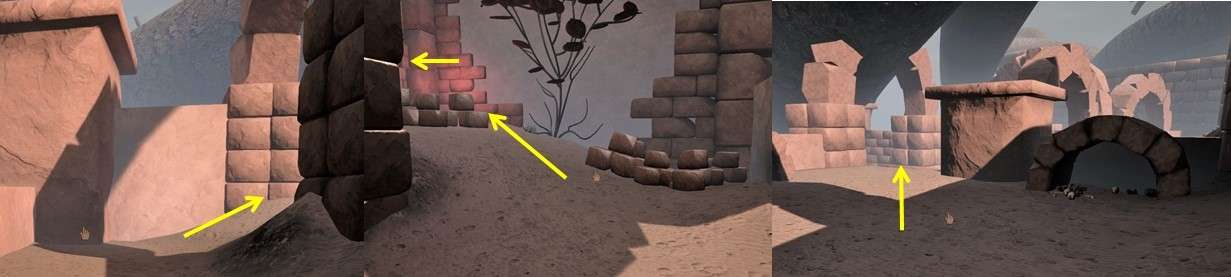
You now see a path on the left and on the
right, a red lamp on the left and a green lamp on the right.

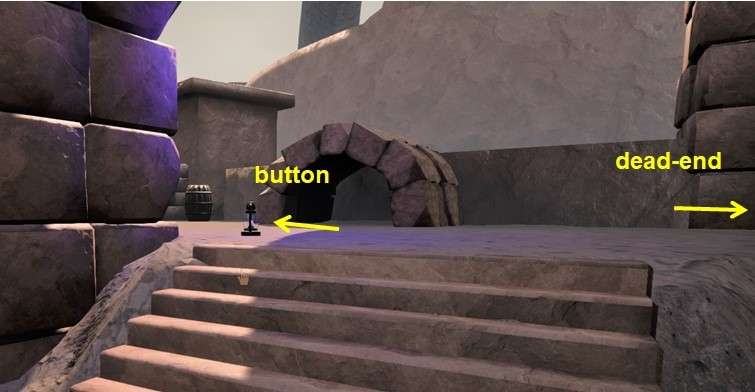
First go left, this part is not that extensive
and there is only 1 base with a push button.
In the green part there are 7 pedestals with a
push button.
If you do the green side first you have to go
all the way back here and then back to the dome.
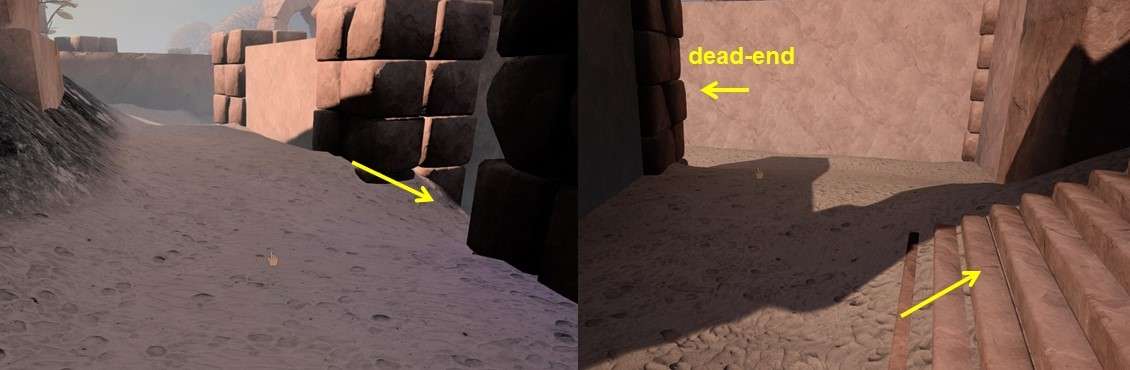
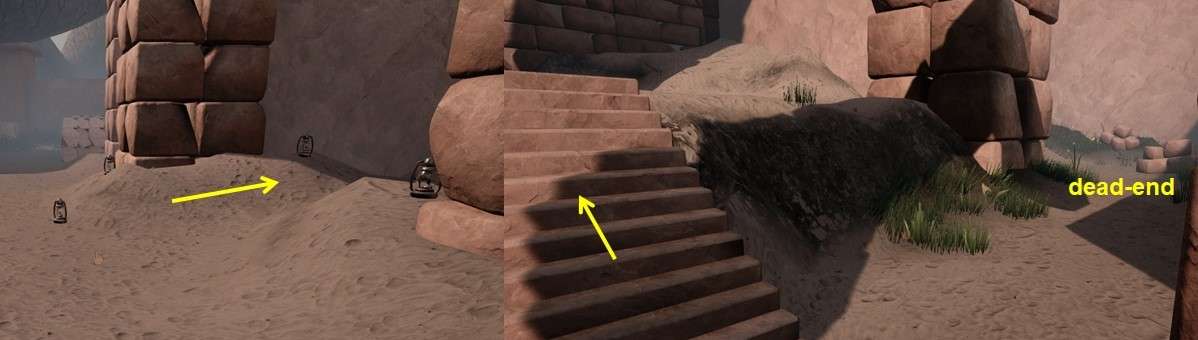
Go left and follow the path, at the end you
have to turn right.
Turn right again and then left upwards, just
follow the path.
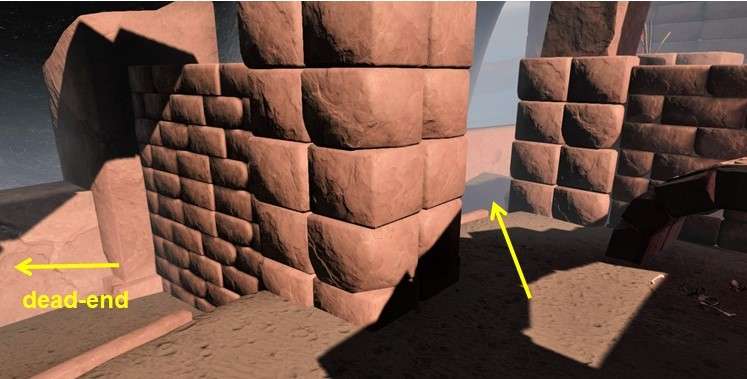
You come down a staircase, below are 2 stairs.
The left staircase is a deadend so take the
right staircase and follow the path to the right.
Up the next stairs and then to the right, there
is the first base with a push button.
Walk to the button and click on it.
You are done in this section, you have to go
back to the 2 pillars and then continue on the green path.
Turn around and down the stairs, up the next 2
stairs and then follow the path further.
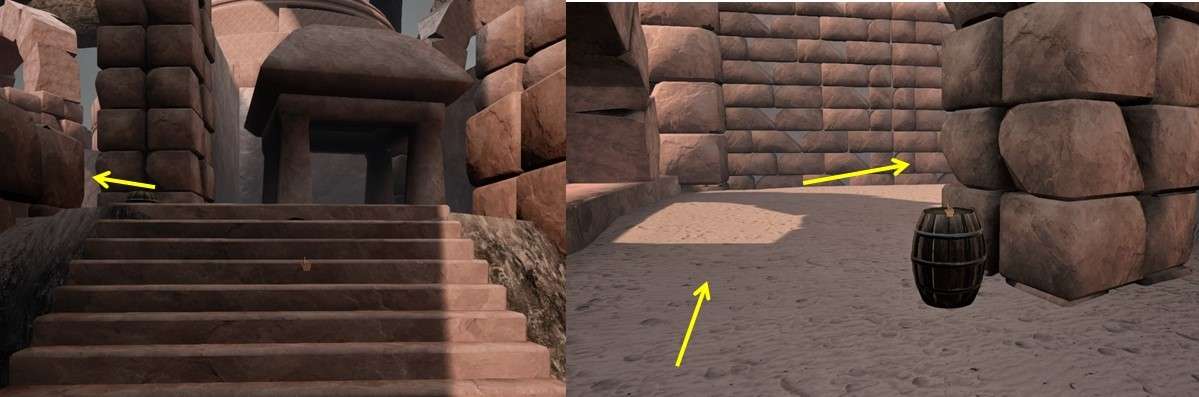
Go up the green path, go left at the end.
You will see another staircase on the left, you
will go there in a moment.
First go to the right, there you see a green
lamp. Then right and left again, then right again. At the end there is another
staircase to the left.
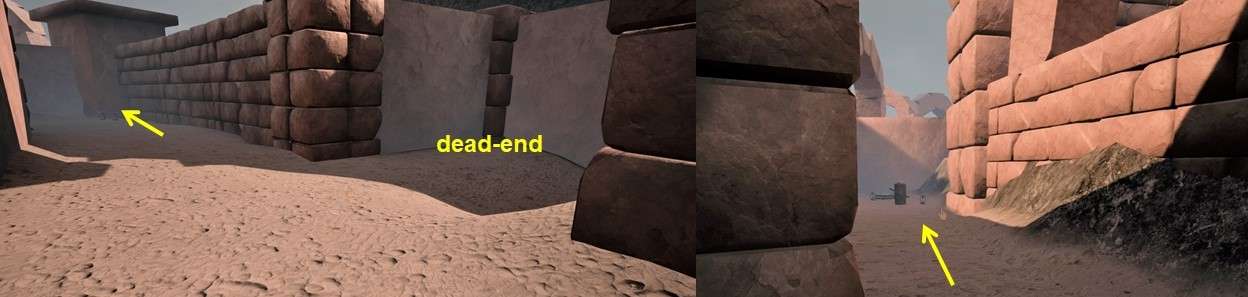
You can go straight up, but that is another
dead end, so go to the right and follow the path all the way to the end.
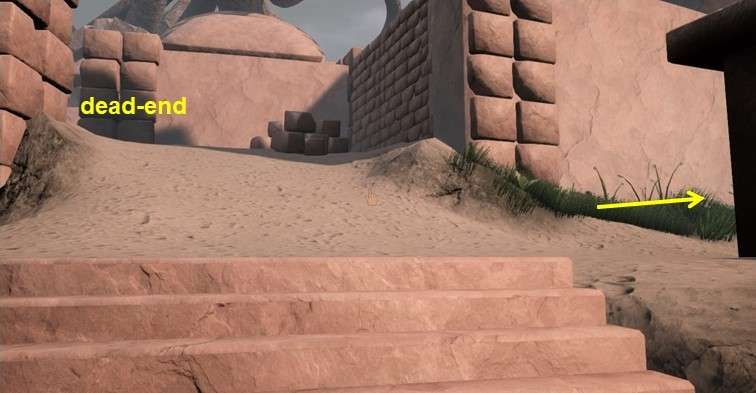
There you will find a base with a push button,
press the button and turn around.
Follow the path back to the stairs, go down and
follow this path.
You are then back at the first staircase, go up
and then to the left.
Right is a dead end.
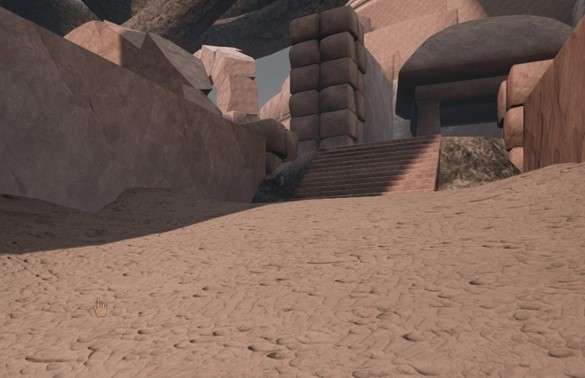
Follow the left path, you will come up on a
wide path, you will see the dome there.
Go to the top, halfway is a path on the right,
this is also a dead end.
At the top you have to go to the left and there
you see the next base with push button.
Walk to the push button and click on it.
Turn around and go right through the opening in
the wall, you will see another staircase on the right.
You can also go further down and then to the
left, but that is a dead end.
Go up the stairs on the right, there is a blue
lamp.
Follow the path and then go down the 2 stairs.
Just keep following the path, again a wide path
in the direction of the dome.
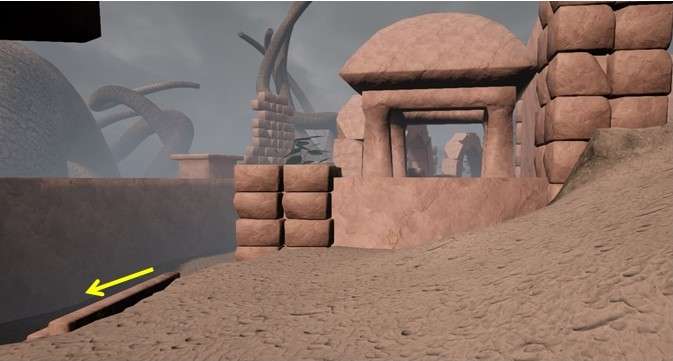
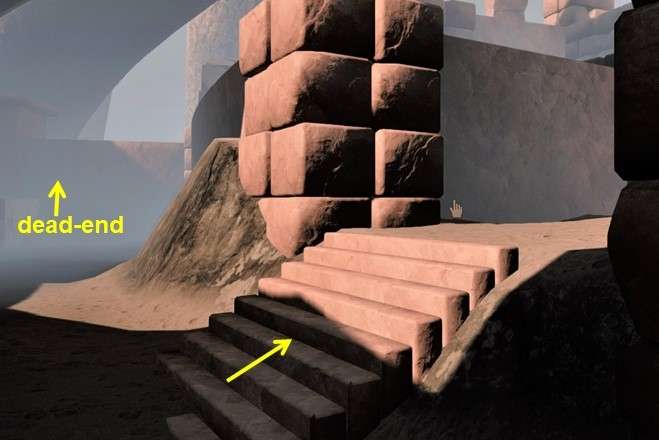
Then go left, straight ahead is a dead end.
On the left you see a staircase down, you can
look there but it is a dead end.

A little further you see a staircase on the
right and a staircase on the left.
First go up to the right, there is another blue
lamp. On top you can go to the right, but that is a dead end.
Go to the left and follow the path, there you
will find the next base with push button.
Click on the button and turn around and walk
back to the stairs, go down the stairs.
Also go down the next stairs, follow the path.
You have to go right-left-right-left a number
of times, you go under a few thick branches / roots and keep following the
path.

You walk between high walls.
You look over the water again, at the bottom of
the stairs you go to the right.
A little further you will see stairs on the
right, go up the stairs.
Left to the next staircase, go up the stairs
and continue.
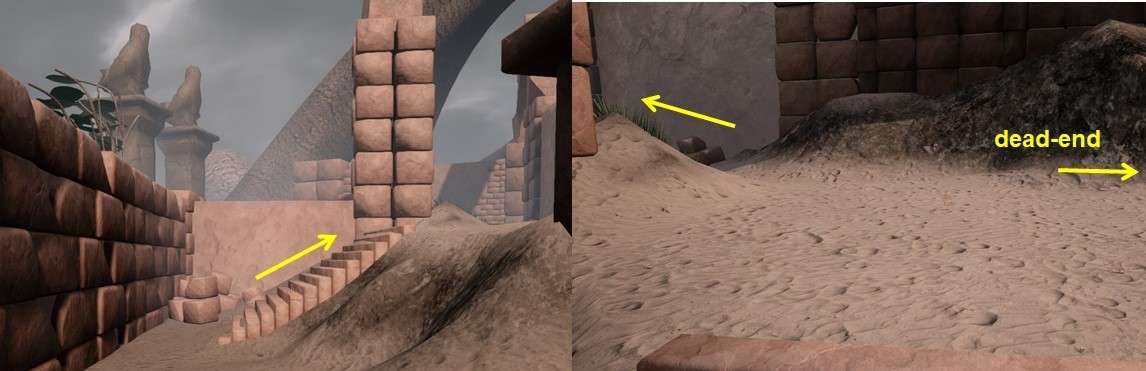
You now see 2 staircases, the right staircase a
dead end.
Go up the left stairs, behind the pillar you
will find another base with a push button.
Walk to the base and click on the button.
Turn around, you can now go back to the stairs
or walk between the last 2 pillars, but this is also a dead end.
So turn left and follow the path until you are
back on the path by the water.
Go to the right and follow the path until you
see a passage on the right, you also see a number of oil lamps.
Go in here and you are standing in front of a
staircase. If you look to the right you will see a passage.
You can go in and up there, but this is a dead
end.
Go up the stairs and follow the path, go up the
next stairs.
At the top you go to the left and follow the
path, you see the wall of the dome.
Keep following the path, when you walk down you
will see a path to the right, but unfortunately this is a dead end.
Keep following the path, you will see 2x a dead
end on the right.
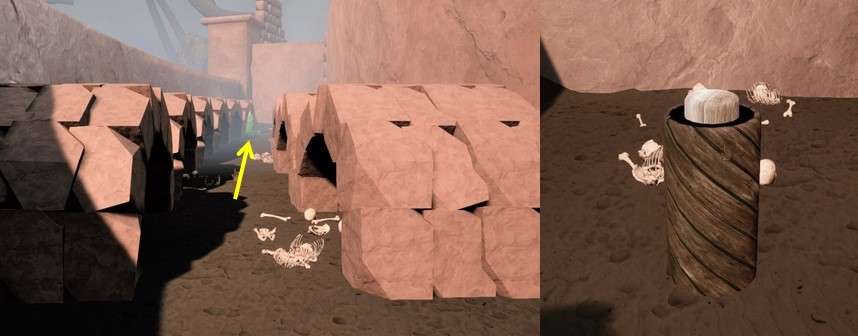
Follow the path further and at the end you will
find a pedestal with a push button.
Click on the button and then follow the path
back until you are back on the path along the water.
Go right again, then go right again. There is a
purple / red lamp.
Follow the path, you go under a large stone
arch.
Follow the path further until you reach a
staircase, straight ahead is a dead end so go up the stairs on the right and
follow the path further.
It is a long walk and the path winds, you come
to a staircase.
Go up the stairs and there you will find the
next pedestal with push button on the right.
Press the button, turn around and walk on the
right side past the stone shelter.
You can now go left or right, first go left and
follow the path to the base with the push button.
Turn around and walk back to the stone shelter
and then walk straight on.
You then walk along the dome, you see a large
statue.
Continue to follow the path until you can go no
further.
On the wall on the right is a round board with
8 discs with pieces of white line on it.
You have to turn the discs to make a continuous
white line between the 2 red points.
If you have forgotten to press a push button
somewhere then you cannot rotate one or more discs.
You then have to go back to press that push
button.
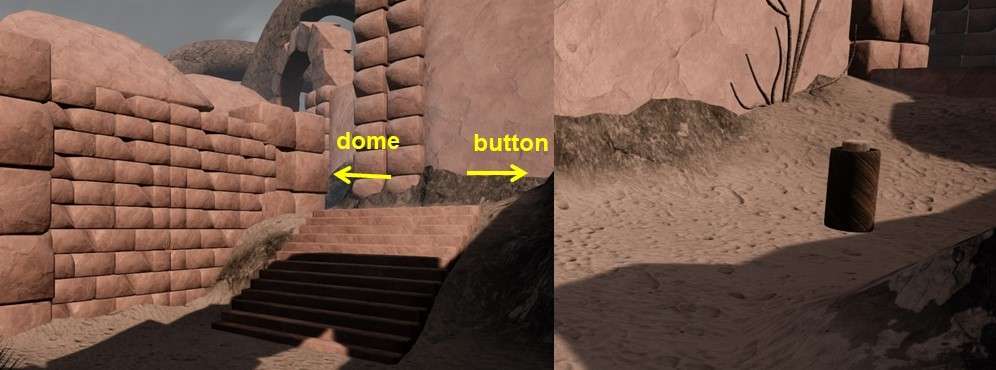
When you have solved this puzzle you will hear
something move again, turn to the left.
The dome is now open, go inside.

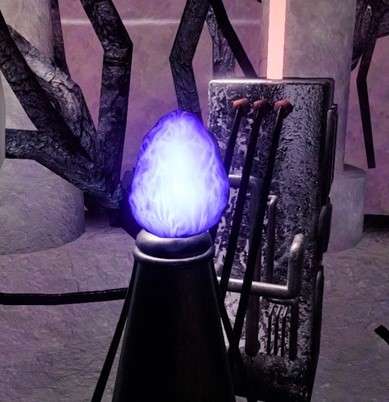
You see the second blue Core and this is
active, walk to the Core.
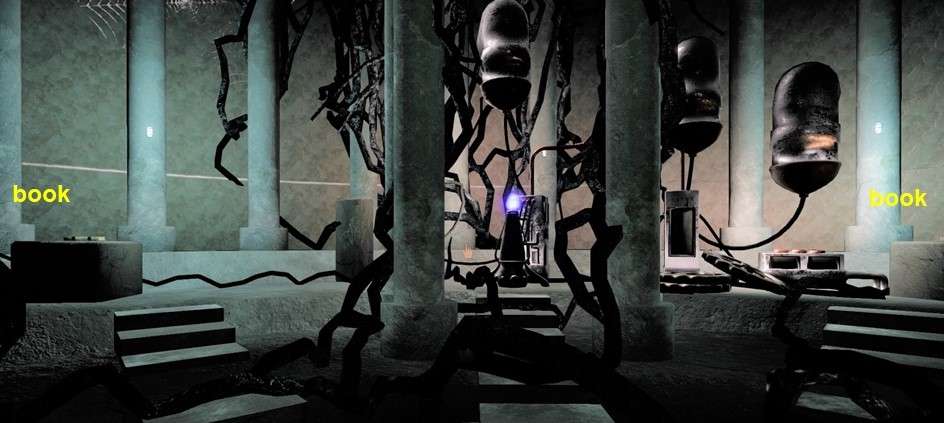
On the left and right there is a book on a
stone block, click on the books and you see a list of names of people who are buried
there.
Go to the blue Core and click on it.
You are then back at the cabin of the monorail.
Walk to the cabin and click on the door, click
in the cabin.
Pull the lever and you will go back to the
beginning.
Get out of the cabin of the monorail.
Then walk to the temple and go inside, you see
that all Cores are burning brightly.

Go up the ladder and walk to the base in the
middle.
Pull the lever down and see what happens.
The temple opens, the girl turns and the Cores
slowly extinguish.
The girl and the Cores have disappeared and you
see the rocks return to their normal color.

Go down the ladder and when you look outside
you will see the boat.
The boat is seaworthy again.
Leave the temple and go to the boat.
If you want you can now look on the other side
of the island but the wreck of the boat is no longer there.
Walk up the jetty to the boat.
It's a bit strange ending but you can't get on
the boat and then sail away.
End