Walkthrough
by: Dick Leeuw and Louis Koot
Text:
Dick Leeuw. Screenshots:
Louis Koot
If
you have found this walkthrough via google search or via another site then you
have probably not visited my site.
A
lot more very detailed
game walkthroughs can be found on my site at: www.pcgameswalkthroughs.nl
Chapter
1: Sam
You
control the game with the WASD keys and the mouse. Left clicks for interaction
and right click to zoom out and close your inventory. With the C-key you can
stoop and crawl. The inventory opens with the Tab key. It is the same
organization behind it, the notes are signed with A.R. Unlike in The Initiate 1
there are now 3 people locked up, they do not see each other but can pass
objects to each other.
Start
a New Game and you wake up in a small room, you're Sam. While you wake up, the
voice tells you who you are, listen to the story and then you have control over
the game. Right click and you can move the mouse, look around and examine
everything. Your first task is to escape from this room.
You
see a door with a hatch. Walk to the door and click on the hatch. This opens up
and you see the next room you have to go to.

Right-click
to zoom out, turn left. You see a number of things that you can click on but
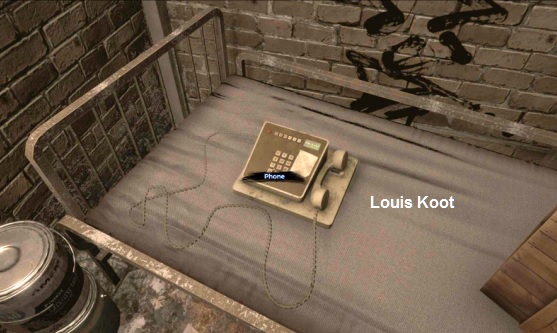
that is of no use for you. You will also see a clock on that wall with the text
below: My Time is theTruth, you will need this later. Next to the clock is a bed
against the wall, on the bed is a wooden box and a telephone.

With
the box you cannot do anything yet but click on the phone and it works.
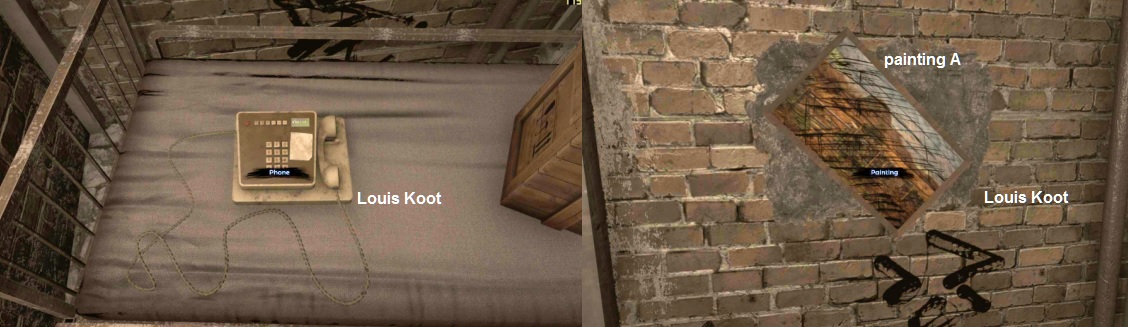
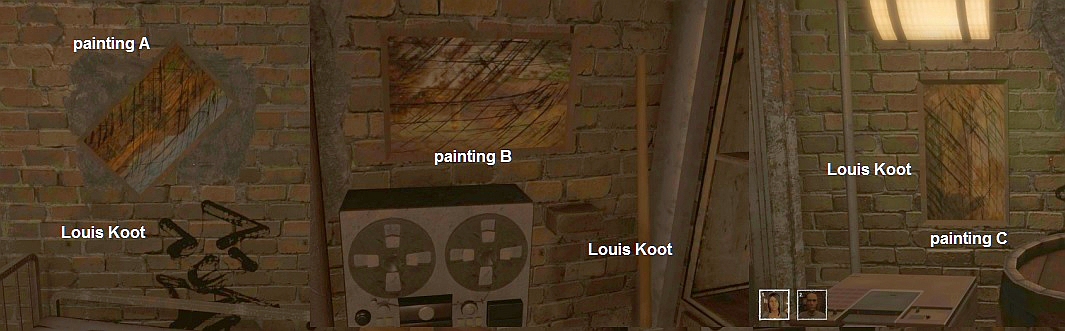
Above
the bed hangs painting A. If you are close by you can click on it and the
painting rotates 45 degrees. This way you can completely rotate the painting.
Turn to the left and you will see a jug and some paint cans with a fan next to
it. You can click on the jug and the cans and turn them all the way round.
In
the corner is a box with a recorder on it to save the game.
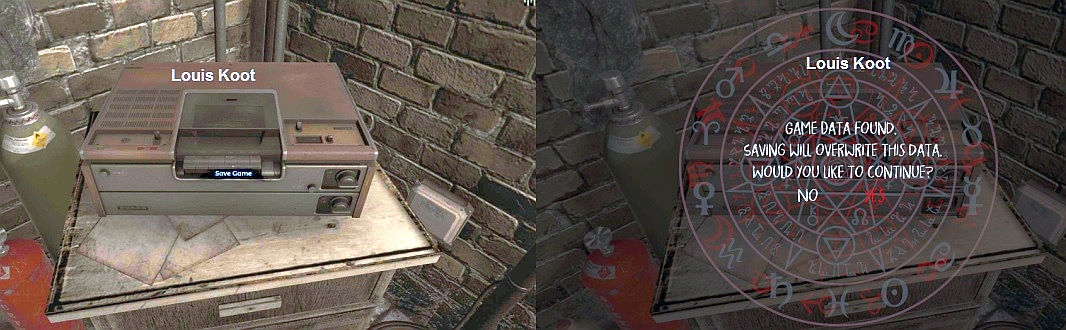
Click
on the drawer of the cabinet ..... the drawer opens .... in the drawer you will
find a round disc, pick up the disc.
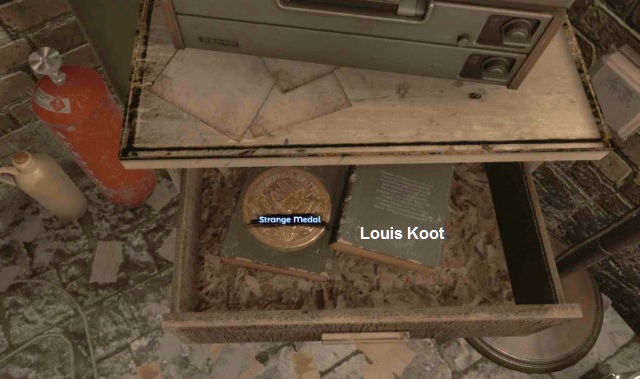
There is also a book in the drawer, which you can
view. Click on the door under
the drawer, you will find 3 toilet rolls, this can also be viewed from all
sides.
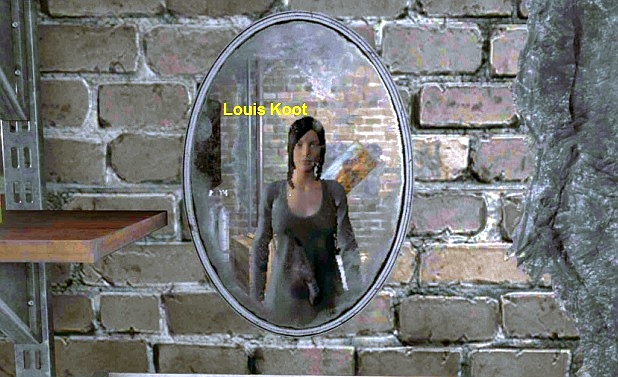
When you stand in front of the sink you see yourself (Sam) in the mirror.
On
the floor in and in the cupboard next to the sink are boxes, jars and bottles
that you can view.
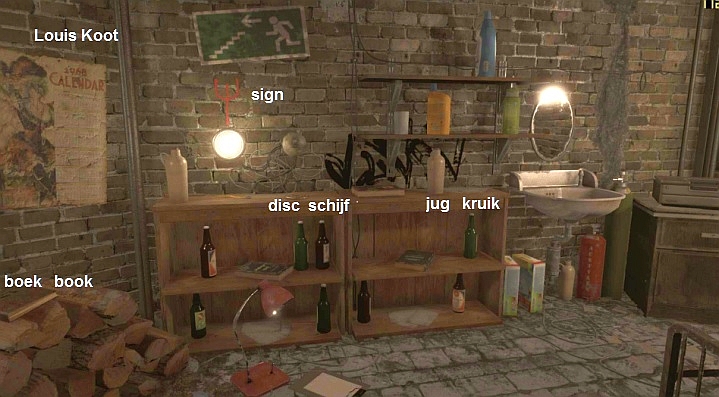
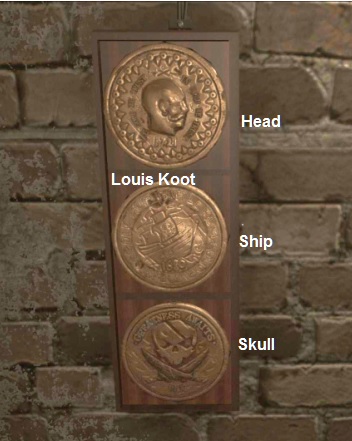
Most
things are not important but the jar on top of the box has a drawing on the
back. On that jug you see a head and below it a ship, note this. On the shelves
above there are also things that you can see but they are not important. Above
the cupboard you see a lamp with a switch, above the lamp you see a red
sign.
Remember that this sign is here. On the left cabinet is a round disk
again, next
to the yellow toothbrush also take this disk.
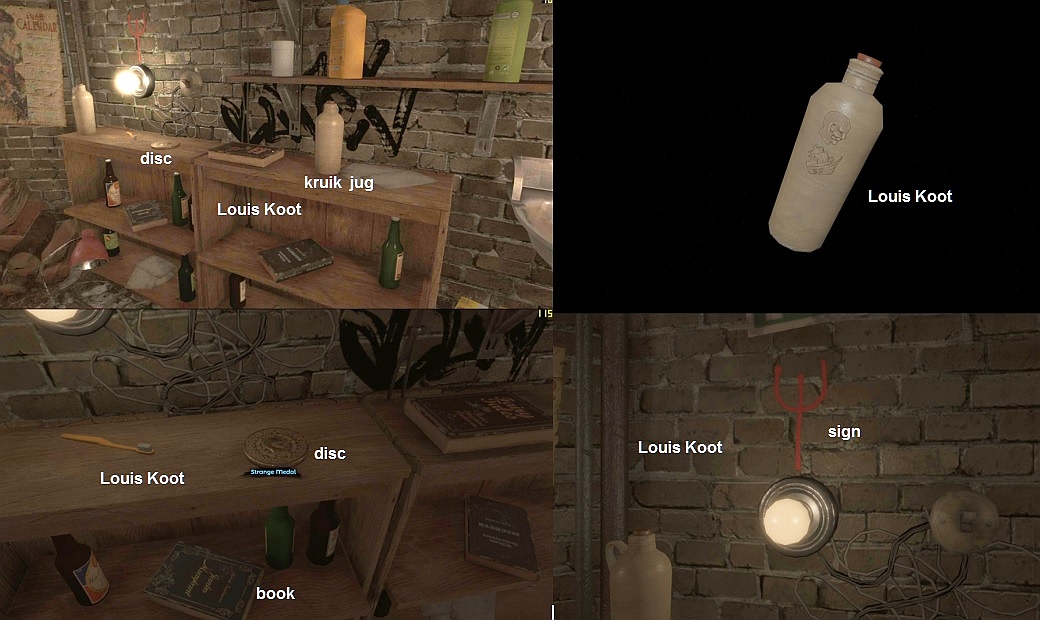
You
regularly hear thumping on the walls, there is apparently someone else. In the
yellow toothbrush box, only the book is important, click on it and look at the
back.
You
see a ship and below it a skull with an eye patch. The ship is the same as on
the jug.
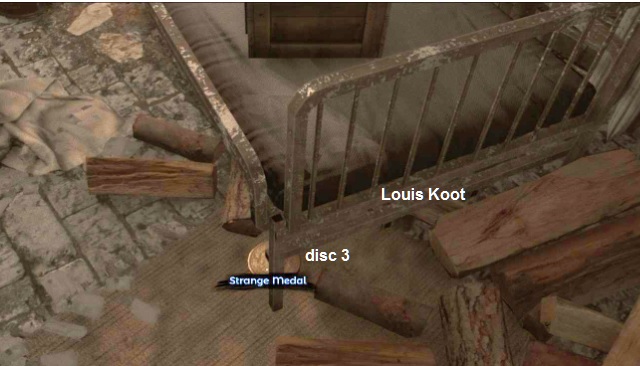
On
the floor is a red desk lamp without a lamp, in front of it lies a sheet of
paper. If you turn around now to the bed, you will see a 3rd round disc under
the bed. Go take this disc too.
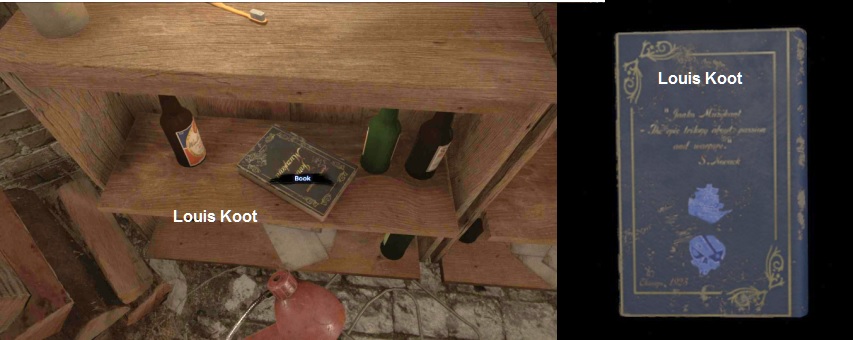
Turn
back and under the calendar of 1968 is a book on a pile of wood. Click on the
book and you have the first note from A.R., read the note.
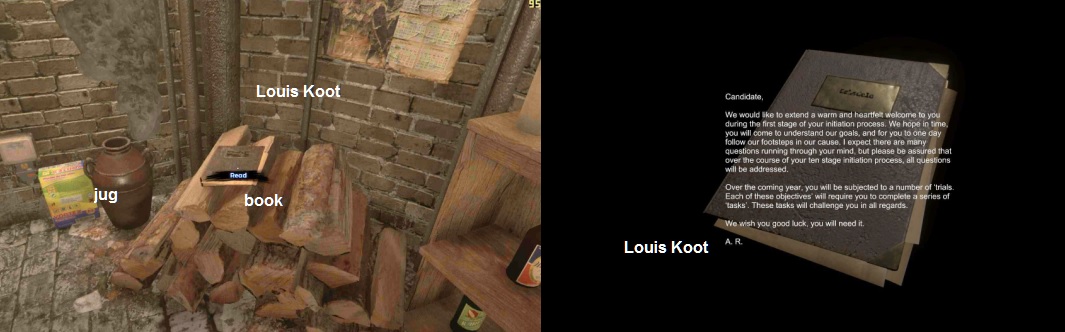
You
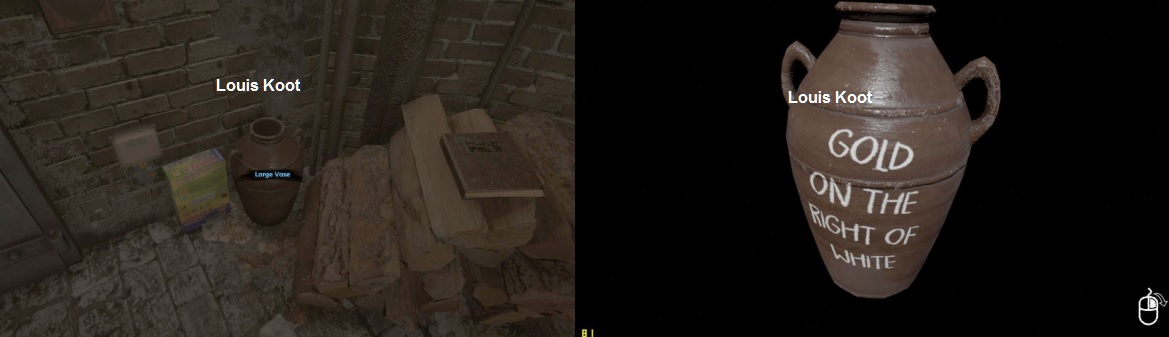
cannot read the notes in your inventory. Right click the note. Next to the pile
of wood is a large jug, click on the jug and you will see a black mask on the
jug. Turn the jug and you will see a clue for a puzzle: Gold on the Right of
White. Write down this indication that you need later.
You are back at the door and to the right of the door you see a plate with space
for 3 round discs. You have 3 disks but in which order these disks must come.
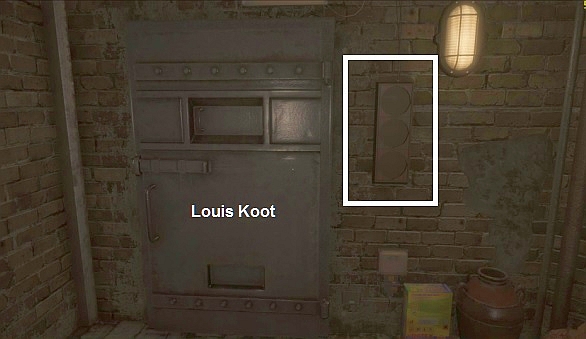
Click on the tab and your inventory opens and you see the 3 disks. 1 with an
image of a head, 1 with an image of a ship and 1 with the image of a skull.

On
the jug and the book you saw these indications too, the order must then be from
top to bottom: head, ship and skull.
Click in the top opening and then on the
disk with the head. Then place the disk with the ship in the middle and at the
bottom of the disk with the skull.
The
door is now open so go to the next room, you will receive a comment again.
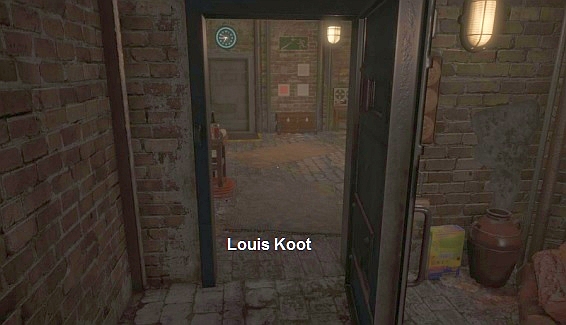
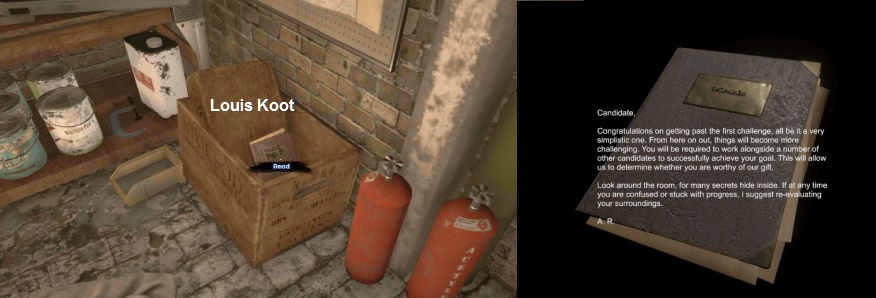
There
is much to see and do here.
Turn to the right, on the ground is a chest containing a book. Click on the book
and then read the note from A.R.
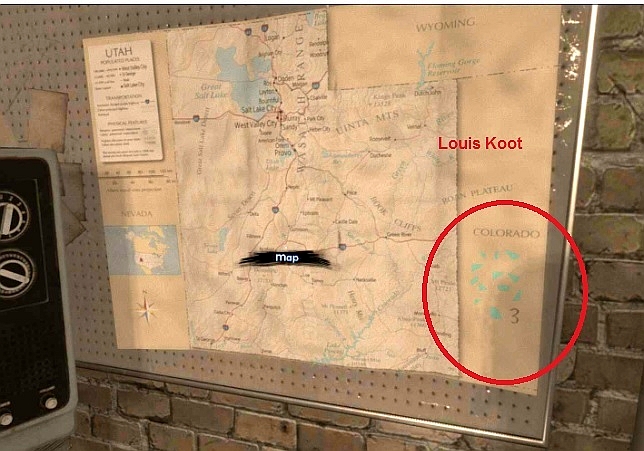
Above the
chest hangs a map of Utah, on the right, see under the word Colorado a
number of blue spots with the number 3. Remember that it is here, you need it at
once.
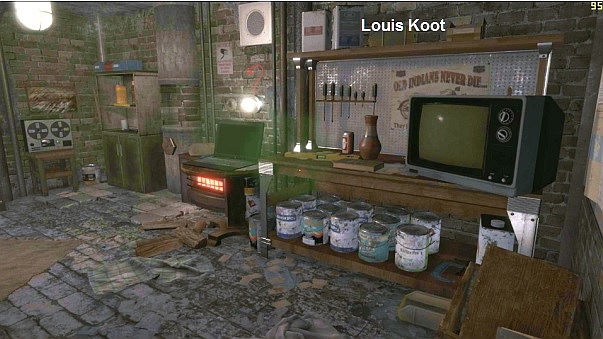
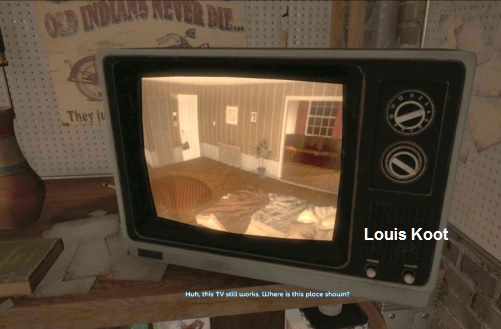
Then
click on the TV, you will see a room from The Initiate 1. You can click a few
more times to see more but you cannot do anything with it.
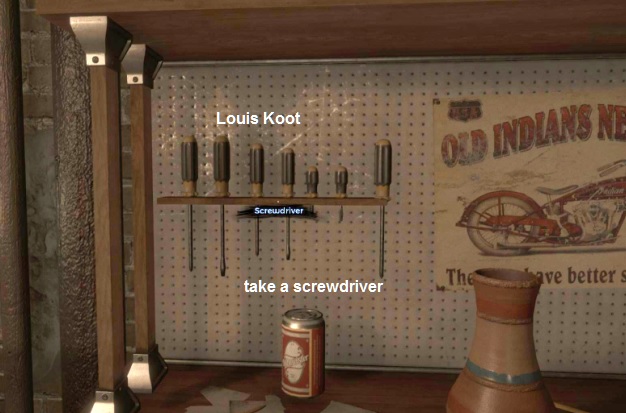
Look
further on the workbench, there is a lot to see but it is not important. You
have to click on the screwdrivers, you then have a screwdriver in your
inventory.
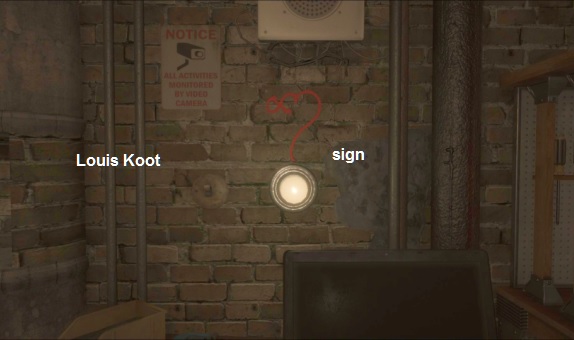
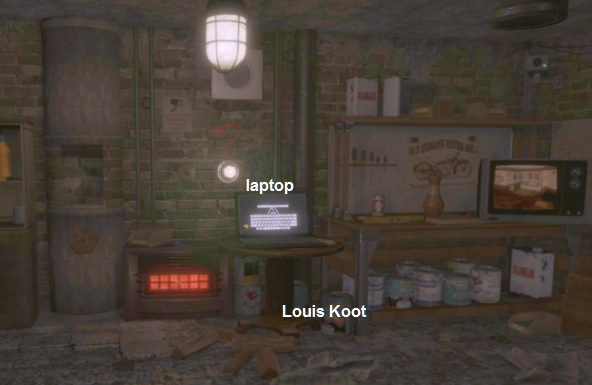
On
a round table next to the workbench is a laptop, unfortunately no power. Even
now you hear again banging on the wall.
Above the laptop you see a
white lamp with a
red sign above it, note that the sign is here.
Next
to the stove you see a round pillar with an opening in the middle, under the
opening you see a 6-sided plate. The round opening is a pass-through hatch
Next
to it is a cupboard, search and
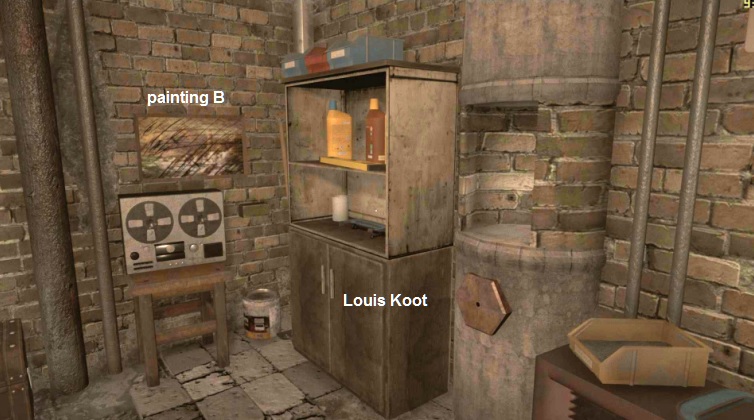
view everything but you cannot do anything with it. Turn to the left and you
will see a tape recorder, click on it and you will hear people chanting. Above
the recorder is painting B, just like above the bed here also a number of
stripes on the painting. You can also turn this painting by clicking on it.
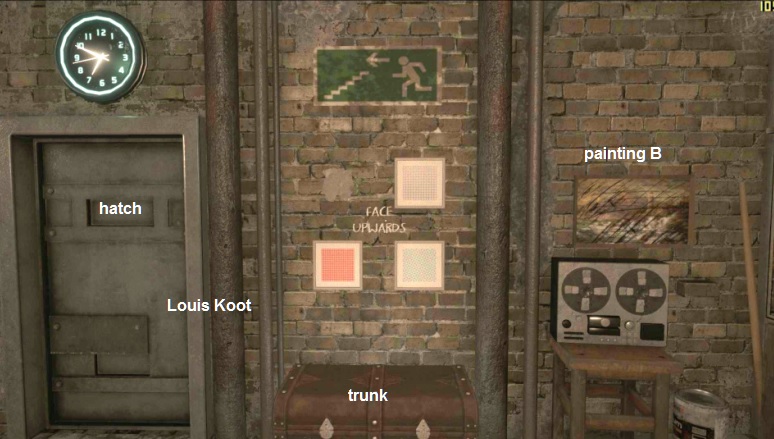
On
the left is a suitcase on the floor, of course locked. Above that 3 paintings
with in between the text: Face Upwards, but what is the top.
To
the left is another door with a peephole, click on the hatch and you look in
another room.
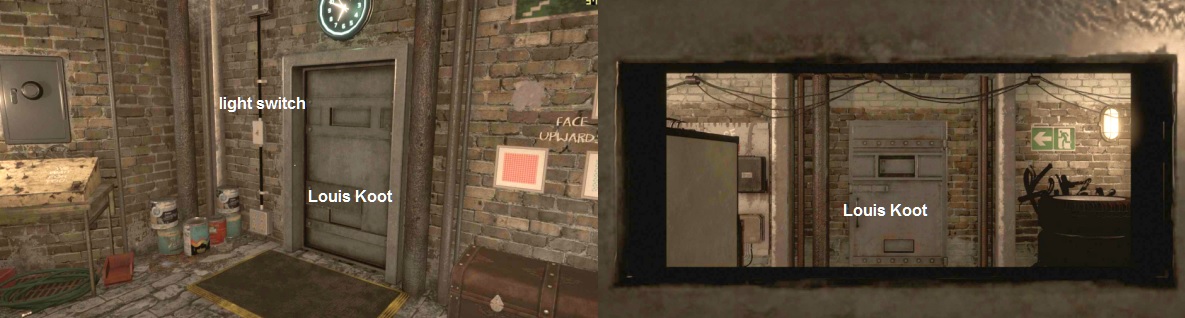
Next
to the door is a light switch, click on it and then click on the hatch again. It is
now dark in that room. Put the switch back. In the corner there are some paint
cans, you can pick them up and view them but they are not important.
You see a table with a switch panel with 15 switches and under a lid a
red button. Above the panel is a safe, the safe is connected with the panel.
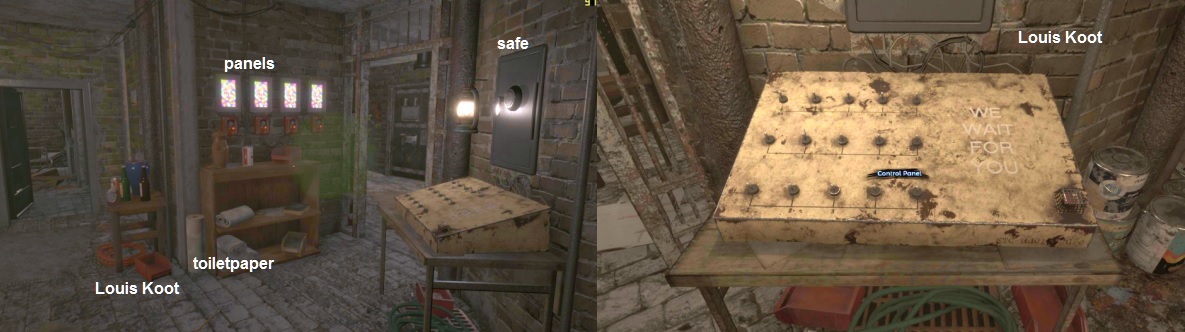
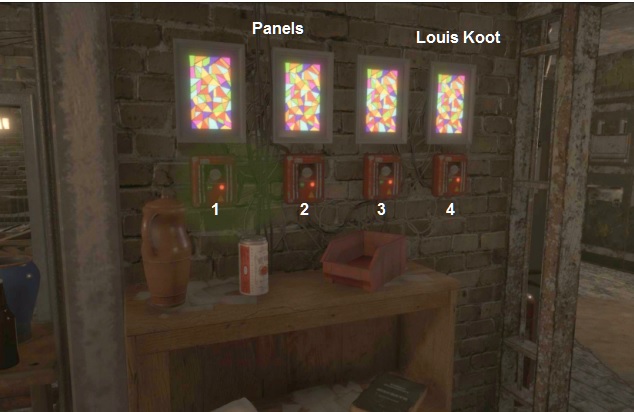
You
do not know how the switches should be so that will come later. To the left is a
doorway in a railing gate, there you will go in a moment. Turn more to the left
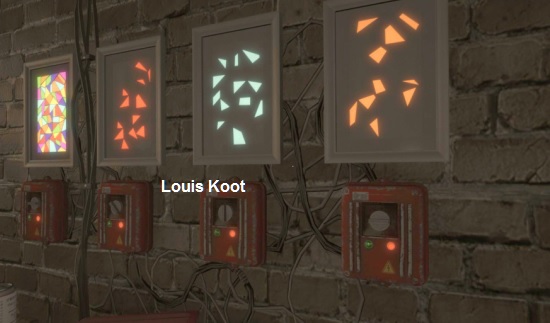
and you will see 4 panels with coloured squares on the wall. Under each panel
there is a dial, click on the button and you will only see the areas with a
certain color. When you press the button again you get the areas with a
different color. If you keep clicking, you get the following colors: red, white,
purple, orange, green, blue and pink.
You
have just seen the blue pieces with the number 3 on the map. Apparently you
should have the blue squares on the 3rd panel. Click on the button under the
third panel until you have blue squares.
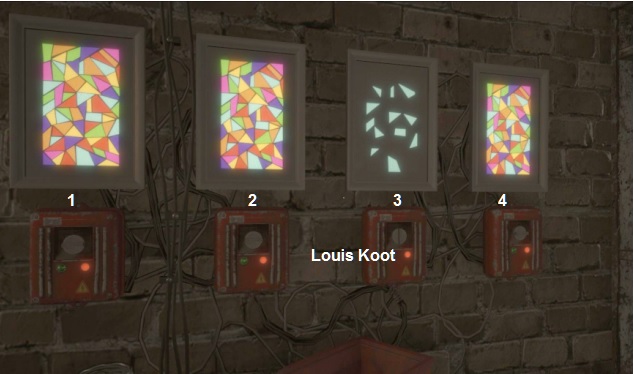
Next to the cupboard under the panels are some toilet rolls, click on the top
roll and you see the red areas with the number 2.
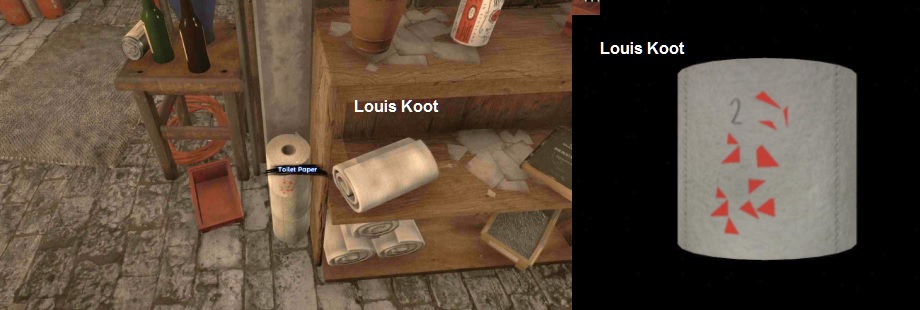
Click
on the button under the second panel until you see red squares.
You can still look at the wall with the license plates, but there you can’t do
nothing with them. Then go through the grating fence, to the right you see
bottles,
cups and trays, you can see them all.
On
the shelf is a book, look at the back and you see orange squares with the number
4.

You
can now set this on panel 4 or later when you also have the last boxes ..... I
do this right now
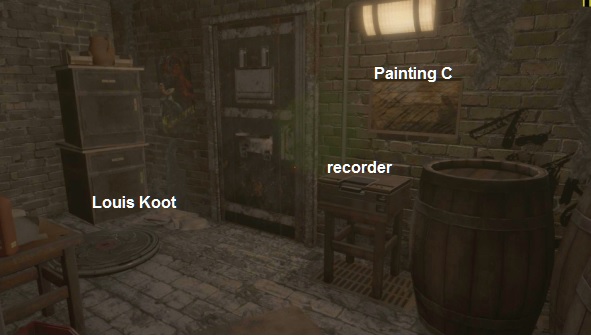
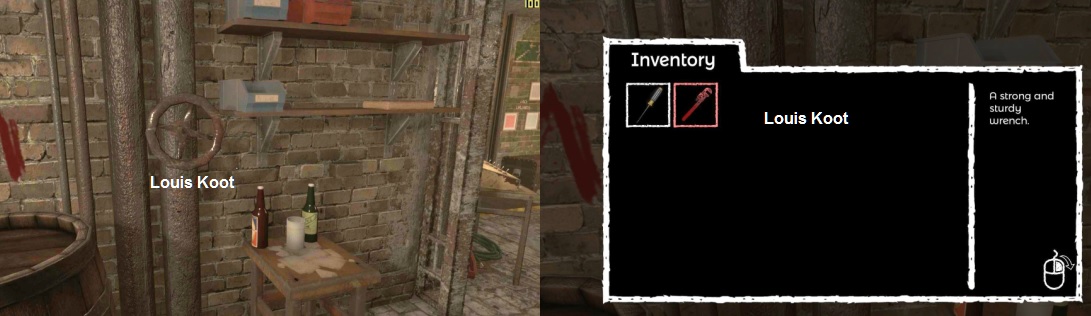
Next to the shelves are 2 pipes with a turning wheel. In the corner there are 3
wooden barrels, next to the barrels there is a recorder to
save. Painting C is
hanging above the recorder, you can also rotate it.
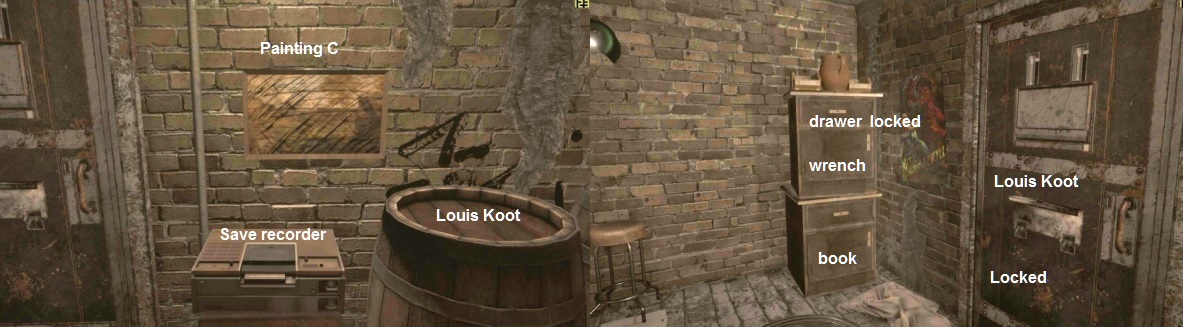
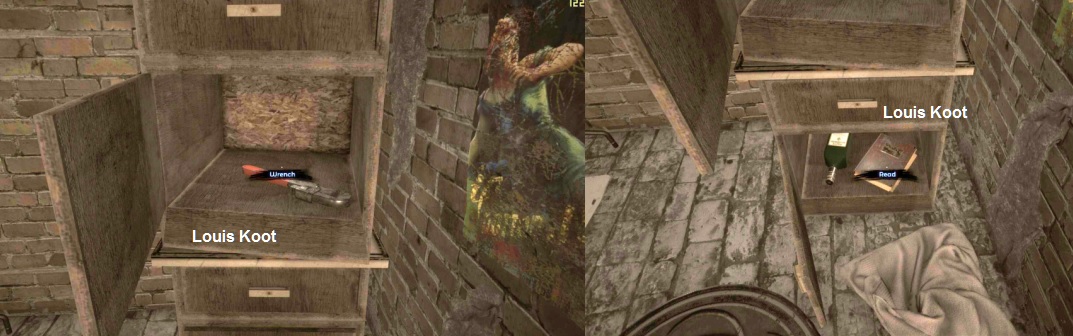
Next to it is a door and that is locked. In the corner there are 2 boxes
together, the upper drawer does not open. Click on the door below and there you
will find a wrench, take it.
In
the bottom drawer is nothing, click on the bottom door and there you will find
another book with a note from A.R. Read the note.
Turn
to the left and there you see a plate with 4 black masks, now you only have to
find the masks. A little further on the right is a metal case, the right door
has a code lock and the code is not available.
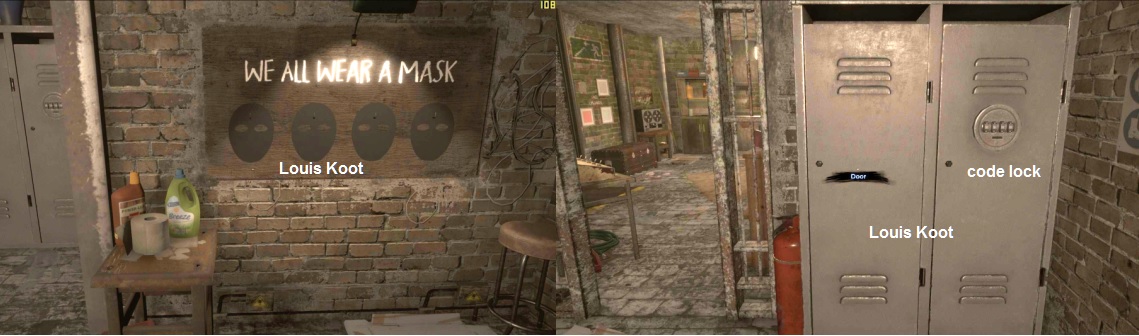
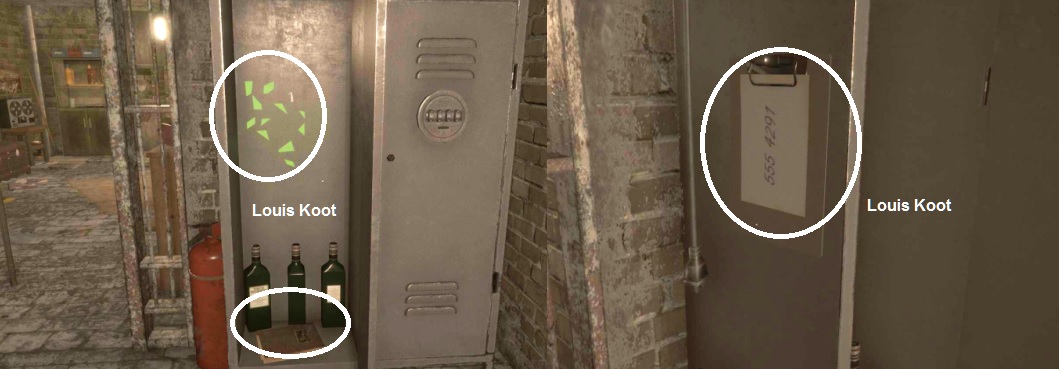
Click
on the left door and it will open, you will see green areas with the number
1.
At the bottom of the cupboard is another book with a note from A.R., read this
note.
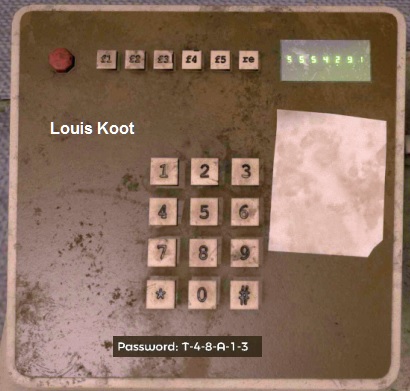
On
the side of the metal case there is a paper with a telephone number: 555 4291
You're going to call that number later but first you turn to the pipes with the
valve wheel. Click on the valve wheel and your inventory opens, then click on
the wrench.
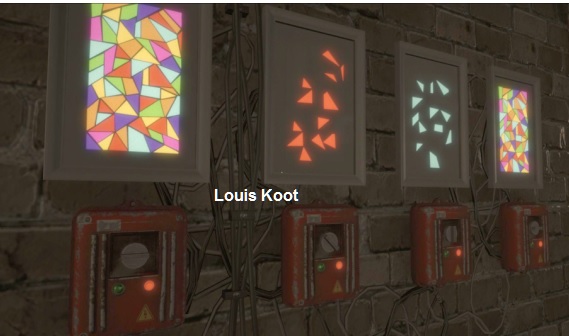
The
valve wheel is now loosened and falls on the ground. Take the valve wheel. Walk
to the light panels and set the right color on panel 1 and 4, green and orange.

If
the correct colors are on the panels then the laptop has power.
Walk
to the laptop, unfortunately you need a password. Walk to the telephone in the
first room and call the number that you found on the side of the metal chest:
555 4291.
The
phone rings and you get a password: T 48 A 13.
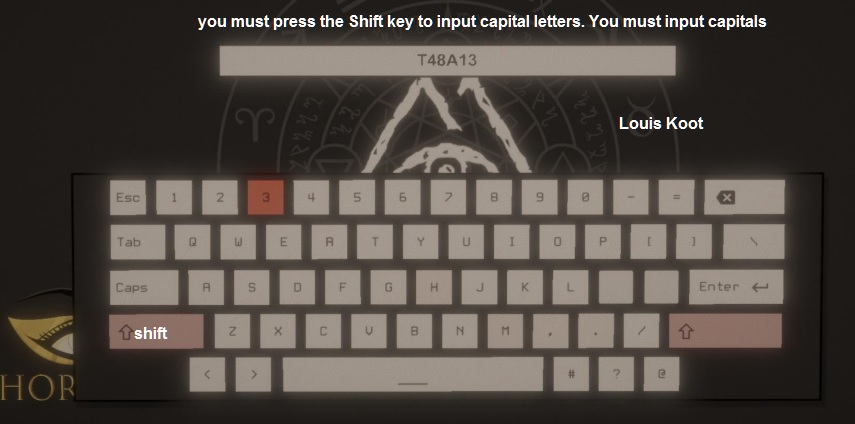
Click
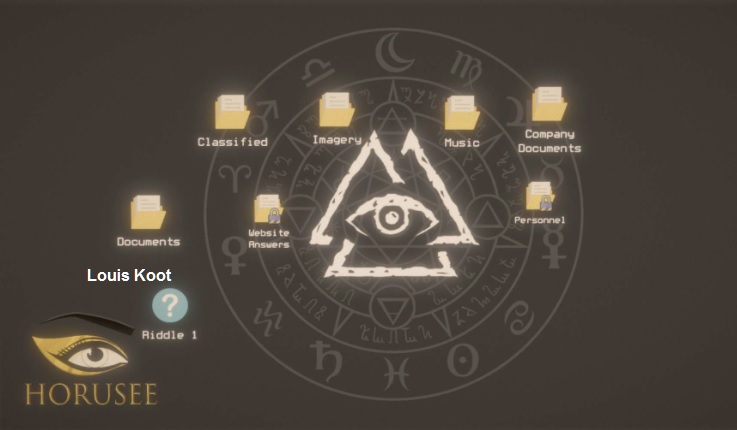
right to zoom out and walk to the laptop. Type in the password and click enter.
You will now see a number of folders, click on the Imagery
folder.
Many folders are blocked and most others are not important. Only the last 2 do,
click on gk40i8.
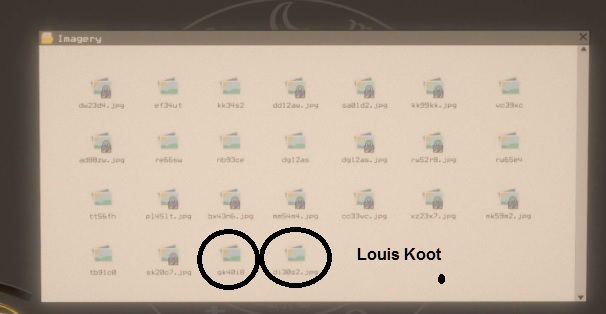
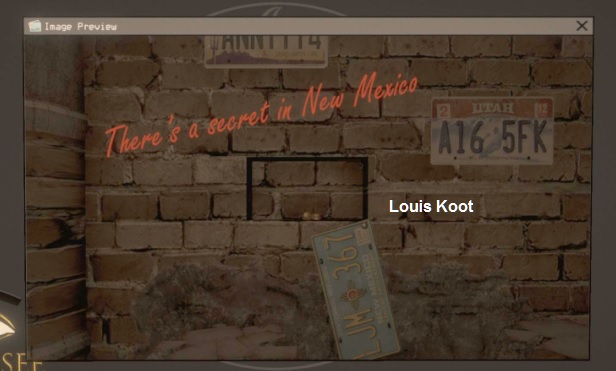
You
see a picture of license plates and behind a plate of New Mexico is a hidden
space. Something is hidden here.
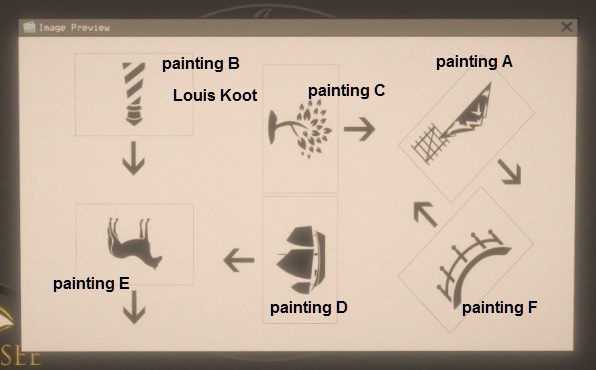
Click
this photo away and click on di30s2.jpg, you will see figures that are in a
number of directions. This is an indication of how the paintings should be
turned.
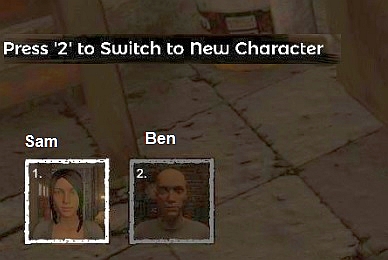
Zoom
out of the laptop and turn left to walk to the tape recorder. You hear the voice
again and they represent the second candidate, it's Ben. You get a conversation
between Ben and Sam. You will see 2 pictures below left: 1 Sam and 2 Ben. You
can switch between the persons by clicking on the numbers 1 or 2 at the top of
your keyboard.
You
also have to look for a New Mexico license plate, it is not in this room, so it
will be hanging at Ben's. But first you have to do some things with Sam, turn
the paintings in the right position. Above the bed hangs painting
A, if you look
closely you see a mountain with a fence in the foreground. According to the
drawing it has to be turned 135 degrees, from the starting position that is 3x
click on the painting. Back to the tape recorder, there hangs painting
B.This
shows a lighthouse and according to the drawing it has to be turned upside down.
So click 4x on the painting from the starting position. Go to the other room,
next to the barrels and above the save recorder hangs painting
C. It is an image
of a tree, it has to be rotated 90 degrees. So 2x click on the painting.
Back
to the laptop, bottom left you see: Riddle 1 ... Click on it to open this folder
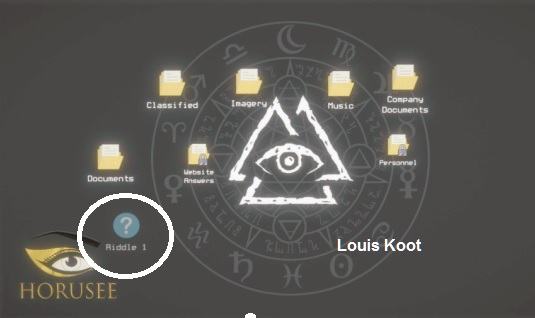
You
see a series of letters with two question marks at the end, what should be on
the place of the question marks. For Dutch speaking folks it is a bit trickier but you
have to think in English. Then there is 1, 2, 3, 4, 5, 6, 7,?,? but you must say
it in words in
English. So one, two, three, four, five, six, seven and the letters are the
first letters of those numbers. So the question marks should be 8 and 9, so
eight and nine. So you have to fill in E and N, the first letters (use Shift)
.Fill in E and N and click on enter, you will see that the answer is correct and
you will get part of the solution for a puzzle at Ben.You now have the first row
with arrows, the other 2 rows are still question marks. Note how the arrows are:
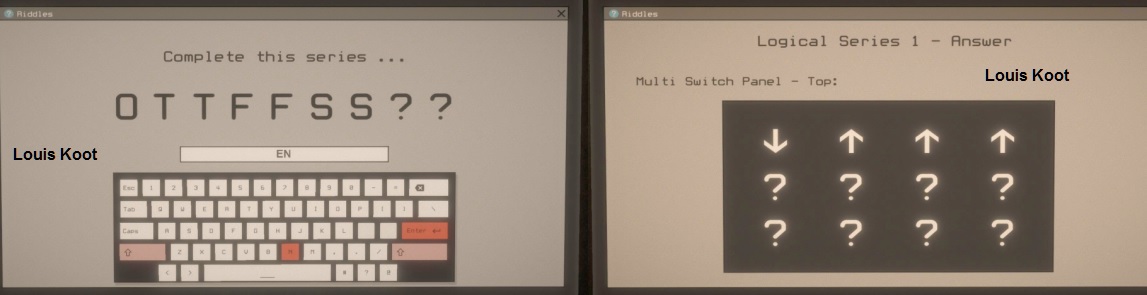
Click
this screen away and you will see another puzzle on the monitor, click on Riddle
2. You will see a row of letters again, this is actually the same riddle, but
now you have to have the last letter of the numbers. So that is T and
E, fill
this in and click on enter. You now get the second row with arrows, note how the
arrows are:
Click
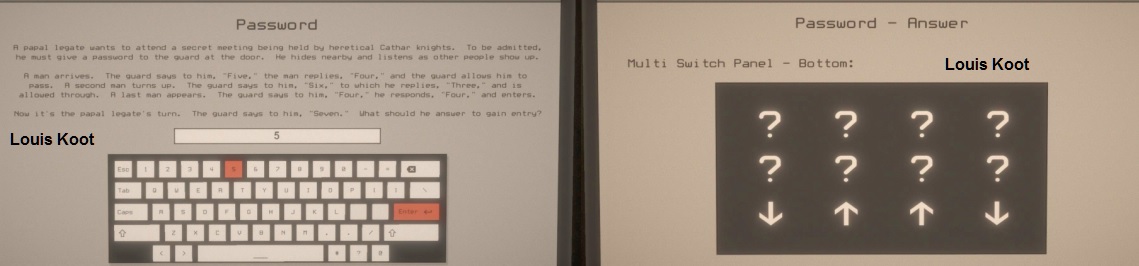
this screen away and you will see that there is a third riddle, click on Riddle
3. A guard says a number and the other answers with a number, the answer is the
number of letters of the number that the guard says. 5, 4, 6, 3, 4, 4. What
should be the answer to the number 7, which is 5 - five. Click on 5
and then
click on enter and you get the last row of arrows:
Click
this screen away and you will see that you now have riddle 4, you are now
working on solving riddles.
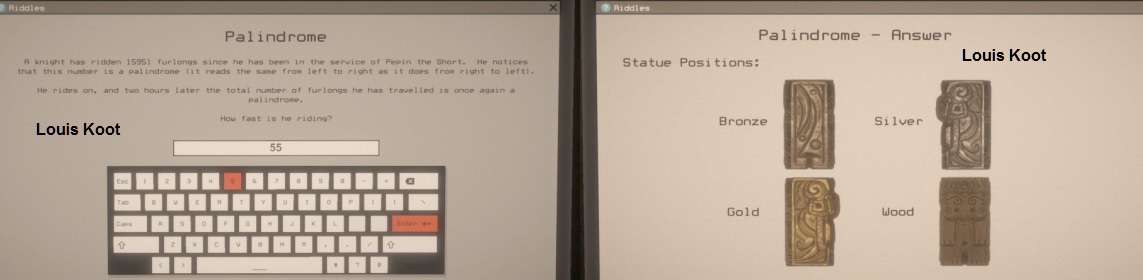
The
knight drove 15951 furlongs (an eighth of a mile - 220 yards) in the service of
the king. This number is a palindrome, from left to right you read the same as
from right to left. After 2 hours of driving he comes back to a number that is a
palindrome. How hard has he driven? 2 hours so he has not driven so many
furlongs, so the 1 remains standing. So 59 becomes 60, the number becomes
16061.That is a difference of 110 in 2 hours’ time, the speed is
55. Fill this
in and click on enter and you will get an image of how four figurines should
stand. Note this or make a photo, you can always view it on the laptop. You
need this instruction at the end of the game.
Click
this screen away and you will see riddle 5, the text is not entirely clear. The
time runs from 00:00 to 23:59, in that time you have 12 hours with a 1: 00:01,
10:00, 11:00, 12:00, 13:00, 14:00, 15 : 00, 16:00, 17: 00,
18:00, 19:00, 21: 00.In every hour there are 15 numbers with a 1 in the minutes:
01, 10, 11, 12, 13, 14, 15 , 16, 17, 18, 19, 21, 31, 41, 51. The answer must be:
24 x 15 = 360 + 12 = 372. Fill in this answer and click on enter, you will see a
picture, a drawing with the word PROGRESSION.
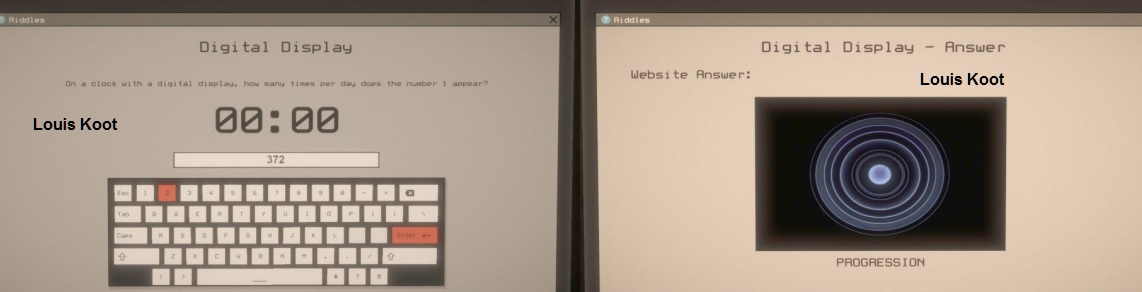
I
do not know what to do with it, but I did not need it in the game, maybe on the
website, but you have solved all the riddles here.
You have to do one more thing
at the moment, the rest can be done later. You have to make the rotation lock
still in order to pass on objects to Ben. Walk to the round pillar next to the
stove and click on the 6-sided plate. Your inventory opens, then click on the
valve wheel and this is now placed in the plate.
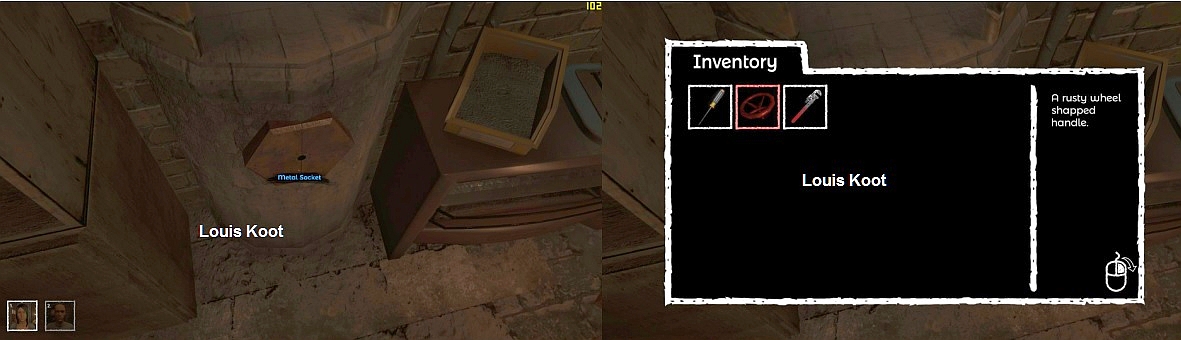
You
see the word "Turn" when you stand on the wheel with your cursor
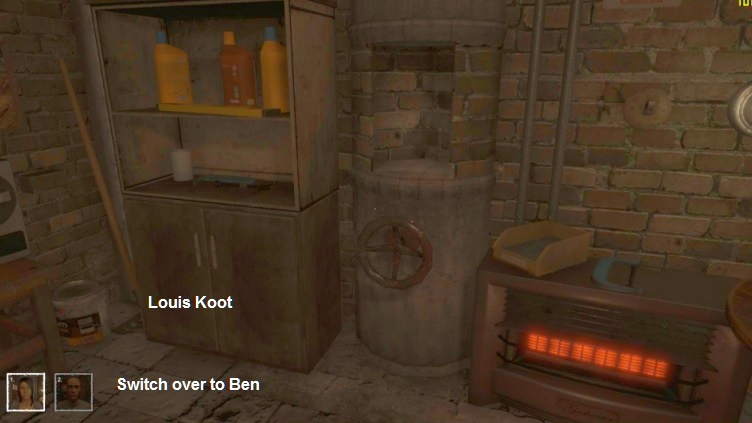
You're
ready here for now, you do not have the code of the metal case and you do not
have any masks yet.
There
are still a number of things that you need to do here, but that can only be done
later. To continue as Ben, click on 2 at the top of your
keyboard. You are now with Ben
Part
2: Ben
Walkthrough
by: Dick Leeuw and Louis Koot
Text:
Dick Leeuw. Screenshots:
Louis Koot