The Room II
2019: walkthrough by: Dick Leeuw
If you have found this walkthrough via google search or via another site then you have probably not visited my site.
A
lot more very detailed
game walkthroughs can be found on my site at: www.pcgameswalkthroughs.nl
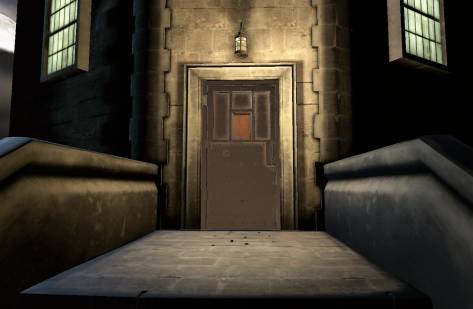
The
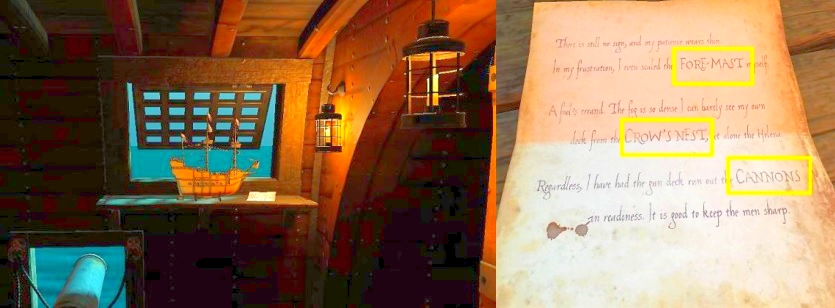
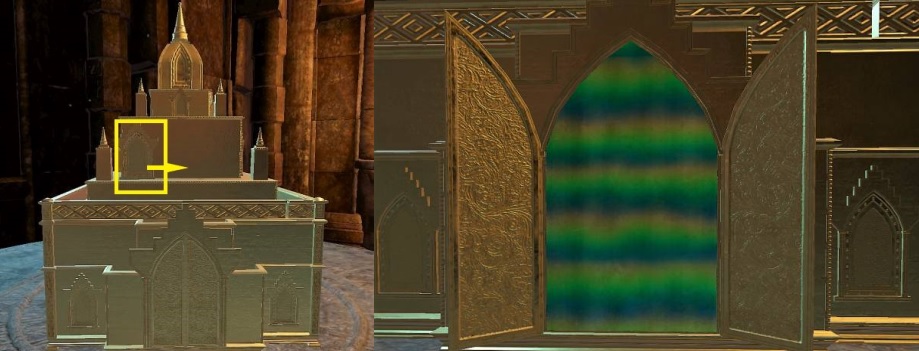
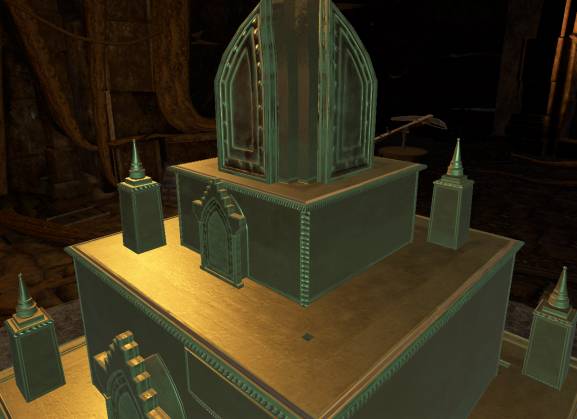
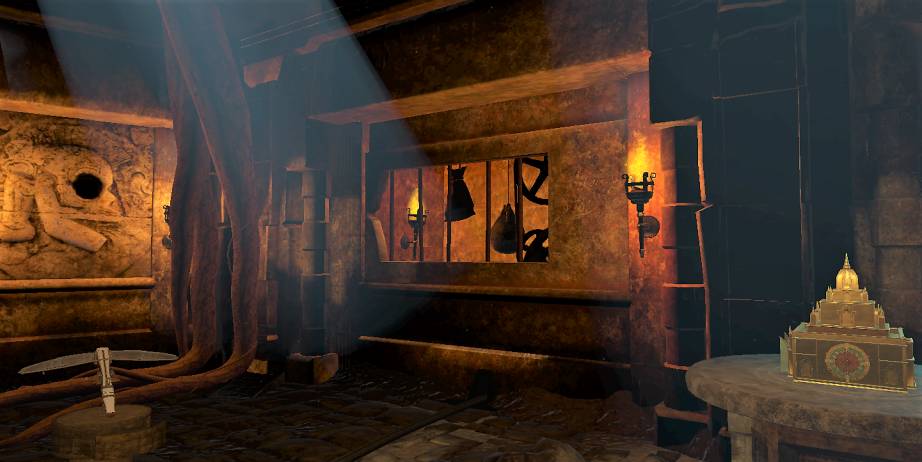
Crypt
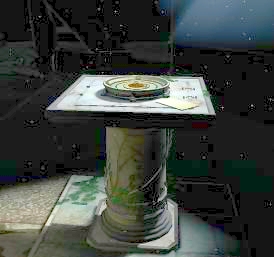
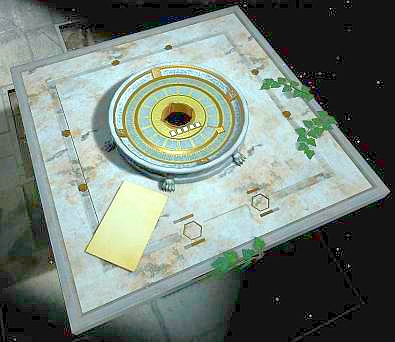
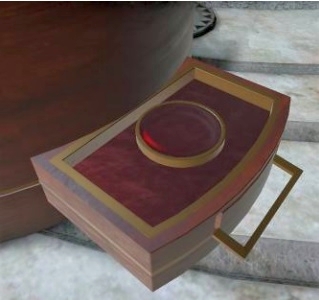
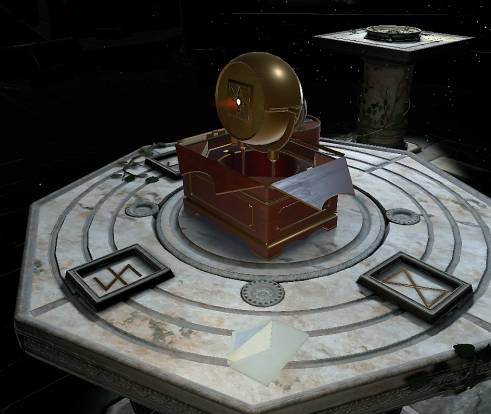
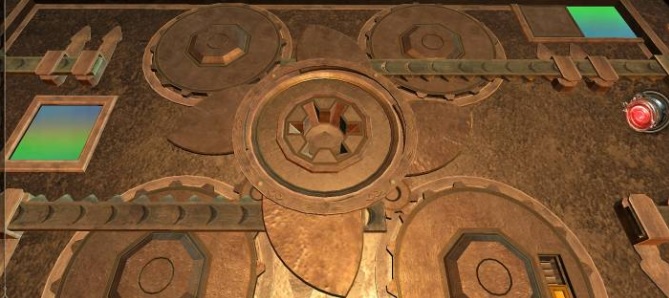
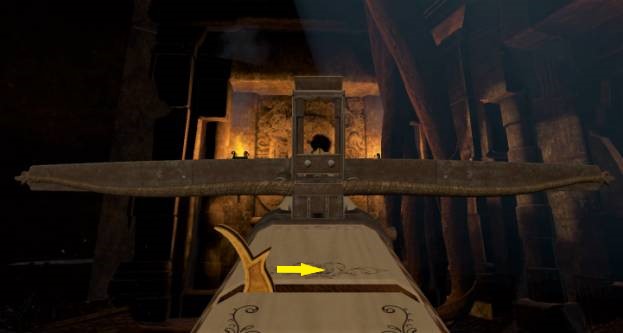
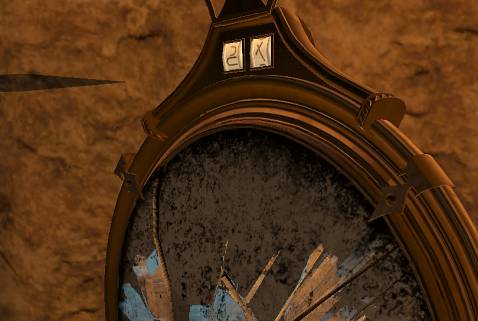
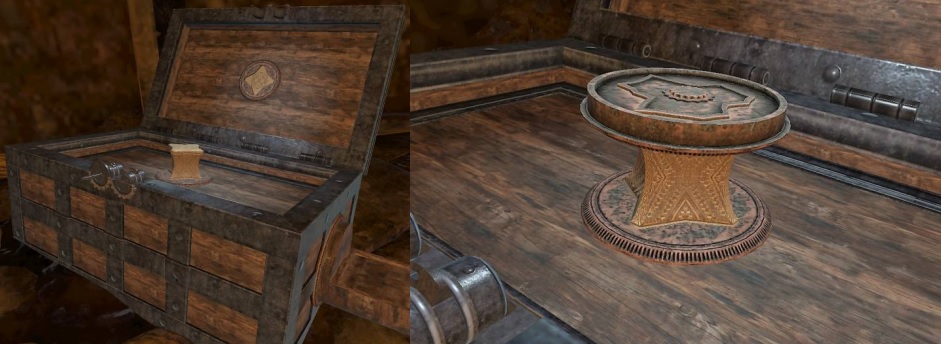
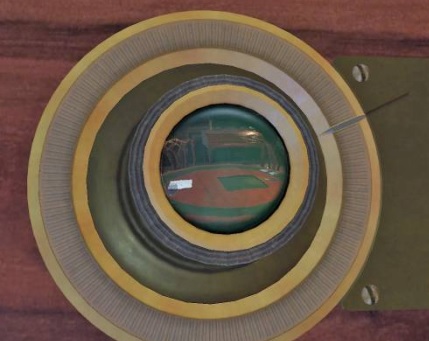
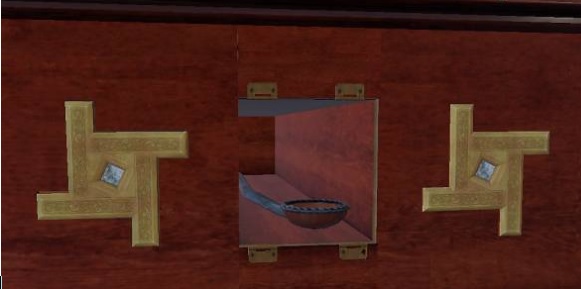
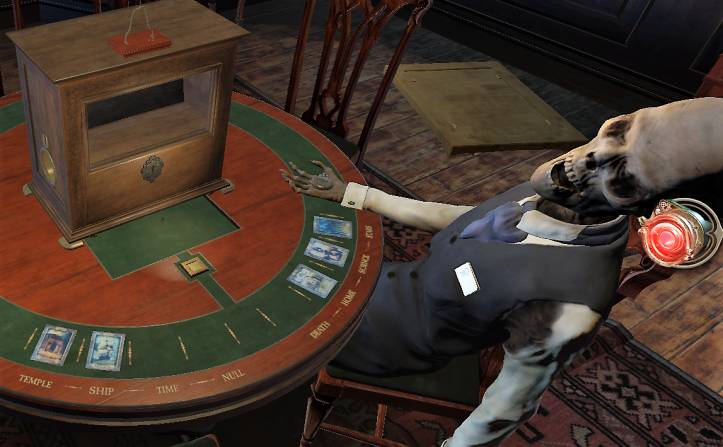
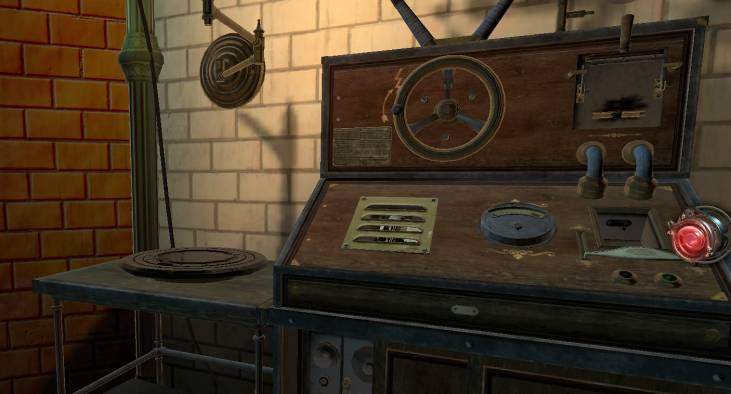
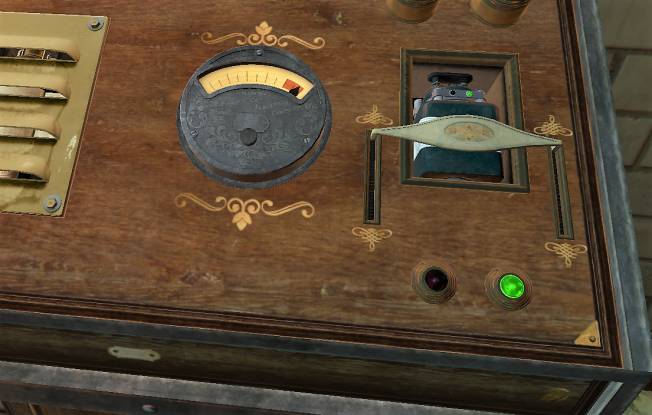
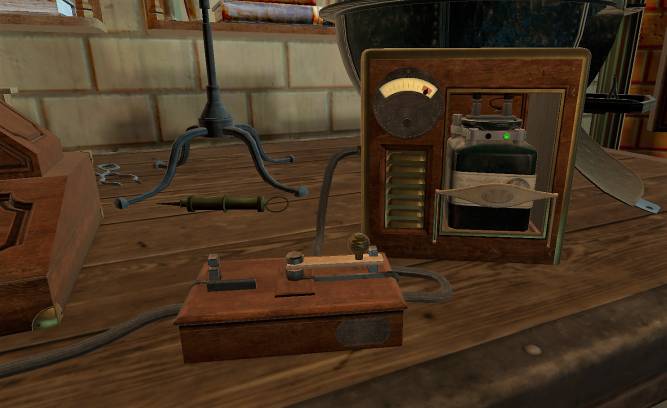
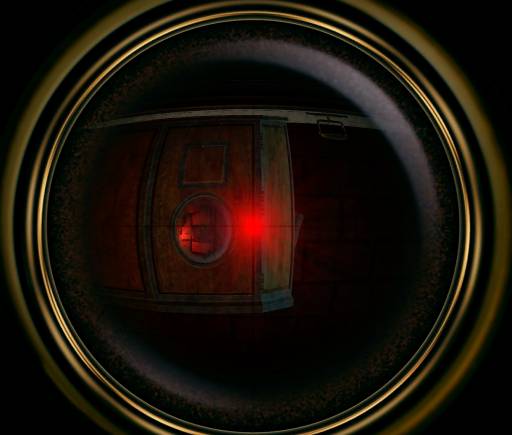
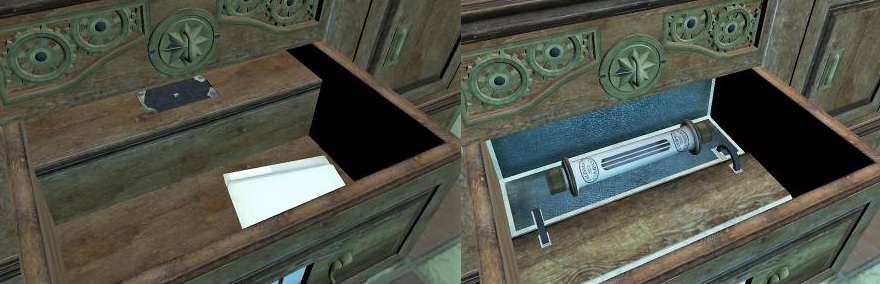
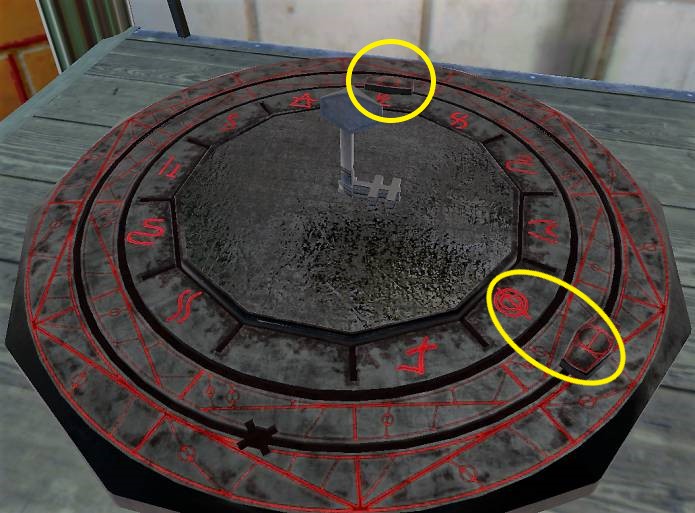
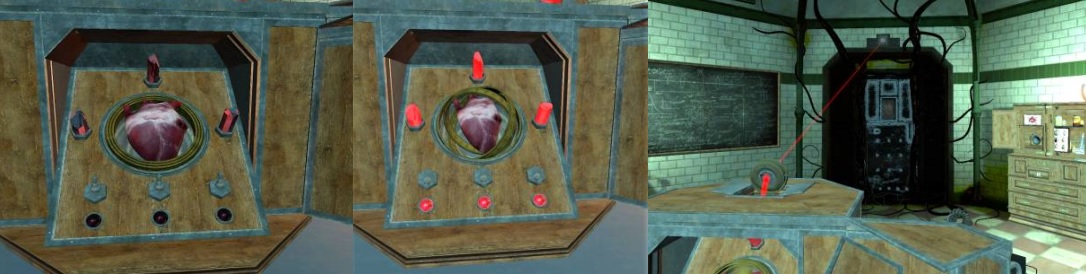
You start at a 4-sided table with a round bowl
in the middle.You see a letter, read it.
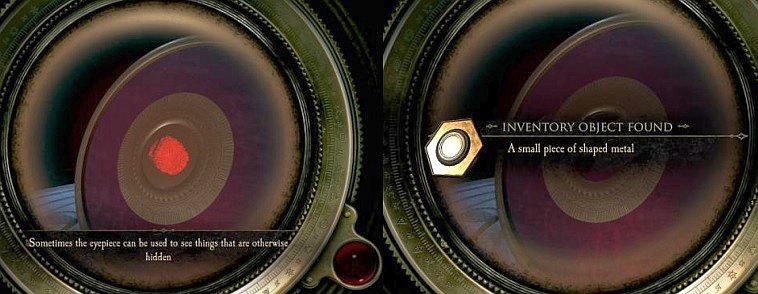
You now have your magic eye in your inventory
again only your lens broken.
Zoom out further and look around in the room,
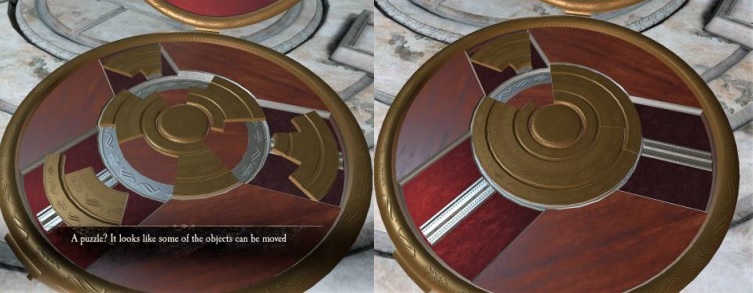
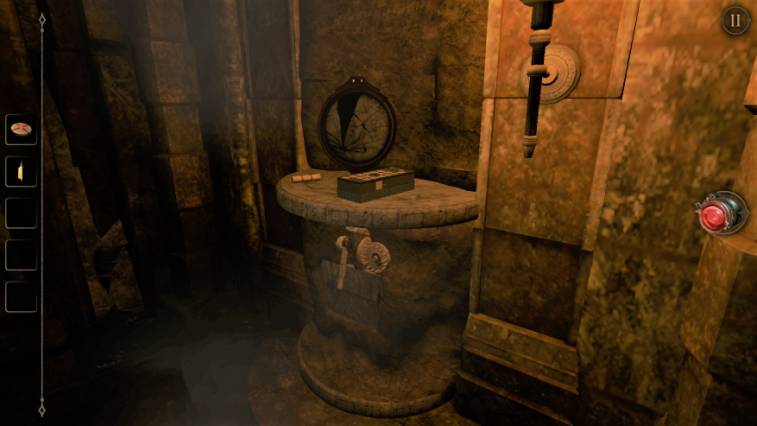
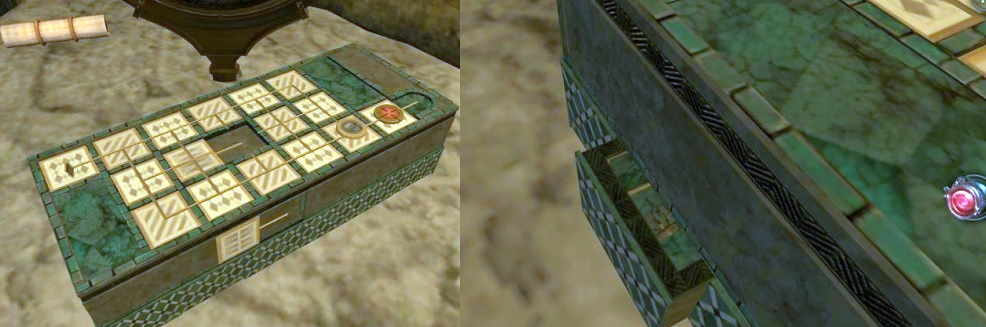
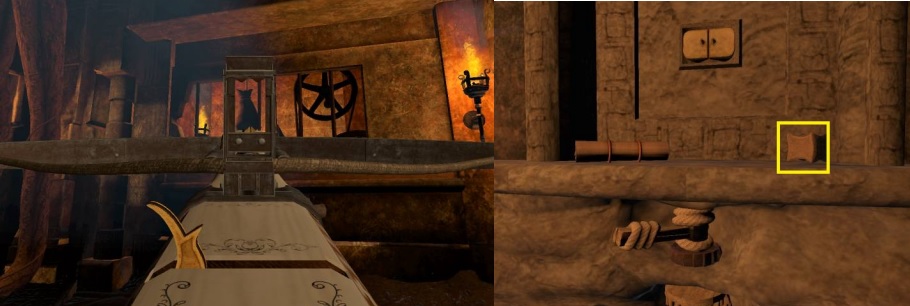
you will see an 8-sided table with a round box and a rectangular box.
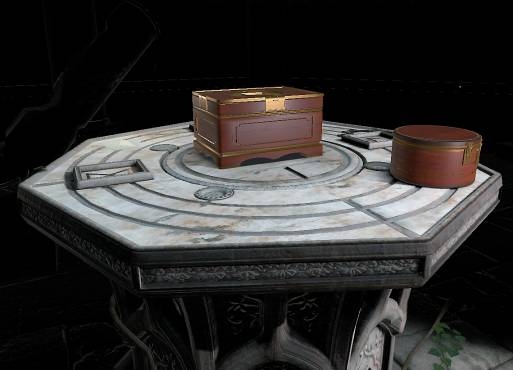
Double click on the round box, there is again a
tutorial so turn the lid of the lock anticlockwise.
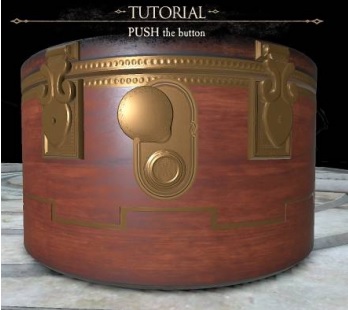
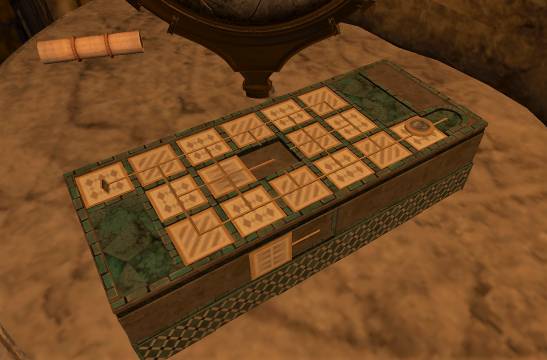
Press the button and the locks open, you can
now open the lid. You will now see a sliding puzzle.
You can immediately slide the left piece into
place, for the other 2 you have to turn the middle disc.
Take the lens, click on your magical eye in
your inventory and you will see that the broken lens is replaced by the red
lens.
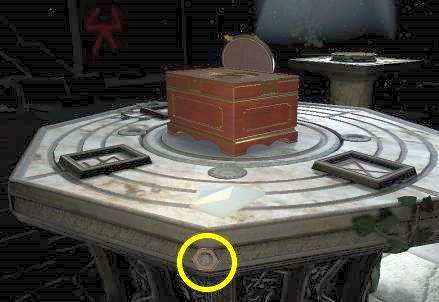
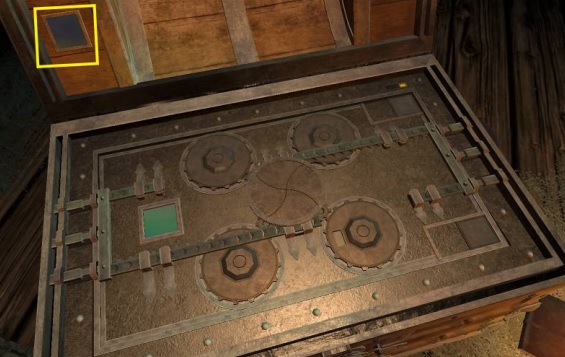
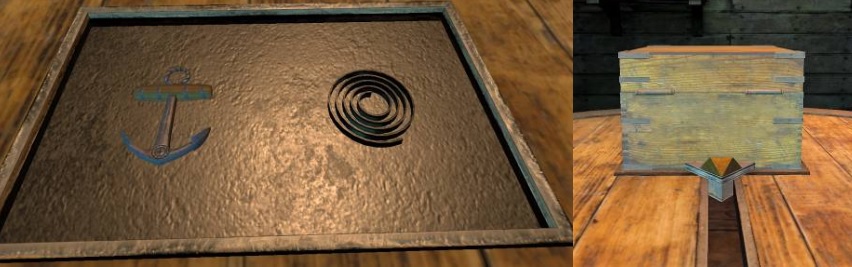
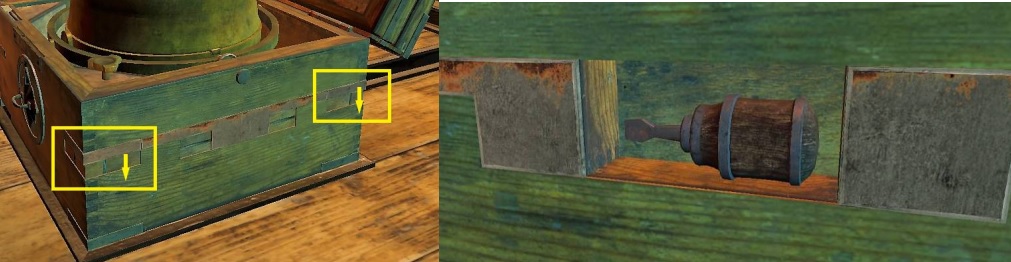
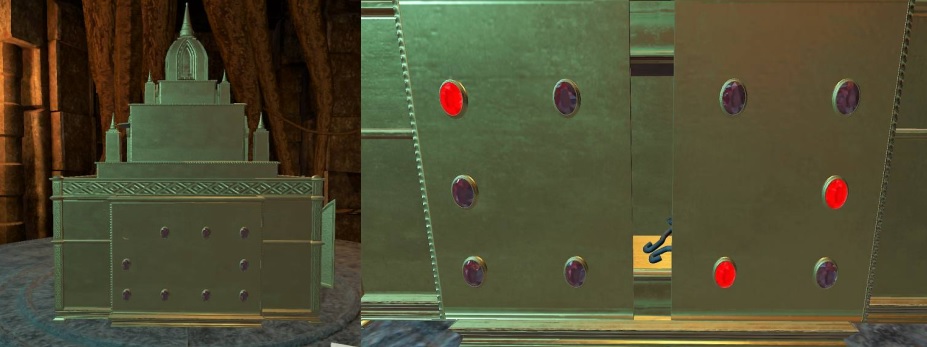
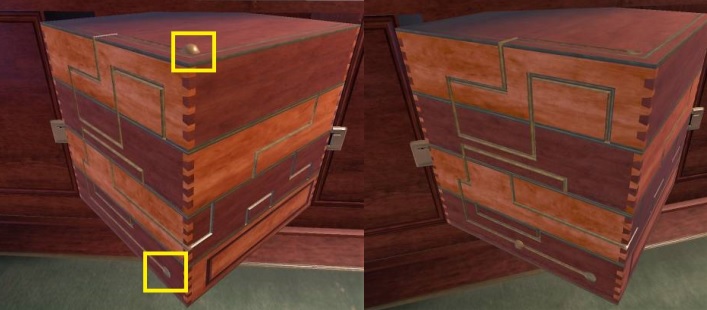
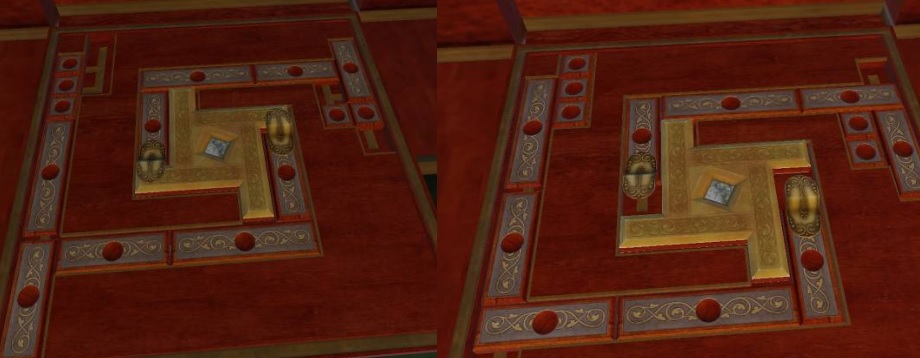
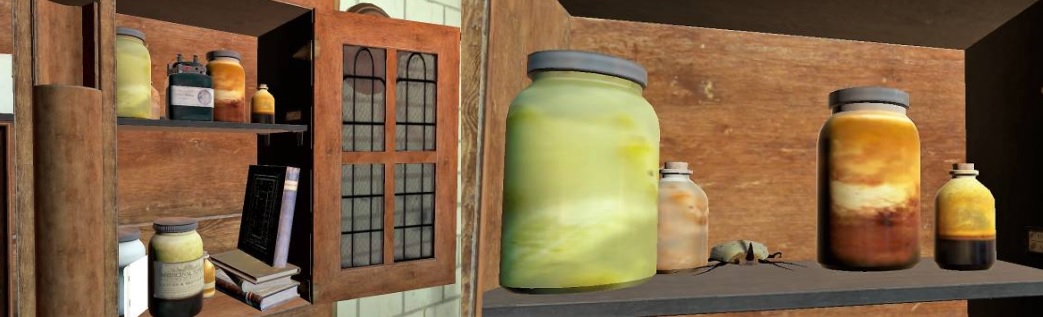
On the first table there are 2 compartments
where a 6-angled disc fits.

You see 2 round discs with a small hole, twist
each disk and you get a bigger hole through which a ball comes up.

Take the ball and look at it in your inventory,
you can see that the bottom can be removed but how.
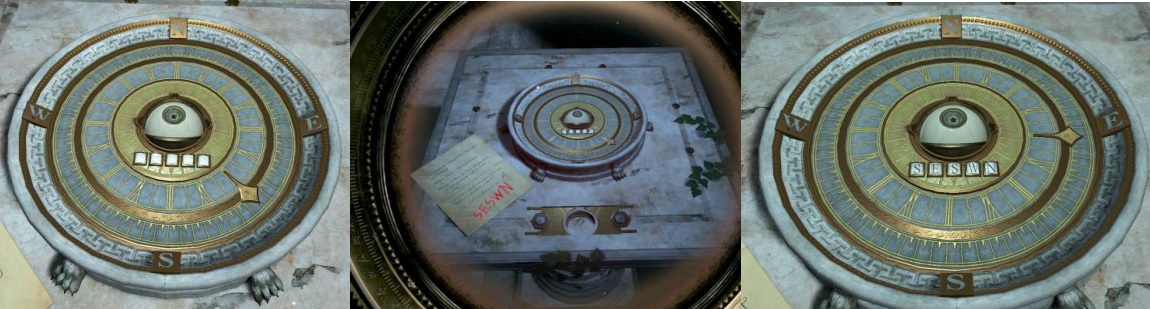
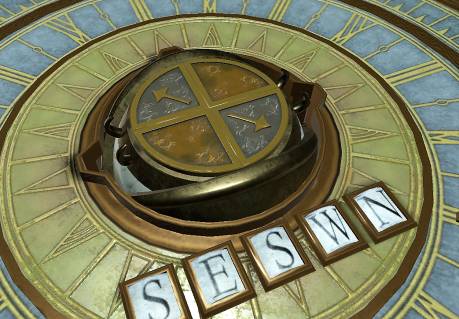
S E S W N, you have to put the letters in the
boxes with the pointer.
top again and then back to the S.
Take that and look at it in your inventory, you
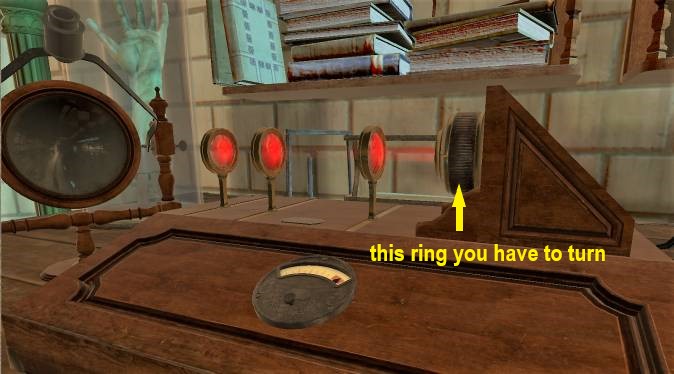
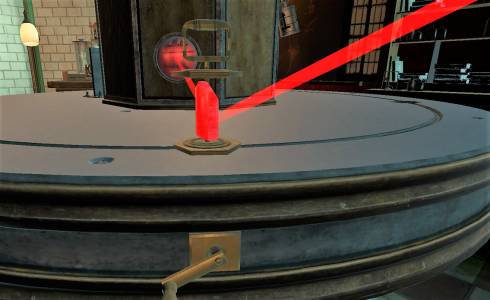
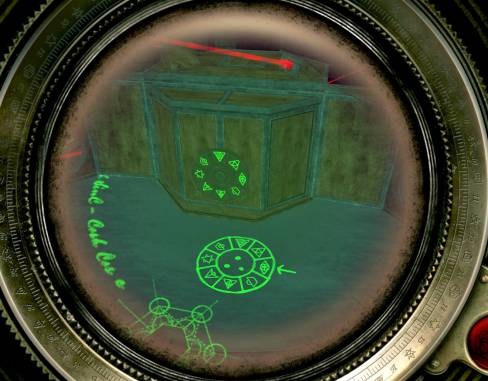
see 2 arrows pointing outwards.
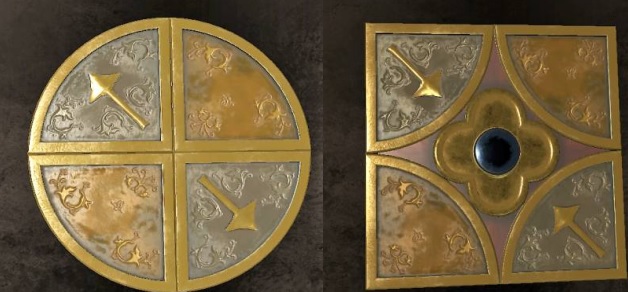
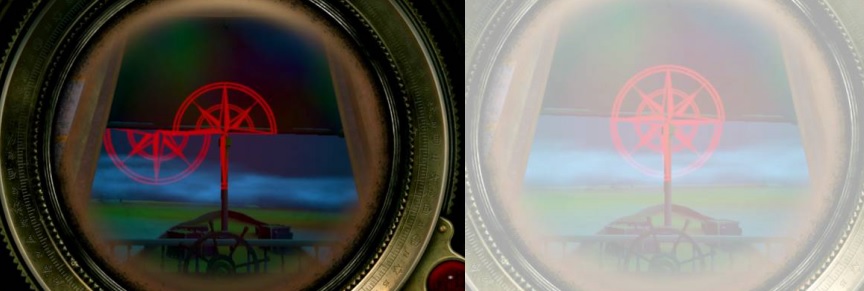
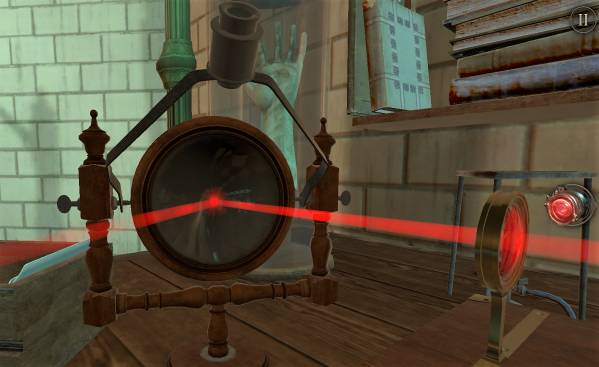
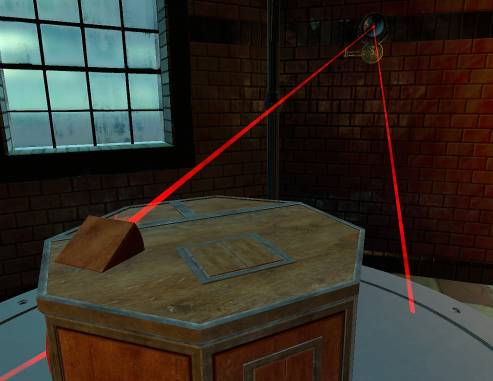
By dragging the ball you can aim the light
beam, go a bit to the left and then you see a red mark on the wall.
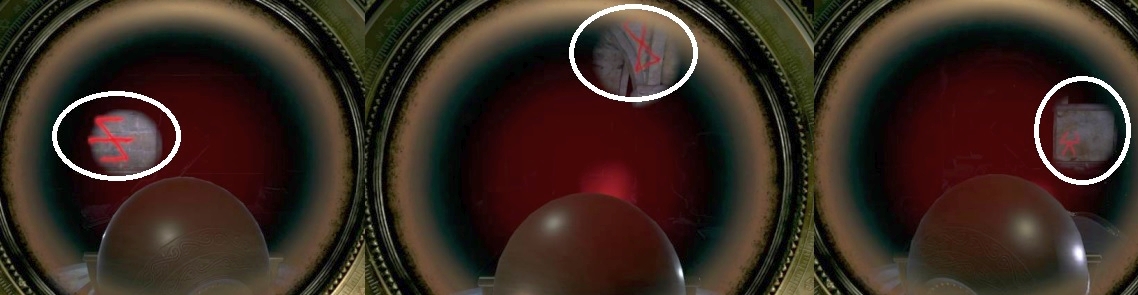
All 3 figures found then you zoom out and you
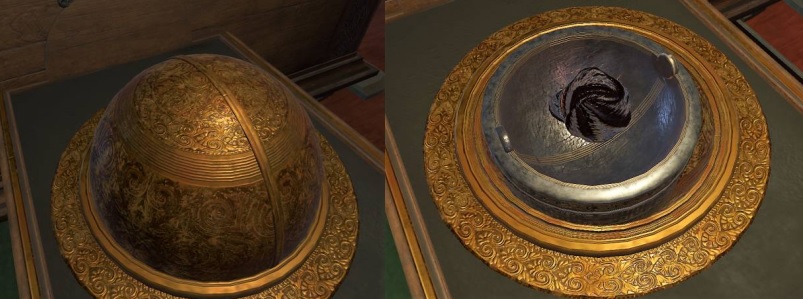
see an image of an angel, you automatically zoom in on it.
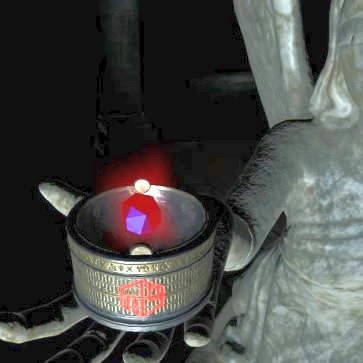
The sphere opens up, a red crystal appears. You
yourself go to the spotlight again and you get another turn and slide puzzle.
You have to spin almost completely to solve the
puzzle.
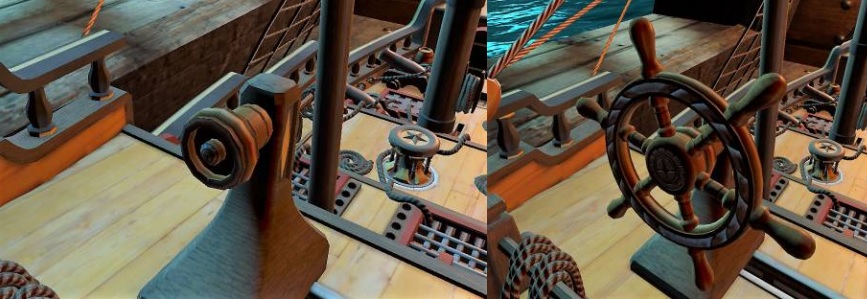
The
ship
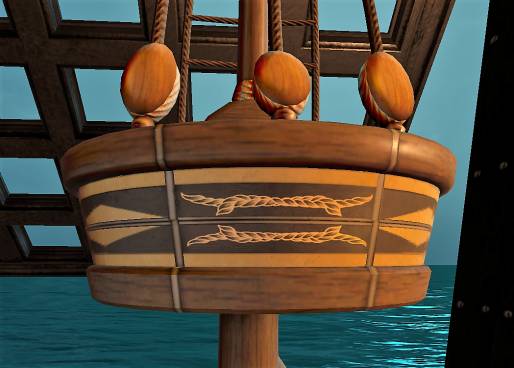
You are apparently on a ship and you see a
model of a ship, zoom in on it.
So zoom in on the crow's nest, turn the 2 rings
until you see an image of a knot.
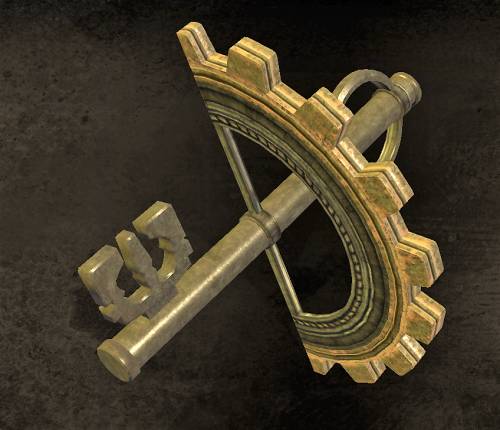
The nest slides open and there you will find a
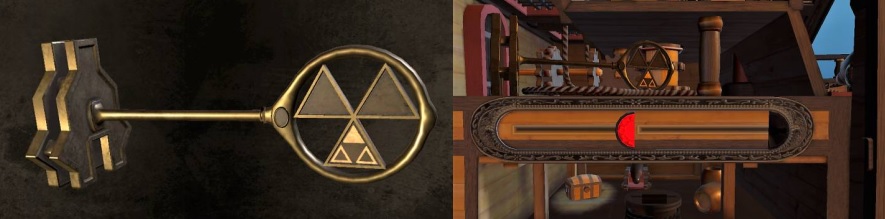
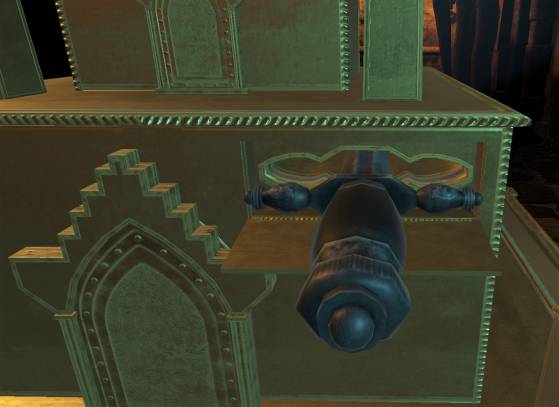
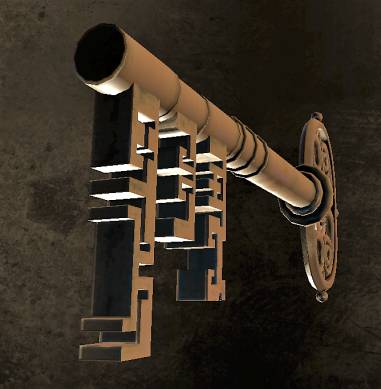
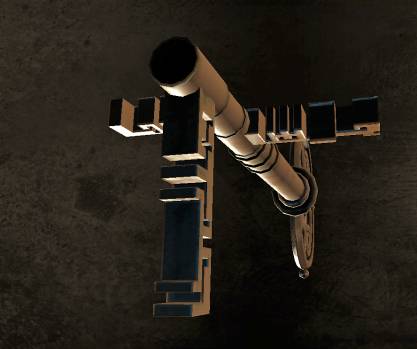
key, pick up the key. Zoom out and zoom in on the cannons on deck.
You have to move these 2 cannons to the
railing, if you have done this the hatches will open on the side.
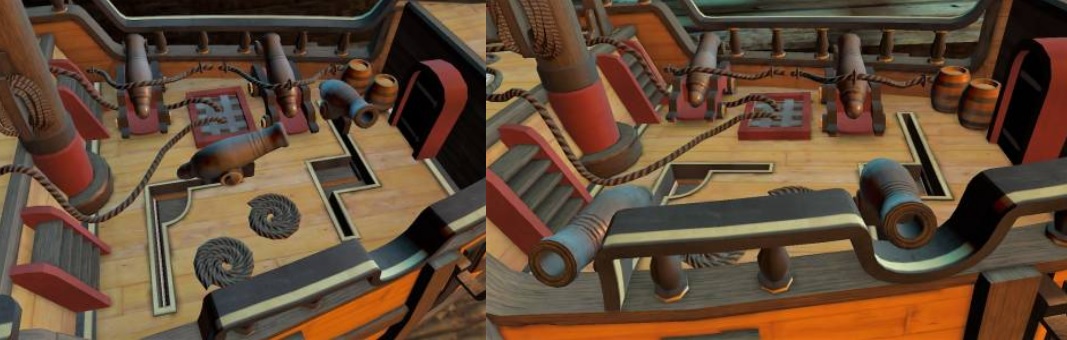
Behind one of them you see a keyhole, drag your
key here and turn the key.
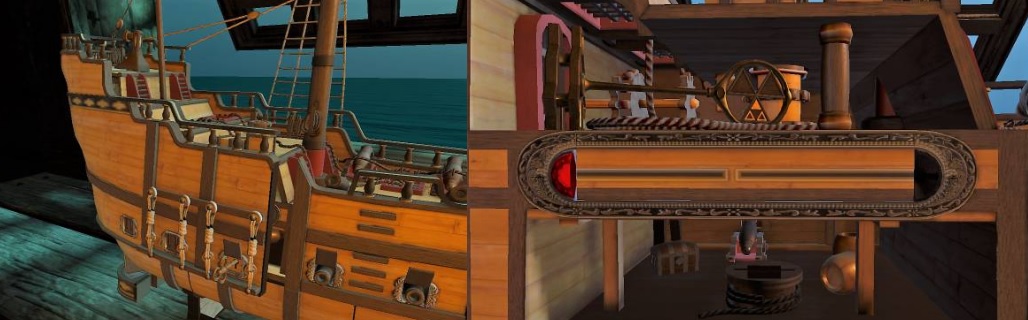
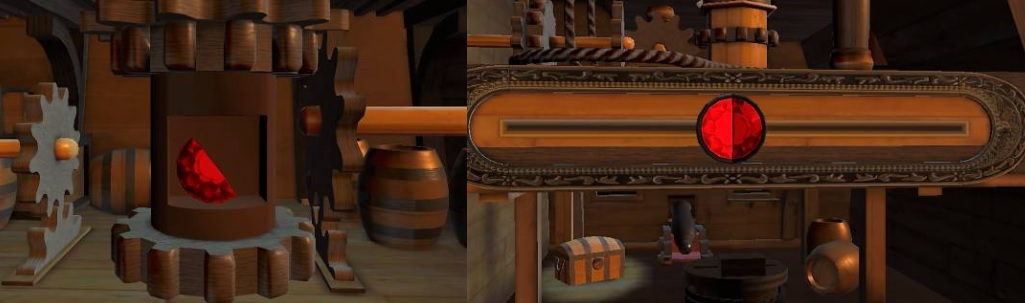
Below that you see a slider with a semi-round
red crystal, slide it to the middle.
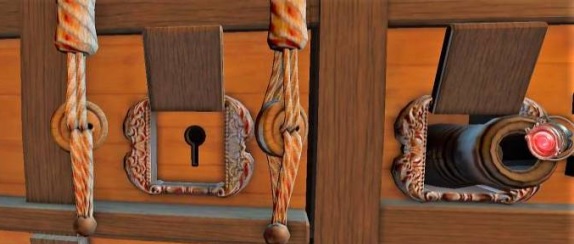
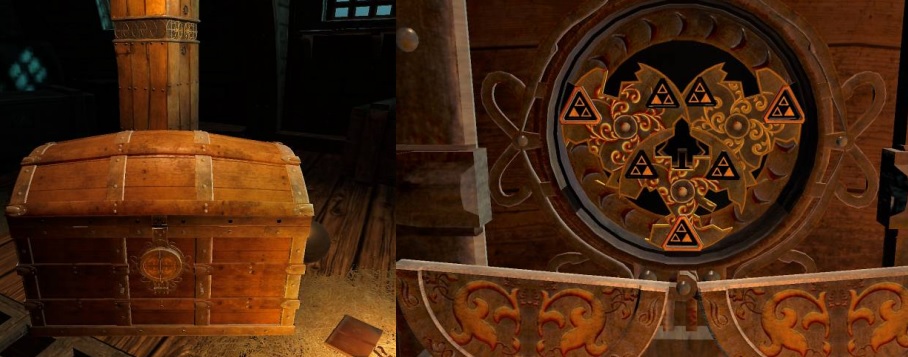
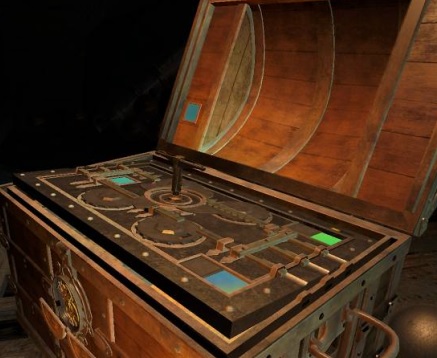
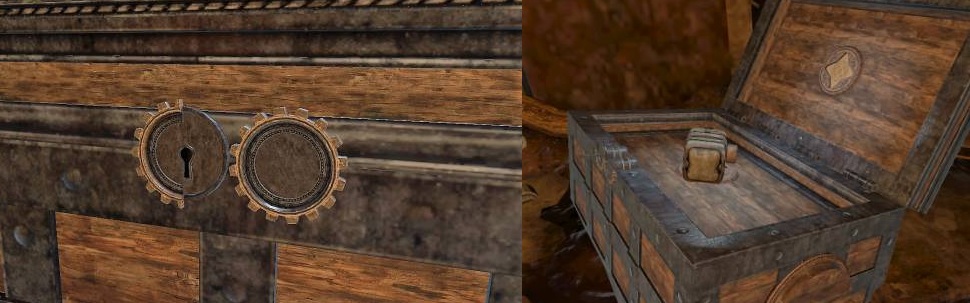
You will now go to a box yourself. Zoom in on
the lock.
You now see the lock mechanism only now the key does not fit yet.
The lid of the box pops loose, then fold the
lid backwards.
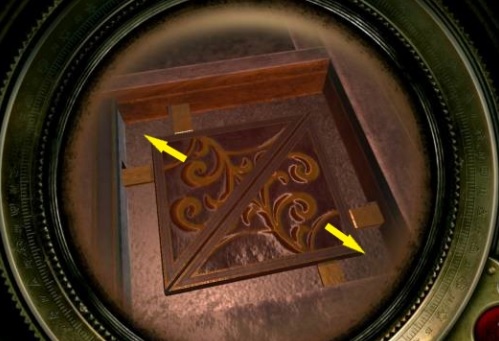
In the lid you can see a small square on the
left side, zoom in on it and use your magic eye.
On the plate you see a square, zoom in on it
and use your magic eye.
Now the wheel rotates at the top right and
another quarter of the middle wheel opens.
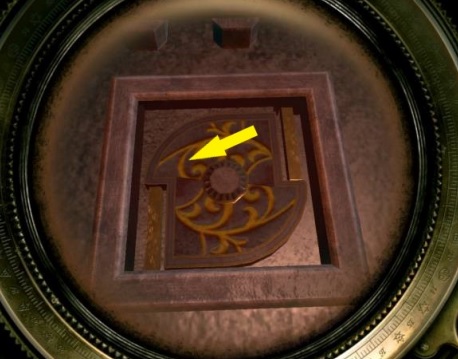
You see a slider in the bottom right wheel,
zoom in and move that slider. At the bottom right you now get a square.
In the top right corner you see a slider, zoom
in and move the slider. A square underneath slides open.

You cannot open the plate yet because you need
a kind of key / pal.
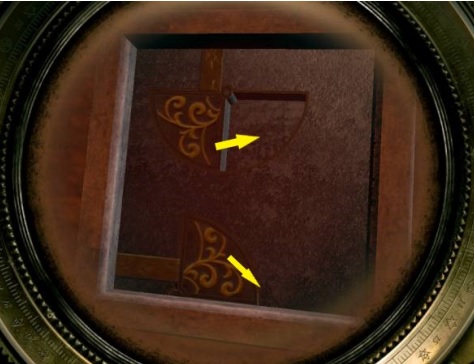
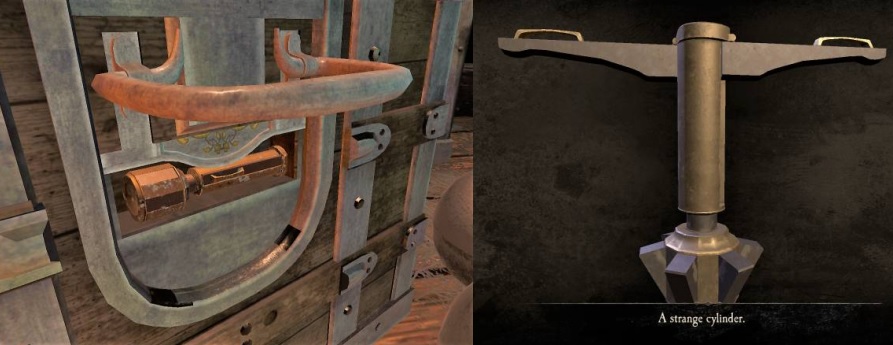
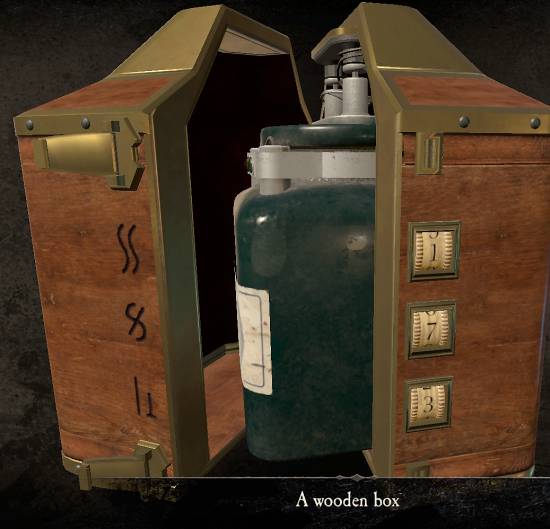
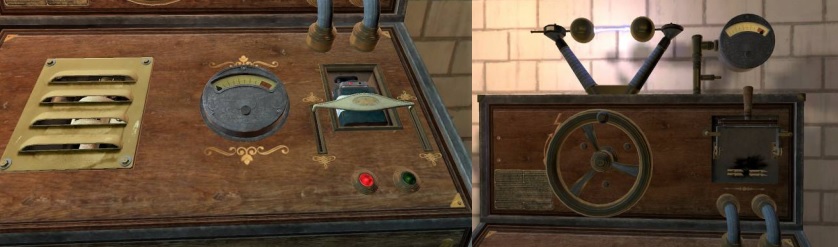
Zoom out and zoom in on the handle on the right side of the box. Drag the handle up and underneath it you will find a strange cylinder.
View that cylinder in your inventory.
Zoom out and zoom back in on the centre wheel,
now drag that key towards it and turn it over. The plate pops loose.
Drag the plate upwards and you will see a map
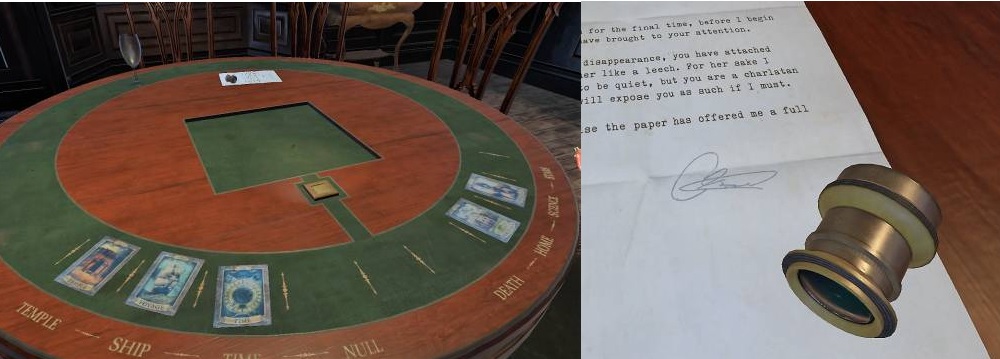
with a letter next to it, read this letter. He contains clues.
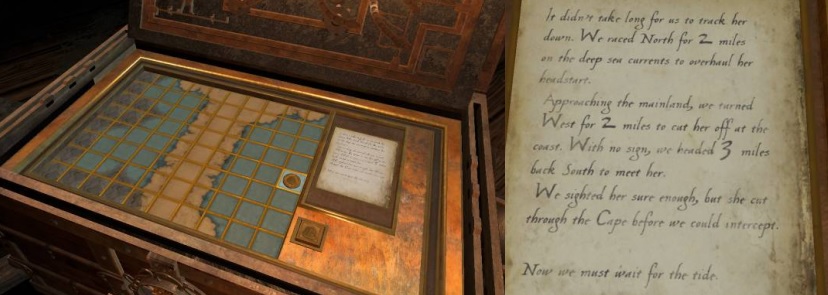
If you have done it correct, the circle will
move and you will receive a new letter with instructions.
4 west, 4 north and again 2 west.
If you look closely can you see that youcannot
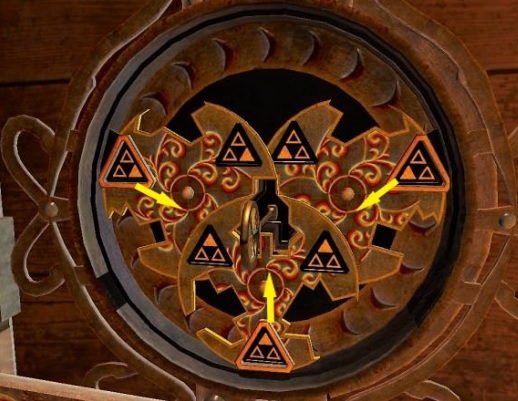
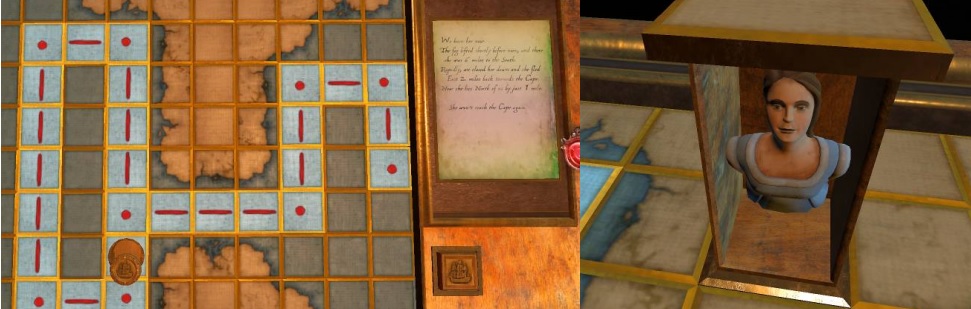
go to the west now. Under the letter you see a puzzle with a keyhole.

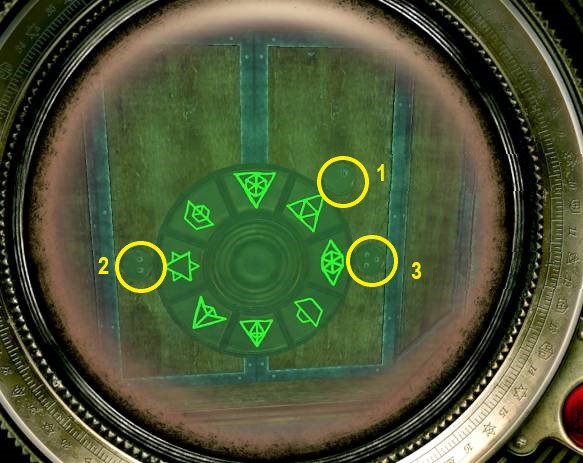
Zoom in and you see 4 triangles on the right, 1
with a rectangle, 4 triangles on the left, 1 with a circle.
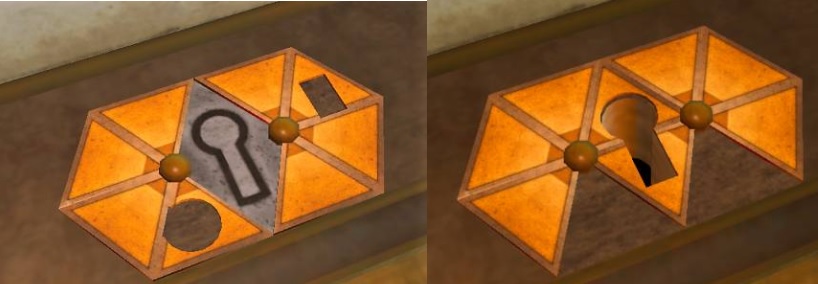
Only now you need a key.
Turn the middle circles so that the hatch is
released, this opens now and there you will find a key. Take this key.
Zoom out and zoom back in on the keyhole below
the letter. Drag the key to the keyhole and turn the key .
You will receive a new letter: 6 miles to the
south, 2 east and 1 north.
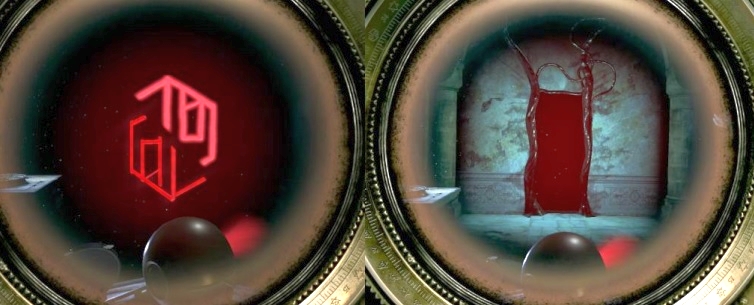
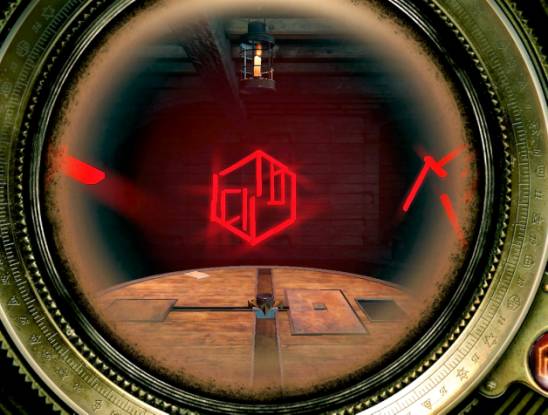
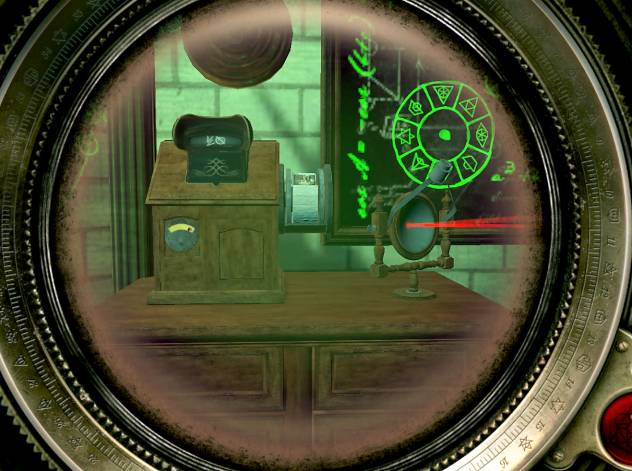
Use your magic eye on the letter, you are
suddenly on the bridge of the ship. Now turn the rudder to the left and you will
see the bow of the ship going to the left.
Now follow again the instructions from the
letter: 6 south, 2 east and 1 north. Press the button again and see what
happens.
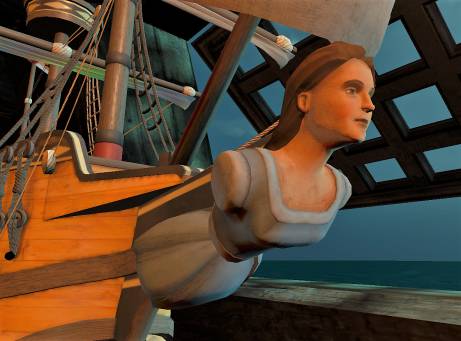
On the board a box is now raised, zoom in and
you see a figurehead. Take this.
Zoom out and zoom in on the ship, zoom in on
the bowsprit and drag the figurehead towards it.
A hatch now opens on the side of the ship.
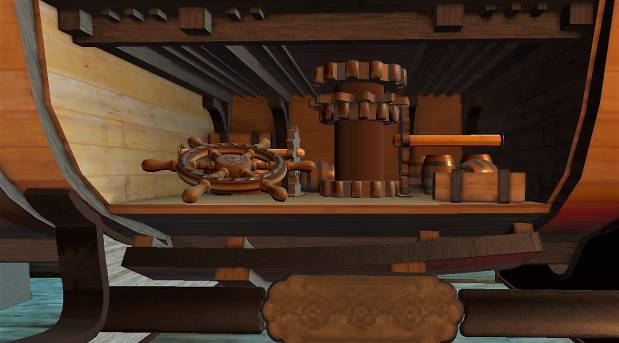
You see a steering wheel, take this. Zoom out
and zoom in on the ship's bridge.
Drag the steering wheel there and turn the
wheel to the right. The helm then moves to the left and you see a slider.
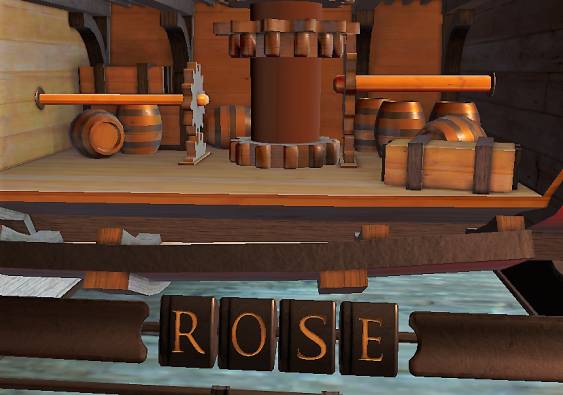
Turn this knob to the right, the sails will come down and a turning wheel will open on the deck.
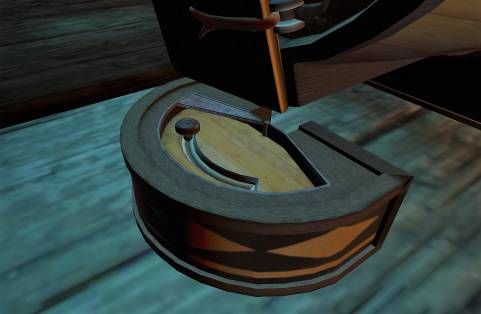
Turn that wheel to the left and at the bottom of the ship a plate will pop away,

here you can enter letters but which ones.
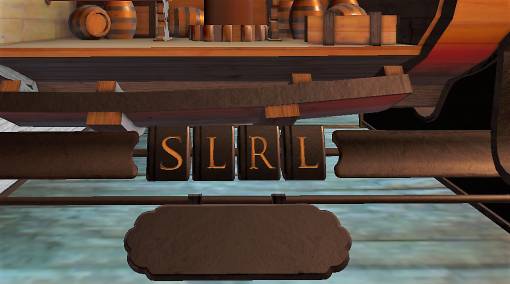
Zoom out and look with your magic eye at the rear sail, there is: ROSE.
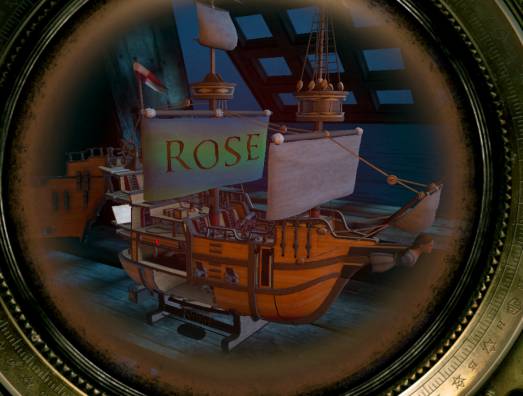
Go to the plate under the ship and enter ROSE
there.
You see the gears turn and you find the other
half the red crystal. Take this.
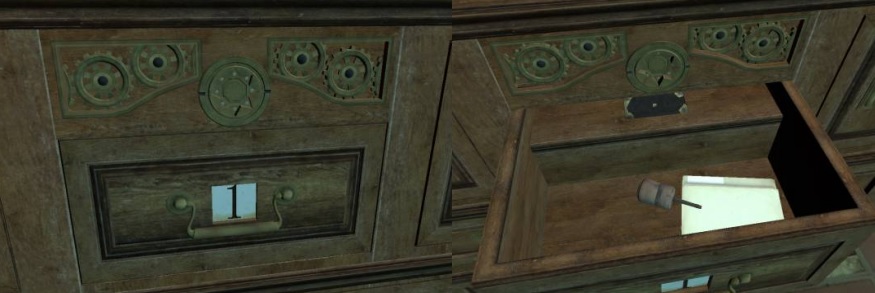
You zoom out and automatically turn to a round
table with a box on it.
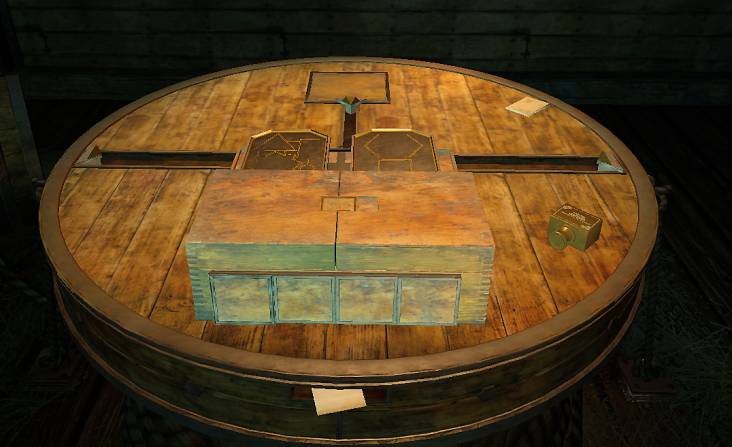
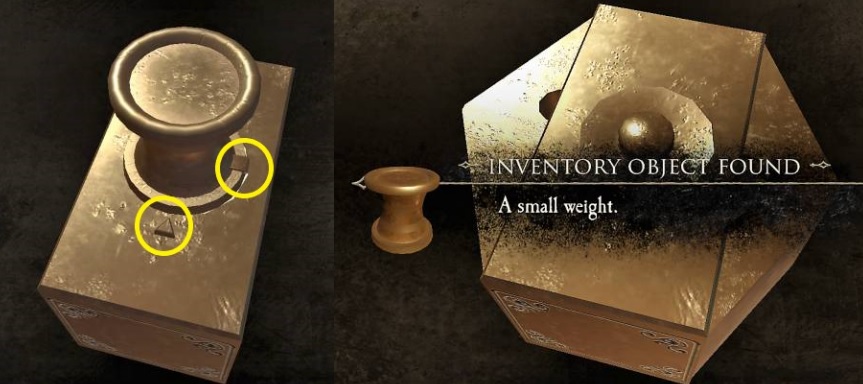
Zoom in on the weight and take that. Zoom out
and zoom in on the scale.
You also see that the lock goes from the box.
Open the lid.
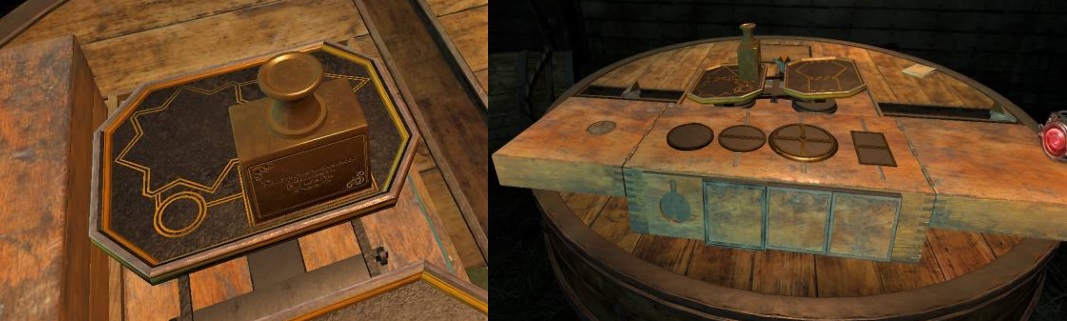
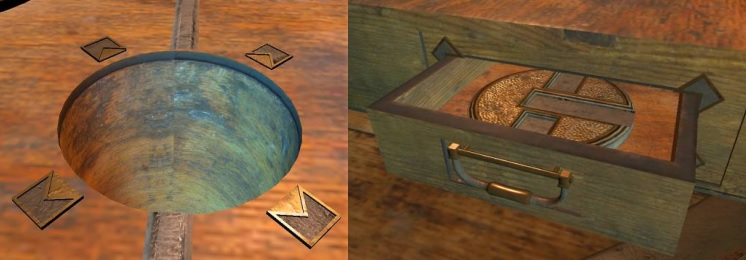
Box 1 slides open, here you need a round
medallion. In the left lid you see a round disk. (M1)
Zoom in and grab that disk, zoom out and zoom
in on box 1. Drag the round disk towards it.
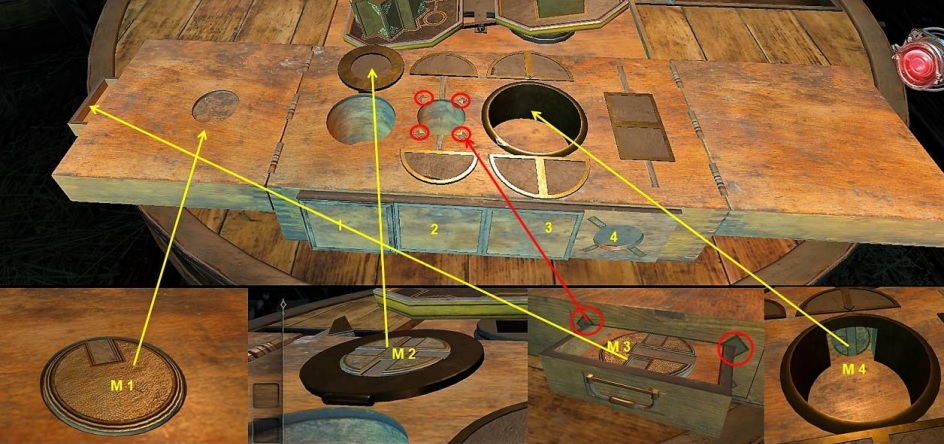
Turn the disc around and insert the catch. On
top of the box a lid opens, there you will find another weight

Drag the weight to the right place, box 3
opens. Where is round disc 3?
Go to the side and pull the bracket, you will
find disk 3. Take this. (M3)

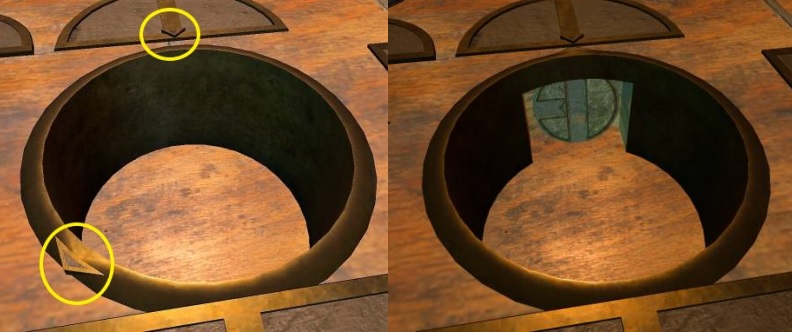
Looking for round disc 4, zoom in on the large
round hole where you just removed the weight.
At the bottom left of the edge you see a point,
turn it to the arrowhead at the top. There you will find disk 4. (M4)
Grab this and drag it to box 4, solve the
puzzle there by turning and sliding.
On top of the box the last lid is now opened,
again a weight.
At the place where the box has been, you will
now find an anchor and a spring.
The anchor is something that belongs to a ship
so go back to the ship.
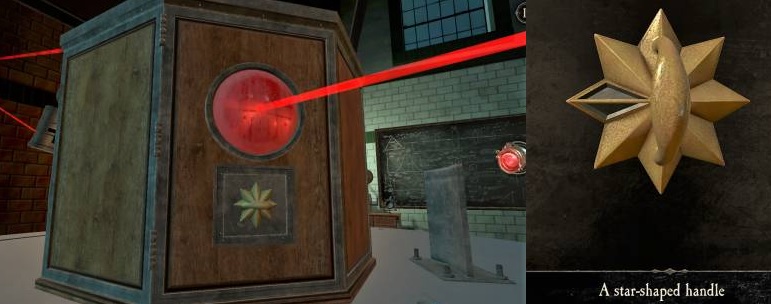
The anchor drops and the bow opens, you will
find a metal star there. Grab the star.
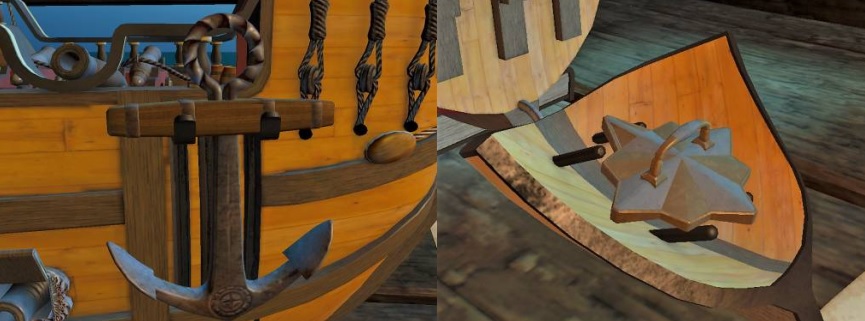
Go back to the round table, at the front of the
box you will find the place for the star.
Drag it towards it and rotate the star with the
tip pointing upwards, the lid of the box pops loose. Open up the lid further.

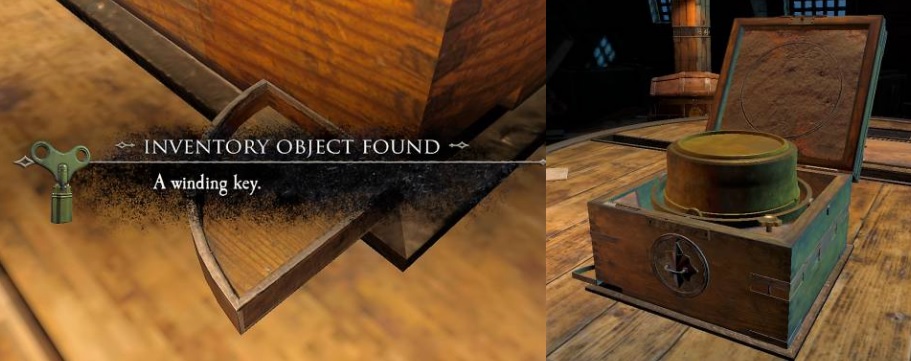
Here you will find a winding key, take it. At
the bottom right you see a round button, turn it and the chronometer turns over.
Go to the left side of the chronometer, there
you will find a pal that you can shift. The lid opens up.
You see a screw but you do not have a
screwdriver. Go to the right side of the box.
Hurray a screwdriver, take it. Go to the top
and drag the screwdriver to the screw.

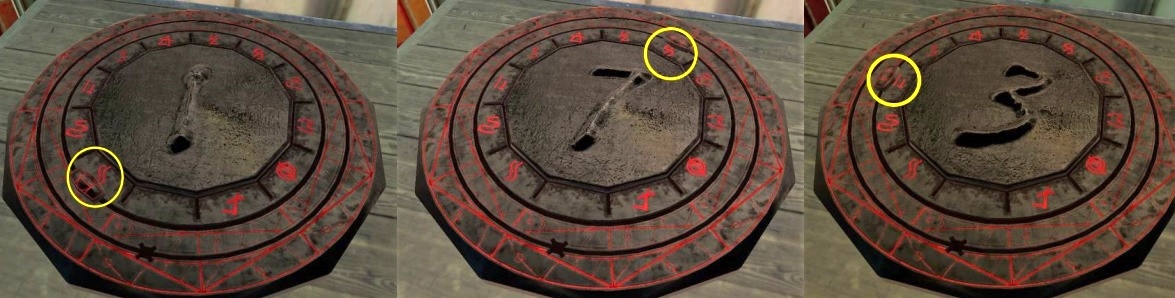
You see a key on the left, it is locked in by a
number of rings. You have to set a time to move the plate away.
Now look through your magical eye to that side,
you see below: 2:50
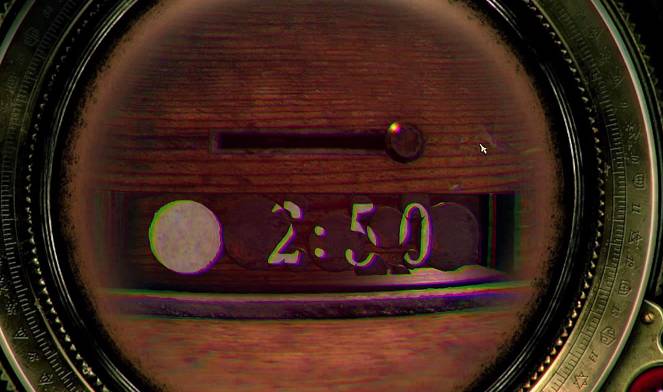
Go to the top of the chronometer and turn the
rings to move the hands. Set the time on 02.50
A plate slides away and you can now stop the
rings turning by pressing the buttons.
On the top edge of the box you will find a
keyhole, drag the key to it and turn it over.
You see an image of a ship but the picture is
distorted, just turning the rings to put it right.
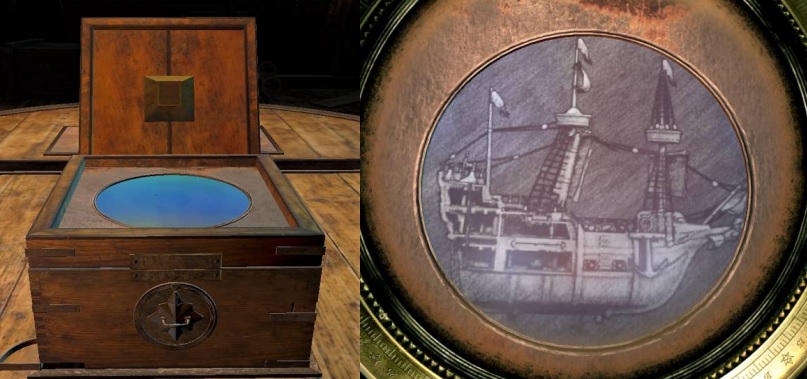
Now a plate slides open on the lid, in it you
will find an octahedron or a double pyramid.
The 4 triangles slide towards each other in the middle.
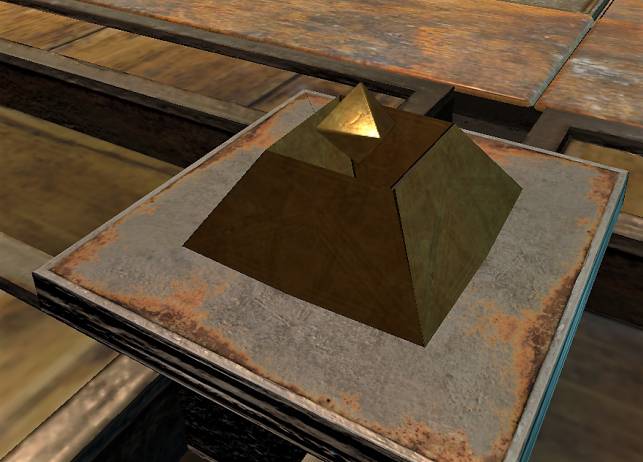
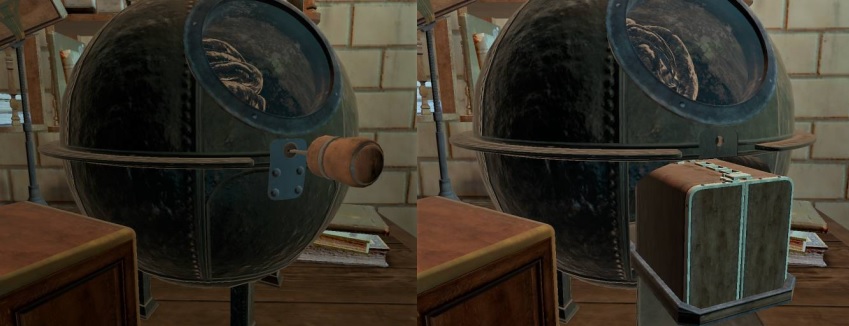
Drag the pyramid towards it, it opens up and a
sphere rises. You also see 2 rings that you have to turn to get the symbol
right

The sphere opens and you get another turn and
sliding puzzle.
Now you get the final movie of this chapter.
The
Temple
You are standing in a passage but it is
blocked, through a small opening you see that there is a room.
Now a plate of stone falls on the ground and
you have access to the room.
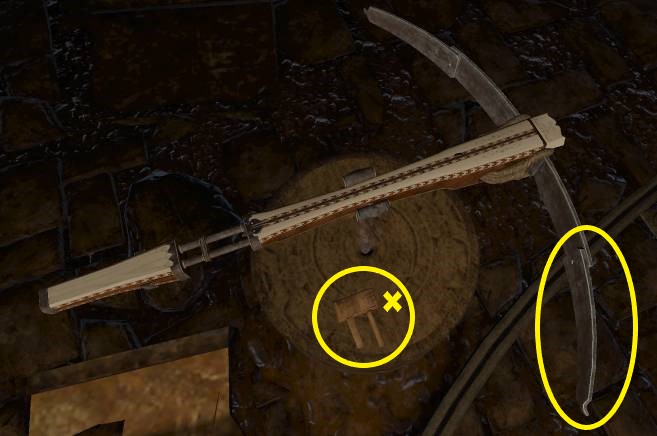
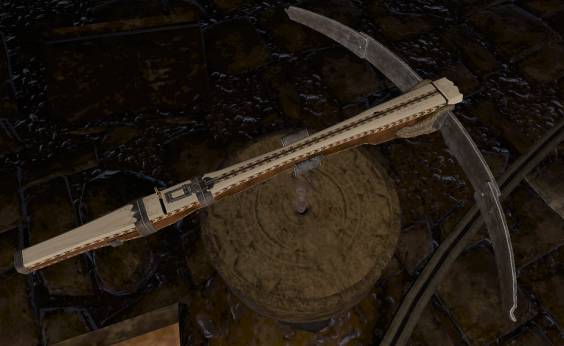
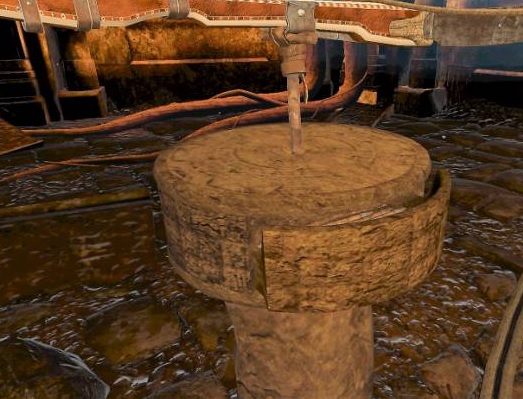
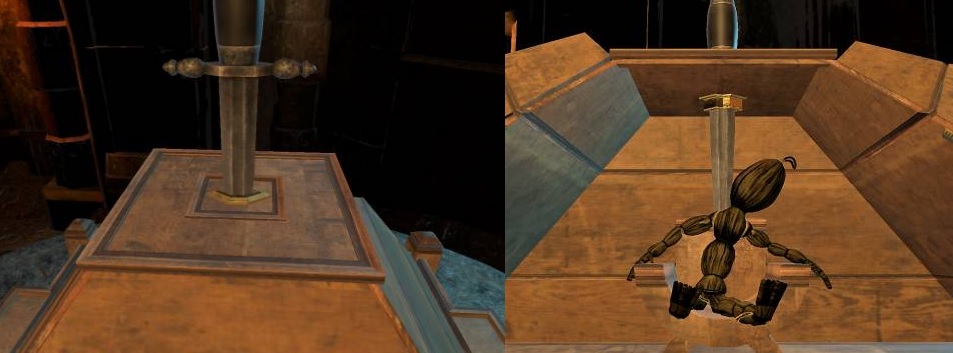
Take a look around, you will see a small round table with a box on it. Turn to the left and you will see a crossbow in the middle.
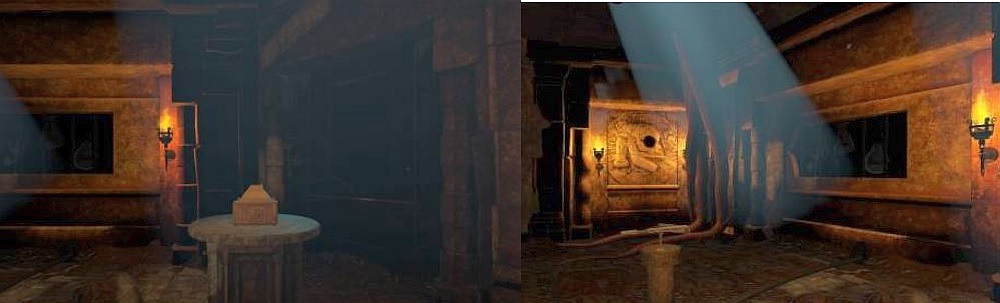
Behind it you see a wall with a hole in it,
turn to the left and you see a box on the floor.
Zoom in on the crossbow and you will see that a
piece is missing, drag that piece of metal that you have previously pulled
loose to the bow.
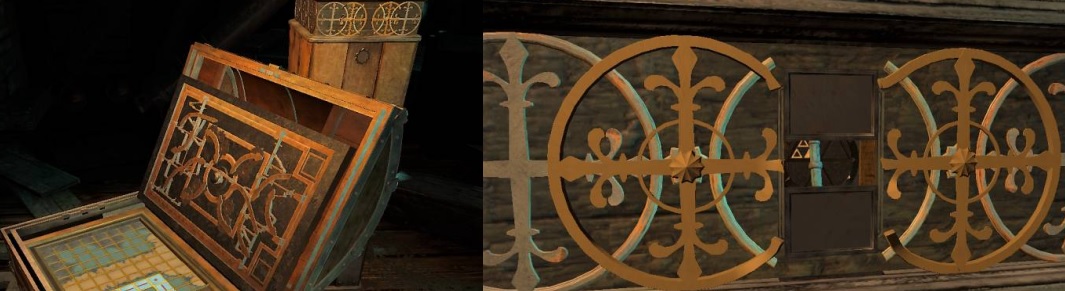
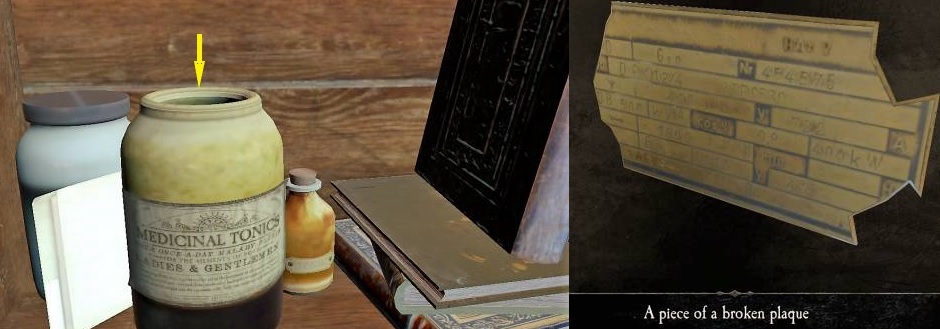
Go to the box on the table, view it
from all sides. There is also a note on the table, read this.

If you have just paid attention then you know
that there is something on the block with the crossbow.
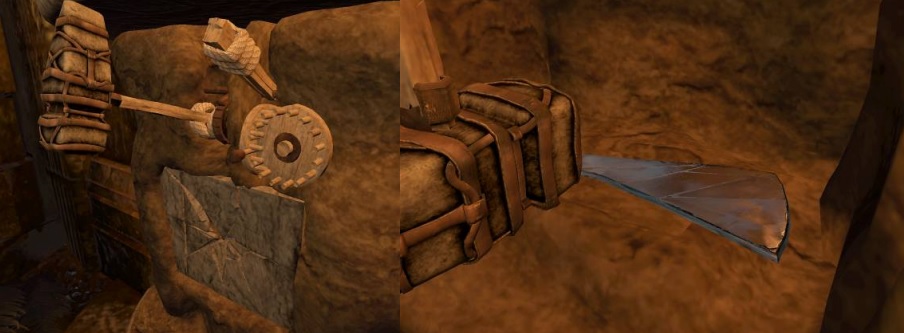
There you will find a trigger mechanism, take this.
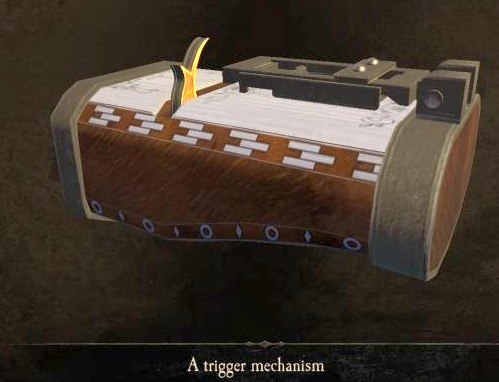
Go back to the crossbow and drag that trigger mechanism towards it. You still miss something for the bow.
Go to the box on the floor, the lock on the
front you cannot open yet but go to the handle on the side.

Back to the crossbow and drag the tendon to the
bow, you automatically go to the gun sight and this will be folded up.
Also, a drawer opens, pull it open further and
take out an arrow for the crossbow.
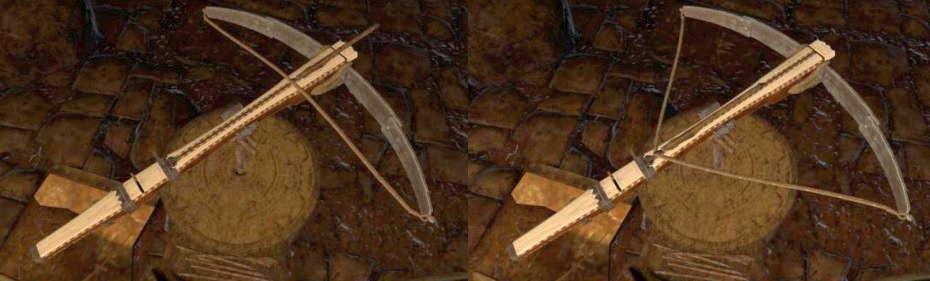
Zoom in on the back of the crossbow, you can
now aim the crossbow at the hole in the wall by dragging it.
Go to the box on the table and zoom in on the
front, a metal plate will stop a few paws.

Now all the way to the right and the plate now
hangs down, you see a lever. Turn this to the left.
Zoom back into the board game on the shelf,
drag the disc to the left corner of the playing field.
If you have succeeded, a drawer will open at
the front, pull it further out and take the strange key.
Take this and you will now see 2 forms that
need something added to it, but what?
Go to the shelf with the broken mirror and zoom
in on the mechanism under the shelf.
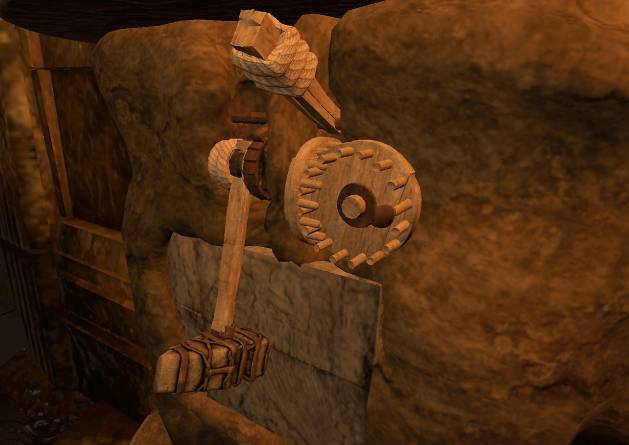
Turn the wheel to raise the hammer, then pull
the pawl above and the hammer swings down against a stone slab.

Go back to the box on the table, on the sloping
roof you see a small golden turret. Take that turret.

Go to the mirror and zoom in on the top, here
you put the right symbols.

Flash and automatically turn around to the
table and there is now another box, gold.
Drag this turret to the place where a turret is
missing, a hatch underneath opens and a dagger comes out of it.
On top of the box you will find an opening for
the dagger, drag the dagger towards it and a part of the roof will open.
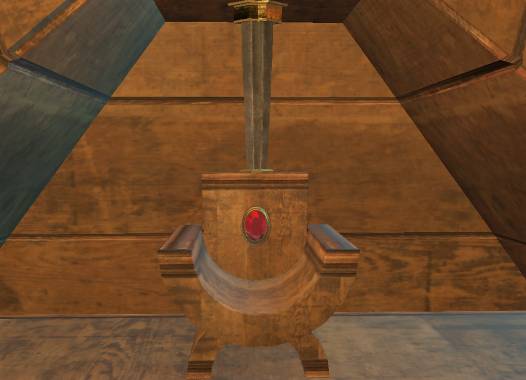
On the chair you will now find a gem, also take this gem.
If you have lookedclosely at the golden box,
you know that there was a gem missing on one side.
Drag your gem from your inventory to the top
left spot and then click on the 3 stones that were crossed out.
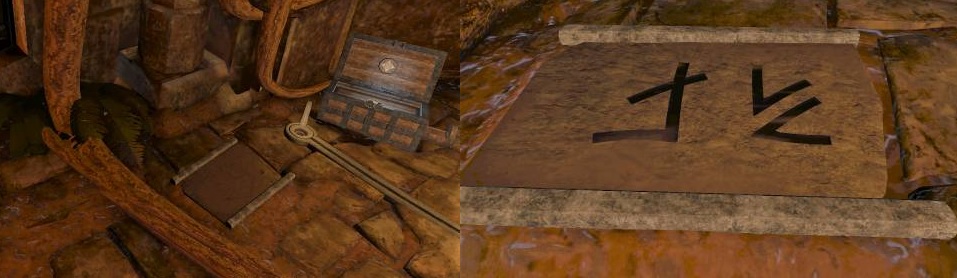
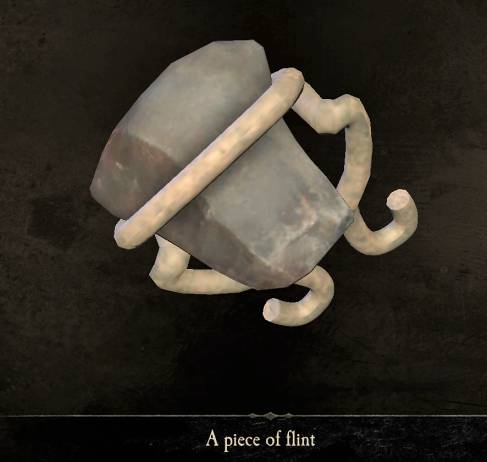
A panel slides open and there you will find a
flint, there is also a roll that you can read.
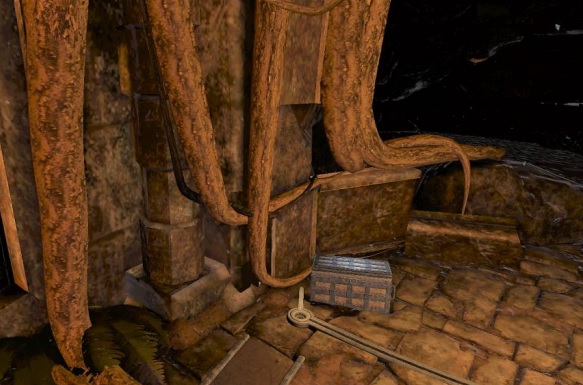
Go to the box on the floor, just before the box
is a small fire basket and from there a slot runs to the other side of the
room.
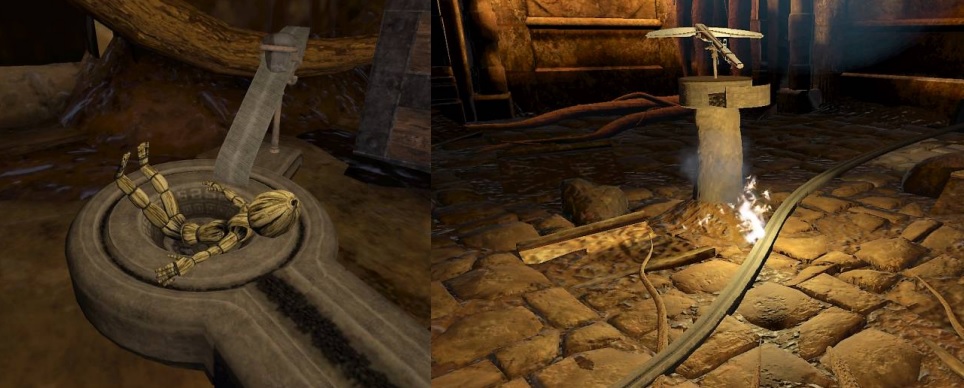
Now drag the doll of straw to the fire basket,
now drag the flint to the top of the fire pit.
Gunpowder is in the slot and you can now see a
flame going to the other side of the room.
You now see that there is a space behind the
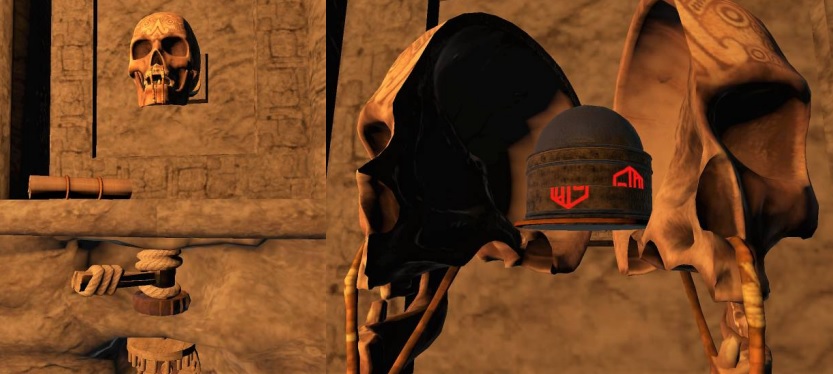
bars, what exactly is in that room you do not see but there is a mechanism.
There are also a few sandbags. There is also a
torch on the right and you see an statue in the wall.
Go to the crossbow and grab a new arrow, then
drag it to the tip of the crossbow to put it on.
In the middle above is a place where something
has to come.
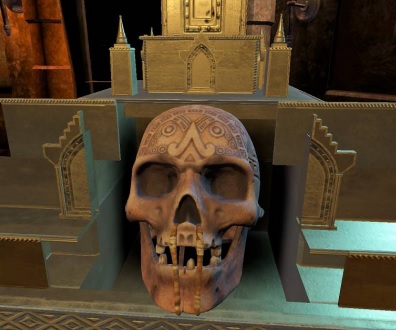
Now drag the skull to the spot in the middle
above, then turn the handle to the right and the skull breaks open.
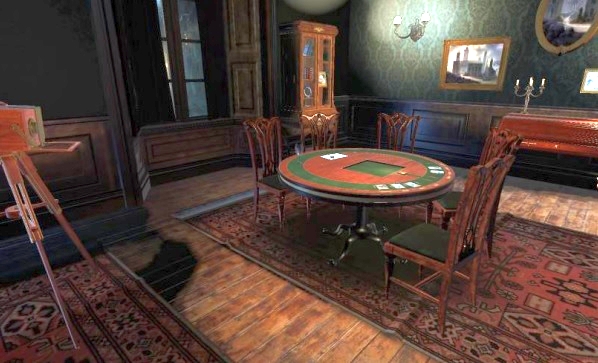
In the middle of the room there is a round
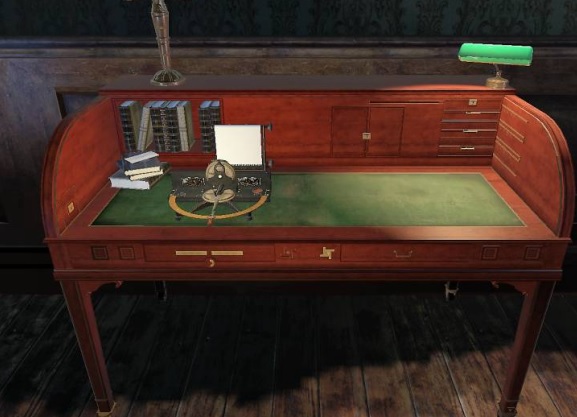
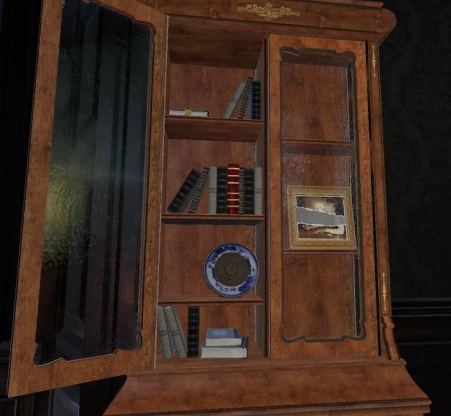
table, on the left you see a camera. A closed desk in the front right and a
cupboard with glass doors to the left.
Go to the letter and read it, on the letter
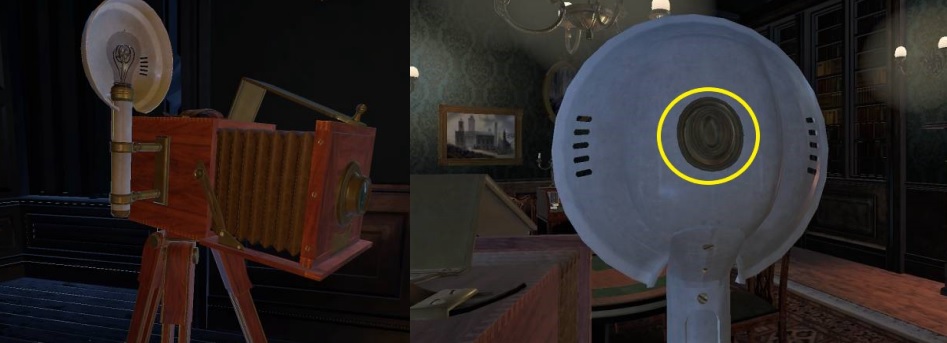
lies a viewfinder of a camera. Grab this viewfinder.
Go to the camera and to the back of it, zoom in
and drag the viewfinder towards it.
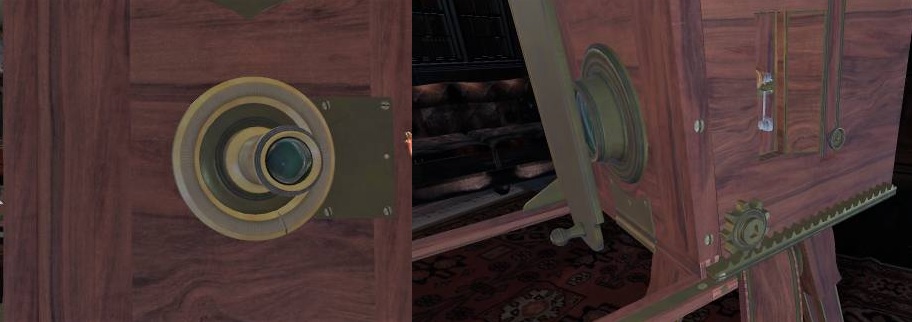
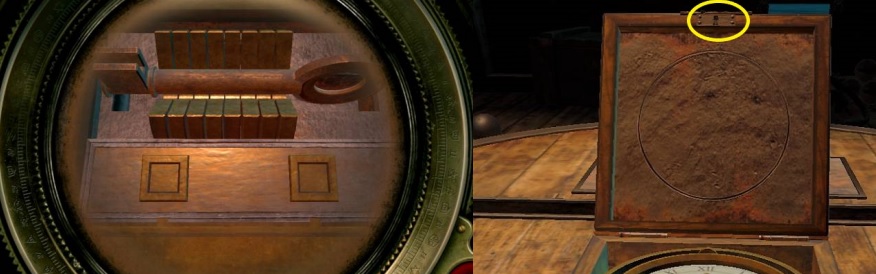
Just below it you see a gear, drag the lever
towards it and turn the handle.
On the outer ring you see a dash, turn it
clockwise up to the mark on the metal plate.
The image is now sharp and you zoom out and you
see the desk open. You zoom in on it.
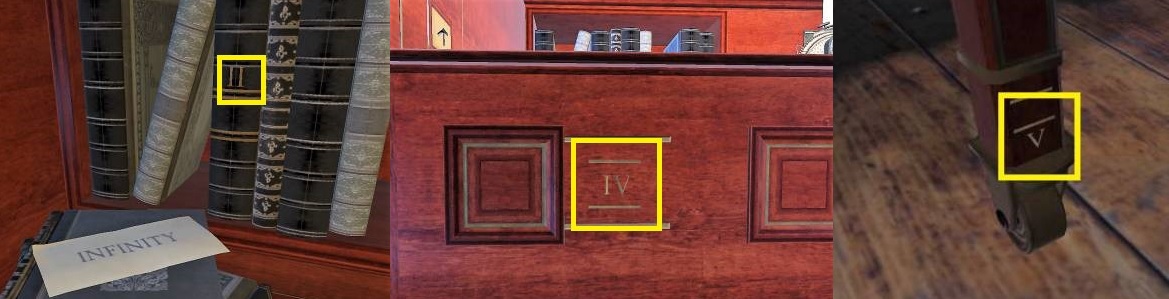
In the right corner you see 3 drawers with a
lock above it, right against the side you see Roman numerals.
You need a key, zoom in on the base of the lamp, you can turn it and the square will turn green.
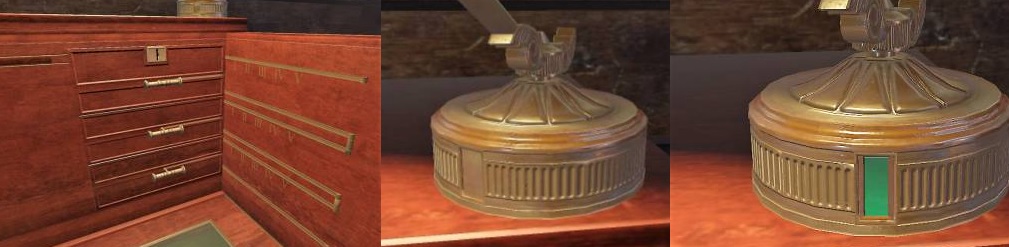
Click on the green square and on the side a
hatch opens. In it you will find a key.
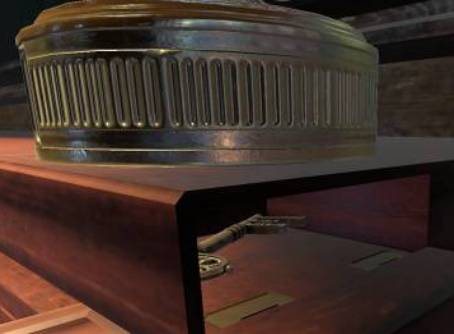
View the key in your inventory, it is a key
with 3 beards.
For the lock above the drawers you only need 1
beard so put all 3 beards behind each other and drag it to the lock.
Turn the key and the drawers come out a bit.
Open the drawers 1 for 1 and you will see that they are empty.
The block opens and there you will find a lamp,
take this lamp.
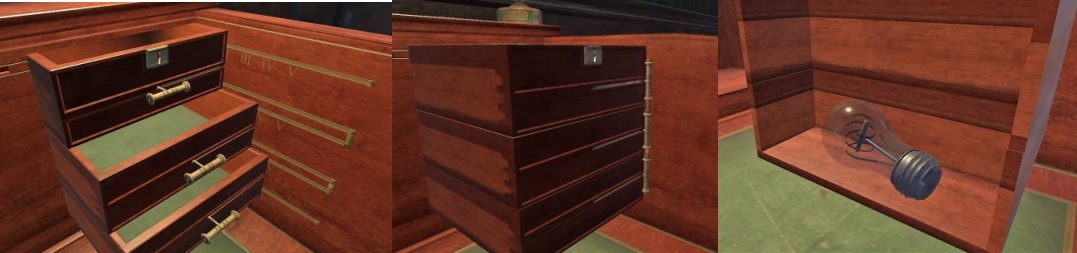
The block slides back and you see a button move
to the left and disappear behind 2 doors.
Look at the lock and you will see that you have
to adjust the key. Then drag the key to the lock and turn it over.
You have the key back in your inventory and a
cupboard is pushed out.
You now have to get that copper button down on
the bottom layer. You can twist the middle 2 layers to get other paths.

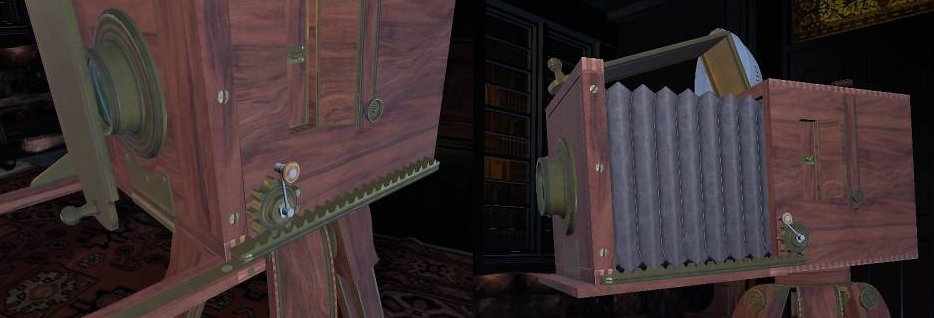
Go to the camera and go to the flash, drag the
lamp towards it.
You now have a cupboard on the round table.
You still have the key so back to the desk, on
the left side you see another keyhole for a key with 3 beards.
Click on the key in your inventory adjust the
key to the keyhole and then drag it to the keyhole. Turn the key.
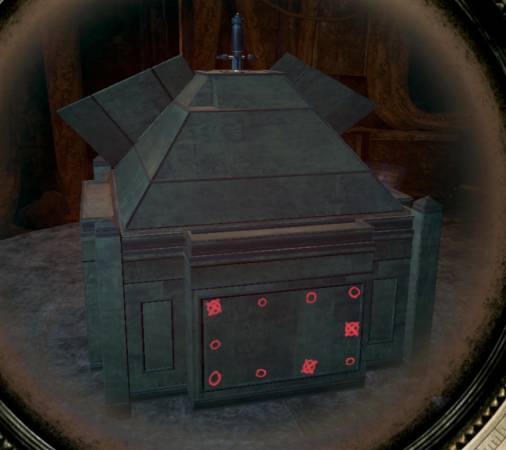
A hatch opens, this is a small sliding puzzle.
You have to push the clamps off the crossin the middle.
A hatch opens and there you will find a long
metal handle, take it.
Zoom out and to the right of the crosses you
see a drawer, go to it and pull it open on the handle.
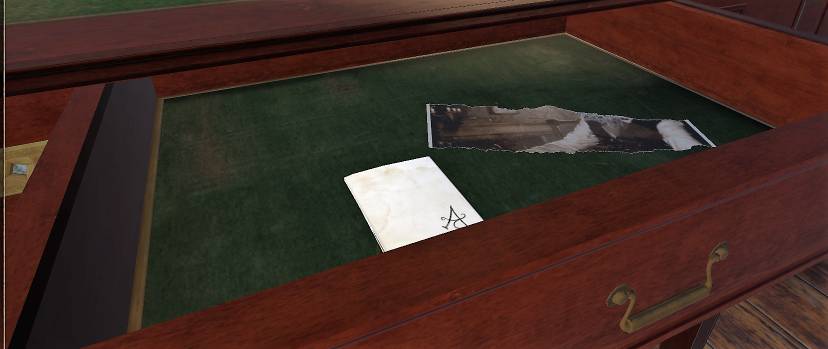
You will find a piece of a photo there, take
this. There is also a note.
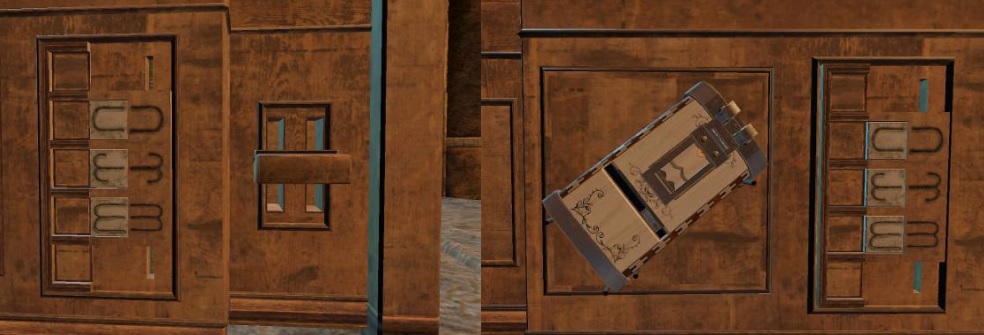
Go to the desk, there you see a primitive
typewriter. Drag the long handle to the left side of the typewriter.

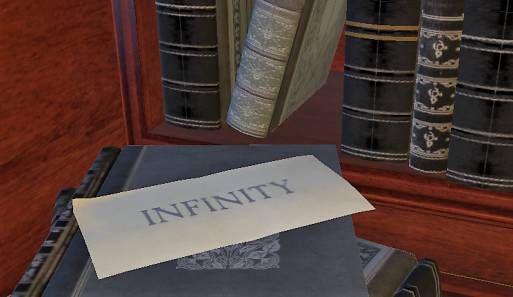
You have to type something here but what, on
top of the books is a piece of paper with the word: INFINITY.
With lever A you select the letters and with
lever B you type them, so you have to put letters 1 to 1 on paper.
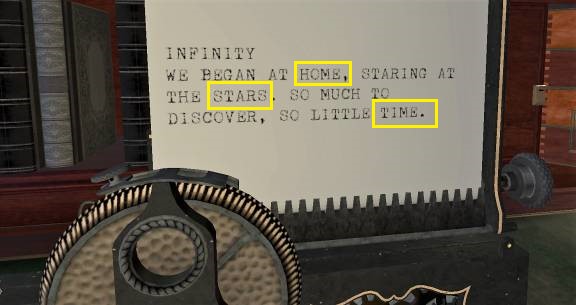
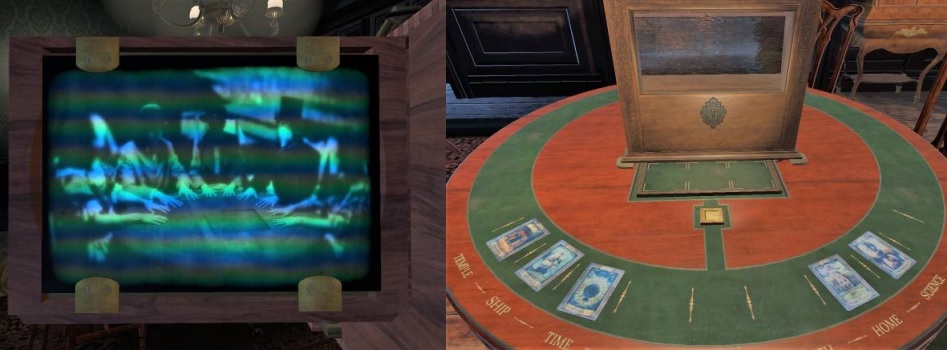
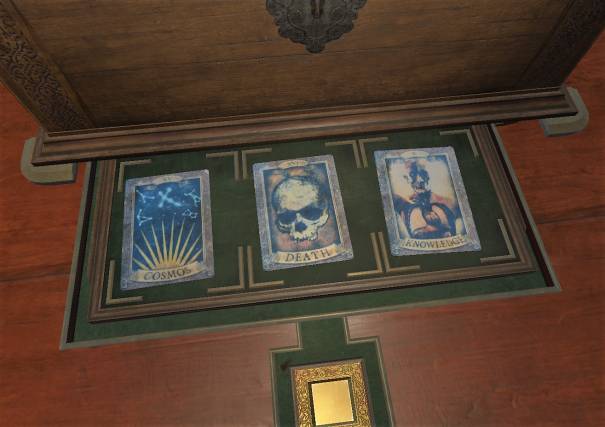
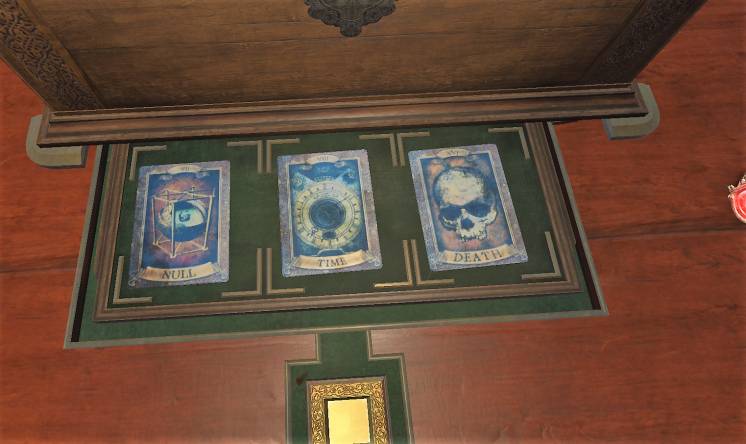
In that message you see the names of 3 Tarot
cards: Home, Stars and Time.
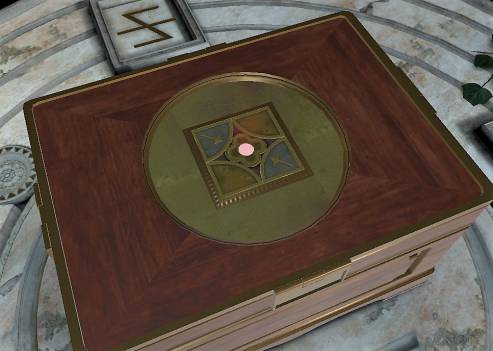
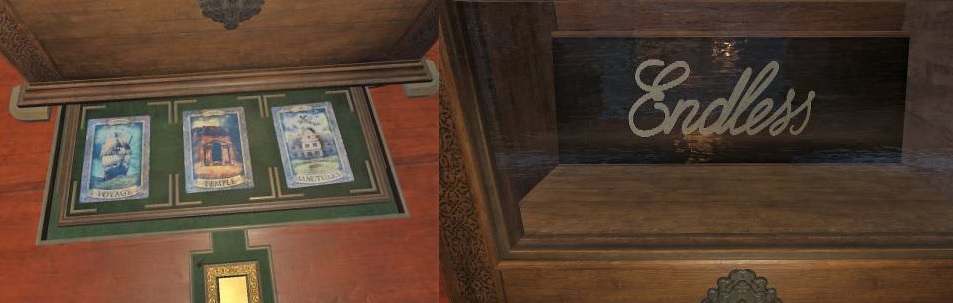
Go to the round table, in front of the box you
will see a plate with 3 cards on it.

After pushing the button, the plate goes in and
the cabinet and the room start shaking.
Return to the typewriter and then type that
word, then press lever C again and a message will be typed again.
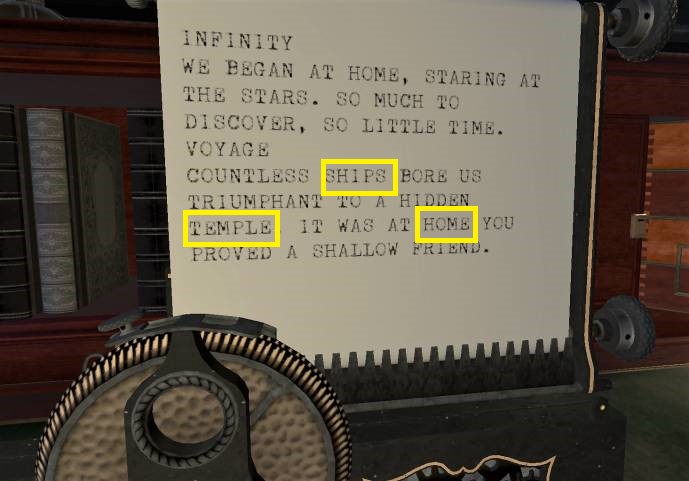
Back to the round table and put the 3 cards on
the plate. Press the button and again everything shakes and vibrates.
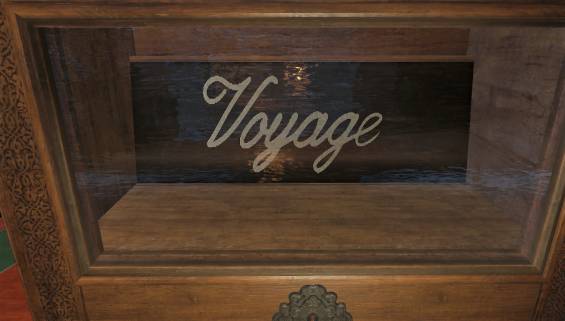
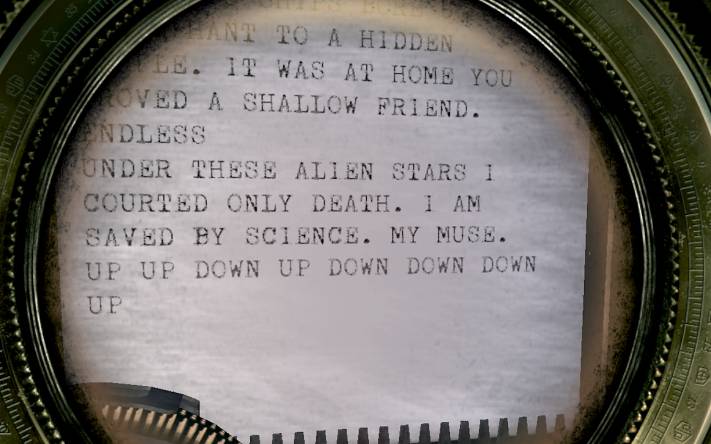
Again a word in the box: ENDLESS.
Just type again and then press lever C, you get
another message.

First look at the message, 3 names of Tarot
cards: Stars, Death and Science.
Now look at the message with your magic eye,
now you see something written below the message:
Up, up, down, up, down, down, down and up, what
do you have to do with this?
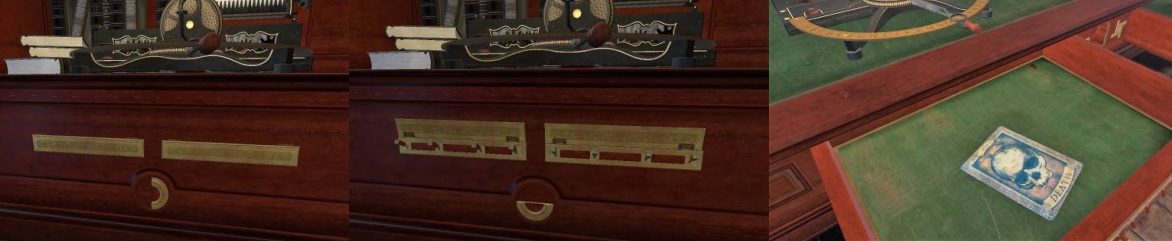
Look under the typewriter to the edge of the desk,
there you see 2 metal plates and a half round.
Set the buttons according to the message:
Now a drawer opens, pull it open further and
there you will find the Tarot card Death. Take this.
Back to the round table and put the card Death
in its place.
Now drag the cards in the right order to the
plate: Stars, Death and Science and press the button.
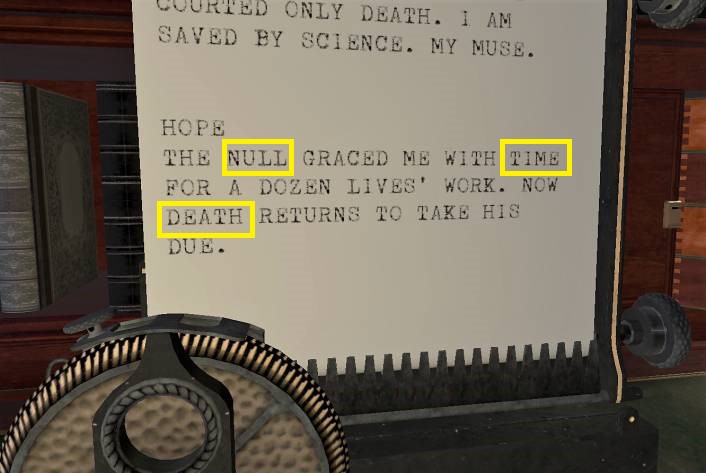
Again a lot of shaking, even the bell falls out
of his support and there is another word in the box: HOPE.
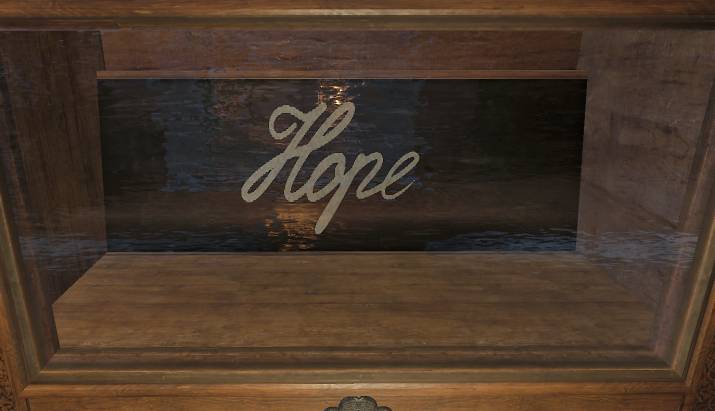
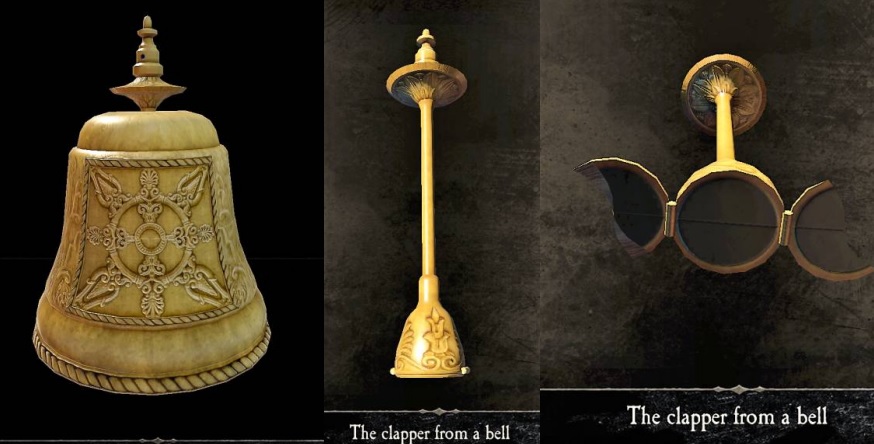
Zoom in on the top of the box and grab the bell
that is there.
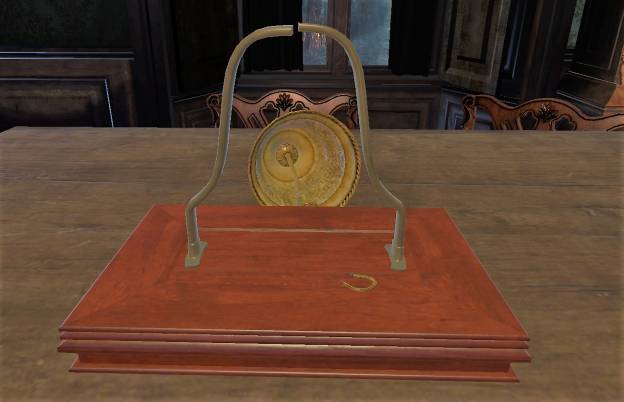
Go to the typewriter and type the word: HOPE.
Press lever C again, another message with 3 Tarot cards:
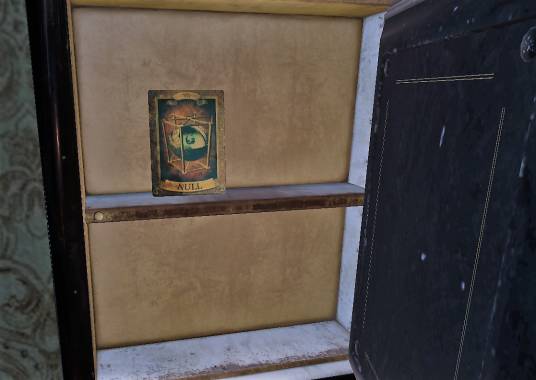
Null, Time and Death but you do not have the
Null card yet.
You go back to the round table but now you go
to the left side of the box.
Drag that key to that lock and turn the key.
The round disc opens and there you have a number turntable. Take this.
Zoom out and go to the cupboard with the glass
doors, you will see the same lock as on the chest.
On the top shelf is a book with a lock, release
it and open the book.
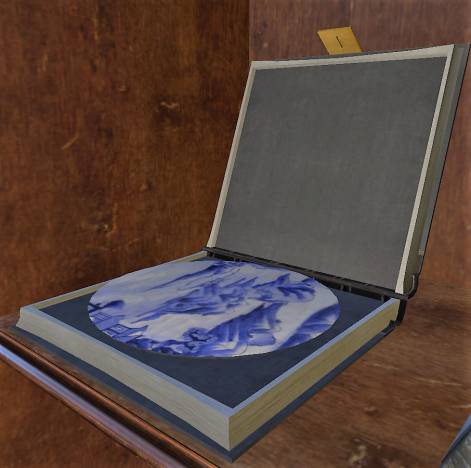
At the bottom you will find a round sign where
a disc is out, drag the round disc with the drawing towards it.
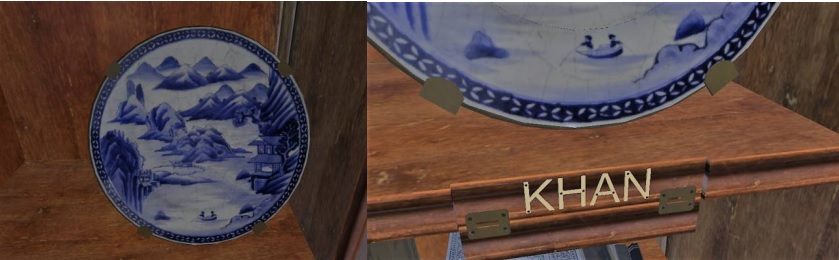
Now you have to twist the discs so that you
have a complete drawing, and a small piece of the edge opens up.
You see the word: KHAN.
On the shelf above this disk you see a few
books, a red book protrudes out.
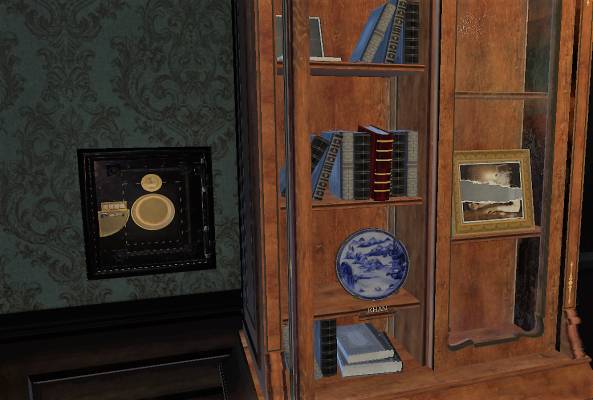
Go to the safe and you see that you miss a
number plate, you have one in your inventory. Drag it to the safe.
You do not have a number code but a word code:
KHAN
Stop and then turn the other way, now the
second roll will turn. Continue to the H.
Stop and turn again in the other direction
until the A and then stop again and turn the other way round to the N.
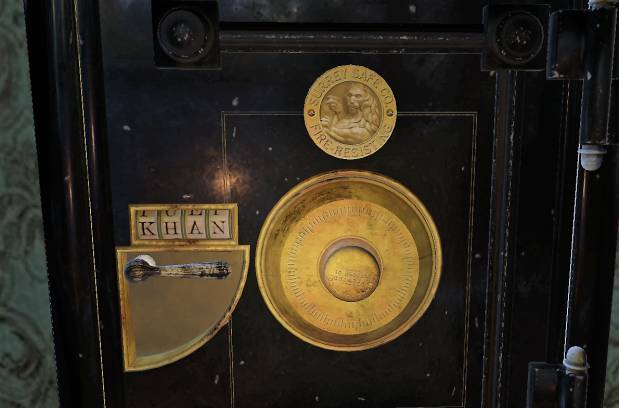
Now the code remains, pull the handle down and
the safe opens. Pull it open further and you will find the Null card.
Grab the card and go to the round table.
It looks like an earthquake, paintings fall
from the wall, the doors of the cupboard clap open and close again.
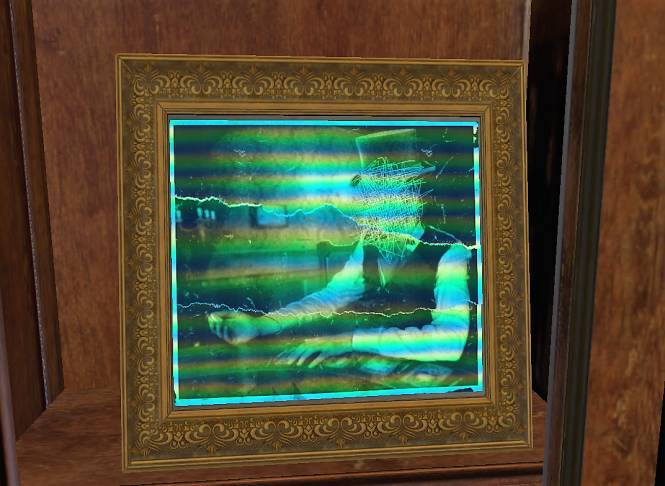
Click away your magic eye and you will now see
a corpse sitting at the round table.
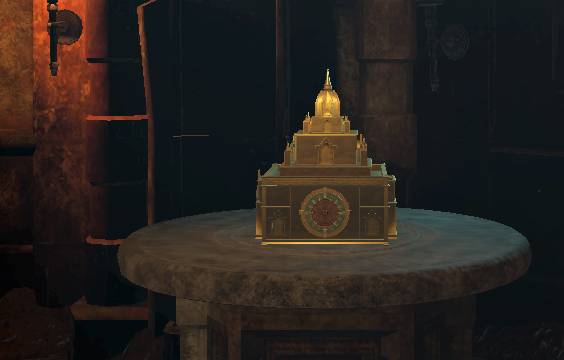
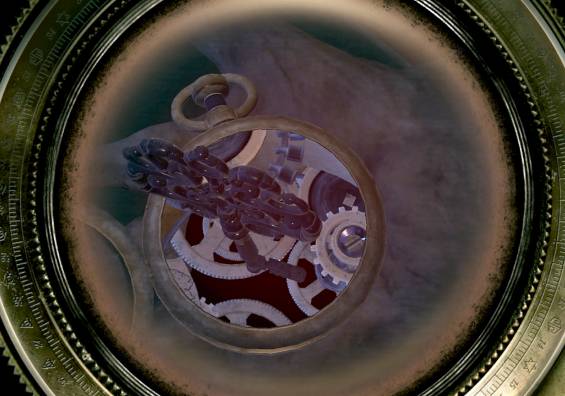
In his right hand you will see a watch, zoom in
on it and click on the wind up button.
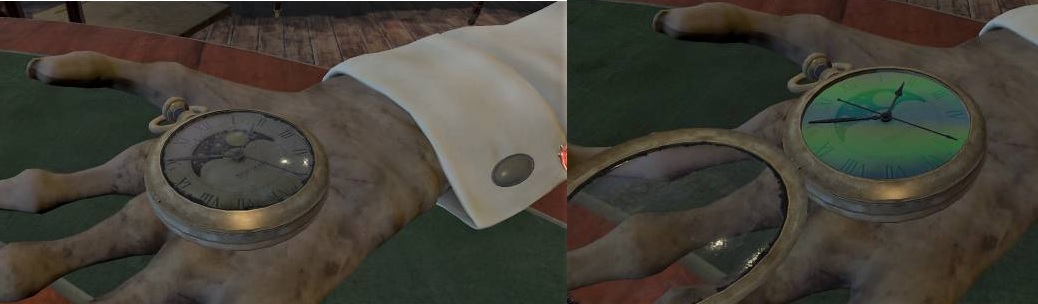
You see the gears turning and from the inside a
key comes up. Take this key.
Zoom in on the front of the box and drag the
key to the lock. Turn the key.
Something is now being pushed out of the box, a
golden ball that opens up.
Click on the red vibrating mass and you will
now get the final movie of this chapter.
The
Crossing
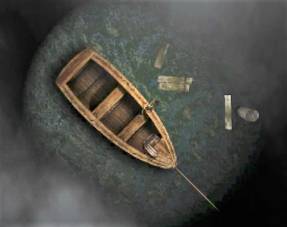
You sit in a rowing boat that is connected to
the shore by a rope, before you see a retractor in the bow.
Only the handle is missing, turn to the right
and a board floats in the water.

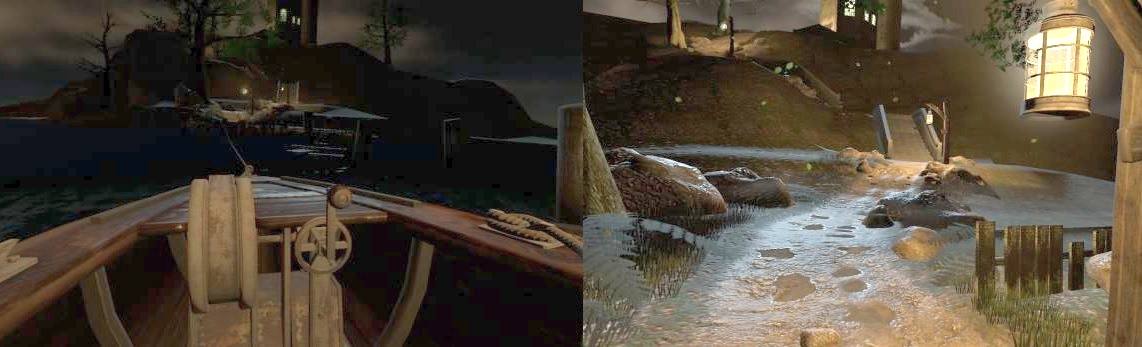
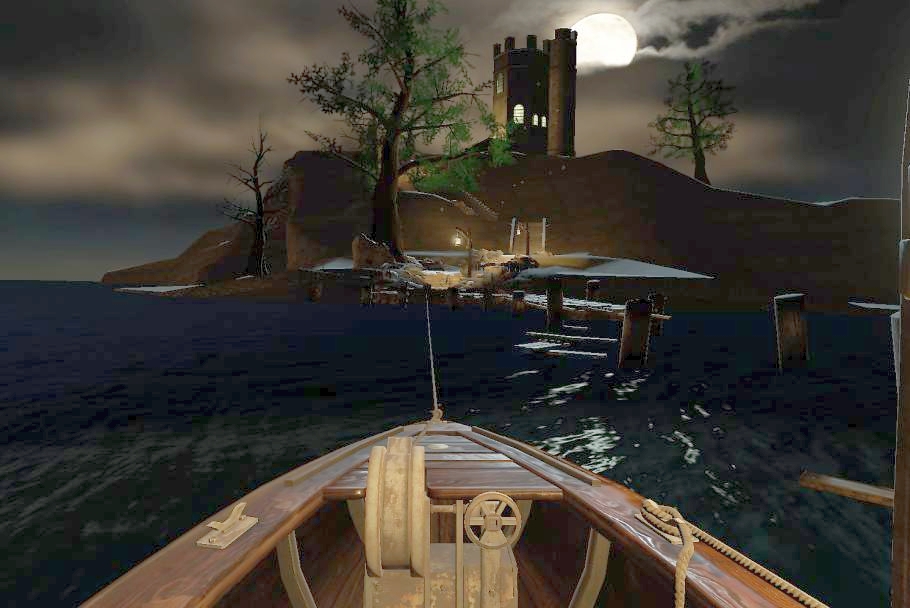
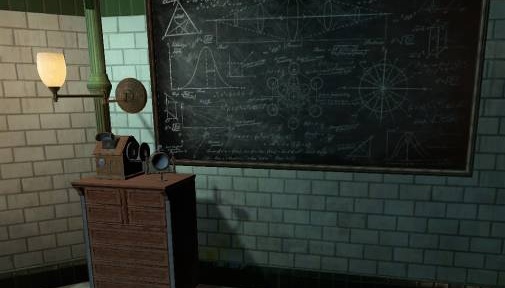
You see a tower and you go there, the door
opens and you are in

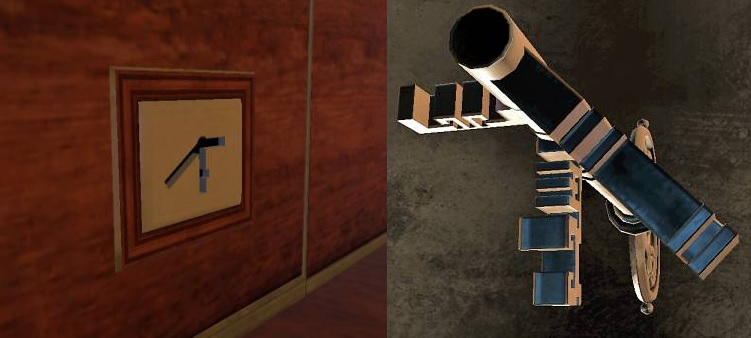
Turn further and you will see a kind of viewer
just in front of the blackboard.
Continue through and you see the door through
which you have entered.
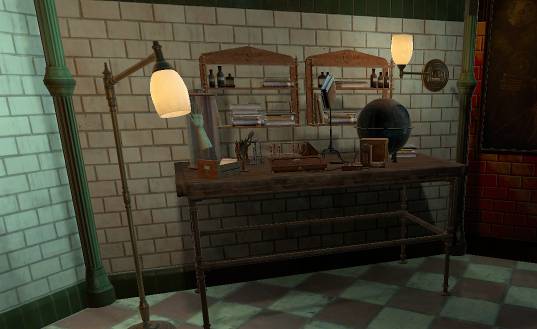
Still further to the right is a workbench.
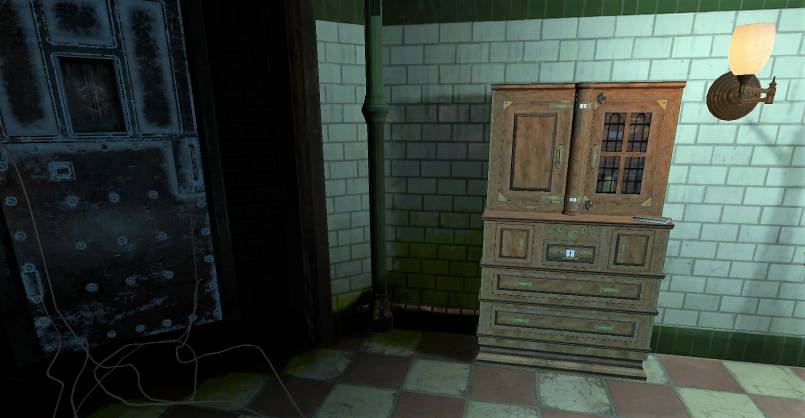
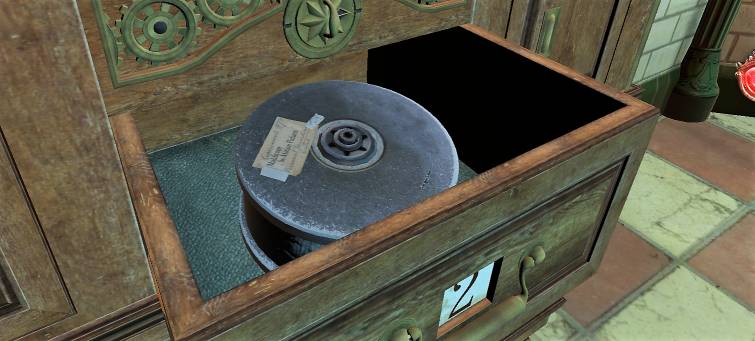
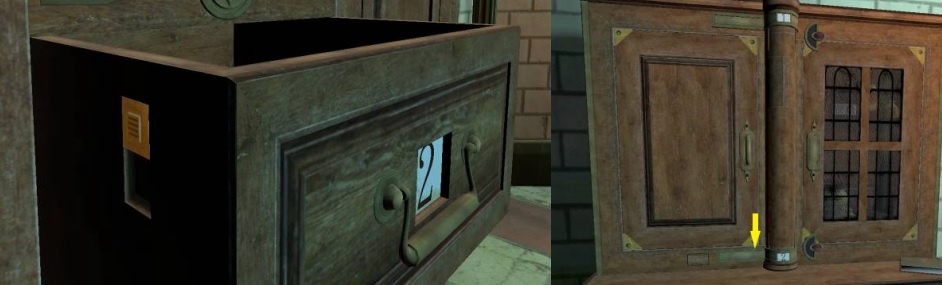
Go to the cupboard and go to the drawer with
the number 1, see what is in the drawer.
In the back of the drawer you see a plate that
has been broken off and above the drawer is a mechanism.
Go to the right side of the drawer and you will see a slider on the
side. Move the slider down.
You now see a plate slides up at the top of the
door of the cupboard, the top of the door is now loose.
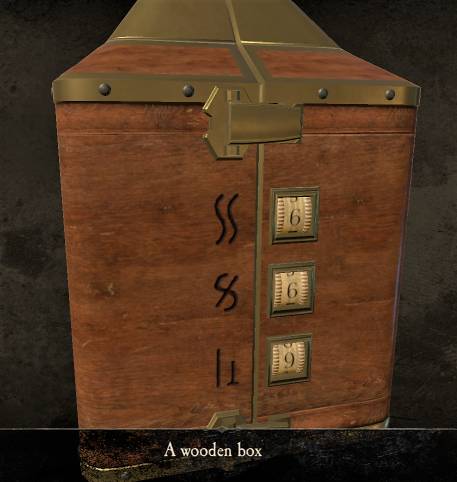
A cover drops down and a box slides out, grab
that box.
If you know the right code you can open the
box.
Go to the strange thing to the left of the
charger, zoom in on it.
You see a round disc with 11 symbols and a
slider.
Move the button to the symbols you see on the
box and then digits will be formed: 1 - 7 - 3.
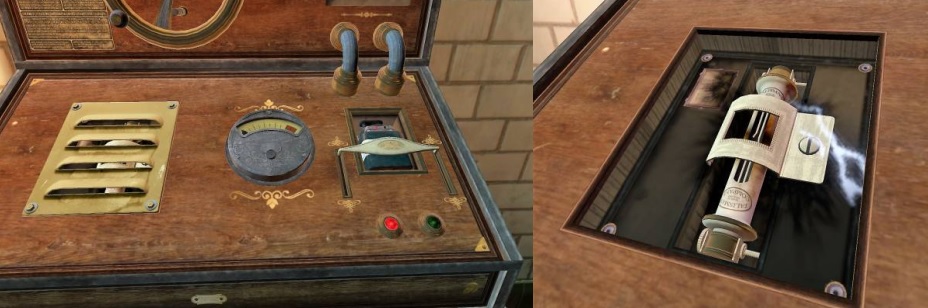
Unfortunately, the battery is empty but you are
now at the charger, stand in front of the charger and drag the battery towards
it.
Turn the wheel, it does not matter which way
but you have to turn quite quickly.
Pull the lever down, the battery is now charged
and you can take it back.
Go to the workbench, just before the big ball
is a box where the battery fits so drag the battery towards it.
You now have voltage there, on the left is a
switch. Move it to the left.
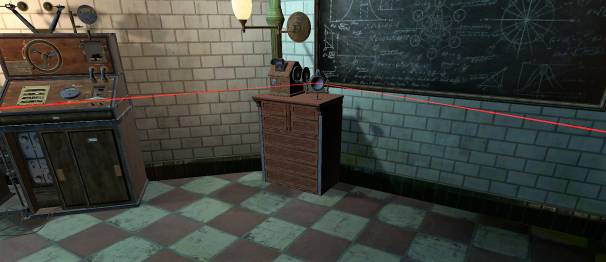
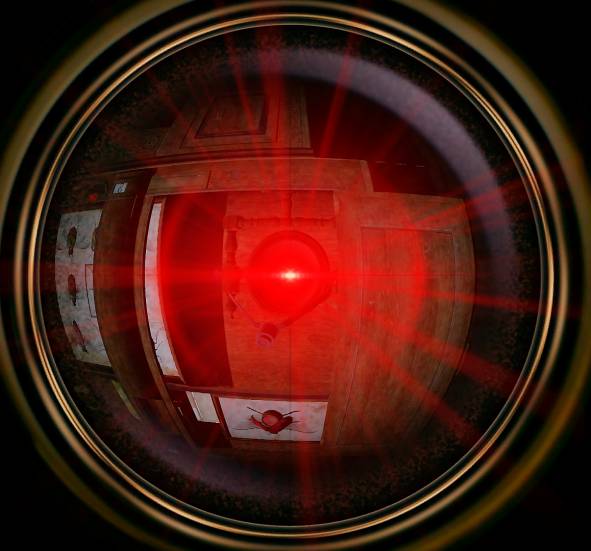
At the top of the mirror in a viewfinder, click
on it and you can aim the beam. The image is turned upside down.
A hatch rises on the top and the beam comes out
again.
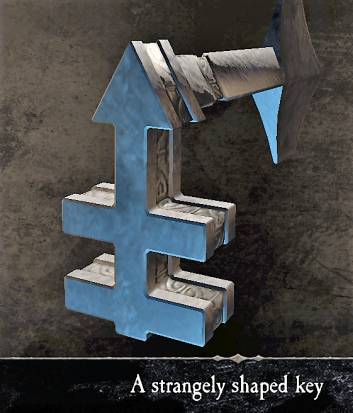
You will find a star-shaped handle there.
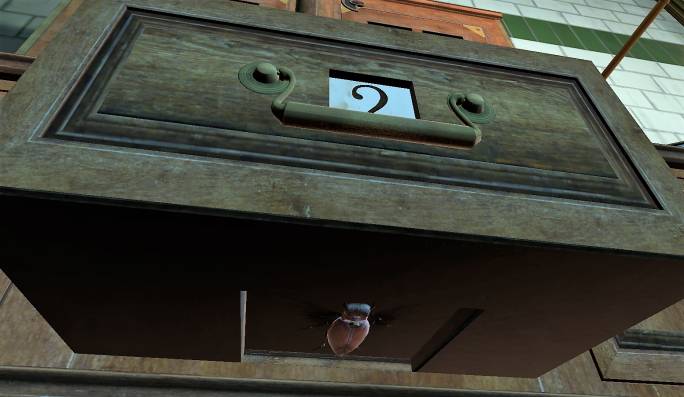
Go to the cupboard with the drawers, just above
the drawer you see a mechanism with space for a star handle.
Drag it there and turn the handle, the drawer
is closed and the 1 becomes a 2.

Pull the drawer open again and there you will
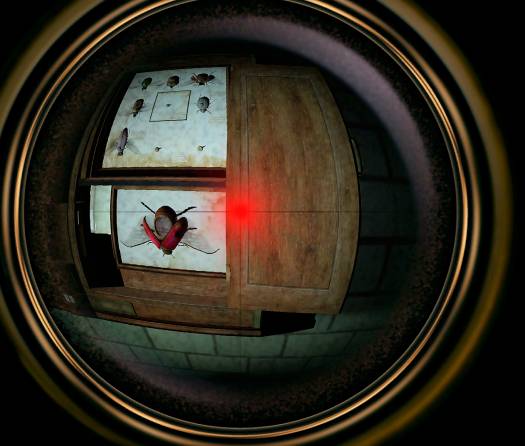
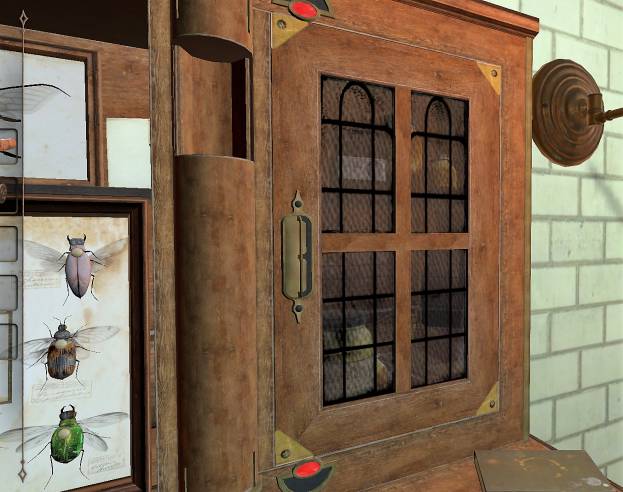
find a drum with pictures for the viewer.
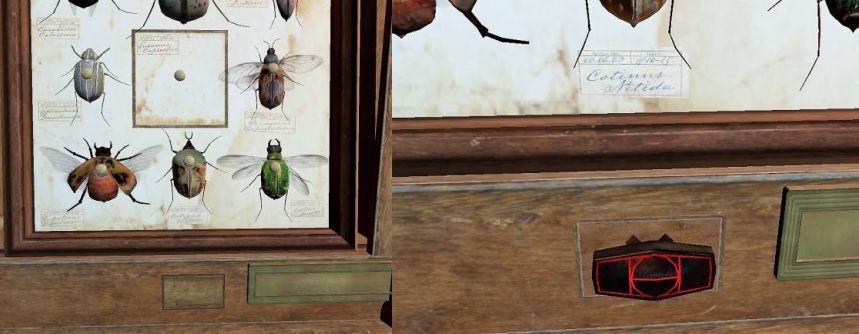
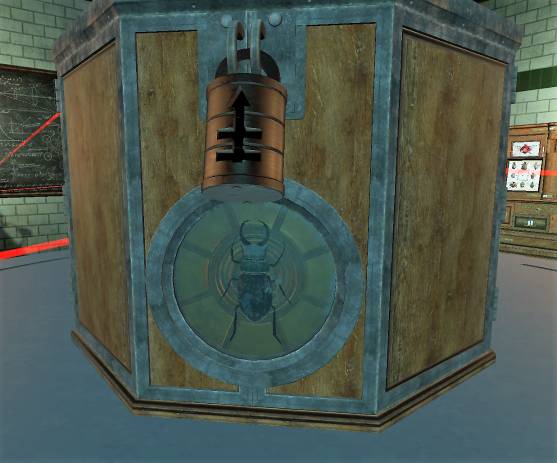
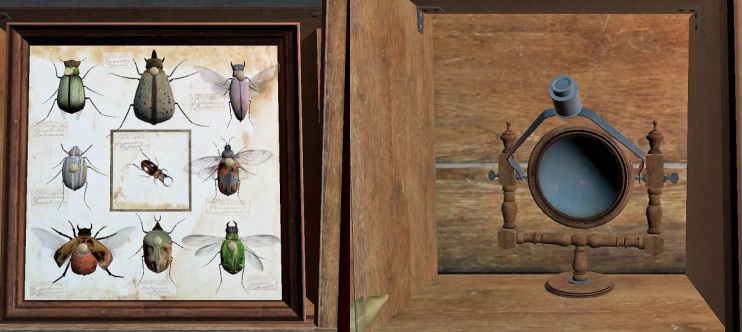
Inside you see a collection of beetles on a
display, you miss a few.
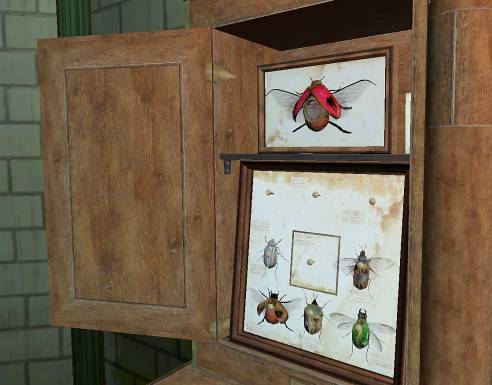
Also look at the bottom of this drawer, there
you will find a beetle. Grab this beetle.
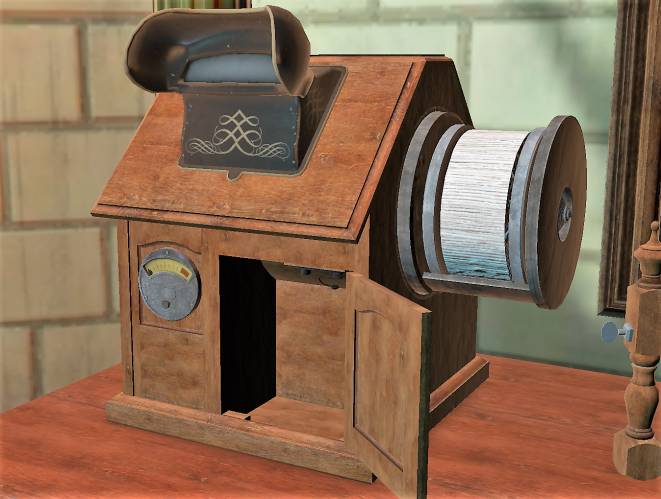
You can go to the viewer if you want to view
the pictures but unfortunately you need a battery and that is in use.

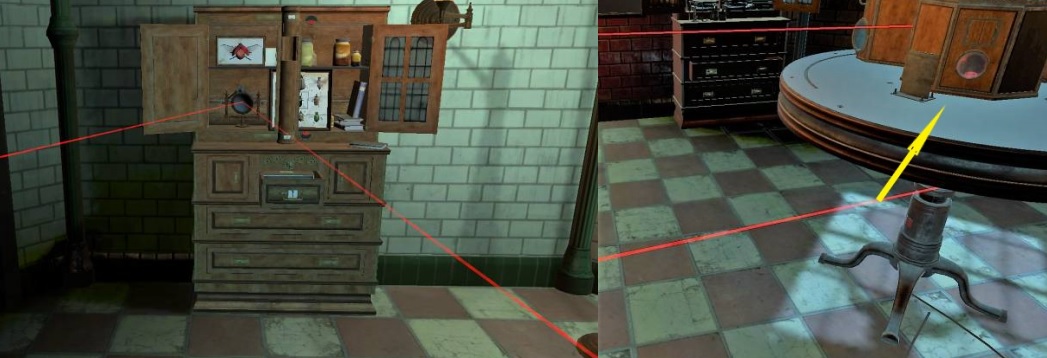
Now go to the round table and zoom in on the
edge, on the table you will see a slot containing anopen rectangle.
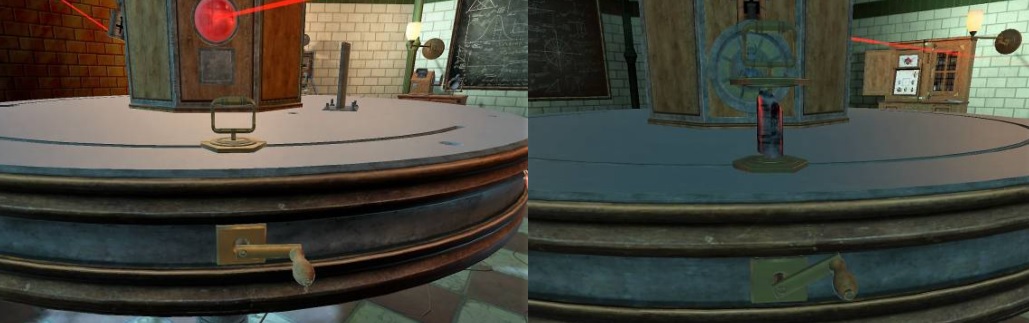
A little bit of adjusting and the beam falls on
a lens in the box, on top another hatch rises and the beam continues.
The beam now falls on a mirror near the viewer
and from there it goes to the cupboard with the drawers.
You have to aim the beam again, go to the
mirror at the viewer and click on the viewfinder.
Click out of the viewfinder and you will see
that the 2 half discs that stop the right door now light up and turn away.
You can now open the door.
Now go to the bottom shelf, there is another
note.
You will now first have to charge the battery
so go there and drag the battery to the device.
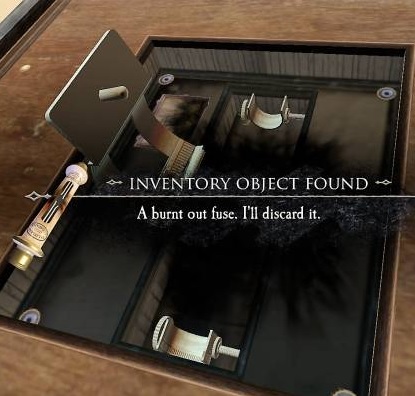
The protective cover flies off and you see the
fuse, take the screwdriver and loosen the screw.
Go back to the cabinet with the drawers, in
drawer 1 you have seen a box where the nameplate is from.
Put the fuse in place and turn the wheel again
and charge the battery. Now things are going well.

Go to the viewer and drag the drum with images
to it, the door opens. Put the battery in it.
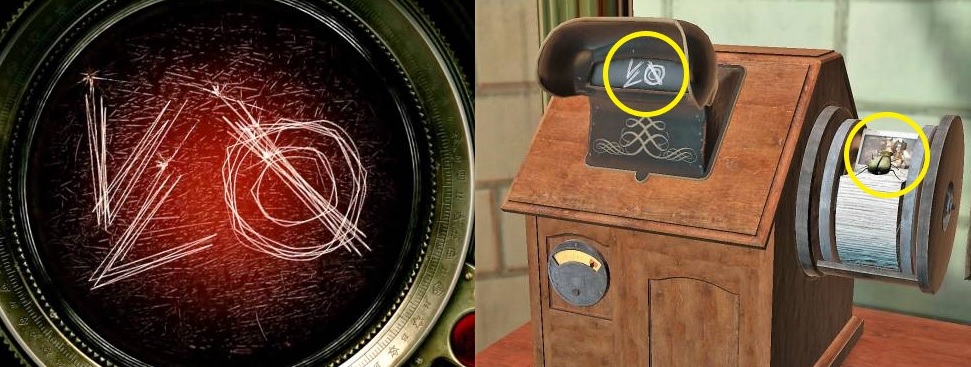
Now you can view the pictures but you cannot do
anything with them, use your magic eye and check out the pictures.
Now 2 symbols are scratched, the drum slides
out again and there you will find another beetle. Take this one too.
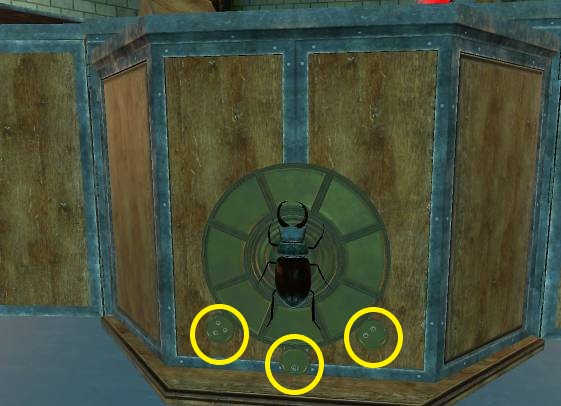
Go to the display with the beetles and drag the
3 beetles that you found to the display.
Zoom in on that disk, you will see that there
is room for another button. Drag the button there.
Set the buttons to the symbols you have just
found at the viewer.
Look in your inventory what the key looks like,
you have to adjust a keyhole right away.
Below that padlock you see a round disk with a
beetle.
Go with the beetle to the cupboard with the
beetle display and drag the beetle to it.
Go to the mirror at the viewer and click on the
viewfinder, you see where the beam needs to go.
Go and see where the light beam is going now,
he comes on the leg of the round table and he has to go to the lens in the box.
So go to the mirror at the display and click on
the viewfinder, move the beam so that it now falls on the lens.
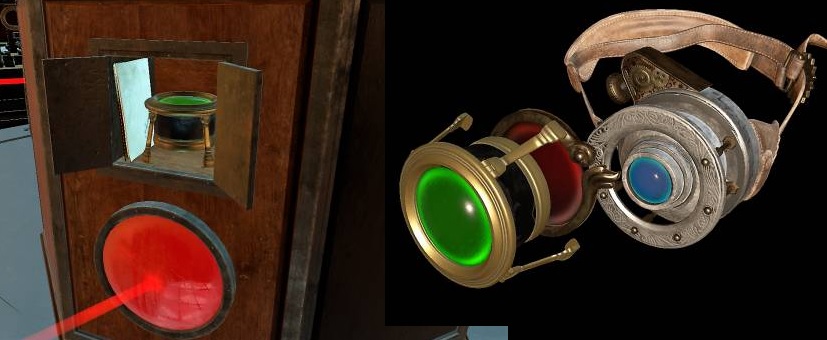
If you want to place these in your inventory,
this will not happen, but the lens will be put on your magic eye.
If you have looked closely, you have seen that
there are 3 small round discs at the larger disc where the beetle sat.
You see on the table a circle with the same
symbols with an arrow at 1 symbol, in the inner circle there are 3 points.
Now go to the cupboard with the drawers, on the
ledge of the cupboard is a book. Zoom in on it and you will see the circle.

Go back to the round table and to the circle
with the 3 small round discs.
Now appears a box with 3 switches, turn all 3.
And see what happens.
The game continues on its own for a while, you
are at a fountain with a red ball in the middle.
Click on the red ball, it disappears into the
fountain and a plate is pushed to the other side.
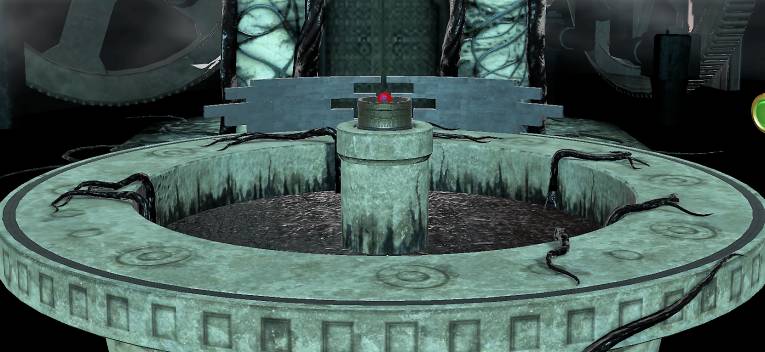
Underneath 8 symbols and above 2 sliders, if
you move these sliders then you will see a different door each time.
Which doors should you have, click on your
magic eye.
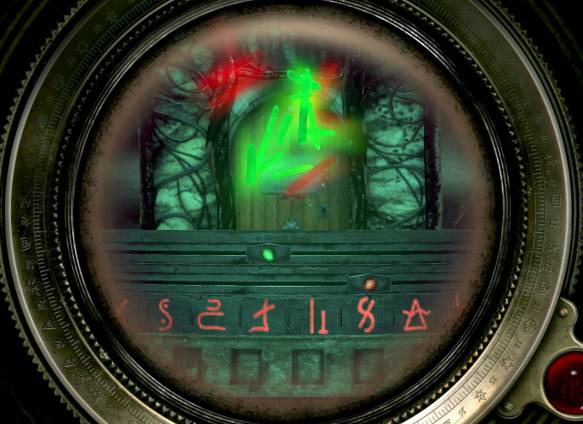
Now first slide the green button until you have
1 half of the symbol, also do this with the red slider.
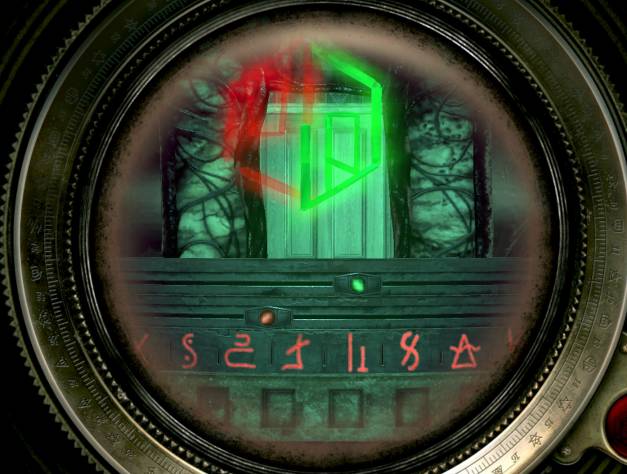
When the symbol is complete, a flash comes in
and the final film starts.
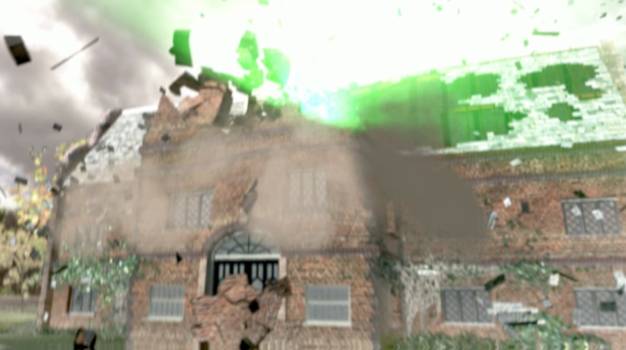
Game Over.
2019: walkthrough by: Dick Leeuw
Published
on www.pcgameswalkthroughs.nl
with permission of Dick Leeuw