Amerzone: The Explorer's Legacy
2022: Walkthrough by: Louis Koot
If you have found this walkthrough via google search or via another site then you have probably not visited my site.
A lot more very detailed game walkthroughs can be found on my site at: www.pcgameswalkthroughs.nl
You can buy Amerzone: The Explorer's Legacy on Gog.com
Chapter 1: The Lighthouse:
You are a journalist summoned by an aged explorer who has been "branded" with questionable credibility for over 50 years. The old explorer's tale tells of traveling to the mysterious Central American country, called Amerzone. His story claims that the large egg that he brought back was associated with native Indian tribal beliefs and rituals involving the proliferation of great white birds that fly continuously from the time that they are born and never land seems incredible. But curiosity and the opportunity for a good story will probably get the best of you...
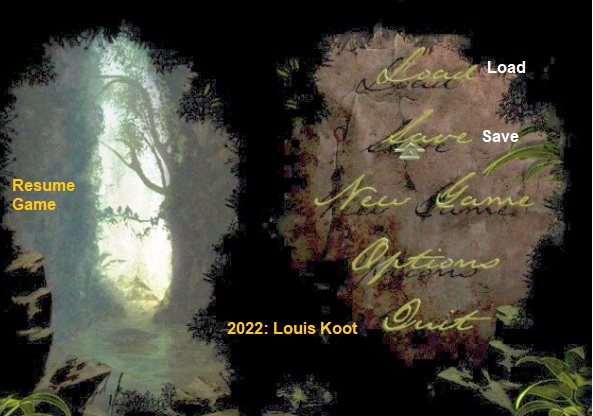
This is a point and click adventure game made by the late Benoit Sokal. Your inventory is a backpack. Right click anyware in the screen to open up your backpack. You can save and load your game at any time yourself in the Save game and Load screen that you can open on the main menu screen of the game
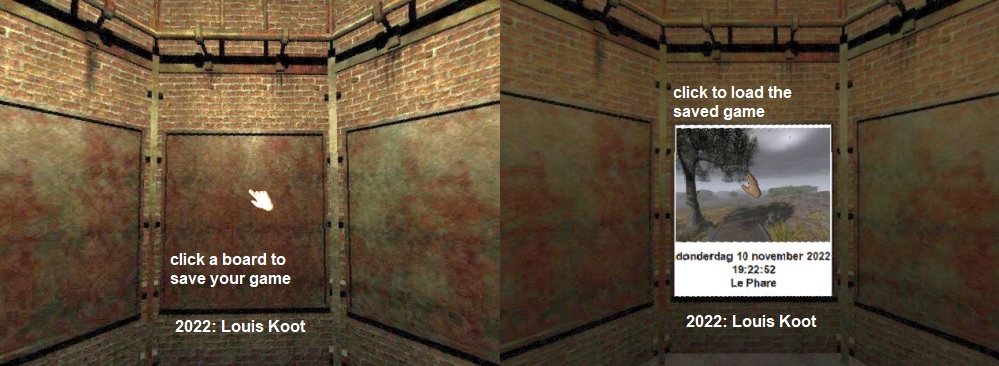
To save your game just click on one of the boards in the Save game screen.
To load a previous save game go to the Load screen and then click on the picture of the save that you want to load
So you are a journalist and you are on your way to an old man who lives in a lighthouse to do an interview.
A postman cycles on a road up the hill. The postman stops and starts talking to you:

"Hey....you are that journalist, aren't you? He has received another letter from the museum. Letters from the museum usually don't bode well.
I put the letter in the letterbox at the lighthouse. Maybe you can give him a letter?"
The postman then cycles on, leaving you alone on the lonely road. Go forward 2 times on the road. In the distance you can see the lighthouse.
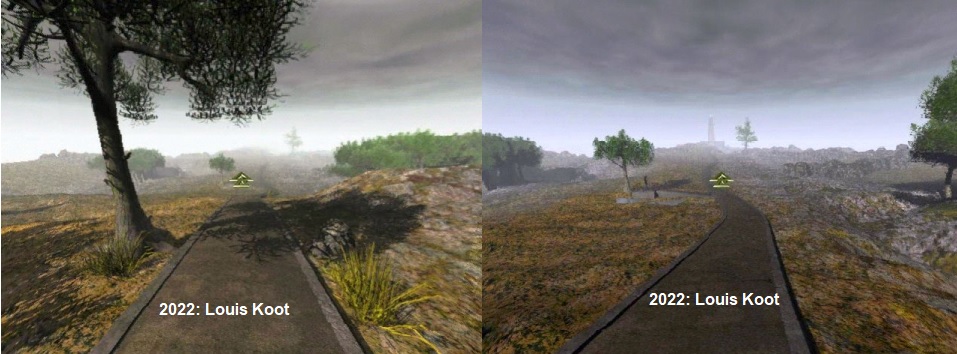
However, first turn to the left. A short stretch of road turns to the left, to a viewpoint by the river.
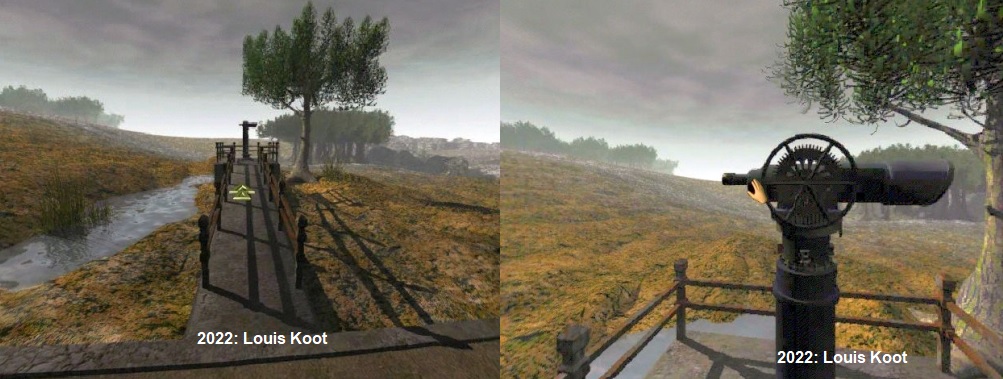
There are binoculars at the viewpoint. Go forward and then click on the binoculars with your hand.
You look through the binoculars and you see the ...... lighthouse.
There's nothing else to do, so click the "zoom out arrow" to get out of the binoculars. Turn around and walk back to the road.
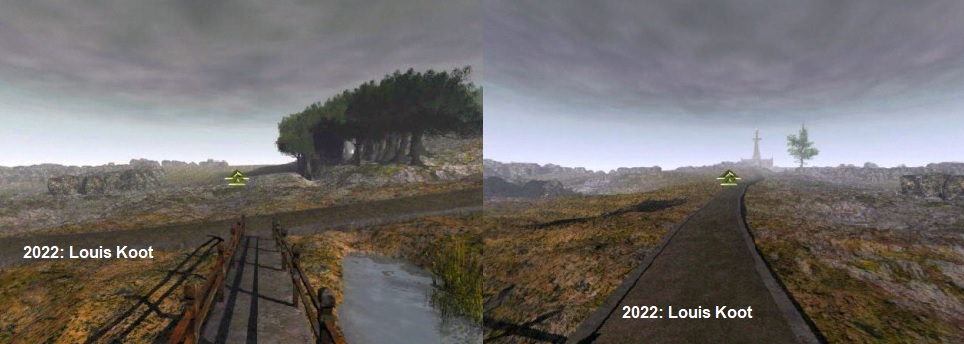
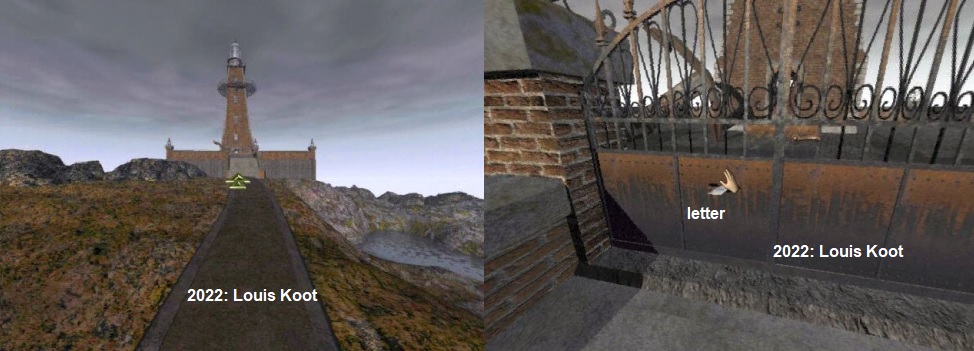
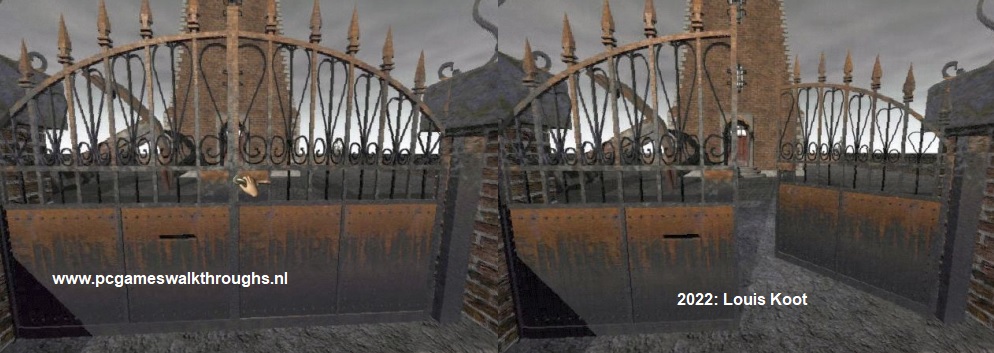
Turn left and continue forward 3 times and you will arrive at the entrance gate of the lighthouse.
An envelope sticks out of the letter slot, which is in the gate. Could that be the letter the postman was talking about?
Grab the envelope from the slot.
Click with your right mouse button to open your backpack, wich is your inventory, and see .... in one of the boxes you will find the envelope.
Click on the envelope and then read through the letter.
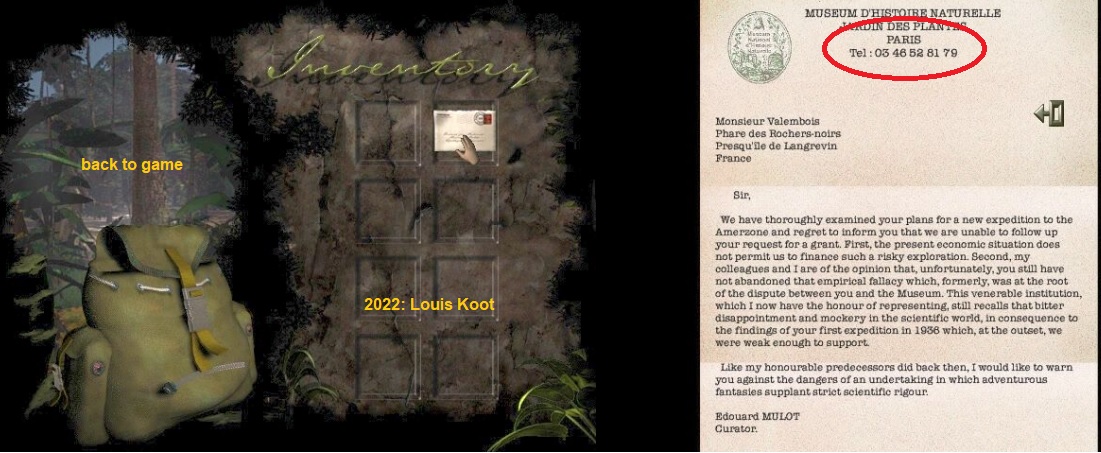
The letter comes from the Museum of Natural History, in Paris, and is addressed to Mr Valembois. The letter is signed by Edouard Mulot, the curator of the museum. Mulot informs Valembois in this letter that the Museum will not participate in an expedition to the Amerzone area. The reason for this is the disappointing results of a previous expedition.
All this is of course not known to you, but that will soon change. At the top of the letter you will see the Museum's telephone number. Write down the phone number. Put the letter back in your backpack and then click with the forward arrow on the backpack to close the inventory. Open the right entrance gate with your hand. You will then move forward automatically through the opened gate.
Go forward to the front door of the lighthouse, open the door and you will enter.
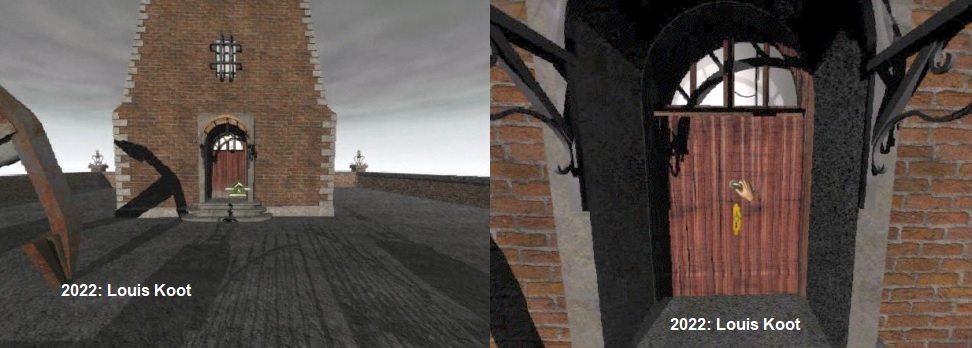
You are downstairs in the hallway. It is somewhat dimly dark in here. In the corner you see a hatch in the floor.
To the left is the stairs to go to the upper floors. Against the stairs is an old bicycle and a large sledgehammer. Grab the Sledgehammer.
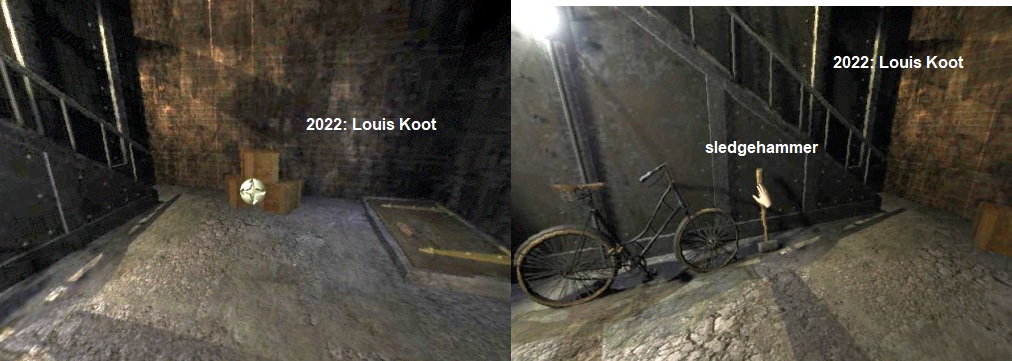
Sjeees.....what a heavy thing that sledgehammer is. Turn back to the hatch in the floor. Click on the hatch to open it.
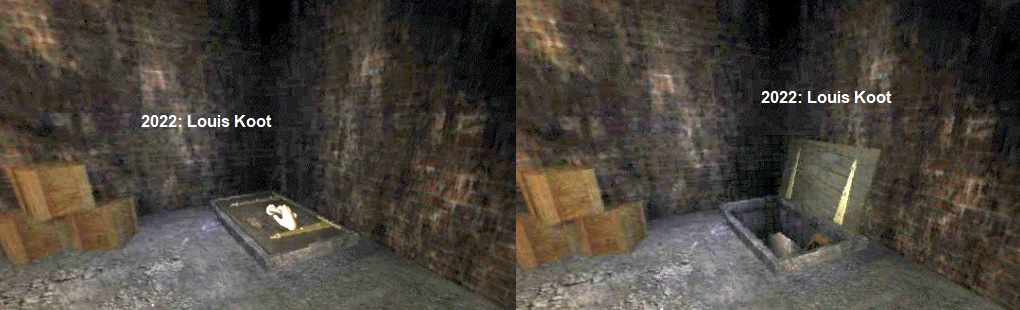
You automatically descend through the floor and end up in the basement. Stand still. The electrical boxes are on the right.
So turn right and then click on the lever of the right cupboard and ..... the lights are on.
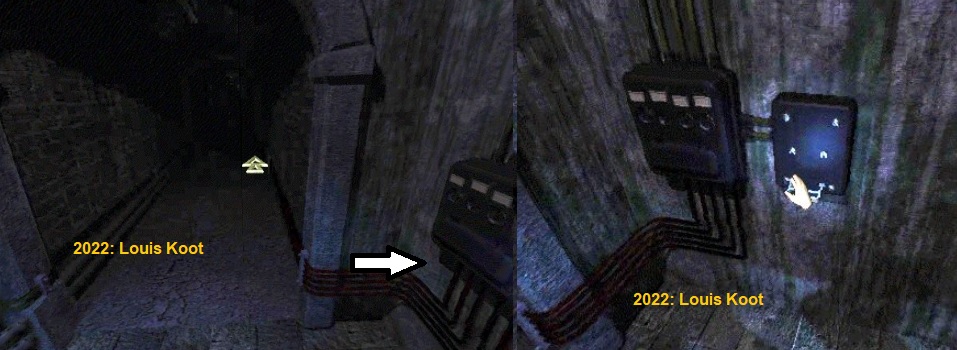
Don't go through the long cellar corridor now, but turn all the way around and look up at the cellar hatch.
Click forward in the hatch to go back up.
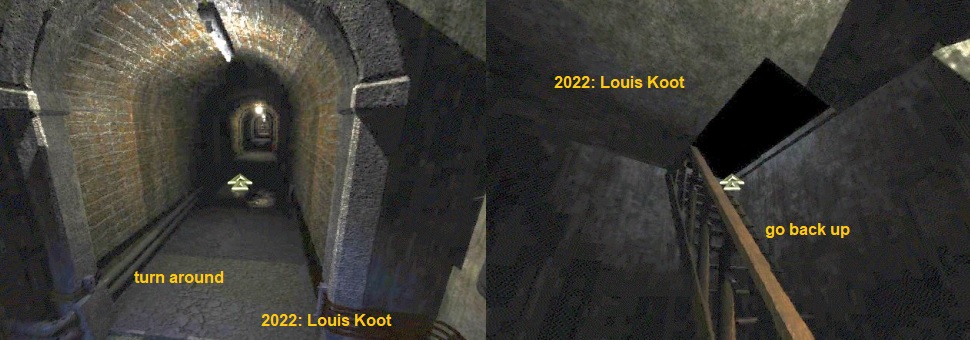
Back upstairs you are in the hallway again, but facing the front door. So turn around and now go forward to the left corner, so the corner in front of the stairs. You will then have gone up the 1st staircase. Turn to the right, look up along the stairs and click forward and you will end up at the very top of the stairs.

Turn right. You look into the dining room annex kitchen.
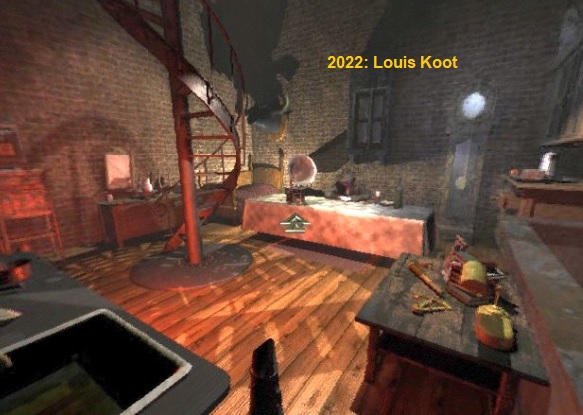
An old man is sleeping at the large long dining table. Go forward to the dining table.
The old man listens to "old" music via an old gramophone player. Click on the old man with your talking horn cursor to talk to him.
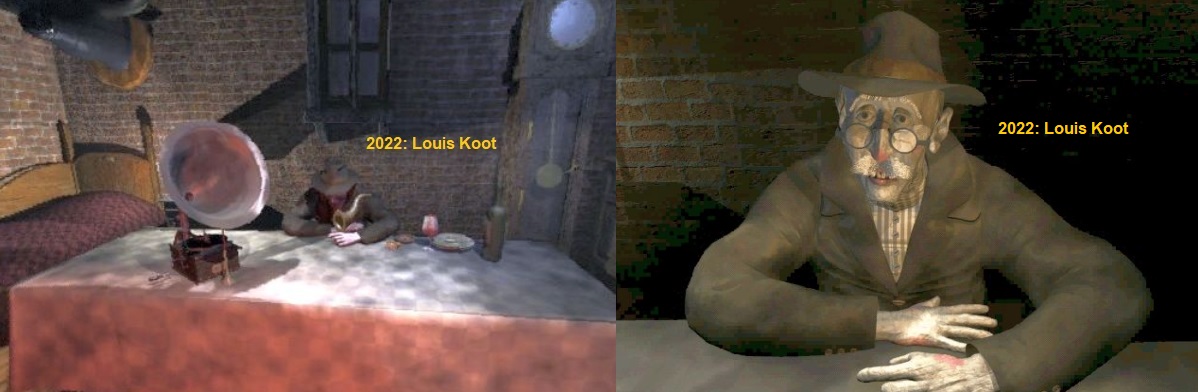
The old man talks about a mysterious land called Amerzone and about "The Egg of the White Birds". The old man tells that he had planned an expedition to Amerzone but that he is now too old to go himself. He asks you to bring the Egg of the White Birds back to the mysterious land of Amerzone. Well .... he is a very old man and these were his last words. The old man dies before your eyes.
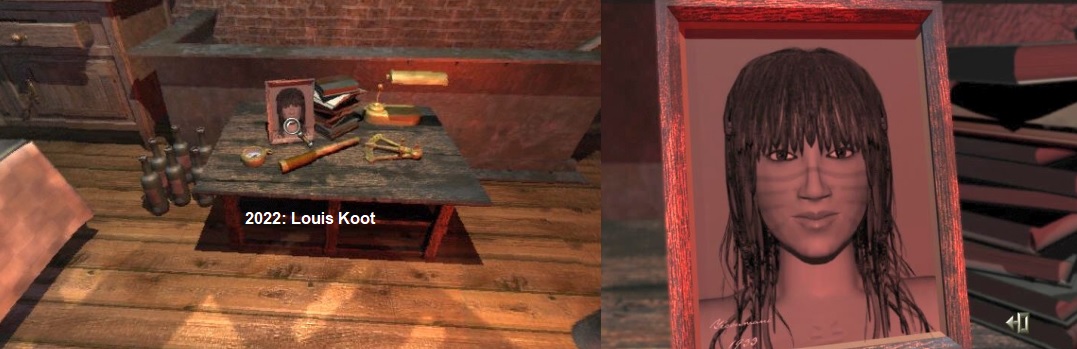
Turn right. Against the right wall is a large chest of drawers and a low table. One of the drawers is open.
Zoom, with your magnifying cursor, in on that open drawer. There are 2 letters in the drawer.
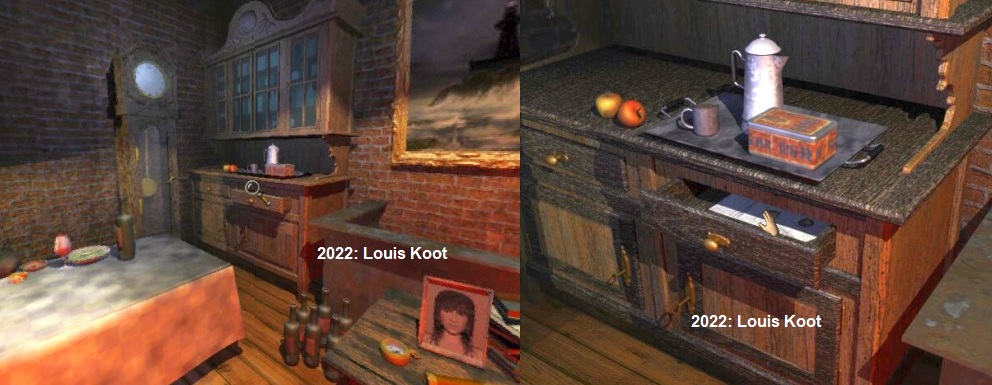
Grab the letters and read them in your inventory. One letter is handwritten and comes from one David Mackowski. The letter was written while Mackowski was at some mission center in Puebla. The other letter is a typed letter from the Presidential Office of the President of Amerzone. Read through both letters and then close your backpack. There is a photo on the low wooden table. View this photo. It's a picture of an Indian girl.
Zoom out. Turn around to the spiral staircase. A telephone hangs on the wall, behind the spiral staircase. Zoom in on the phone.

Call the Museum of Natural History. The telephone number is 03-46528179, as you can read in the letter from Mulot the curator. Pick up the handset and then press the number keys 0346528179. You get Mulot on the phone who thinks you are Valembois. You can't answer anything, so listen to that Mulot's chatter. When Mulot has hung up again, click on the hook of the telephone to put the receiver back on. Zoom out of the phone and look up the spiral staircase to get the forward arrow. Then go forward to go up the spiral staircase.
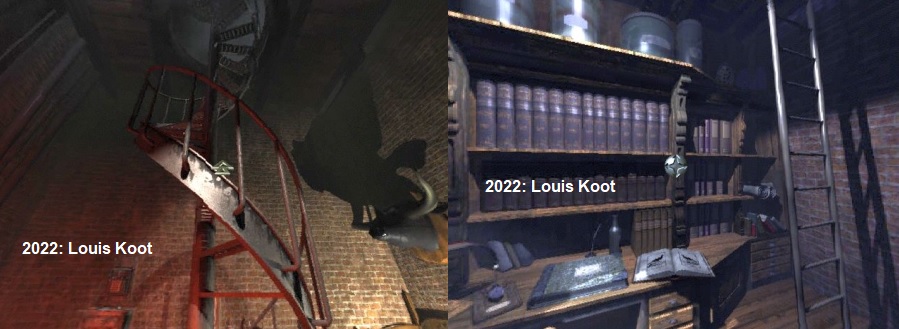
You end up in the "office" of the lighthouse. Take a look around here. One of the walls is completely occupied by a large bookcase with a desk attached to it. To the right is a ladder that will take you up to the shelf above the bookcase. Near the window is a Globe and a Slide Projector. There are 2 books on the desk. One of those book is open. Zoom in on these books.
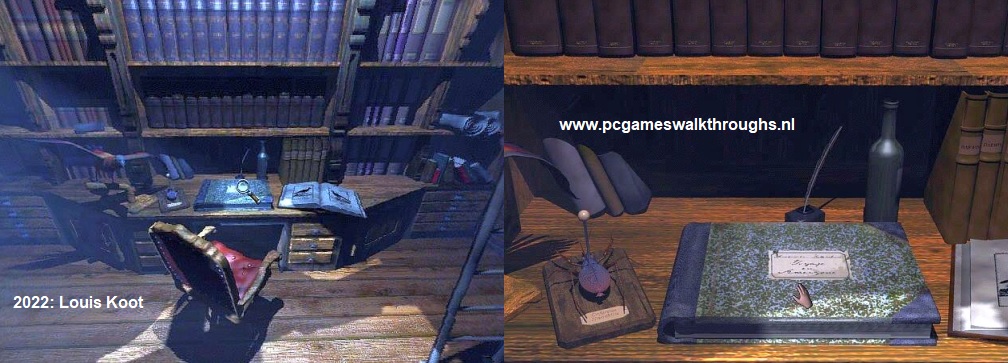
You zoom in on the left book. Grab this book and zoom out. Open your inventory and then click on the book you just picked up.
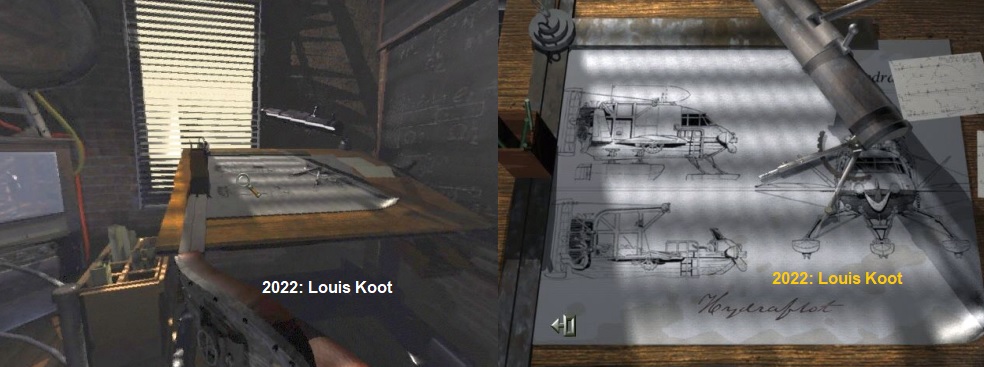
This is the "Journey to the Amerzone" travel book by Alexandre Valembois. Scroll through the book and view all pages. There are many. The report starts with the "Amerzone Geese" and the flying machine with which Valembois flew after the geese to Amerzone. On the first page is the date of birth of Alexandre Valembois and that is 28-06-04. Remember this date. On the 2nd and 3rd page you can read something about the "Amerzone Geese". On the 4th page you see a sketch of the Hydraflot. Read the notes on this this sketch page carefully. You can also see a sketch of the controls of the Hydraflot here.
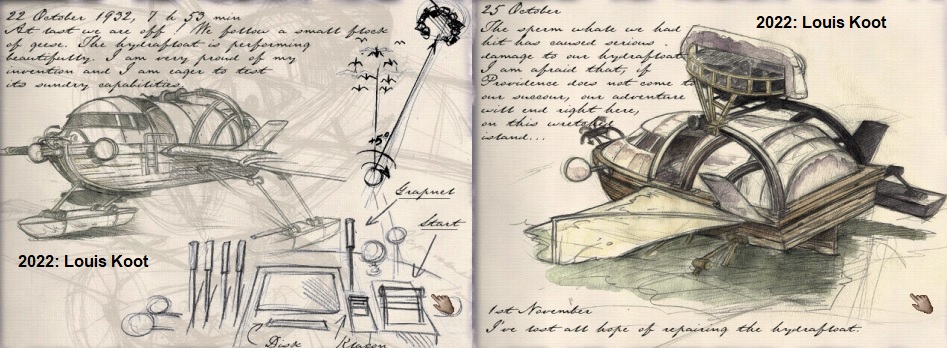
Please note that a Floppy Disk is required to program the Hydraflot. Also note the sketch of the geese and the lenses and the note that says that 5 degrees must be added to the degrees you will see through the binoculars. Continue scrolling through the book, reading the notes about "Schipwreck Island" and the "Puebla"
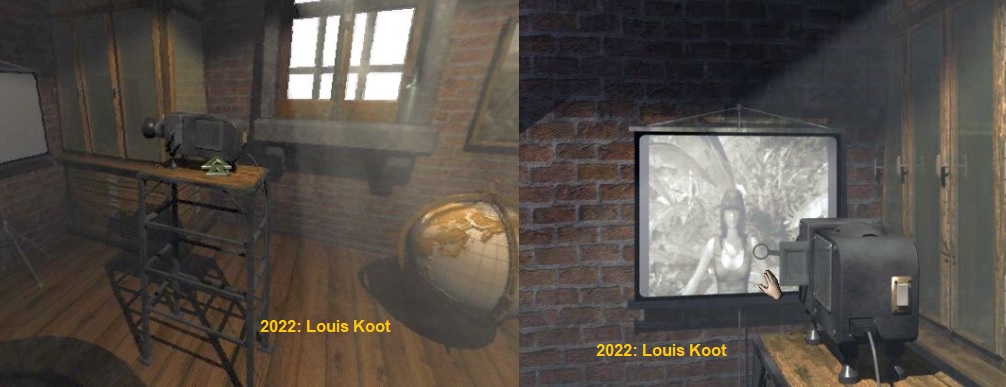
Zoom out when you have completely read through the book and close your inventory. Turn left. Go forward to the slide projector. A slide with 2 slides protrudes from the projector. Click on the button on the back of the projector to turn it on and then click on the slide that contains the slides. On the screen you will see a slide of the girl you have also seen in the photo below. Click on the slide again to view the 2nd slide.
Zoom out of the projector and then turn left. You can go up even further via the spiral staircase, but don't do that yet. Turn back to the desk.
To the right is a ladder with which you can reach the top rack. Go forward to the ladder and climb up the ladder.
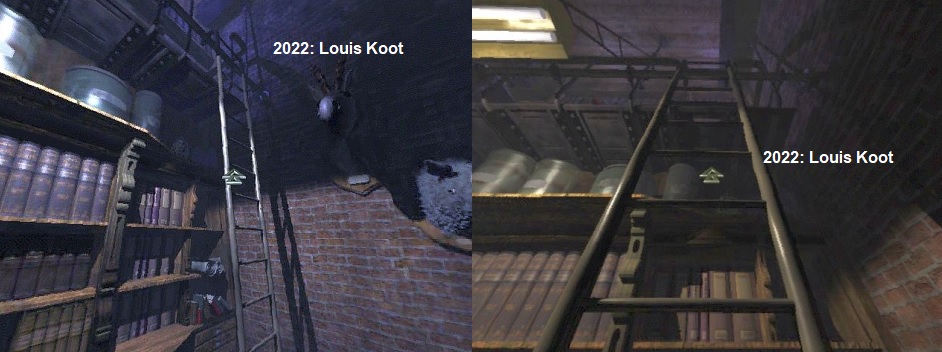
On top of the ladder, look down and to the left over the scaffolding. You see a red book. Zoom in on that.
You zoom in on a number of papers that are at the end of this scaffold. Grab the papers.
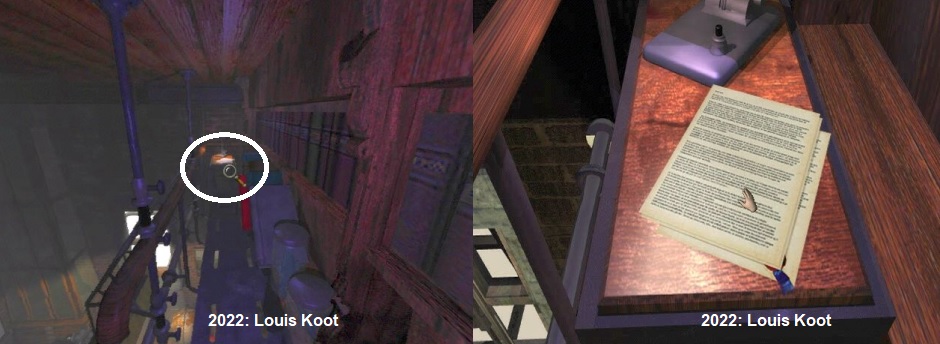
Zoom out, turn around to the ladder, look down and click the forward arrow to go back down the ladder.Before you continue, you should now read the papers that you just found on top of the scaffold.So open your inventory and then click on the Letter With The Seal. Read the letter completely. You are now reading the story of the Old Man:
In 1932 Professor Valembois, with two other companions, went on an expedition to Amerzone. On arrival, he was struck down by a long illness and was cared for by an Indian girl for weeks. Because they fell in love with each other, they spent the best time of their lives there together. In fact, the professor enjoyed it so much that he completely forgot the reason for his arrival and with it the expedition. This lasted until one day a boy arrived at the village with a mysterious white egg. Only then did the professor realize that the Native American tribe he resided at were the descendants of the legendary Ovovolaho tribe and what he had seen was an egg of the white birds.
The professor immediately went completely crazy. He gathered all his things together to look for such an egg. He left his great love and went on his way. After many arduous wanderings, he returned to Europe in possession of such an egg. Valembois was convinced that this would make him a famous and respected man. Nothing was further from the truth. No one believed his story and the egg was labeled as an ordinary ostrich egg. Everyone made fun of him and instead of becoming famous, Valembois was laughed at by everyone. Years later, the museum did a big cleanup and sent the egg back to the professor. Miraculously, the egg turned out to be intact. When the professor listened to it with a stethoscope, he heard a slow and regular heartbeat. So the egg was still alive!!! He kept it somewhere safe.
So now Professor Valembois is sitting dead at the dining table in his lighthouse and just before he died, he gave YOU the task of returning the egg in one piece to where it belongs....Amerzone... The professor has designed a special vehicle for this difficult and dangerous expedition. You have seen sketches of this special vehicle in the "Journey to the Amerzone" book that you have in your inventory.
Find the spiral staircase again, look up the spiral staircase again to get the forward arrow and then climb further up the spiral staircase.
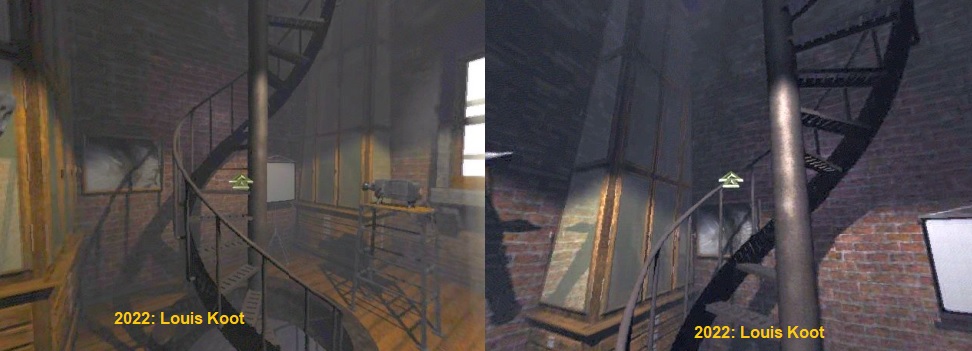
You end up in the top room of the lighthouse. Here is a drawing board.
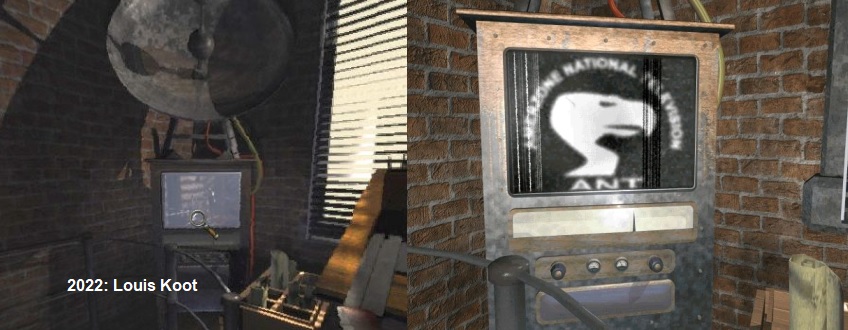
To the left of the drawing board is a television with a telescopic antenna. Look at the drawing on the drawing board.
It is the design drawing of the Hydraflot that you have already seen in the "Journey to the Amerzone" book. You can't do anything with it, so zoom out again. Zoom in on the TV screen where the satellite dish is located. You see a video in which some dictator allows his people to blare. Is this the President of Amerzone?
When the video is over, you automatically zoom out of the TV.
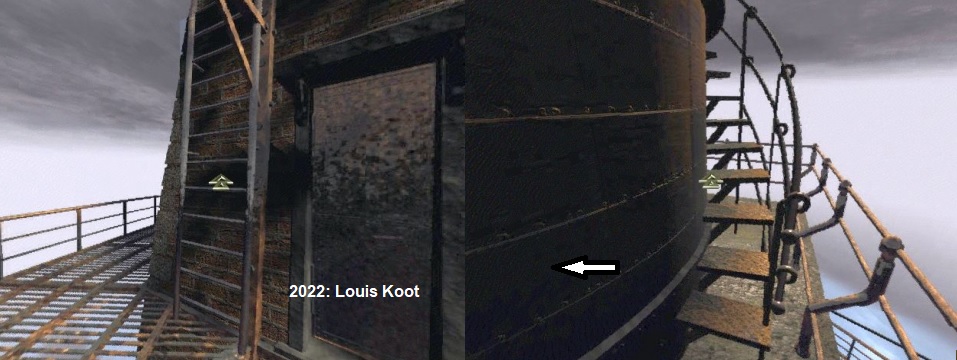
Turn left to the gray metal door. Open the door. You end up outside on the metal walkway that goes around the lighthouse.
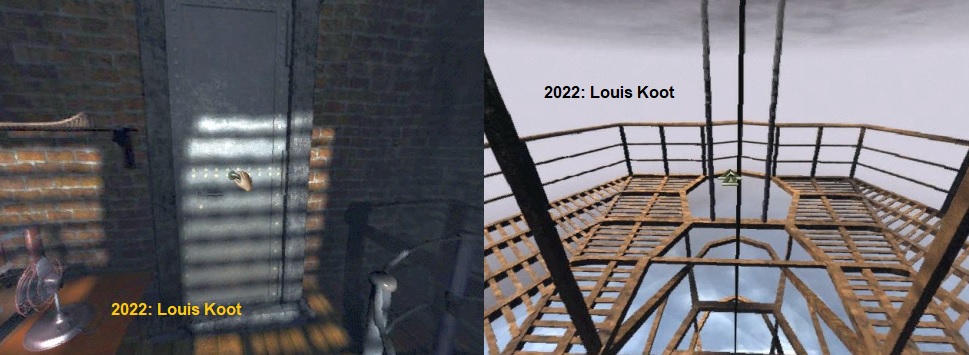
There is an elevator system in the tip of the platform, but the elevator is apparently all the way down. Turn back to the door.
To the left of the door is a ladder. Click forward on the ladder and you will end up one floor higher.
To the right is a spiral staircase that allows you to go even higher, but don't do that yet.
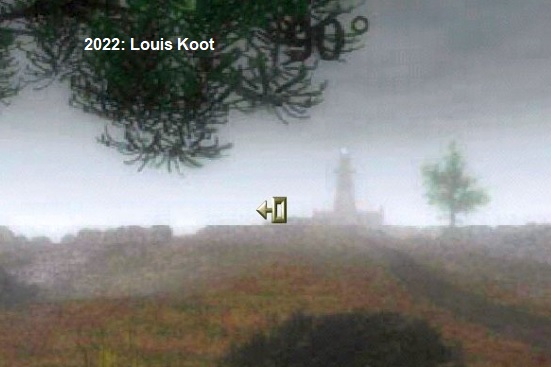
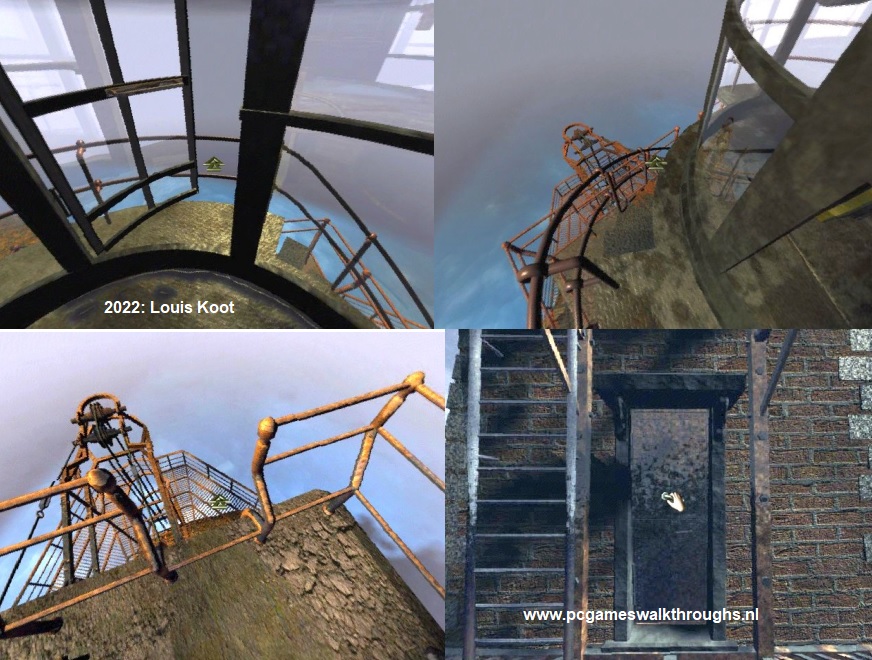
Turn left and then go forward. You end up at Binoculars. Click on the binoculars to see through them.

You see a flock of Geese flying and you see that this flock of geese is flying at 90 degrees.
Zoom out, turn around, go back 1 time, turn left and now continue up the spiral staircase. You are then at the top of the glass dome of the lighthouse.
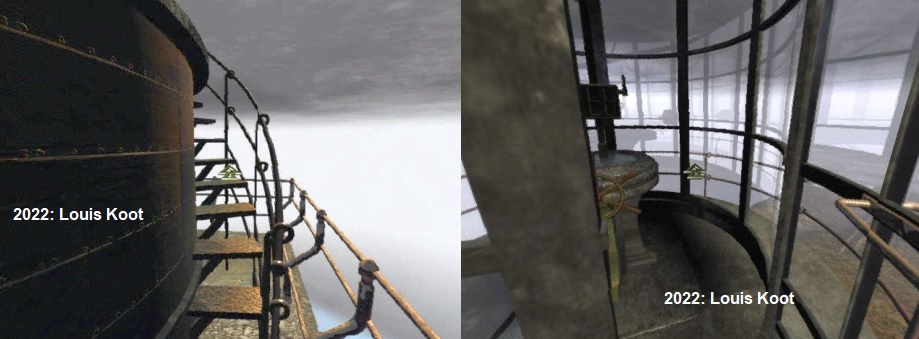
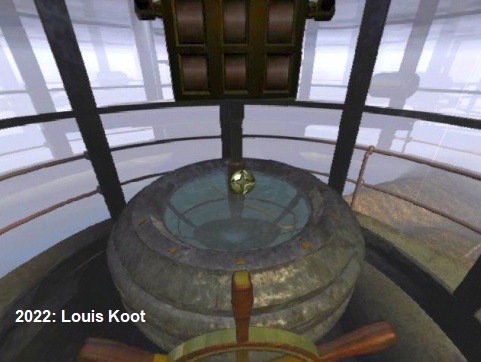
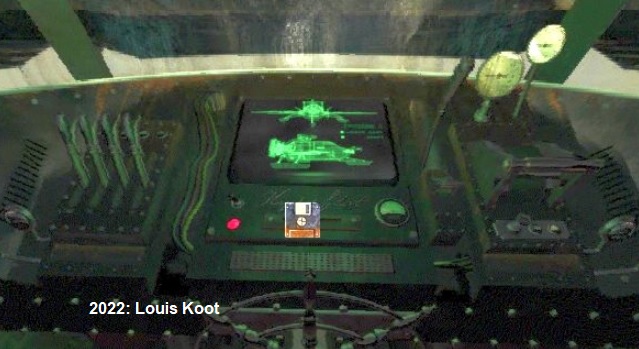
Enter the dome. In the dome you stand in front of the Steering Wheel. Above the steering wheel is a box with 2 levers. Check it out.
A code must be entered, but you do not know that code yet. Zoom out, turn around, click forward through the open door, turn right and go down the spiral staircase again and then down the ladder again to the metal platform. Turn around and go back in through the door.
You are back in the room with the drawing board. In front of the television is the stairwell of the spiral staircase.
Descend the spiral staircase back down to the slide projector room then further down to the dining room/kitchen.
In the dining room/kitchen, go to the corner, to the left of the sink.
Then turn left and click forward on the stairs to descend again to the lower corridor where the old bicycle is.

Open the cellar hatch again at the bottom and descend through the hatch again to the cellar tunnel.
Go forward 3 times through the tunnel and you are at the end of the tunnel.
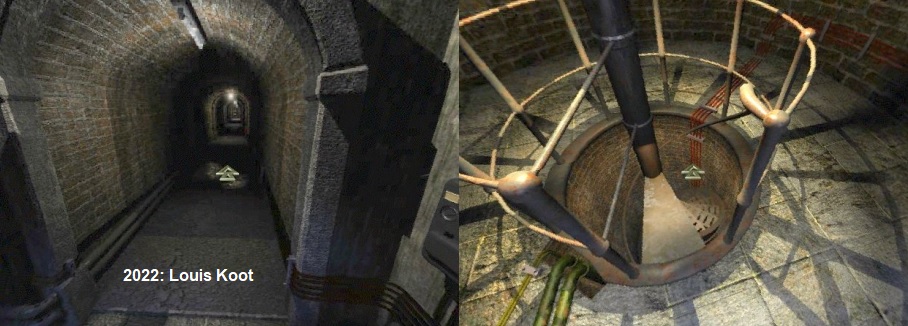
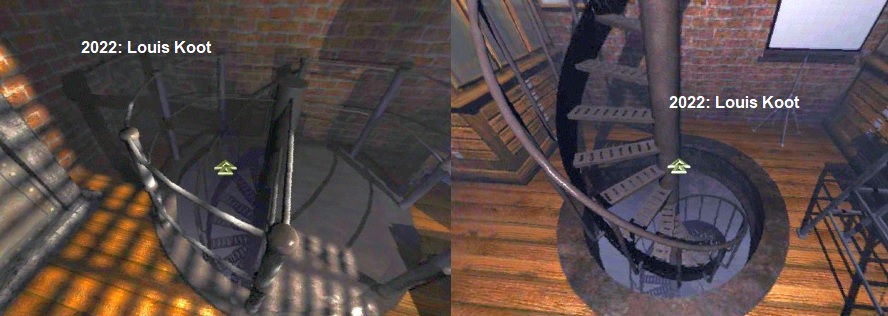
Descend the spiral staircase to the lower tunnel. Follow this tunnel 2 times ahead. You are then at a fork in the tunnel.
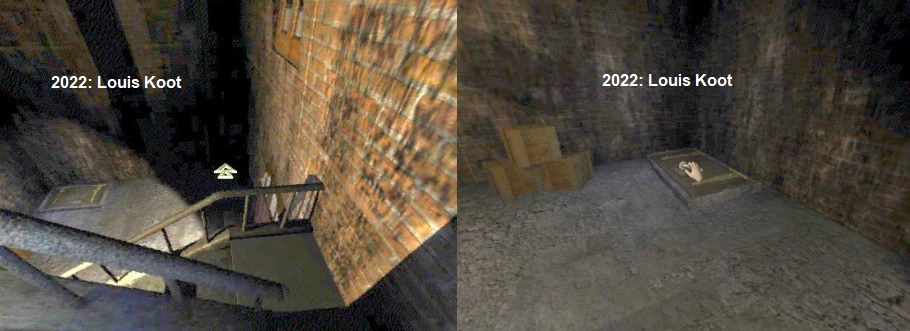
The tunnel continues straight ahead via a staircase. Don't do that yet, but enter the right tunnel here. You end up in the Radio Room.
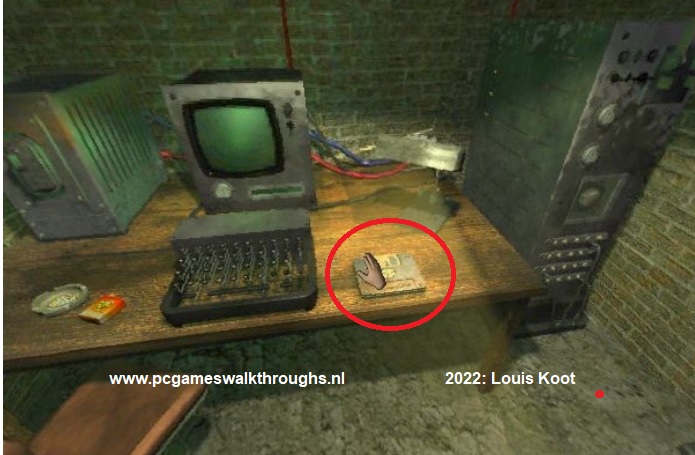
On the wall is a panel with a lever. Turn left...... There is a computer on the table and a floppy disc. Grab the Floppy.
Turn back to the wall panel and then click on the Lever. Something starts to buzz.
In the corner to the right of the table is a large gray power box. There's a lever at the top of that cabinet. Also click on that lever.
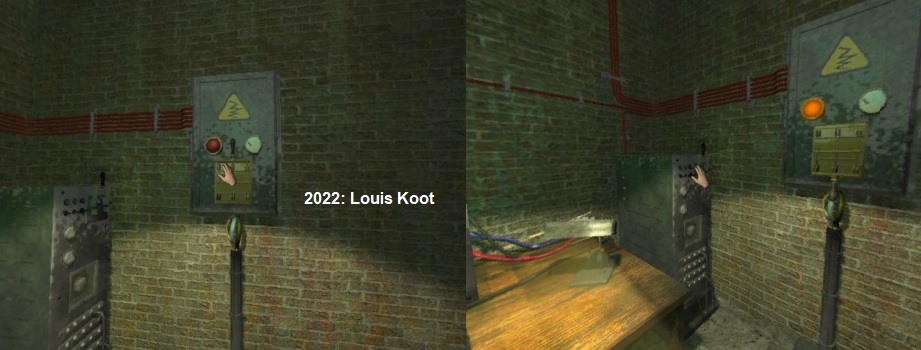
Something will hum and you will hear a "beep". Turn back to the table and now click with your Hand on the screen of the computer.
Text will now appear on the screen. Now zoom in on the computer screen with your magnifying glass.
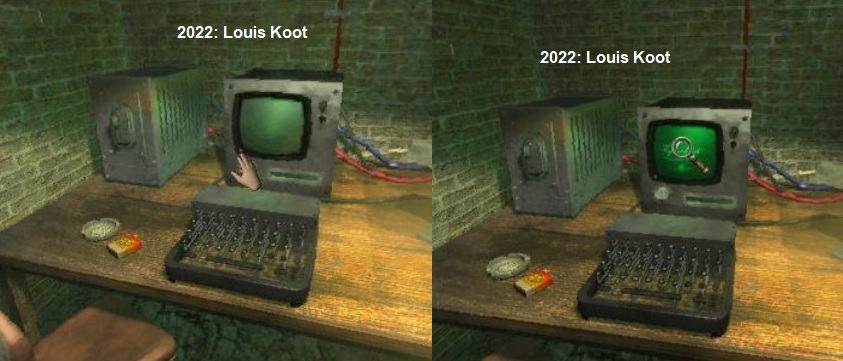
The screen now reads "Hydraflot operating system". Below the screen is the Diskette slot. You get the "gear cursor" on that slot.
So take the Floppy disc from your inventory, close the inventory and then insert the floppy into the slot under the screen.
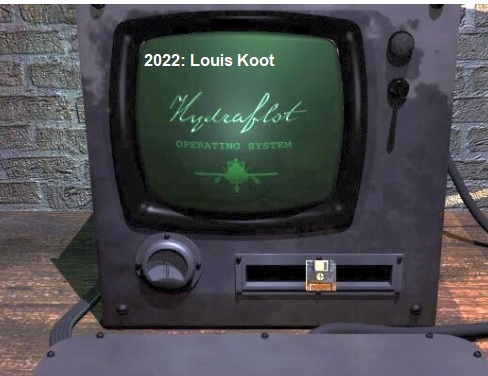
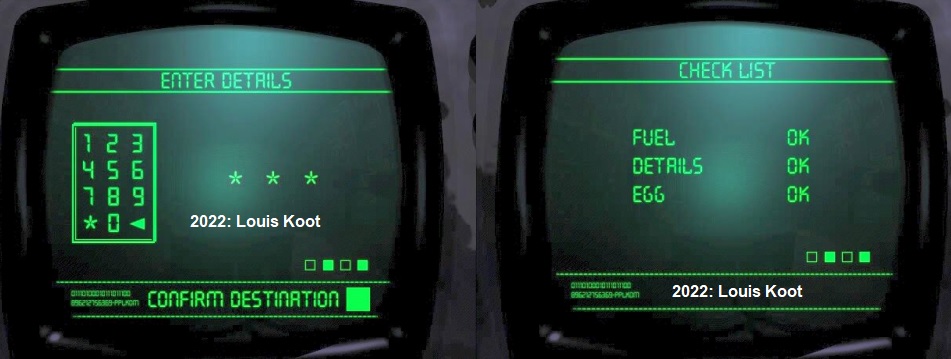
You will enter a Password screen. You have to enter a code of 6 digits and you do that by clicking on the numbers on the left. Do you remember Alexandre Valembois' date of birth? If not... have a look again at the 1st page of the "Journey to Amerzone" book. The date of birth is therefore 28-06-04. So click on the numbers: 280604 and then finally click on the "Asterisk", left of the 0. At the bottom of the screen "Authentication" appears.
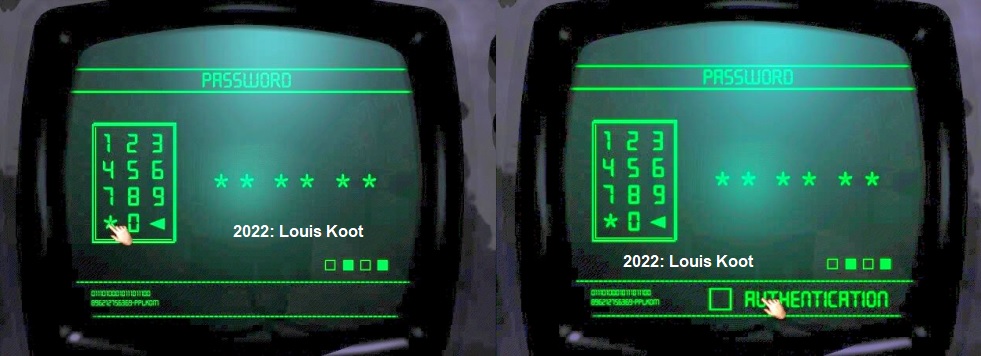
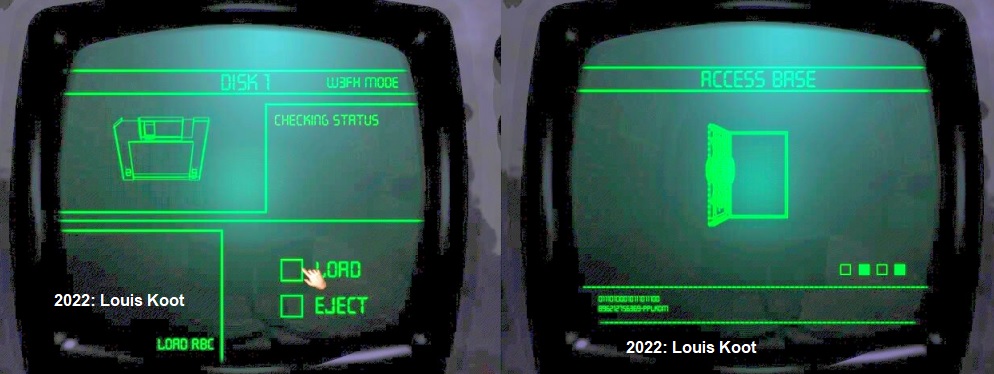
Click on "Authentication" to "tick this off" and you will get at the "Checking Status" screen. Click here in the box on "Load" and ......
....... you will see the heavy door of the elevator open in the next screen. You will then be out of the computer screen automatically.
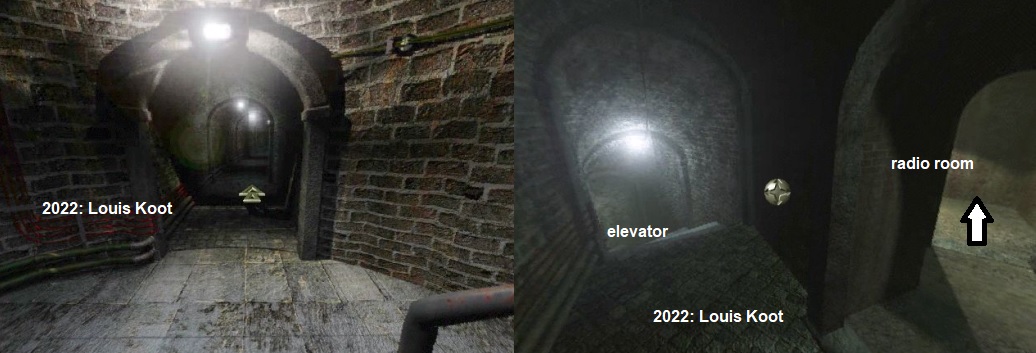
Open your inventory and see if you now have the Floppy disc back in your inventory. It should, but it may not have happened to you. If you do not have the Floppy disc back in your inventory you will have to take it out the computer yourself. Turn left and go back into the tunnel. Then turn right and now aim the forward arrow at the stairs with which the tunnel goes down and then go forward 3 times and you are then in front of the elevator door.
Open the door and you will end up in the elevator shaft.
Go forward into the elevator, turn clockwise to the elevator lever.
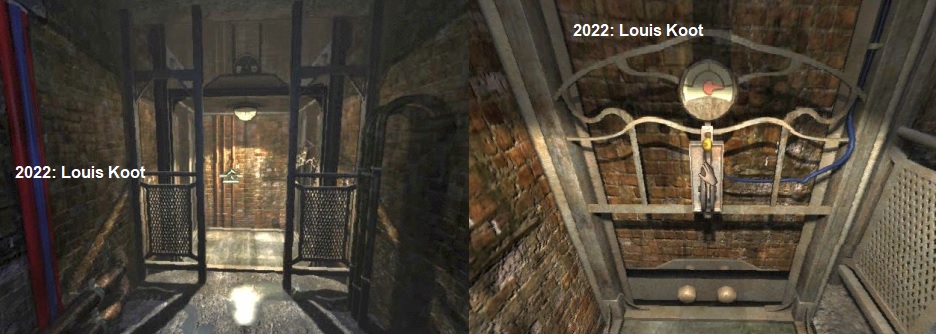
Click on the lever and ..... you go down with the elevator.
Note that halfway down, the elevator will stop for a moment, but then goes down again.
When the elevator has stopped again, turn left and go forward to the door.
Open the door and .... you end up in the
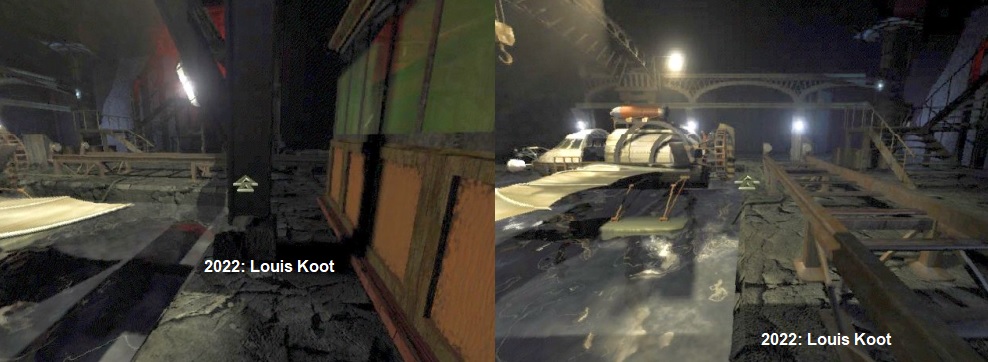
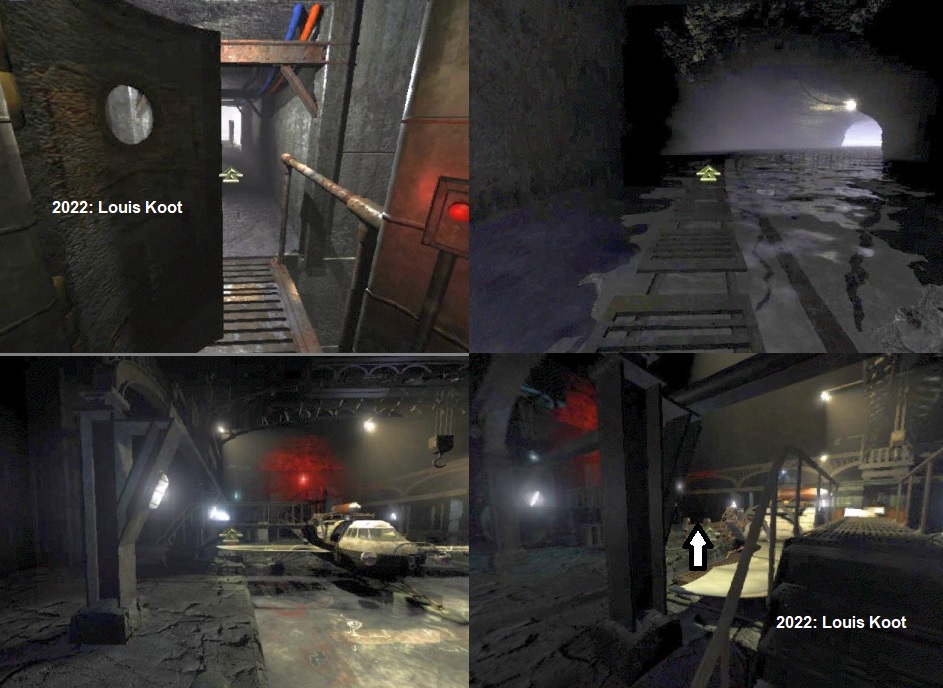
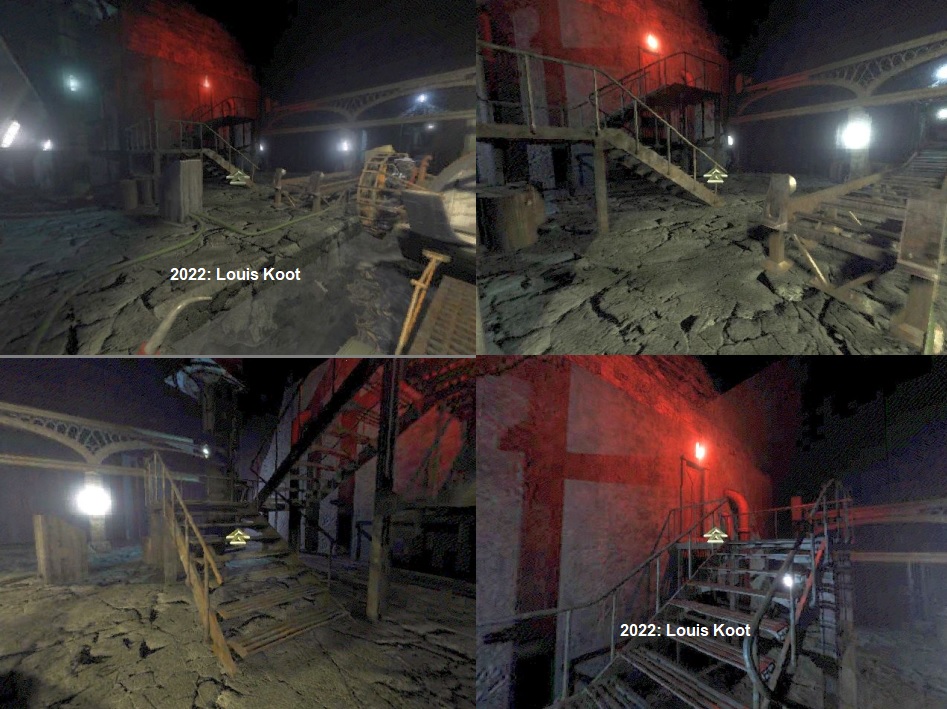
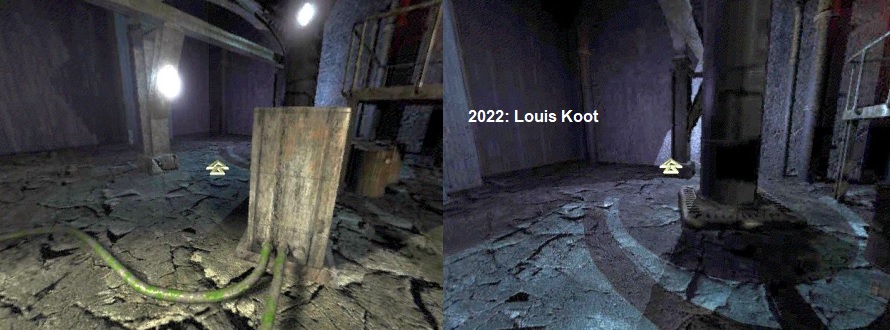
Hydraflot Cave:

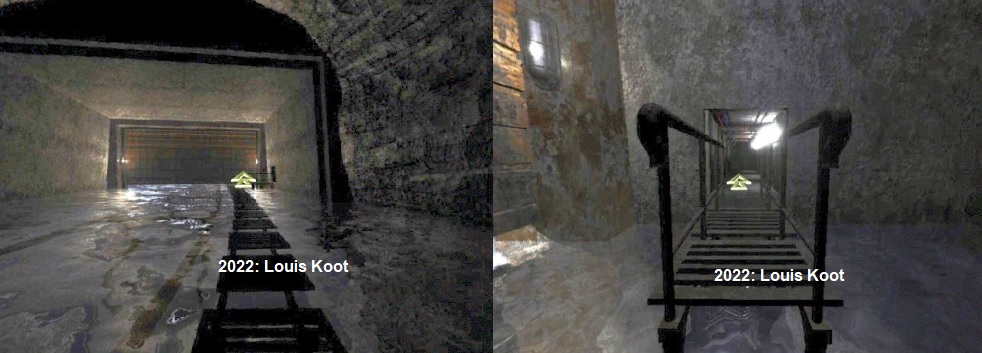
You are on top of a metal platform. Turn right and go forward 1 time down the stairs. Then turn around and go forward down the bottom stairs.
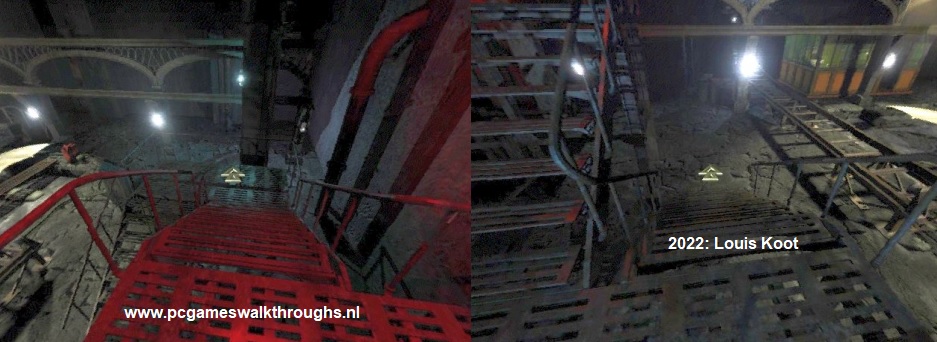
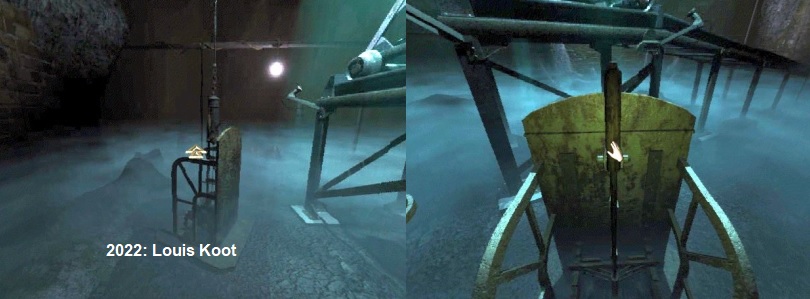
You are now standing at the bottom of the stairs and in front of a rail. You see a wooden office and in front of the office the Hydraflot is in the water of the underground river. Aim the forward arrow to the office and then click 1 time forward. You step over the rail and then stand in front of the office. Turn slightly to the right and go forward 1 time around the front of the office and then turn left.
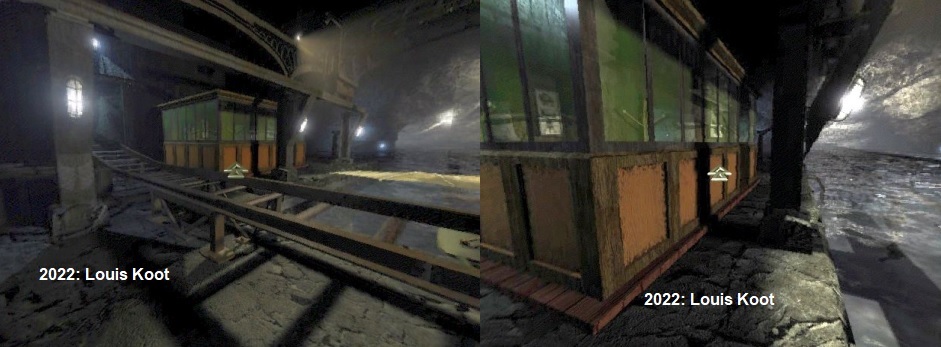
You are standing in front of the doorway of the office. Enter the office
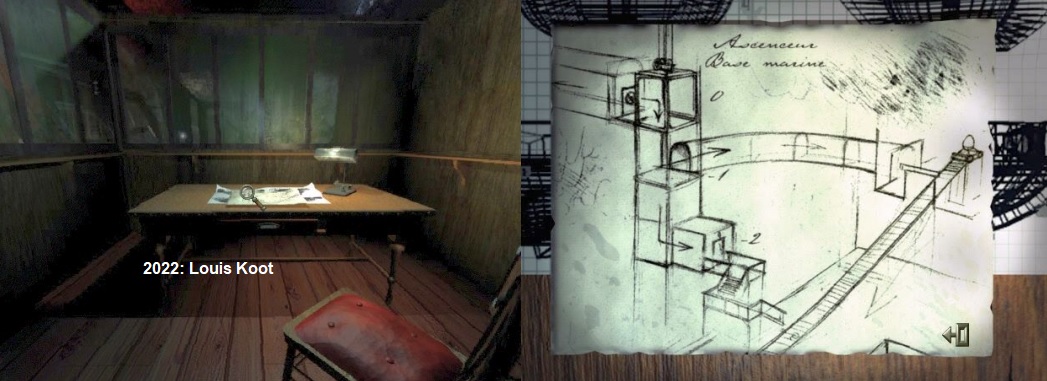
In the drawing you see the sketch of the Elevator that you have to take to the "place of the Egg". You also see the Egg in the drawing. Zoom out and then turn left to the doorway and step forward 1 time out of the office. Turn right, 1 time forward past the office and you are back at the rail. Turn left and now go forward along the rail to the corner.
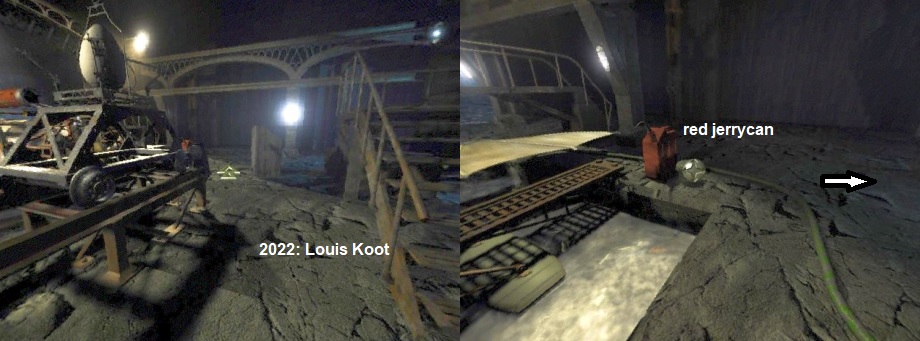
You are now standing right behind the Hydraflot. You see an animal running away and you see a red jerrycan.
Aim the forward arrow to the left of the jerry can and then click to move forward.
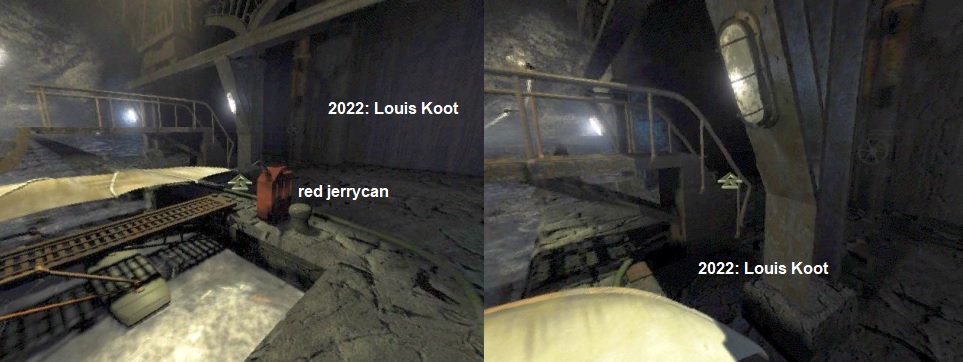
You are in front of the right wing of the Hydraflot and in front of the iron walkway.
Aim the forward arrow slightly to the right and then go forward under the walkway.
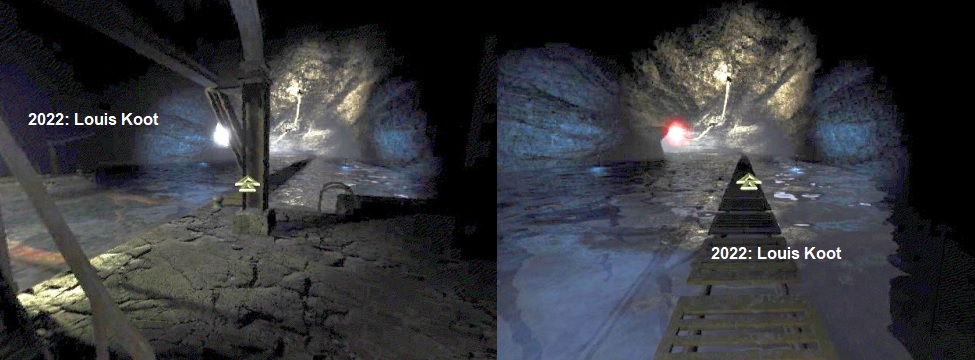
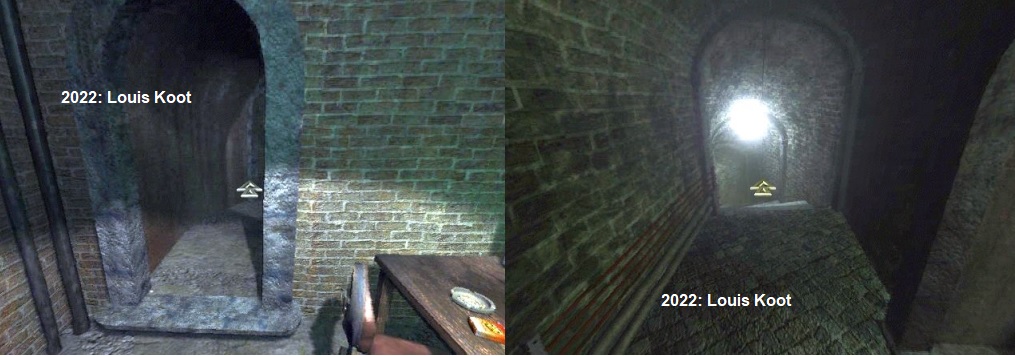
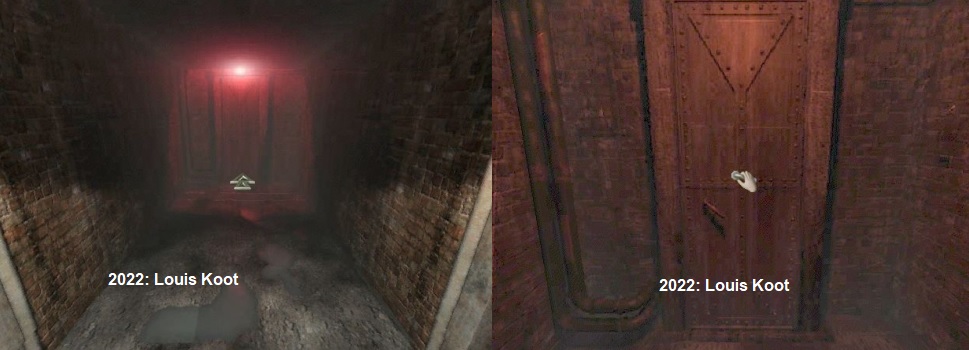
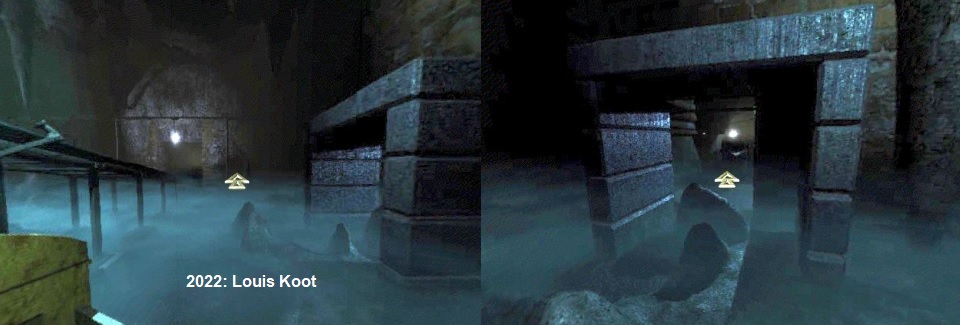
Once you've gone under the walkway, continue forward 6 times to the end of the long cave. The cave is closed by a huge metal door.
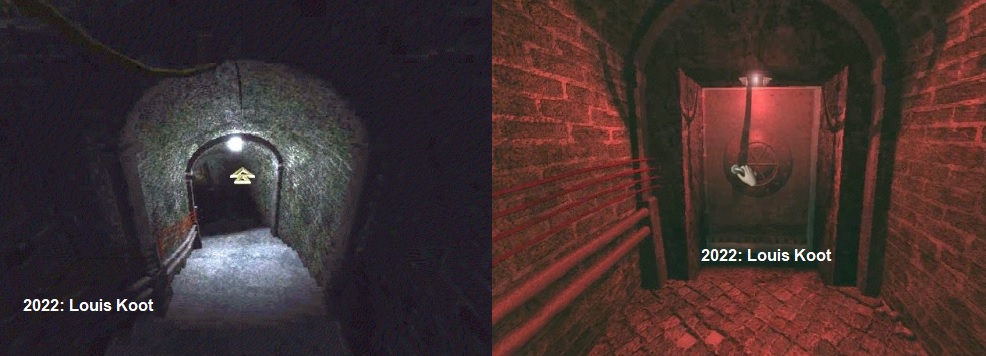
Stand with your nose against the door and then turn right. You look into a narrow tunnel. Go forward 2 times through the narrow tunnel.
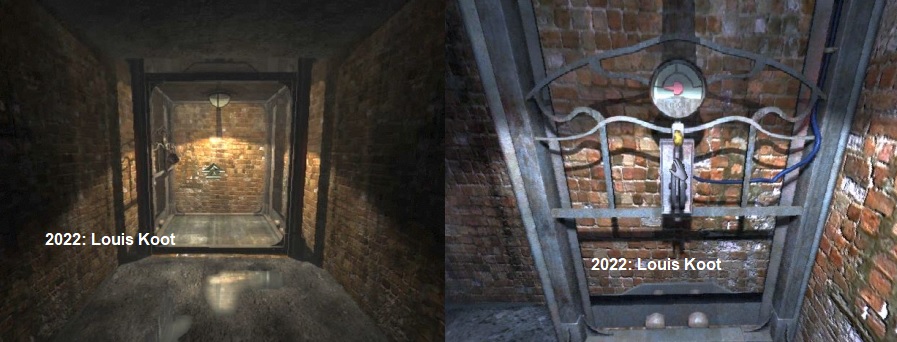
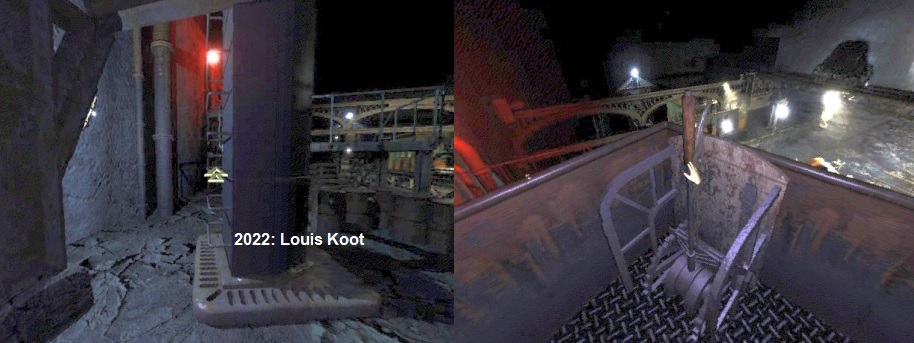
At the back of the narrow tunnel you will arrive at an elevator
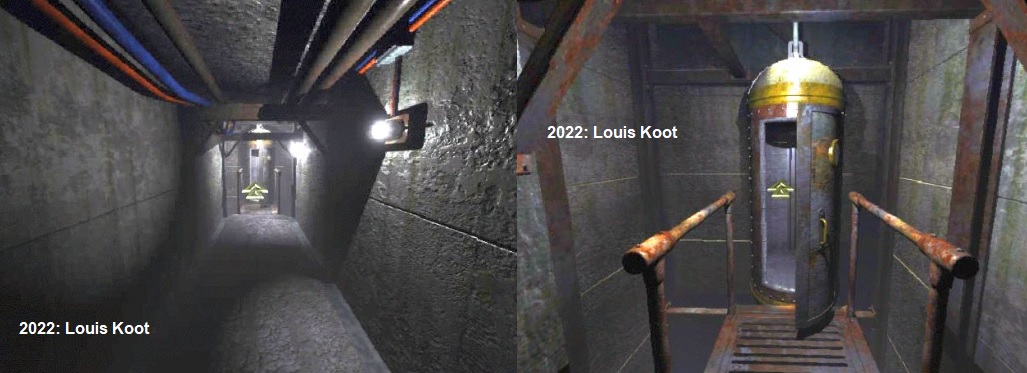
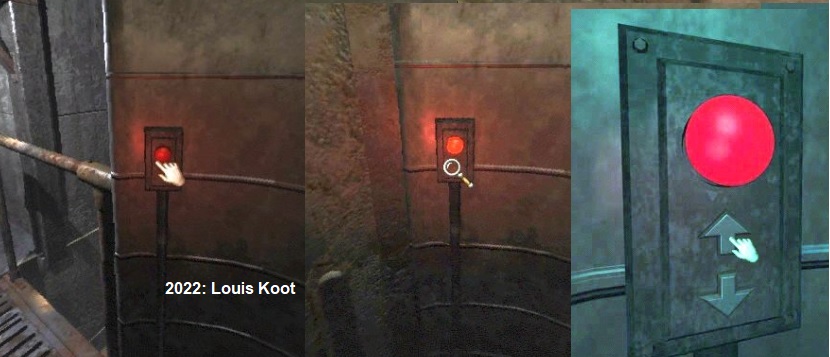
Enter the elevator and in the elevator you turn left to the red elevator button. Click on the red Elevator button and.........
... the elevator door closes, the red button turns green and then red again. Zoom in on the red Button and then click on the Up Arrow, below the red Button.
Now you go up with the elevator. Open the elevator door and go forward into the Binocular Cave.
Go to the Binoculars and click on it with your hand. You look through the binoculars again. You may have to look up a bit.
You see another flock of geese flying away and you now see, in red numbers, the indication 140 degrees.
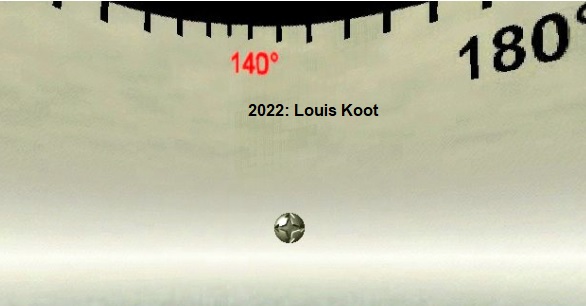
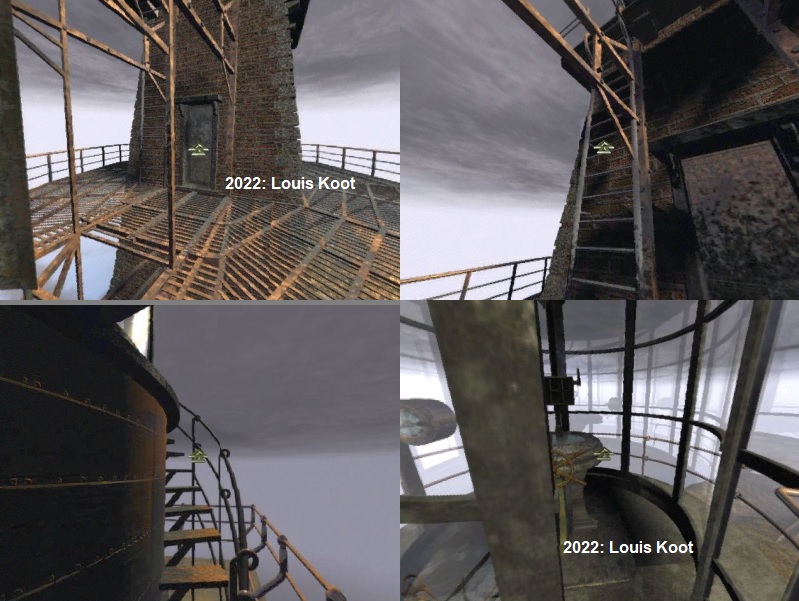
That flock of geese flies away towards 140 degrees. Zoom out of the binoculars, turn around and go back into the elevator. Click on the red button in the elevator again and when the elevator door is closed again, zoom in on the red button again and click on the Up arrow again. You continue up with the elevator but now on the outside of the lighthouse. When the elevator has stopped, open the elevator door and get out... you are now back on the outside metal platform of the lighthouse. Go to the door and then, via the ladder that is to the left of the door, up and then up via the outside spiral staircase to the Glass Dome. Enter the Glass Dome again.
So here in the Glass Dome you are on top of the lighthouse. Instead of a large lighthouse light, there is a STEERING WHEEL. Above the steering wheel is a panel with 2 levers. Zoom in on the panel. You now have to enter the degree number in this screen. The degree number is the number you just saw, in red numbers, through the binoculars. That number was 140. Only.....in the "Journey to Amerzone" book you saw, on the 4th page, that 5 degrees must be added. So the code is not 140 but is 145. There are 2 levers on the panel. The left lever rotates the numbers in the boxes, the right lever then puts the numbers in the correct order. You start with 000.
| Click once on the left lever. Click once on the right lever. Click 4 times on the left lever. Click once on the right lever. Click 5 times on the left lever. |
The top boxes of the panel now show the number 145. Zoom out and look down at the steering wheel. Click on the steering wheel.
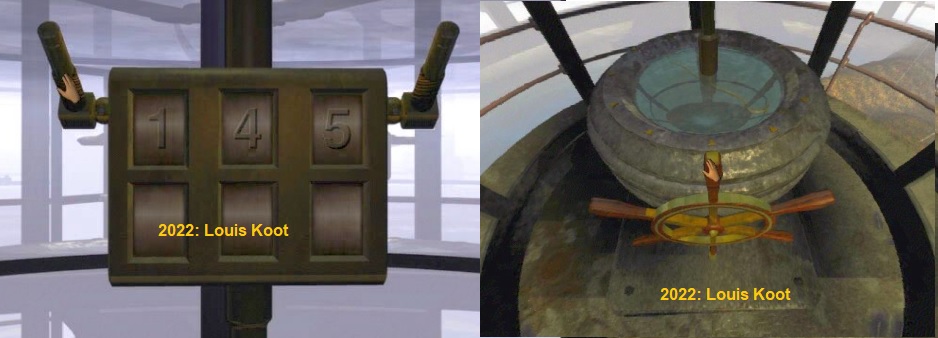
The steering wheel turns and now has the Glass Dome pointed at 145 degrees.
Exit the glass dome and go back down the spiral staircase and ladder to the platform.
On the platform, go forward to the elevator and re-enter the elevator.
In the elevator, press the red button again and when the door is closed, zoom in on the red button again. Now click on the down arrow. The elevator descends again and stops on the Binocular cave floor. Zoom in again on the red button and click on the down arrow again to go down another floor. Open the door and go forward 2 more times through the narrow tunnel and you are back in the big long river cave. Turn left and follow the platform all the way back to the Hydraflot.
Back at the Hydraflot, aim the forward arrow at the stairs and then go forward 2 times.
Then turn left to the stairs and then climb back up the stairs.
Open the door and go forward into the elevator again.Turn left and click on the elevator lever and the elevator will bring you back up.
Go forward 1 time out of the elevator. Then look down at the floor and while looking down turn counterclockwise, back to the elevator.
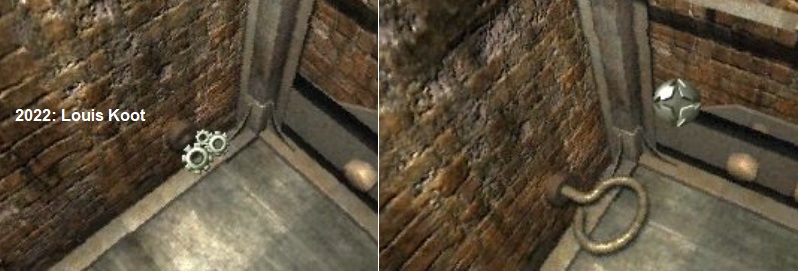
To the right of the elevator is a metal rod on the floor, take it with you. The rod has a round handle.
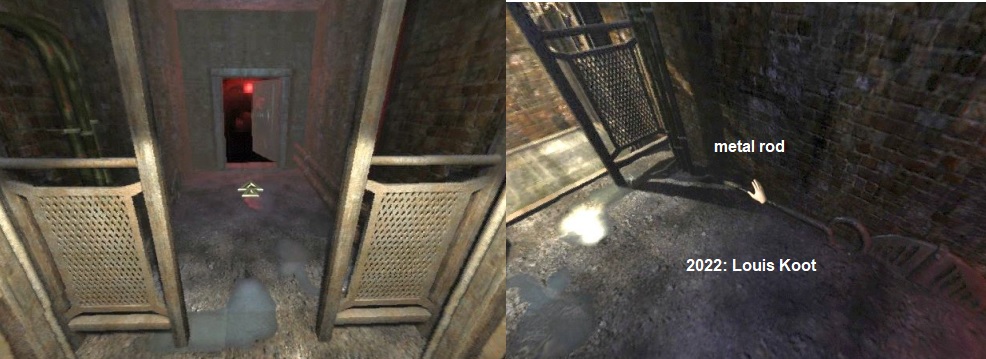
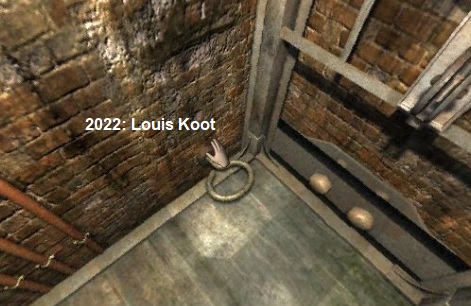
Get back in the elevator. In the elevator, look down at the floor. At the bottom right, just above the floor of the elevator, you'll get the "gear cursor" on the stone back wall of the elevator shaft. There's a metal hole in the wall there. Take the just found metal rod from your inventory and insert the rod into the metal hole in the wall.
Then click on the elevator lever again to let the elevator go down again. Now the elevator only drops halfway and is then stopped by the metal rod. Turn around. In the wall you now see a bricked up passage. Take the Sledgehammer from your inventory and then ram with the Sledgehammer on the bricked up passage
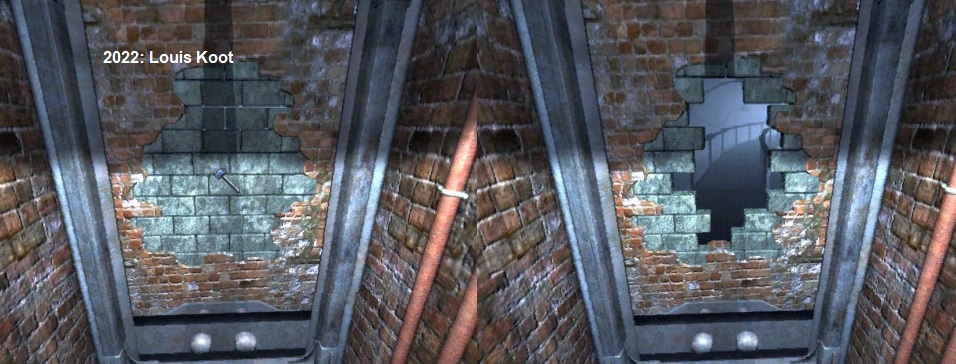
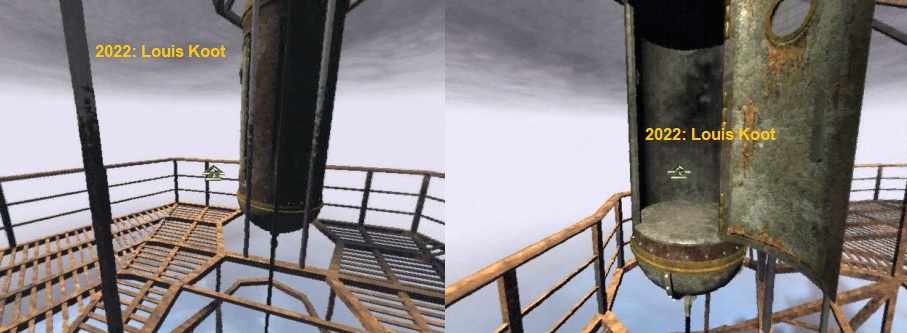
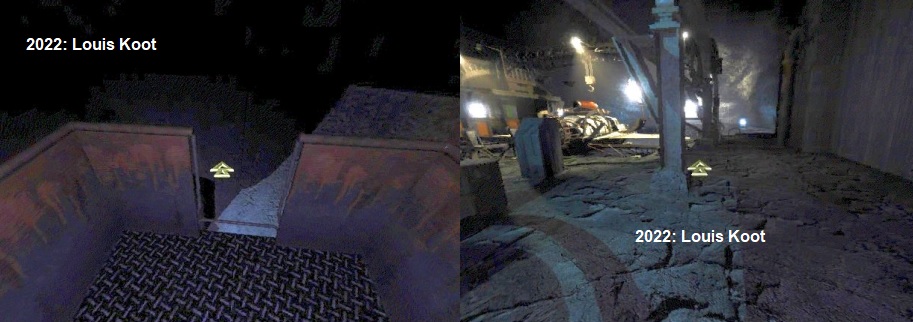
You will then automatically go through the resulting opening. You are on a metal walkway. Go forward 2 and then open the metal hatch
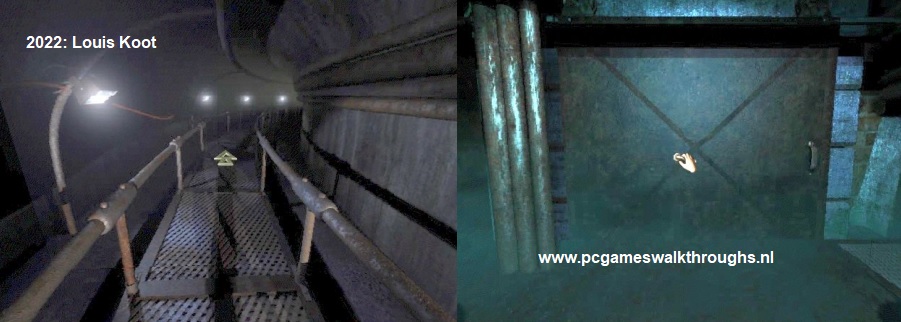
You end up in the room of the Egg. The Egg is on a cart and the cart is on a rail.
Turn slightly to the left and then go forward to the lever. Then turn to the right and you are in front of the lever. Well .... Click on the Lever and .......
The Cart with the Egg on it rides down the rail and will end up behind the Hydraflot.
Turn right and now go forward 1 time, turn right and aim the forward arrow at the doorway and then go forward 4 times and you are back in the elevator.
Click on the elevator lever to go back up.
Once you have come up with the elevator, take the metal rod out of the wall and then click on the elevator lever again to be able to go all the way down again.
Then exit the elevator and through the door back into the Hydraflot Cave. Go down the stairs again and turn right at the bottom. The Egg is now on the rails behind the Hydraflot. Go to the right wing of the Hydraflot. The Egg must now be loaded into the Hydraflot. Go forward 1 time to the red Jerrycan. When you are standing in front of the red jerry can again, turn to the right.
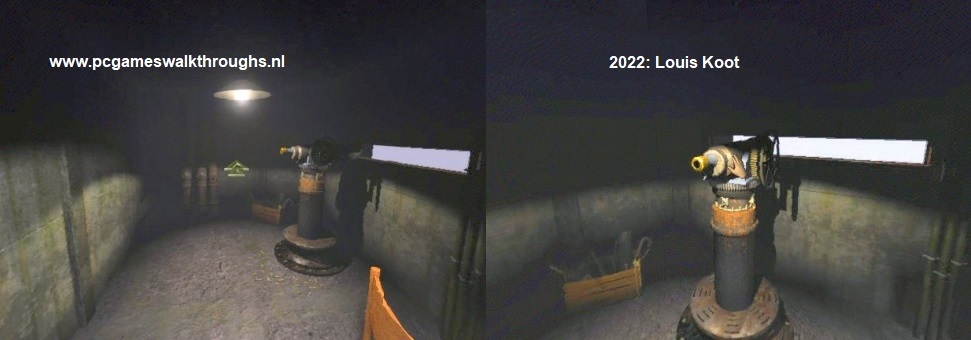
You see the back of a power box. Go forward 2 times to the left of this power box.
You are in the dark corner behind the stairs and you see the steel beam that the stairs are attached to.
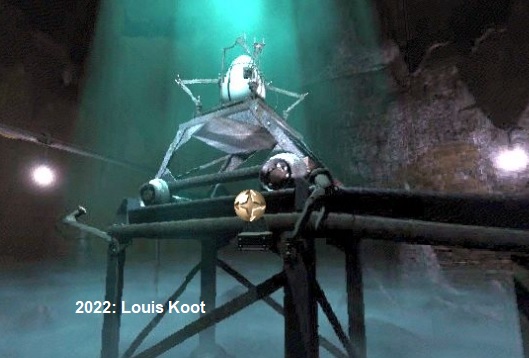
At the back of this beam are ladder rungs. Click with the forward arrow on the back of the pillar and you end up on top of the pillar and then stand at a lever.
Pull the lever towards you and .....
Cut scene: he large mechanical crane arm now moves to the Egg and the crane grabs the Egg and now lowers the Egg into the Hydraflot.
Turn around and click forward to go back down. Back on the ground, turn right and look for the straight ahead arrow.
Click forward and then turn left and you are in front of the walkway over which you can go to the Hydraflot.
Go forward up the walkway, then look down and aim the forward arrow at the doorway of the Hydraflot.
Go forward and now you end up in the Hydraflot. You are in the cockpit of the Hydraflot. Turn around and see that the Egg is in the back of the Hydraflot.Turn back around. Below the screen is the Floppy slot again. So take the Floppy disc from your inventory again and then put it in the slot.
You will return to the "Checking Status" screen. Click here again in the box for "load".
After a few seconds you will see the various functions of the Hydraflot on the screen.
You can choose from: Plane, Sailing, Submarine, Helicopter, Grapnel and Boat. Click Plane.

The screen will then indicate that there is enough fuel and that the Egg is also onboard, but something is still missing. You will then return to the Password screen. This time a 3-digit code has to be entered and this code is therefore 145. So click on the numbers 145 and then on the "Asterisk" and then click on "Confirm Destination"
....... Sit back and watch the end movie of this Chapter 1.
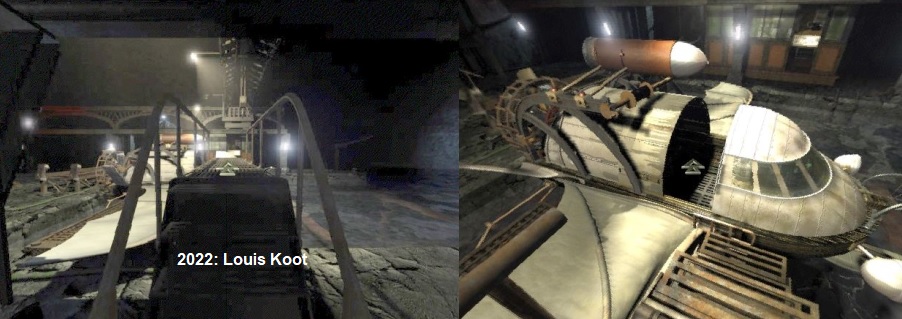
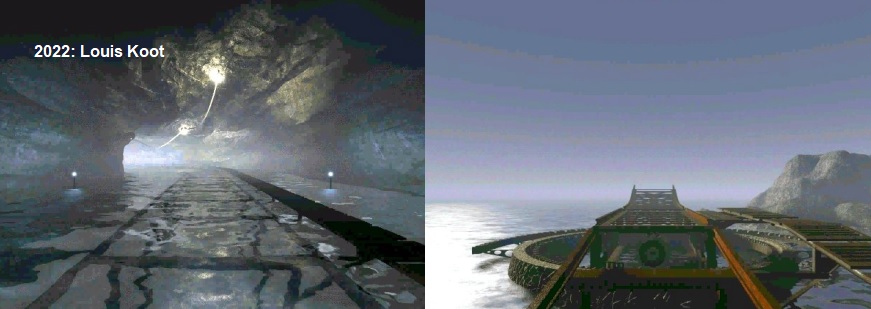
The Hydraflot now sails on the rails through the cave.
The large door opens and the Hydraflot sails onto the launch platform and from the platform the Hydraflot shoots into the air and is now a small plane.
Along the way you will be joined by a flock of geese.
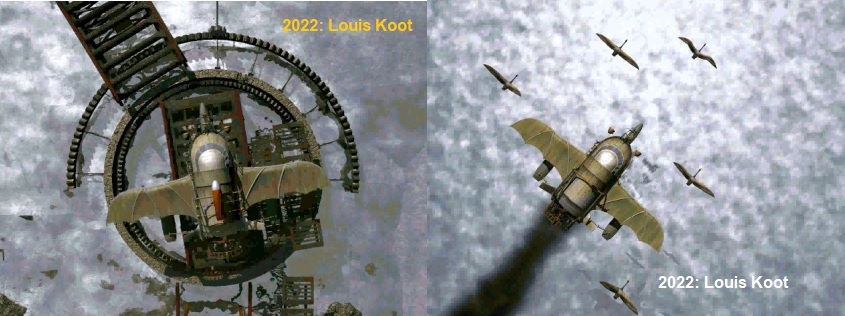
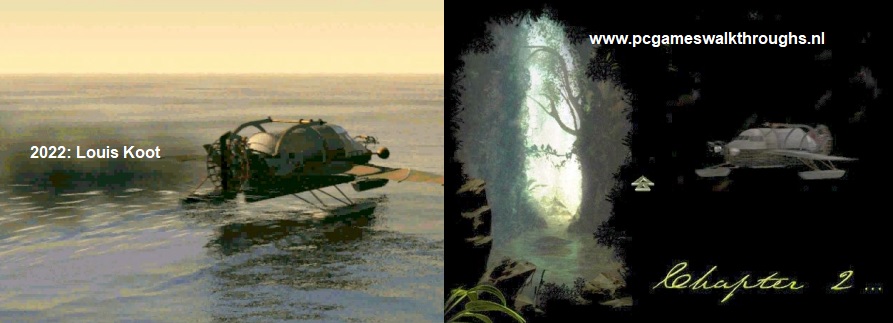
It is a long flight and it is evening and then suddenly.....the fuel is gone. The Hydraflot crashes and lands in the sea.
If you are playing the original CD version then you should now load CD 2.
If you play the Gog.com version, a Chapter screen will appear in which you click on "Chapter 2" ........
2022: Walkthrough by: Louis Koot