
2021: Walkthrough by: Louis Koot
If you have found this walkthrough via google search or via another site then you have probably not visited my site.
A lot more very detailed game walkthroughs can be found on my site at: www.pcgameswalkthroughs.nl
Chapter 3: The Vanishing of the Lady Shannon
Norah has arrived on the beach where the ship of Harry's expedition, the Lady Shannon, has stranded....Turn right and.....

......go to the ship.....There's a big hole in the hull of the ship...Enter the ship through the hole and......

......Norah is in the cargo bay of the ship.....Follow the planks to the ladder and climb up the ladder to the walkway above

.....Above turn left and go further up the slope and then take the left turn and......

.......go to the electric circuit breaker cabinet at the end. There are 4 levers, A, B, C, D and a lever E at the switch box. You must pull all 5 levers but you must do this in the correct order.
Pull de levers in this order: C, B, D, A, E and.......

When done correctly you have partial restored power and some lights go on.
Turn around and go back and then pull the lever of the switch on the wall to restore power in the ship further

Turn left and go forwards into the corridor and go left into the radio room

On all the desks you can look at and read photo's and notes. The tape recorder is sending a continues distress call out via the radio. If it bothers you then you can turn the tape recorder off. On the desk that's in the right corner, under the photo of the ship, stand a device.

Zoom in on the device.......This is the Black Ooze frequency device.......The device has 3 black buttons that you can turn on different frequencies to get numbers on the 3 tumbler screens. In the container are 3 slices of black ooze. The intention is that you figure out the correct frequency with this device but you can't do this now because first you need more information

.....so leave the radio hut and follow the corridor and the walkway back to the ladder and climb down again to the floor.

.....Leave the ship through the hole in the hull and go to the circuit breaker that stand on the crate

Flip the lever down and.......the lights goes on outside here also

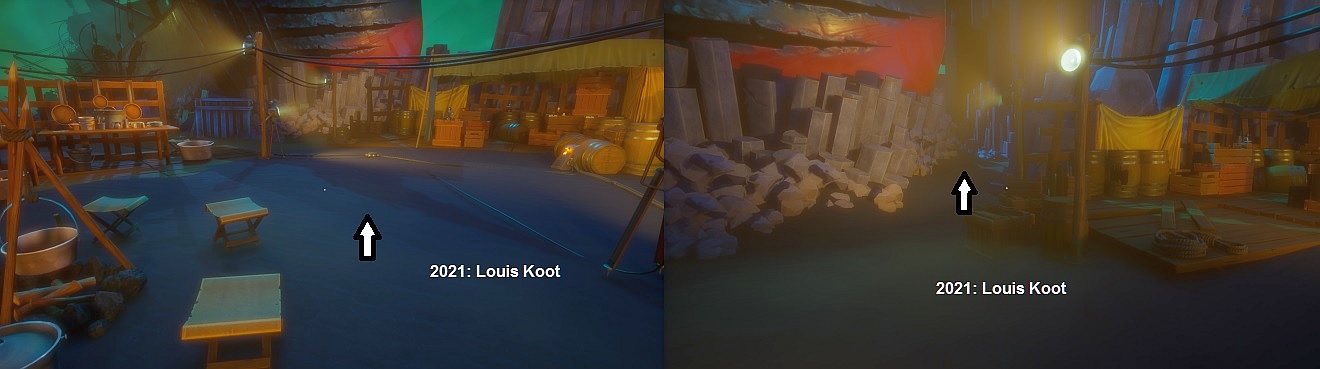
Now go the middle area.....Behind the big table are two open tents....Go to the two tents

There's another circuit breaker leaning against the barrels at the tents.....Flip the lever of this breaker also and.....there will be light in the cave also.

You can take a look inside both tents. The left tent has nothing of interest but in the other tent you can look at a few things. When done go to the big table that stand in the middle of this area, There's a photo on the table that you can look at. Further on you see 3 little tents and a lager tent that's open. In the right most little tent you can look at a photo and in the larger tent are some notes and some photo's that you can look at and read

When done with those tents go back to the large tables and then turn around...
.Between the first two tents and the little tents is the entrance of the Cave....Go there and go on to the tent that stand at the back of the cave

Enter the tent.....A slide projector projects a slide on the white screen. You can use the buttons of the projector to see all the slides on the screen.

You can go behind the slide projector table to look at and read a few notes.

Then go back to the other side and open up the box that's on the far end of the table. Take the note out of this box.....
On this note you see the key's of the piano that is also on this table. 7 of the key's have a diamond shape with symbols

This note is recorded in the journal. Now zoom in on the piano device. The piano has with keys and black keys, as a piano should have. The piano also has a number tumbler. Now click on all the keys of the piano.....you hear a musical note and the tumbler will give you a number for each key that you push.....All those numbers will be recorded on the note that you just took from the box

When done leave the tent, but we come back here soon to figure out the piano further. Leave the cave and then go back to the large tables in the middle of the area. Walk on to the 2 tents but don't go back to the ship now. Go follow the passages between the two tents and the ship to the area behind the ship
In the distance you see an illuminated tend. Just before the tent you can go up to the top of the mountain but first go to the tent

You can look at and read several photo's and notes in this tent......they all tell you something about the big organ that Hans was building here on the island

The note that lies next to the box tells about the organ and the temple

When you're done in the tent then go to the slope and follow it all the way up and.......

...you'll be on top of this mountain. To your left is a bridge over the deep canyon. On your right is the closed steel door of the temple.
You need to get that steel door open and you must do this via the organ

Go over the bridge to enter the short tunnel that leads to the Pit.
In this tunnel you'll find the first of 7 double diamond shape tube valves with witch you can open and close the organ tubes. Take a closer look at it

This first Tube valve has a cover with one dot......The cover is now at the lower diamond witch means that this valve is now closed.
If you click the cover it goes to the upper diamond witch means the valve is then open.

You have seen this kind of double diamond valves before when you played the piano in the cave tent.....
Check the journal to see that there must be 7 of these valves around here. Via the keys of the piano all 7 valves has been given a frequency
So we must find the other 6 valves. Go on to the Pit....The Pit is open. On the other side of the Pit stand the Bridge control and the Pit control...Go there

Click the diamond shape button to open up the Bridge control and take a look at it......
.....you can push the diamond shape button as much as you like but nothing happens now.....You must first tune the organ

Turn around and step forward to the Pit Control. If you click the round button several times then you close of the pit with a round slap.....You can do this now or you do this late

If you close the pit now then the pit will be open again when you return here later, so you might as well leave the pit open for now. When you stand at the pit control console look to your right a bit......On a wall pillar you'll see double diamond valve 2 and further on, around the corner, is valve 3 in the corner. valve 4 is down stairs 1. If you go to valve 2 you'll see that it's closed and that it has 2 little diamonds on its cover

Valve 3 is in the far corner and it's open now

Go down stair 1. Halfway down stair 1 you'll find valve 4 on the wall. Stair 1 is broken further down so go back up when you've looked at valve 4

Now go to the crate that you see in the far distance, beyond the pit. That crate stand at pit 2 and this pit is already closed off with the round slab.
On the wall pillar is valve 5 and in the far corner you see valve 6 on the wall pillar

On the crate is a box. Open the box and look and read the note that's in the box. T
he note tells you about the valves and that the organ is tuned by opening or closing the right valves

Valve 5 is closed now and valve 6 is open. At valve 6 is stair 2. Go down stair 2. Halfway down stair 2 you come at valve 7 witch is closed now

Descent stair 2 all the way and the look at the water level symbols that are on the wall

......You see that the water level is low now and those water level symbols will be recorded in the journal......this is important
You now where you can find all 7 valves, the bridge control and the pit control. If you have looked closely at all 7 valves then you also know witch valve is open and witch valve is closed now. From the notes that you have found and read you now that you must tune the organ to open up the big steel door of the temple. To tune the organ some of the valves must be open while other valves must be closed. You must find out witch of the 7 valves must be open and witch should be closed
Now go all the way back to the ship area and then further on to the tent in the cave. In the cave tent stand at the slide projector again and use the buttons to see all slides on the screen again.....You're looking for the slide that projects the low water level symbols on the screen...when you have those symbols on the screen Norah will say "this is it".......Look at those symbols with your eye to record this in the journal

Now go back to the Ship and enter the ship again through the hole in its hull. Climb up the ladder again and go to the radio room en zoom in on the Black Ooze frequency device

Turn the device on with the on/off switch on the left. On the right, you will see 3 floating black ooze stones. With the help of three black dials, you need to make sure that those 3 stones are floating on the same level. This is a bit tricky because the 3 dials influence each other, so I can't give you an exact solution....just turn the 3 dials until all 3 light of the container are lid and the 3 stones are floating on the same level and you get the following yellow numbers on the 3 tumblers of the device: 262; 349; 415

Look in the journal to see the drawing of the piano and you see that 262 is the valve with 1 dot, 349 is the valve with 4 dots and 415 is the valve with 2 triangles, left and right

But that’s not all......... Remember that diagram from the projector. Depending on the sea level, the symbols transform into different ones! As a result, you should have the
following symbols to play on the organ:
Valve 1 must be open

valve 2 must be open

From valve 2 go to valve 3

Valve 3 must be closed

Go down stair 1 to valve 4.....Valve 4 must be closed

Go to valve 5 and then to valve 6. Valve 5 and 6 must be closed

Down stair 2 to valve 7. Valve 7 must be open

When you have closed and open all the correct valves then go back to the pit at the bridge control.
If the pit is open again then close it with the round slab by clicking the round button of the Pit control console

Then zoom in on the bridge control again......The bridge control should look like as it is in this screenshot now......Ooze flows from valve 1, 2 and 5 to the central diamond shape button now

Click the central button and.........Pillars will rise up from the sea to form a path to the elevator island. Go over the pillar path to the back side of the elevator island

At the back of the island you find the elevator button. Click the button and you go up to the top of the island

Walk to the little pyramid shape at the back.......A box is at the left of the pyramid shape. Open the box and click the envelop that's in the box and.....

...you'll see a second cut scene in witch Hans tells a ,little bit more about the expedition.

When the scene is done go stand at the pyramid shape. It has 5 buttons.......Across you see tall the big Organ pipes on the mountain.
Click the buttons 1, 2, 3, 4 and.....each button that you press gives a sound and you see that something happens on the organ mountain.

When you have used the buttons 1, 2, 3, 4 then push button 5 and......
.the pillars rise up again and they will be a path to go back down to the bridge control and the pit. So go down and....

.....the big steel door is open now, so go back through the tunnel and cross over the bridge and go straight on and.....

...you reach a loading and then you'll be in......
2021: Walkthrough by: Louis Koot