
2020 walkthrough by: Louis Koot
If you have found this walkthrough via google search or via another site then you have probably not visited my site.
A lot more very detailed game walkthroughs can be found on my site at: www.pcgameswalkthroughs.nl
As with the previous Carol Reed games, Mikael Nyqvist. the maker of the game provides a full Hint System within the game and I think that Hint System is sufficient to take you through the game.
Although I can see that such a Hint system could be a way of selling more copies of the game, for me it takes out all the fun of playing a game, because figuring things out myself in a game
and then putting it into a walkthrough is for me a main pleasure of playing computer games. But having said this, the Carol Reed games are still very nice games with a
good story and nice sceneries of Norköpping, Sweden,
and well thought and designed puzzles
The story of the game:
Kevo Walthin, an acquaintance of Carol's friend Stina, has been reported missing. Kevo is deeply involved in geocaching, an outdoor recreational activity where participants hide and search for objects in specific locations around the world. To shed light on the chain of events that led to Kevo's disappearance, Carol must travel to various geocaching locations Kevo Walthin has visited in recent weeks. Geocaching is an outdoor sport and game that uses a GPS receiver or a cell phone with this function to find a so-called cache (hiding place / secret repository) somewhere in the world.
As in previous Carol Reed games Geospot starts with a Tutorial. You can go through the Tutorial or you skip it.....It's your choice
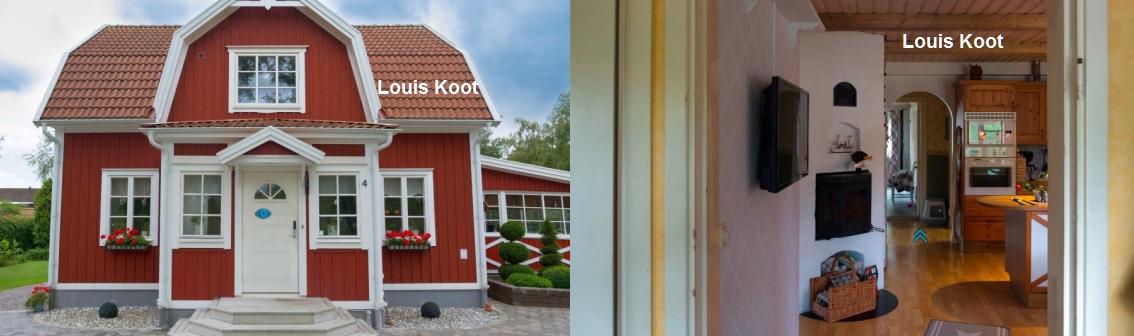
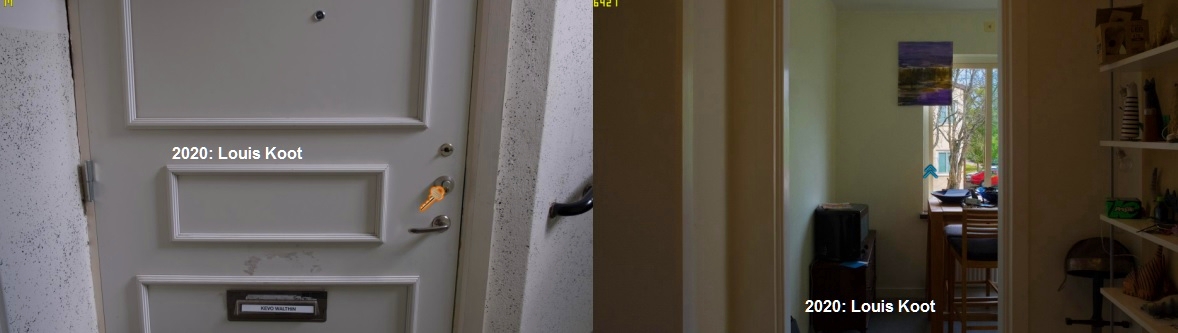
Carol's Apartment
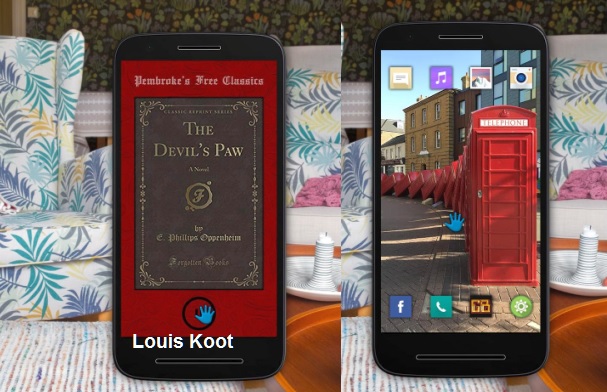
Geospots also starts again with some musings from Carol about the increased crime in Norköpping and that she is currently bored to death because she has no case to solve. So Carol had to look for something else to get through the long winter and that is ... listening to audiobooks on her phone ........it would drive anyone crazy ... ..
You automatically leave the close-up of Carol's footstool on which her cell phone is reciting the audiobook. Then pick up the cell phone and click on the off button at the bottom of the screen. Then click with your hand on the phone and you will see a beautiful old red London telephone booth in the screen. Click with your hand again to store the phone in Carol's inventory
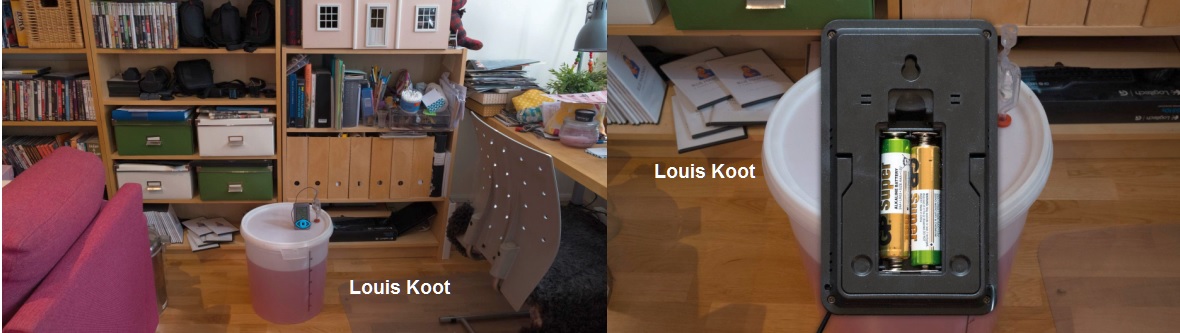
Find the up arrows and then click them to end up in front of the entrance to the hallway of Carol's apartment. Turn right and then go through the double white doors to Carol's study. Immediately zoom in on the large plastic bucket, that stand on the floor near the Lundia cupboard.
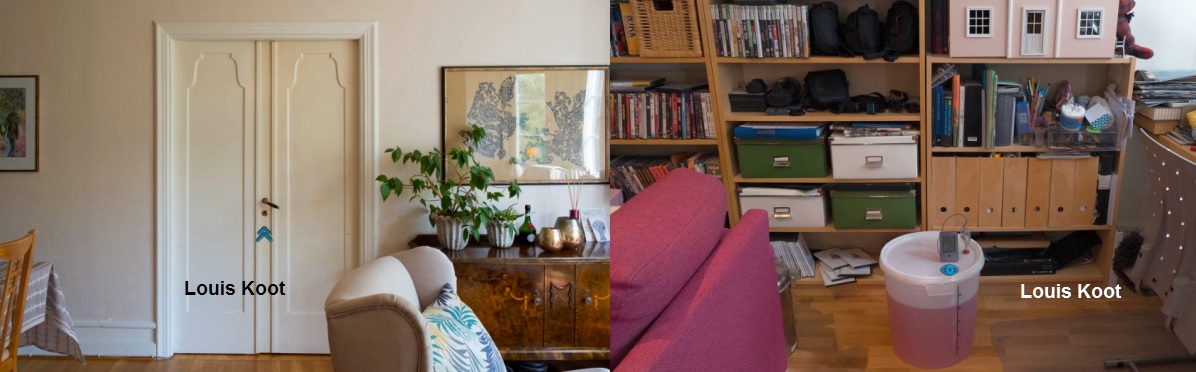
You have found Carol's really new hobby ... brewing homemade wine and she does this in the plastic bucket and the stuff in the bucket simmers happily.
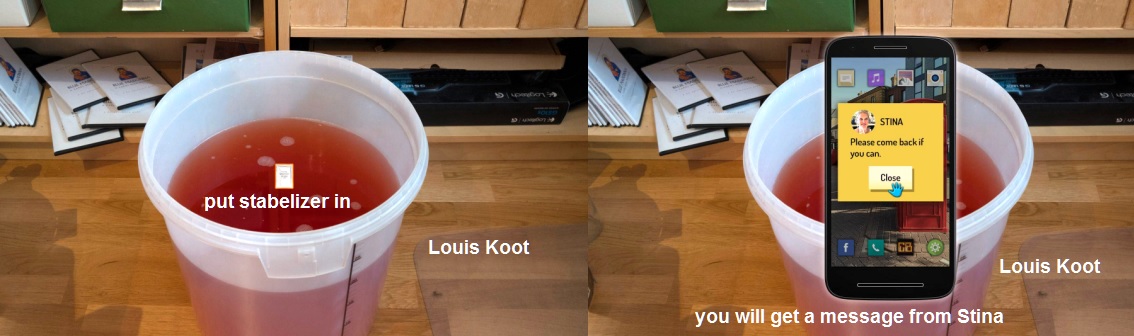
Carol says she should add a stabilizer to the wine soon. Click on the temperature device that is on the bucket .....
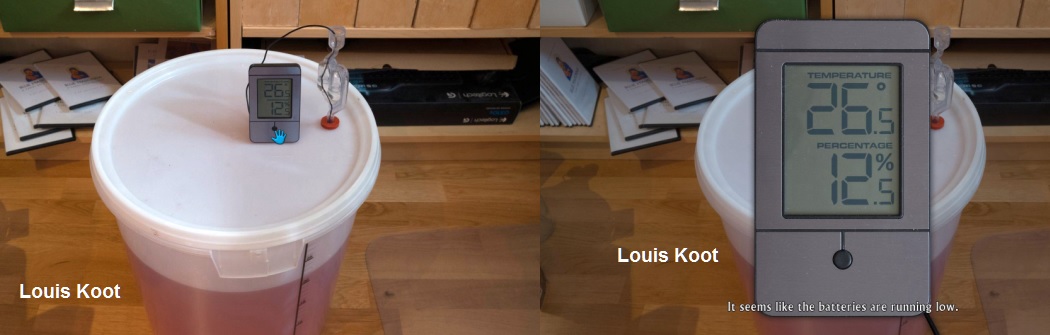
Oooo ..... the batteries of the device are almost empty. Turn the device over with the turn arrow. You will then see the back of the device.
Open the battery cover and try to take out the almost empty batteries and zoom out and ........
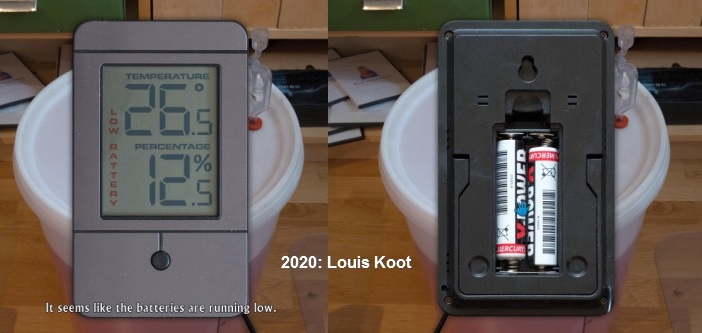
immediately Carol puts the low energy batteries back in the device because she first wants to find full batteries which she then immediately can plug in the device, to not disrupt the brewing process. Zoom out to put the device back on the bucket and them zoom out the bucket. Turn right to stand at Carol's desk. There's a lot of stuf on the desk but there's only one item that is of any interest for now and that's the little white bag to the left of the red computer mouse.
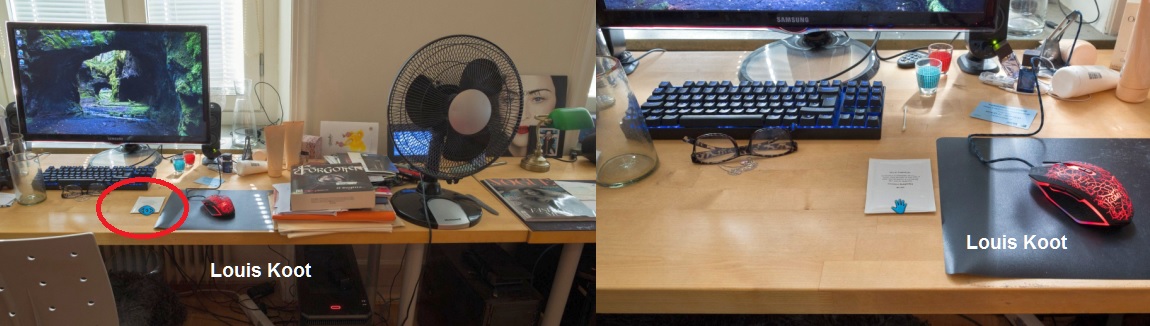
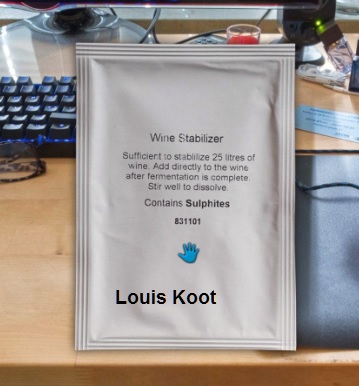
Zoom in on that little white bag and then pick it up .... it is a bag with wine stabilizer. Click the little bag to the inventory
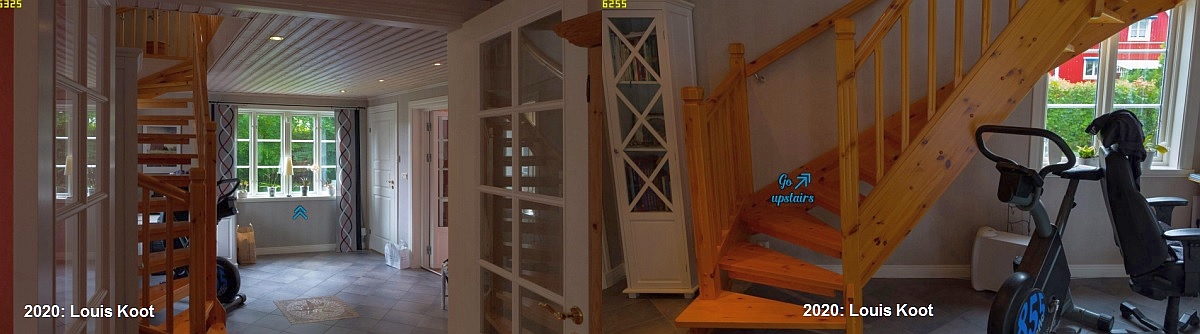
Turn right and exit the study and then go through the opposite doors into Carol's bedroom. Turn left and see a fitness treadmill.
The game now tells you how to access the game menu where you can save, load, quit and go to the options. Also the game advice you to save your progress as often as you can.
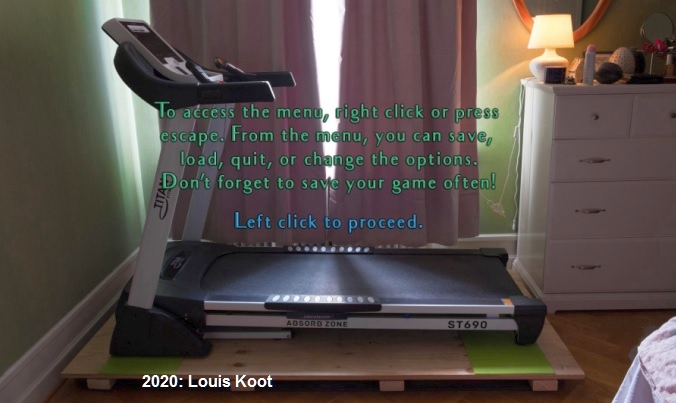
Click it away to be at the treadmill again. If you want to do a good workout then you can use the tredmill by using your eye on the controlls of the machine.......

......you will hear Carol doing her best for a few seconds on the machine.
Turn right and go through the small door into Carol's hallway. Again the game treats you on an explanation, this time about how to make all hotspots visible in your screen. So do this by pressing your space bar and then click that hotspot with your cursor to get rid of this.

You are standing in front of Carol's front door. Turn left and step into the kitchen and go on to the window.
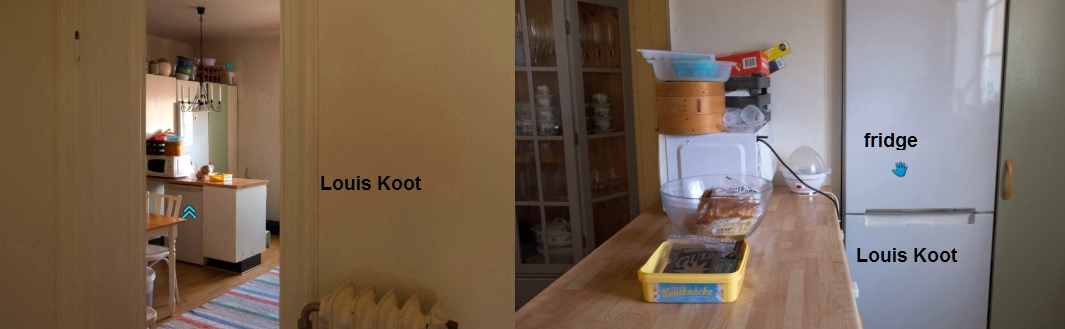
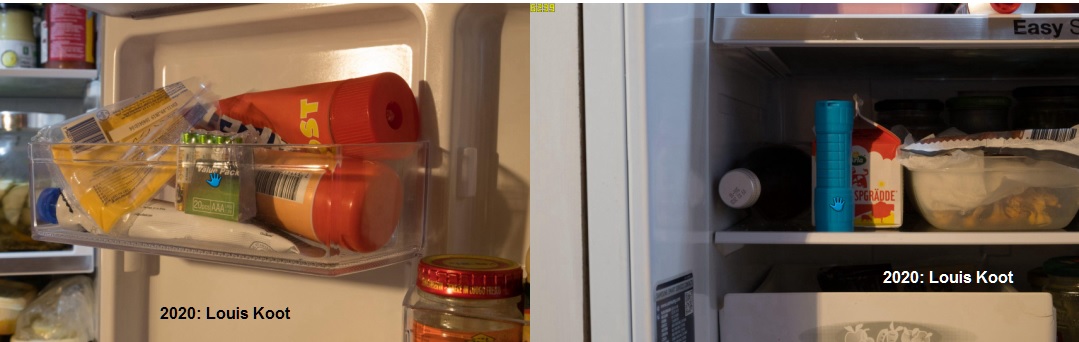
Turn left and open up the top door of Carol's refrigerator. Well.....Carol is well stocked....
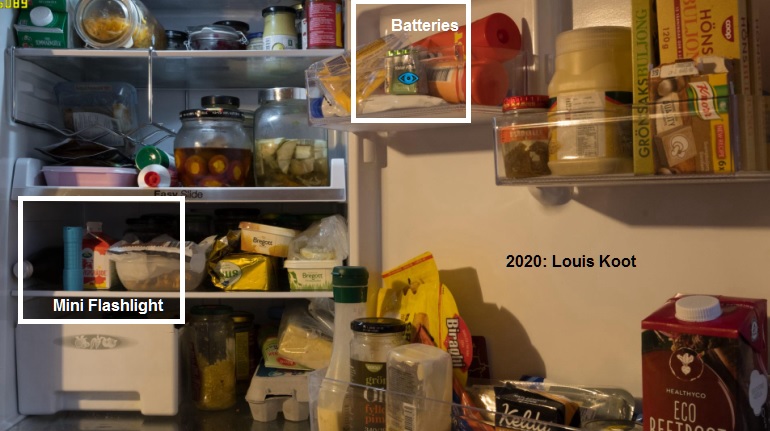
In the door you will find a package of fresh battries in the top left plastic holder. Take the batteries and click them to the inventory. Zoom out. On the lower shelf of the refrigerator stand a blue mini flaslight. Zoom in on that flashlight and, after Carol's comments, take the mini flaslight and put in the inventory.
Close the refrigerator door and look in the yellow 'Lantknäcke' container on the countertop. Take the chitosan bag out of it and click it to the inventory.
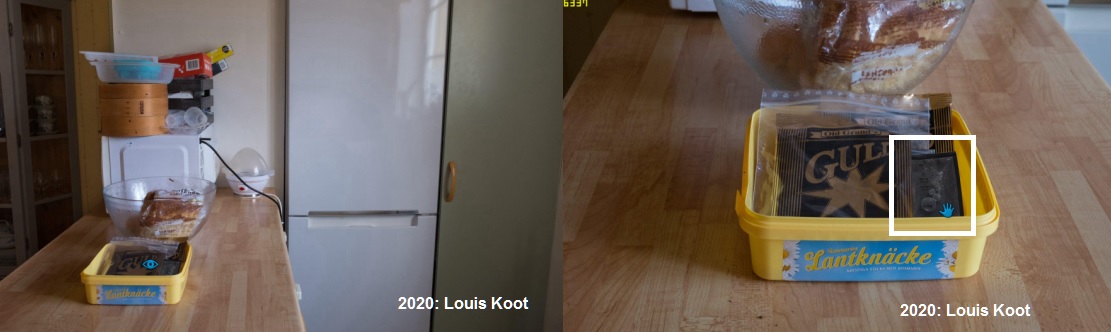
NB: I didn't know what Chitosan is, so I looked it up on the internet. Chitosan is a naturally occurring linear polysaccharide (carbohydrates) and biopolymer with antibacterial working.
Go back to the study and zoom in again on the wine bucket and now replace the old batteries in the appliance with the new ones and......
When you're done Carol will now receive a text message from Stina. Good news......Stina has a job for Carol.
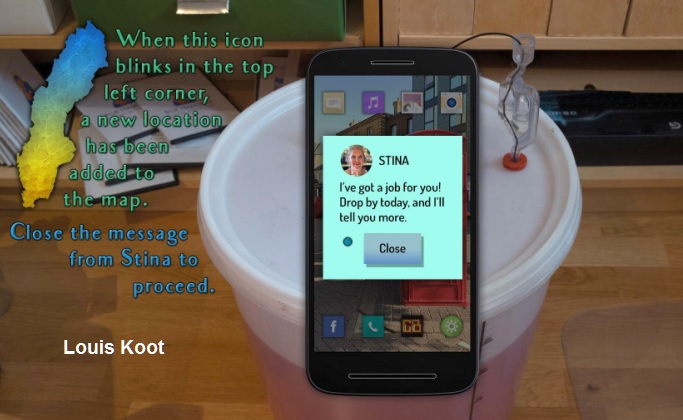
The game reports that a new location has been placed on the Map.......Click 'Close" on the cell phone and then go away from the bucket and leave the study.
Go to Carol's front door and Exit the apartment and go to Stina on the city map.
Stina
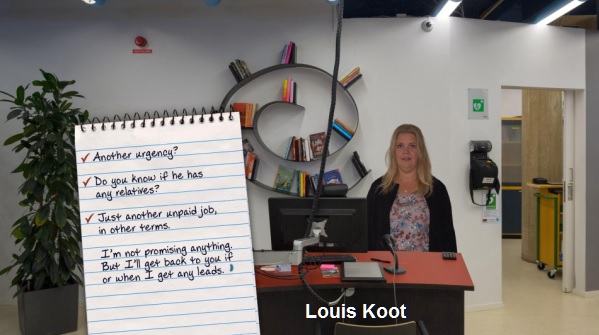
As always Stina is cheerfull and happy to see Carol
(By the way....this is Sara Louise Williams who is also the voice of Carol for many years now but I guess you all know this by now).
Talk with Stina through all the talk options you get. Stina also gives Carol an information sheet about a Geocaching contest. Read it and then click it to the inventory
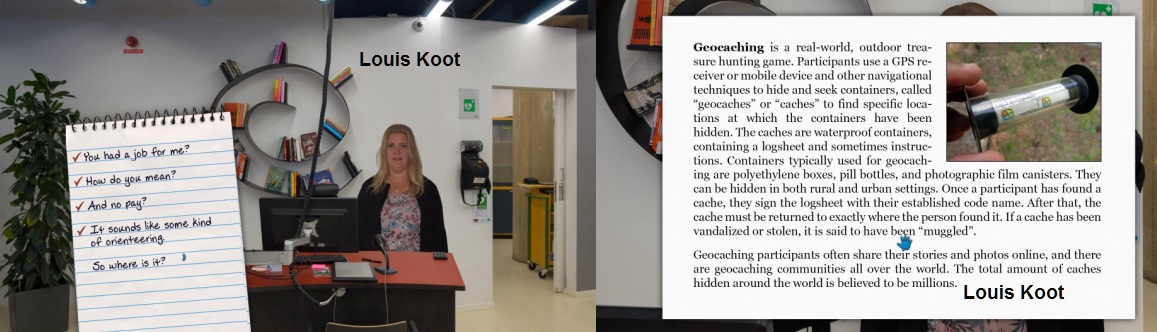
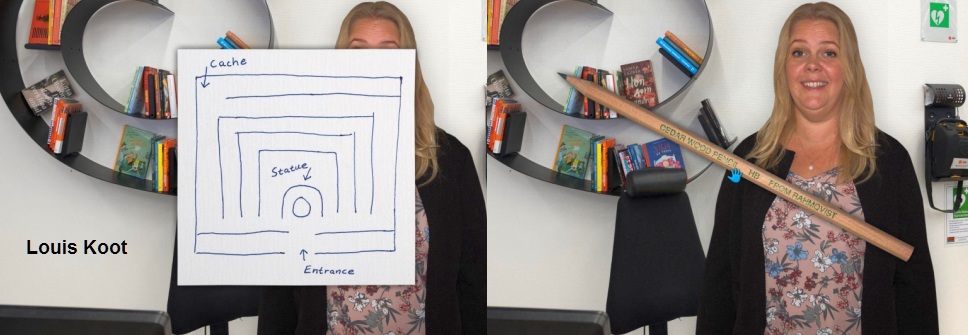
Stina has entered this Geocaching contest but she can't find the last item that she need and here she wants Carol's help for. Stina gives Carol a self drawn map of the area where the item is hidden. Click it to the inventory and Stina says here nickname and gives a pencil to Carol that she must use to sign of the contest sheet.
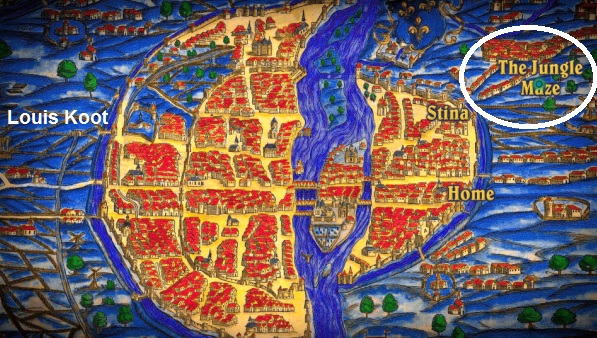
Well.....say that you will help Stina and then travel through the map to the Jungle Maze.
Jungle Maze.
Carol has arrived at the entrance of the maze.
Open the inventory and then right click on the maze map that Carol has received from Stina to see the route that Carol has to take through the maze to the cache
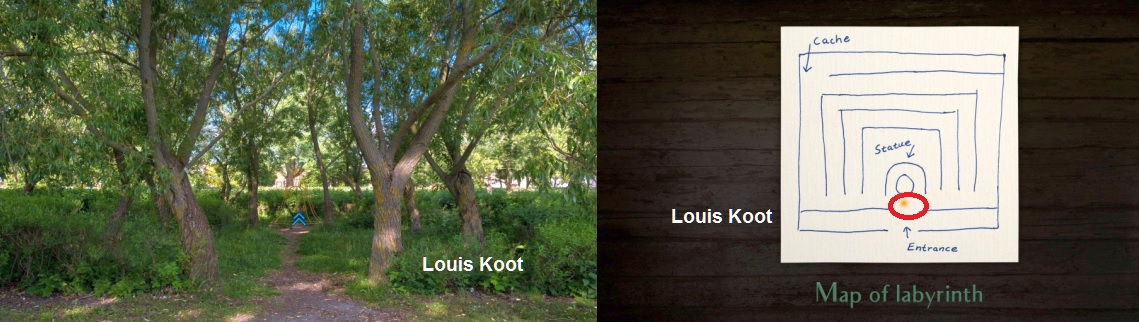
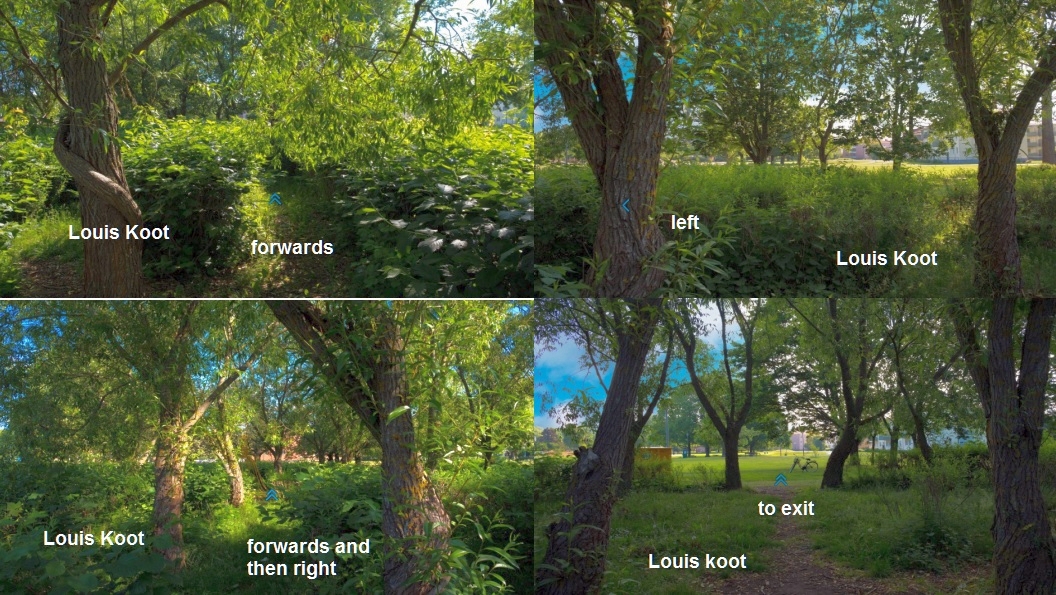
According to the maze map you go forward 2x to the statue. Turn left and then go forward, turn right and go forwards 3 times till the end of the path
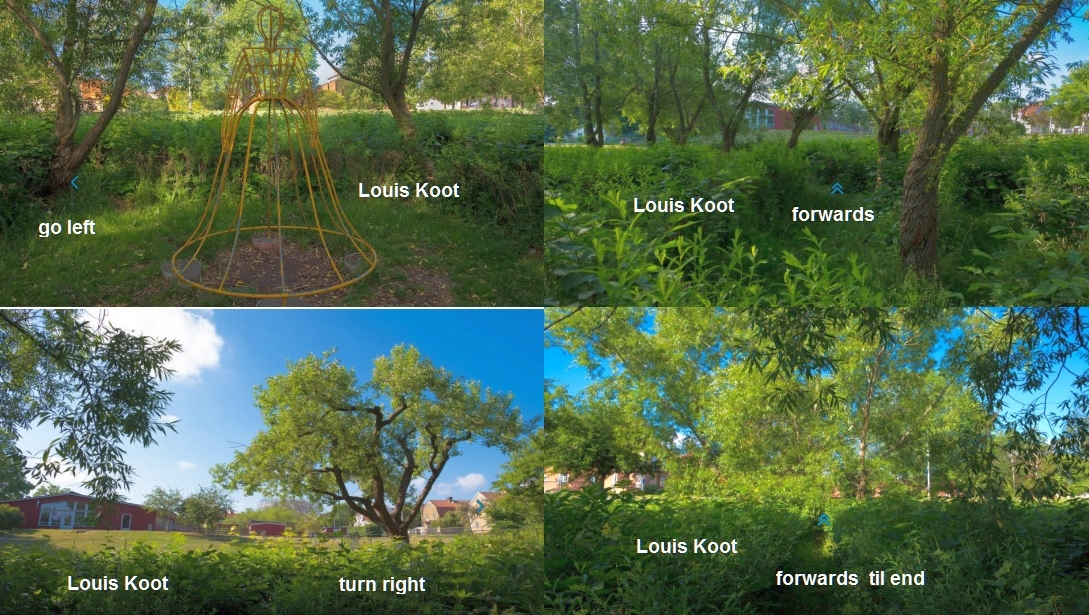
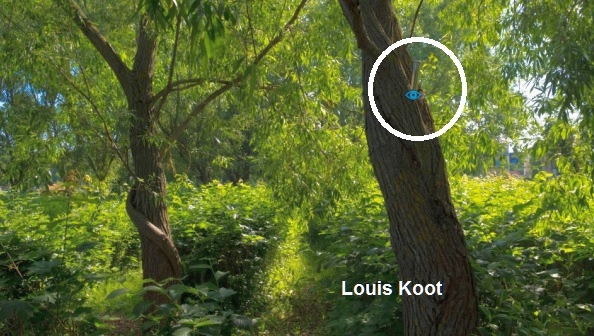
Turn turn left to see a tree and then turn left again to see the next tree
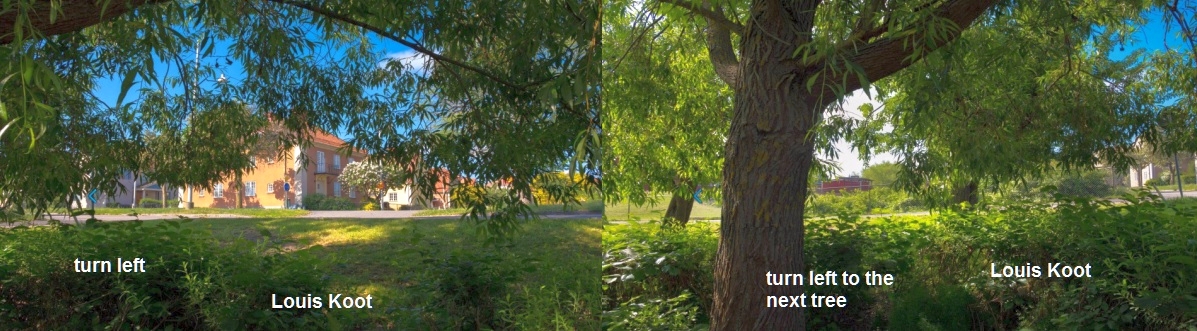
In this second tree you'll see a metal tube in the tree cavity. This is the hiding place (cache). Look at the tube and then click on it with your hand
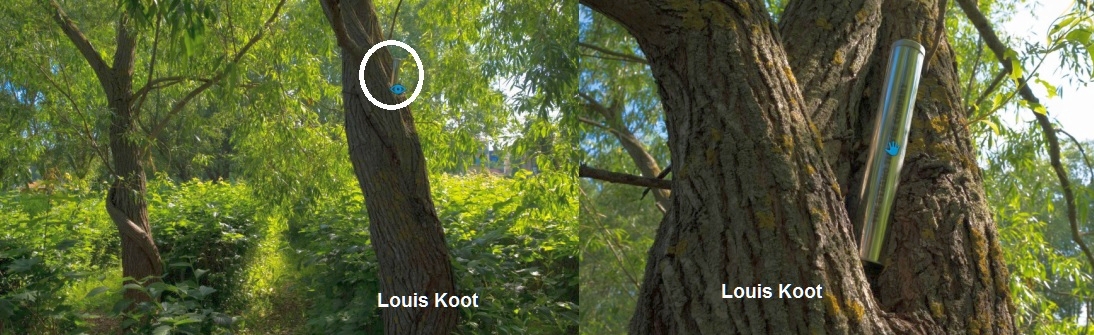
The tube is sealed and you see the name "The Dynamo Theater Company" on one side. This location will be put on the city map now.
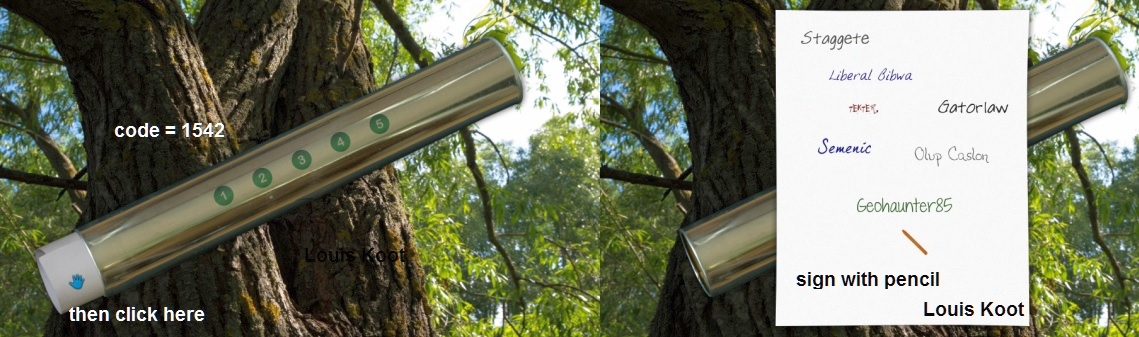
Turn the tube around with the turn arrow to see 5 green number buttons on the tube
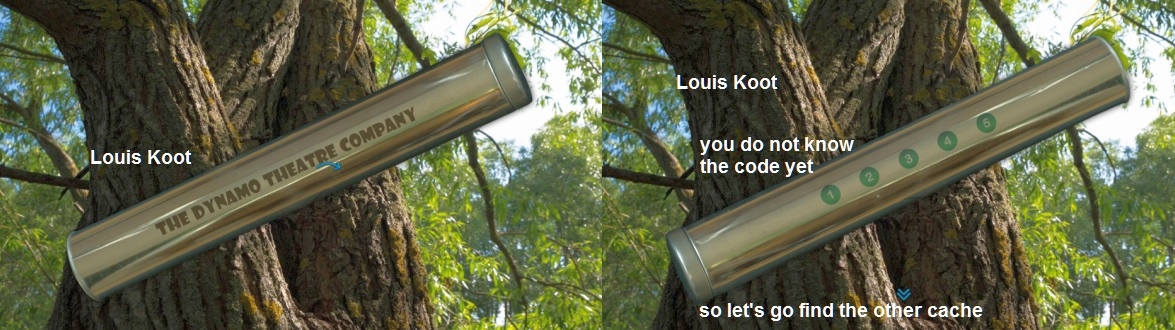
To open up the tube Carol needs to push the 5 buttons in the correct order, but she doesn't know this code yet. So we must come back here when we know the correct code. So go out all the close-ups of the tube and then follow the path back to the entrance / exit of this jungle maze and to Carol's bike to get on the city map
Click EXIT and on the city map now go to the theater.
The Dynamo Theatre Company
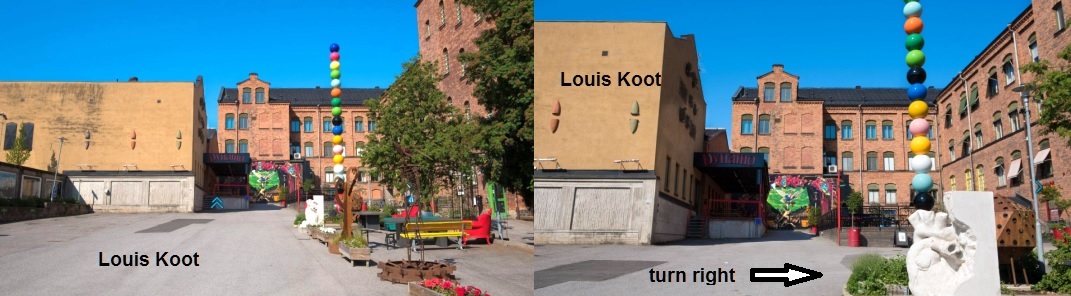
Carol has ended up in the theatre's courtyard. You see a long pole with a lot of different colored balls. If you turn right immediately you see a chessboard with black and white chess pieces and 2 flower boxes with red flowers. You can zoom in on the chessboard and the 2 flower boxes but you will not find anything in them. So zoom out again and turn left again and now go 1 step forward to the next flower boxes and then turn right again. Carol is now at 2 flower boxes with white flowers.
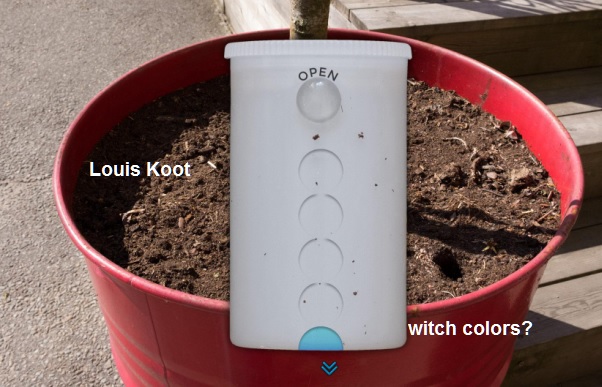
Zoom in on the right flower box. There is a plastic film tube holder in the flower box
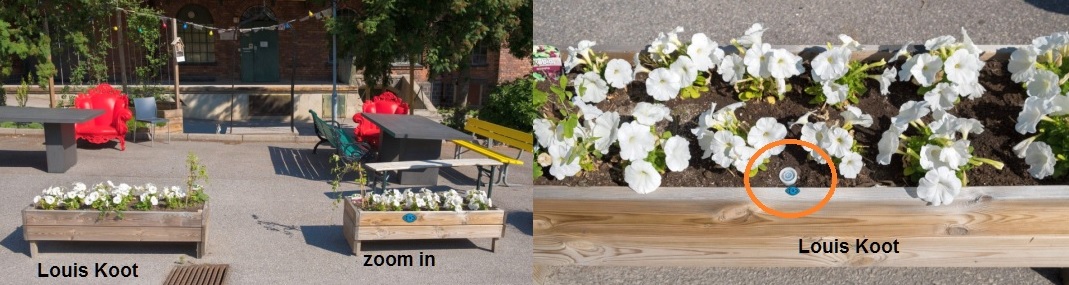
Zoom in on the film holder and then pull it out of the earth.
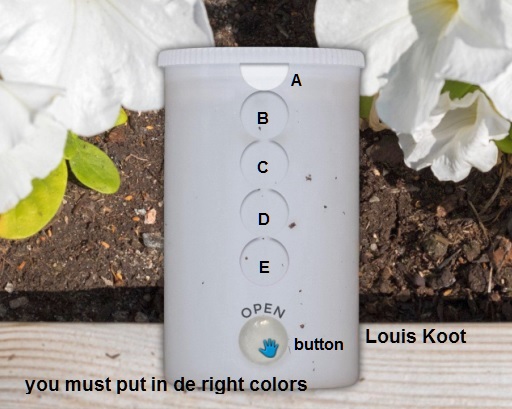
The holder is closed and it has 4 circles in which you can click different colors. The top half circle is white and the bottom circle is the button to open the tube. So you have to click the right colors in the 4 circles B, C, D, E, but what are those colors? You can fiddle around trying to get the right colors in the circles, but why not try to see if there's a hint here on the courtyard somewhere.
Zoom out a few times to put the holder back in the flower box and then turn left and take another step forward.
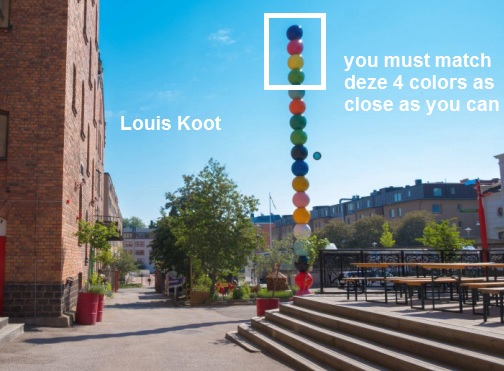
Turn right and ...... Carol is now at that pole with all those colored balls.
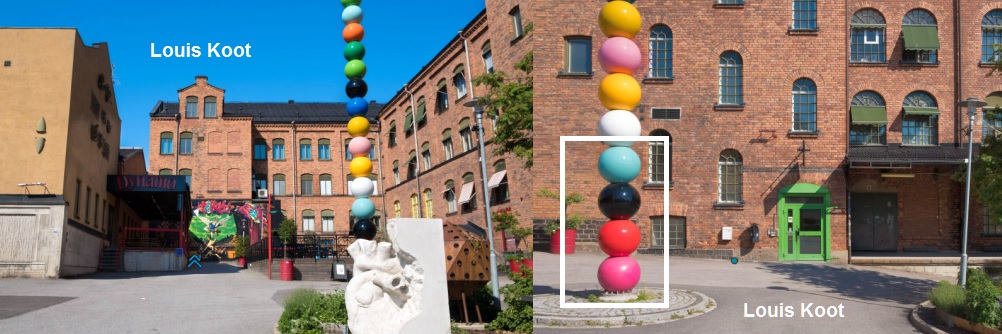
Look at the colors of the bottom 5 balls. These colors are, white, light blue, black, red, pink. The white ball is the top semicircle of the film tube. The colors light blue, black, red and pink are the colors that you have to set in the circles B, C, D, E of the tube. Turn right and go 1 step back and then turn left and Carol is back at the white flower boxes. Zoom in again on the right flower box and pull the film holder out of the box again

Click in the circles B, C, D, E to set in the correct colors. Circle B = light blue, Circle C = black, Circle D = red and Circle D = pink. Then click on the Open button and then take the paper from the holder. The paper contains the first 2 digits of the code for the tube in the tree in the jungle maze. The 2 other digits are still missing, so we must look further here
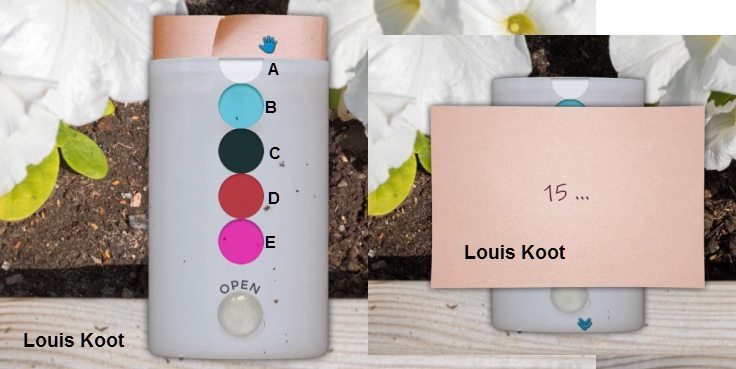
Carol does not take the paper with her but puts it back in the holder, so write the numbers down somewhere for yourself.
Then zoom out a few times and turn left again and now continue forward until you can't go further.

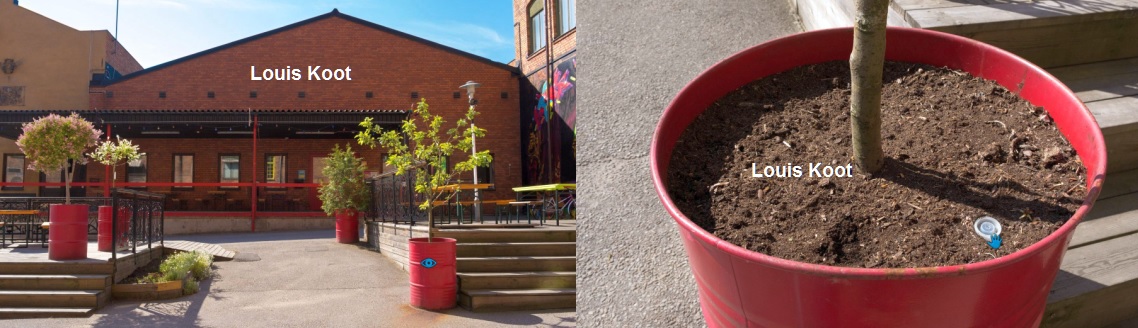
Then turn right and go forward to the wooden bench. Then turn 2 times left and then zoom in on the barrel on the right against the podium

The second film holder is in this tree barrel. Take the holder out
Well ... the same as with the 1st holder. Only the circles on this holder are the top 4 balls in the post, from the light blue ball up
Zoom out twice and then turn left and ..... you see those balls again ..... Now look at the colors of the top 4 balls ..... dark blue, pink, yellow, green
Turn right and zoom in on the barrel again and take the film holder out again.
Now put the correct colors in the 4 circles and then take out the note. 42 are the last 2 digits of the code
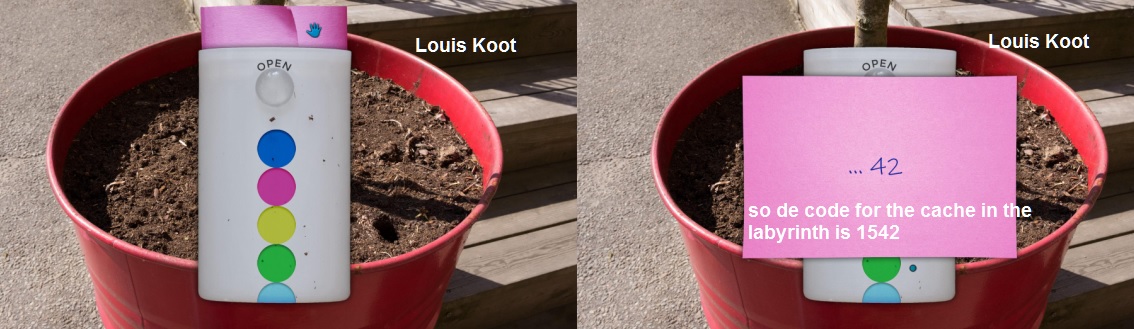
So the code for the tube in the tree in the jungle maze is 1,5,4,2. Leave this area and travel back to the Jungle Maze via the map
Jungle Maze
Walk back into the maze and then follow the route back to the tree where the tube is.
On the way, Carol will receive a text message from Stina to remind her to sign the cache off with Stina's nickname.

Store the phone, turn 2 times left and zoom in again on the metal tube in the tree
Take the tube again and turn it over to the side with the 5 buttons. Now click the buttons, 1, 5, 4, 2 and then take the note from the tube.
Then take Stina's pencil from inventory and click it on the note to put Stina's nickname on it.
Leave the maze en travel back to:
Stina:
Stina is happy and Carol returns the pencil to Stina
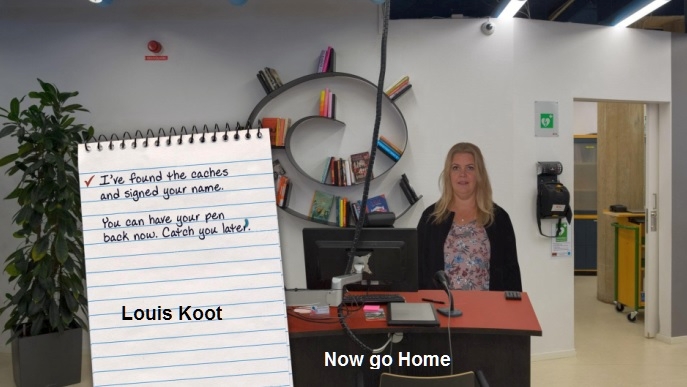
Go back home through the city map:
( Home) Carol's Apartment:
Go back to Carol's study through the living room and zoom in on the wine bucket again. Carol says it is time to add the stabilizer to the wine
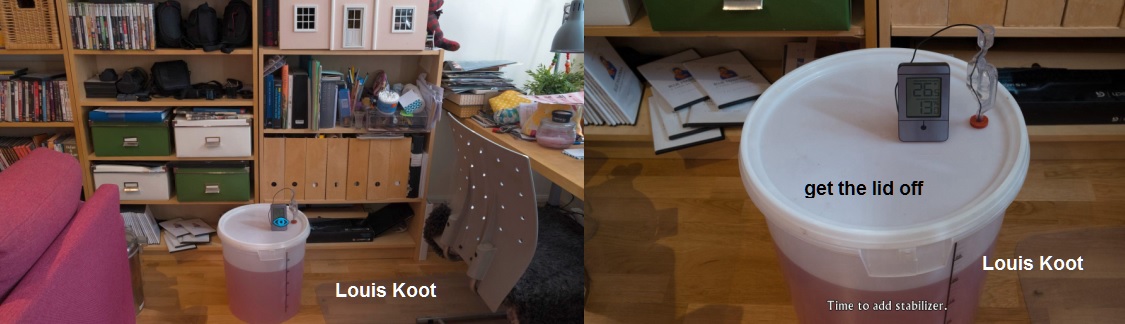
Click on the lid of the bucket to remove the lid. Then take the white bag with the wine stabilizer from inventory and click it in the bucket. Carol will later have to add some other ingredients, such as Bentonite, and she thinks her friend Jonas can help her with bentonite. Carol then receives another text message from Stina who wants Carol to come back to her as soon as possible
Put the phone away and zoom out again. Leave the apartment again and travel back to Stina and go through all the conversation options you get. Stina now tells Carol about the disappearance of Kevo Walthin. Geocacher Kevo Walthin has disappeared and Stina is very concerned about him. Kevo's brother Stephan, may know more about Kevo. Kevo's brother is a member of the library board and his house will be on the city map now
On the city map now travel to Stepahan's, Kevo's brother's, house.
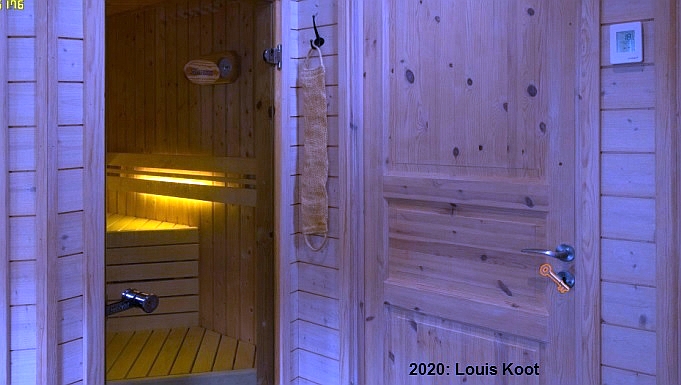
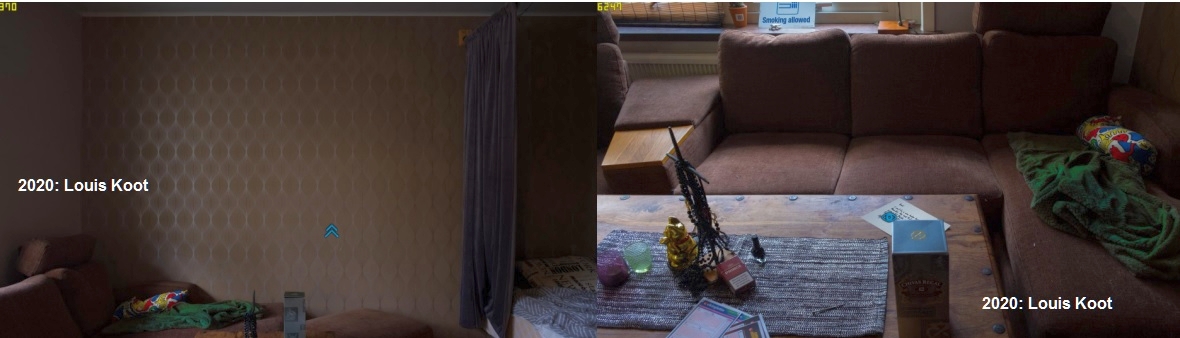
Stephan's. Kevo's brother's, House
Walk on to the front door of Stephan's house and .....
Stina reports via a text message that Stephan is not at home but is currently staying in his summer house and this location will now also be available on the map
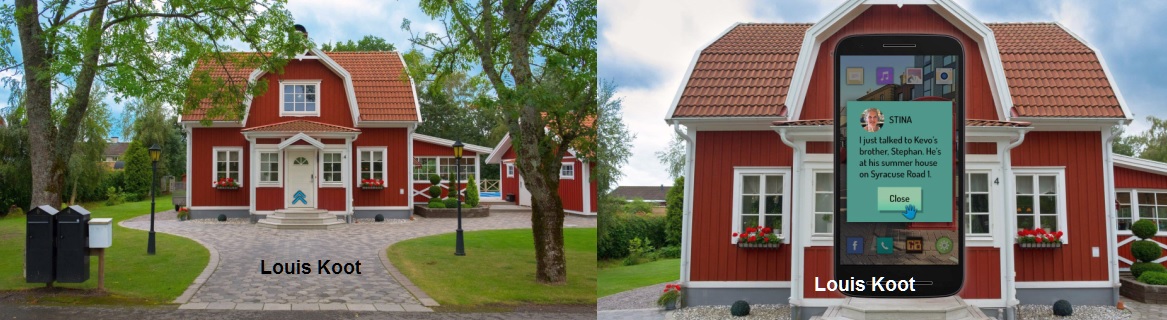
Put the phone away, turn around and walk back to the road, turn left and EXIT to the city map and then travel to
Stephan, Kevo's Brother
Talk to Stephan through all conversation options and during the conversation Carol will get a recent photo of Kevo that you click away to the inventory.
Listen to what Stephan says about his brother
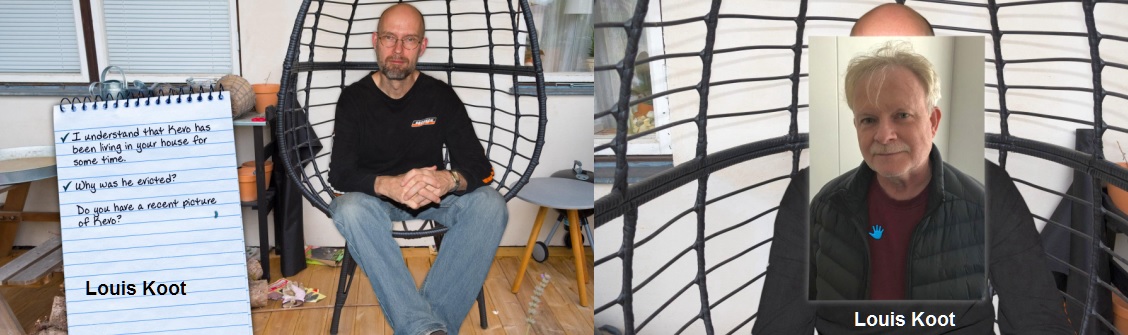
Stephan will call his cleaning lady who keep his house clean and tell her to let Carol in. Say goodbye and travel back to
Stephan's. Kevo's brother's, House
Now enter the house. Go forward once to the kitchen.
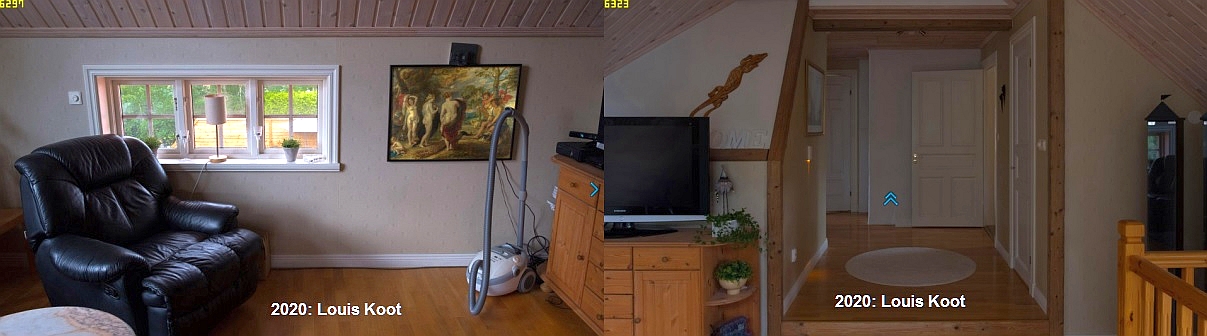
Turn left and step forward into the room with the sewing machine on the table,
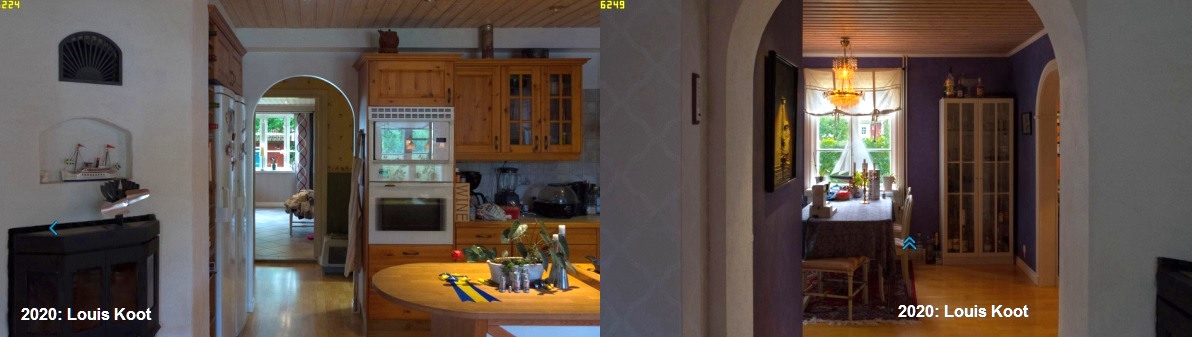
Turn right and go forward to the TV room. Turn right.

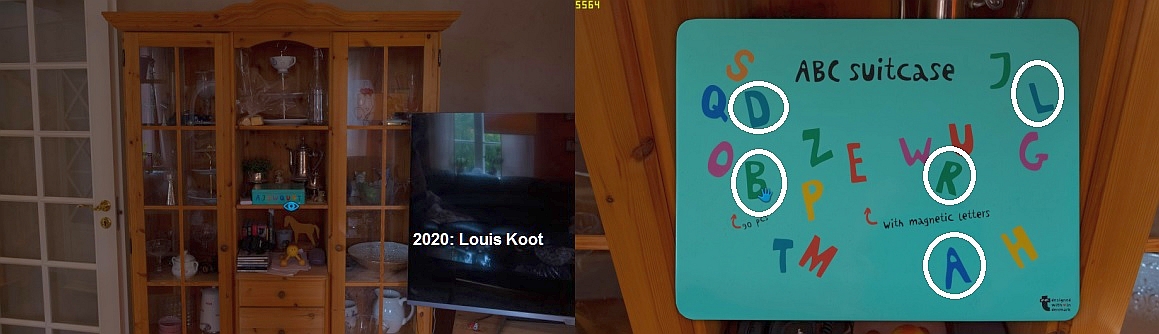
You are standing in front of a cupboard that consists of 3 parts. The TV hangs on the right. On a shelf in the middle part of the cupboard is a blue cookie tin with colored letters. Zoom in on that cookie tin and click on it to see the lid. You see a lot of colored letters and you can click on all those letters to press them.
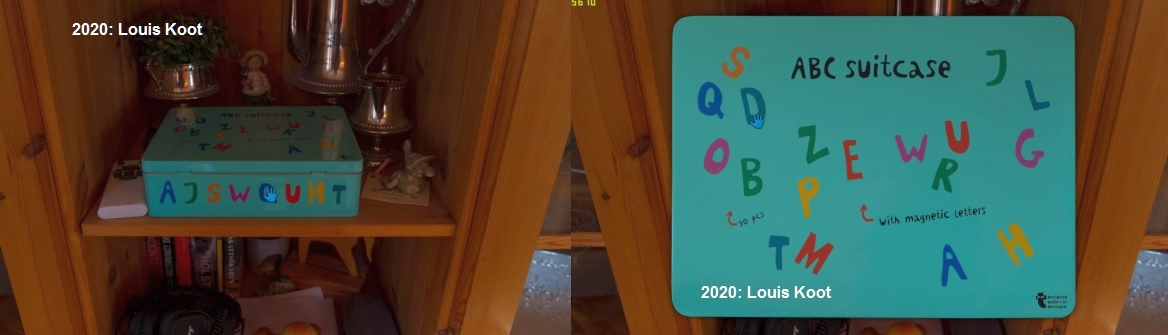
You have to click the correct letters in the right order to open this cookie tin. Unfortunately, we do not know this code yet, so we can only open this can if we know the code for it. Zoom out and turn around. In the corner, behind the sofa is a white plastic cupboard. In the top shelf of this cupboard is a strange figure in red / black colors. Zoom in to take a closer look at that figure.
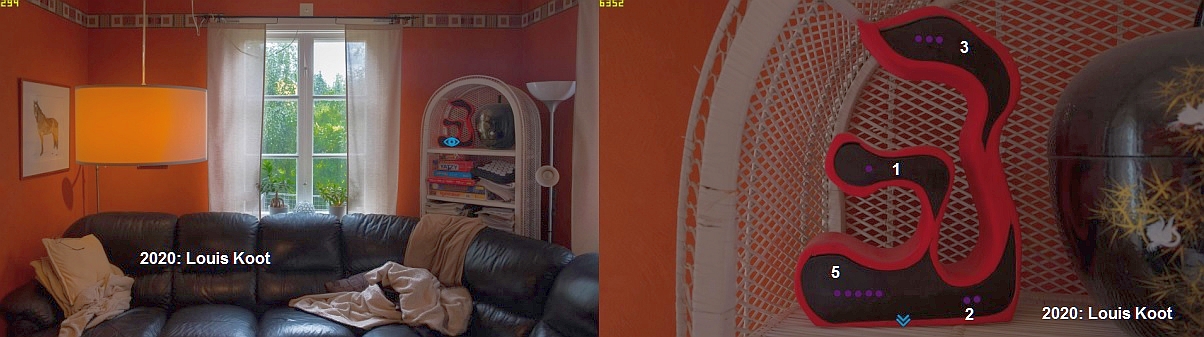
In the black parts of this figure you see 11 purple dots. Write down the number of dots you see in each black part, so top = 3 dots, middle = 1 dot and at bottom = 5 and 2 dots. So if you put those digits together you get 3152...note this down because you need this soon. Zoom out, turn right and go forward to the window. At the window, turn 2 times to the left to the stairs. Click on the stairs to go up to the top floor.
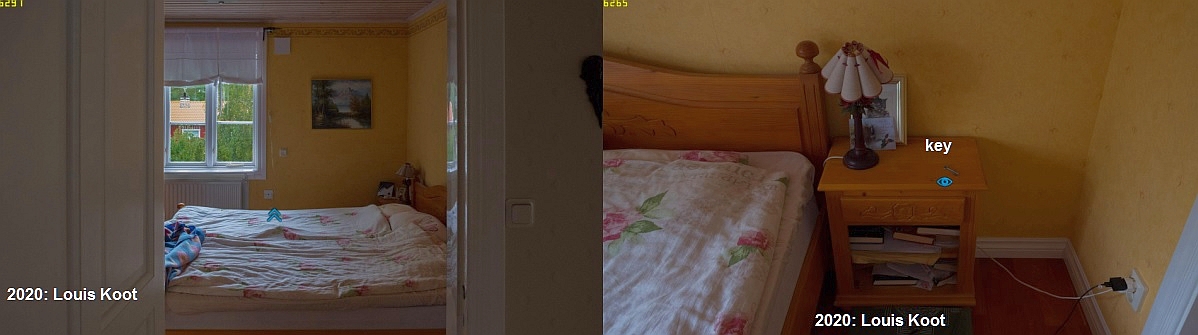
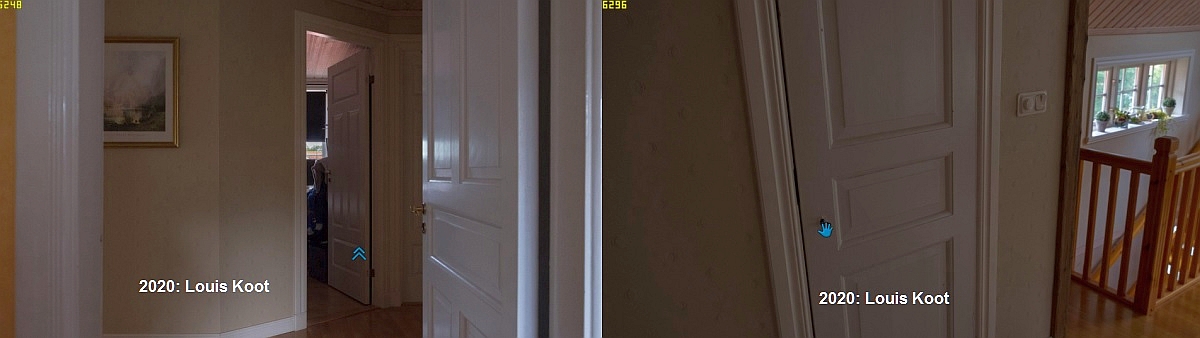
At the top, turn right, forward to the white doors,
Turn right and enter the bedroom. Turn right and zoom in on the bedside table with a key on it. Take the key and click it to the inventory.
Zoom out, turn right and step outside again. Then turn left twice and then open the cupboard door.
In the cupboards tand rack with a paint roller handle in it
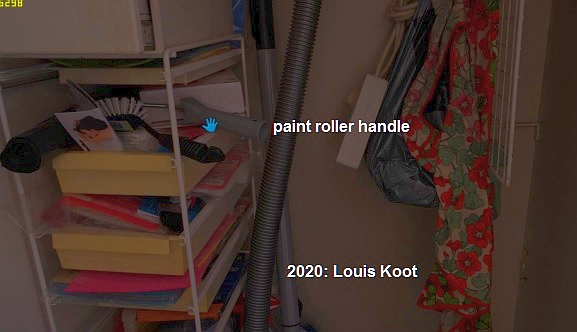
Take the paint roller handle and click it to the inventory and zoom out of the cupboard again
Turn right, forward to the window, turn left and go down again via the stairs
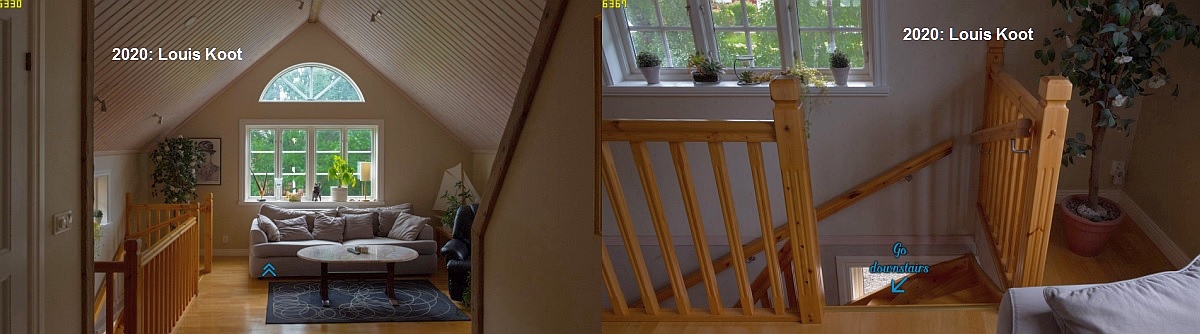
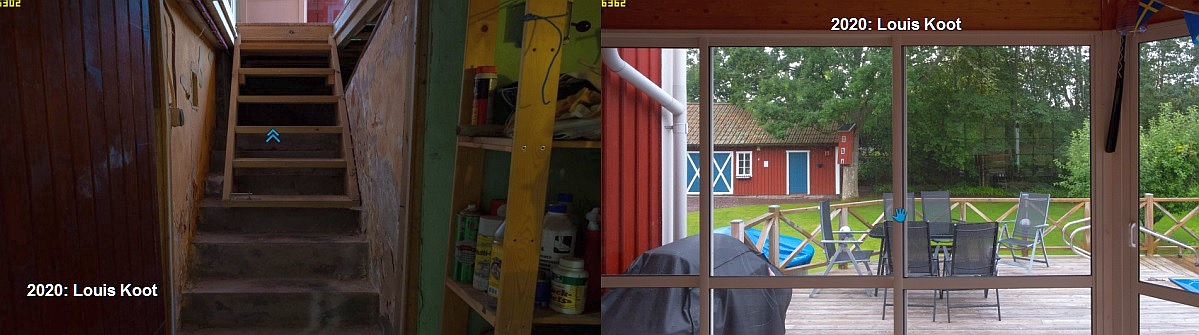
Back downstairs you walk through the open glass door to the glass wall of the veranda. Then turn around completely.
Behind the bar stool you can now see the outline and the lock of a hatch in the wooden floor.
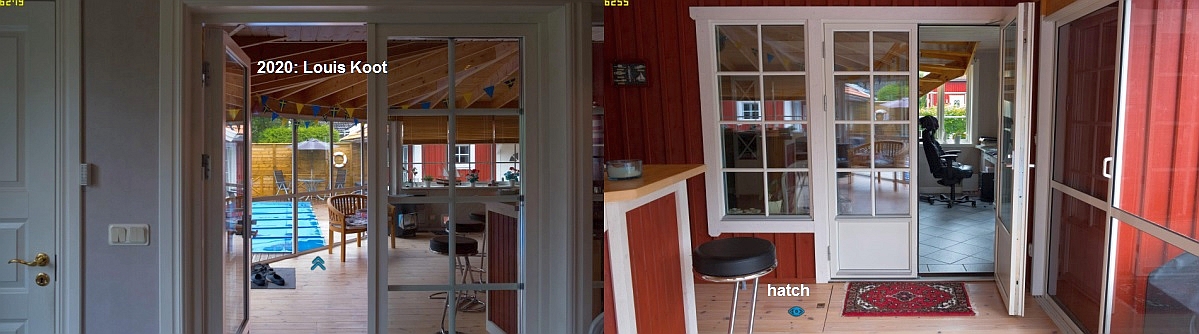
Zoom in on that hatch and try to open the hatch ..... but Carol says that the hatch cannot be opened with her fingers.
So take the paint roller handle and click it on the hatch and .......
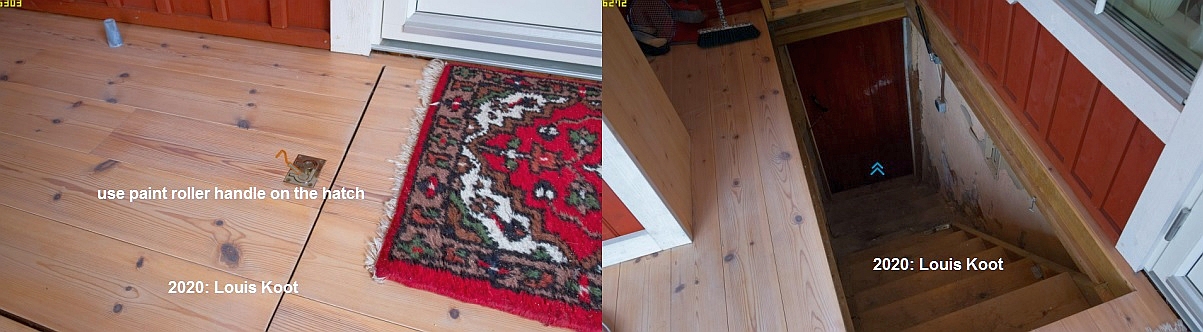
You open the hatch. At the bottom of the stairs is a red door.
Go down the stairs and open the red door and Carol is in the basement of the house Turn right and look at the calendar behind the pipeline.
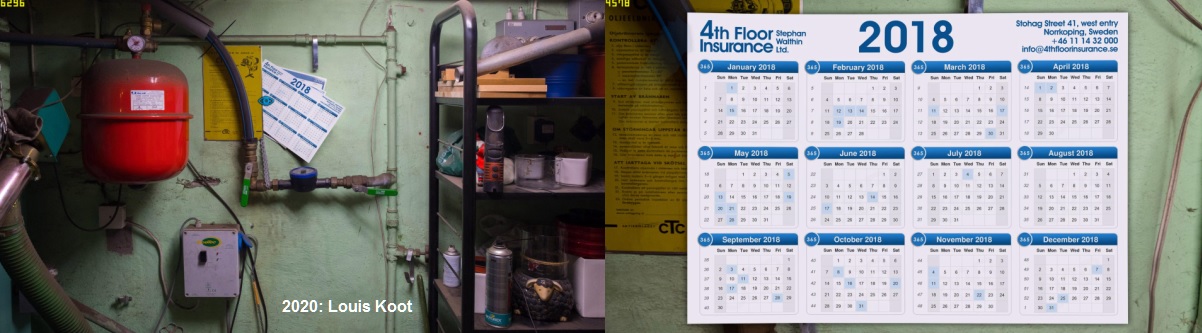
Now you know the address of Stefan's company the '4th Floor Insurance'.
Exit the basement and when you're up again open the glass veranda door to step into the garden.
Turn right twice and then go diagonally forward to the guest house.
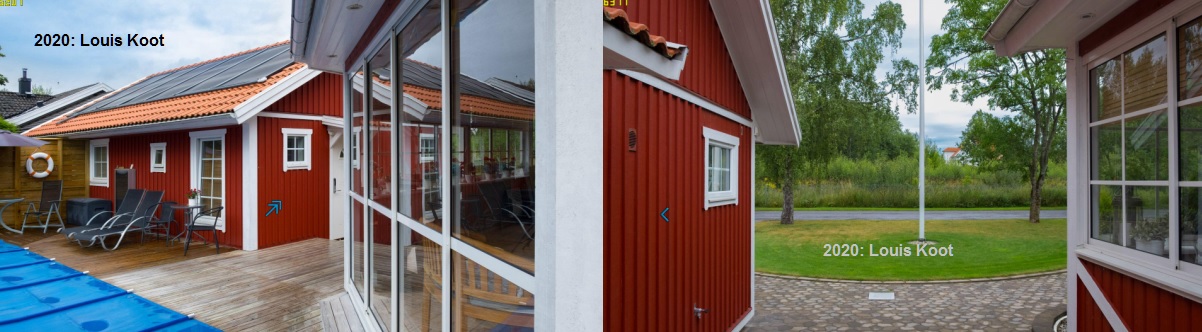
Turn left to the door of the guest house en zoom in on the combination lock with purple numbers.
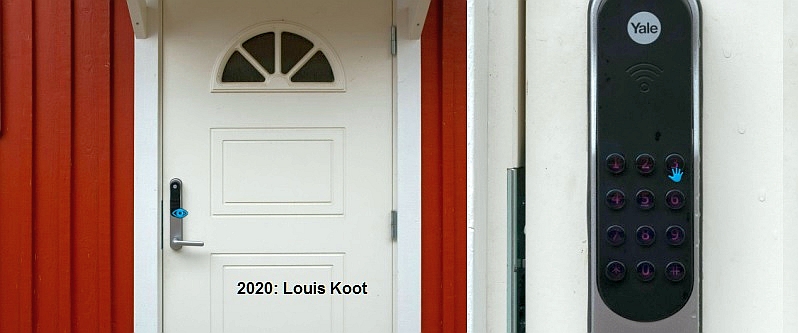
You need a 4 digit code and the hint for this code are the purple dots you saw on the red / black figure in the cupboard behind the sofa. So translate those dots into numbers and you will get the code Enter the code: 3152 and you go inside the guest house. Try to open the door in front of you but it is locked. Use the key you found in the upstairs bedroom of the house on the door and go into the garage.
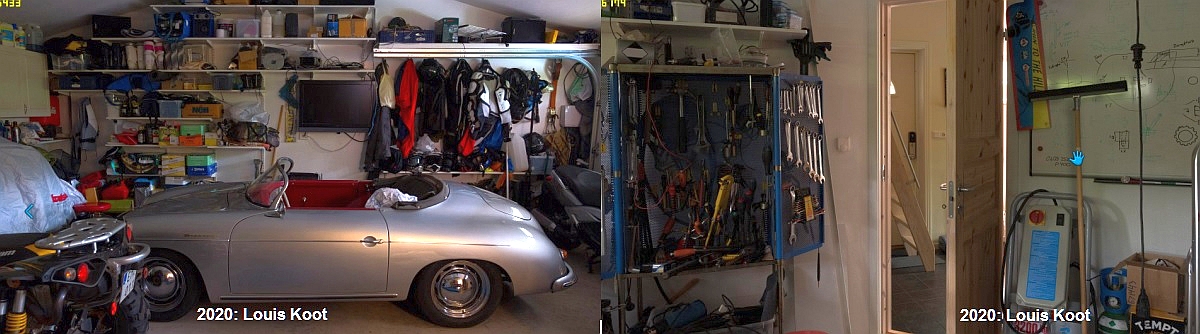
Turn right and look at the workbench but there's nothing of interst on this workbench.
Step back, turn right again and take the floor scraper that stands behind the wooden doo and put the thing in inventory.
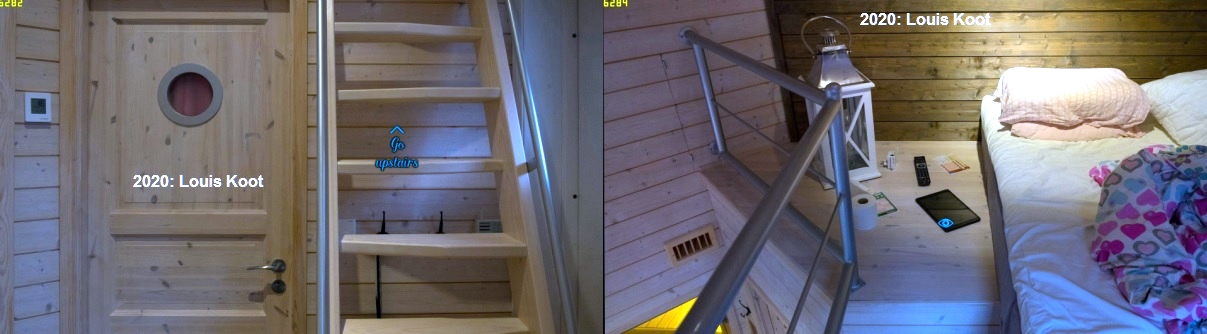
Exit the garage. Turn left and go up the stairsrto the attic. Turn left and zoom in and then examine the tablet on the floor.
Click in close-up in the screen of the tablet to see 5 orange / yellow symbols on the screen.
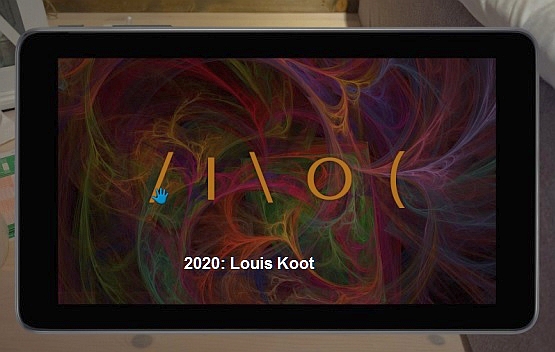
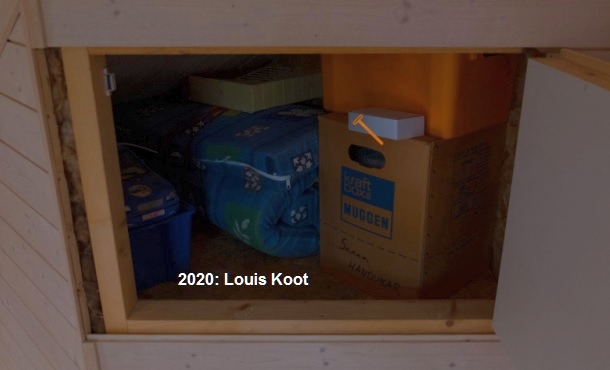
To get access to the data on this tablet you must click those 5 symbols in the correct order. Carol doesn't no this code yet, so we have to find it and then come back here. Put the tablet back on the floor and turn left again and look at the door hinges you see in the wooden wall above the step ladder. You cannot reach the hinges, so use the floor scraper on the hinges / hatch to open up the wall compartment.
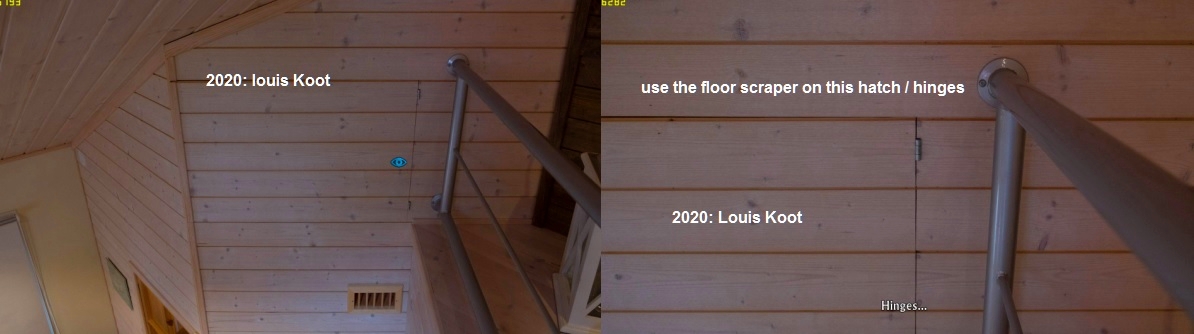
In the compartment stand a little white box on the brown box....
use the floor scraper again on the little white box to take it out of the compartment, but the white box falls down to the lower floor
Zoom out, turn left and go back downstairs. See an empty tube on the right rattan chair.
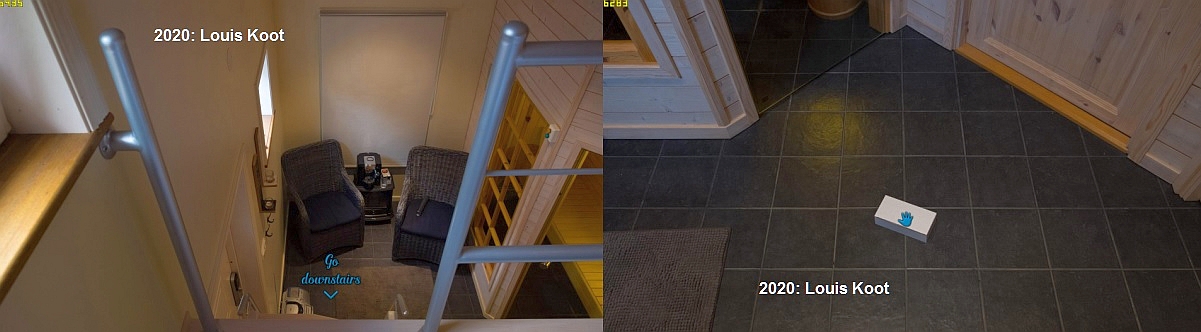
You can pick the tube up but it's empty and not important. Turn right and pick up the little white box from the floor.
Open up the box and take out the electronic identity card from Kevo and click it to the inventory.

Zoom out, turn right 2 times and leave this guest house through the door. To leave this place you must go through Stephan's house to his front door. So go diagonally left, then turn left and step inside through the veranda door. Turn right twice and go into the back hallway, turn left and go through the kitchen to the front door and leave the house,

Find the EXIT to the city map and go to the
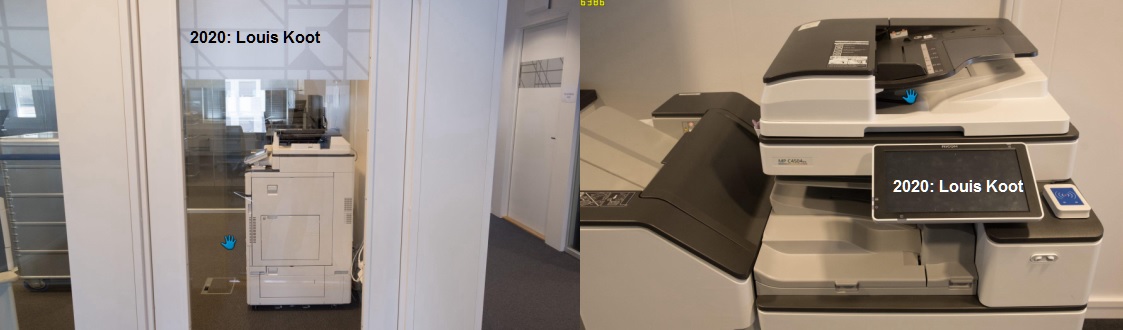
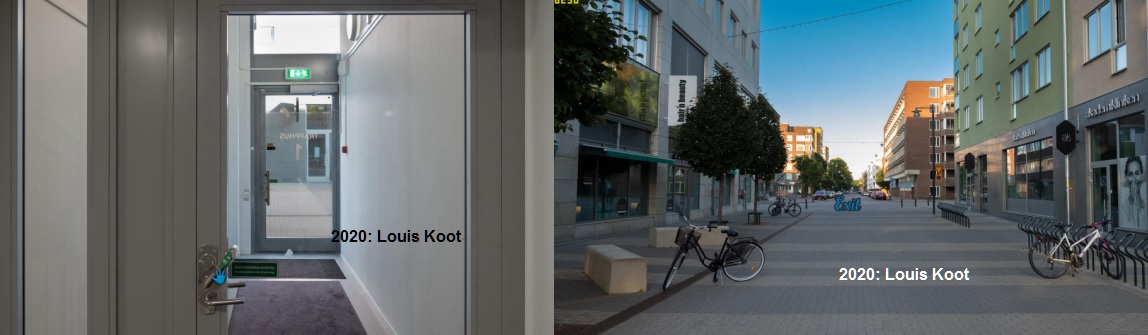
4th Floor Insurance

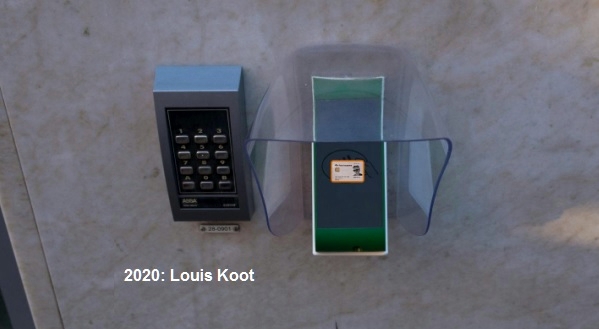
Look close-up at the card reader next to the entrance door and then use Kevo's electronic card to enter.
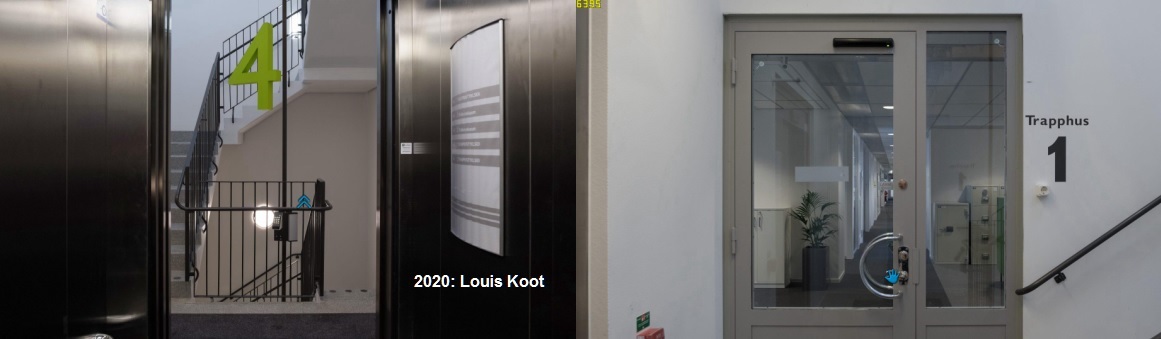
When you're in turn left to the elevator. Press the buttons to enter the elevator and the turn left again and click the 4th floor button to go up to that floor.
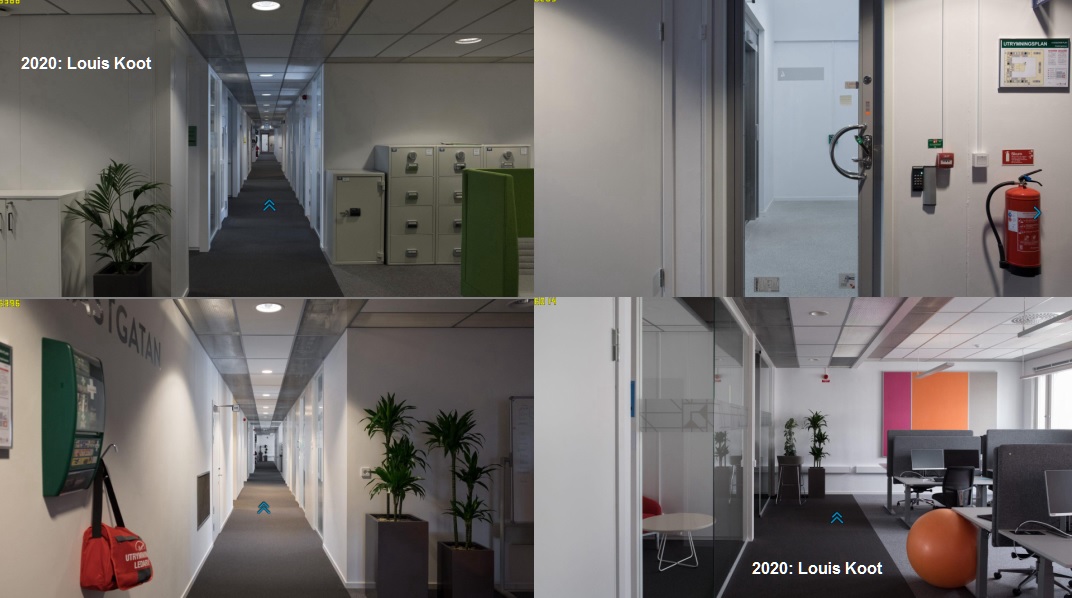
Get out of the elevator, turn left, open the door and enter the office corridors.
Walk forward to the end of the first long corridor. Turn right and go forward 5 times through the second corridor to a large orange ball that's on the right.
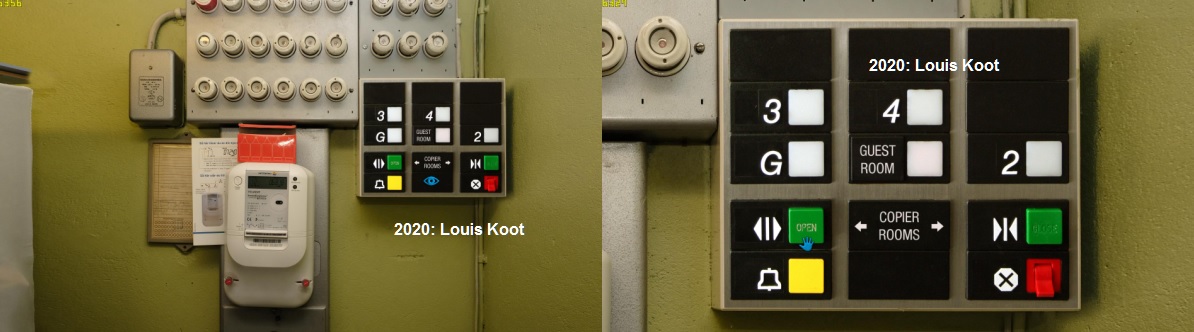
Turn left and open the right-hand white door to go into this electrical closet. Look at the control panel with the buttons.
Press the green "OPEN" button that's on the botton left. It unlocks the doors of the copy rooms.
Step back 2 times and turn left and go back to the end / beginning of the second corridor. Turn left to the first corridor, go forward one step and.....
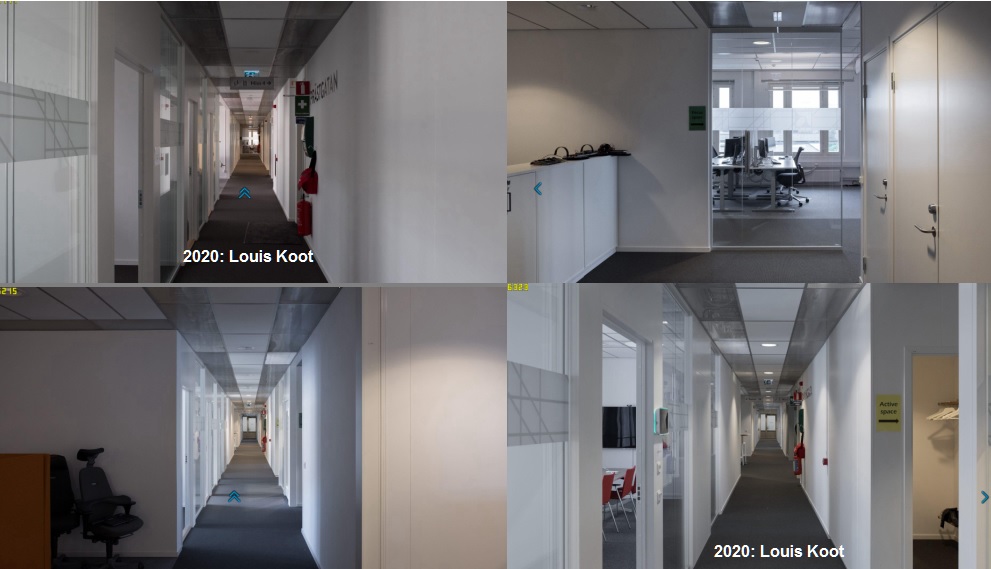
........turn right and enter the copy room. Turn right to the copier and open the lid of it.
Take the sheet of paper and turn it over and read the message from Stephan. Stefan has moved to office room 409 for a few weeks.
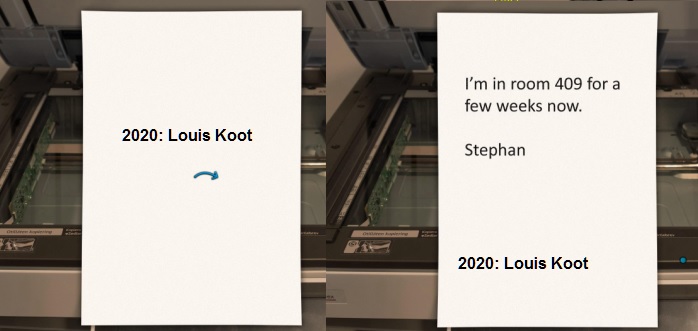
Exit the copy room. Note that room 402 is opposite the copy room
Turn left, forward, turn right again and go back through the corridors to the orange ball. Turn right and enter room 409.

Turn right and look at the writing pad in the shape of a bitten chocolate bar.
Take the writing pad and turn it over and you read "B A L D R" written on the pad in green and blue letters.....
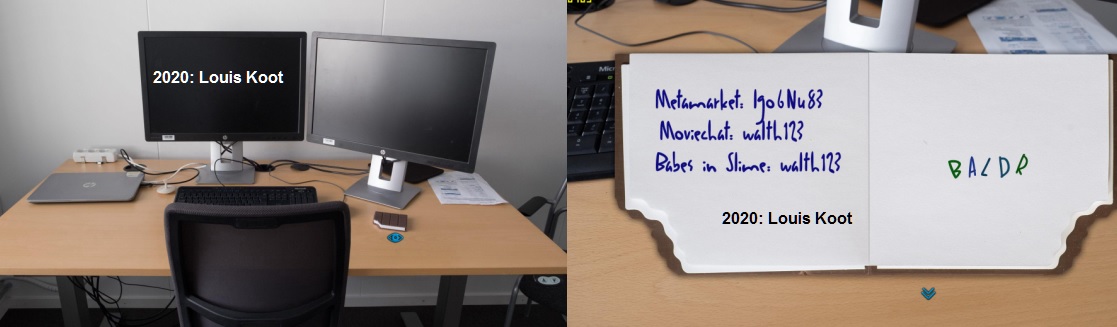
This is the solution of the cookie tin in Stephan's house. B = green, A = blue, L = blue, D = blue and R = green. Write it over because Carol won't take this pad with her. Leave this office and go all the way back to the elevator and take the elevator to ground floor by pussing the "0" button in the elevator and then exit the building.
Find the EXIT in the street and travel back to
Stephan's, Kevo's brother's, house
Enter Stepan's house again and go to the TV room and turn right to the cupboard.
Look at the metal cookie tin again and click on the colored letters B = green, A = blue, L = blue, D = blue, R = green and....
........the tin opens up. Take the key and also take the 2 letters from the tin. Read both letters.
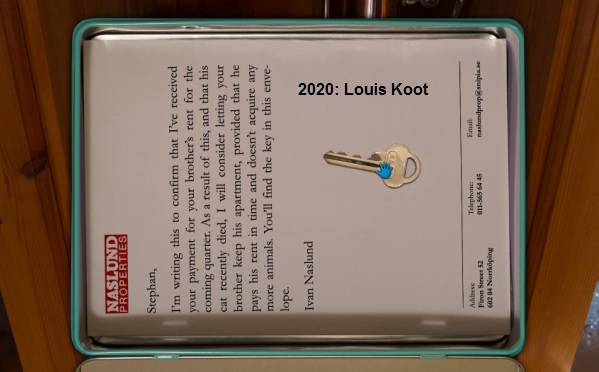
The key is of Kevo's apartment and Stefan paid for the apartment in which Kevo lived, and his cat has died.The second letter is the employees' complaint that Kevo was given a separate office room (resource room 402). Carol doesn't take the letters but put them back in the tin but she keeps the apartment key. Leave the house and travel back to the
4th Floor Insurance
Go inside by just clicking the frontdoor and go withthe elevator back up to the 4th floor.
Get out of the elevator, turn left, open the door and enter the office.
Go forward 5 times, turn right and enter room 402, the office opposite the copy room
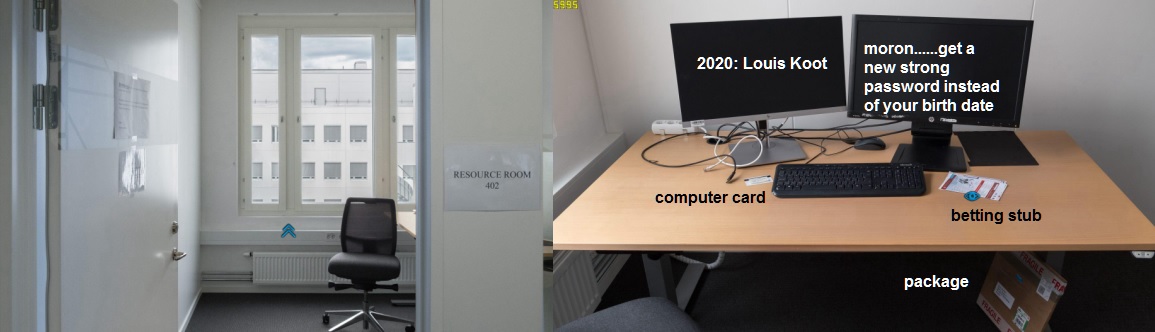
Turn right to the desk. A lottery ticket is on the desk on the right side of the keyboard and left of the keyboard lies a computer card. Look at the lottery ticket....you can't do nothing with it. Look at the computer card....the note on the card says that it doesn't work but click the card into the inventory annyway.

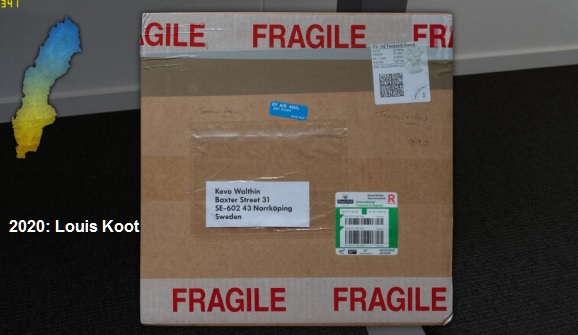
A package is standing under the desk. Look at the package and Kevo's apartment will be put on the city map and Carol want to go there now.
So leave the room and this 4th floor Insurance. On the city map travel to
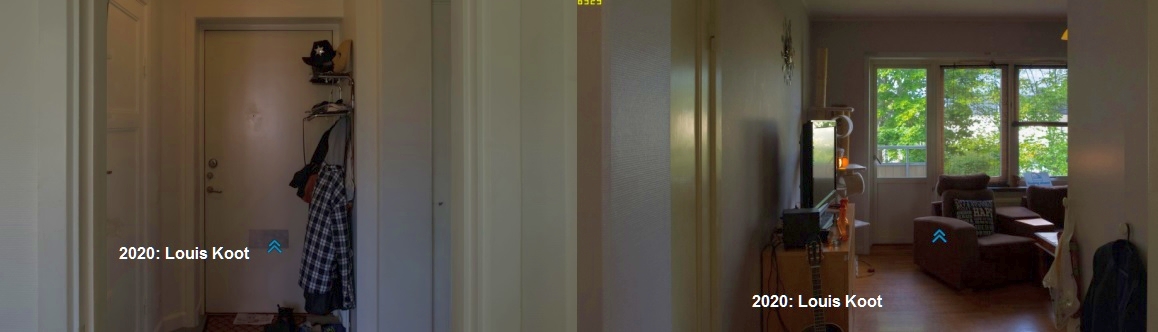
Kevo's apartment
Open the front door with Kevo's apartment key and enter.
Go straight into the kitchen. There's a laptop on the table. Take the laptop and click the lid to open the laptop ansd then click with your eye on the laptop screen to see the left side of the laptop. Take the computer card from inventory and put it into the slot of the laptop and.....
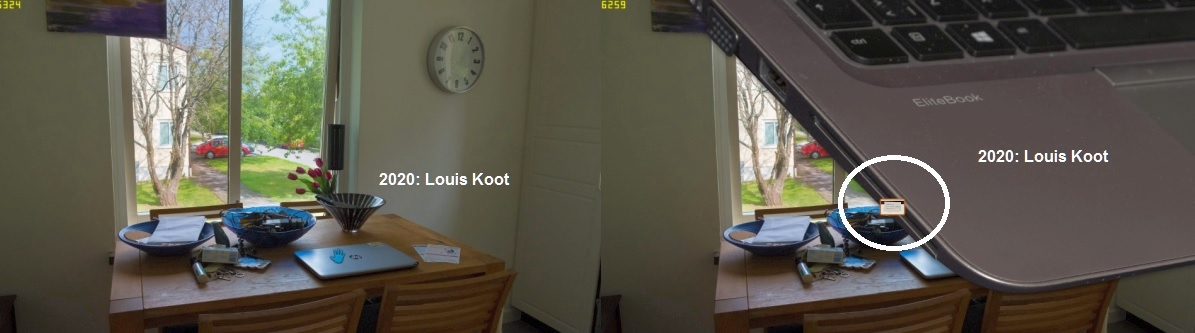
....you get an error message....just as the note on the card has told you the card doesn't work. Step back to put the laptop back on the table
Turn around, take one step forward, turn right and enter the living room,
Look at the wide arm rest between the chair and the sofa. Open up the arm rest and see a small red safe in it.
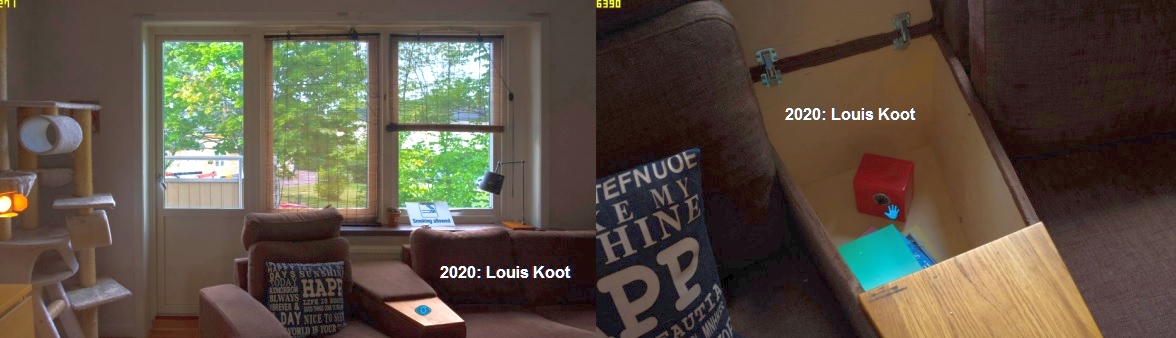
Take the small safe out to see it in close-up. Well.....you need the combination to open up this little safe, so put it back into the arm rest. Remember that this little red safe is here in this arm rest. Step back from the arm rest a few times and turn right go forwards to the wall and then turn left to be at the coffe table.
There's a note on the coffee table.....read that note.
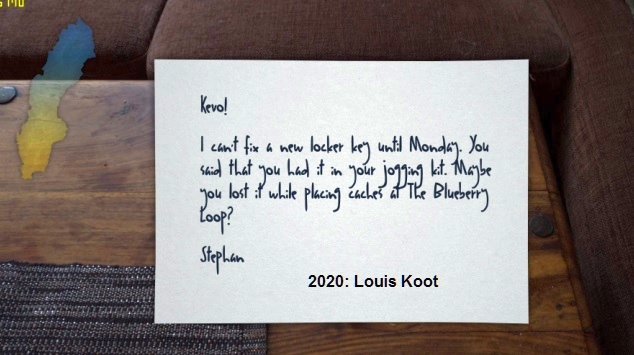
The note says that Kevo has lost the key to his locker. Stefan thinks he lost it in the Blueberry Loop and this location will be put on the city map now. Find your way through the house to the front door and leave and then travel via the city map to the forest of the:
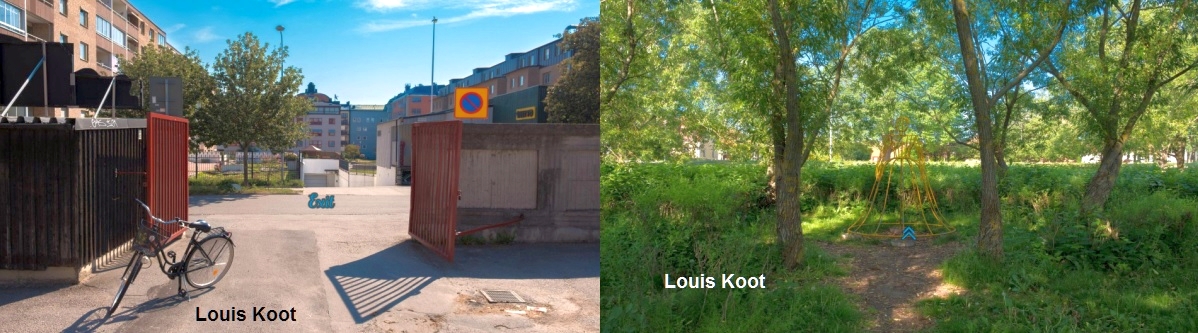
The Blueberry Loop
Forrest path. Go forward 6 times to be at the junction.
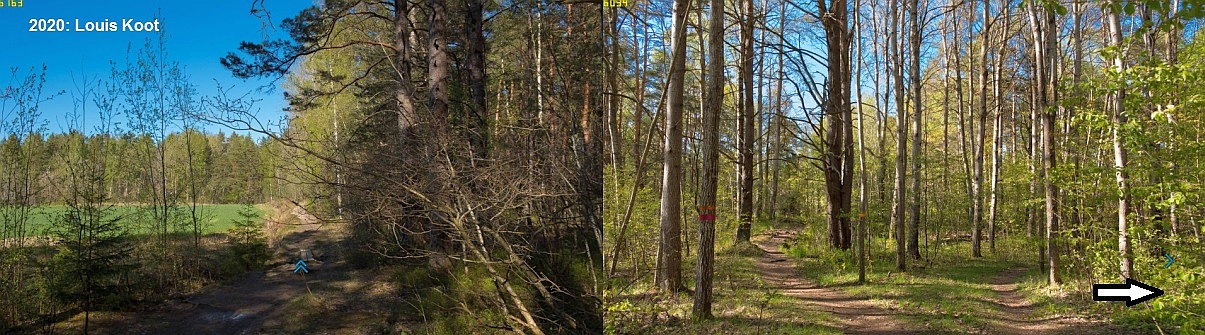
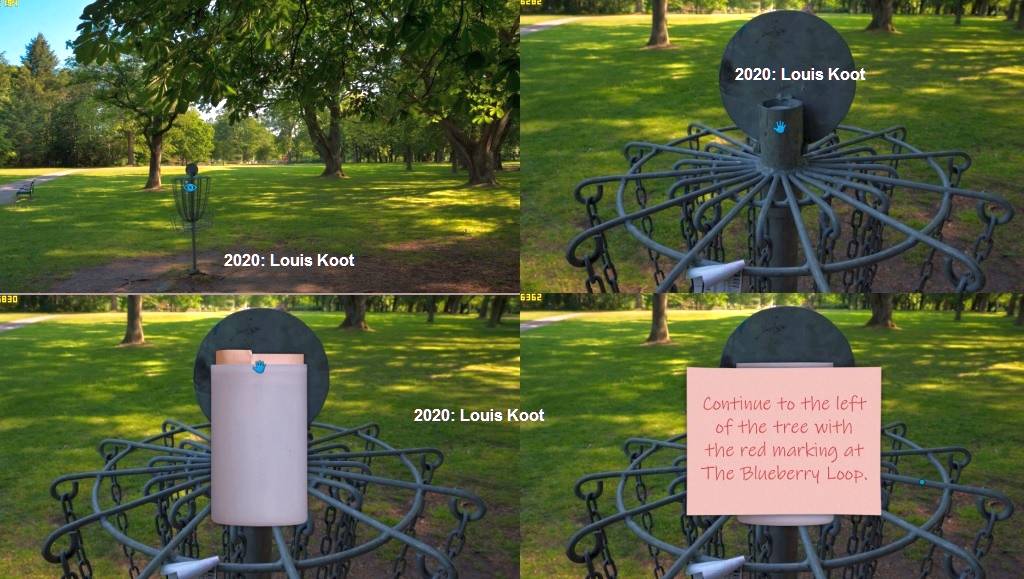
Turn right and go forward to the pole with a yellow metal basket.
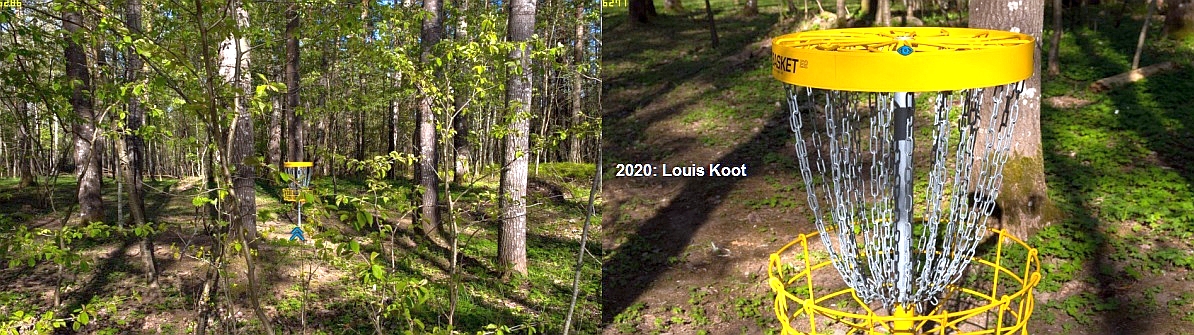
NB: These metal baskets are used for the disc golf game.
The principle is the same as with regular golf (the basket serves as a hole). But instead of a ball, they play with a frisbee or flying saucer.
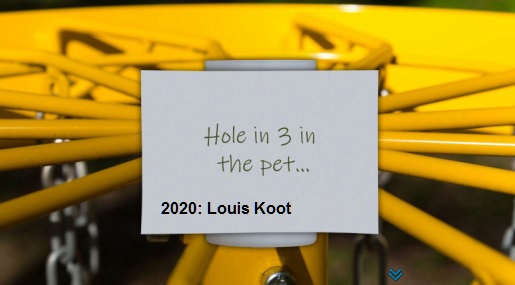
Look at the basket in close-up and then click on the top to see that there's a plastic tube in the pole. Take the plastic tube out and remove the lid. Then click the tube and take the note out...
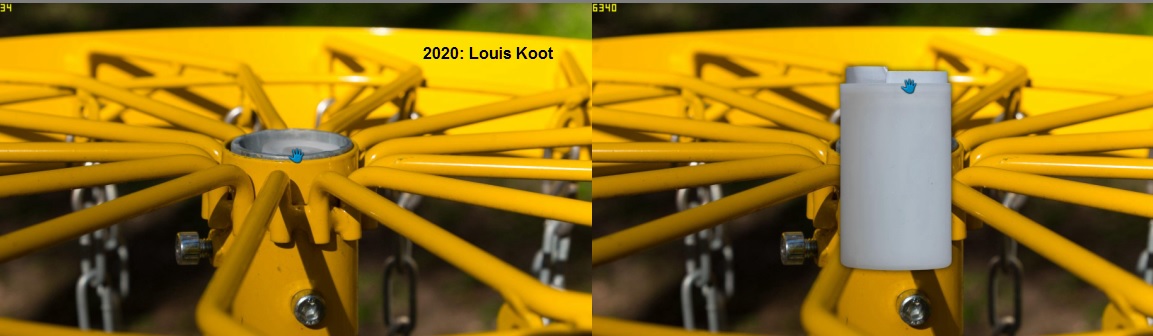
'Hole in 3 in the pet........' is written on the note but the last word is missing
Carol doesn't take the note when you step back so write it down. Step back and turn around to see the forrest path again. Go one step forwards and then turn right to be at the junction again. Now follow the left forest path 6 times forwards to the second yellow basket pole, Zoom in again and take the tube from the top. Open the tube, take the note out to read the second clue "cemetery".
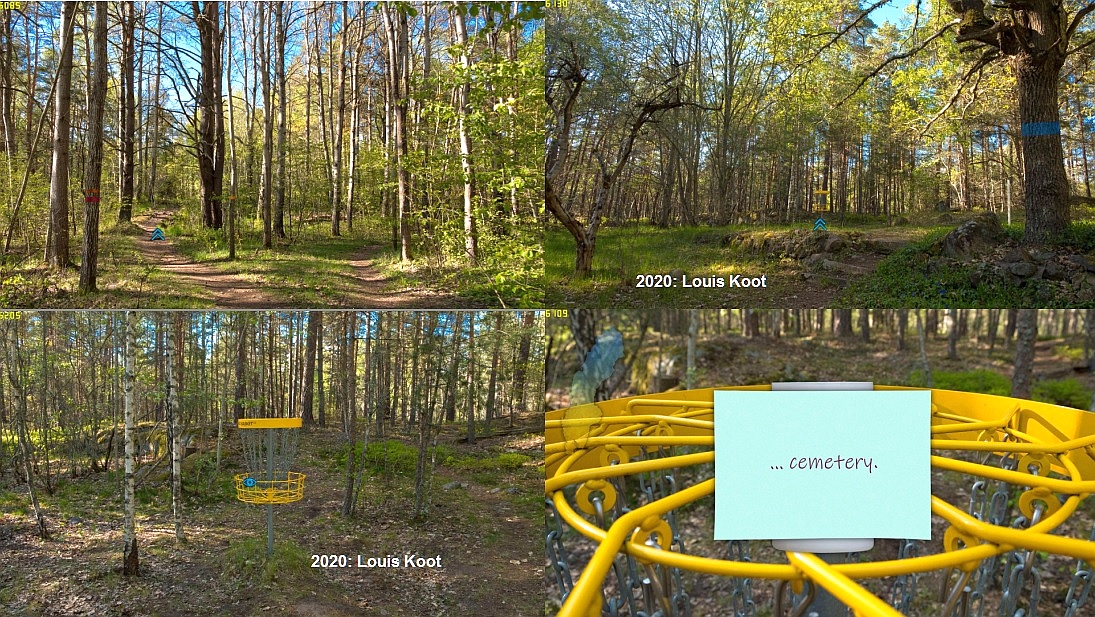
The 'Pet Cemetery' location will be put on the city map. Carol needs to go there to find the third hole / tube.
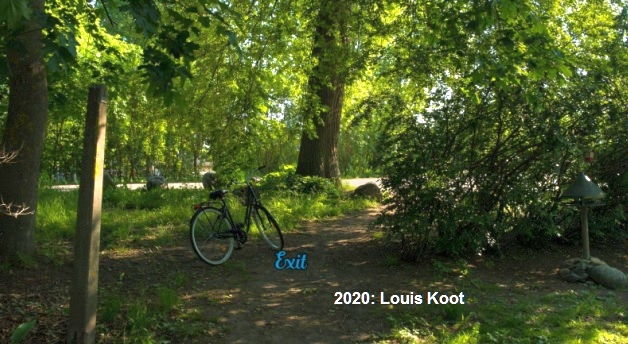
Step back, turn around and go back 12 times to the EXIT and on the city map you go to
The pet cemetery
Go forward 2 times, turn right, forward 2 times, turn left, and forward 3 times to the disc golf basket no 1.

Turn right, forward 1 time, turn right if you want to see a rusty iron statue.
Turn left and now go forward across the lawn to hole 2 that's on the podium Turn left and forward 2 times to hole 3.
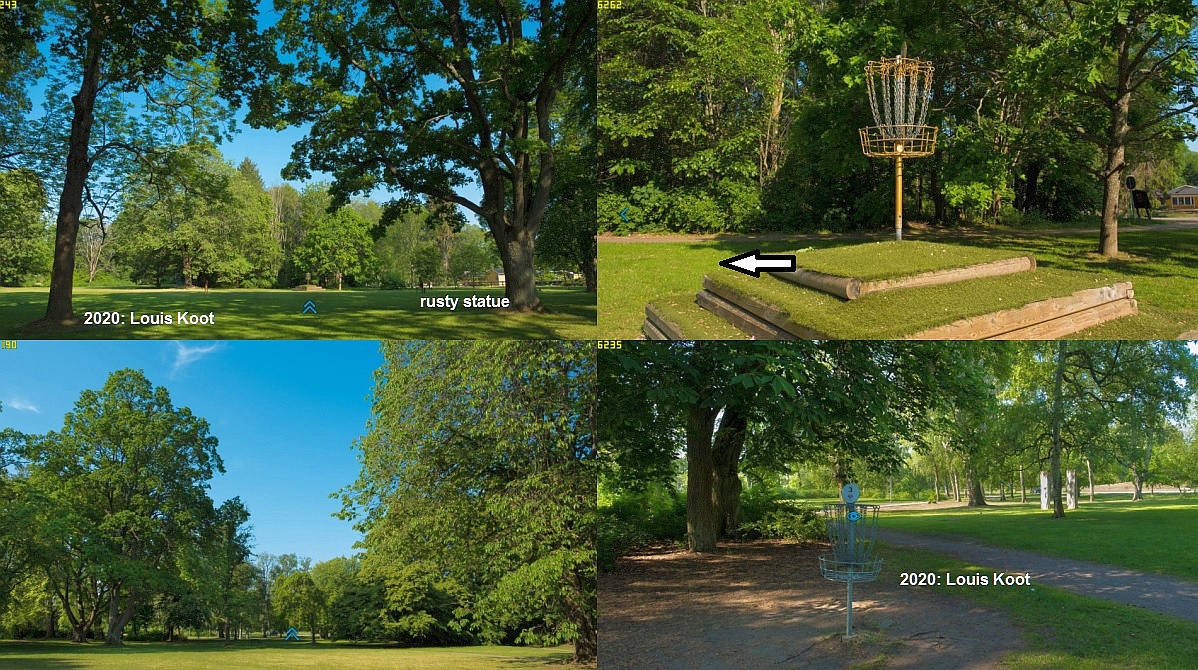
Go forward 1 step past basket 3 and then turn around to be at the back of hole 3.
Zoom in on the back site of basket 3, click on the top to take the plastic tube out, open the tube, take the note and read the clue
Carol must go back to the forest of the Blueberry Loop to take the other path there. Put the note and the tube back in the pole by stepping back 2 or 3 times.
Then go forward 3 times, turn right, 2 times forward, turn left, 3 times forward, turn right, 2 times forward,
turn left and 2 times forward to the exit at Carol's bike and go back to the Blueberry Loop
We be there on the next page
2020 walkthrough by: Louis Koot