
If
you have found this walkthrough via google search or via another site then you
have probably not visited my site.
A
lot more very detailed
game walkthroughs can be found on my site at: www.pcgameswalkthroughs.nl
2013: Original Dutch Walkthrough was
made by:
Louis Koot
2022: English translation also by: Louis Koot
I do not have this game anymore. The screenshots were made in 2013 when I did the Dutch walkthrough
You can buy this nice, older, point and click game on Steam.
In Haunted, you are Mary Wilson and you go on quest in a search for your missing sister Emily.

On her quest, Mary encounters a deranged professor and her butler, who is quite handy with the axe. However, Mary gets help from ghosts. Haunted is a 3rd person point and click adventure game. So you play the game entirely with your computer mouse. You can play the game on Normal, Hard or Very Hard level and you make this choice when you start the game. Normal level means you will read a description of the "Hotspots" and get hints at the puzzles. On
Hard level you will not get hints on puzzles and on Very Hard all in-game help is disabled
Inventory items can be found at the top of the game screen. At the bottom left of the game screen you will find the "Gears", the "Eye" and the "Ghost" icon. Via the "Gears" you open the Game menu where you can Save and Load and also exit. The "Eye" icon makes all "Hotspots" in the screen visible, if you play on Normal or Hard level. The "Ghost" icon will appear once you have found a Ghost and it continues to accompany you as your sidekick. Double click to make Mary run.
Introduction:
Mary Wilson hears the voice of her sister Emily in a dream ...... Emily calls for help and that is strange because Emily has been dead for a year ....
So Mary finds it strange to hear her sister's voice now. Emily ends up at the gate of Professor Lindsey Ashcroft's University
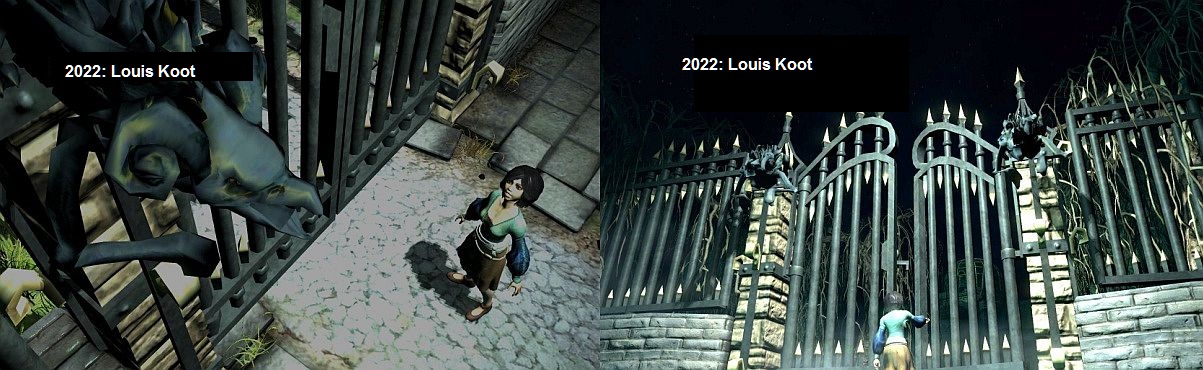
Emily opens the gate and steps into the garden and looks for where the voice is coming from ..... However, the University is a fairly grim environment and Mary is startled and runs away and ....... Mary falls and breaks her neck. Then we're in
and Mary's body is stretched out on an operating bed and we now meet Professor Lindsey Ashcroft and her crazy butler Ethan. Ethan reports that he has found the dead Mary in the garden and Ashcroft is delighted to have a fresh corpse, which is also completely unscathed. Ashcroft then starts to cut into Mary but then
Mary wakes up ....

Much to the disappointment of that crazy Ashcroft, Mary turns out not to be dead ..... on the contrary .... Mary is very much alive. Crazy Professor Ashcroft takes Mary to her lab to calm her down with a cup of tea. Ashcroft leaves Mary alone and Mary then hears Ashcroft instructing Ethan to get his axe
and "to finish the job". Mary fears for her life, and rightly so. Mary finds her sister's locket on the desk.
Chapter 1: The Ghosts that call
out to me.
You now take control of Mary. Mary has to make sure that crazy Ethan can't get in, to really chop Mary's head off with his axe.
Don't panic...there's no rush because the game just waits for you to take the right actions
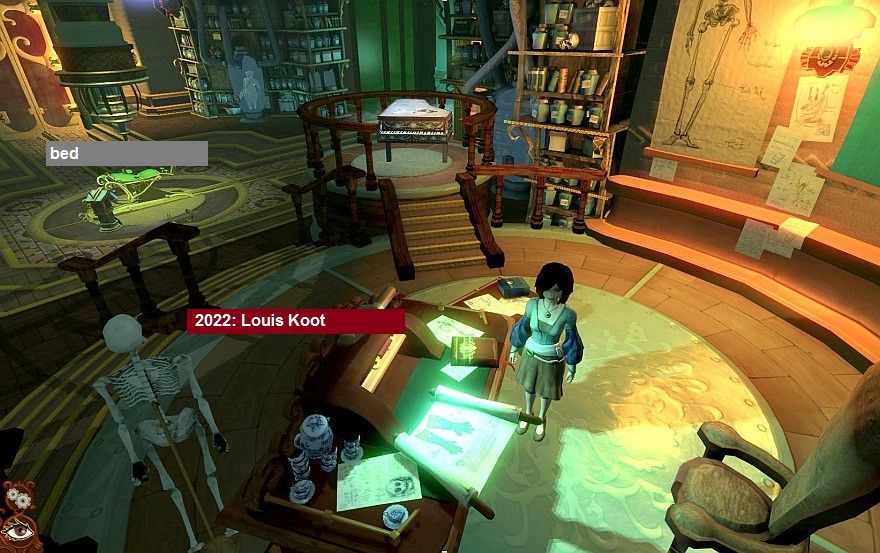
Mary is standing in front of Ashcroft's desk. On the desk is a large white document with a pair of gloves draw n on it. You can look at the desk and also at the large chair and the skeleton that is behind the desk. There is a piano on the round platform. If you click on the piano, Mary will walk over to it and she will play a tune on the piano. However, you don't have to do all this. Downstairs, on the floor of this lab, is a hospital bed. That hospital bed is in a rail. Walk down the desk podium to the Hospital Bed. Make sure you are in close-up of the
Hospital Bed.
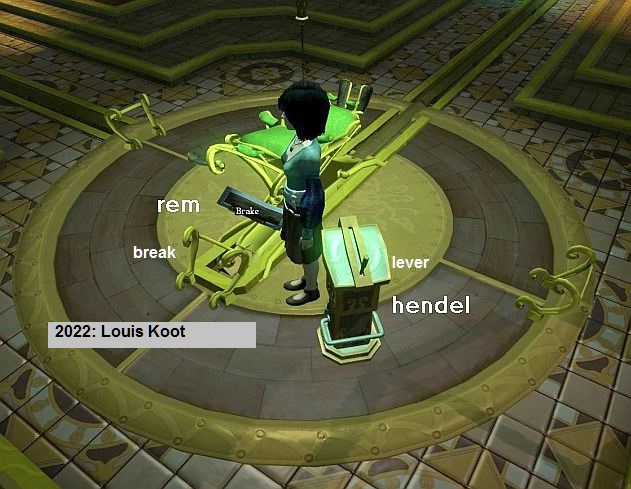
The Hospital Bed is on a turning circle and it is now not facing the huge doors of the study. You can turn the turning circle with the lever. The brake protrudes at the front of the bed. So the bed is on the brake. Click on the
brake to unlock the brake. Then click on the Lever (Hospital bed control), to turn the turning circle. The bed is then facing the doors of the room. Now click on the Hospital Bed
and ........
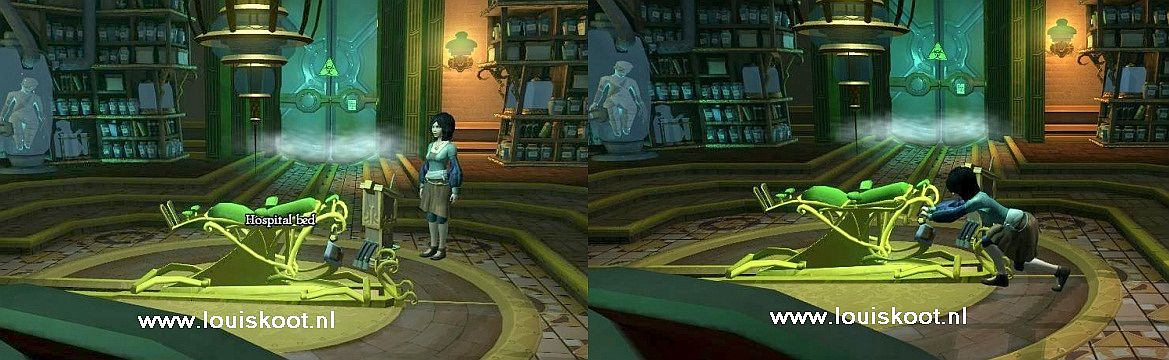
Mary pushes the bed, through the rail, to the doors and against the doors and she automatically puts the brake on the bed again. The bed now blocks the door, so Ashcroft and Ethan can't get in. Ashcroft sticks her cane through the gap between the doors, trying to push the bed away. Of course that doesn't work because Mary
has put the bed on the brake again
You'll see Ashcroft's cane go up and down between the doors.
Place your cursor on the walking stick (Professor's walking stick) and then click and .....
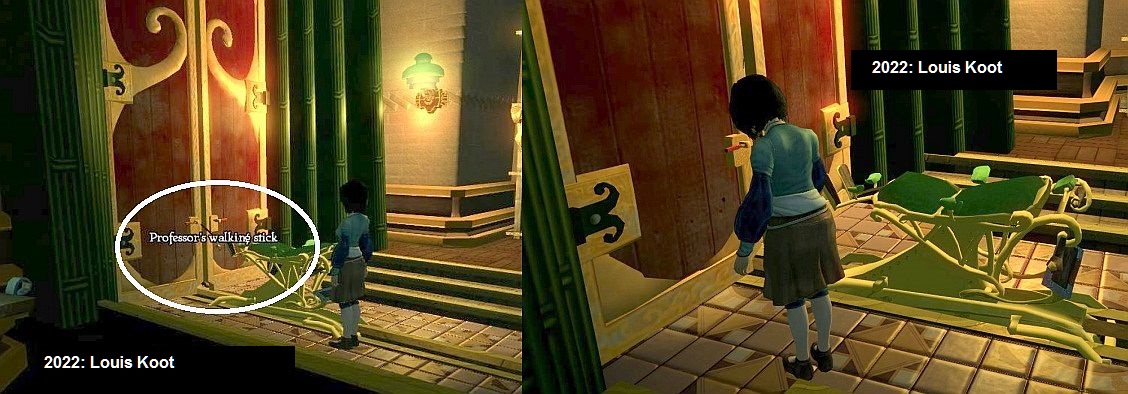
Mary snatches the cane from Ashcroft's hands, and the mad profesor isn't happy about it. The walking stick can be found in inventory, at the top left of your screen. Mary has a great need to escape from this creepy laboratory as quickly as possible. Walk back to the right, until
Mary is just before the center circle, and then walk down and .... Mary ends up at a large control console.
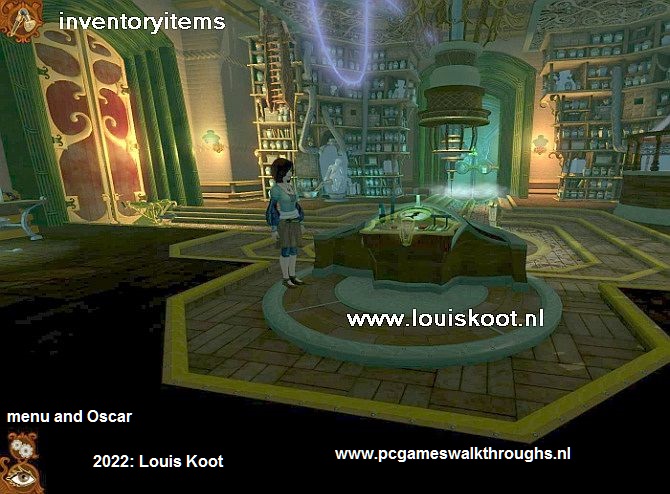
Get into the close-up of the console. In the middle of the console is a Holder (Odd-looking holder) ......
something must be inserted into that holder that can serve as a lever.
Take the Walking Stick (top left) from inventory and then click the Walking Stick in the holder and ....
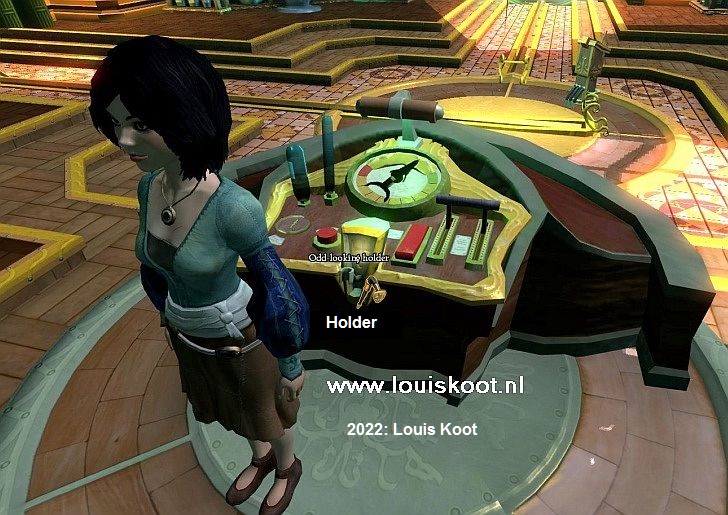
The console activates the huge device hanging here in the study. You will see a Saw and a ladder will be rolled out.
You can see that ladder on the front side of the left shelving unit, near the doors of the room. Run to the ladder and then click on the ladder and ......
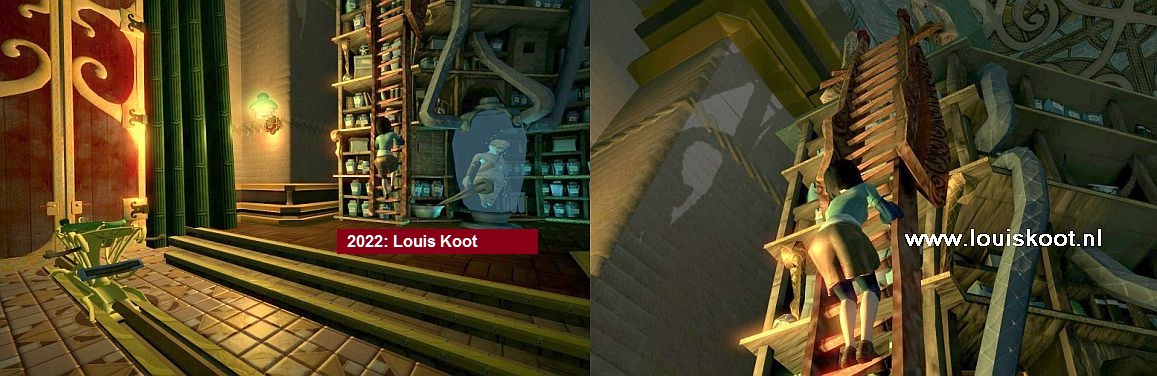
Mary climbs up the ladder and manages to retract the ladder just in time because Ethan rams into the door with his axe. Mary blocks the ladder with a broom. We are then back at Mary, who is now on the upper walkway. Walk down to the bottom of your screen.
The walkway then turns to the right. At the corner hangs a metal Capsule and further to the right you see a red Elevator box.
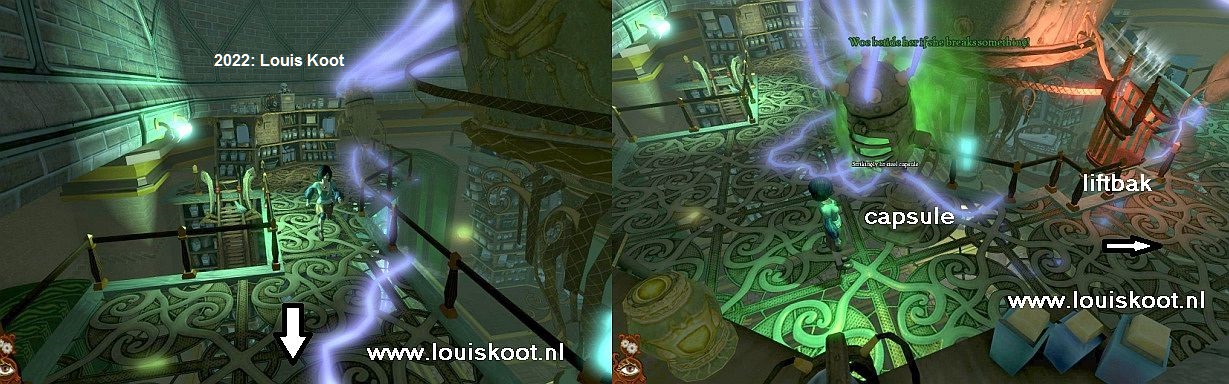
Walk to the red elevator box and then click in the box (Advanced maintenance option) and ..........
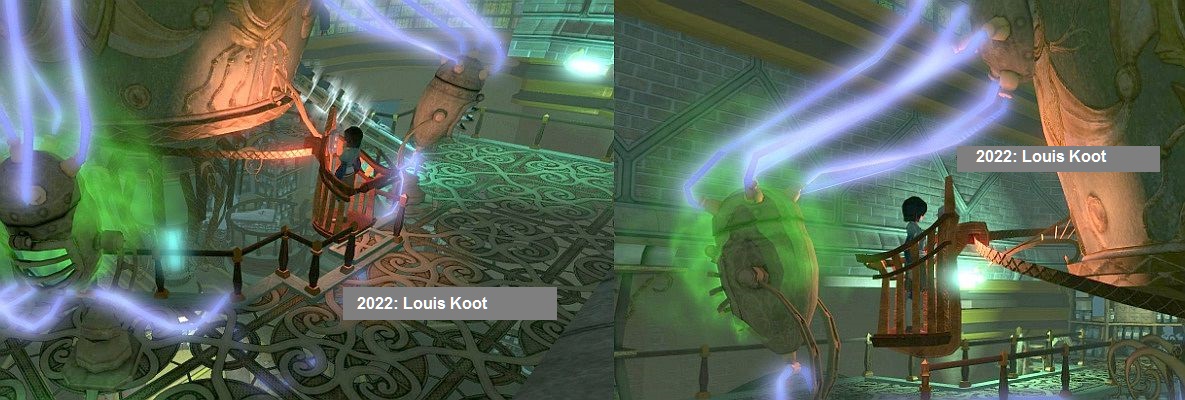
Mary gets into the elevator and with it she goes up, past the huge machine. The elevator brings Mary on top of the maintenance walkway. Get out of the elevator box and then follow the walkway to the left, to the end. Directly opposite Mary there is a
glass bay window, in the enormous windows of the enormous laboratory.
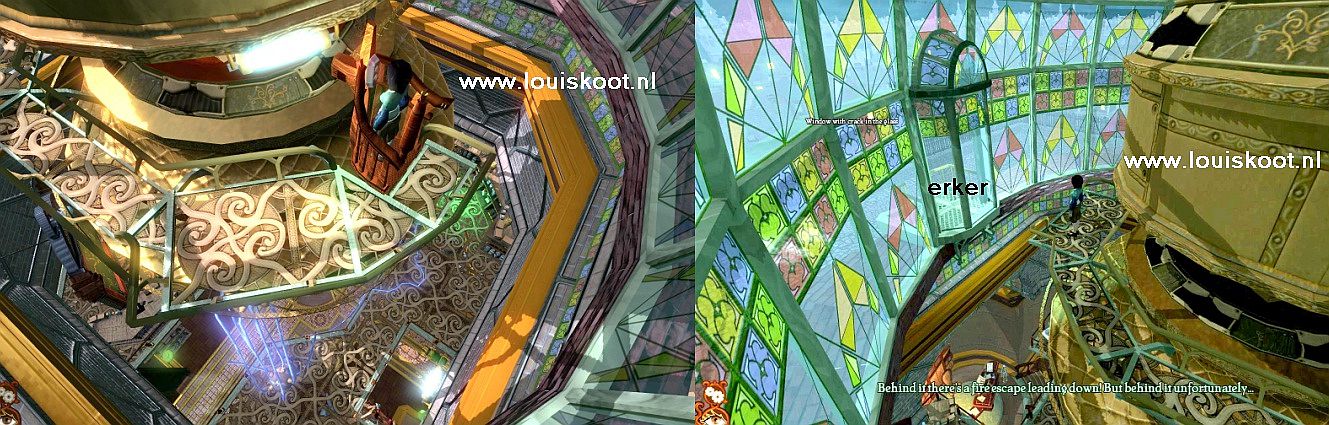
There is a crack in the glass pane of the bay window. Look at the window (Window with crack in the glass) of the bay window and ....... Mary reports that she sees the fire escape through the bay window ..... that fire escape is Mary's escape route, but how to reach the fire escape? Walk back to the
red elevator, click in the elevator box again and the elevator box brings Mary back down. Back down you get out of the elevator again and then you continue to the right. Mary then comes to the maintenance hatch. A Saw
is on the hatch.

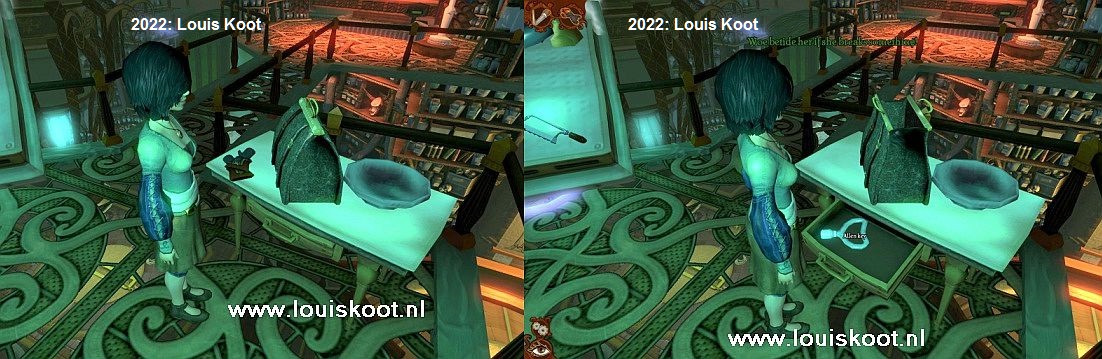
You already saw this hatch and that saw in the cutscene when you put the walking stick in the console. However, the hatch is electrified, so Mary can't get to the saw. To the right is a table and further up, behind the table, is a huge
blackboard. Walk to the table ..... make sure you get into the close-up of the table. There is a drawer in the table. On the table is a Doctor's Bag (Medical bag) and a pair of dirty Gloves (Mouldy gloves) on the table. Click on the Metal Bag
and ...... Mary takes a used Tooth scraper with signs of use from the bag. Take the Gloves. Open the drawer and then take the "Alien Key" from the drawer.
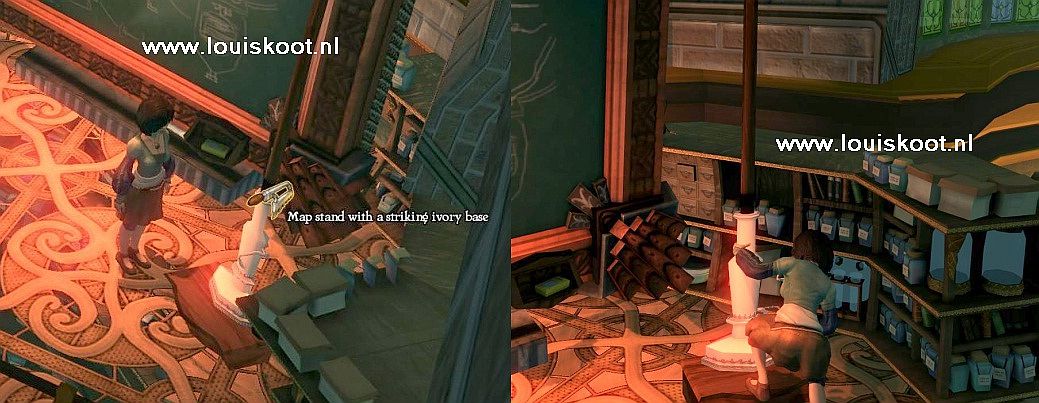
Walk across the bridge to the huge Blackboard. In the lower edge of the blackboard is a piece of blackboard Chalk (Piece of Chalk).
In the right-hand corner is a long stick in a white ivory base...that long stick is a Map stand with a strinking ivory base.
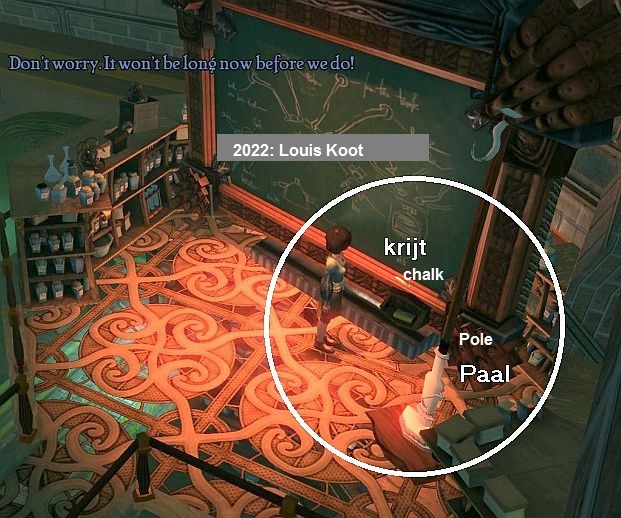
Take the piece of chalk. Immediately take the chalk from inventory and click it on the huge blackboard and ...... Mary tries to write something with the chalk on the blackboard and this causes a sharp squeaking sound that is so bad that some glasses break. ...The game also shows you that cracked window pane in the bay window and that should give you an idea ....... You have lost the chalk but you still have the Tooth Scraper. So take the Tooth Scraper from inventory and click it on the blackboard and ......Mary scratches and scrapes the blackboard with the tooth scraper and this causes a terrible, bone-shattering sound and this causes a number of the huge windows to burst, including the cracked window of the glass bay window.
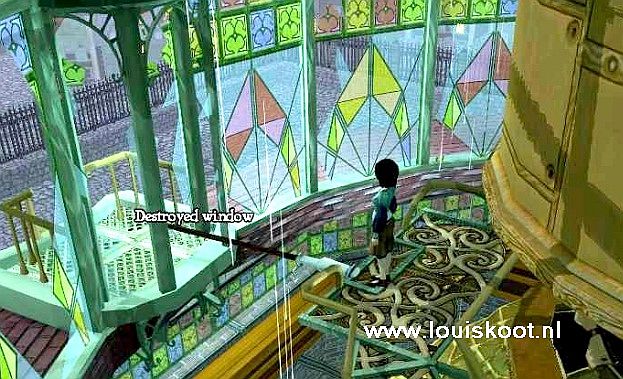
Walk back to the red elevator box and go back up with the elevator. Back upstairs you step out of the elevator and continue to the left and see ...... the windows in the bay window have all disappeared. Take another look at the bay window (Destroyed window) and ......... Mary screams that she can escape through the bay window, but how to get there? Go back down with the elevator and get out of the elevator tray again. Now walk to the
Capsule, which is shaking on the left corner. If you try to open the capsule, Mary says that it doesn't work .... the capsule is screwed shut. Take the Alien key from inventory and click it on the Capsule (Strinkingly lit steel capsule) and ........

Mary opens the capsule and ..... we now meet Oscar the Great ....... who was trapped in the capsule.
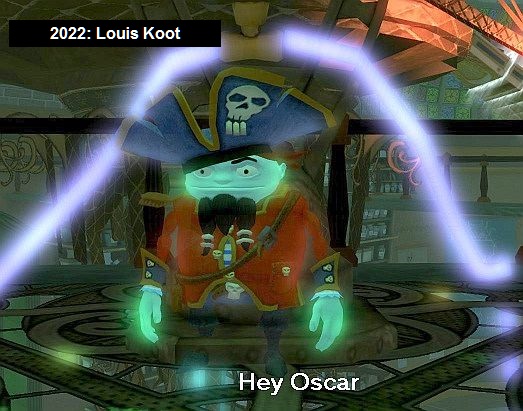
Oscar is a pirate's ghost and he is very surprised that Mary can see him. Ordinary people cannot see ghosts like Oscar. But Mary can see Ghost Oscar and that makes her very special. Oscar was also a prisoner of that crazy Prof. Ashcroft and her even more crazy butler Ethan. Talk to Oscar via the conversation option, which have now appeared at the bottom of your screen.
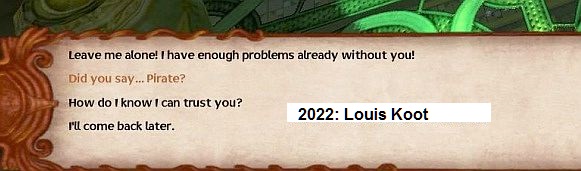
Oscar then explains a few things. The most important thing little Oscar tells is that he is impervious to cold and heat, so he can pick up anything that is either extremely cold or extremely hot. Oscar needs his Gloves because those gloves
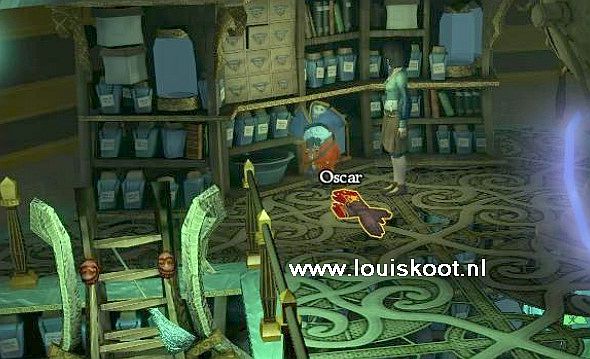
"binds" him to a living being. It doesn't matter how you do the conversation with Oscar....before you can give him the gloves, Oscar runs away, to the cupboards, behind the ladder. You will also see a cutscene with Ashcroft and Ethan.
Run to Oscar, who is drinking from a tub by the cupboards. Take the Gloves from inventory and give them to Oscar and ......
Listen to Oscar and use one of the conversation options and ....... Oscar dissolves in a cloud, but from now on Mary and Oscar are each other's buddy. You will find Oscar's icon at the bottom left, near the gears and the eye. To "use" Oscar, pick up Oscar and click with him on the object you want him to take.
Oscar is impervious to cold and heat, so you can have him grab ice cold and very hot items. Now walk all the way back to the maintenance hatch, to the right of the red elevator. The saw is on the hatch, but because the hatch is heavily electrical, and therefore very hot, Mary cannot pick up the saw. So pick up Oscar and click with him on the
Saw and ......
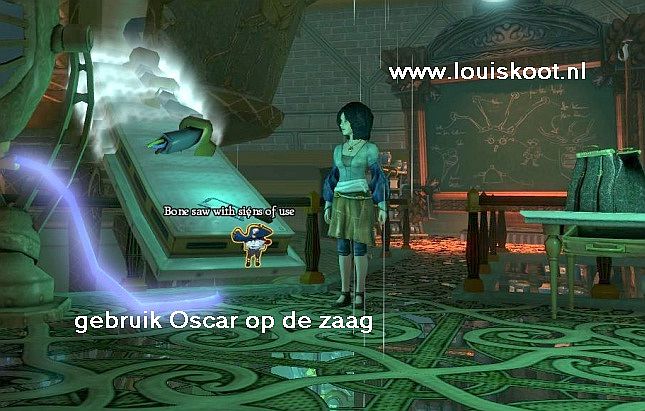
Oscar then takes the Saw and hands over the thing to Mary. Walk to the Blackboard again and stand in front of the Card Holder Pole again.
Take the Saw from inventory and click it on the Card holder Pole and ........ Mary saws down the Pole and stores the long pole in inventory.
Go back to the elevator box and with the elevator box up again. Walk to the left again at the top, to the end.
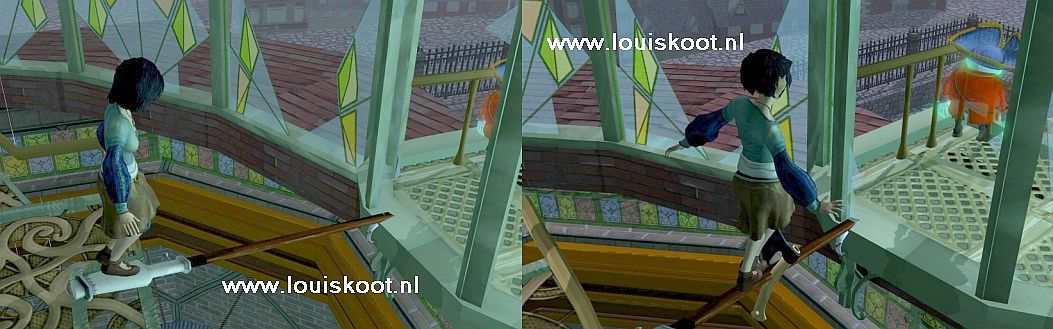
Take the Pole (Map stand) from inventory and click it on the Bay window and ..... Mary places the Pole over the "gap".
Click with the door cursor on the bay window and ....... well ....
......watch Mary's escape from this crazy laboratory, where the murderous Ethan almost gets Mary with his axe.
Mary and Oscar escape and a conversation ensues, in which Mary is rather gloomy and Oscar talks about the Senate.
Oscar knows another ghost who knows more about this Senate. Worth this Ghost around the Tower Bridge and that's where we're going now. We then end up in:
Chapter 2: The Senate:
2022: walkthrough by: Louis Koot