2006: Original Dutch walkthrough by: Louis Koot
2019: English translation by: Dick Leeuw
If you have found this walkthrough via google search or via another site then you have probably not visited my site.
A lot more very detailed game walkthroughs can be found on my site at: www.pcgameswalkthroughs.nl
Chapter 2: Indonesia:
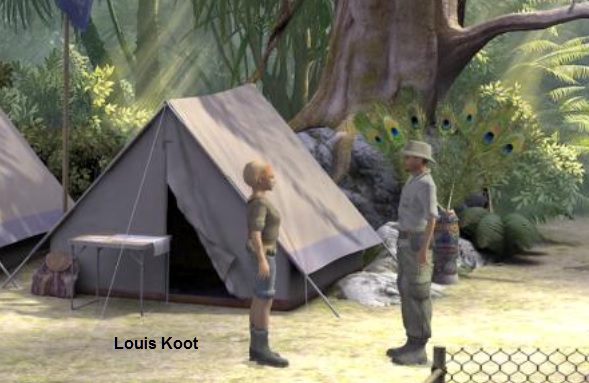
While Nina is cruising on the ocean, her ex-boyfriend Max has traveled to Indonesia. Max was asked to make a photo report here about archaeologist Sam Peters, whom he still knows from his school days. Sam tells
that she has heard rumors about the existence of a temple in the jungle and that she has since found it. But her expedition is anything but successful. Objects have disappeared and tents collapsed. Two of Sam's colleagues have also disappeared without a trace
and her 5 native porters have run away after they were first threatened by someone from the Puritas Cordis sect.
Sam has not yet been to the temple, but she has found a back door, which is locked. There is a strange text on the door that might help you open the door. She wants to show Max the door the next day. Sam also
placed peacock feathers around the camp to scare the wild animals. In the night Max wakes up with a cry and voices outside his tent. He crawls out of the tent and sees Sam being kidnapped. Then something explodes and he crashes to the ground.
Sam is trapped in a bamboo cage in front of the entrance to some temple in the camp of the crooks. A white man talks to an Indonesian. The men talk about the UN meeting that is not favourable for their plans and
about earlier tests that did not go well. It is almost time for a general test and it should go well. The white man then leaves to make preparations and the Indonesian is instructed to watch Sam and, if necessary, silence her forever. Sam doesn't know if Max
is still alive, but she wants to try to get the attention of anyone.
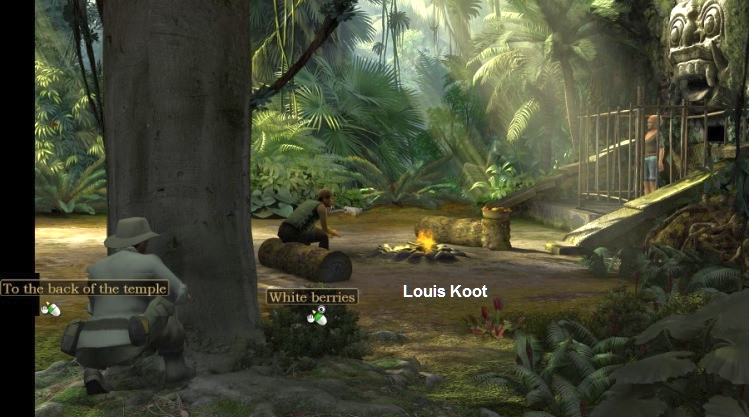
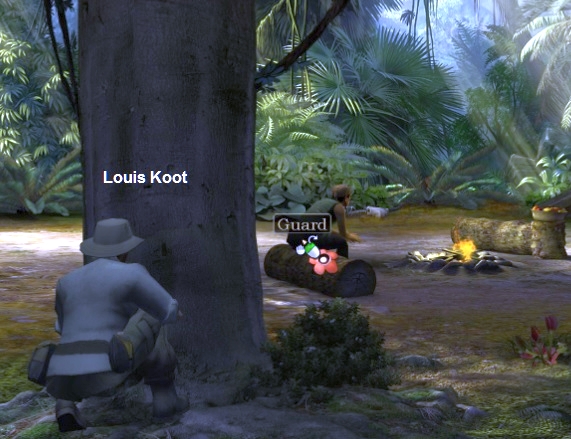
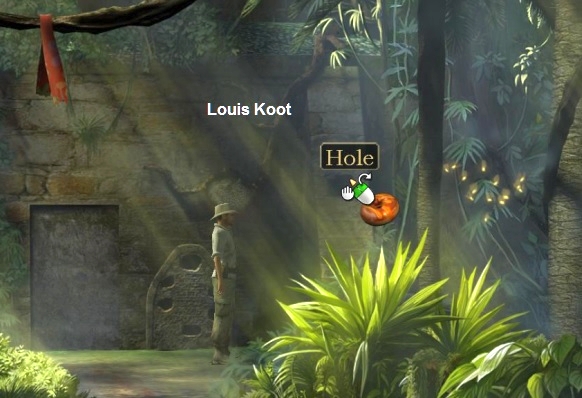
In your inventory you have a compass and a rocket. You are locked up in a cage that stands in front of the Ugly Face. There is a hole at the bottom of the Ugly Head. In front of the cage, by the campfire, your
Indonesian guard sits on a tree trunk. Just before your prison cage is a bowl of fruit (Fruit bowl). Next to your cage is the handrail of what was once a stone staircase (Ramp). There is a thick tree in the foreground. Against the right side of the tree is a
bunch of White Berries and a little further to the right is a red Carnivorous Plant (Venus flytrap). In the background, at the edge of the jungle, lies a carved Cadaver.
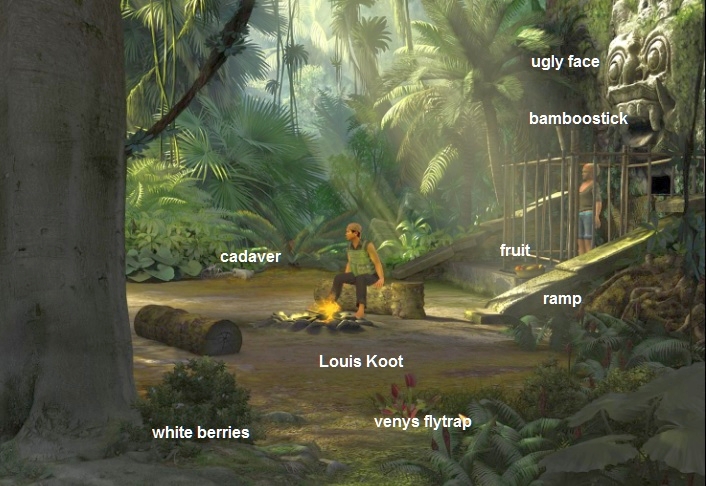
View everything first. The Ugly Face is meant to keep the mean spirits away from the temple. The hole under the Ugly Face is too dark, so Sam can't see what's in the hole. The bowl of fruit contains bananas,
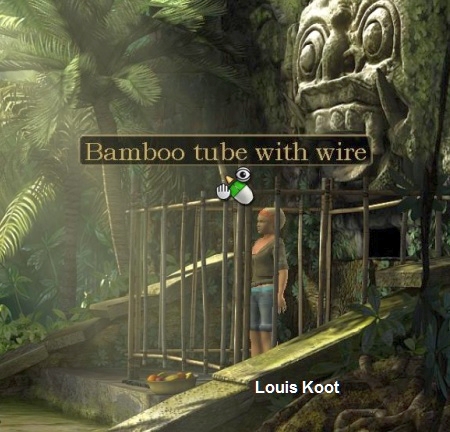
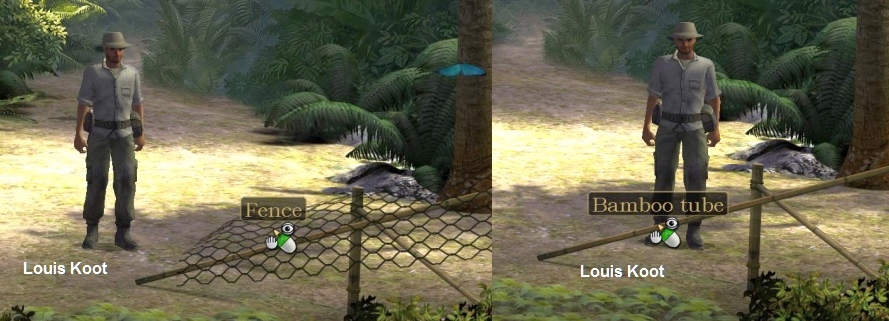
oranges and raspberries. That carnivorous plant does not grow naturally here in Indonesia but actually only in the swamps of North and South Carolina. Also look on top of Sam's cage. A Bamboo pipe sticks out on top of the cage and around that Bamboo pipe is
iron wire (Bamboo tube with wire).
When you have viewed everything, left click on your guard to talk to him.
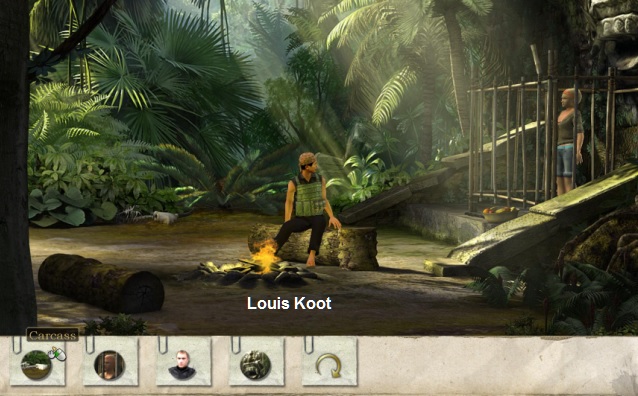
After the introductory "conversation", use all the conversation topics you get. The guard doesn't have much to report, but you discover that he and his white comrade are members of the Puritas Cordis
organization. You also discover that the guard is sitting with his back to Sam for a reason. The guard is terrified of the Ugly Face, behind Sam's cage. Guard has the feeling that the Ugly Face always looks at him and knows exactly what he is thinking.
The Bamboo pipe, which protrudes from the cage at the top, could nicely serve as a blowpipe for blowing your flare at the campfire.
So grab the Bamboo pipe.
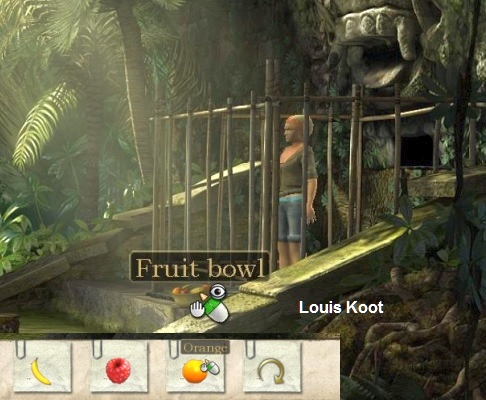
Sam also takes the Iron Wire. You can also take fruit from the fruit bowl and possibly put it back in the bowl. Sam can take a maximum of 3 pieces of fruit from the bowl. Click on the
fruit bowl. At the bottom of
the screen the icons of the fruit in the bowl will appear. Click on the icon of the fruit that you want to take from the bowl. Sam needs oranges, so click 3 times on the orange icon to grab 3 oranges from the bowl.
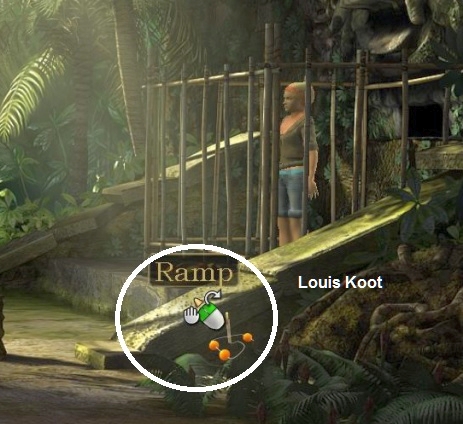
Your rocket launcher rolls neatly down the stone slope and ends up in the campfire where the flare starts to explode.
You now play as Max
Max scrambles to his feet, a little dizzy from the explosion. Fortunately, Max is fine, but he discovers that Sam has been kidnapped. Max then stares at the temple and sees the explosion of the flare. Max does not
know if it is a trap but decides to go to the temple.
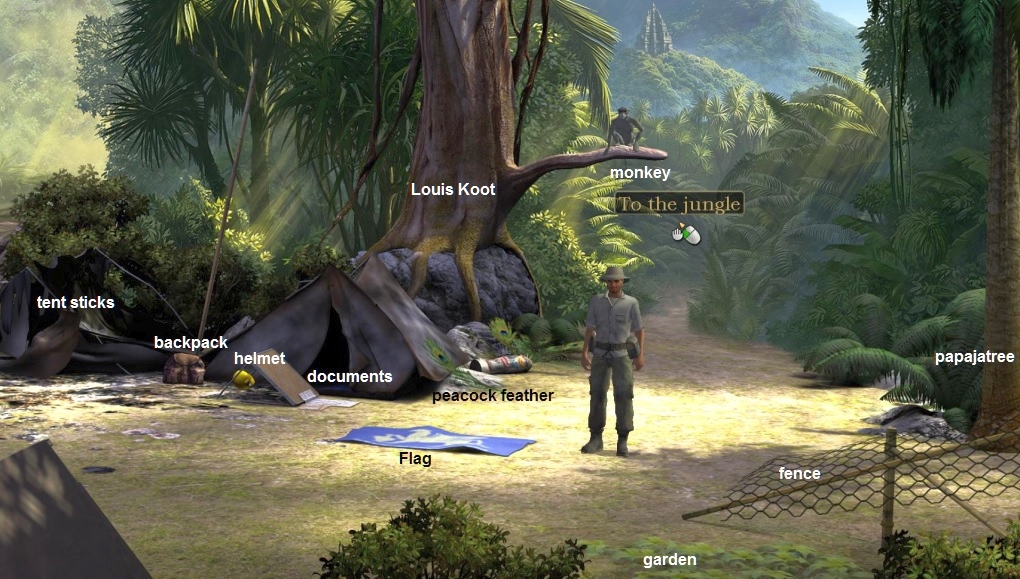
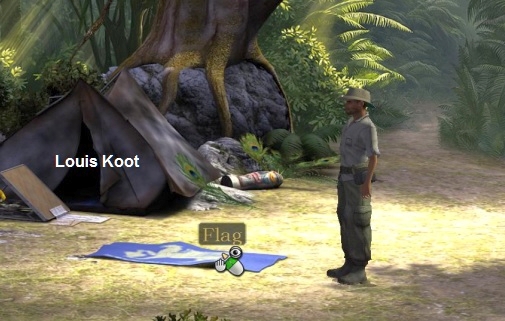
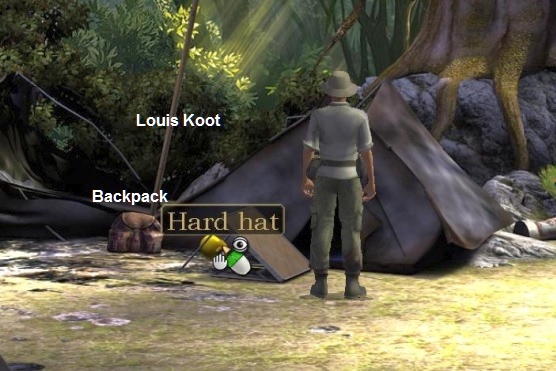
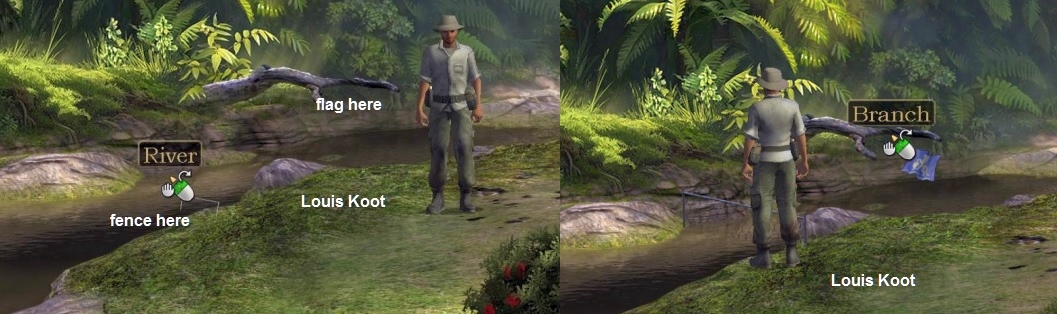
Before you go on your way to the temple, search the camp for useful items. Of course you also have an inventory as Max and there is now a photo of Nina in it. The tents have been destroyed. In front of the destroyed tents there is a backpack and a yellow miner's helmet (Hard hat). The backpack stands against the flagpole. The left part of the tent is marked as a Destroyed tent
Documents lie on the floor in front of the fallen table. In the middle of the screen there is a blue flag on the floor. To the right of the tent is a piece of a totem pole. There is also a blue
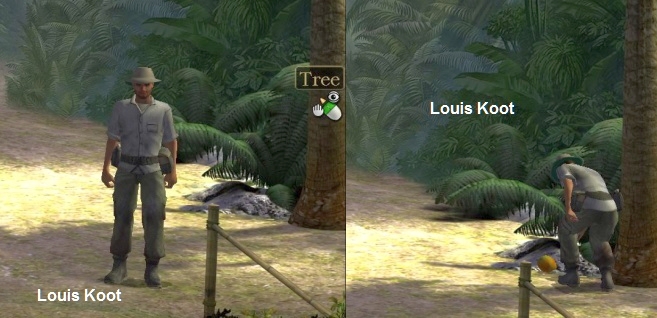
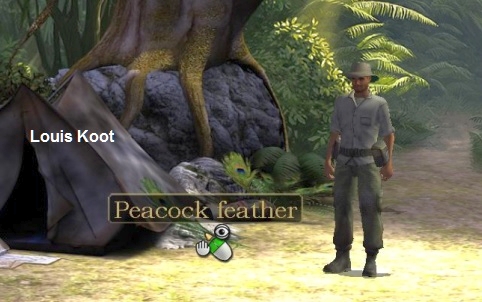
peacock feather against the right side of the tent. On the branch of the tree, that stand behind the tents, sits a monkey. At the far right of the screen is a fence made of chicken wire. The fence is intended to protect Sam's vegetable
garden. You do not yet see the vegetable garden at the bottom of the screen. Behind the fence is a thin papaya tree. View everything.
Click on the chicken fence. Max picks up the piece of chicken wire, but the long bamboo pole, to which the wire was attached, remains behind.
Also grab the long bamboo tube
Take the blue flag.
Take the peacock feather.
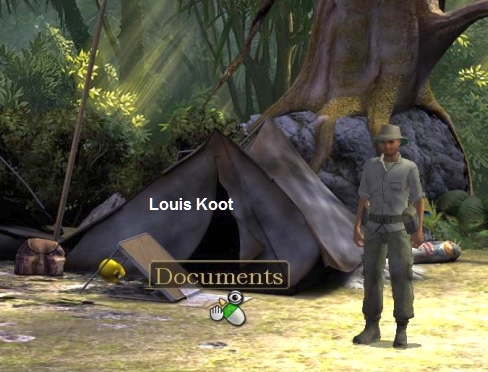
Take the Documents that are on the floor in front of the table.
View the documents in your inventory to read them. One document is a list with the names of the planets of our solar system (List of planets) and the other document is a translation of the temple inscription. Max
reads this translation aloud. The planets list shows the names of our planets. The symbol of that planet stands for each planet name.
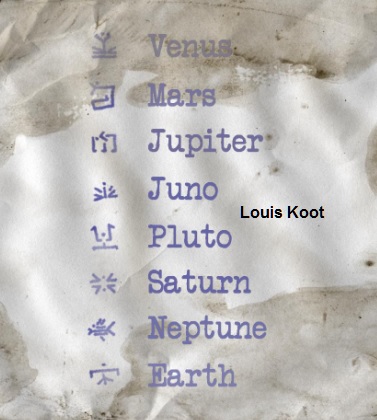
The planets are arranged in order of importance. The names of the planets are also the names of the gods. So also the gods are ranked in order of importance and that is from top to bottom: Venus, Mars, Jupiter,
Juno, Pluto, Saturn, Neptune, Earth
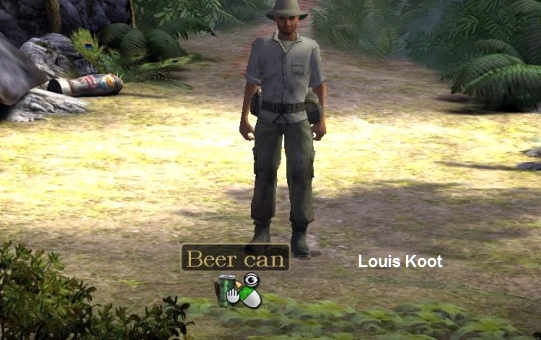
Then left click on the Backpack. It is the backpack of Sam and Max takes out the following items: a
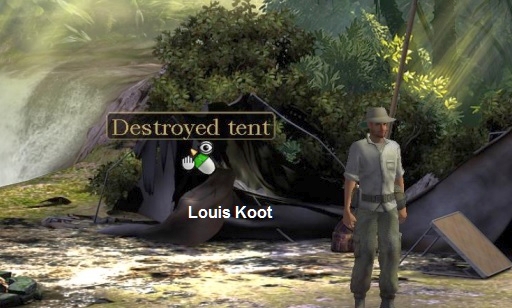
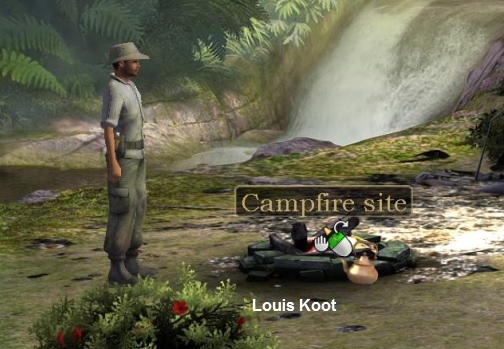
donut, an empty balloon, a can of beer and 2 flares. Left click on the Destroyed Tent. This was Max's tent and Max picks up the Tent
poles.
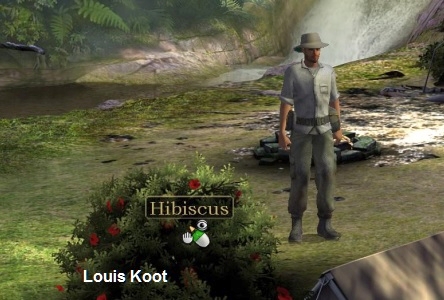
Left click on the Hibiscus shrub to pick 1 red Hibiscus flower.
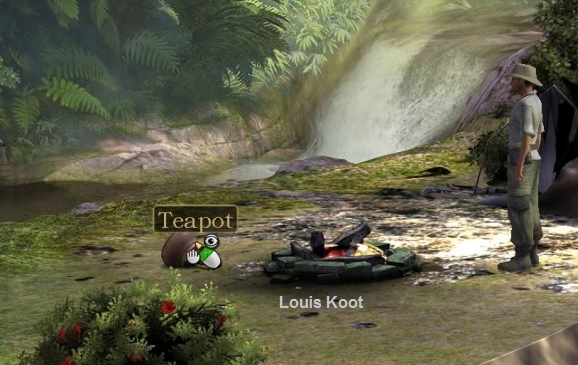
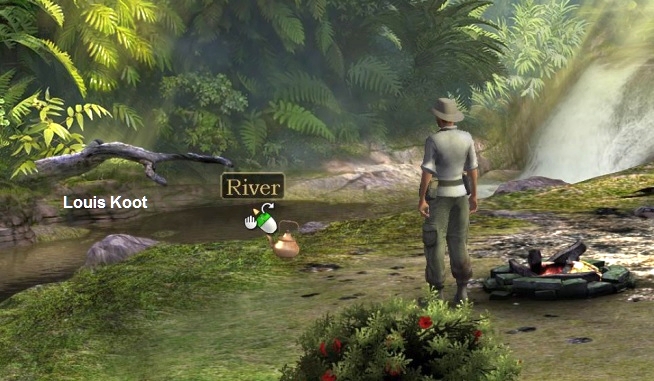
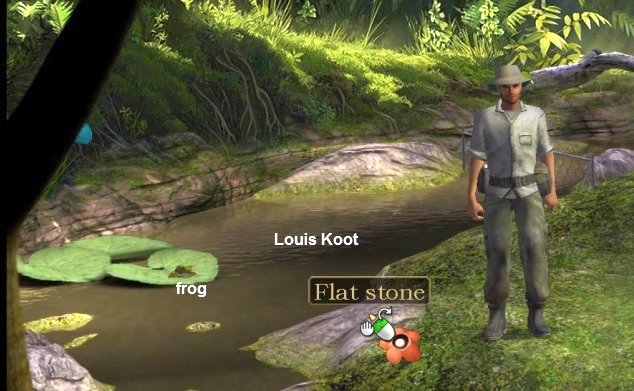
On the left you see the river. On the other side, a thick branch sticks out over the river. That thick branch is forked. Look at the waterfall ..... every few seconds you see a fish jump up from the river
over the waterfall. Fill the teapot with water from the river. So click with the Teapot in the river to fill the teapot with water.
Max also wants to catch a fish from the river. In inventory, combine the Tent poles with the chicken wire (Fence) and you then have a Reinforced fence. Place this
reinforced fence in the river, between the 2 gray
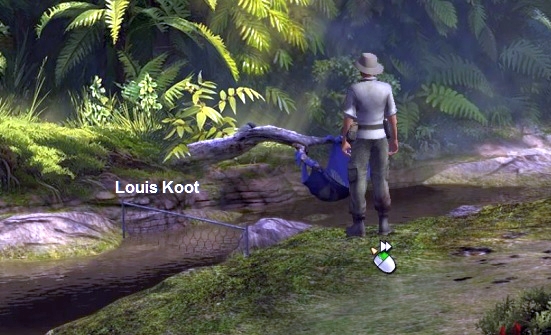
stones that stand to the left of the forked branch in the river. However, the fish jumps over your self-made fence. Take the Flag from your inventory and then hang it on the forked branch.
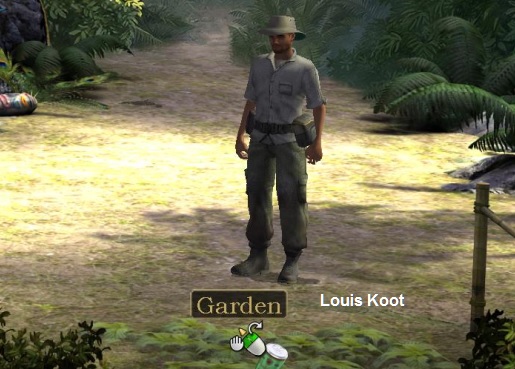
Walk all the way back to the right, to where you caught the chicken wire. At the bottom of the screen is the vegetable garden (Garden) from Sam. View the vegetable garden. Max says that the leaves are half eaten
by snails. Take the beer can from your inventory and place it at the vegetable garden.
The monkey climbs out of the tree and runs away along the path. Max runs after the monkey but .... Unfortunately, Max cannot follow the monkey so quickly and .... well .... 15 minutes later we are back in the
camp. Max has to come up with something so that he can follow the monkey, even though the monkey runs much faster than he does. Combine the Papaya with the Teapot in inventory. The teapot contains red sludge and this makes the papaya red. Click the red papaya
on the monkey, which is back on its tree branch.
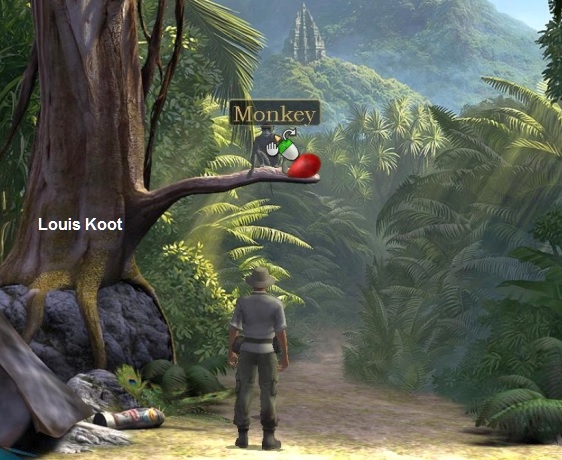
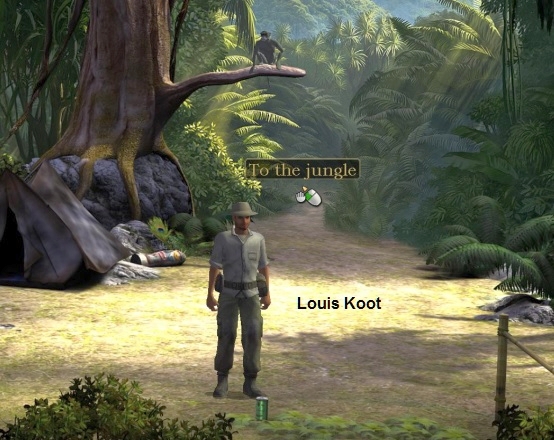
Max gives the red papaya, from which the red slurry is dripping, to the monkey. Double click on the jungle path again and ..... We are on our way to the temple again. The monkey now leaves red footprints and this
allows Max to follow the monkey to the:
Back of the temple:
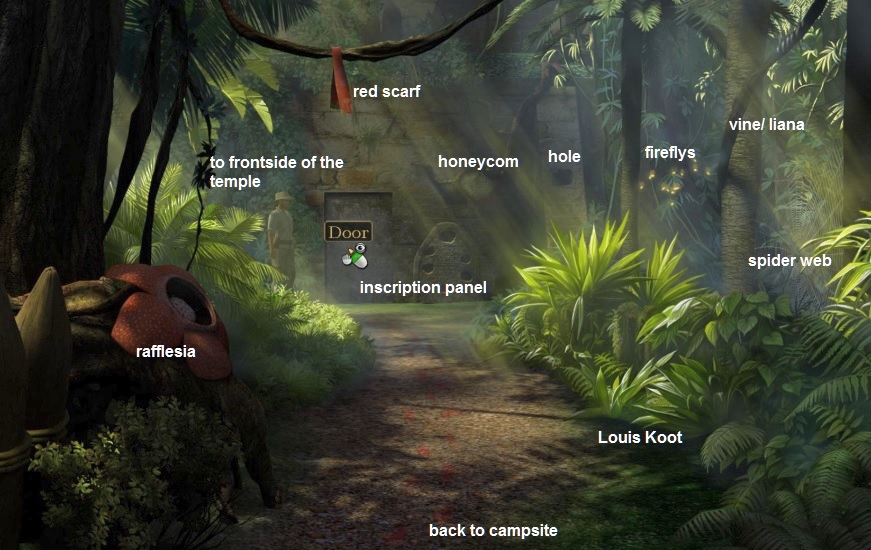
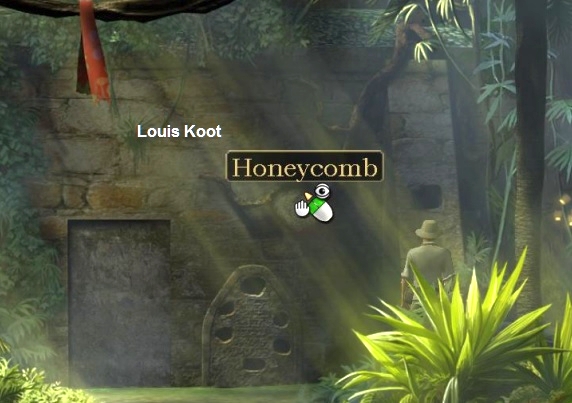
View everything. The back door of the temple is locked. To the right of the door is a panel with 6 holes and an inscription on it. A beehive (Honeycomb) hangs above the inscription panel. It is crawling with bees.
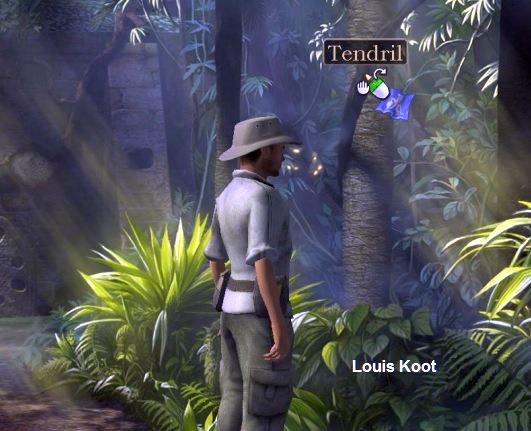
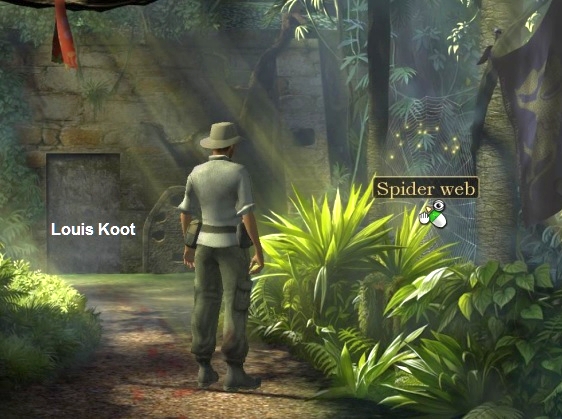
To the right of the beehive is a hole in the stone column. The red footprints of the monkey are still on the path and above the path a red Scarf (Scrap of cloth) hangs on a liana. Between the trees, which are to the right of the path, Fireflies fly around and
behind those trees is a Spider web. A large red flower (Rafflesia) grows to the left of the path. That rafflesia flower stinks enormously and therefore attracts flies.
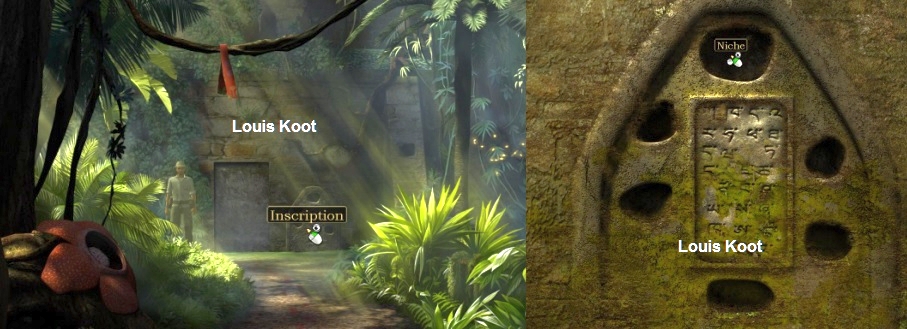
So this is the inscription that Sam has translated and that you found in the base camp (Translation). You have to dissect this riddle, sentence by sentence, because the intention is that you make the right
sacrifices in the 6 holes. This will then open the back door.
|
Respect the Goddess who is above all = According to the planets document, Venus is the most important planet and Goddess. So you need something from Venus. At Sam you have seen a Venus flytrap plant. With her lit being = Glowworms give light = you need glowworms. "and all-seeing glance she watches over her subjects" = If you look at the large peacock feather, it seems that there is an eye in the feather = the peacock feather is therefore your 3rd sacrifice. the dumb and the homeless = Fish cannot talk and are therefore stupid. Snails have no house and are therefore homeless. They themselves are to blame for their pitiful condition: If they were not so fixated on themselves, they could see the wealth that lies at their feet: The Queen's Gold "= A bee population also has a Queen. The Queen's Gold is
therefore the honey. You have now determined which 6 sacrifices Max should place in the 6 holes: Venus flytrap plant, Glowworms, Peacock feather, Fish. Snail, Honey. Max already has a fish and a peacock feather. So you still need the
Venusflytrap plant, glowworms, slug and honey. |
Get out of the close-up of the inscription panel. Now take the smelly Rafflesia plant.
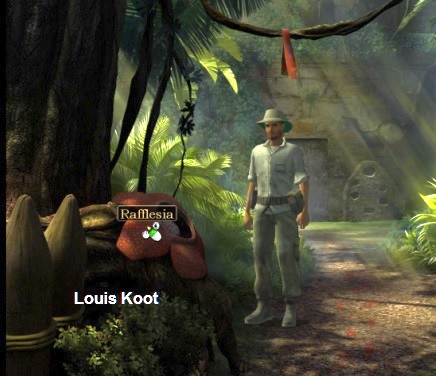
Max places the smelly Rafflesia to the left of the tree but .... the flower is too far away from the guard. The stench of the Rafflesia does not reach the guard. The flower must be moved closer to the guard. Take
the Tent poles from your inventory and click with them on the Rafflesia and ...
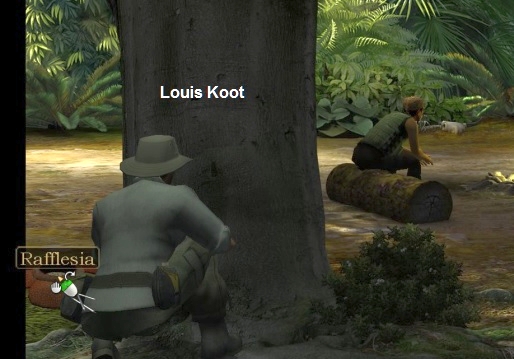
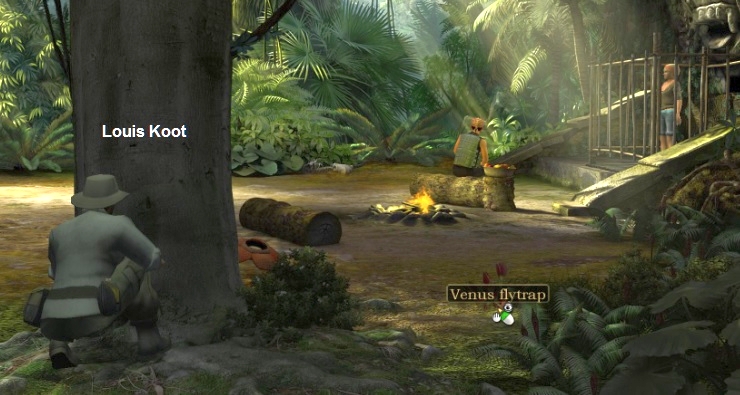
Max puts 2 sticks together and moves the Rafflesia closer to the guard. The guard now smells the stink and leaves to take place on the other tree trunk. So now the guard is beyond the Venus flytrap plant. So now
click on the Venus Flytrap plant. Max now grabs the Venus Flytrap.
Also pick up the Rafflesia again. Go back to the back door of the temple. To the right of the bee hive there is a hole in the column. You have a donut in your inventory. The donut is packed in plastic (Wrapped donut).
View the donut in inventory to remove the plastic from it. Then place the donut in the hole to the right of the bee hive.
To the right of the fireflies is also a large spider web. Click on the spider web to wipe this away.

· Put the Venus Flytrap in hole 1.
· Put the peacock feather in hole 2.
· Put the Slug in hole 3.
· Put the Honeycomb in hole 4.
· Put the Fish in hole 5.
· Put the Fireflies in hole 6 and .....
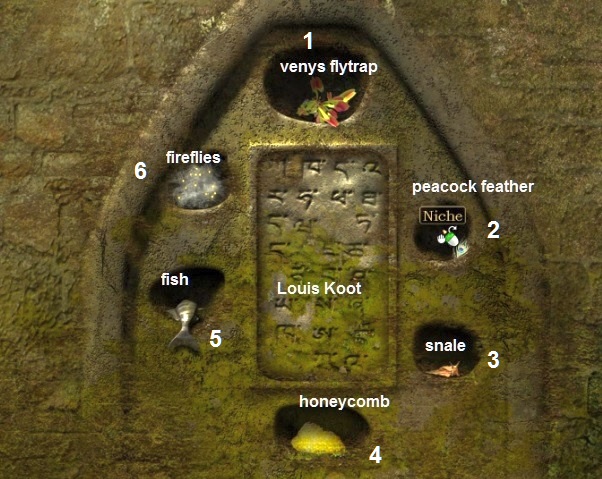
the back door opens and Max enters. We end up in:
Chapter 3: NinA: Back on the Calypso
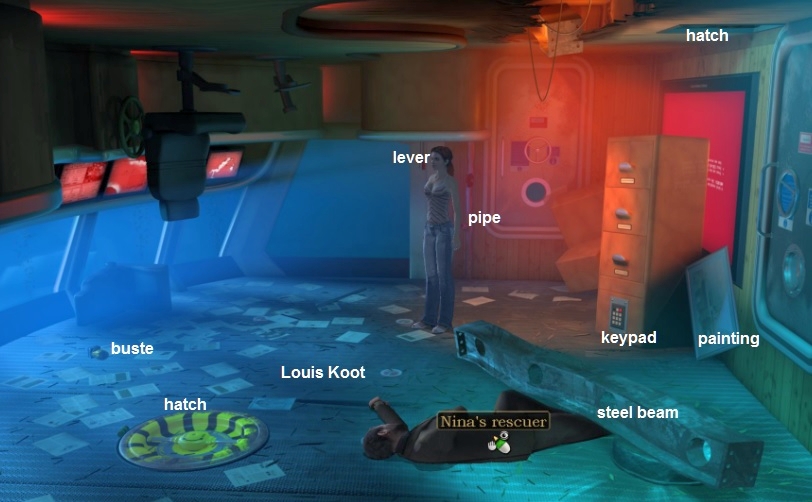
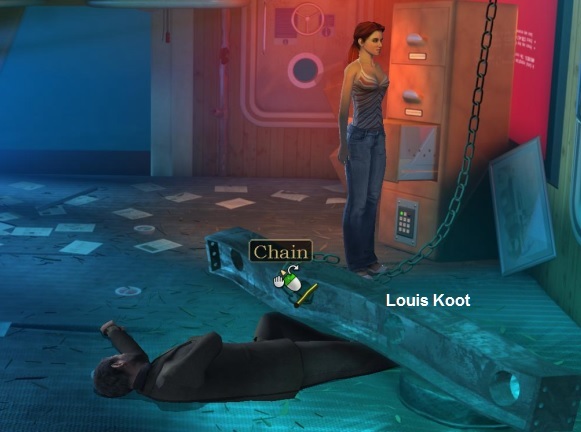
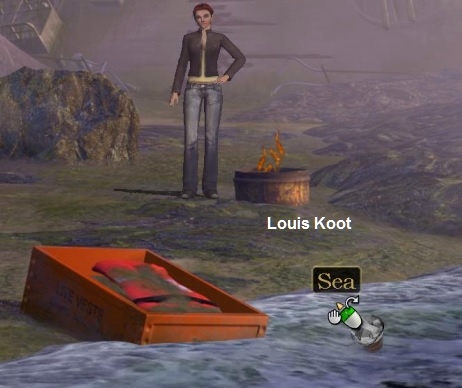
Nina is trapped on the bridge of the Calypso. Because the ship is capsized, it floats upside down. What was once the ceiling is now the floor. On the floor lies the passenger who saved Nina's life. The man is clamped under a heavy
iron beam. Click on the man to see if he is still alive. The man opens his eyes and tells Nina that the man who bumped into her in the port of Hamburg may have sent her a letter. He says it's important that Nina finds that letter. Nina finds it more important
to get out of the sinking ship.
Left click on the windows of the wheelhouse. The windows seem to withstand the pressure of the water for the time being. Also click on both doors. Nina hears water splashing behind both doors, so she's not going
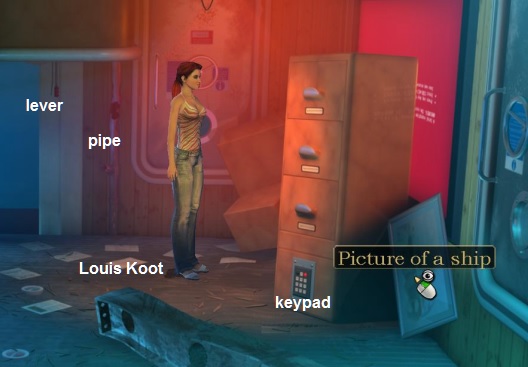
to open the doors. To the left of the back door is a pipe on the wall and to the left of that pipe is a red handle on the wall.
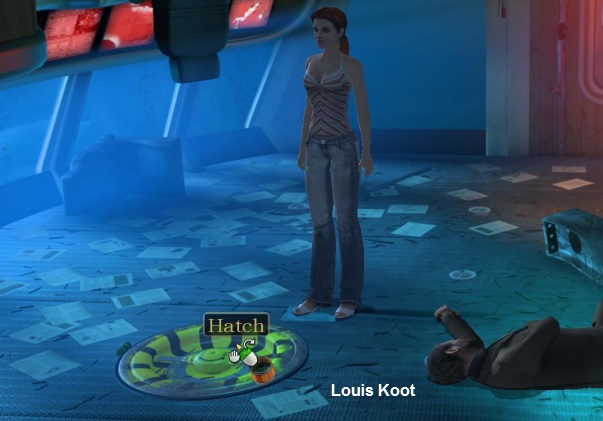
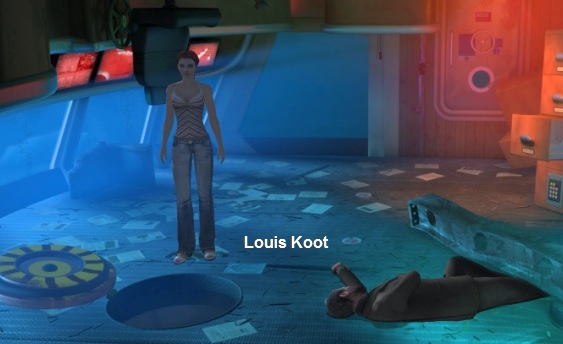
There is a large hole in the ceiling and a round hatch in the floor. Click on the ceiling hole and click on the floor hatch. The hatch in the floor is rusted to the floor, but Nina thinks this could be an escape
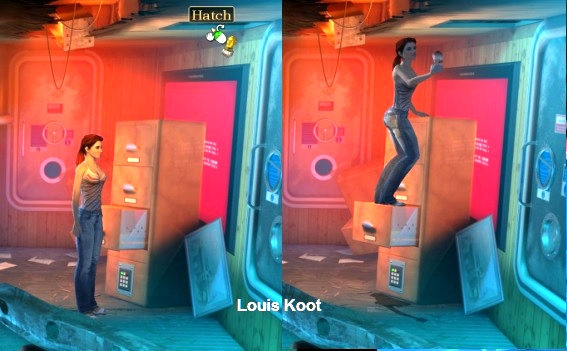
route. There is a bust on the floor near the windows. On the right is a filing cabinet (Filing cabinet) and a painting of a ship (Picture of a ship) leans against that cabinet. Above the file cabinet there is also a hatch (Hatch) in the ceiling. View the
ceiling hatch. The hatch is closed, but Nina thinks this is the only way to escape. However, the hatch is too high. View the file cabinet. The drawers in the cupboard are locked with a code lock that is located at the bottom of the cupboard. View the painting.
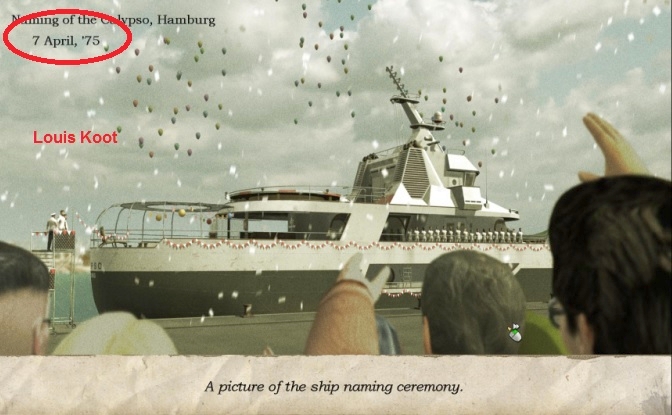
Close the close-up. Now click on the code lock of the file cabinet. You must then enter the correct code and you do so by clicking on the correct numbers at the bottom of the screen. Well ... in the photo of the
Calypso you read that this barge was launched on 7-4-75. So click on the numbers 7-4-7-5 and ...
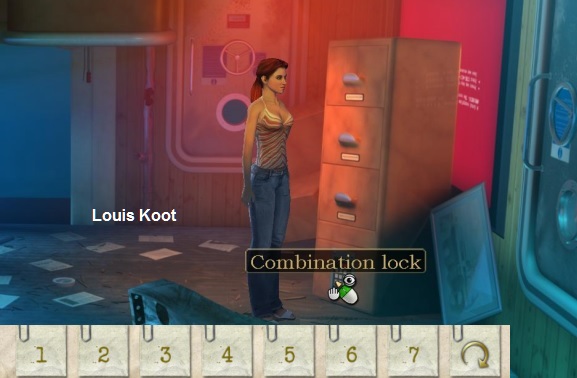
Nina tells you that you have entered the correct code. So now click on each of the 3 drawers (Drawer) of the cabinet. The top and middle drawers do not open, but the bottom drawer does open. The drawer is empty
but Nina can use the open drawer as a step to climb on top of the cupboard to reach the ceiling hatch. Click again on the hatch above the file cabinet and ... Nina is not climbing on top of the cabinet yet because she first wants to make sure there is no water
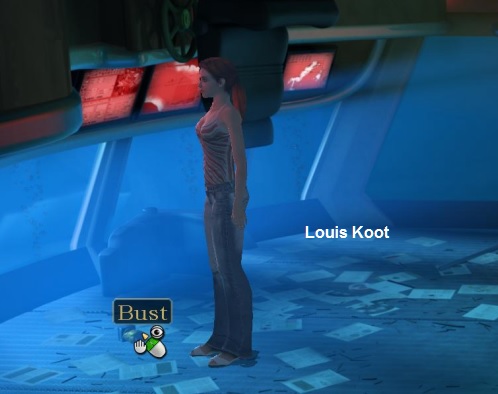
behind the hatch. Pick up the bust that lies on the floor between the window and the floor hatch.
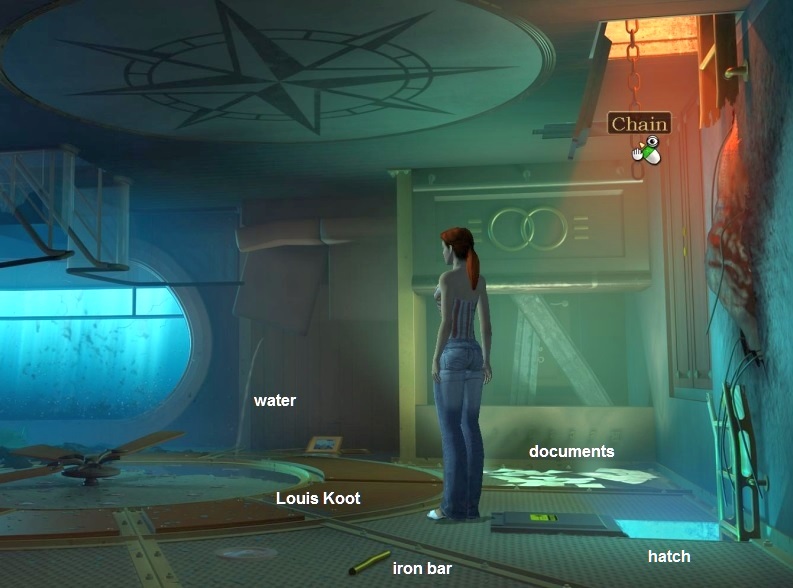
View the chain. Nina tells that the chain is attached to the ship's engine. Click on the chain to see if Nina can pull the chain down. That does not work because the chain is too tight. Take the metal
bar. Left
click on the documents on the floor in front of the counter. Nina finds her travel ticket between the documents and the letter that must have been put in her purse by William Patterson in Hamburg. The letter is full of illegible symbols and a sketch. Nina
doesn't understand a thing.
Bridge
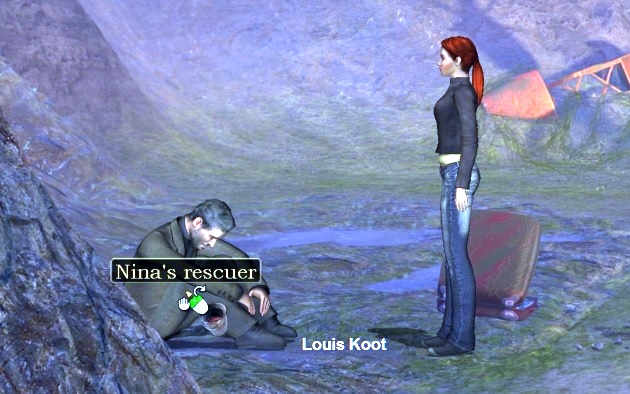
Talk to Nina's rescuer, that is, to the man clamped under the metal beam. The man is happy that Nina has the letter and now Nina can now look for a way out. Nina naturally also wants to try to save her rescuer.
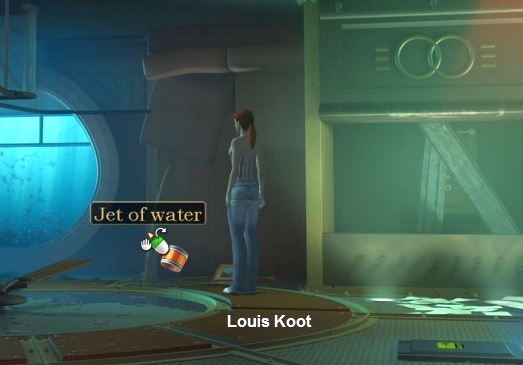
There is a pipe to the left of the rear door. View that pipe. There is a hole in the pipe and a connecting piece has broken off at the bottom. Nina sees some oil glisten at the bottom of the pipe. Take the empty bongo, not the bongo with water, from your
inventory and click it on the pipe. Nina puts the bongo under the pipe.
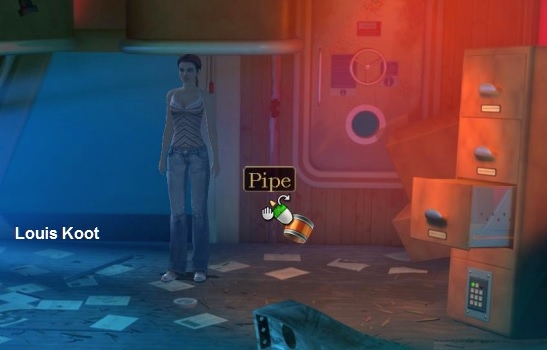
Then take the Bongo with water from your inventory and also click it on the pipe and ....... Nina pours some water into the hole halfway the pipe and this causes the oil to flow from the connecting piece into the
bongo. Nina picks up the bongo with oil automatically. Click with the Bongo with Oil on the round floor hatch to lubricate the rusty hatch with oil.
Now you have to get the man out from under the heavy beam. Look at the back door again. To the left of the pipe, from which you have just drained the oil, is a red lever. View the red lever. Nina tells
you that with this lever you can move the ship forward and / or backward because this lever is connected to the ship's engine. The handle is now on "Stop". Left click on the lever and .... at the bottom of your screen 2 lever icons will appear that
you have to click on.
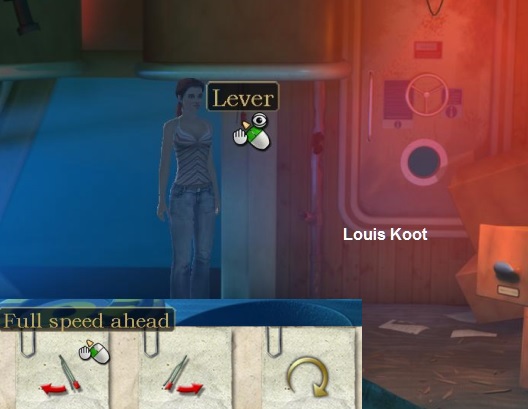
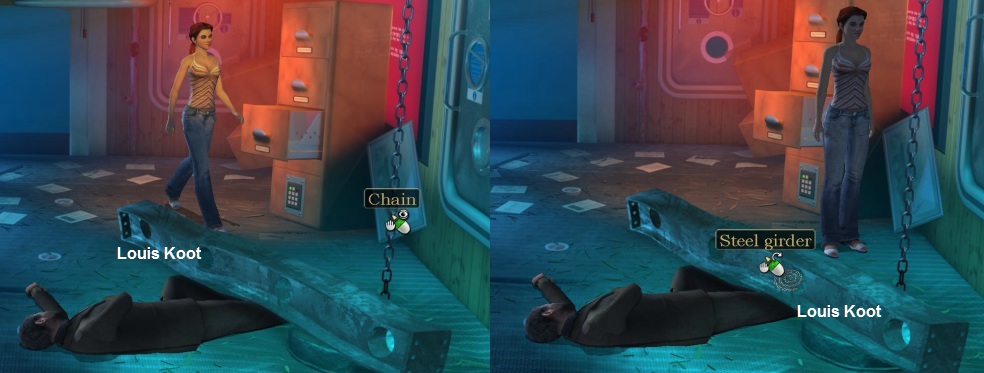
This causes the chain to rise again and the beam to be lifted and the
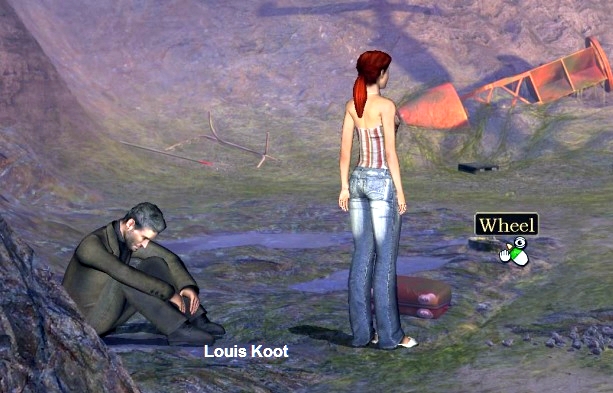
poor man to be released from the beam. Now click on the man again to wake him up and ......
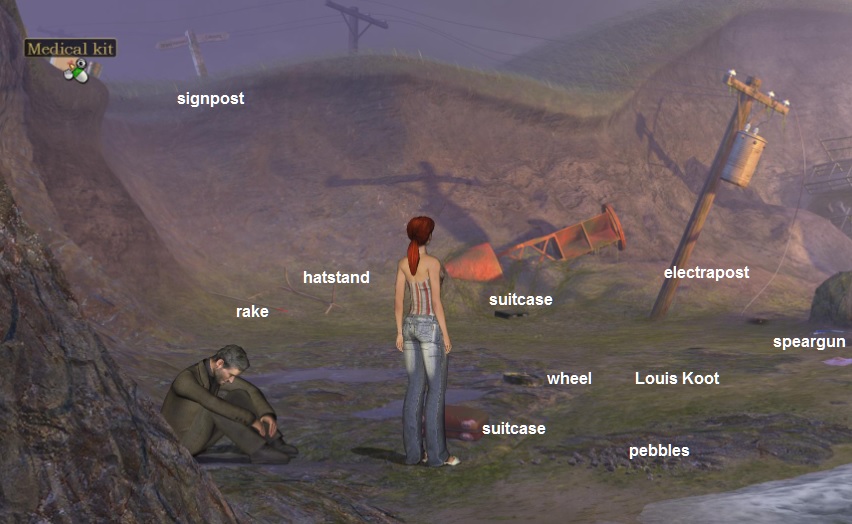
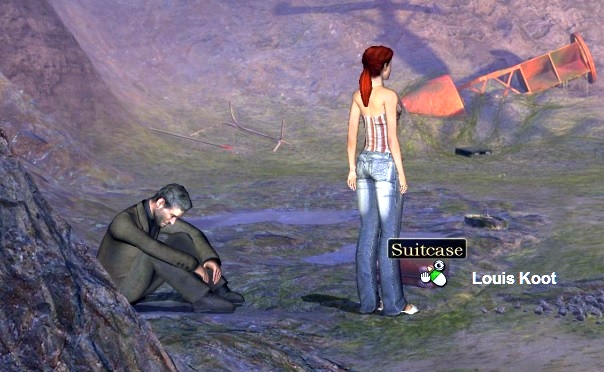
Look around and pick up everything you can find. Nina's red suitcase is on the beach. There is a wheel behind Nina's suitcase. To the right of Nina's suitcase is a pile of Pebbles. At the edge of the dunes there
is a skewed electricity power pole. An electrical cable hangs down from the pole. Near the round boulder, which is to the right of the electric pole, is a Spear gun and a Sheet of metal. To the
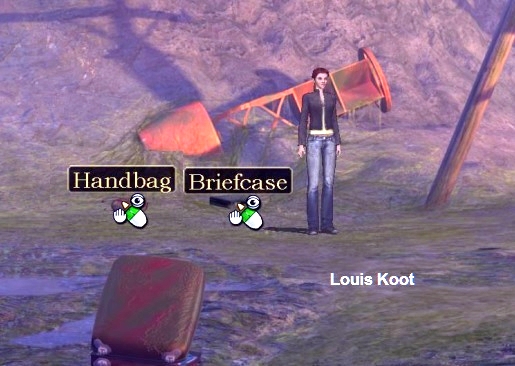
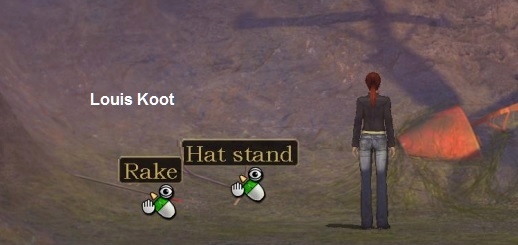
left of the crooked electrical pole post is a black Briefcase and further to the left is a hat stand and a Rake. Between the black diplomat's suitcase and the hat stand is another handbag . There is a Medical kit on top of the dunes and there is a Signpost. View everything.
Grab a handful of Pebbles.
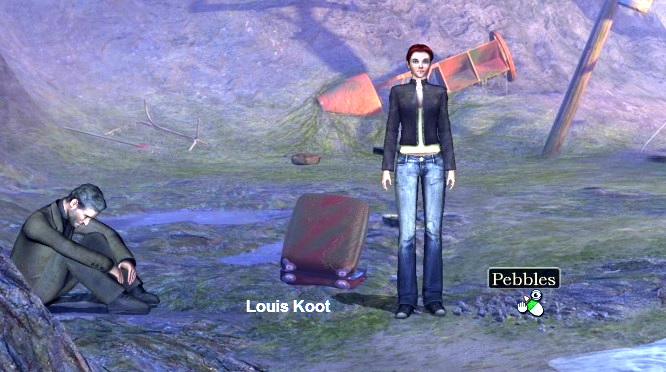
Grab the Wheel.
Take the black briefcase and grab the Handbag.
Right-click in inventory on the black briefcase. Nina finds some documents and a chocolate Candy bar in the briefcase. Chocolate contains sugar, so give the chocolate bar to the man. Nina thinks it is a
good idea, but says the man cannot chew in his current state of sedation. Nina thinks it is better to give the chocolate in liquid form so that the man can drink it. Take the coat rack and grab the rake.
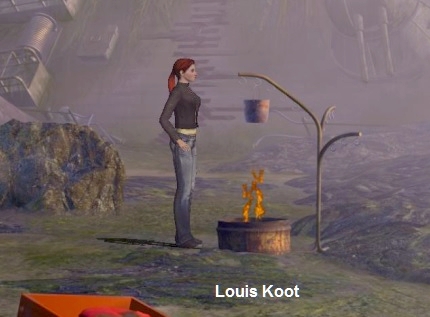
The signpost is too high and too far away, so Nina cannot read the names on the signpost and Nina cannot climb up. The first aid kit is too high, but that can be remedied. In inventory, combine the pebbles with
the handbag to put the pebbles in the handbag. Then take the handbag from your inventory and click it on the first aid kit and ....
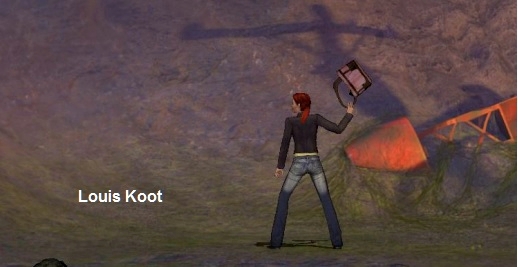
Nina throws the handbag to the first aid kit that falls down as a result. 2 buckets are also coming down. Nina then picks up the first aid kit and the 2 buckets. Right-click in the inventory on the first aid kit
to extract the contents. There is only a few rolls of stretch dressing in the first-aid box. Ok .... now walk over the beach to the right until Nina does not continue. You now see the rear part of the beach and the dam. There are more things on the beach.
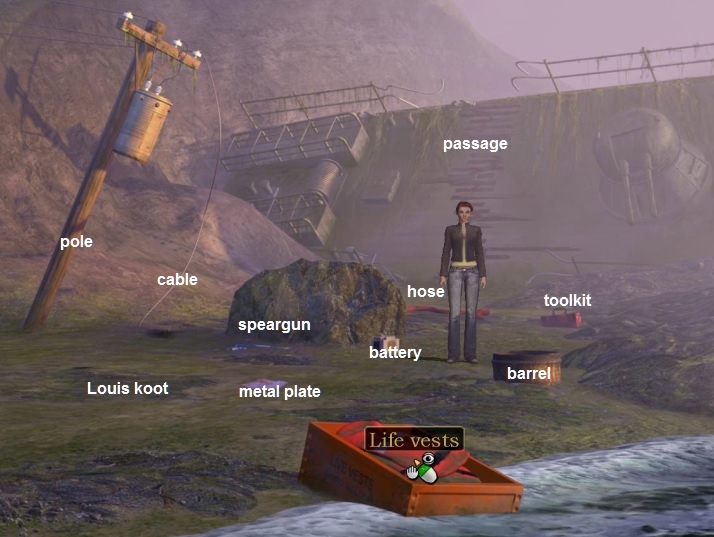
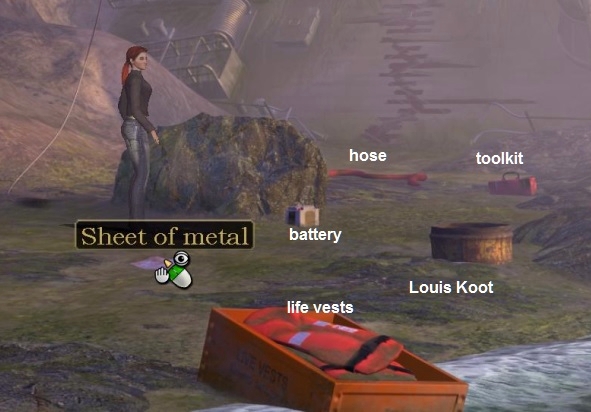
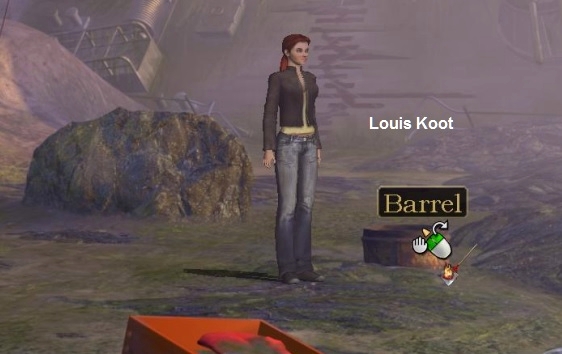
A staircase goes up on the dam (Passage). Behind the round boulder is a red Firehose and there is a red toolbox. At the round boulder there is a Car battery and there is therefore a Spear gunand a piece of metal plate. There is also a rusty iron
Barrel on the beach and an orange chest with Life vests. First view everything again.
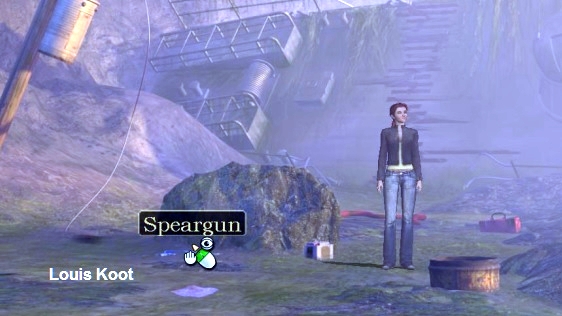
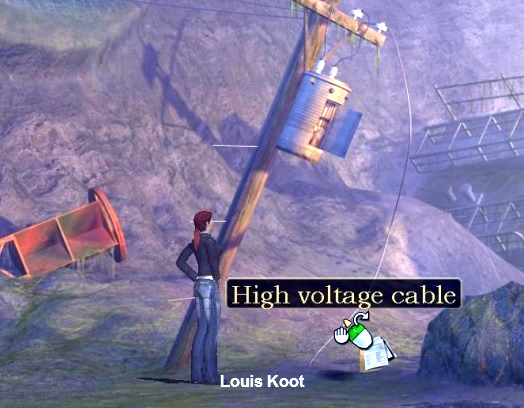
On the crooked Power Pole is a round cupboard that probably contains the fuses. So there is also a crackling cable that has power on it. The pole is slippery so Nina cannot just climb into it. Get the Speargun. The
speargun also has arrows.
The toolbox is locked. In inventory, combine the battery with the toolbox to burn through the toolbox lock with the battery acid. The toolbox is then open but Nina is leaving the tools in the box for the time
being. Take a life vest from the orange crate.
There is still some liquid in the iron barrel. If you look at the barrel, Nina tells you that the liquid in the barrel is some acid that is also combustible. The barrel is too heavy to pick up. You have now pretty
much swept the beach clean. Now Nina has to think of a way to melt the chocolate bar. So Nina has to make a fire to melt the chocolate.
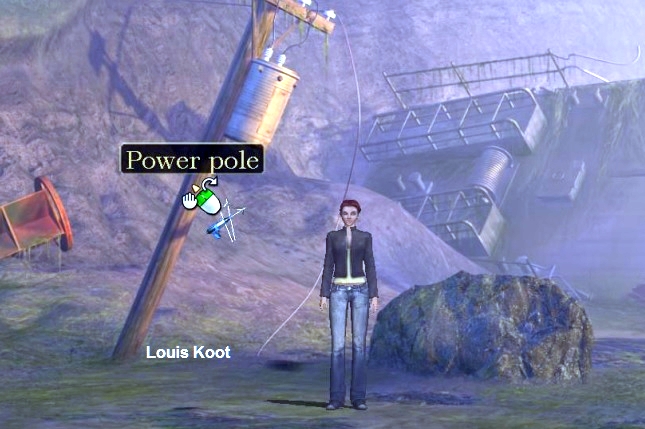
Nina shoots the 3 arrows into the pole and via those 3 arrows she can now climb up.
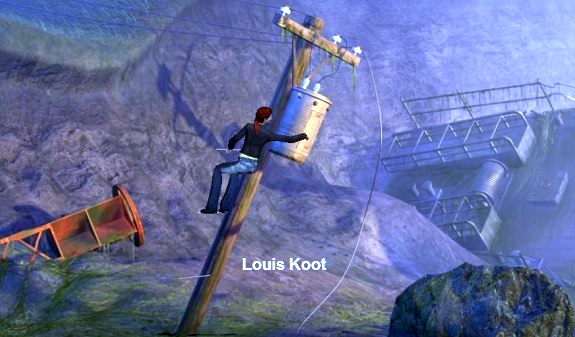
This only works if you first opened the toolbox using the battery acid from the battery. If you have forgotten this, you must first do so. Nina is then again on the ground and in front of the pole. Take the
documents from your inventory and click them on the hanging electrical cable.
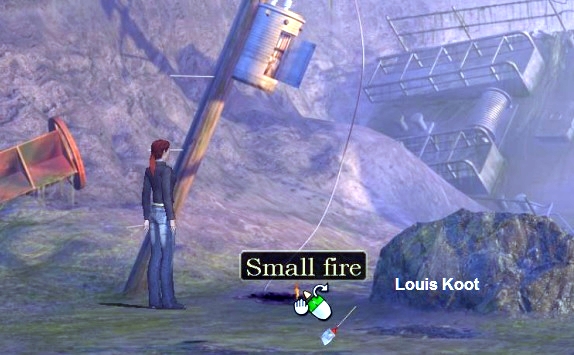
The liquid in the barrel catches fire and you have now made a considerable fire in the barrel, which will also burn for a while. So Nina wants to brew a chocolate drink, but for that she needs water.
Take one of the 2 buckets from your inventory and click it on the sea. Nina finds the water from the sea too dirty, so she first has to make sure she gets clean water in the bucket. So Nina needs to make a sort of sieve.
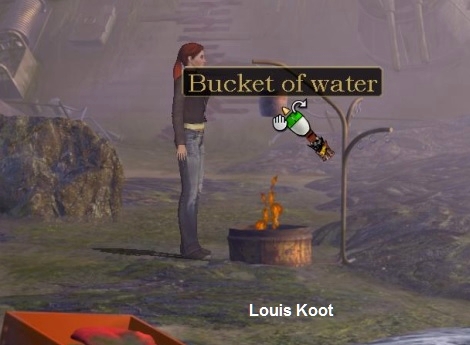
Nina first pours some water from the bucket before she puts the bar in the bucket and a little later there is chocolate water in the bucket, which, however, has a somewhat salty taste. Walk back to the man and
click with the Chocolate Bucket on the man.
The man's name is David Korell and he is a Berlin vicar and, on behalf of the Catholic Church, is conducting research into extra-religious sects. David's current research concerns the Puritas Cordis sect. This
cult adheres to the prophecies of the prophet Zandona. Zandona is a prophet from the 17th century who predicted all kinds of catastrophes. The predictions from Zandona have also come true. The following series of disasters would lead to the final demise of the
Earth. And .... these disasters are taking place in the present time and that is exactly what the UN meeting, in which Nina's father also participates, is about.
So Korell focused his research on the figure of Zandona, but he couldn't find anything about the man. All archive material and writings about Zandona have disappeared. Until a few weeks suddenly a letter comes up
from a nun, one Sister Elise. It is the letter that so many people have died for and that William Patterson, in Hamburg, gave to Nina. You now see a video in which Sister Elise is writing and reading the letter.
You see Sister Elise in the Ashton Church and it is 1681. Sister Elise writes that she has witnessed a series of disasters and that these disasters have all been predicted by Zandona. Sister Elise regrets not
having the courage to prevent these disasters. She could have done that with a key hidden in the French town of Gatineau.
Nina doesn't really believe in prophetic predictions, but if David Korell briefly lists what has happened lately, she must admit that it can no longer be a coincidence. David has searched for the town of Gatineau
but could not find it initially. But recently excavations found remains of what could once have been Gatineau. Korell now wants to travel as quickly as possible to the ruins of Gatineau to look for the key Sister Elise talks about in her letter. However, David
does not know what that key looks like. David now climbs the dam and he also helps Nina cross the dam.
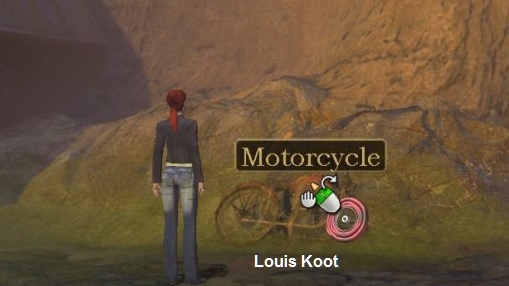
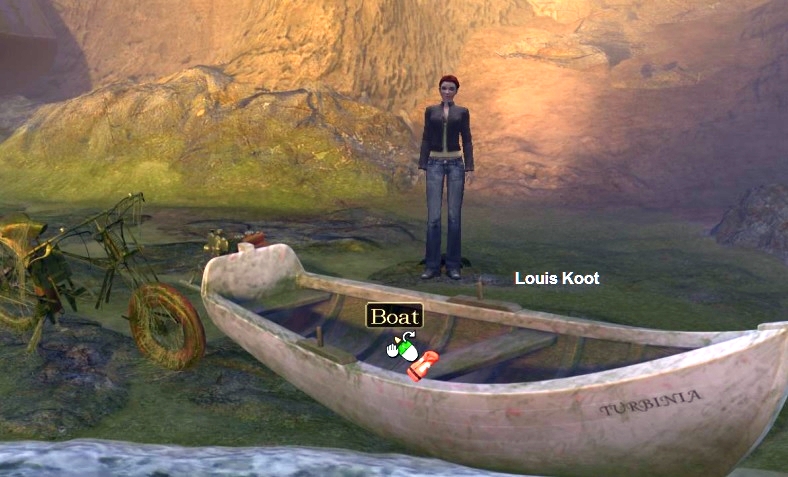
Nina is now on the beach on the other side of the dam. David stays on top of the dam. First look around again and first view everything again. There is a rowing boat on the beach. Against the rocks is a tank bag and the wreck of a motorcycle. To the right of the motorcycle wreck is a sand slope (Landslide) and at the bottom of that slope is a heap of packaging material (Packaging). To the left of the rowing boat is a yellow suitcase.
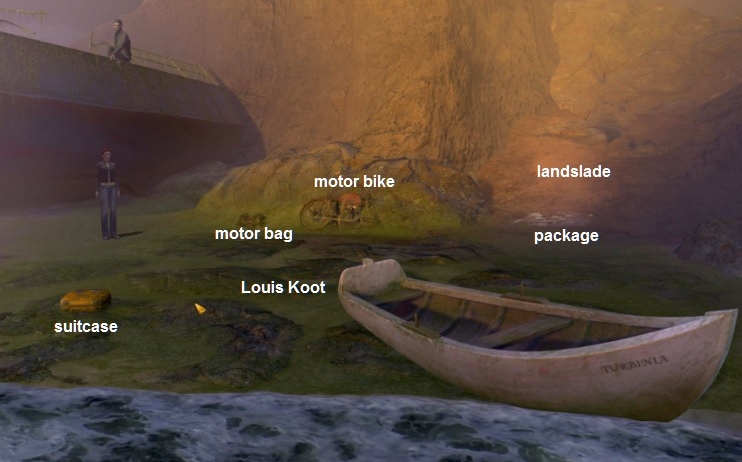
The motorcycle is no longer usable, but the wreck still has a usable engine. The rowing boat is fine except that there are no oars and the boat also has no engine. Click on the yellow suitcase. However, the yellow
case is locked. So take the battery from your inventory and click it on the suiecase. The battery acid from the battery then opens the case.
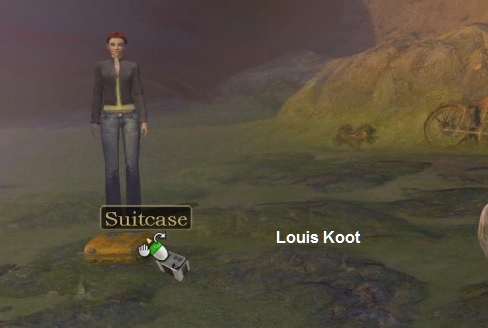
Nina takes dry men's clothing and a digital photo camera from the suitcase. Give the dry men's clothing to David, who sits on top of the dam.
Your screen will then go black for a moment while David is getting
dressed. Click on the Tank bag.
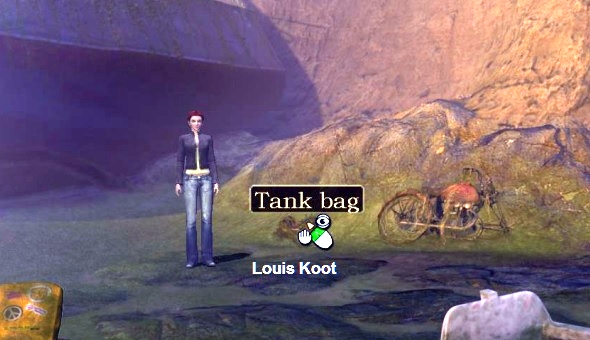
Nina takes a Map from the motorcycle bag. View the map in your inventory. It is a map of northern France. If Nina knew where she is now, she can use this card well. Double click on the
Dam (Passage) to
return to the left beach.
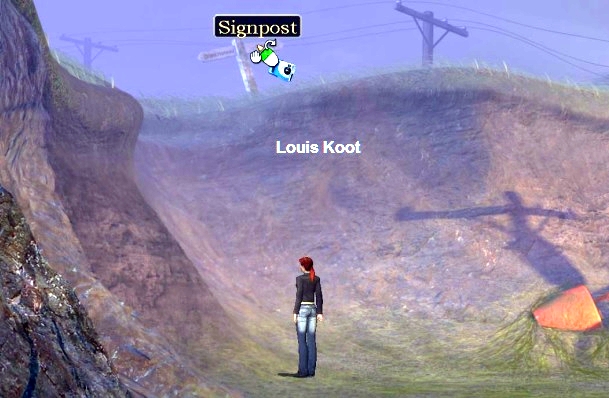
Look at the camera again in your inventory. Thanks to the zoom lens of the camera, Nina can then read the names on the photo of the signpost, but it doesn't tell her so much. Look at the map again and .... Nina
now recognizes the names on the map that are also on the signpost. Nina now finds its way to Gatineau on the map and that is just following the river Seine. Walk back to the right and double click again on the Dam (Passage) to return to the right beach.
Left click on the motorcycle. The motorcycle does not have a front wheel but still has a motor. But how does Nina get the motorcycle by the rowboat? In inventory, combine the Wheel with the
Fire Hose into a
provisional front wheel. Click with the self-made front wheel on the motorcycle and .... the motorcycle has a front wheel again.
Left click again on the motorcycle and .... The motorcycle is then attached to your cursor, so click it on the rowing boat and .... Nina then drives the motorcycle to the rowing boat. The motorcycle is now at the
rowing boat, but Nina has to demolish it. So take the toolbox from your inventory and click it on the motorcycle and .....
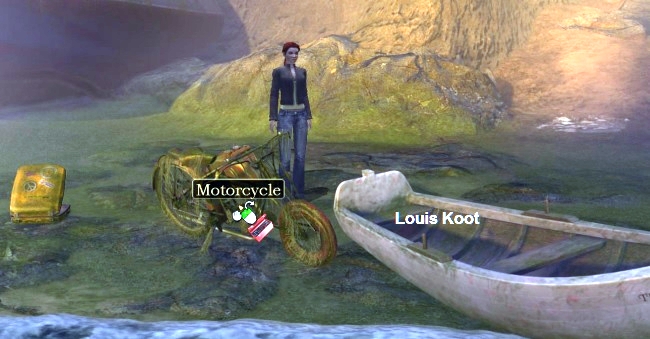
Nina breaks off the bike's engine and places it, as an outboard motor, on the back of the rowing boat. Now only a rudder is needed. Try whether the (Makeshift shovel can serve as a rudder, so click the scoop on
the boat. Nina can use the shovel as a rudder, but only if she does not need the shovel for anything else. So there is some packaging material at the bottom of the sand slope. Perhaps the content is somewhere around here too. So grab the shovel from your
inventory and click it on the sand slope (Landslide) and ...
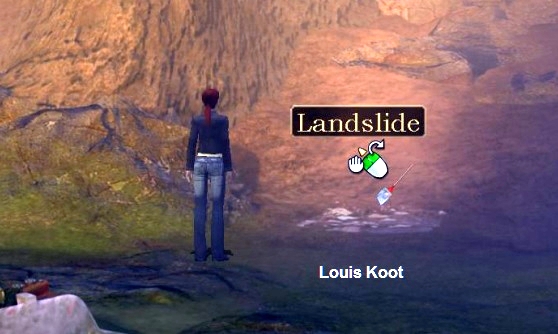
Nina digs up a Ventilator from the sand, Take the Ventilator from your inventory and click it on the rowboat. Unfortunately .... Nina wants the fan to serve as a propeller for the outboard engine, but that
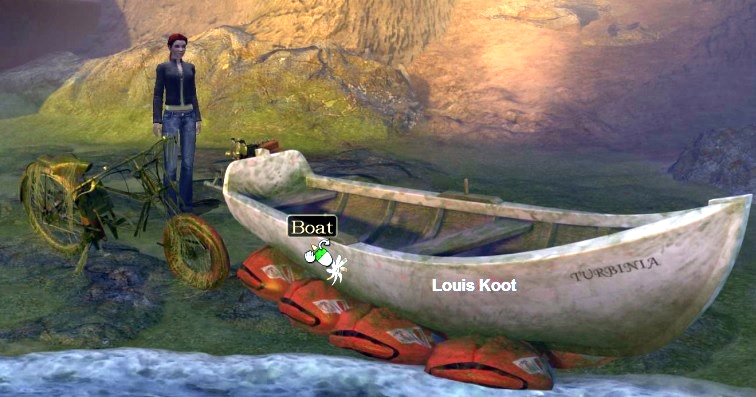
should of course be under the engine. Nina must therefore first lift the boat to place the fan under the engine. Take the life vest from your inventory and click it on the boat.
Nina thinks this is a great idea to lift the boat with the life jackets and she runs away to get even more life jackets. Nina has then put all life jackets under the boat and inflated them all and this has lifted
the boat a bit. So click again with the fan on the boat and .... now Nina places the fan on the engine.
2006: Original Dutch walkthrough by: Louis Koot
2019: English translation by: Dick Leeuw