2006: Original Dutch walkthrough by: Louis Koot
2019: English translation by: Dick Leeuw
If you have found this walkthrough via google search or via another site then you have probably not visited my site.
A lot more very detailed game walkthroughs can be found on my site at: www.pcgameswalkthroughs.nl
Chapter 6: Nina: Paris
A: At the graveyard:
Entrance:
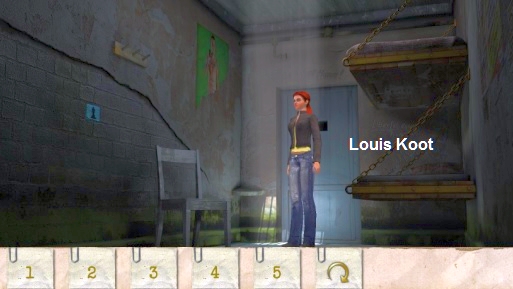
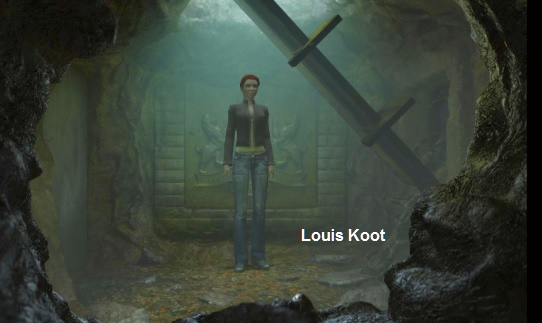
Nina and David have arrived in Paris. In the cemetery they discover that the cardinal's chapel is a ruin. There are only some loose walls and columns.
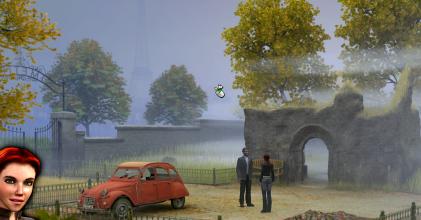
On the right is a stone altar and on the left is a round stone column. In the round base of the stone column you see a square hole that contains a blue stone. View the altar and view
the blue stone. Then left click on the blue stone and ....... Nina pulls the blue stone out of the column but she loses her balance and falls backwards. Nina breaks through the stone floor and falls down and ends up in the:
Underground room:
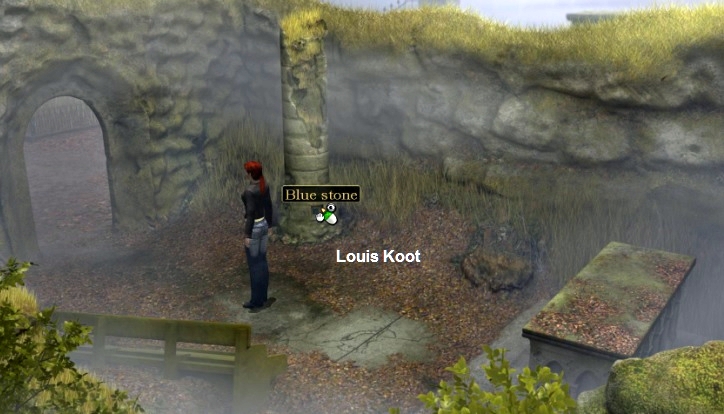
Above Nina's head is the hole through which she fell. In the wall, behind Nina, you see a coat of arms (Emblem). To the right is the actual entrance but there is a huge pile of debris
in front of it (Buried entrance). To the left is a solid stone door. There is a small gap (Gap) between that stone door and the wall through which cold air comes.
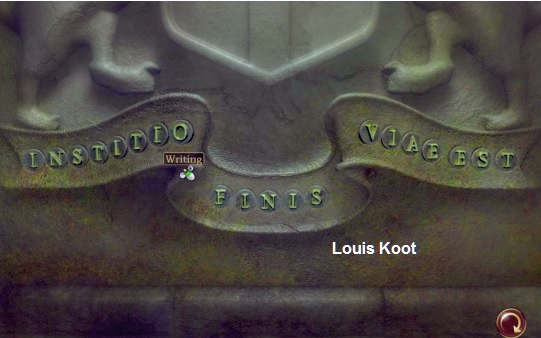
Nina then tells you that some letters can be rotated in the text. But if you try to do that, Nina will refuse because she has no idea which letters should be turned around and why. So
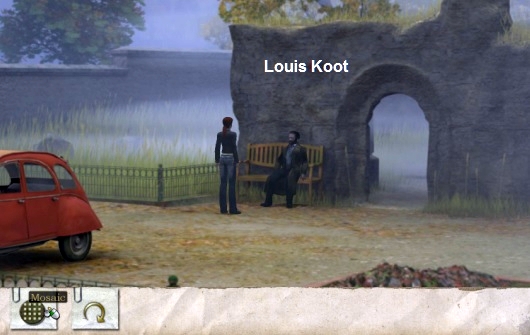
close the close-up and then left click in the Hole above Nina. Nina then calls for help and a wanderer appears. After some talking back and forth, the wanderer lowers the wooden bench and Nina climbs back up via the bench.
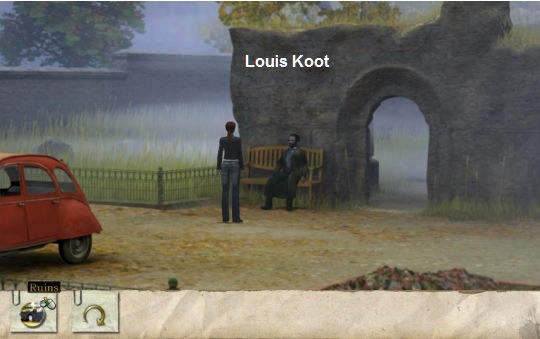
The wanderer says that the chapel was destroyed during the 2nd World War. The Cardinal's papers must still be somewhere in his secret archive here because the papers were never found.
Cardinal Coubertin died in 1663. No one knows where he is buried. On one of his journeys, the cardinal brought an agent. This agent, who had been with the Cardinal for 40 years, took care of everything until his death, 10 years later. The agent was only found
weeks after his death in a poor basement room. This agent was a solitary person who rarely went out on the street and was always dressed in a long, roomy cloak. The agent is buried here in the cemetery. The wanderer believes he was called Michel or something
like that. Nina decides to look for the grave of this Michel.
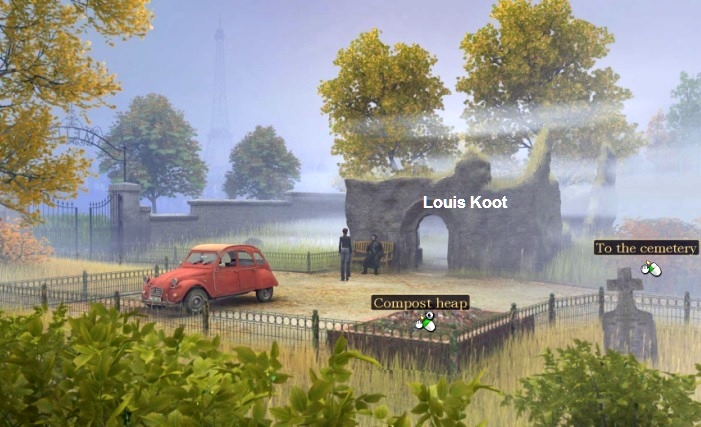
An orange Citroën is parked. To the right of the Citroën you see a Compost heap bin. Left click twice in the compost heap and ....

Nina takes a candle and a wooden Stick from the compost heap. Go one screen to the right
(To the cemetery)
. We now end up in the actual cemetery
Find Michel's grave:
Nina is at a 4-way intersection and 3 year icons now appear at the bottom of your screen. The graves are carefully laid out by year. So now you have to choose which path Nina should
take and you do that by clicking on 1 of the 3 year icons.
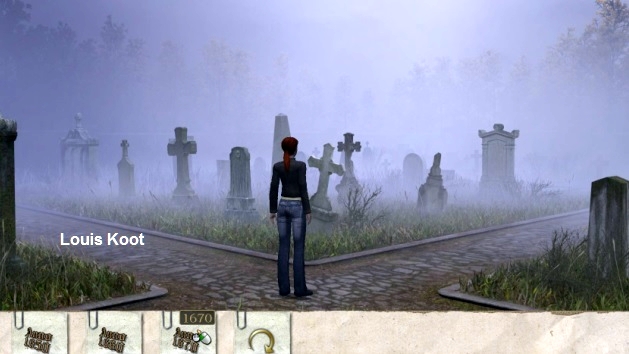
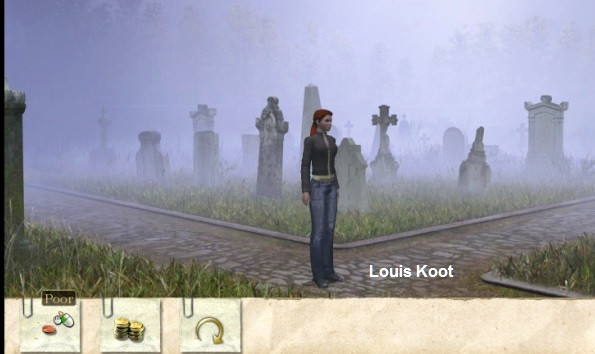
At intersection 2, Nina says that the graves are sorted according to the wealth of the "inhabitants". So now you have to choose between Poor and Rich, The left icon is Poor
and the right icon is Rich. Michel, the manager, lived in a cellar, so he certainly wasn't rich. So click on the left icon and Nina takes the correct path and ends up at the 3rd crossing.
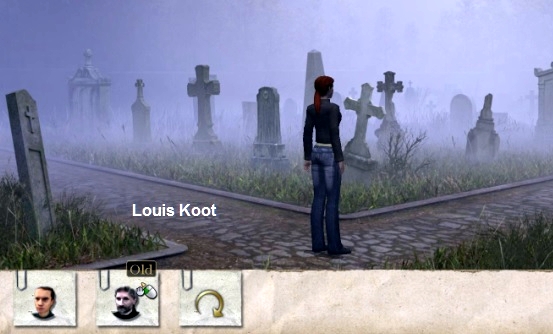
At intersection 3 the graves are sorted by age, so by people who died at a young age and people who died at an older age. Michel was 40 years in the service of the Cardinal, so it is
likely that he was quite old when he died. So click on the right icon and .... Nina continues to crossing 4
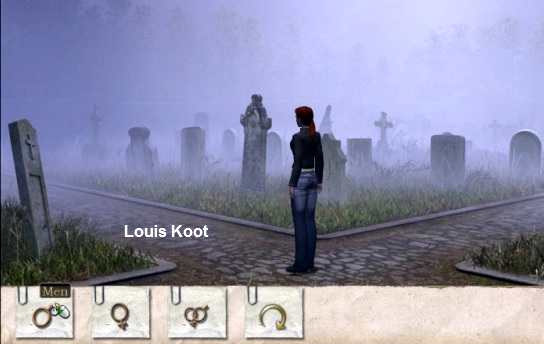
At intersection 4, Nina says she has reached the last stop. Here you get choices again, you have to choose between women, men and family graves. Well ... you know from the wanderer
that Michel died in solitude, so he had no family. Michel was, according to the tramp a man so click on the left icon (Man) and ....
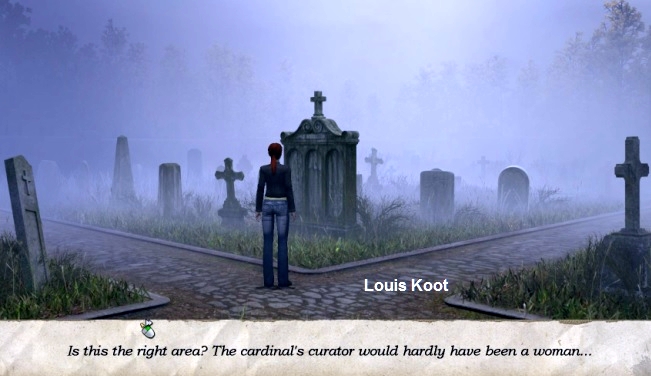
Nina walks on, but she doesn't find a grave with a name that looks like Michel. Nina returns to the cemetery entrance to think about everything again, and you should do that now. So we
are back at the entrance. The wanderer has said that "Michel" was a solitary person who rarely came out on the street. If he did go out on the street, he was always dressed in a long, wide cloak that almost completely concealed him. What if
"Michel" wore that cloak to disguise that "he" was not a man but a woman?
Go back to the right and walk the same route one more time, but at the 4th intersection, choose the Woman Icon now. So at junction 1 you choose Anno 1670 again, at junction 2 you
choose Poor again, at junction 3 you choose Old again and at junction 4 you now choose Woman, so the middle icon and .....
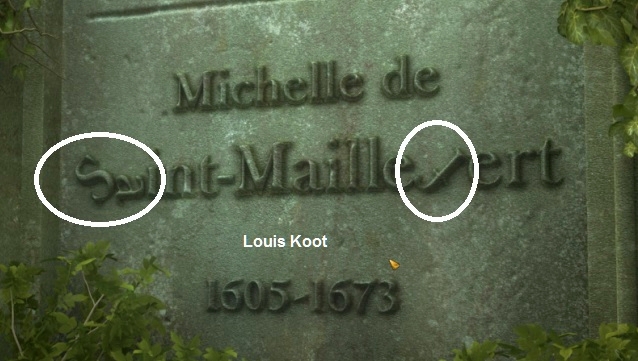
View the tombstone carefully. You can see that the letters S, a and f are tilted. Remember the position of these letters S, a and f. Zoom out and .... Nina will be back at the
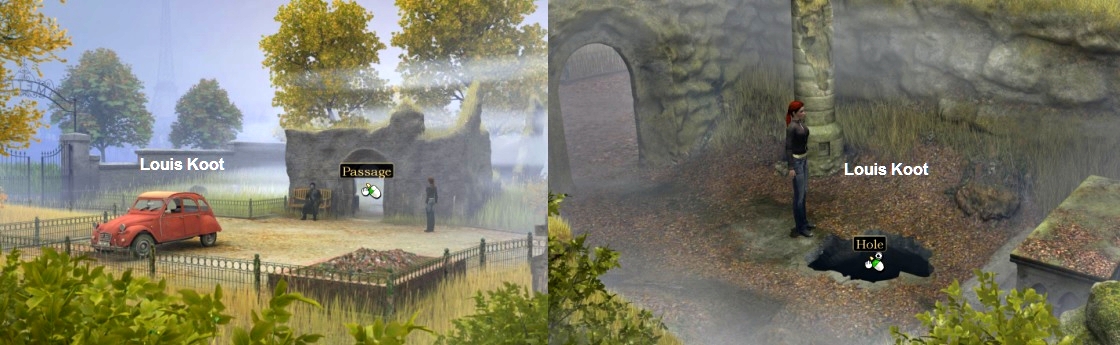
entrance. Double-click in the gate (Passage) of the chapel, so the gate where the wanderer sits on the bench, and in the chapel ruin you double-click in the hole in the floor to return to the:
Underground Room:
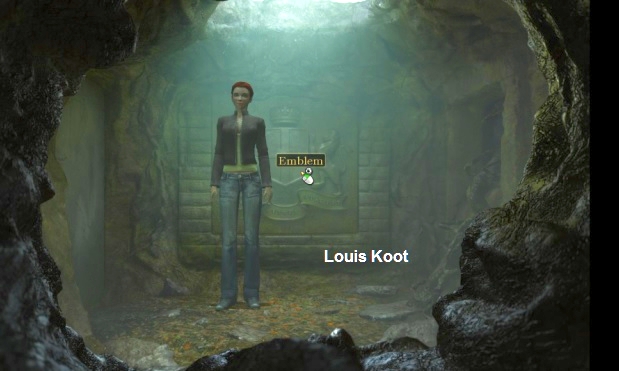
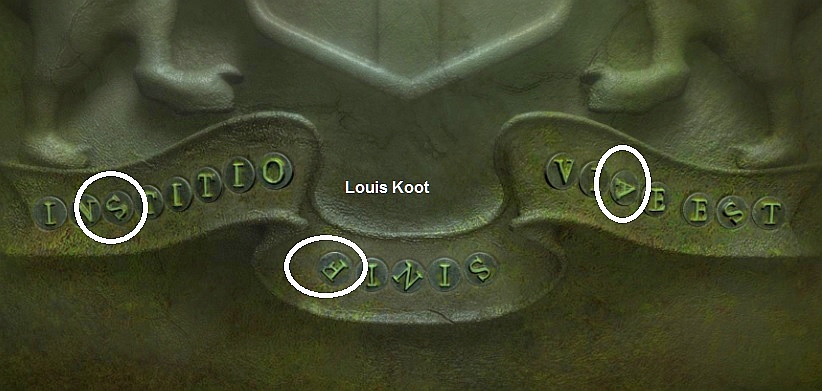
Zoom in again on the coat of arms (Emblem), Nina has told you that you can turn the letters of the weapon motto. On the tombstone of Michelle de Saint-Maillefert you saw that the
letters S, a and f are tilted. So now you have to tilt the letters S, A and F here in the motto to set them exactly as you saw on the tombstone. So you have to tilt every S (there are 3 S), the A and the F.
Left click 3 times on each S. Left click 2 times on the A. Left click 5 times on the F and ....
the Stone Door opens. So double click in the doorway (Passage) and .... Nina ends up at the:
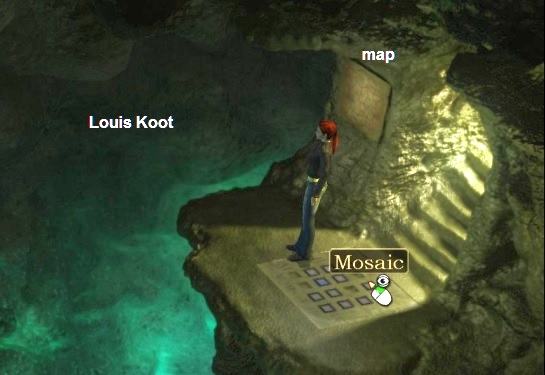
Underground canyon:
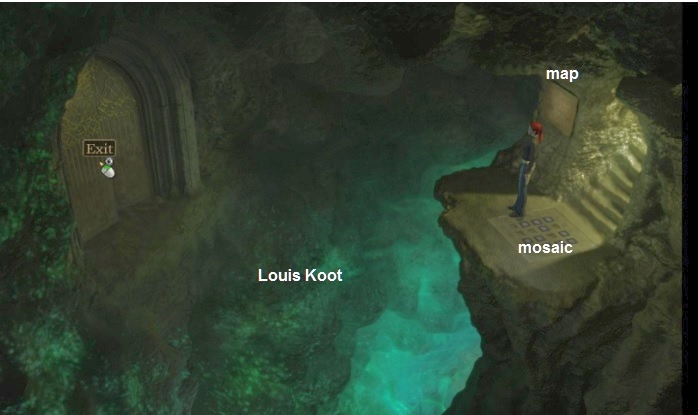
Nina stands on a platform above a deep crevice. On the opposite side is a wrought iron gate. In the platform where Nina stands on it is a tile mosaic and on the left wall is a map
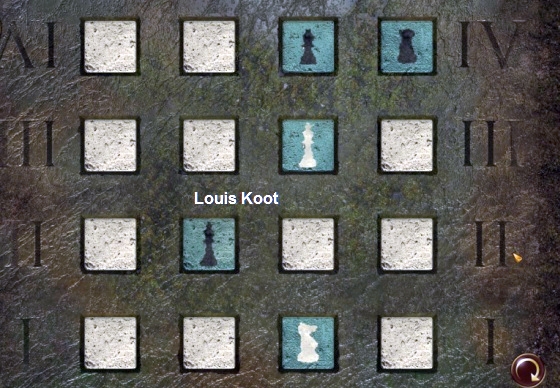
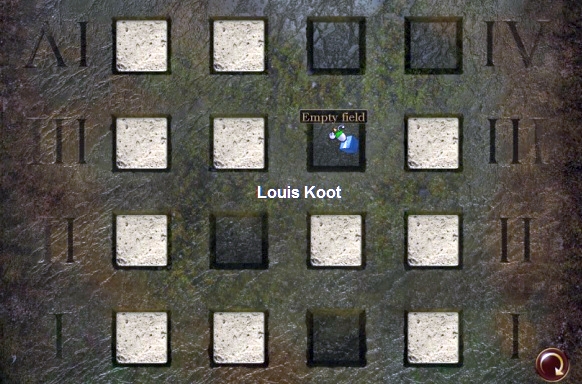
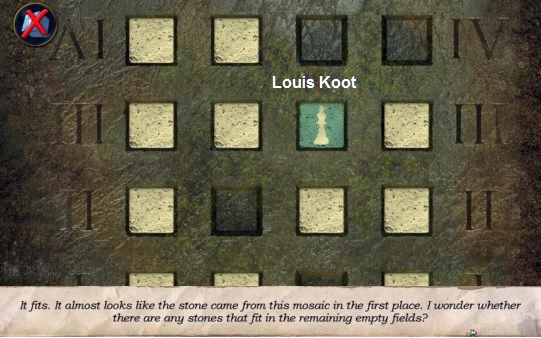
(Map). View the wrought iron gate. Nina hopes that the Cardinal's archive can be found behind the fence. View the tile mosaic. You enter the mosaic close-up. There are 16 squares in 4 rows of 4 squares each. In some squares there is a white tile but 5 other
squares are empty. There are Roman numerals on the left and right. You can move the white stones. Open your inventory and then view the blue stone (White king). The white King of the noble game of chess is engraved on this cube of stone. Take the blue stone
from your inventory and place it in one of the empty boxes in the mosaic. It does not matter in which empty box you place the blue stone.
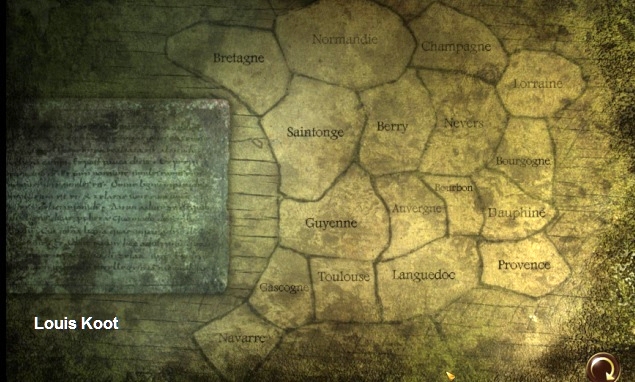
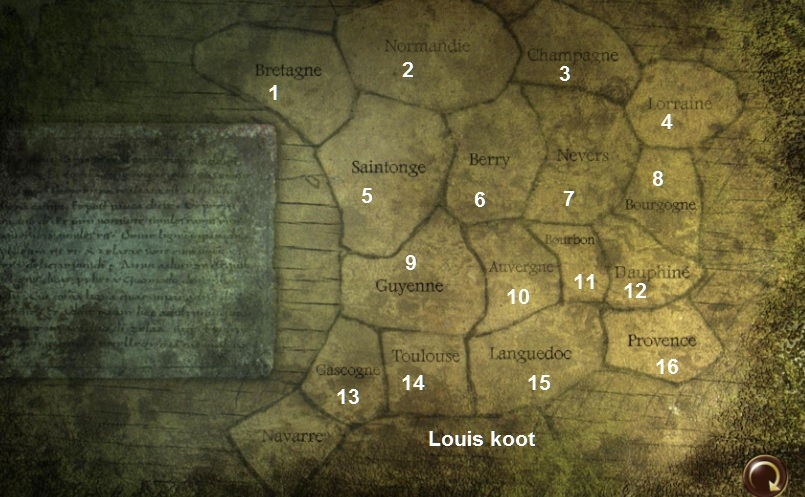
The map shows the provinces of France, the way France looked when the Cardinal lived. France is at war with the English. On the left is a text. Nina automatically reads that text. The
text says that the King of Provence is waiting for reinforcements from Navarre, while the enemy is watching from Bretagne. Close the close-up screen.
Nina is unable to continue here because she still needs 4 of those blue stones. So double-click on the stairs (Way up) to return to the coat of arms and then double-click in the hole
above the coat of arms to climb back out of the underground room. Then go back through the gate (Exit). Talk to the tramp on the couch and use the mosaic topic. Nina asks the wanderer if he knows where she can find more of those blue stones.
The wanderer says that after the bombing in WW2, the stones of the chapel were used to repair other things that were flattened. These were a bridge, a prison, a zoo and the old metro.
He gives Nina a city map so that she can easily find these places.
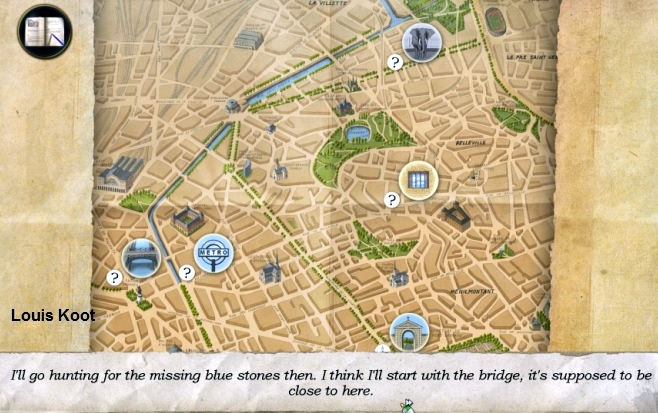
B: The Blue Stone hunt:
Bridge:
Nina is now on a bridge over the Seine. At the bottom right in the inventory bar you will find the map icon. If you click on the Map icon you open the map. On the map, click on the
location where you want to go. But don't do that right now because we are first search this bridge location.
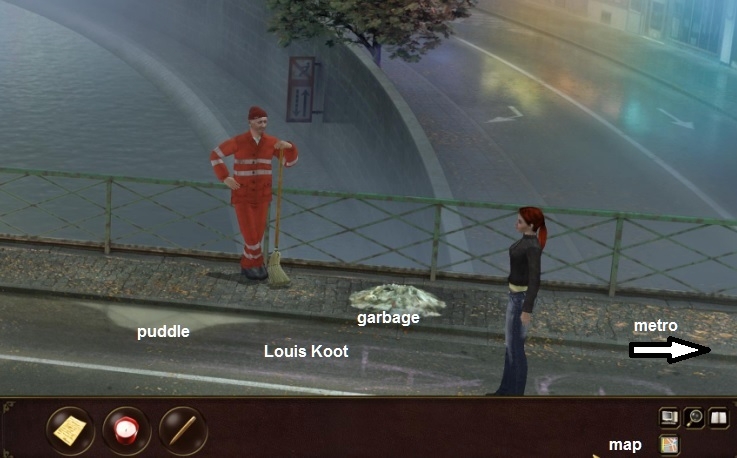
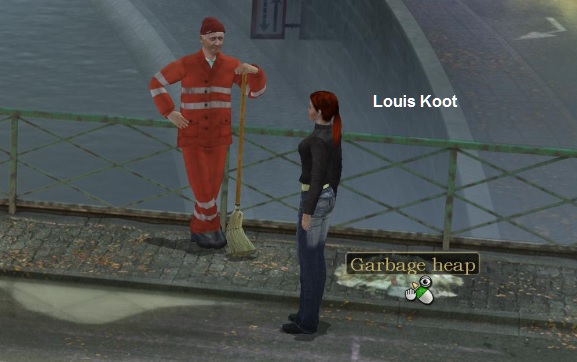
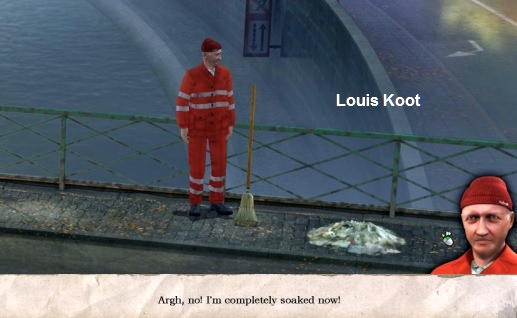
This street sweeper does not usually sweep this bridge, but he is currently falling in for the sweeper who normally sweeps this bridge. The man has not seen a blue stone. But the
street sweeper has only swept this right side of the bridge. The man has not swept the left side of the bridge because of the rain. And as long as it keeps raining there, it will not sweep the left bridge halfway.
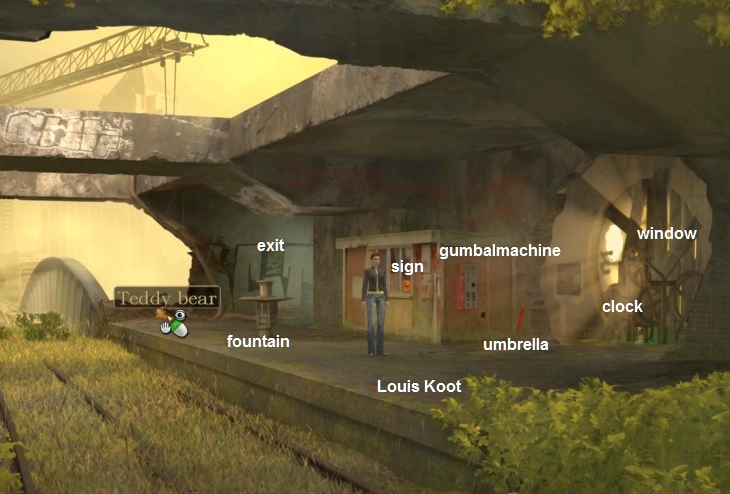
Subway station:
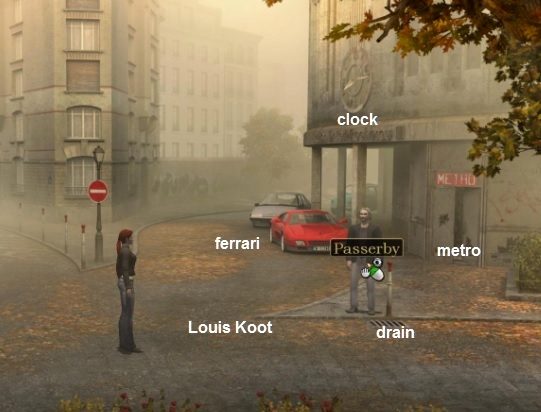
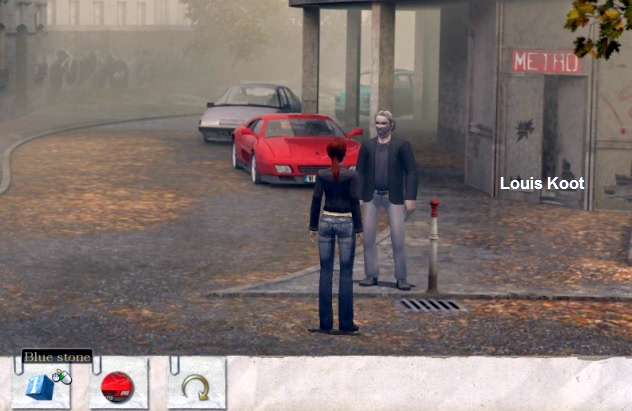
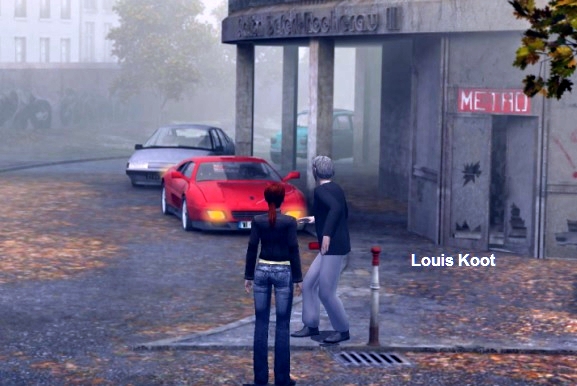
The young man's name is Alexander Rossi and he has rented the beautiful red Ferrari to impress his friends. Rossi is here on the corner waiting for his friends, who will arrive in a
delivery van but always take the wrong turn here. Rossi has not found or seen a blue stone. Rossi himself caused the scratch on his Ferrari and is quite depressed about this.
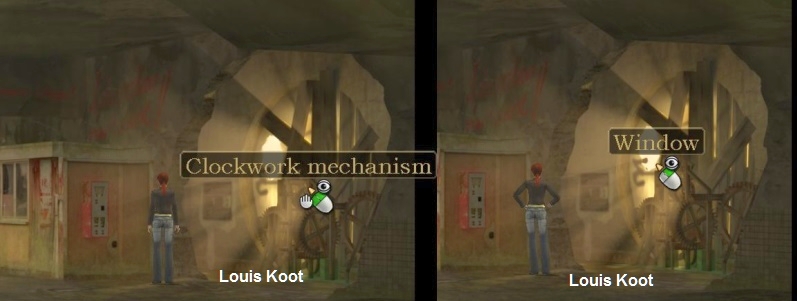
The Clockwork mechanism is the mechanism of the clock that you saw outside in the facade of the station. Left click on the clock mechanism. Nina tries to get the
clock back on track and the clock starts again. But then the clock stops again. View the window. The window is the white circle that you see in the left-hand corner of the clock.
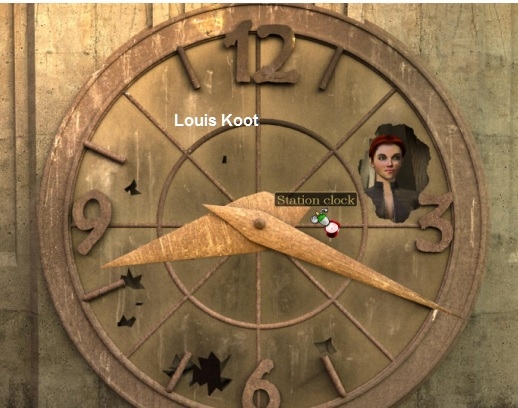
You then see the outside of the clock and you see Nina through the hole in the window. So you see the hands of the clock. Underneath the clock is the red Ferrari from Rossi. You know
that the Ferrari has an alarm and we all know how sensitive such a car alarm is often set. Take the Candle from your inventory and click on the clock with it.
Rossi runs to his Ferrari and at that moment his friends come driving in their van. Because Rossi is no longer on the corner to take care of his friends, the delivery van drives in the
wrong direction. The delivery van therefore drives over the bridge and through the puddle of rainwater and as a result the street sweeper has now become soaking wet.
Park:
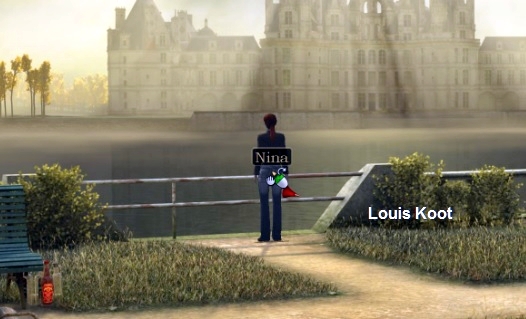
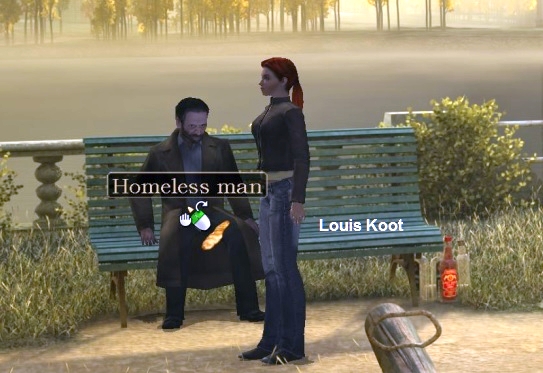
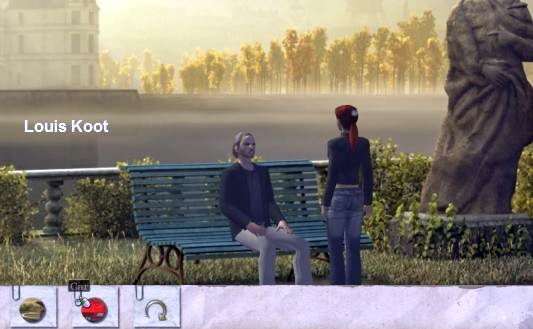
Rossi is sitting on a bench in the park on the Seine. There is a large fountain and a statue. On the other side of the Seine you see a Castle (Château). To the right of the bench, on
which Rossi is sitting depressed, lies a Newspaper on the floor. At the bottom left is also a sandbox. Talk to Rossi. Rossi is completely down but Nina makes him promise that he will not do stupid things.
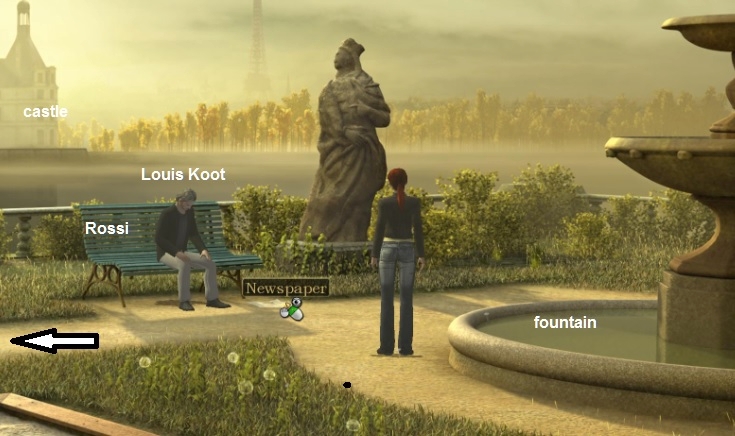
The newspaper has an article about the sinking of the Calypso. The article states that all passengers could be saved on time. There is also an advertisement from the Puritas Cordis
sect in the newspaper and Nina also reads this story aloud. Nina increasingly gets the feeling that this cult is responsible for the disasters that are taking place lately.
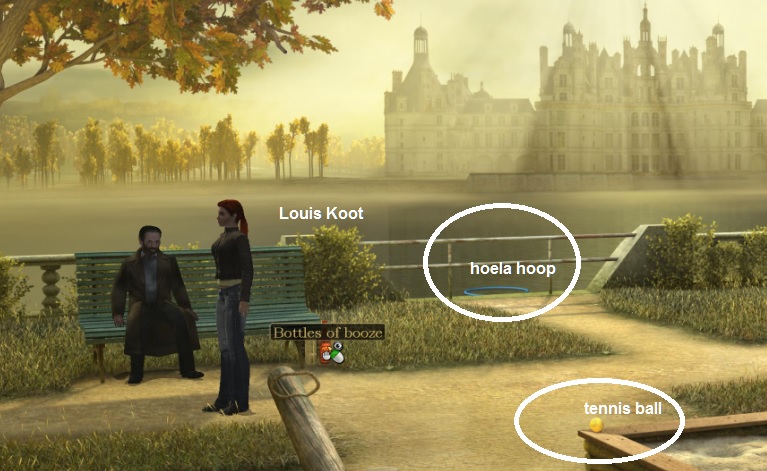
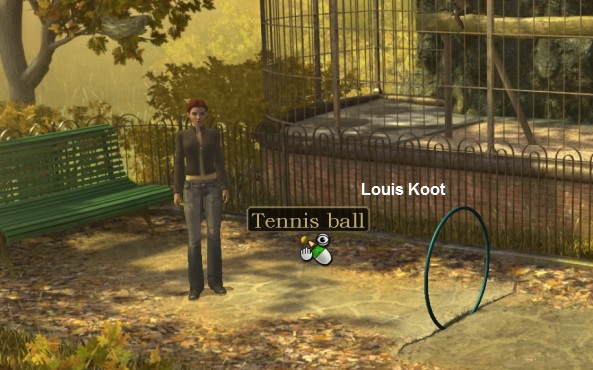
Get the Hula hoop out of the water. Take the yellow tennis ball.
If you try to steal the bottle of rum, Nina doesn't want to do that. Talk to the wanderer and use all conversation options.
Nina tries to convince the wanderer that he shouldn't drink like that. The wanderer promises that if Nina brings him something to eat, he will stop drinking. Nina asks if the zoo is
open and the wanderer confirms this. The wanderer also says that the fountain used to be a fountain of desire and that tourists threw money into it.
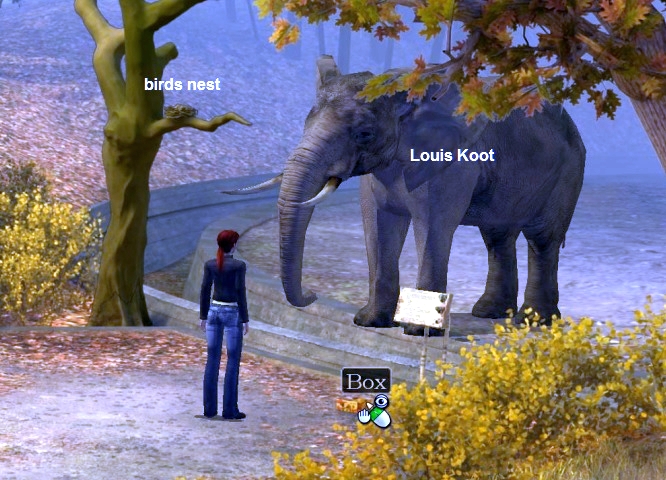
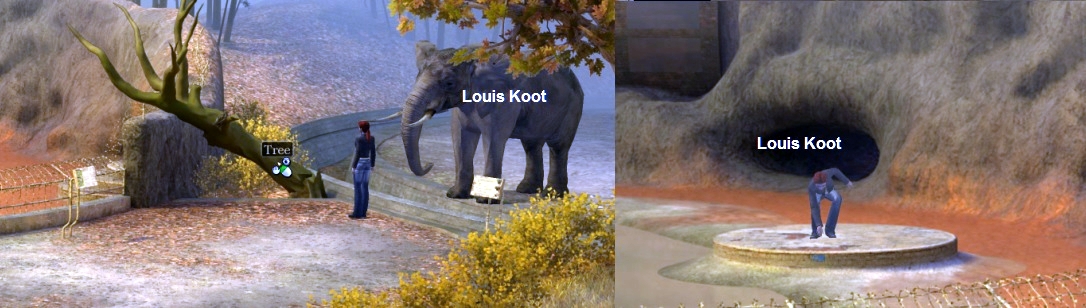
Nina says she wants to go to the zoo now, so click on the Elephant (Zoo)
and .... we end up at:
Take the bottle of red nail polish. Take the soda can.
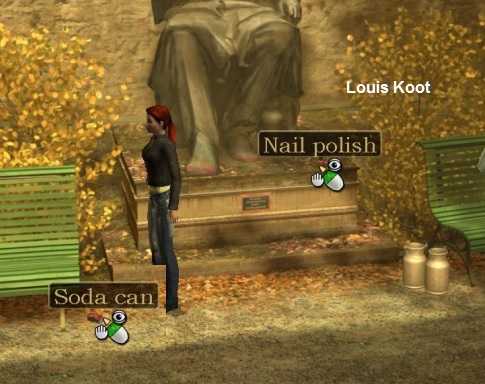
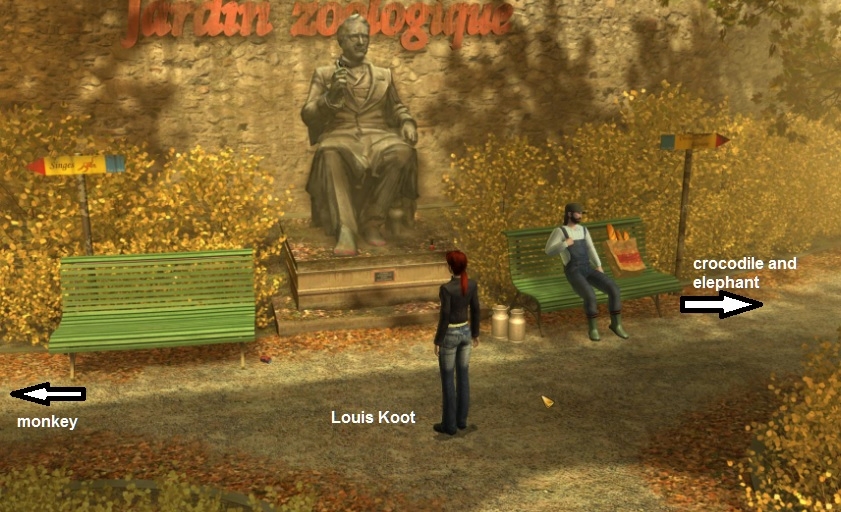
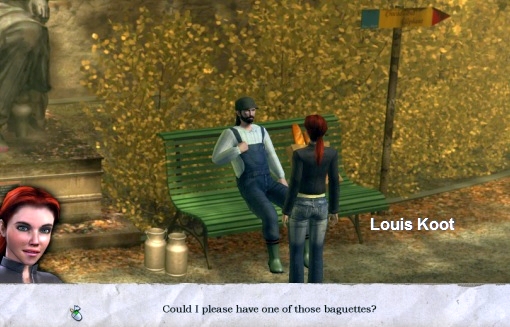
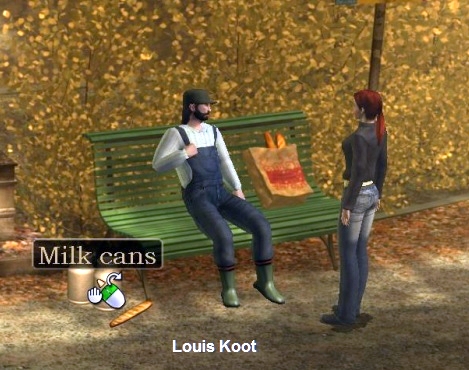
There are small holes in the soda can. Nina cannot steal the 2 full milk cans because they are from the animal keeper and that also applies to the baguette bag. Talk to the animal
keeper and use all the options you get.
The animal keeper is here waiting for the ducks to feed them the baguette. Normally the ducks come immediately when the zoo opens, because they know they are being fed. Nina only gets
a baguette when the ducks are there. The animal keeper says he saw a blue stone in the crocodile enclosure.
The left pointer sign points to the monkey enclosures and the right sign to the crocodiles and elephants, so follow the path to the right and Nina ends up at the:
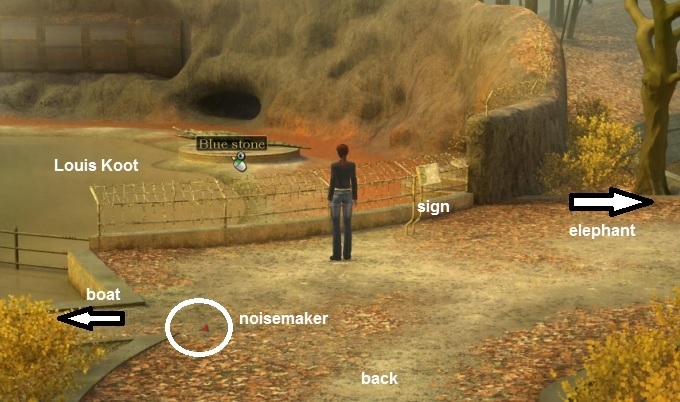
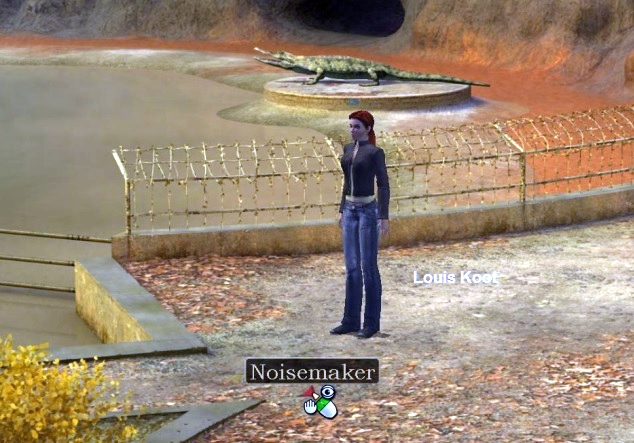
Nina sees a blue stone on the edge of the round platform with a dangerous crocodile. How should Nina get hold of that blue stone without serving as crocodile food? To the right of Nina
is the information board. To the left behind Nina, near the edge of the path, is a red Horn (Noisemaker). Read the information on the information board. Nina reads that the crocodile is a Nile Crocodile and that the beast delimits its territory through
vibrations in the water. The crocodile relentlessly approaches its prey. Take the red horn.
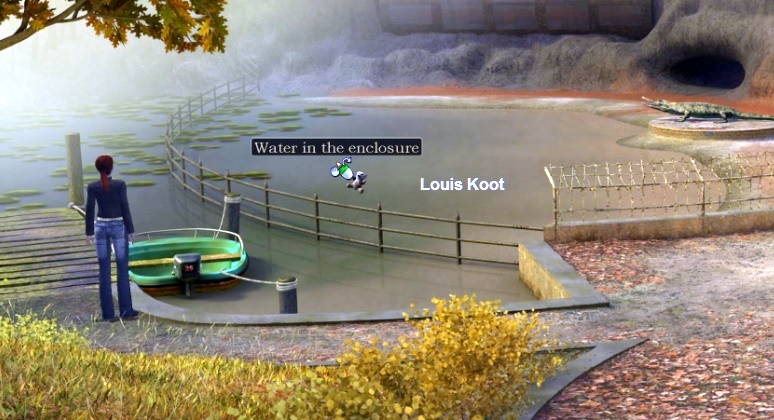
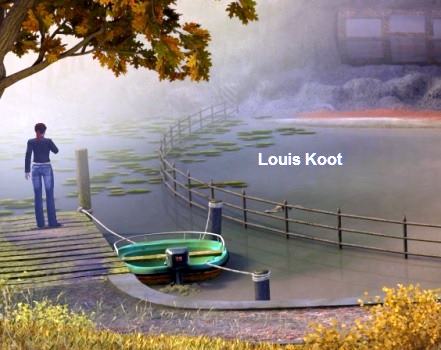
Then, over the narrow path, continue to the left. There is a green motor boat in the water near the jetty. The motor boat is outside the fence of the crocodile enclosure. View the
motor boat. Nina says that the boat is firmly attached with rope to 3 posts. Stay here. Take the teddy bear from your inventory and then throw the teddy bear into the water at the crocodile (Water in the enclosure).
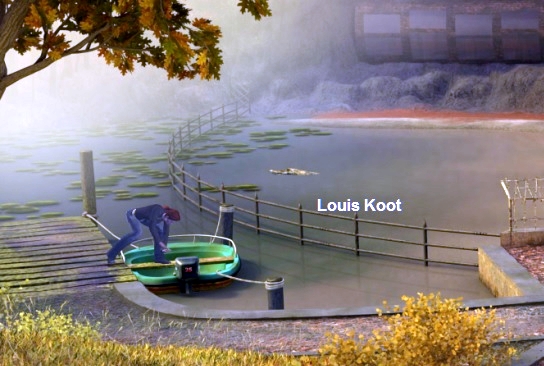
Nina runs back and throws the Teddy Bear into the water. The Crocodile dives into the water and eats the teddy bear, but the crocodile now remains in the water by the fence. Run back
to the motor boat. Now left click on the motor boat and .... Nina starts the outboard motor of the boat and ....
Monkey Cage:
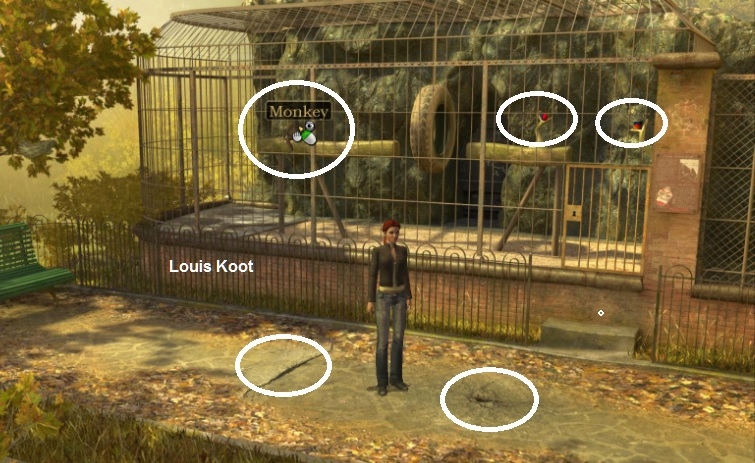
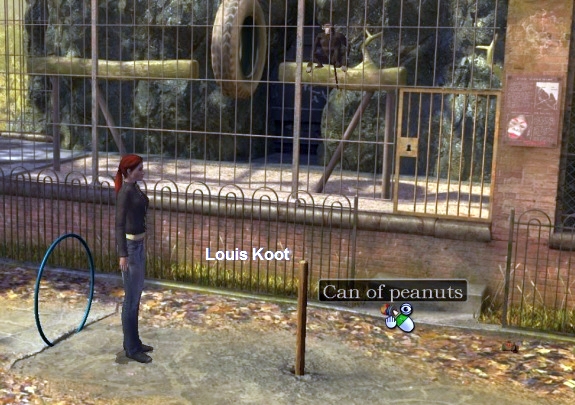
View the hole in the path, the monkey, the car tire, the red ball and the can of peanuts. Nina obviously can't get the ball and the peanuts, but she needs that can of peanuts. Walk
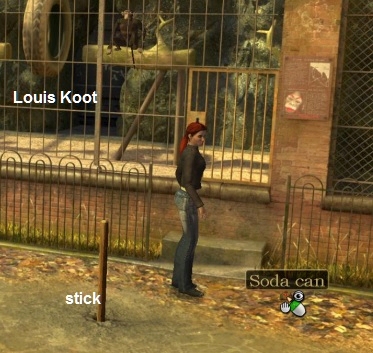
back to the animal keeper and talk to him again and ask the man about the monkey. The animal keeper says it is a very smart monkey. If you first show the monkey a stick then the monkey will pay close attention to what you do with the stick and then flawlessly
imitate it when you give the stick to the monkey.
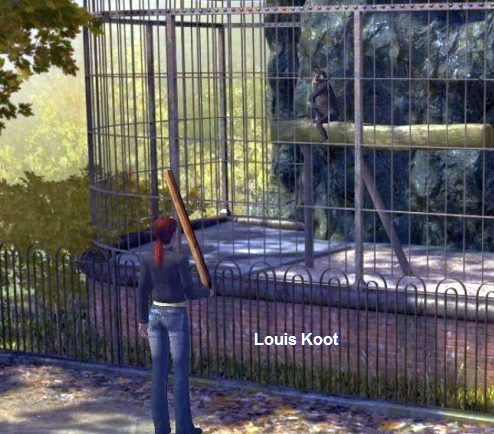
Nina shows the stick to the monkey, who is immediately very interested. Nina puts the stick away again. Now take the Hula hoop from inventory and click it on the crack in the path. Nina puts the hoop in the crack. Left click on the hoop and ..... Nina crawls through the hoop from left to right. At the same time, the monkey crawls through the car tire from left to right. Take the Stick from inventory again and place the Stick in the hole in the path. Place the Soda can on top of the stick. Take the yellow tennis ball from inventory and click it on the soda can and .....
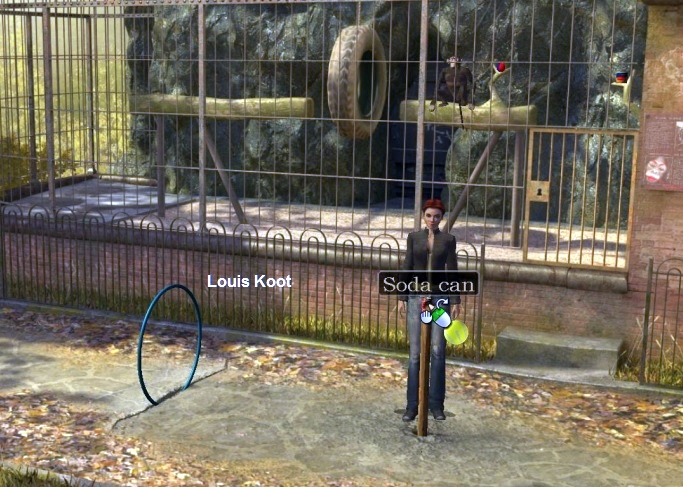
Also pick up the Soda can, the tennis ball, the stick again.
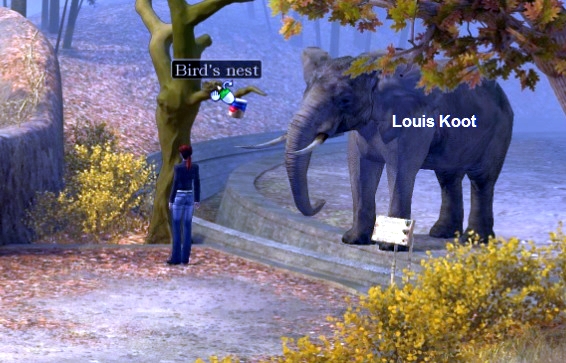
Take the peanut can from your inventory and click it on the bird's nest.
View the blue stone in inventory. A black tower is depicted on this blue stone. Say .... would the street sweeper have already swept the other half of the bridge ?. Open the map and
then click on the Bridge location and Nina lands on the:
Bridge:
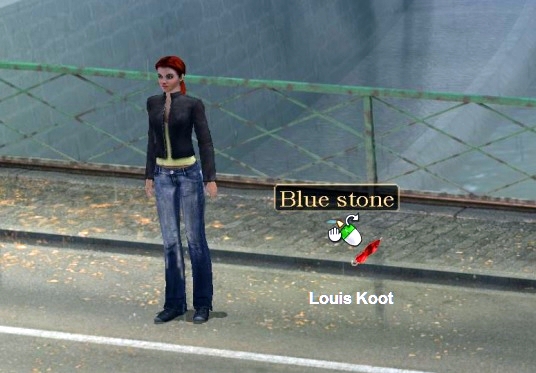
Nina is now on the left half of the bridge. So it's raining here, but the road worker has done his job. Nina finds the 3rd blue stone on the sidewalk. View the stone. This blue stone
has the image of a pawn. Try to take the blue stone but ... the stone is stuck in the sidewalk. Take the red umbrella from inventory and click it on the blue stone and ....
The ducks fly in and then float closer to the bridge in the Seine. Open the map and click on the Park location:
Park:
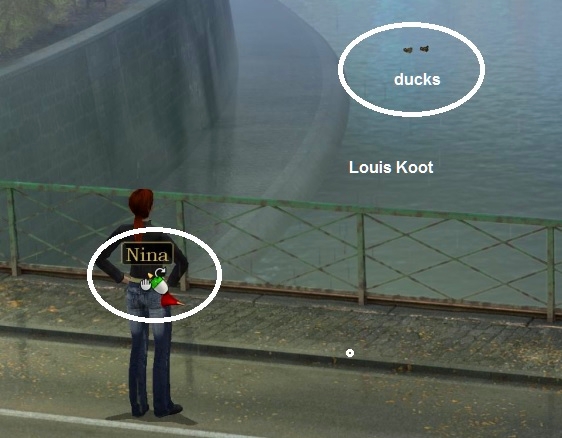
Rossi is still depressed on the couch. Walk to the left, to the wanderer. Stand to the right of the wanderer at the railing. Here you have also previously took the blue hoop from the
Seine. If Nina is at the railing, take the Noisemaker from your inventory and click the horn again on Nina and ........
Zoo:
Subway station:
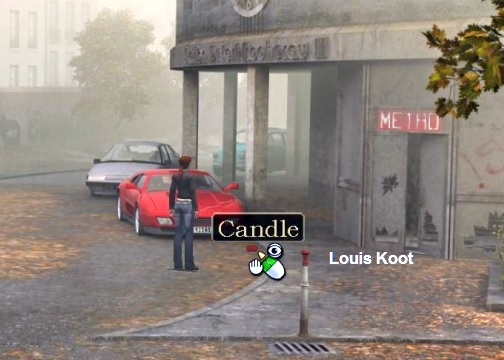
Grab the red candle again. As you know, there is an ugly scratch in the hood of the Ferrari. Take the red nail polish from inventory and click it on the
Ferrari and .... Nina
masks the scratch a bit with the red nail polish. Go back to the:
Park:
Before talking to Rossi you first walk to the left, to the wanderer. Give the baguette soaked in milk to him ....
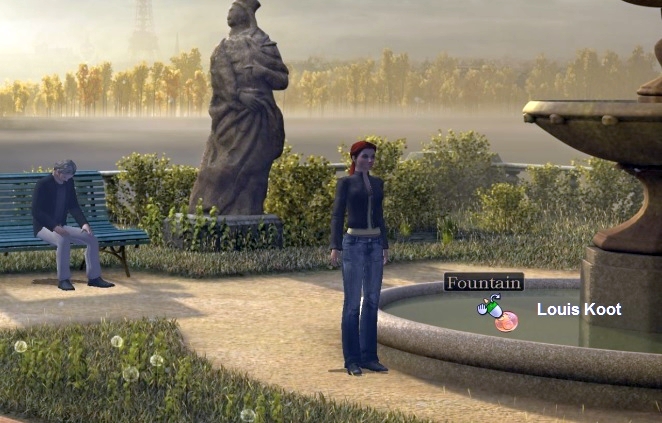
Before Nina throws her 5 cents into the fountain, she first talks to Rossi. Nina tries to convince Rossi that he is no looser and that miracles really exist. Then Nina throws the coin
in the fountain and .... Nina and Rossi then return to the Ferrari. Nina shows Rossi that the scratch is almost no longer visible but says that this is because she has only sacrificed 5 cents. Perhaps the scratch is completely gone if Rossi himself offers a
larger coin? Rossi runs back to the fountain to throw a coin in the fountain himself.
Rossi makes his wish and runs back to the Ferrari but is not satisfied with the result, because the scratch is of course still visible. Rossi has thrown 10 cents into the fountain and
Nina says it will take a little longer for 10 cents for the miracle to happen. Rossi wants to keep waiting with his Ferrari until the scratch has disappeared.
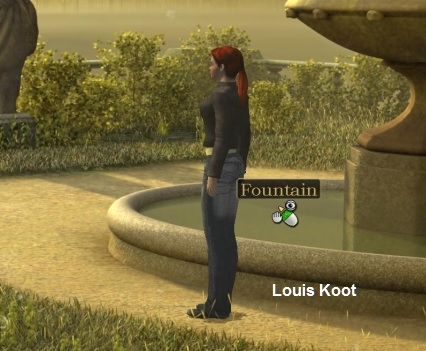
Rossi can of course wait until he is old, fat and buried, because miracles do not happen. At least not for just 10 cents. However, Nina urgently needs 10 cents, because she has to pull
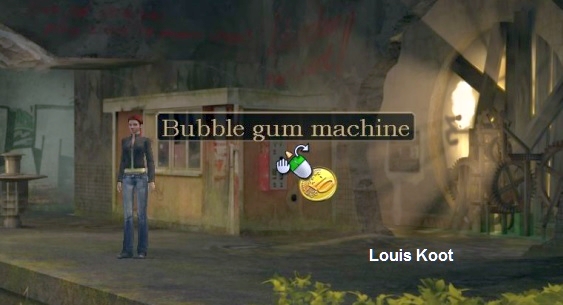
a bubble gum ball out of the machine. So travel back to the Park and then left click in the fountain and .....
Subway station:
Take the 10 cent coin from your inventory and click with it on the chewing gum machine and Nina pulls a chewing gum from the device.
A police officer is behind the counter. Between the window and the front door is a photo of Zarkosy, the President of France. Behind the counter is the gun cabinet. There is a trash
can in front of the counter. To the right is the cell corridor and on the wall hangs a large notice board (Pin board) with all kinds of announcements. First view everything again.
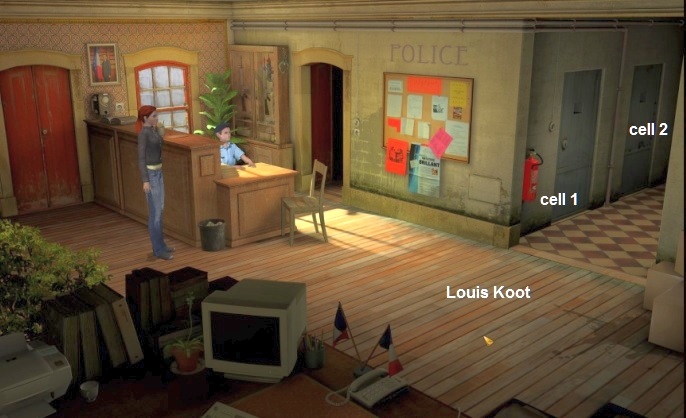
Look especially at the 2 cell doors in the cell corridor. In the second cell Nina sees the blue stone that she is looking for. When you've seen everything, go talk to the policewoman.
Ask the police officer about the cells. Nina asks if she can look in the 2nd cell for a while. You are only put in jail if you are drunk, so the officer asks if Nina is drunk. Confirm this by clicking on the green Thumb Up.
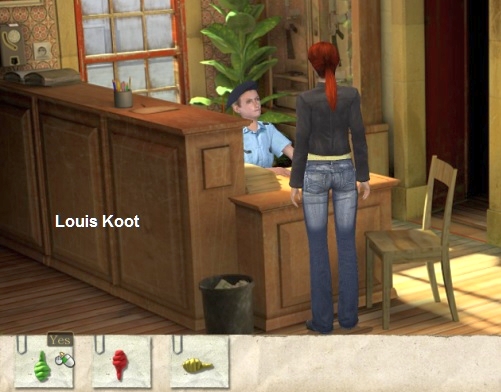
The police woman then wants to smell Nina's breath, so Nina blows firmly in the agent's face. Nina is not drunk, so she is not allowed in the cell. Close the conversation. Walk into the cell
corridor. Nina is out of sight of the agent in the cell corridor. Nina must therefore ensure that her breath smells of alcohol, but she must also ensure that she is not thrown into the wrong cell. Take the chewing gum from your inventory and click it on the
front cell door. Nina puts the gum in the keyhole of the front cell door. So that cell will no longer open. Now take the bottle of rum from inventory and click it on Nina and ....

Nina rinses her mouth with a sip of rum, but she doesn't swallow the rum. Go talk to the agent again. Nina pretends to be drunk and she has to let her breath smell again. The agent
smells the alcohol and Nina has to do a blood test. Some blood is drawn from Nina. However, before the agent can test the blood, the telephone rings. The officer walks away to answer the phone. The syringe with Nina's blood is on the counter.
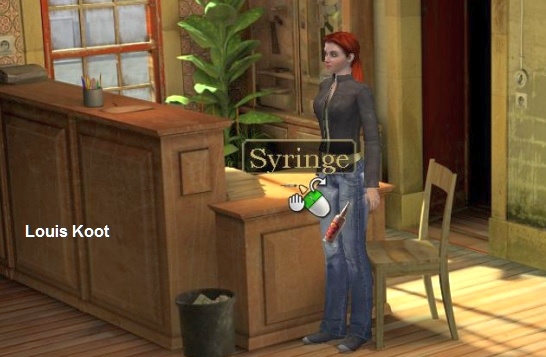
Nina is now diluting her own blood sample with the alcohol. The officer comes back and does the test and it shows that Nina has an alcohol level of 3.7 in her blood. Nina is now locked
up in the 2nd cell.

In the cell next to Nina (cell 3) is a musical neighbour and through the wall Nina talks with that man. The man is playing a harmonica. Of course,
the man claims that he is locked up in the cell completely innocently. In the ceiling is a skylight with bars in front.
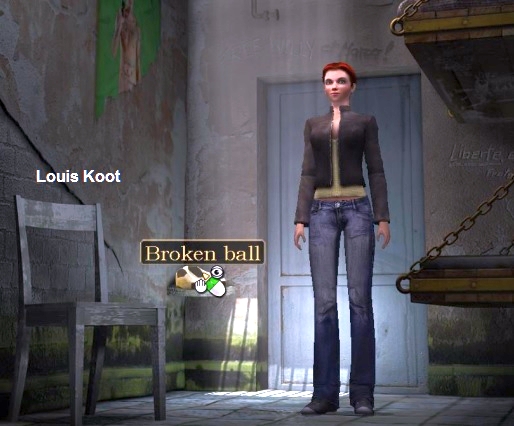
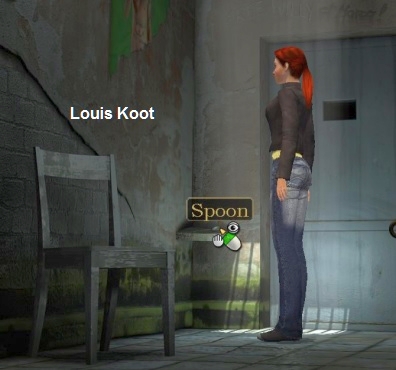
Nina tries to scratch the cement from the joints around the stone with the spoon. The agent, however, hears the sound and calls that Nina should stop. Left click, left of the blue
brick, on the wall (Wall) to talk to the man in the other cell. Ask the man about his Harmonica.
Nina asks if the man wants to play his harmonica again so that the sound of the harmonica will overpower the sound of the spoon. The man wants to do this, but only if Nina first solves
a riddle. Riddles are man's big hobby. Nina has to look for 3 digits in her cell and the man gives Nina 3 directions for this. Close the conversation
|
1st indication: The
first digit is a number between 1 and 5. This number is nowhere to be found in Nina's cell. Look
around the cell and just count all the things in the cell that you can click on. So
those are the coat rack, the chair, the door and the beds and the skylight. Together
these are 5 things. 2nd indication: The
second number prevents Nina from fleeing from her cell and it is an odd number. The
door and the skylight prevent Nina from leaving the cell. Count
the number of bars in the skylight. There
are 9 bars. 3rd indication: The
3rd number is an even number. You can stand on it but not always walk with it. You
can stand on legs but you cannot always walk with them. A
chair has legs but they are legs that you cannot walk with. You can stand on a chair. The
chair has 4 legs. Nina herself has 2 legs that we sometimes call legs. So
the 4 chair legs with Nina's legs together make 6. So the answer to the riddle is: 5, 9, 6. Left click on the wall again and then click on the question mark icon and then click on the numbers 5, 9, 6.
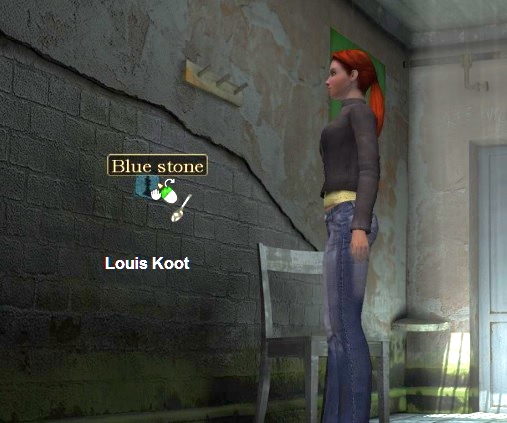
The man is impressed and starts playing his harmonica again. Quickly now..... don't wait too long. Click again with the spoon on the blue stone and .... Nina picks the blue stone from the
wall. |
Note: if you wait too long, the sound of the harmonica will stop and the agent will hear Nina scratch again. You can only get the stone from the wall while the neighbour plays his
harmonica. If you are too slow, you have to ask the man again to play his harmonica.
When Nina has removed the blue stone from the wall, left click on the cell door to talk to the agent. Nina manages to convince the agent to release her and she also gets all her things
back. You will then see the map. Travel back to the:
Park:

Travel back to the:
Subway station:
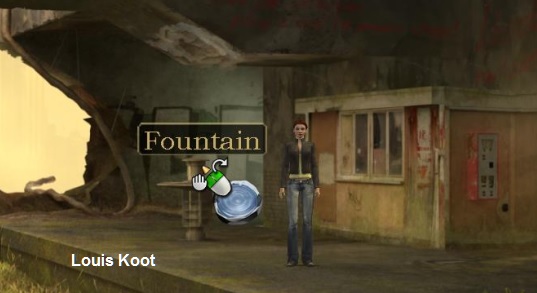
Nina pours the water from the football into the fountain and ... Of course, Nina now goes back and forth a few times between the metro station and the park to get more water and pour
it into the fountain. A while later Nina has put enough water in the fountain. Then left click on the Switch box, which is on the wall next to the clock.
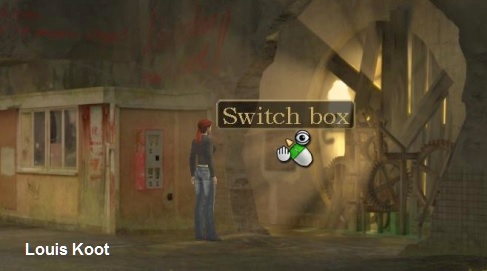
With the switch box Nina turns on the fountain but the water jets do not spray high enough to clean the ceiling above the fountain. Nina will turn the fountain off again. The fountain
must therefore spray more forcefully. Take the pacifier from your inventory and put the teat in the fountain. Nina puts the teat in one of the spray holes. Then click on the fountain with the Candle to close 2 more holes in the fountain with the
candle.
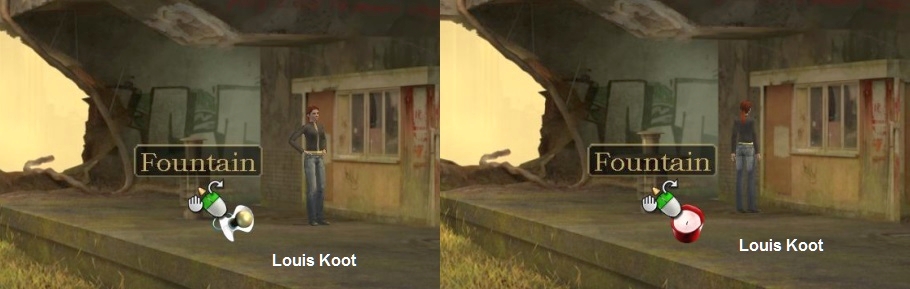
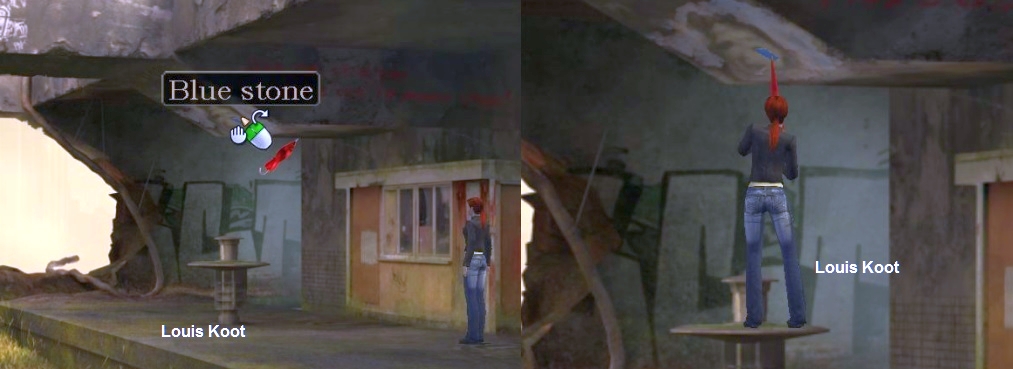
Then left click on the switch box again to turn the fountain on and see .... The fountain is now spraying higher and the water is spraying the ceiling clean and .... above the fountain
there is a blue stone in the ceiling. Nina will turn the fountain off again. Click with the umbrella on the blue stone to pry the blue stone from the ceiling with the help of the umbrella.
Nina has now found all the blue stones, so she can now solve the mosaic puzzle. Travel back to:
|
TheGraveyard: Enter the chapel ruin again and through the hole in the floor to the underground room. In the underground room you go through the stone door to the crevice again and right click on the
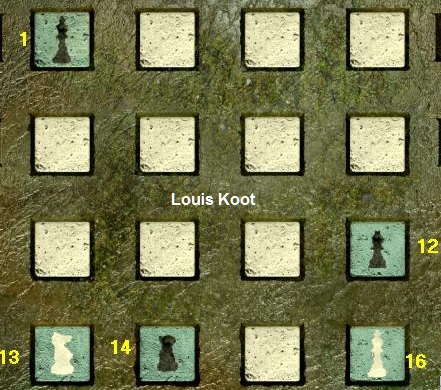
mosaic again. The mosaic consists of 4 times 4 = 16 squares. 5 boxes are empty. The intention is that you place the 5 blue tiles in the correct empty space. You have already placed the white King
stone in a box. First place the remaining 4 blue stones in the remaining 4 empty squares. It does not matter in which square which stone is placed. Number the boxes, from top left to bottom right, 1 through 16 .. Then zoom out of the mosaic and view the map of France, which is hanging behind Nina on the wall. So on the map you can see the provinces of France. If you do not include Navarre then they are 16 provinces, so 4 by 4 = 16 squares, so the same as the mosaic. On the left is a stone tablet with a text on it. Nina reads the text of the stone tablet out loud again. If this is too fast, you can click on the stone tablet to hear the text again.
The text tells you how to place the 5 blue stones in the mosaic. Because you read 1. The
king has retired to Provence with his army. 2. A
peasant revolt is raging north of Provence. 3. There
is reinforcement en route from Navarra and this army has just crossed the border. 4. The
auxiliary troops, however, are stopped by the defence works in the east. 5. The
enemy watches with a smile from Bretagne. Close the close-up of the map and zoom in again on the mosaic. So on the 5 blue stones is an image of the noble game of chess. You have a White King stone, a White Knight stone, a
Black King stone, a Black Pawn stone and a Black Rook stone. The blue stones are not in the right places in the mosaic. So now you have to place the blue stones in their good boxes. The text on the stone tablet has actually given you the solution. The White King has an ally and that is the White Knight. The text says that the white King has withdrawn to Provence.
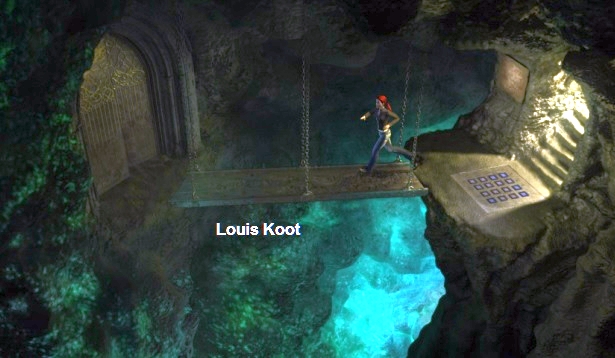
On the map, Provence is box 16. Pick up the White King stone and then place it in box 16. The white King's ally is the White Knight, who comes with his army from Navarre and has just reached Gascony. Gascony is on the map box 13, so place the White Knight stone in box 13. The Black King is the enemy who watches laughing from Bretagne. On the map, Bretagne is box 1. So place the Black King stone in box 1. If you have placed the 5 blue chess stones correctly in the mosaic, you will automatically leave the close-up and a bridge will come down. Nina immediately wants to call her father in New York. but then an armed cult member comes in. Nina and David are removed from the archive under threat of a gun. On the bridge, David
attacks the armed man and Nina gets a chance to flee.
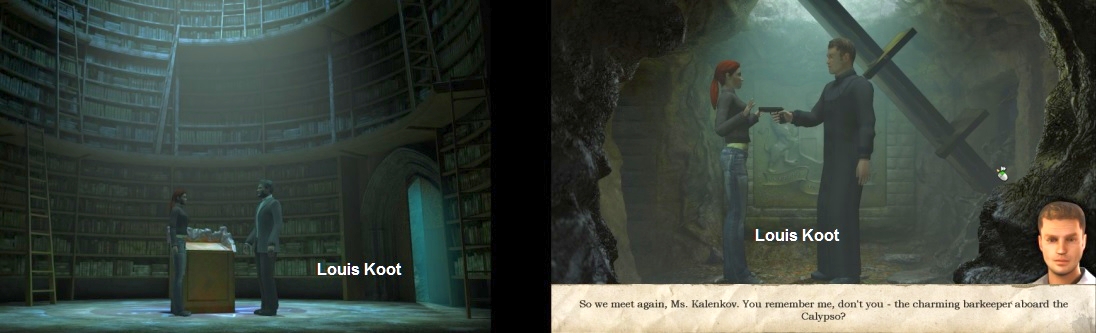
However, Nina does not get far because in the underground room she is met by the fake bartender of the Calypso. Nina hears a shot and a shout from a man in the depth. Was that David?
The bartender forces Nina to follow him. We end up in: 2006: Original Dutch walkthrough by: Louis Koot 2019: English translation by: Dick Leeuw |